Lovers 15 Deva Curl Diffusers Enhancing Clumps Without Disturbing
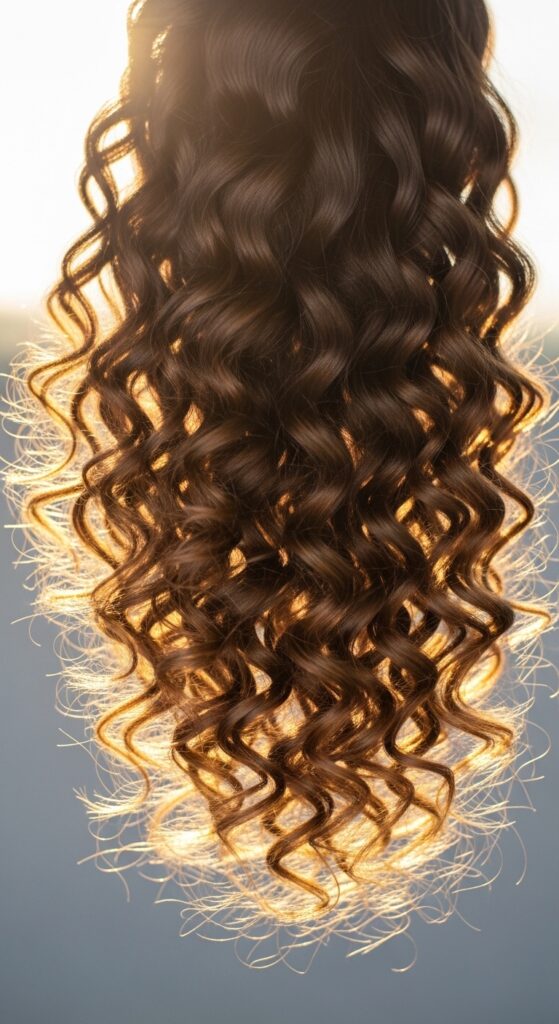
Okay, let’s be real. If you have curly hair, you know the diffuser struggle. You want those perfect, juicy clumps, but you also want volume and definition without creating a frizzy mess. It feels like an impossible dream, right?
Well, I’m here to tell you it’s totally possible. The secret weapon? A DevaCurl diffuser. But it’s not just about having the tool—it’s about how you use it.
Today, I’m breaking down the exact techniques I use and love. We’re going to talk about enhancing your natural curl pattern without disturbing those gorgeous clumps you worked so hard to create in the shower. This is your no-fuss guide to better diffusing, starting now.
Why Your Current Diffusing Method Might Be Wrong
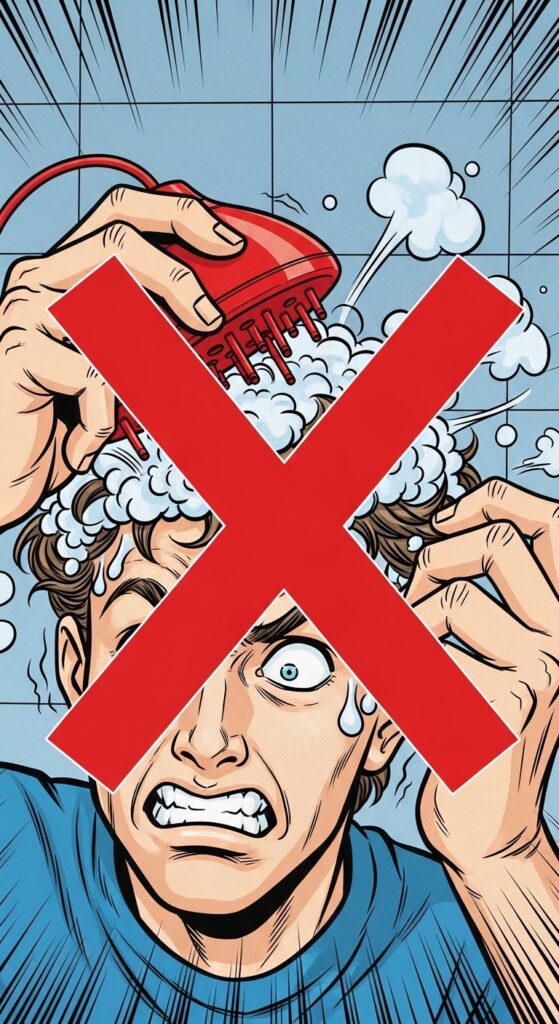
Most of us just plop our hair in the diffuser and start scrunching wildly. I get it! You want it dry fast. But that motion actually breaks up your curl clumps and invites frizz.
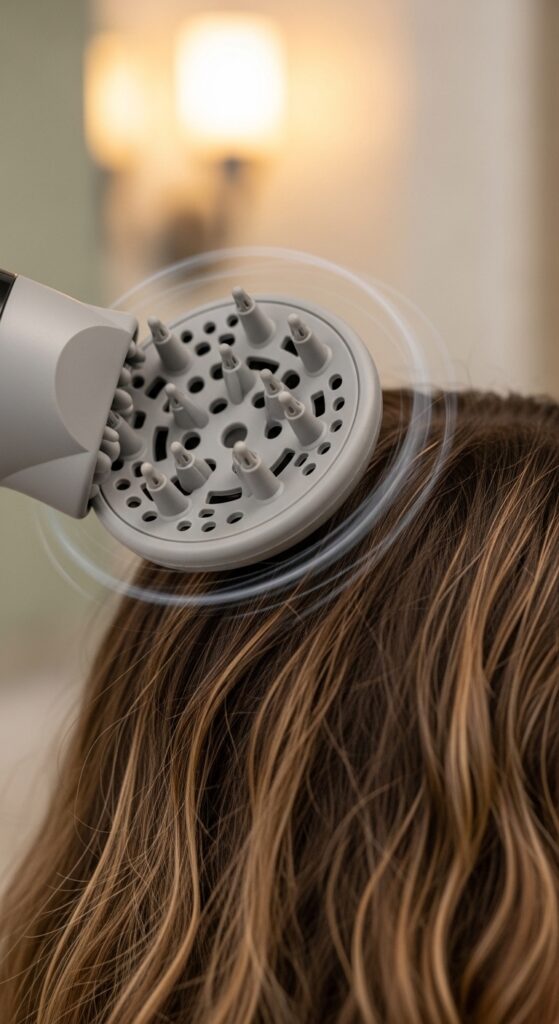
Think of your wet curls as delicate. The goal is to support them, not smash them. The DevaCurl diffuser’s unique shape is designed to cup your curls perfectly, but you have to work with it.

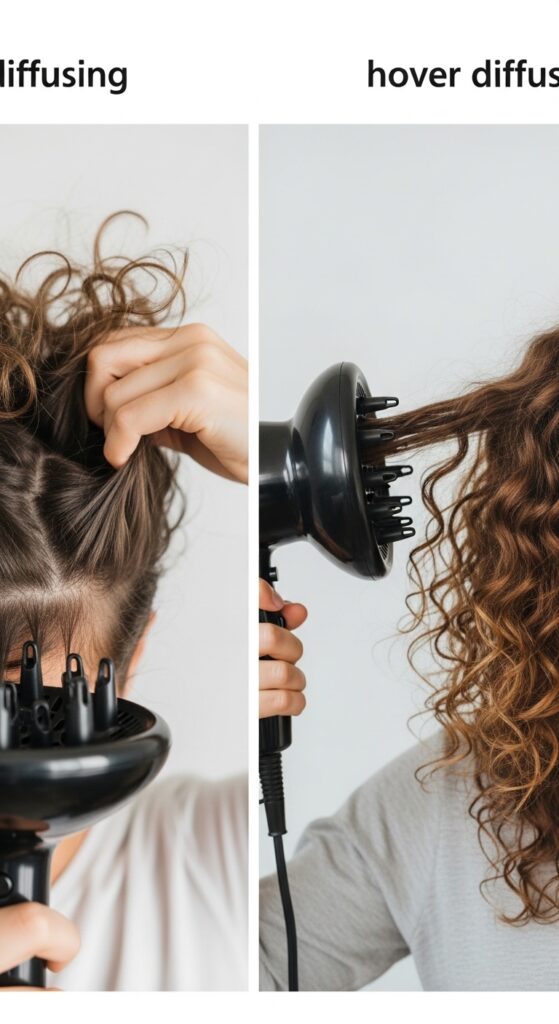
The “Pixie” Method vs. The “Hover” Method
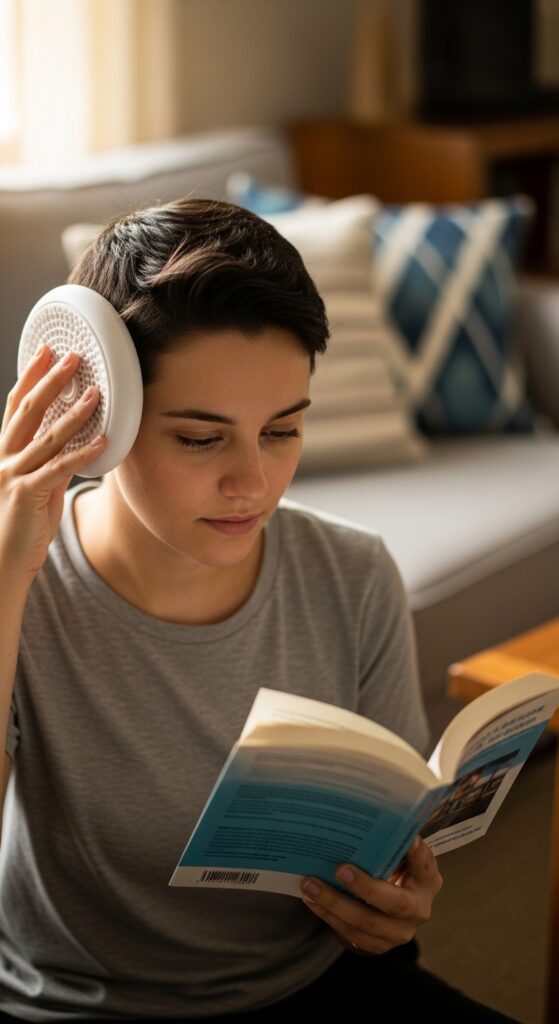
You’ve probably heard these terms. Pixie diffusing means placing curls directly into the diffuser bowl and holding it against your scalp. It gives amazing root volume.
The hover method means holding the diffuser a few inches away and letting the air flow around your hair. This is fantastic for reducing frizz. The trick? Use both.
Step 1: Prep Is Everything For Clump Formation
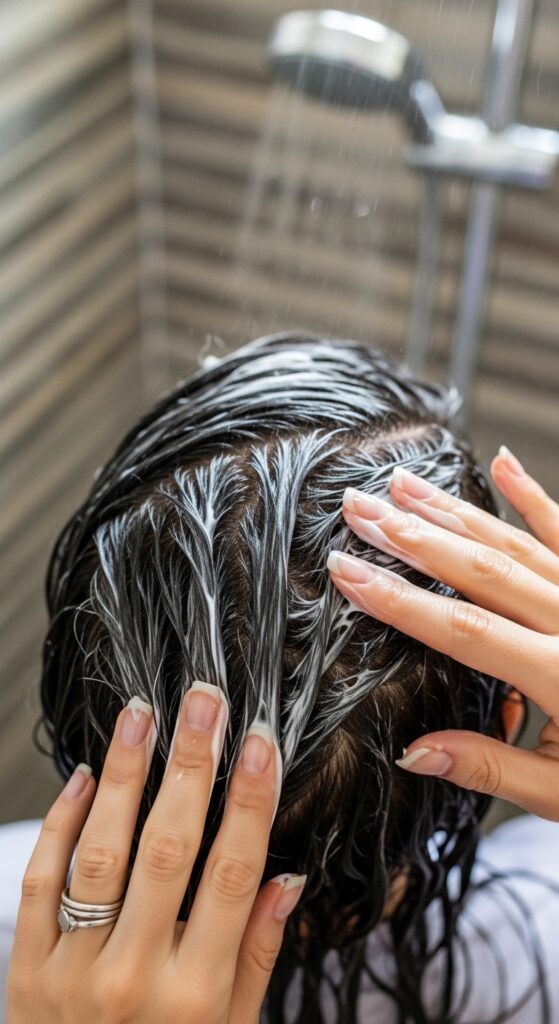
Your diffusing results start in the shower. After cleansing, apply your conditioner and detangle with your fingers or a wide-tooth comb. This helps form initial clumps.
Rinse, but don’t fully rinse out all your conditioner. Leave a little in for slip. Then, with your head upside down, apply your styling products to sopping wet hair. This is the clump foundation.
Step 2: The Initial Plop For Settling
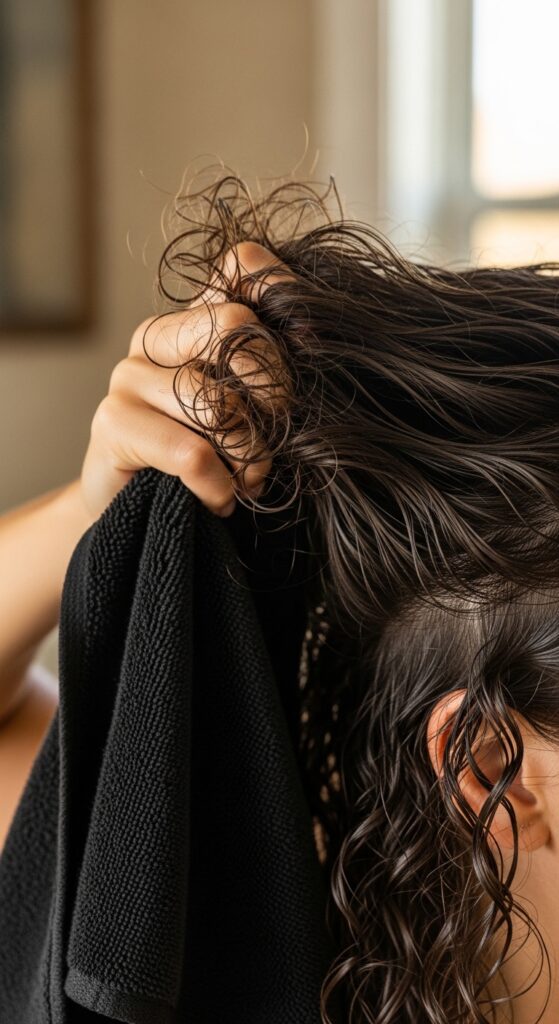
Before you even touch the diffuser, do a quick micro-plop. Gently scrunch your hair with a cotton t-shirt or a microfiber towel to remove excess water.
Don’t rub! Just scrunch upward. You want the hair to be damp, not dripping. This helps the clumps set with the product and removes water that would make diffusing take forever.
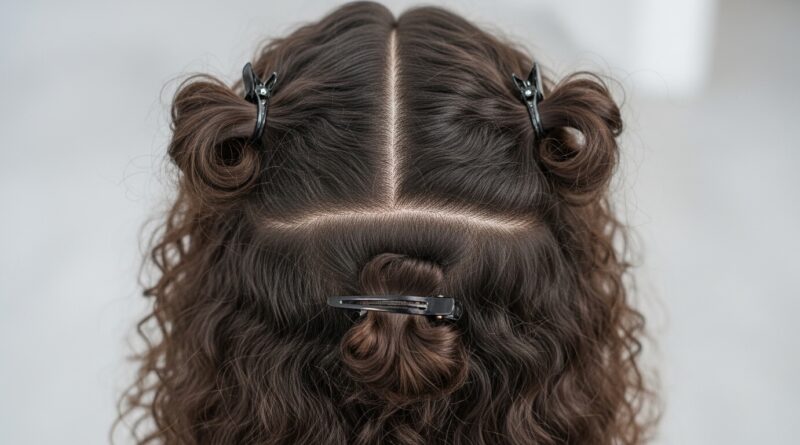
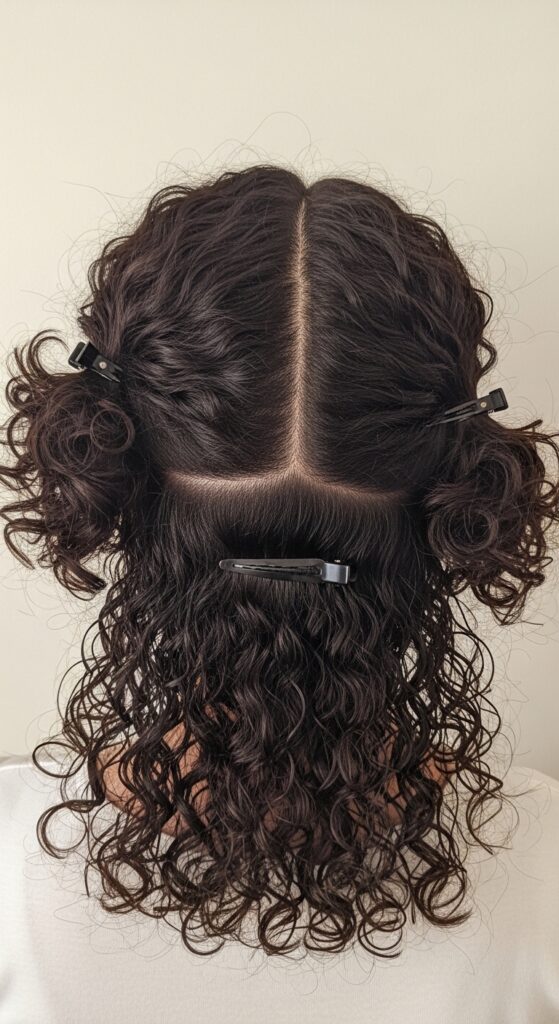
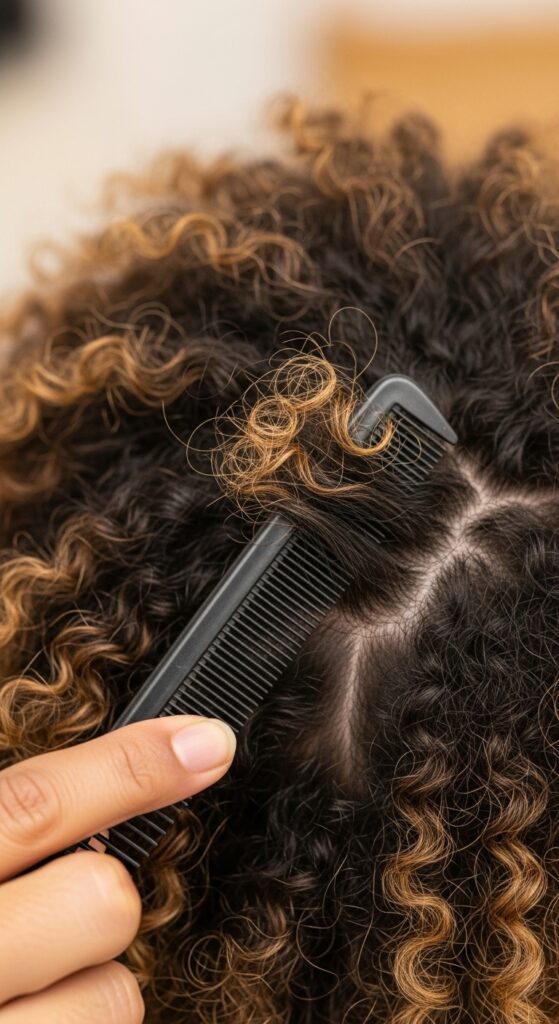
Step 3: Section Gently (Yes, Really)
I know, sectioning feels like a salon chore. But for amazing results, split your hair into 2-4 big sections. I just do left, right, and back.
Use a clip to hold the top sections away. Start diffusing the bottom section first. This ensures every curl gets attention and dries evenly.
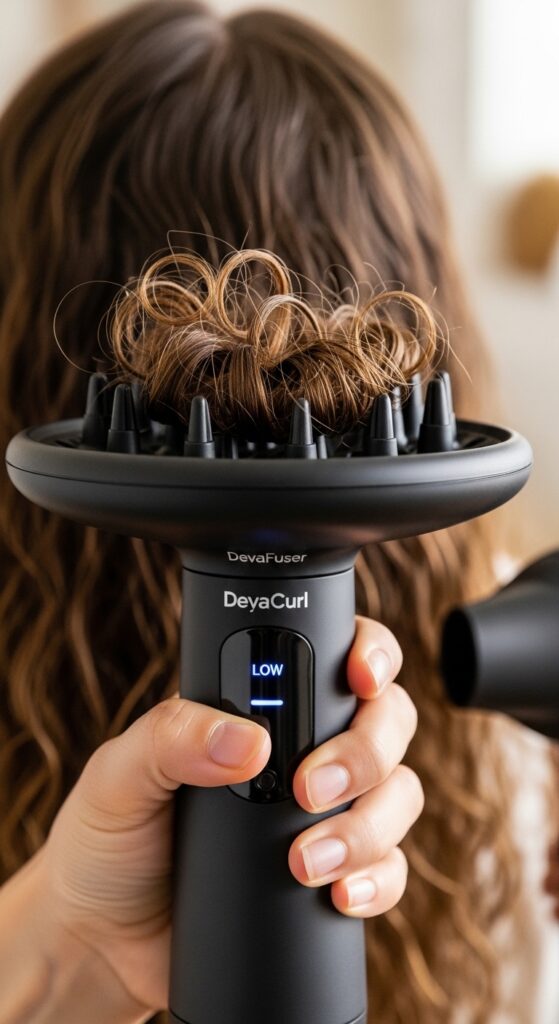
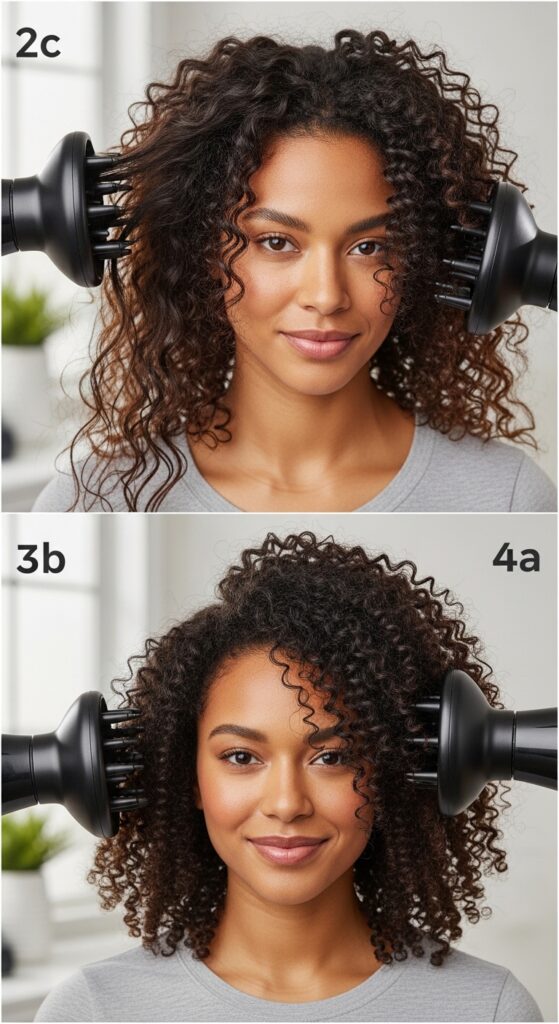
Step 4: The First Dry With Low Heat & Power
Start with your dryer on low heat and low speed. High power is tempting, but it’s a clump’s worst enemy. You want a gentle airflow.
Bring the diffuser up to a section of hair, cup the curls into the bowl, and gently lift it to your scalp. Hold for 30-45 seconds, then move on. Don’t jiggle yet.
Step 5: The Magic of Not Moving
This is the hardest part: patience. Once the diffuser is cupped against your head, just hold it still. Let the air flow through the curls.
Moving it around or constantly scrunching with the dryer breaks the cast from your gel and disturbs the clump formation. Trust the process.
Step 6: When to Add Movement
After your curls are about 70% dry, you can introduce a little movement. Turn the dryer off, gently place your curls in the diffuser, turn it on to medium, and then slowly move it in a small circle.
This helps add volume at the root without disrupting the ends of your clumps. Keep the motion smooth and slow.
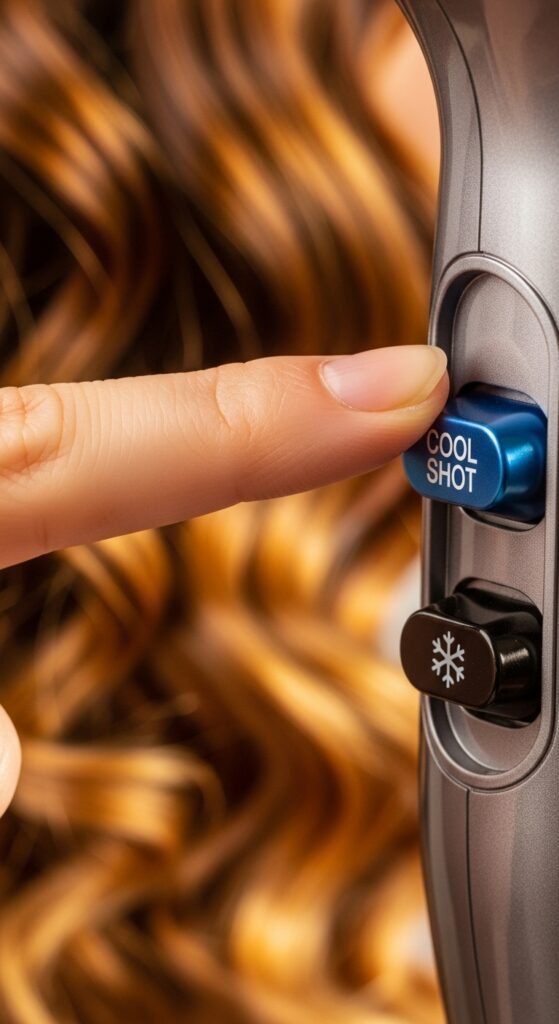
Step 7: Cooling For The Final Set
Never underestimate the cool shot button! Once your hair is about 90% dry, hit the cool air. Cup your curls and hold for a final 30 seconds per section.
The cool air locks in the shape, seals the cuticle for shine, and helps your style last for days. It’s the final step for perfect clumps.
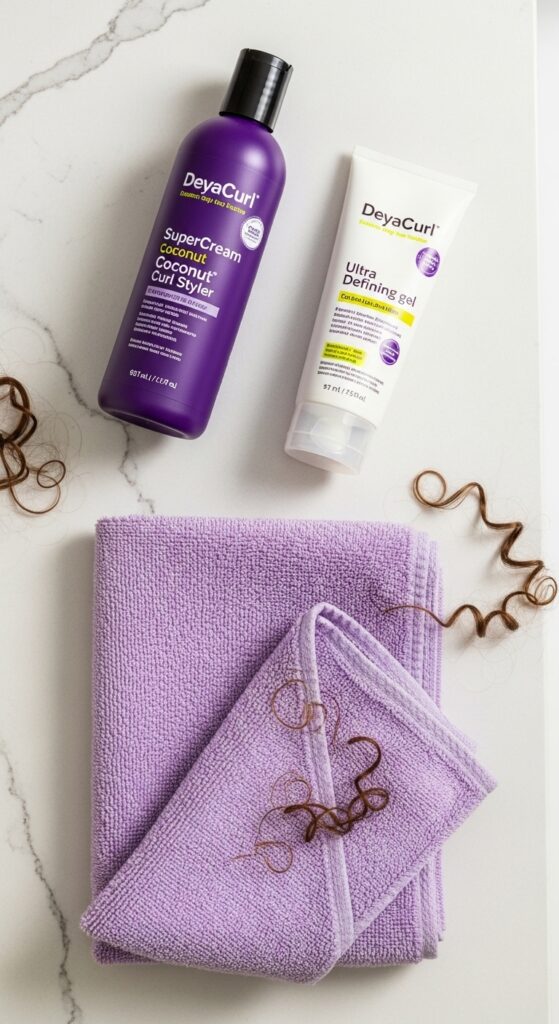
Product Pairings For Ultimate Definition
The right products make diffusing easier. You need a strong-hold gel or mousse to form a cast that protects clumps.
- For fine curls: A light mousse.
- For thick curls: A firm-hold gel.
- For all hair: A curl-defining cream under your hold product.
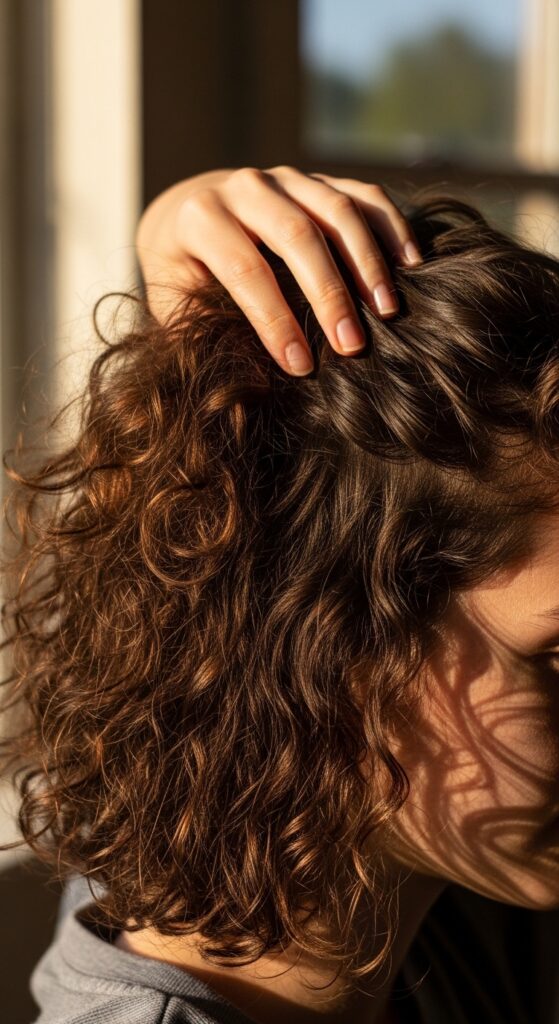
Root Volume Tricks Without The Pick
Want big volume? After diffusing a section, use the end of a rattail comb or your finger to gently lift the root while the cool shot is on.
You can also clip your roots at the crown while they cool completely. This gives that lifted, “lived-in” volume that works for everything from a quiet luxury bob to big curls.
Fixing Frizz Mid-Way Through
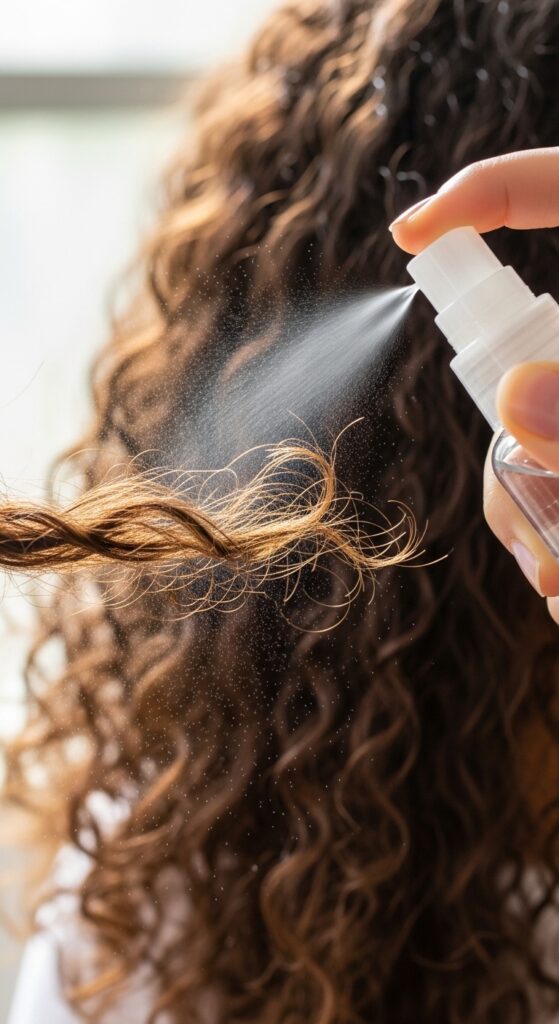
See some frizz forming? Don’t panic. Spritz a tiny bit of water mixed with a drop of leave-in conditioner on just that spot.
Then, gently smooth the frizzy strand back into its nearest clump and re-diffuse that small area on low. It’s like spot-cleaning for your curls.
Day 2 & 3 Refresh For Diffused Hair
Your diffused hair will last! In the morning, mix water and a little conditioner in a spray bottle. Lightly mist your hair, don’t soak it.
Then, gently scrunch upwards. You can even use the hover diffusing method on cool for a minute to reactivate your products and reshape clumps.
Adapting For Different Curl Patterns
Fine, loose curls? Use the hover method more to avoid weighing hair down. Tight coils? Pixie diffuse more for thorough drying and root lift.
The technique isn’t one-size-fits-all. Listen to your hair. If clumps are falling, use less product next time. If it’s frizzy, use more gel and less handling.
Common Diffuser Mistakes To Avoid
Let’s quickly list the big no-nos so you can skip the bad hair days.
- Using high heat and high speed from the start.
- Rubbing hair with a regular towel before diffusing.
- Constantly touching and separating curls while they’re wet.
- Giving up before hair is 100% completely dry.
Styling Diffused Curls For 2026 Hairstyles
Your perfectly diffused clumps are the perfect base for trending styles. For an asymmetrical lob, diffuse with your head tilted to the longer side.
For romantic goth hairstyles</strong or vampire haircut vibes, diffuse for maximum volume at the crown, then add a deep side part and strategic pin-back sections.
Getting That “Old Money Hair” Texture
Old money hair is all about effortless, healthy texture. Diffuse your curls just to 80% dry, then let the rest air-dry naturally.
This creates a softer, more lived-in wave and clump pattern. Finish by running your fingers gently through the very ends to break the cast just a little.
Creating Glitchy Glam Hair With Curls
Glitchy glam hair is playful and textured. After diffusing, take a few small front sections and twist them, then pin them back loosely with bobby pins.
The contrast between your defined diffused clumps and these intentionally “undone” twisted pieces creates that cool, edgy-yet-polished look.

Diffusing For A Hime Cut Or Sharp Bob
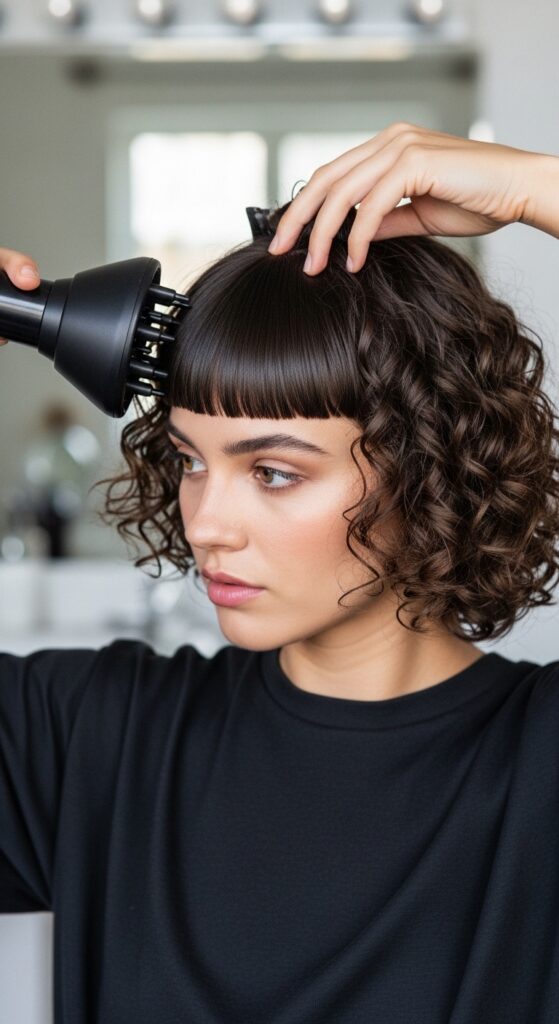
If you have a hime cut or sharp bob, precision is key. Diffuse the front pieces separately. Cup them into the diffuser and direct the airflow away from your face to set the shape.
Pay extra attention to the ends, making sure they are curled under or flipped out consistently for that clean, graphic line.
When To Skip Diffusing (Air Dry Instead)
Diffusing isn’t a must every day. If you have time, air-drying gives incredible clump integrity. Apply your products, plop in a t-shirt for 20 minutes, then let it down.
Don’t touch it until it’s completely dry. This is the ultimate no-disturbance method and can give you your best curl pattern ever.
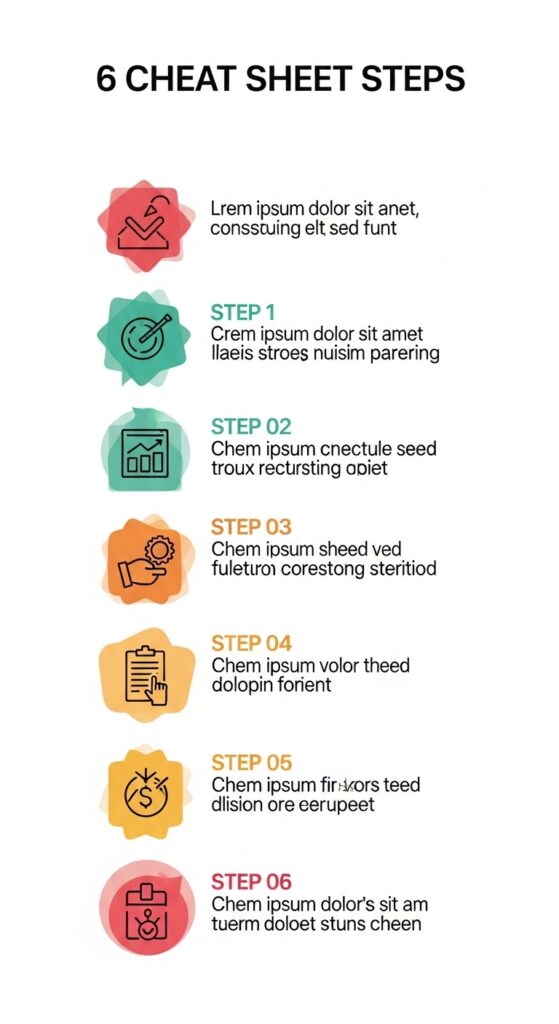
Your Quick-Start Diffusing Cheat Sheet
Let’s make this simple. Here’s your go-to routine.
- Apply products to sopping wet hair.
- Micro-plop with a t-shirt.
- Section hair. Start diffusing bottom sections on low heat/low speed.
- Hold diffuser still, cupping curls.
- Switch to cool shot to set.
- Don’t touch until 100% dry, then scrunch out the crunch.
My Final Pep Talk For You
Mastering your diffuser is a game-changer. It might feel awkward at first, but stick with it. Your curls will learn to trust the process.
Remember, good hair days are a practice, not a perfect science. Celebrate the small wins—like a clump that stayed together or a root with more lift.
And that’s it, my friend! The full, no-secrets guide to getting the most out of your DevaCurl diffuser. It transformed my curl game from frizzy and frustrated to defined and confident, and I know it can do the same for you.
The key is to treat your curls with a little patience and a lot of gentle care. Once you find your rhythm, you’ll look forward to wash day. Seriously.
Now I’d love to hear from you! Save this post to Pinterest so you can always find these tips. Then, tell me in the comments—what’s your biggest diffusing struggle, or your best tip? Let’s help each other out.