
Low Nape Chignons And Knots Emphasizing Clean Polished Parting Lines
I’ve styled hair on myself, my sister, and about a dozen friends before big events, and nothing gets more compliments than a low nape chignon with a clean part. It looks expensive. It costs nothing.
The magic is really just two things: placement low at the nape, and a parting line so crisp it looks like you drew it with a ruler.
So today I’m walking you through exactly how to do it at home — the tools, the steps, the fixes, and how to make it work whether your hair is fine, thick, curly, or short.
Give me ten minutes and you’ll have a style you can wear to work, a wedding, or dinner without a single stress spiral.
Why Low Nape Chignons Are Everywhere in 2026
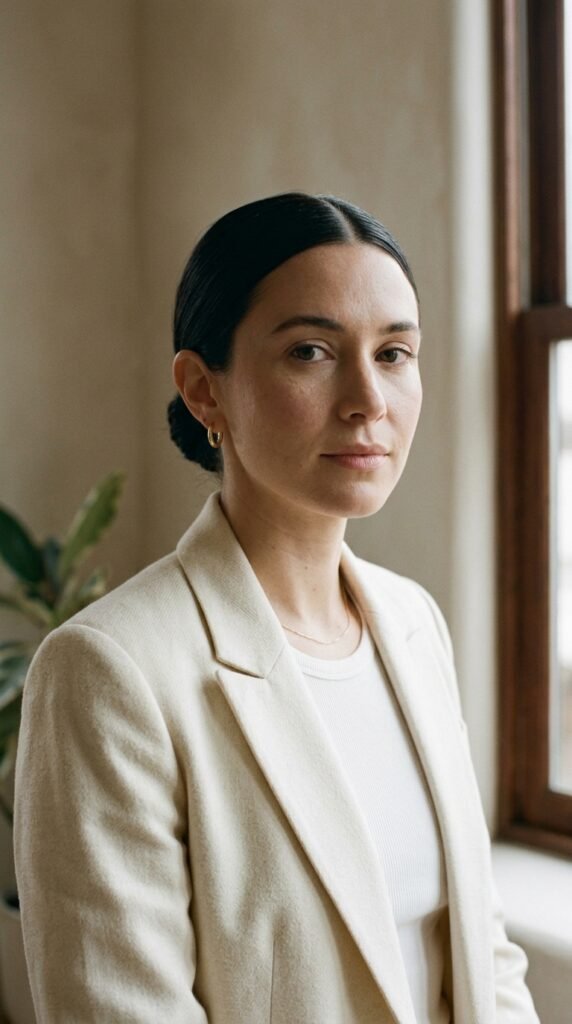
Everywhere I look right now — weddings, office days, my friend’s birthday dinner — someone has their hair pulled back low and sleek. It’s one of those 2026 hairstyles that genuinely works on everybody.
The low nape chignon and the low knot are leading that charge. They sit at the base of your neck, so the whole look reads intentional and calm instead of fussy or overdone.
And the part is the hero. A clean parting line turns a simple twist into old money hair energy without a single logo in sight.
What “Low Nape” Really Means
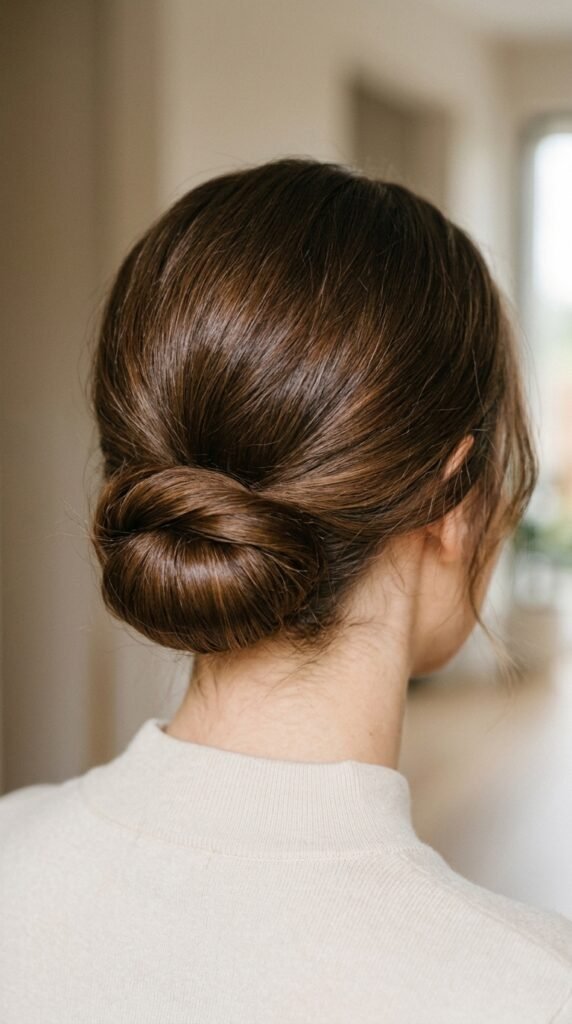
A nape chignon sits at the bottom of your head, near your neckline. Not at your crown, not halfway up. That low placement does two things for you.
- It visually lengthens your neck
- It keeps the style looking grown-up and effortless
A low knot is the same idea with a looser twist. Skip the rolled shape, tie a loop, and pin it. Both are the backbone of quiet luxury styling this year, and both depend on the same thing: a clean part.
The Clean Parting Line Is Everything
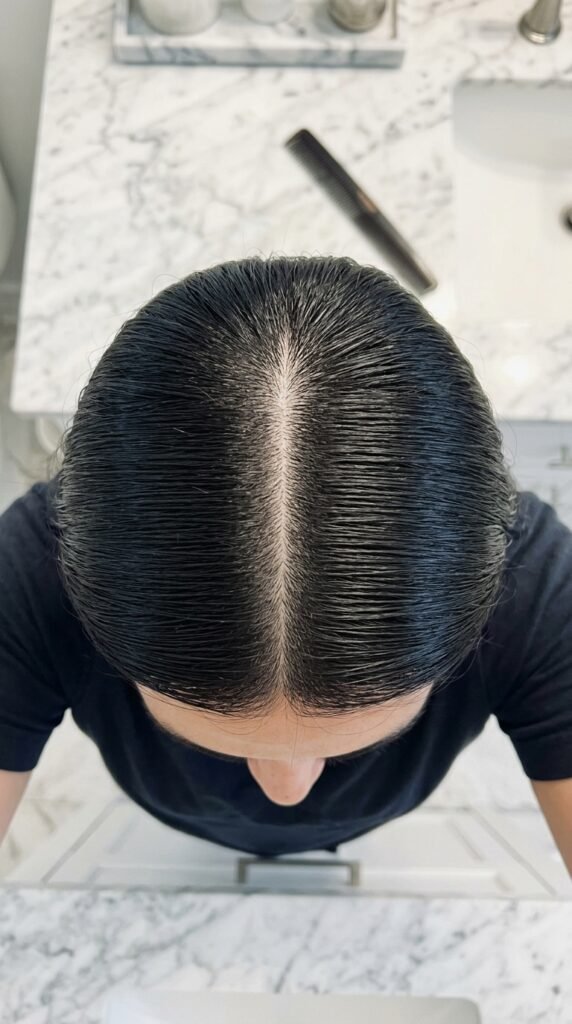
Here’s what took me way too long to learn. The part is not an afterthought. It’s the difference between “she threw her hair up” and “she has a stylist.”
A clean parting line gives the eye a strong line to follow. It frames your face, it makes the pullback look deliberate, and it hides small mistakes in the bun itself.
- Sharp part = polished, formal, editorial
- Soft part = relaxed, everyday, romantic
Both are good. Just don’t do a fuzzy part and a tight bun. Pick one to keep crisp.
How to Get a Razor-Sharp Part at Home
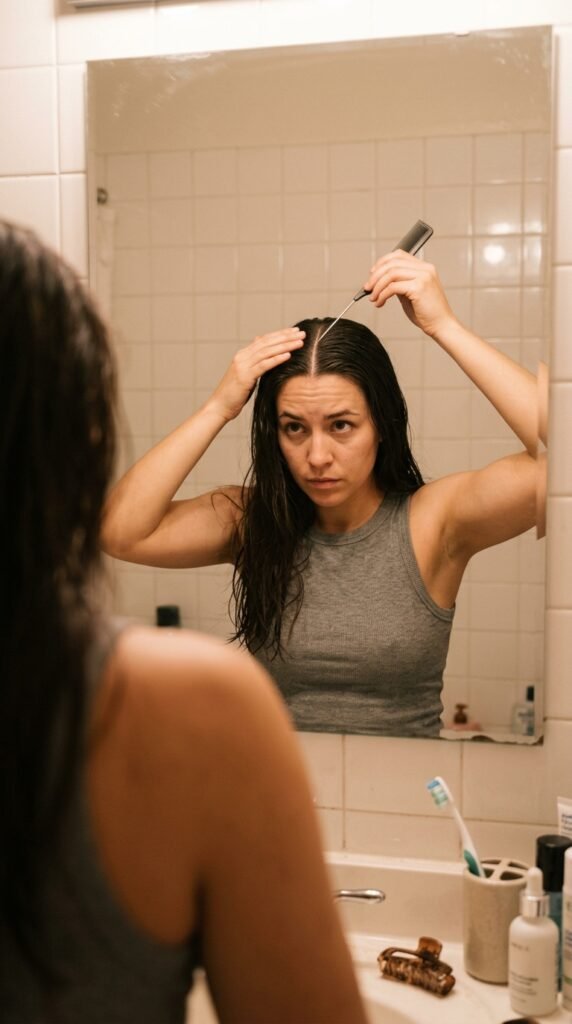
You do not need a salon for this. Follow these steps and your part will look drawn on.
- Part your hair while it’s damp, not soaking, not fully dry.
- Use the tail of a comb, not your fingers. Fingers make wobbly lines.
- Start at your forehead and drag straight back in one slow motion.
- Comb each side down flat, then check it in a mirror from the side.
- Set it with a light mist of flexible hold spray before you pin anything.
That last step matters more than people think. Set the part first, style second. It holds so much better that way.
The Only Tools You Actually Need
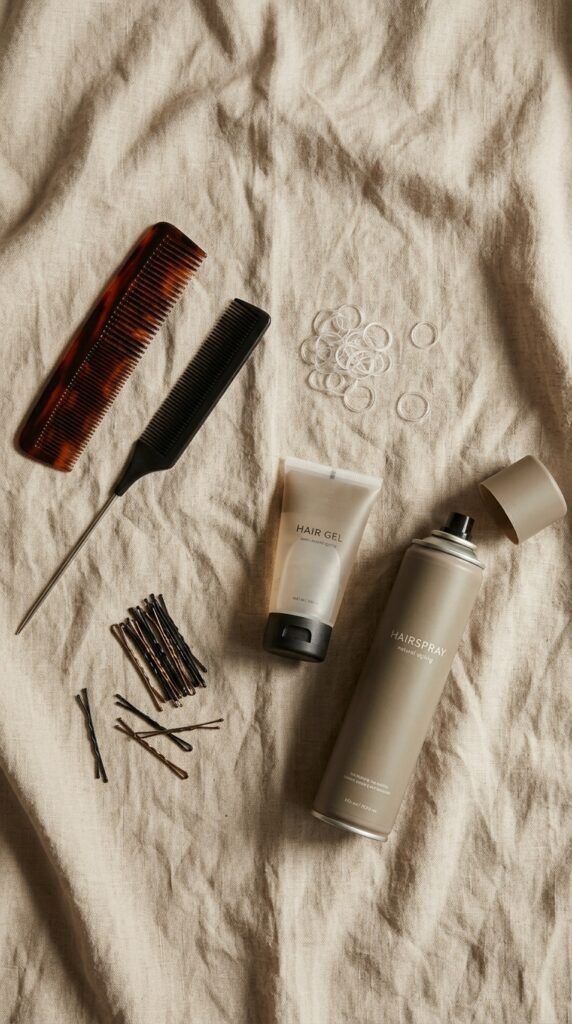
I’m a big believer in not buying ten products for one hairstyle. Here’s the short list that actually earns its place on your counter.
- A fine-tooth comb for smoothing
- A rat-tail comb for the part
- Clear or matching elastics, thin ones
- Bobby pins that match your hair color
- A light gel or pomade for the edges
- Flexible hold hairspray
That’s it. Everything below works with just these six things, and most of us already own five of them.
The Classic Low Nape Chignon in 6 Steps
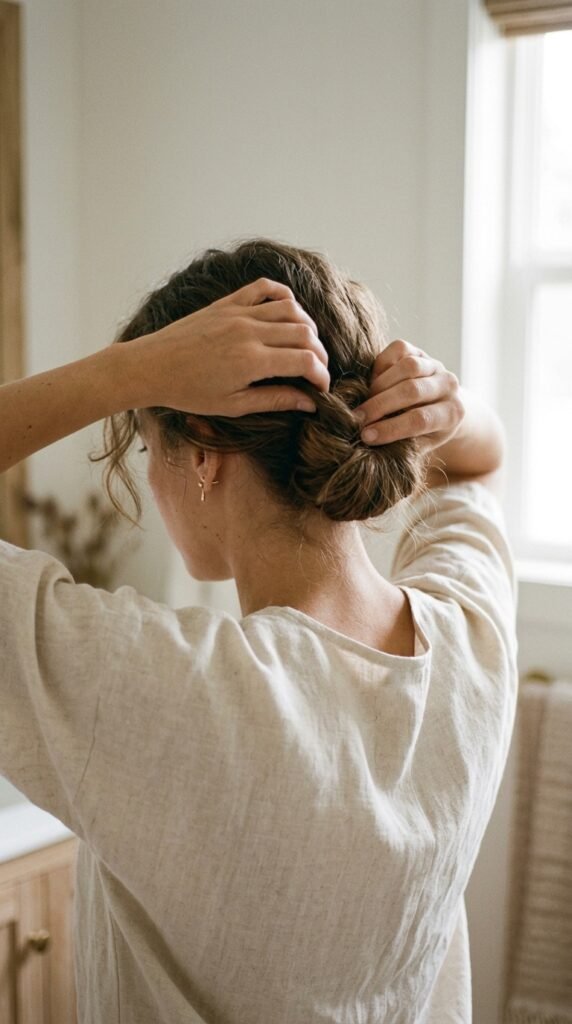
This is my go-to version. It takes about eight minutes once you’ve done it twice.
- Create your clean part and smooth both sides down.
- Gather everything into a low ponytail at the nape.
- Tighten the elastic, then gently push the tail up toward your head.
- Roll the hair down over the elastic, tucking the ends under.
- Pin the roll at each side and the bottom with bobby pins.
- Mist with hairspray and smooth any flyaways with a tiny bit of gel.
If it feels too tight, loosen one pin near your ear. That tiny adjustment is what makes it look easy instead of severe.
The Low Knot: Softer but Still Polished

If the chignon feels too formal, the low knot is your friend. It’s more casual but still reads put-together because the part stays crisp.
How I do it:
- Low ponytail at the nape, smooth on top
- Loop the tail through the elastic once, leaving a small loop
- Wrap the leftover ends around the base
- Pin two or three times, no more
The trick is keeping it a little bit imperfect. A perfectly round knot looks stiff. A slightly loose one looks like you did it without thinking, which is the whole point.
Fine Hair? Fake the Fullness
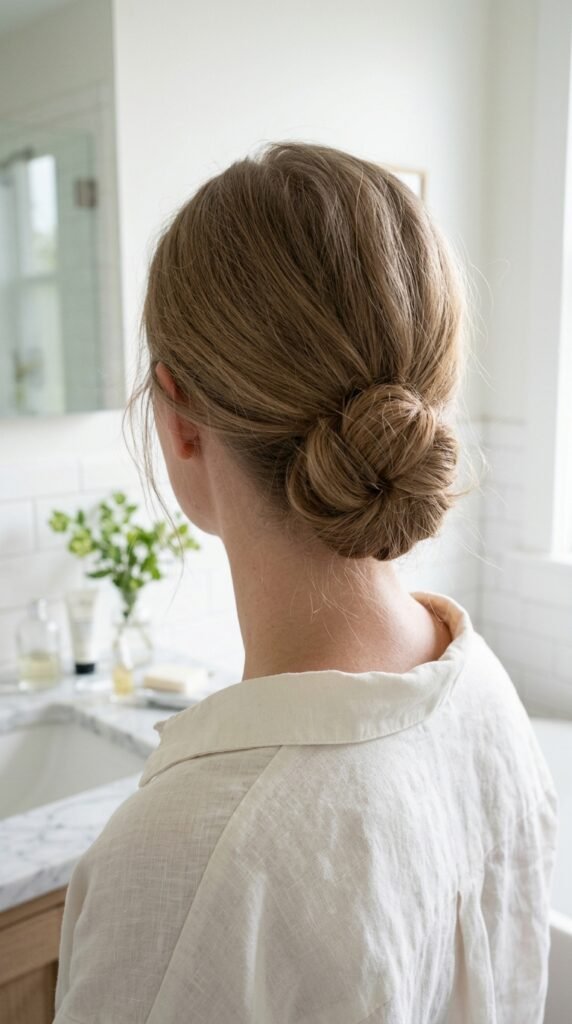
Fine hair is not a dealbreaker here. It just needs a little help before you pull it back.
- Skip conditioner on your roots that day
- Spray a bit of dry texture spray at the crown
- Tease gently underneath, right at the base of the ponytail
- Use a donut or a rolled sock for extra bulk if you want a fuller chignon
One warning: don’t load up on product. Fine hair shows every bit of buildup, and a greasy part ruins the clean look faster than anything. A little goes a long way.
Thick Hair: Smooth It Without Flattening It
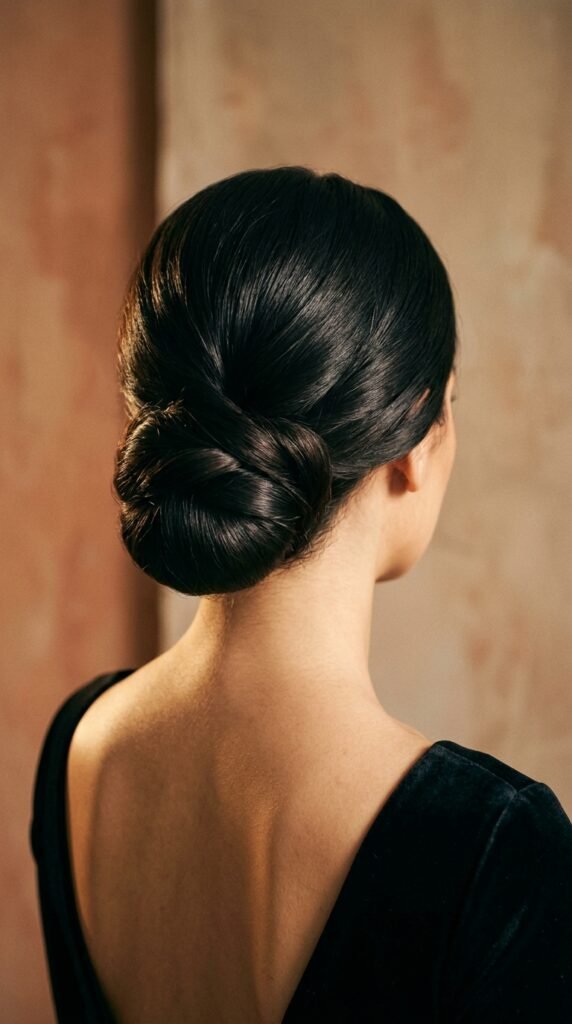
Thick hair has the opposite problem. The bun looks great, but the part gets bumpy and the top goes puffy.
Here’s how I handle it:
- Work with hair that’s 80 percent dry.
- Use a small amount of smoothing cream, not oil.
- Pull the ponytail tighter than feels natural, then relax it slightly.
- Wrap a thin silk scarf over the top for two minutes to flatten the part.
That scarf trick sounds silly and works every single time. It presses the parting line down while the product sets.
Curly and Coily Hair, Made Simple
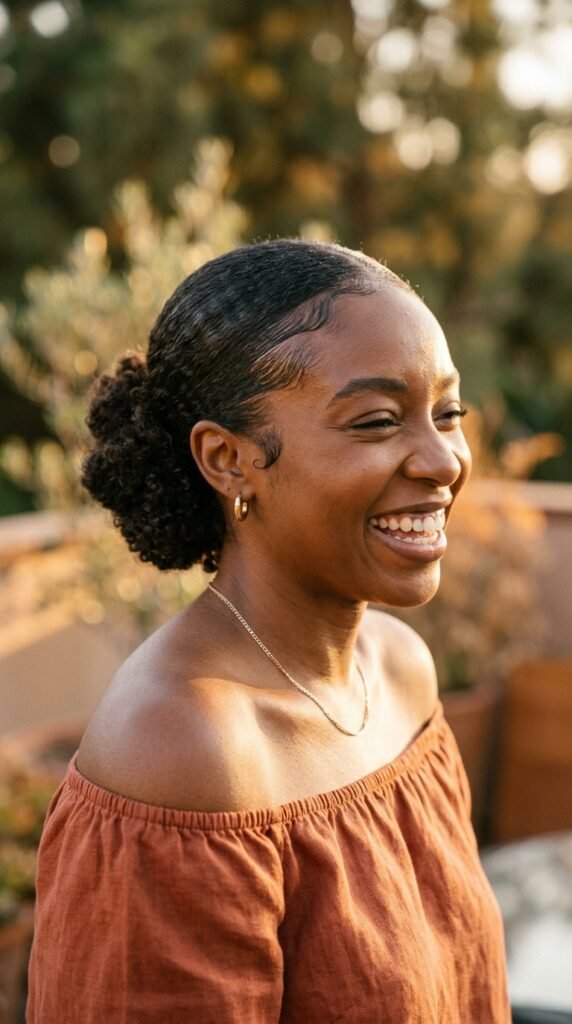
You don’t have to straighten everything to get this look. The polished part matters more than perfect smoothness.
- Refresh your curls with a leave-in and a little water
- Pull back into a low puff first to test placement
- Lay your edges with gel and a soft brush
- Twist and pin the puff into a knot or chignon
If you want the full sleek-adjacent finish, smooth just the top section. That keeps your curl pattern intact while still giving you that crisp parting line everyone notices.
Short Hair, Bobs, and the Asymmetrical Lob
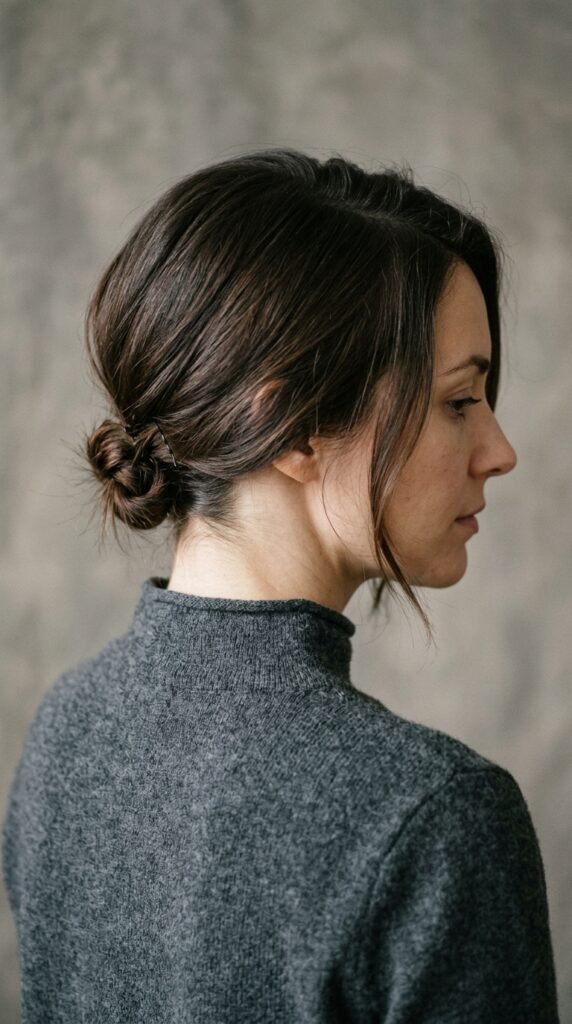
Short hair doesn’t lock you out. It just means a smaller version of the same idea.
If your hair fits in a ponytail, you can do a mini chignon. If it doesn’t, try this:
- Pin the sides back low behind your ears
- Twist the back section into a tiny knot
- Secure with two small clips
An asymmetrical lob is honestly perfect for this, because the longer side gives you enough length to twist. The quiet luxury bob works too. Just twist tighter and pin closer to the neck.
Old Money Hair Energy, Simplified
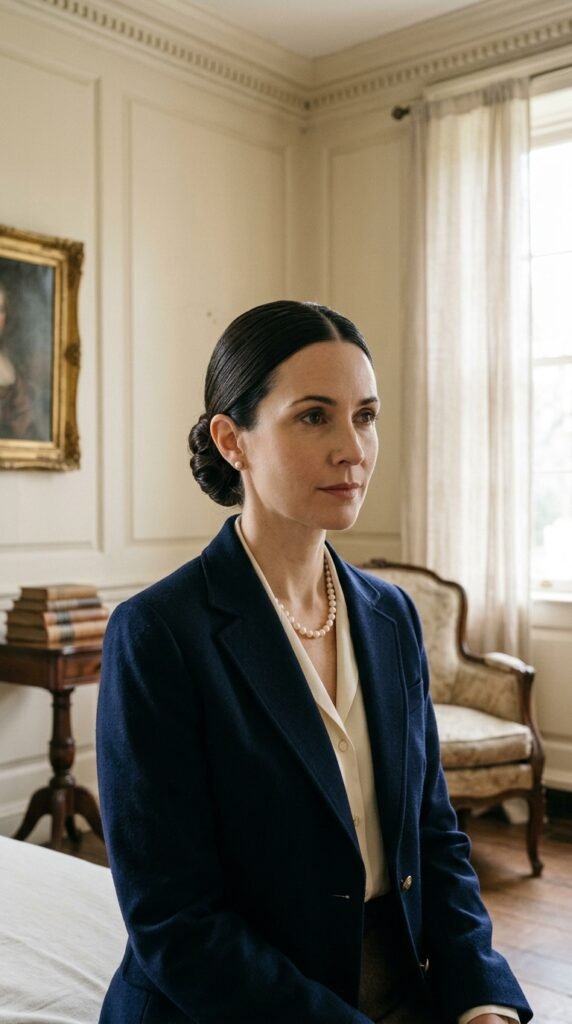
Old money hair is not about a specific cut. It’s about restraint. Nothing loud, nothing trendy for the sake of being trendy.
Three rules I follow:
- Keep the part clean and centered or slightly off-center
- Choose shine over volume
- Use accessories that blend in, not stand out
A low nape chignon checks every box. It’s quiet, it’s classic, and it looks like you’ve always worn your hair this way. That’s the whole goal with this aesthetic.
Quiet Luxury Bob Meets the Low Knot
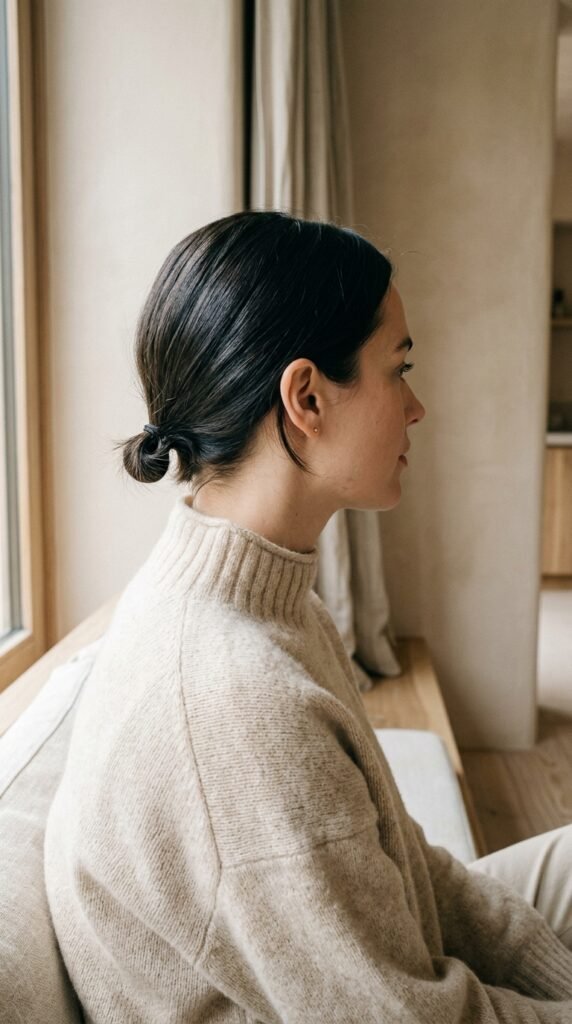
If you’re growing out a quiet luxury bob, this is your moment. You have the perfect amount of length for a small, neat low knot.
Here’s the quick version:
- Part cleanly, straight down the middle or a soft side.
- Smooth both sides with a light gel.
- Gather low and tie once.
- Fold the tail up and pin it flat against your head.
The shorter length actually helps here. There’s less hair to fight with, so the knot stays small and tidy all day.
Romantic Goth Hairstyles With a Sleek Base
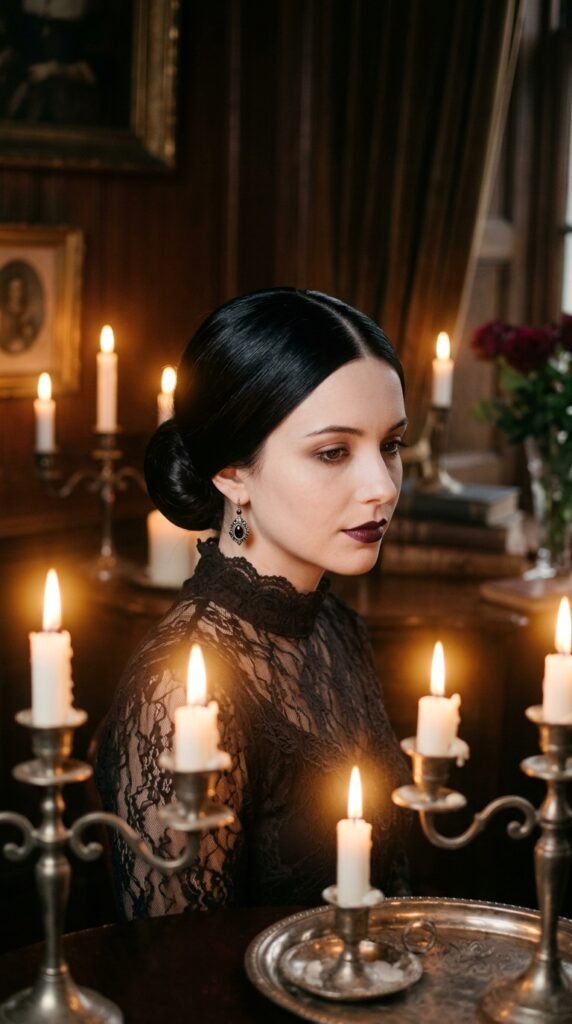
Romantic goth hairstyles love a clean part. The contrast between soft, moody details and a sharp parting line is what makes the whole look feel intentional.
Try this combo:
- Sleek low knot at the nape
- Two small face-framing pieces left loose and curled
- Dark floral pin or a thin black ribbon at the base
- Matte finish instead of high shine
Keep the silhouette clean and add the drama in the details. That’s where the romance lives.
Glitchy Glam Hair: The Edgier Cousin

Glitchy glam hair is all about contrast — something perfectly sleek mixed with one element that feels a little off, on purpose.
My favorite way to translate it:
- Do a super clean low chignon.
- Add a deep, unexpected side part instead of a center one.
- Slick one side tight and leave the other with soft texture.
- Finish with one metallic or chrome accessory.
It’s still polished. It just has a little edge, which is exactly what this trend is about.
Vampire Haircut and Hime Cut: Adapt or Skip?
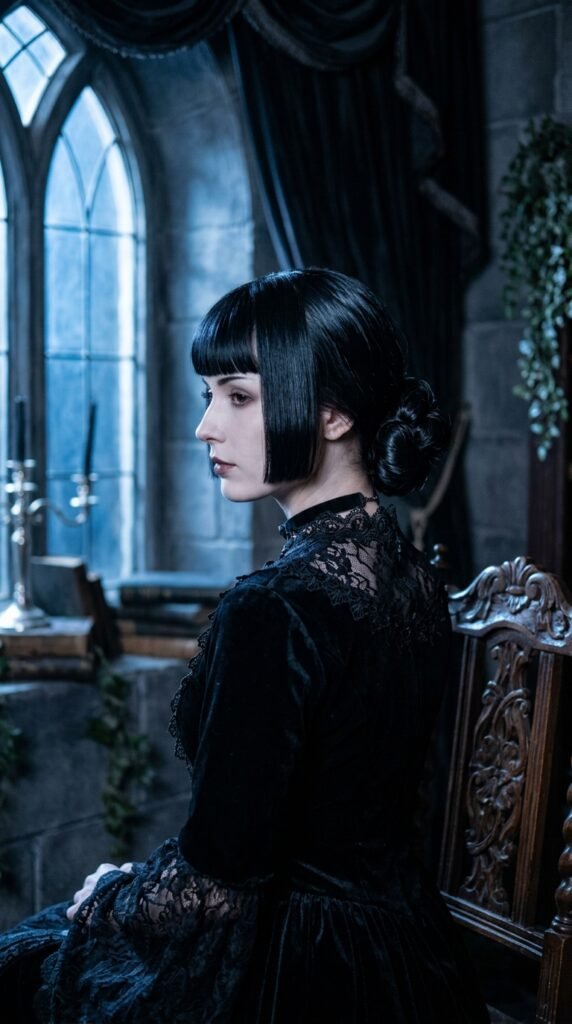
These two cuts are having a moment, and people ask me about them constantly.
The vampire haircut usually means a sharp, dramatic shape with strong lines. It works beautifully with a low chignon because the blunt ends hold their shape when you pin them.
The hime cut is trickier. Those signature side pieces are meant to hang straight, so pulling everything back hides the whole point.
- Vampire cut: pull back, keep it sleek
- Hime cut: keep the side pieces out and pin only the back
Both can work. Just protect the detail that makes the cut special.
Where Should Your Part Go?
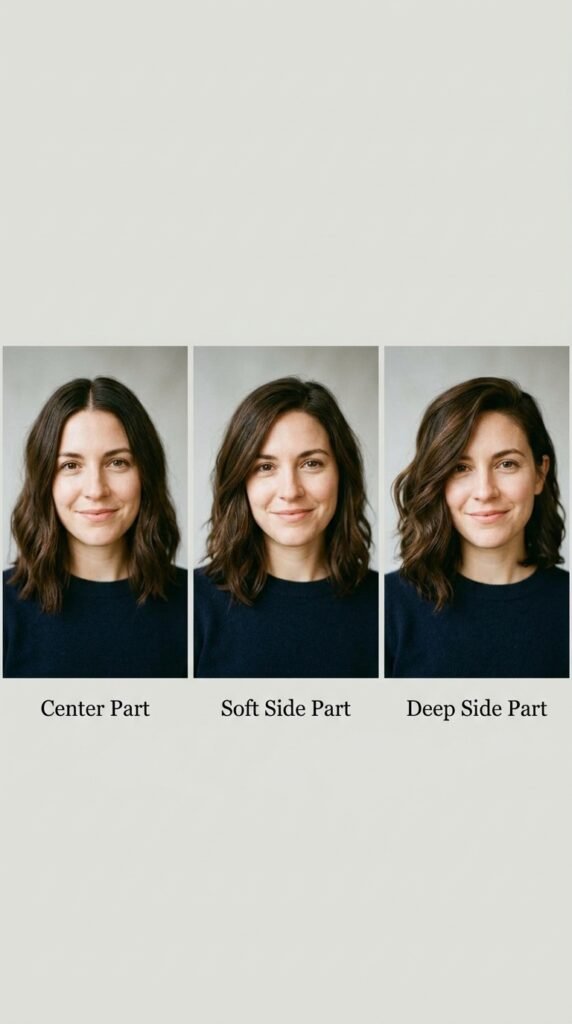
This is the fastest way to change the entire mood of the style. Same bun, different part, completely different vibe.
- Center part: balanced, formal, very old money
- Soft side part: everyday, friendly, flattering on most face shapes
- Deep side part: dramatic, a little glamorous, great for evenings
If you’re unsure, take a photo of each and compare. I did this once and realized a soft side part suited my face way better than the center part I’d been forcing for years.
Slick Finish vs Soft Finish
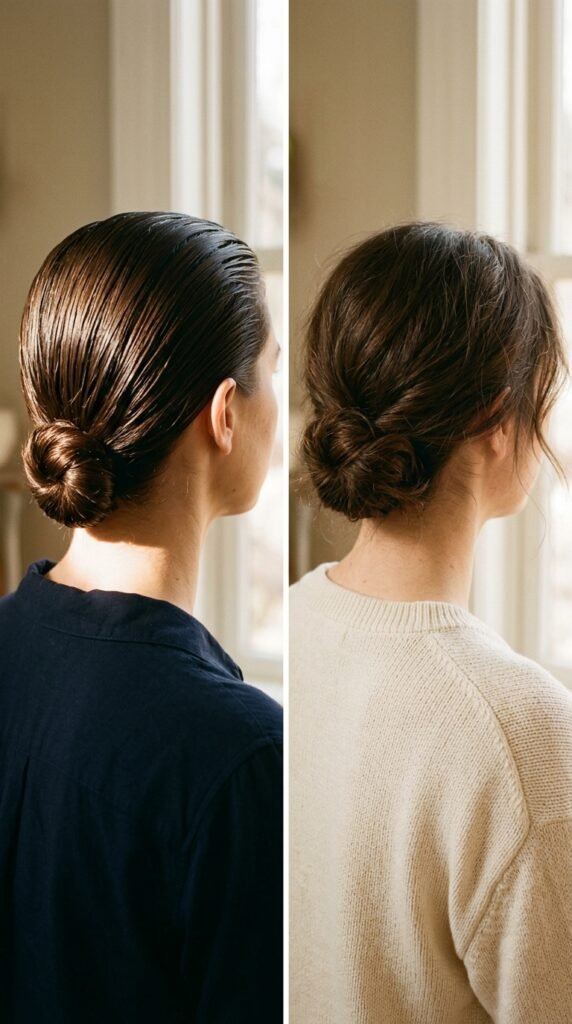
Both finishes use the same base. The difference is how much product you use and how hard you brush.
Slick finish: gel or pomade, firm brush, every strand flat. Great for formal events and photos.
Soft finish: light cream, fingers instead of a brush, a few loose pieces left alone. Better for daytime and long wear.
Here’s my honest take. The soft finish looks better in real life, and the slick finish looks better in pictures. Pick based on what your day actually involves.
Accessories That Stay Understated
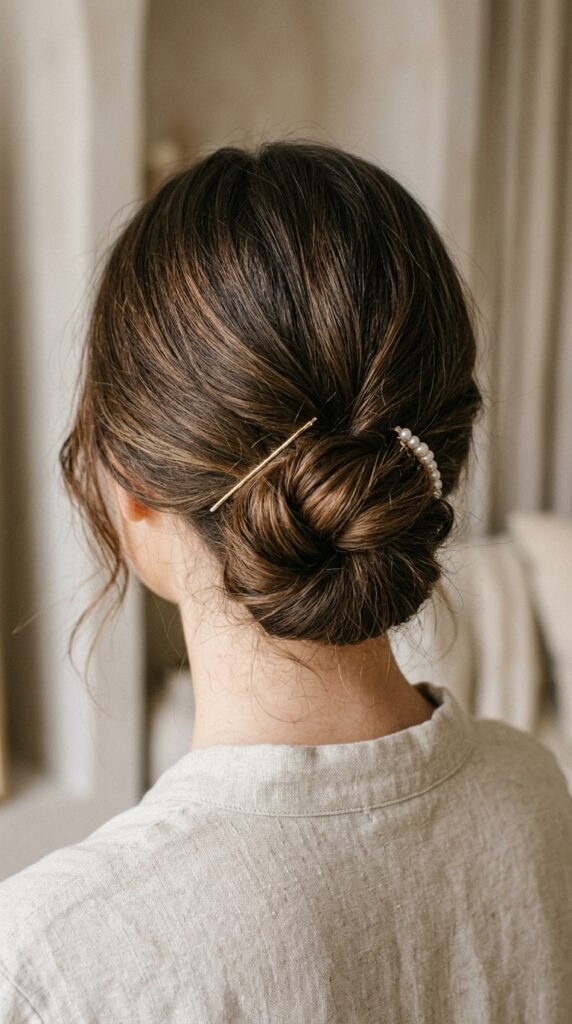
The clean part is doing the heavy lifting, so your accessories should whisper, not shout.
- Thin gold or silver pins
- Small pearl or crystal clips
- A silk ribbon in a matching tone
- A single statement pin, and nothing else
One rule I stick to: one accessory, one spot. If you add a ribbon, skip the pearl clip. Two details fight each other and the look stops feeling polished.
Make It Last All Day (and Night)
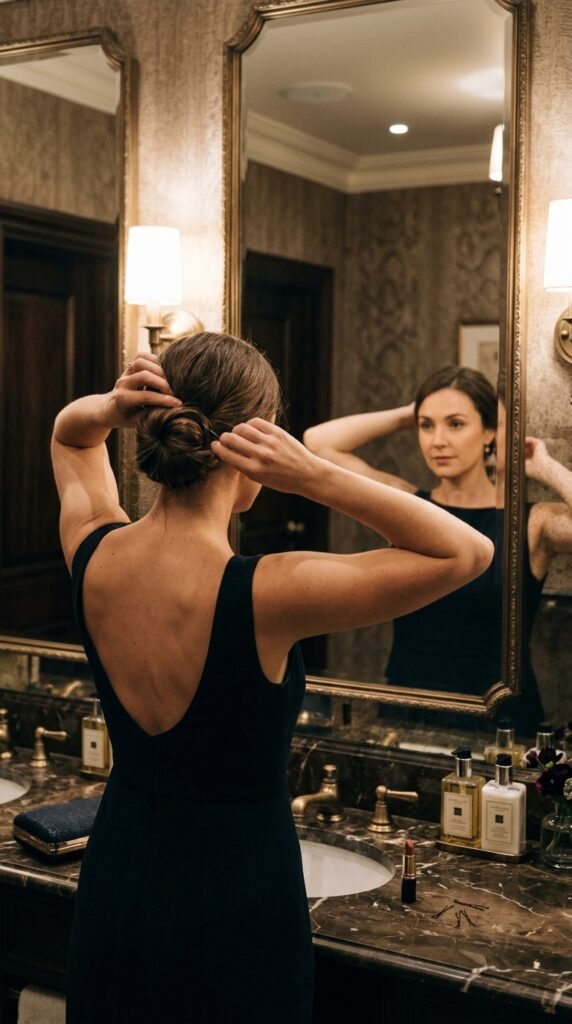
Nothing is worse than a beautiful style that collapses by lunch. Here’s how I make mine hold.
- Set the part with spray before pinning anything.
- Use bobby pins with the wavy side down, gripping the scalp.
- Cross two pins in an X at the base for extra hold.
- Mist the finished style, then press with your palms for ten seconds.
That last step is my secret. Pressing with warm palms sets the product flat against your hair instead of leaving a crunchy shell.
Fix Flyaways in 30 Seconds
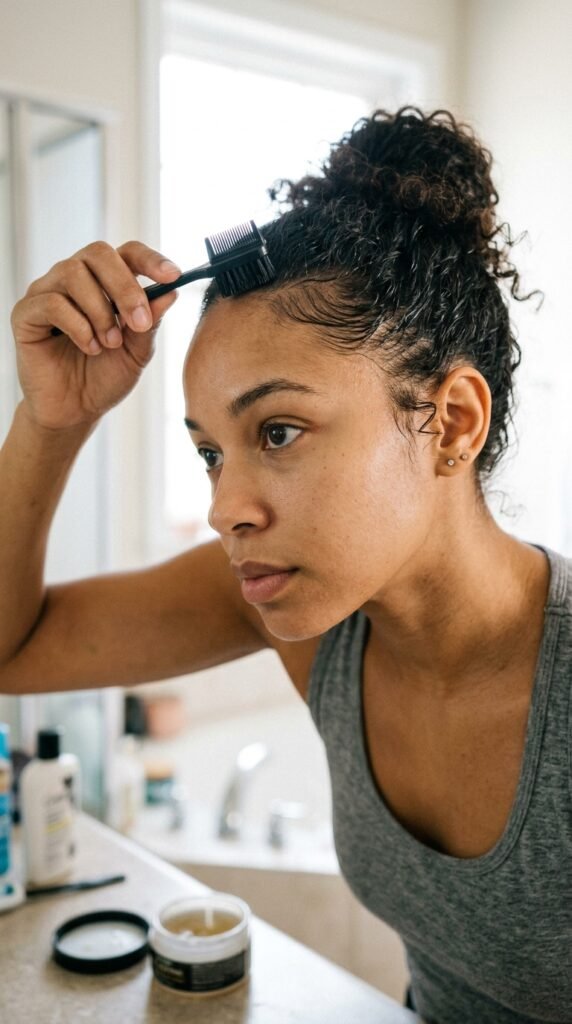
Flyaways happen. You don’t need to redo your whole hairstyle.
- Spray a clean toothbrush with hairspray and brush the hairline
- Rub a tiny dot of gel between your fingers and smooth the part
- Use a dry sheet on the top if it looks greasy, not frizzy
Thirty seconds, done. Keep a mini hairspray in your bag and you’ll never panic in a bathroom mirror again.
Protect Your Edges and Take It Down Gently
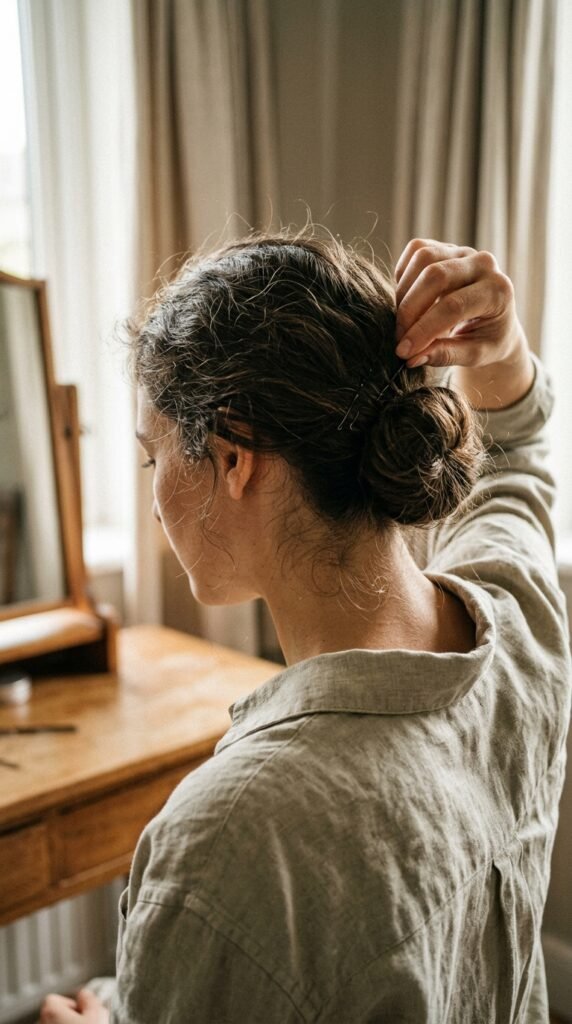
This part doesn’t get talked about enough. A tight pullback worn every single day can thin your edges over time.
So do this:
- Never pull tighter than comfortable.
- Give your hair a break at least two days a week.
- Take pins out with your fingers, never yank them.
- Massage your scalp after you take it down.
Also, don’t sleep in it. A loose braid overnight is much kinder to your hairline, and your morning will be easier too.
Mistakes That Wreck a Clean Part
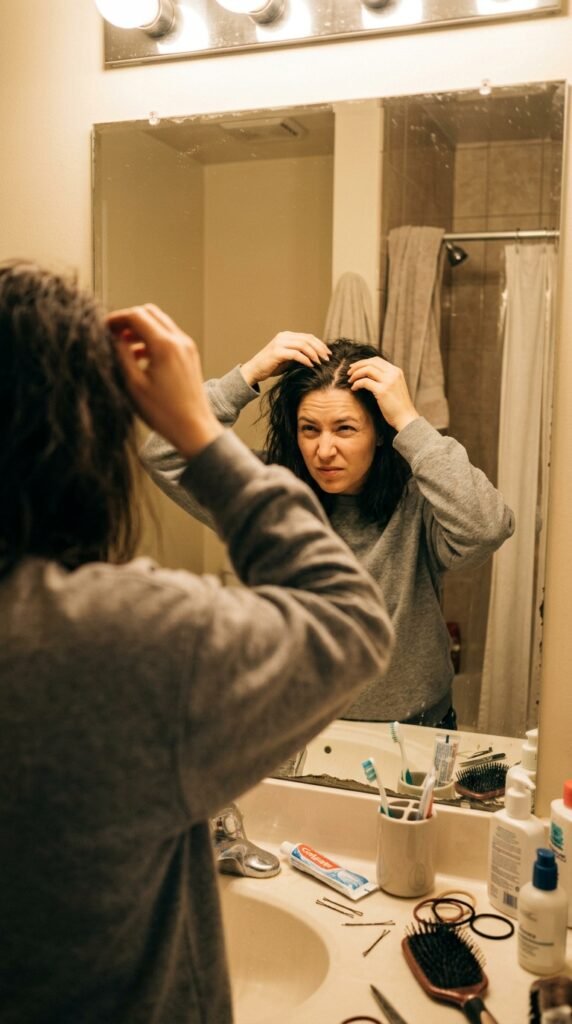
I’ve made all of these. Learn from my pain.
- Parting with your fingers instead of a comb
- Styling soaking wet hair, which dries with bumps
- Overusing gel and ending up with flakes
- Pulling too tight and getting a headache by noon
- Adding too many accessories
The biggest one is rushing. That part takes fifteen extra seconds and changes everything. Slow down on that one step and the rest of the style basically does itself.
Your One-Week Practice Plan
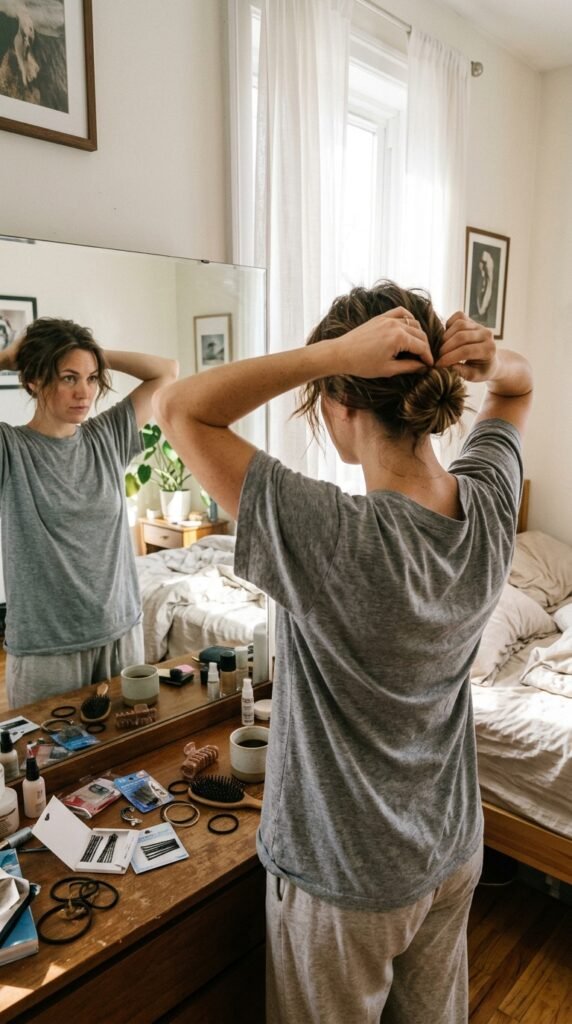
If you want this to be a style you can do in five minutes, practice beats theory every time.
- Day 1: just practice the clean part, nothing else
- Day 2: part plus low ponytail
- Day 3: full low knot, don’t worry if it’s messy
- Day 4: low nape chignon, timed
- Day 5: try the soft finish version
- Day 6: wear it out somewhere real
- Day 7: rest your hair and let it breathe
By the end of the week, your hands will know what to do without you thinking about it.
A Warm Little Wrap-Up
Here’s the thing I love about this style. It doesn’t ask you to buy anything new, cut anything off, or be someone you’re not. It just asks for a clean part and ten honest minutes.
Whether you go sleek and old money, soft and romantic, or a little glitchy and edgy, the low nape chignon is a style that keeps up with your whole life. Work, weddings, errands, date night. It fits.
Start with the part. Everything else falls into place after that.
Save this post to Pinterest so you can find it the next time you’re standing in front of the mirror with five minutes to spare. And tell me in the comments — are you a center part girl or a deep side part girl? I read every single one.