
Master 15 Phantom Ghost Knots Invisible Blending Protective Seamless
You know that feeling when you want your hair to look amazing, but you also don’t want to spend hours on it? Me too. That’s exactly why I’m so excited to share this technique with you today. We’re talking about mastering 15 phantom ghost knots—these are basically invisible, seamless blends that protect your hair and make it look like you just walked out of a high-end salon. Think of them as the quiet luxury of braiding. No bulky bumps, no visible ends, just a smooth, polished finish that stays put for days.
I’ve been testing these knots for weeks, and I promise, once you get the hang of it, you’ll wonder why you didn’t try them sooner. They’re perfect for anyone who loves protective styles but hates the obvious “I’m wearing extensions” look. Whether you’re into 2026 hairstyles like the romantic goth vibe or the classic old money hair aesthetic, these ghost knots will elevate your style without the drama. Ready to unlock the secret? Let’s dive in.
What Are Phantom Ghost Knots Exactly?
Phantom ghost knots are like the magic trick of hair styling. They’re small, hidden knots that tuck your natural hair or extensions into the braid without any bulk or bumps. The result is a super smooth, flat finish that looks like the hair just grew that way.
Think of it as the secret handshake of protective styling. It’s not about showing off the knot itself—it’s about making the whole style look effortless and seamless. Once you master the technique, you can create looks that are both durable and completely invisible.
Why Go Seamless? The Quiet Luxury Bob Effect

The quiet luxury bob is all about understated elegance. And phantom ghost knots are the perfect match for that aesthetic. When your braids or knots are seamless, your hair looks expensive without trying too hard.
This technique helps you avoid the “bumpy” look that can ruin a sleek style. Instead, you get that polished, old money finish that whispers “put together” instead of screaming for attention. It’s the kind of detail that makes people think you spent hours at a salon, when really, you just have a few smart tricks up your sleeve.
Tools You’ll Need Before You Start
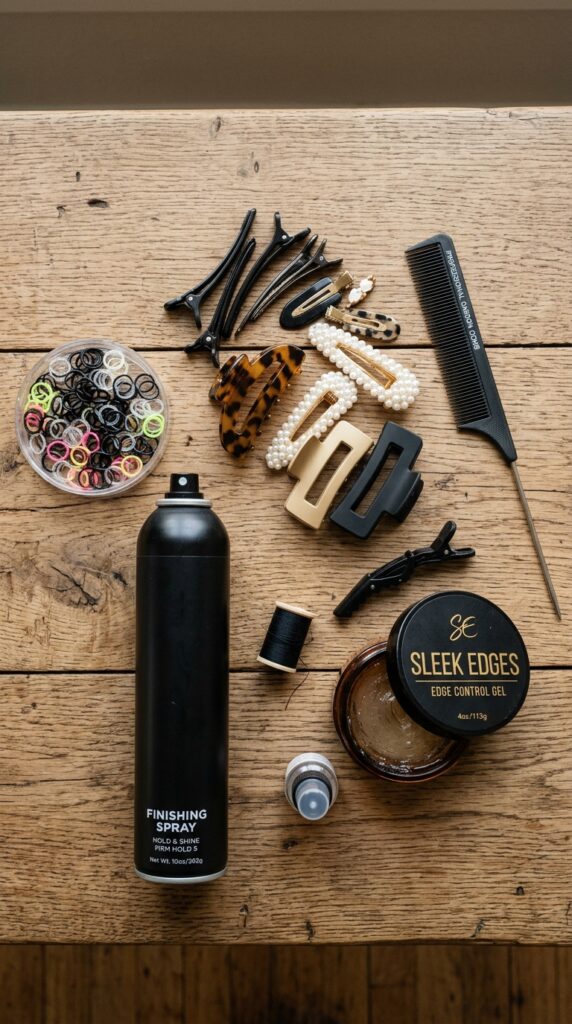
You don’t need a ton of gear for this. Here’s your short shopping list:
- A rattail comb for clean parts
- Small, clear elastic bands (they won’t show)
- Edge control or a lightweight gel for smoothing
- Finishing spray or light-hold hairspray
- Good lighting (natural is best)
That’s it. No fancy tools, no expensive products. Just the basics and a little patience. I like to have my hair slightly damp when I start—it makes the knots slip into place easier and holds them longer.
How to Section Your Hair for Ghost Knots
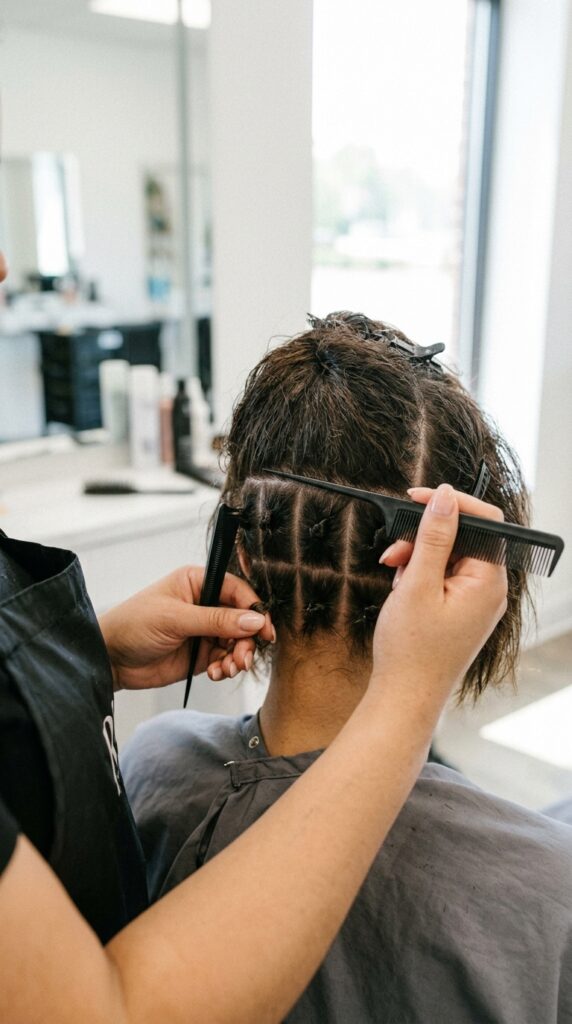
Sectioning is everything. If your parts are messy, your knots will look messy too. Start by parting your hair into small, even squares—about half an inch each. You can do larger sections for a chunkier look, but for true invisibility, keep them small.
Clip away the rest of your hair so you’re only working with one small section at a time. This keeps your lines clean and your knots consistent. It takes a little longer at first, but the result is a seamless finish that blends like magic.
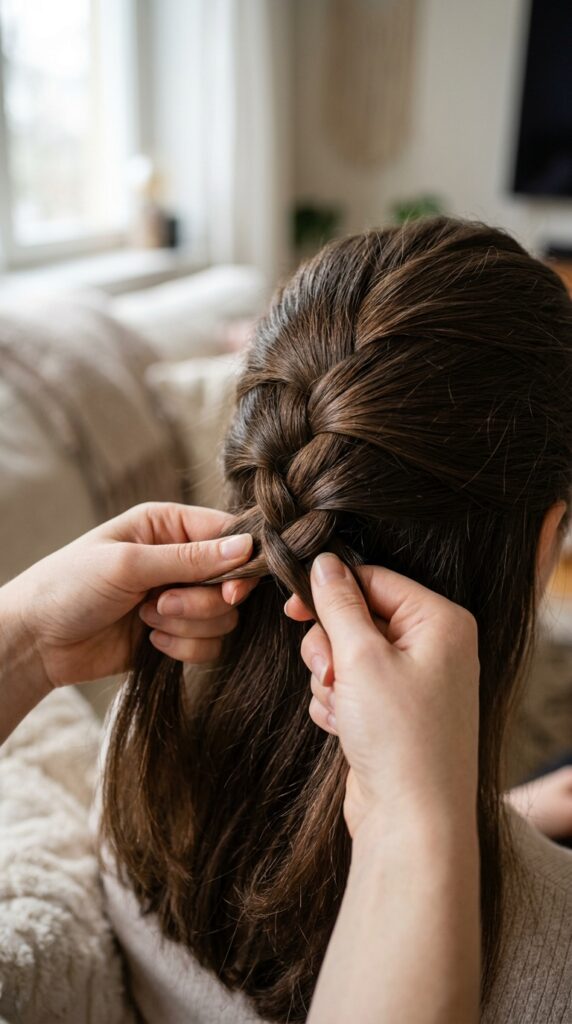
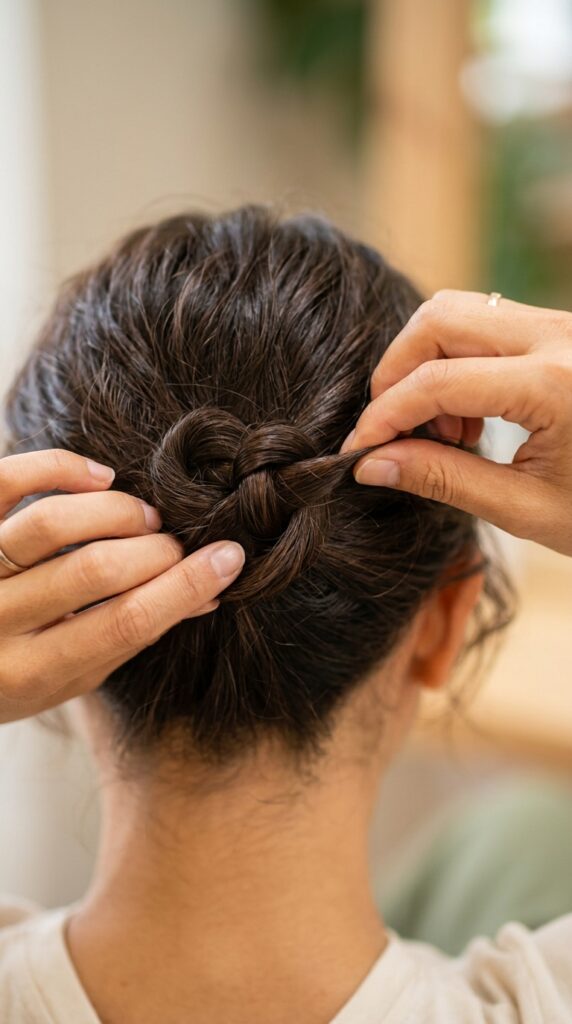
Step 1: The Basic Hidden Knot
Let’s start simple. Take your small section and split it into two strands. Twist them together once, then pull the end of the twist back through the loop you just created. This makes a tiny knot that lies flat against your scalp.
Don’t pull it too tight—just snug enough to hold. The goal is for the knot to disappear into the rest of the hair. Practice this on a few sections before moving on. It’s like learning to tie a shoelace, but for your hair.
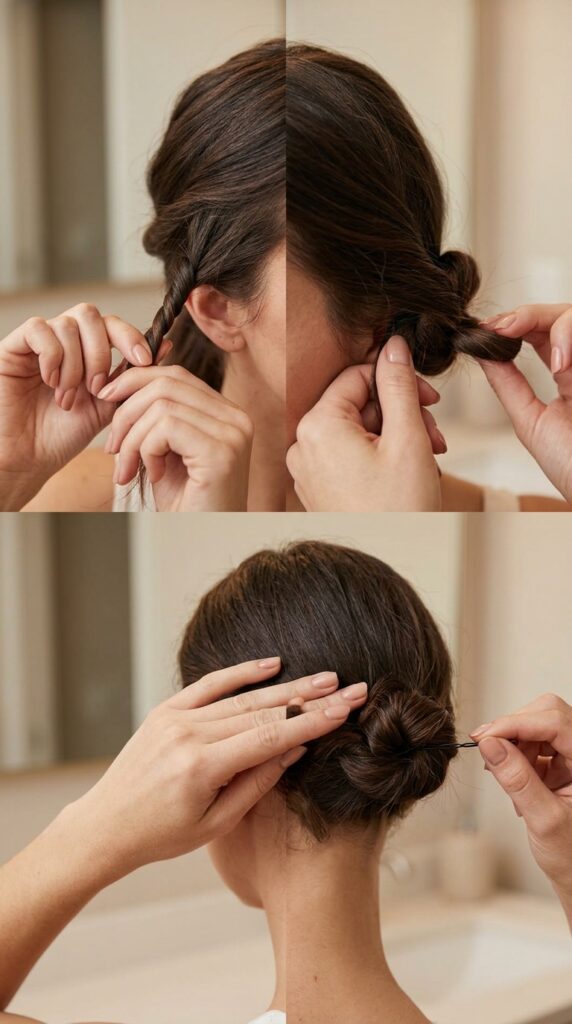
Step 2: The Double Ghost Loop
Once you’ve got the basic knot down, try the double loop. Take your two strands, twist them, then thread the end through the loop twice instead of once. This creates a stronger, more secure knot that still lies flat.
This is great for thicker hair or if you want extra hold. It’s still invisible, but it feels more secure. I use this for the nape of my neck or any area that gets a lot of movement. Takes ten seconds, lasts for days.
Applying Ghost Knots to a Vampire Haircut

The vampire haircut is all about texture and drama. Ghost knots work beautifully here because they add a subtle structure without weighing down the choppy layers. You can tuck a few knots into the shorter pieces near your temples for a hidden detail.
Since the vampire cut is already edgy, the invisible knots feel like a secret weapon. They keep the shape intact while giving you a bit of hold. Plus, they look amazing with the romantic goth hairstyles trend—dark and mysterious, but clean.
How to Achieve the Hime Cut Effect with Knots

The hime cut is a Japanese-inspired style with sharp bangs and long, cheek-framing pieces. Ghost knots can help you secure those side pieces without any visible pins or bands. You just knot the ends into the longer back sections.
This keeps your bangs and framing pieces exactly where you want them, even on windy days. The knots are small enough that they blend right into the rest of your hair. It’s a super practical way to maintain that sharp, clean look all day long.
Mastering the Asymmetrical Lob with Seamless Knots

If you’re rocking an asymmetrical lob, you know how easily the longer side can shift around. A single ghost knot on the shorter side can balance everything out. Just tuck the longer piece into the shorter section with a small hidden knot.
It keeps your lob looking intentional and sharp, not lopsided. The knot is so small that it just looks like part of the cut. This is a total lifesaver for busy mornings when you want your hair to behave without any fuss.
Using Knots for Glitchy Glam Hairstyles

Glitchy glam is all about that digital, pixelated aesthetic. You can use ghost knots to create tiny, exact sections that mimic glitch art. The knots act as tiny anchors that keep your hair in perfect, geometric chunks.
It’s a fun, creative way to play with a trend that’s huge for 2026. The knots make the style look intentional and tech-inspired, not messy. Pair it with some silver clips or colorful threads, and you’ve got a whole vibe.
Ghost Knots for the Fairytale Braid
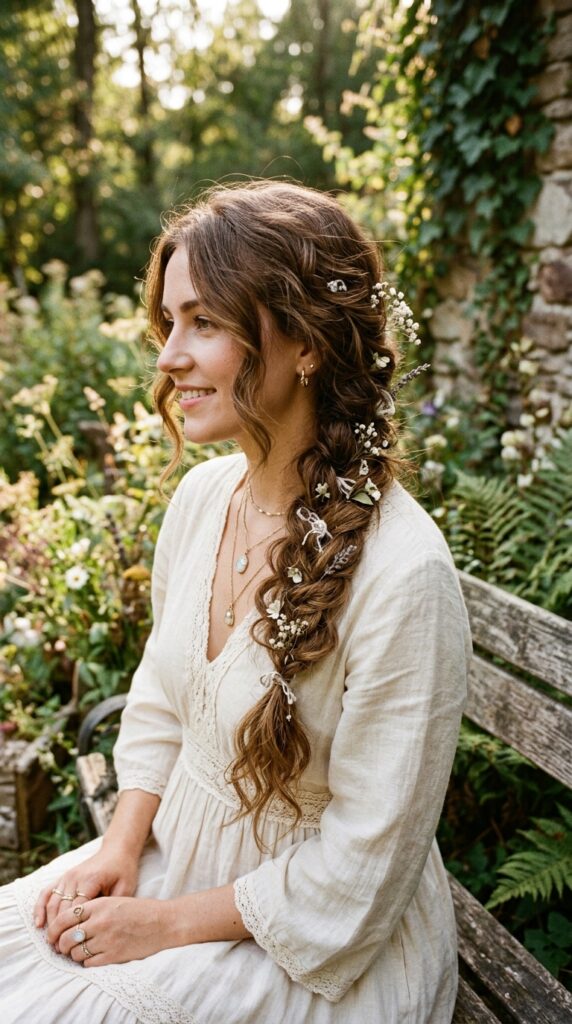
Fairytale braids are romantic and loose, but they can fall apart easily. A few ghost knots woven into the braid keep everything secure without making it look stiff. Tuck a knot into the side of the braid at your hairline for extra hold.
This is perfect for wedding guests, garden parties, or just a day when you want to feel a little magical. The knots are invisible, so your braid stays soft and ethereal. It’s like a secret support system for your most romantic styles.
The Best Knots for Romantic Goth Hairstyles

Romantic goth is big for 2026, and ghost knots fit right in. The dark, moody vibe benefits from clean, hidden details. Place a few small knots near your crown to keep your hair back without losing that soft, romantic feel.
You can also use them to anchor small braids or ribbon pieces. Since the knots are invisible, they don’t distract from the dramatic aesthetic. They just make everything look intentional and polished, which is the whole point of gothic romance.
How to Make Your Knots Last All Week
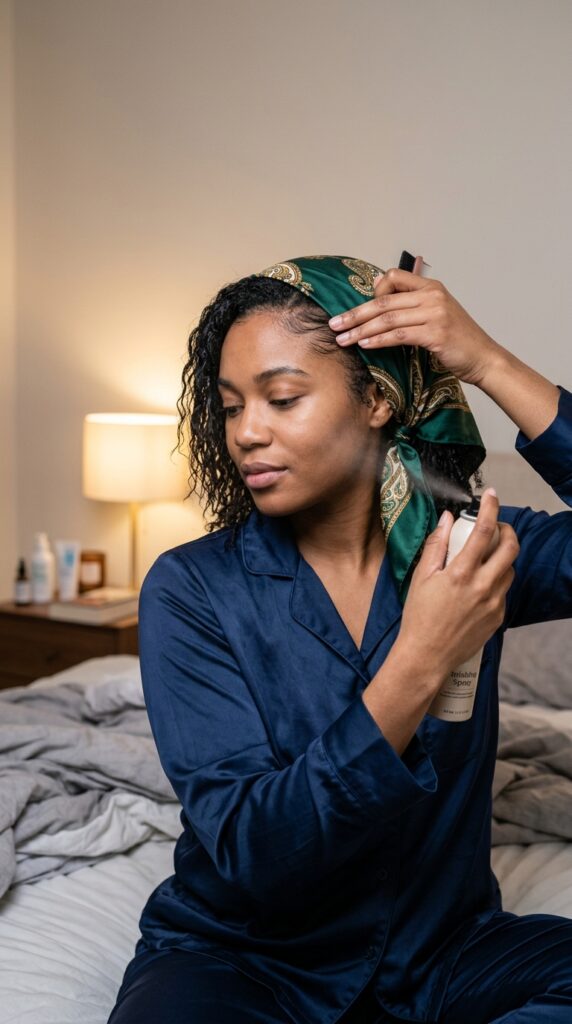
To make your ghost knots stay put, you need to treat them right. Here are my tips:
- Sleep on a silk pillowcase or wrap your hair in a silk scarf
- Use a light-hold hairspray right after you finish
- Don’t touch them too much during the day
- Refresh with a tiny bit of edge control in the morning
With this routine, your knots can last 4-5 days easy. I’ve even stretched it to a week with careful handling. The key is keeping them dry and undisturbed as much as possible.
Common Mistakes and How to Fix Them
Everyone makes mistakes at first. The big one is pulling the knot too tight—it can hurt and cause breakage. Loosen up a little. Another common issue is using sections that are too big, which makes the knot bulky and visible.
If you mess up, just undo the knot and start over. It’s not a race. Take your time, and soon it’ll feel like second nature. Even my early attempts were a little wonky, but practice truly makes perfect here.
Adding Accessories to Your Ghost Knots
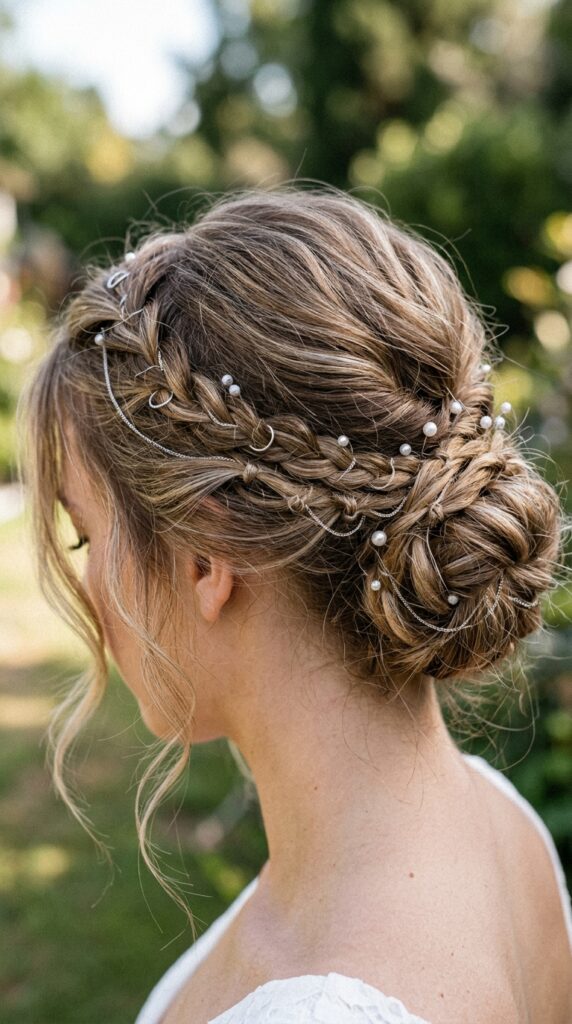
Ghost knots are a great base for accessories. Because they’re flat and secure, you can slide small rings or beads onto the knot without it slipping. Try adding a few tiny pearls or gold cuffs for a quiet luxury touch.
This works especially well for romantic goth or glitchy glam looks. The accessories become the focal point, while the knots stay invisible and supportive. It’s a fun way to dress up your hair without a lot of effort.
Ghost Knots for Short Hair (Yes, You Can!)

Short hair lovers, don’t worry—this works for you too. Just use tiny sections, about a quarter of an inch. The knot will sit right at the base of your hairline and blend right in. It’s perfect for keeping side pieces off your face.
I’ve seen this look amazing on a quiet luxury bob. The knot adds a subtle texture that makes the cut feel fresh and intentional. Give it a try on a small piece first to see how it feels.
How to Remove Ghost Knots Safely
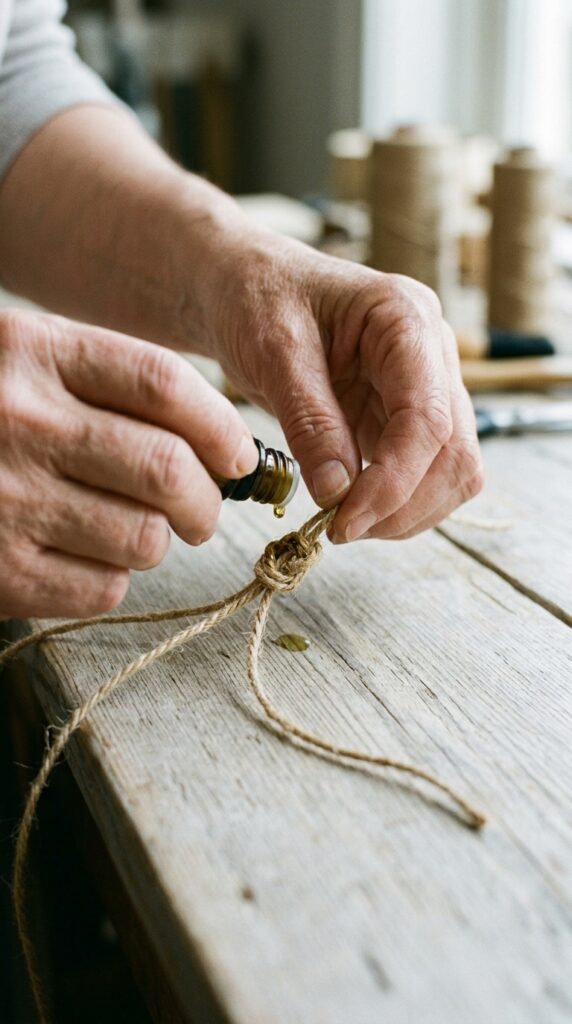
When it’s time to take them out, go slow. Put a drop of coconut or argan oil on your fingers and work it into the knot. This loosens the hair without breaking it. Then gently untwist the knot, never pull.
If you feel any resistance, add more oil and try again. Taking care during removal is just as important as making the knot in the first place. Healthy hair means you can do this style again and again.
The Best Products for Smooth, Seamless Knots
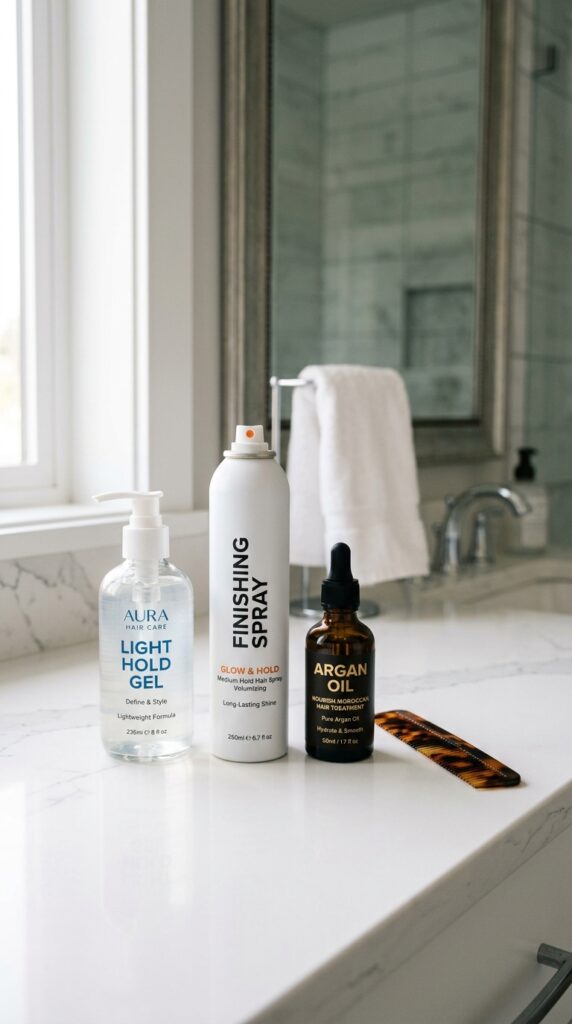
Keep your product list simple. I swear by a light-hold gel (not too sticky), a good finishing spray, and a natural oil for removal. Brands like Ouai or SheaMoisture work great, but drugstore options are totally fine too.
You don’t need expensive stuff. The technique matters way more than the product. Just avoid anything heavy or greasy—it can make the knots slip or look messy. Light layers are the way to go.
15 Knots in 15 Minutes: A Quick Walkthrough

Once you get the hang of it, you can knock out 15 knots in about 15 minutes. Here’s my quick routine:
- Section your hair into 15 small squares
- Work from back to front
- Make each knot in under a minute
- Spray lightly when done
It feels so fast once you’ve practiced a few times. I do this while watching TV or catching up on a podcast. It becomes almost automatic, and the result is a whole head of seamless protection.
Final Thoughts for Your Seamless Journey
Mastering these phantom ghost knots is seriously one of the most satisfying skills I’ve picked up. It makes every style feel more polished and intentional, without any added bulk or visible effort. That’s the kind of confidence we all deserve.
I hope you give these a try, even if it’s just with one or two knots to start. Feel free to play around with the 2026 trends like glitchy glam or romantic goth—they all look incredible with this technique. And remember, it’s just hair. Have fun with it.
Save this post to Pinterest so you never lose these steps. And tell me in the comments: which hairstyle are you most excited to try with ghost knots? I’d love to hear what you create.