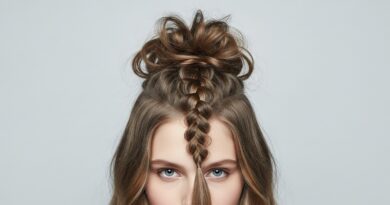
Nail 20 Micro Bead Row Extensions Adding Density Discreetly
You know that feeling when your hair just looks a little… thin? Or maybe you have fine hair and you’re dreaming of that full, lived-in volume without looking like you’re trying too hard? I’ve been there. Micro bead row extensions are honestly the secret weapon for adding density in the most discreet way possible. No glue, no heat, just tiny little beads that blend right in with your natural hair. And the best part? It’s totally doable, even for beginners. Let’s break down how to nail this look together.
What Exactly Are Micro Bead Row Extensions?
Micro bead row extensions are a method where a thin weft of hair is attached using tiny silicone-lined beads. Think of it like a mini hair track, but way more lightweight and flexible.
- No glue or tape means less damage to your natural hair.
- The beads are so small, they’re nearly invisible, even in bright light.
- They’re perfect for adding density without the bulk of full-head extensions.
This technique is honestly a game-changer if you just need a little boost in volume, especially around the crown or sides.
Why Choose Row Extensions Over Clip-Ins?
Clip-ins are great for a night out, but they can feel bulky and shift around during the day. Row extensions stay put for weeks.
- They’re sewn or beaded into a row, so you can sleep, exercise, and style without worry.
- No more awkward bumps or slipping.
- You get consistent volume every single day.
For anyone who wants that “I woke up like this” density, row extensions are the practical upgrade. Plus, they work beautifully with trends like the quiet luxury bob or an asymmetrical lob.
How Many Rows Do You Need for Discreet Density?
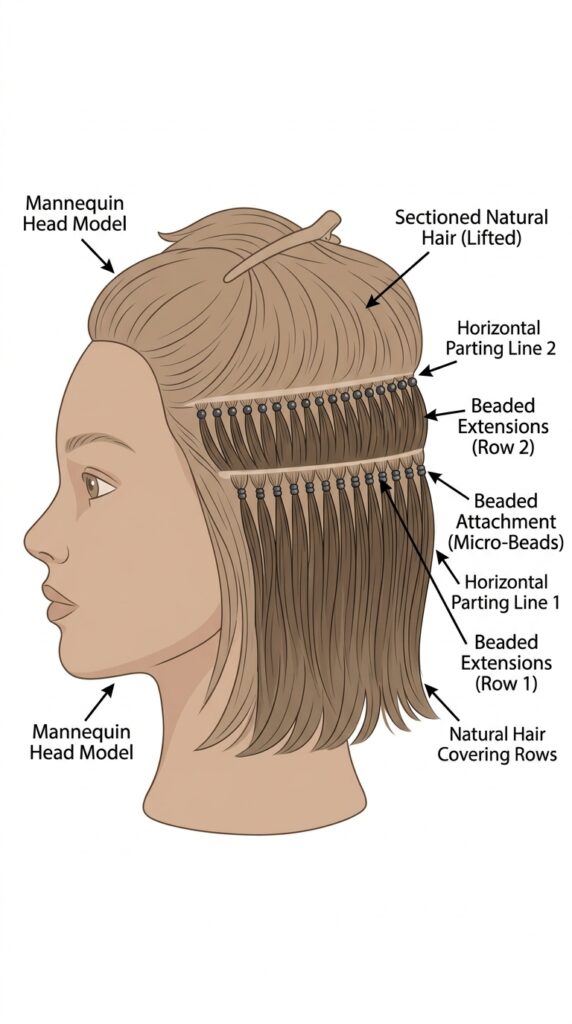
You don’t need a full head of rows. Most people only need one or two rows for added density.
- One row is perfect for fine hair that just needs a little body.
- Two rows work for medium-thick hair that wants extra fullness.
- More than three rows can start to get heavy and look less natural.
For 2026 hairstyles, less is more. Aim for a natural, lived-in look that feels like your own hair, just better.
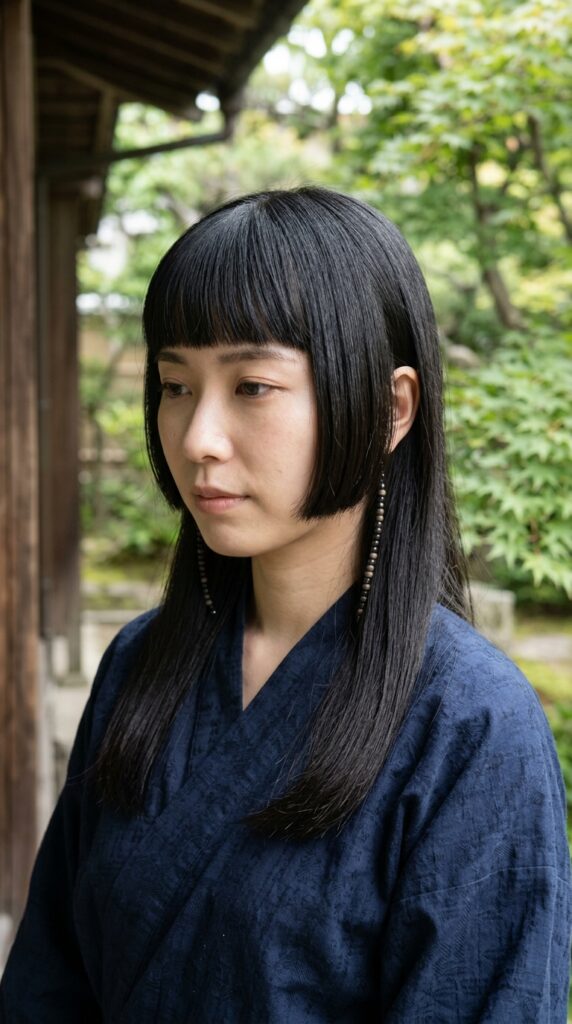
The Best Hair Texture for a Natural Blend
Matching texture is everything. If your hair is straight, don’t buy wavy extensions thinking you can fake it.
- Virgin Remy human hair is the gold standard. It moves like your own hair.
- If you have fine hair, opt for a lighter weight weft to avoid pulling.
- Color match with a pro if you can, or buy a shade lighter and tone it.
Trust me, the right texture will make your hair look like it naturally grew thicker overnight.
One Row vs. Two Rows: When to Use Each
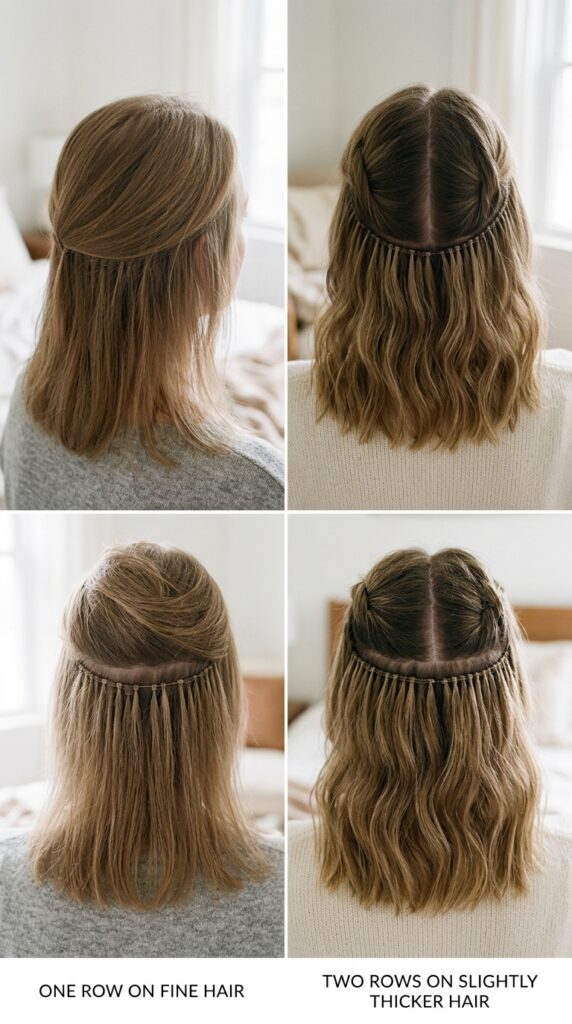
It’s tempting to go big, but start small. One row is your best friend for subtle density.
- One row: ideal for the crown area or temples, where hair tends to thin first.
- Two rows: best for adding fullness all over, especially if you have old money hair vibes.
- Never place rows too close—you’ll create a visible line.
Always consult your stylist, but for home use, less is always more discreet.
Choosing the Right Bead Size
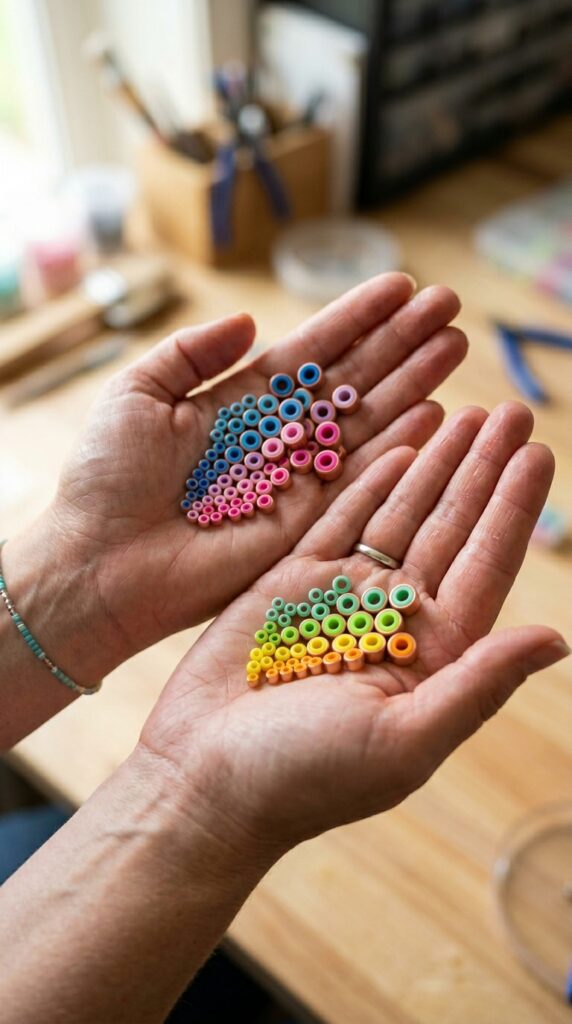
Beads aren’t one-size-fits-all. The size of the bead matters for comfort and invisibility.
- Small beads (2mm-3mm) are best for fine hair and thin sections.
- Medium beads (4mm) work for most hair types.
- Large beads (5mm+) can feel heavy and thick, use only for coarse hair.
Small beads blend better and are easier to hide, especially in short styles like a vampire haircut or hime cut.
The Perfect Placement for Maximum Discretion
Placement is where most people mess up. You want the row to sit where your hair naturally falls.
- Place the first row about an inch below the crown.
- Don’t place rows too close to the hairline—they’ll peek out.
- For asymmetrical lobs, place the row on the heavier side for balance.
A good rule: if you can feel the row with your fingers, it’s too high. Keep it low and hidden.
How Many Beads Per Row?
You don’t need a bead every millimeter. Spacing is key for comfort and a natural look.
- Stick to 5-7 beads per full row, depending on head size.
- More beads means more weight and less flexibility.
- Space them evenly, about 2-3 inches apart.
This keeps the extension secure without feeling like a metal headband.
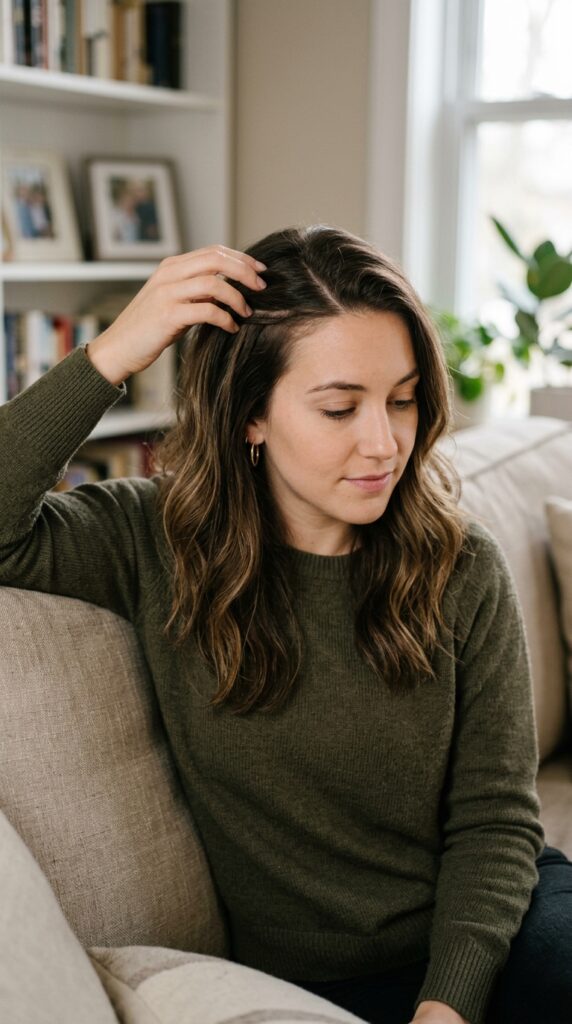
Prepping Your Hair for the Application
Clean hair is non-negotiable. Your natural hair needs to be free of oils and products for the beads to grip.
- Wash and blow-dry your hair completely.
- Section your hair horizontally at the placement point.
- Use a tail comb for clean, even sections.
A little dry shampoo can help add grip, but avoid heavy conditioners near the roots.
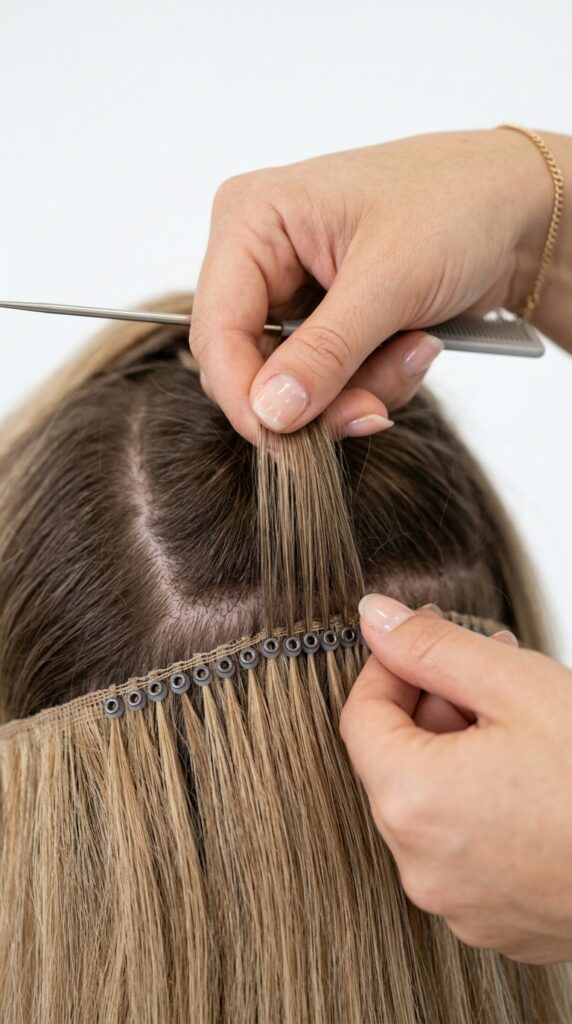
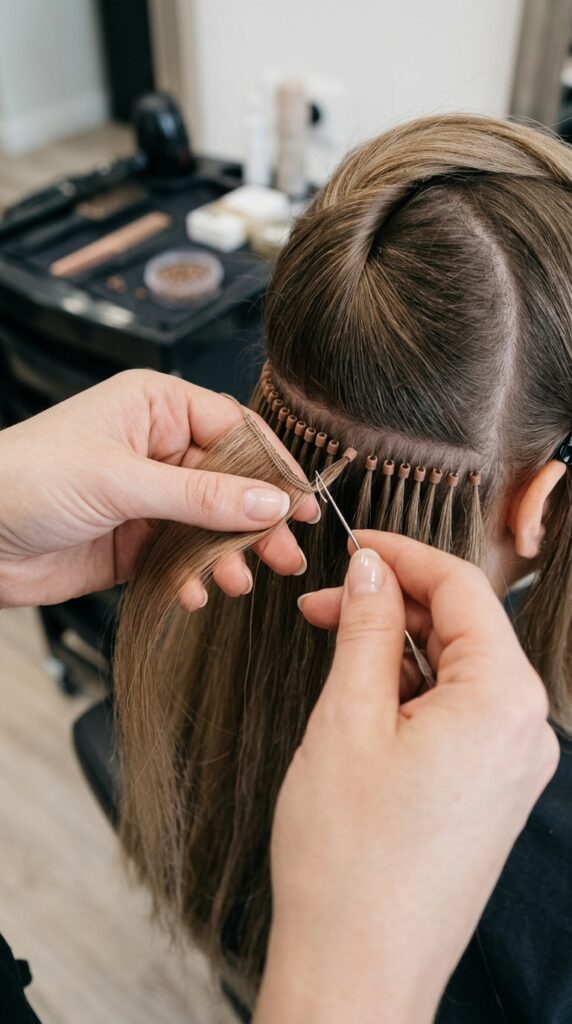
Step-by-Step: Applying the First Bead
This is the part that feels intimidating, but I promise it’s simple once you get the hang of it.
- Take a small section of your natural hair (about the size of a pencil).
- Thread it through the open bead.
- Close the bead with pliers until it’s snug but not pinching.
You want the bead to feel secure, not painful. If it hurts, open it and try again with less hair.
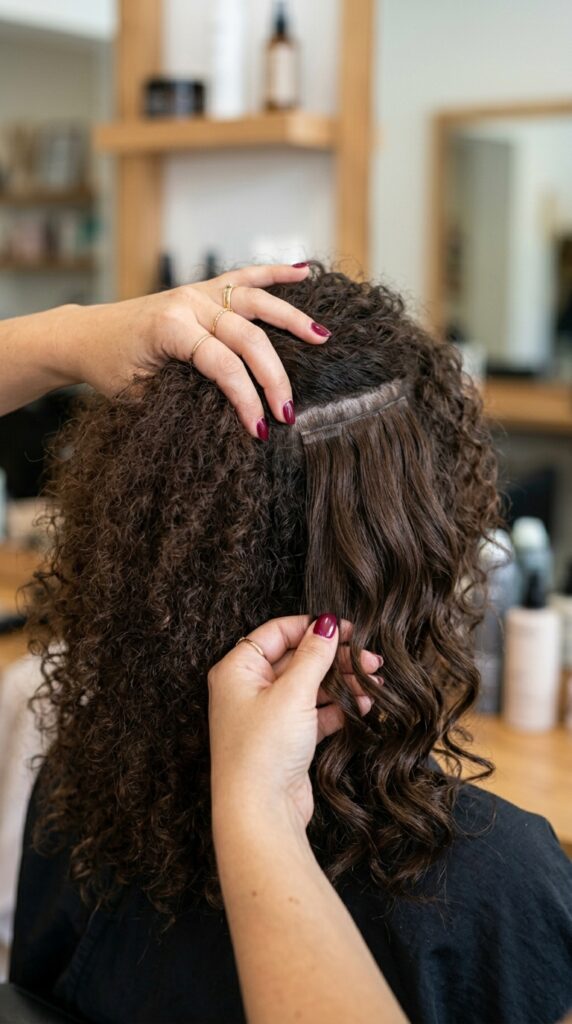
Securing the Weft Into the Beads

Once your beads are in, you’ll feed the weft through. This is where patience pays off.
- Slide the weft’s top edge under the first bead.
- Pull gently until the weft is flush against the bead.
- Repeat for each bead, ensuring no gaps.
Check that the weft lies flat against your scalp. Any bump means you need to tweak the placement.
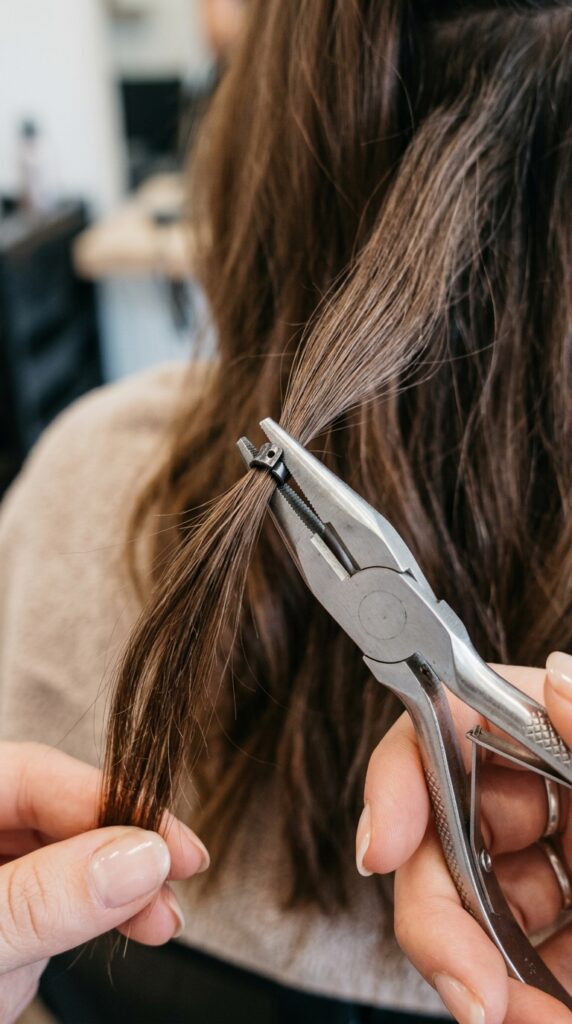
Closing the Beads Without Damaging Hair

You want a firm closure without snapping your hair. Practice on a test strand first.
- Use soft-tip pliers to avoid scratching the beads.
- Close the bead in a gentle squeeze, not a full clamp.
- Twist the pliers slightly to shape the bead round.
A well-closed bead will spin freely on the hair but won’t slide down. This is the sweet spot.
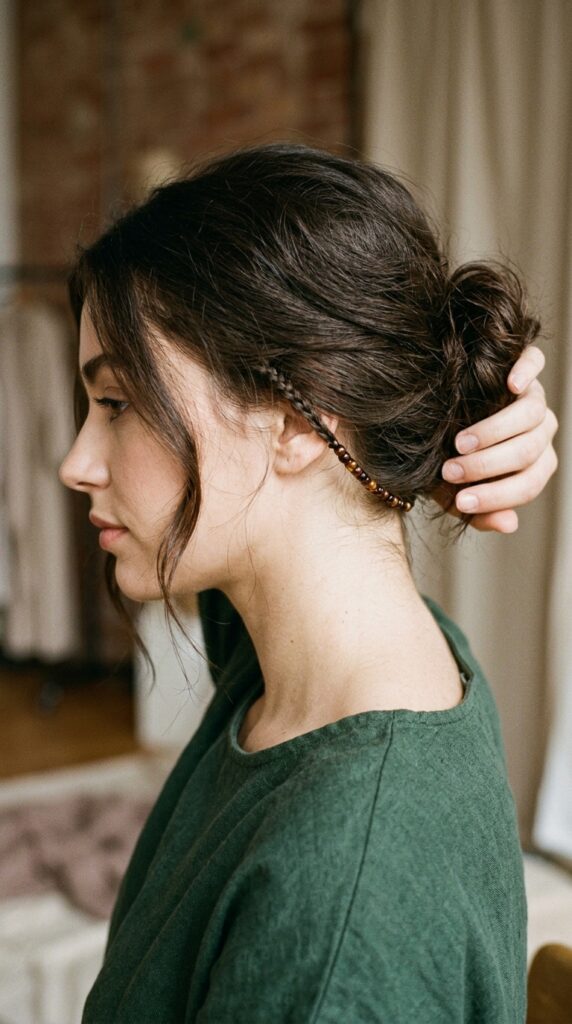
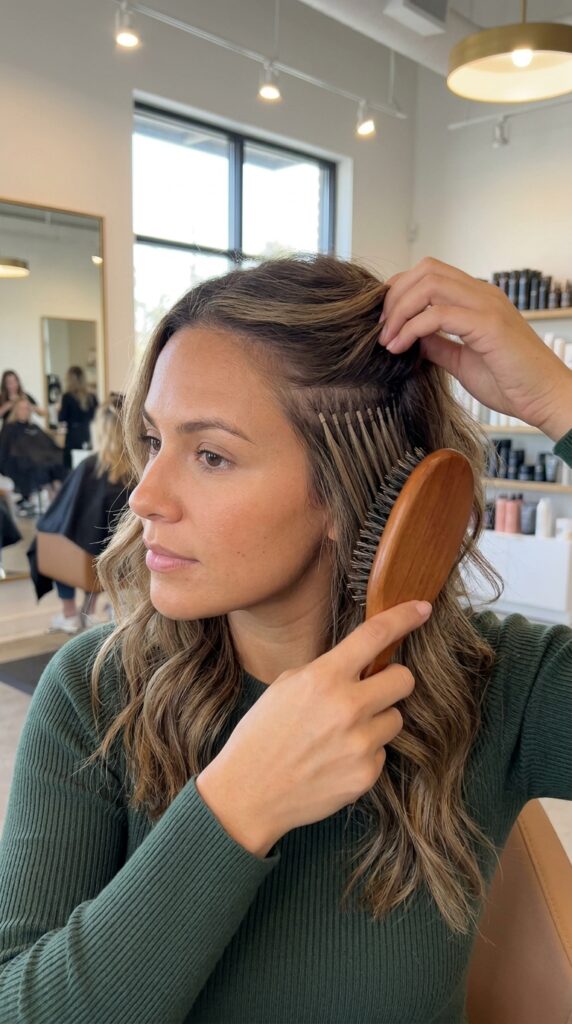
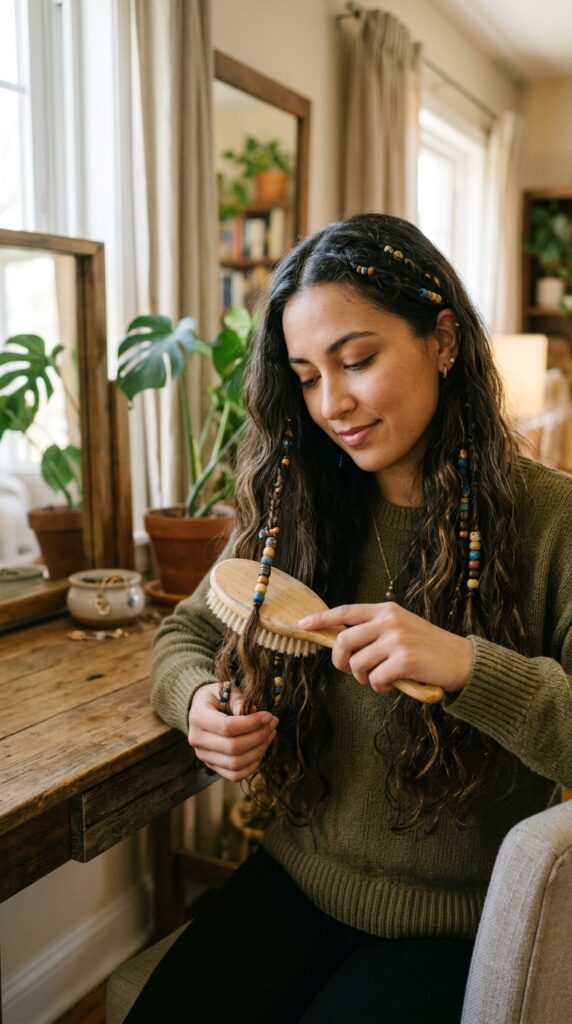
Blending the Extension With Your Natural Hair

Blending is not just about color—it’s about texture and movement. Curl or wave the whole head together.
- Use a curling iron or flat iron on low heat.
- Focus on the ends where the extension meets your hair.
- For a romantic goth hairstyle, add soft waves to both.
You want the extension to move exactly like your natural hair. A little dry texturizing spray helps unify the look.
How to Style a Quiet Luxury Bob With Row Extensions

Row extensions are a secret weapon for the quiet luxury bob. They add just enough body without changing the shape.
- Keep the row at the nape or occipital bone.
- Style with a round brush for a soft, smooth finish.
- Avoid heavy layering on the extension—keep it blunt.
This trend is all about understated elegance. The rows give your bob that expensive, air-dried look that’s total 2026 hairstyles energy.
Rocking an Asymmetrical Lob With Added Density
An asymmetrical lob is already edgy, but density can make it look even sharper. Row extensions work perfectly here because you can customize placement.
- Add a row on the longer side to emphasize the asymmetry.
- Keep the shorter side lighter for contrast.
- Wear sleek or with a slight bend—both look modern.
This style screams confidence and works for both casual days and formal events. Blame the row for the extra oomph.
Old Money Hair Meets Modern Extensions

Old money hair is all about expensive-looking simplicity. Row extensions help you achieve that thick, shiny mane without looking fake.
- Use high-quality human hair with a natural shine.
- Keep the row placement low—like at the nape.
- Style with a silk press for maximum gloss.
This look is timeless and works for every occasion. It’s the kind of hair that looks effortless but takes a little planning.
Romantic Goth Hairstyles With Row Extensions

Romantic goth hairstyles are having a moment, and row extensions can add the volume this look needs. Think big, soft waves with a dark edge.
- Add a row at the crown for lift.
- Style with loose curls or braids.
- Use a dark, cool-toned color for that brooding vibe.
Rows give you the thickness to pull off dramatic shapes without weighing down the vibe. Pair with a dark lip for full effect.
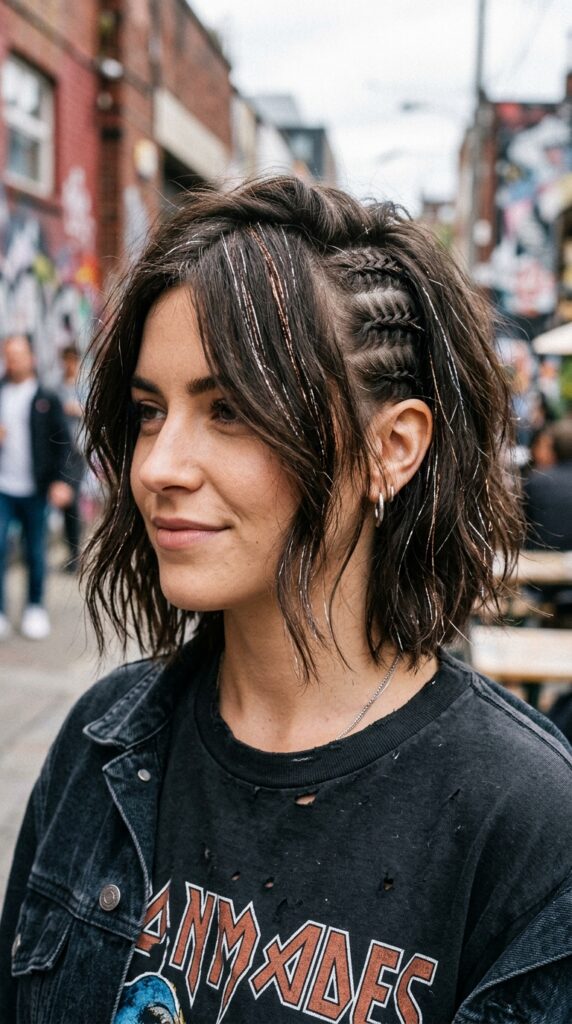
Vampire Haircut With Hidden Volume

The vampire haircut—layered, textured, and slightly shaggy—is perfect for row extensions because the layers hide the beads.
- Place the row at the mid-back or occipital bone.
- The layers in the cut will naturally conceal the beads.
- Style with a texturizing spray for that bedhead vibe.
You get the volume without the bulk. It’s a match made in hair heaven.
Hime Cut With Discreet Density
The hime cut is all about sharp, geometric lines. Adding a row extension can give those side pieces extra weight and presence.
- Place a row behind the side pieces, near the ears.
- Use straight, sleek hair for that signature look.
- Thread the extension into the side section, not the bangs.
This keeps the cut true to its roots while giving you the density for those dramatic lengths.
Glitchy Glam Hair and Unexpected Texture

Glitchy glam hair is the cool, futuristic trend of 2026. Row extensions let you add subtle shimmer or metallic streaks without commitment.
- Use a temporary glitter or metallic spray on the extension only.
- Place the row where you want the effect—like the underlayer.
- Wash out easily without damaging natural hair.
It’s a fun, low-risk way to play with texture and shine. Your hair can go from quiet luxury to glitchy in seconds.
Maintaining Your Micro Bead Rows
Good maintenance keeps your rows looking fresh and discreet. It’s not hard, just consistent.
- Brush gently, especially around the beads.
- Wash every 7-10 days, focusing on the scalp.
- Move the beads up every 6-8 weeks as your hair grows.
A little care goes a long way. Your rows should last about 2-3 months before needing reinstallation.
Common Mistakes to Avoid
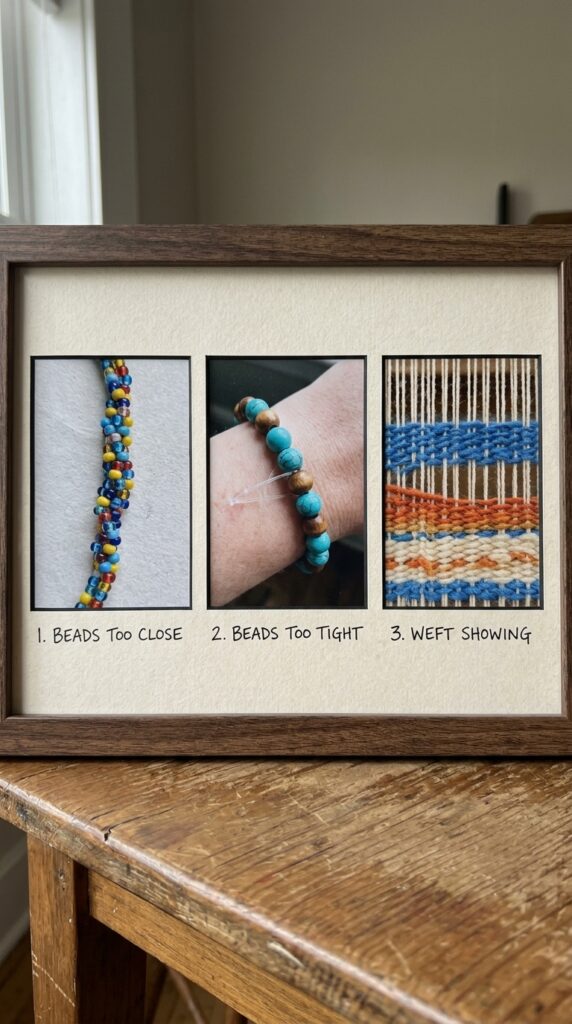
We all make mistakes, but here’s how to skip the learning curve.
- Don’t put beads too close—it creates tension and tension headaches.
- Don’t pull the weft too tight—it should lie flat, not tug.
- Don’t use too many rows—less is always more discreet.
If something feels off, just take it out and start fresh. Your hair will thank you.
When to See a Pro vs. DIY
I’ll be honest—some things are better left to the pros. But DIY is possible with practice.
- See a pro if you have very fine or fragile hair.
- DIY if you have medium to thick hair and are comfortable with tools.
- Always practice on a mannequin head first.
There’s no shame in learning. A good stylist can also teach you in a single session.
So there you have it—twenty tips to nail micro bead row extensions for discreet density. Honestly, once you try them, you’ll wonder why you didn’t sooner. They’re like the quiet friend who makes everything better without being the center of attention. Your hair will feel fuller, look more polished, and you’ll have the confidence that comes with knowing your hair is exactly how you want it. And trust me, no one will ever guess your secret.
Save this post to Pinterest so you can come back to it next time you’re considering extensions. And drop a comment below—are you team one row or two? I’d love to hear your experience!