Perfectly 26 No-Slip Bobby Pin Hacks Gripping Finer Strands
Okay, let’s be real. How many times have you carefully pinned up a section of hair, only to feel it slowly slide out an hour later? If you have fine, silky, or just plain slippery strands, you know the struggle. Bobby pins seem to have a mind of their own.
I used to think it was just me. I’d watch tutorials with these gorgeous, intricate styles and wonder why mine never stayed. The secret isn’t more pins or tighter pulling. It’s all in the technique.
This post is your game-changer. We’re moving beyond just criss-crossing. I’ve gathered 26 no-slip hacks that actually work on finer hair. These are the tricks my hairstylist bestie taught me, and they’ve saved every updo I’ve attempted since.
From securing that perfect asymmetrical lob twist to making 2026 hairstyles actually wearable, these tips are quick, practical, and will finally give you the grip you need. Let’s get into it.
1. The “Wrong Side” Rule: Texture is Everything

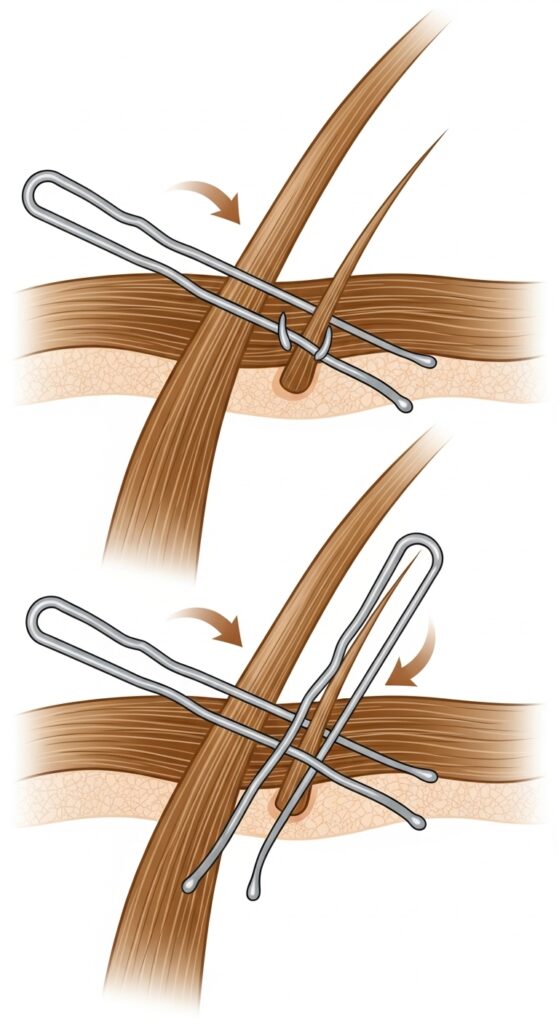
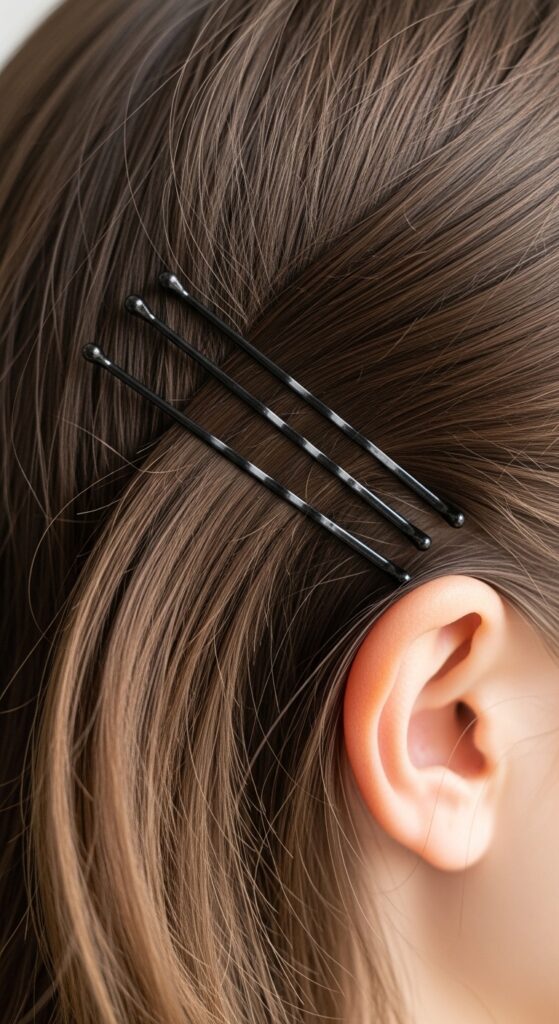
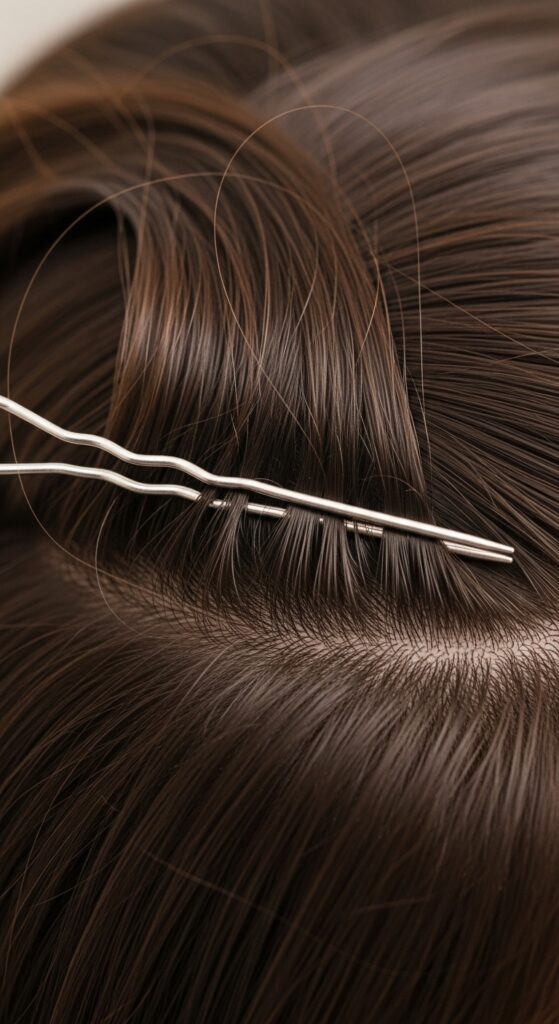
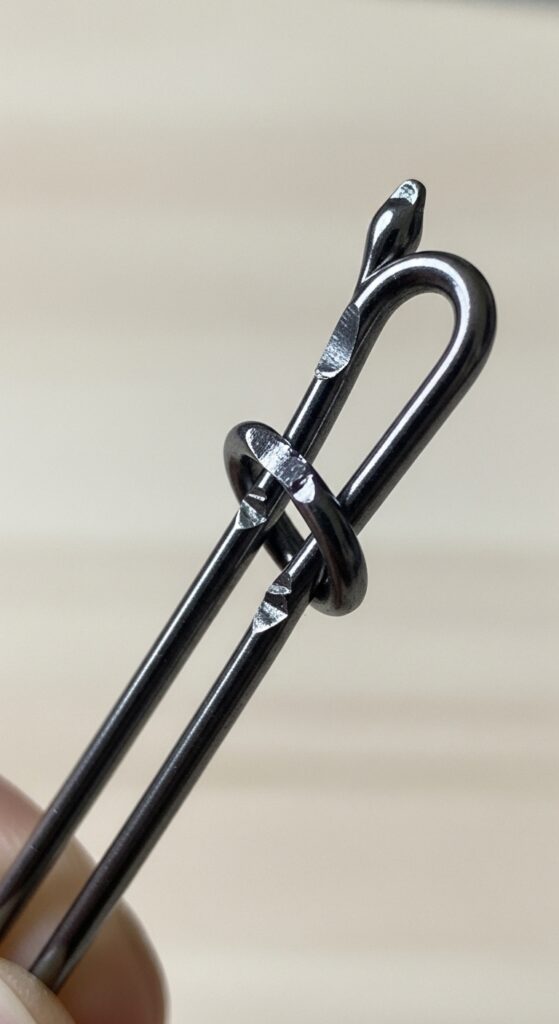
This is the number one rule most people miss. Look at your bobby pin. One side is flat and smooth. The other has little ridges or waves. That textured side is your best friend.
Always, always place the textured side down against your scalp. Those ridges are designed to grab onto your hair. Placing it smooth-side-down is like trying to walk on ice with socks on—you’re going to slide.
It feels counterintuitive at first, but this simple flip makes a world of difference in hold. It’s the non-negotiable foundation for every other hack here.
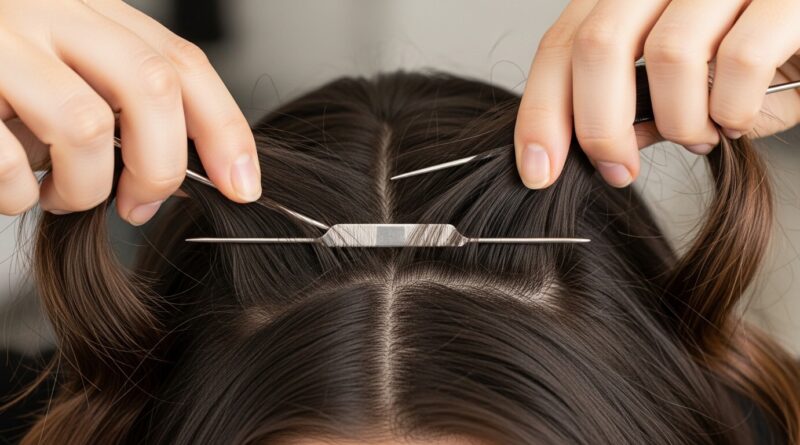
2. The Criss-Cross Anchor: Your Basic Upgrade
You’ve probably heard of this, but are you doing it right? Don’t just slide them in parallel. For a secure anchor, insert the first pin in the direction you need the hold.
Then, take the second pin and slide it in the opposite direction, crossing over the first pin to form a tight “X.” This creates a locking mechanism that grips hair from multiple angles.
- First pin: Insert from right to left.
- Second pin: Insert from left to right, crossing over the first.
- This locks the base of any section.
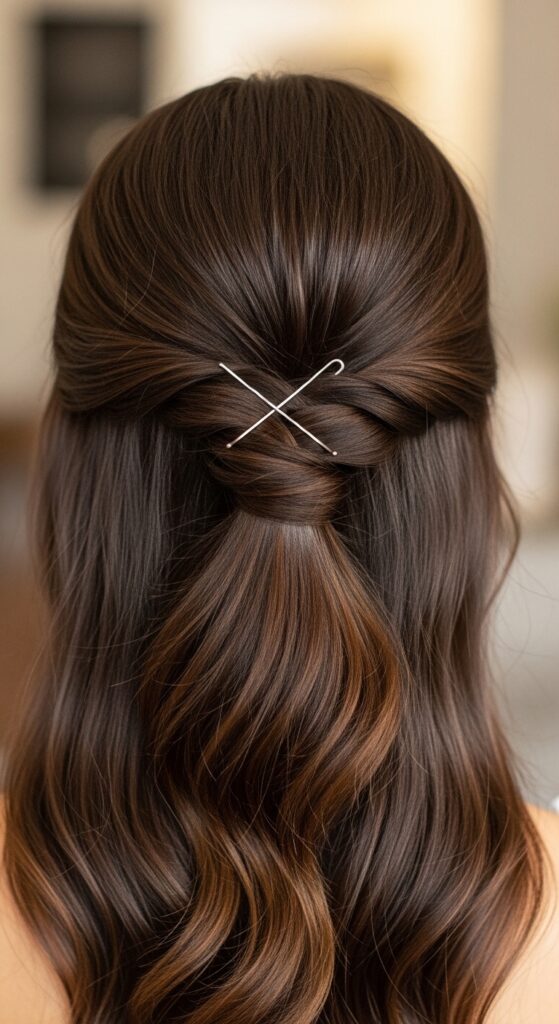
3. The Slide-Back Scoop: For Invisible Grip
Want pins to disappear while holding a twist or a folded tuck? After you insert the pin about halfway, don’t just push it straight in. Use a tiny scooping motion.
Gently push the pin slightly back towards your scalp, then forward again into the hair. This tiny maneuver hooks the pin around more hair strands inside the style, creating an internal anchor point that’s much harder to slip out of.
It’s the secret for those “how is that even staying?” clean styles, like a quiet luxury bob twist.
4. Pin Within a Pin: The Double-Lock

Need serious holding power for a heavy section or a thick twist? Don’t just use two pins side-by-side. Link them together to form one super-long, super-strong pin.
Open the first bobby pin completely. Hook it through the closed end of a second bobby pin. Now you have a connected chain. Insert the first pin as normal, and the second acts as a reinforced extension.
This distributes weight and grip over a larger area, perfect for securing the base of a hime cut side bang or a voluminous roll.
5. Dry Shampoo = Instant Grip
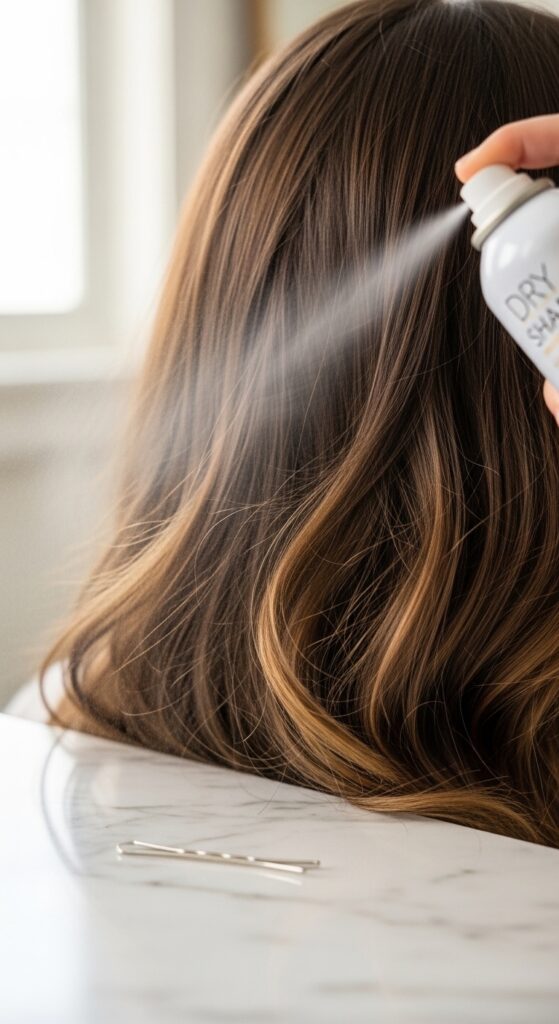
On freshly washed, super-slippery hair, pins have nothing to grab. Before you start styling, lift sections at the crown and temples and give a quick spray of dry shampoo at the roots.
Not only does it add volume, but the powdery texture gives the pins something to bite into. It’s like turning a silk sheet into fine-grit sandpaper for your bobby pins.
Let it settle for 30 seconds, then brush through. You’ll feel the difference immediately. This is a game-changer for fine hair that falls flat.
6. The Teasing Trick: Create Your Own Anchor

If dry shampoo isn’t handy, create texture manually. Where you plan to insert a key pin, take a very small section of hair underneath the top layer.
Gently backcomb or “tease” that hidden section just once or twice at the root. You’re not going for 80s volume, just a tiny knot of texture.
Then, smooth the top layer over it and insert your pin directly through that teased spot. The pin will catch on the tangled fibers and hold fast. It’s a built-in anchor.
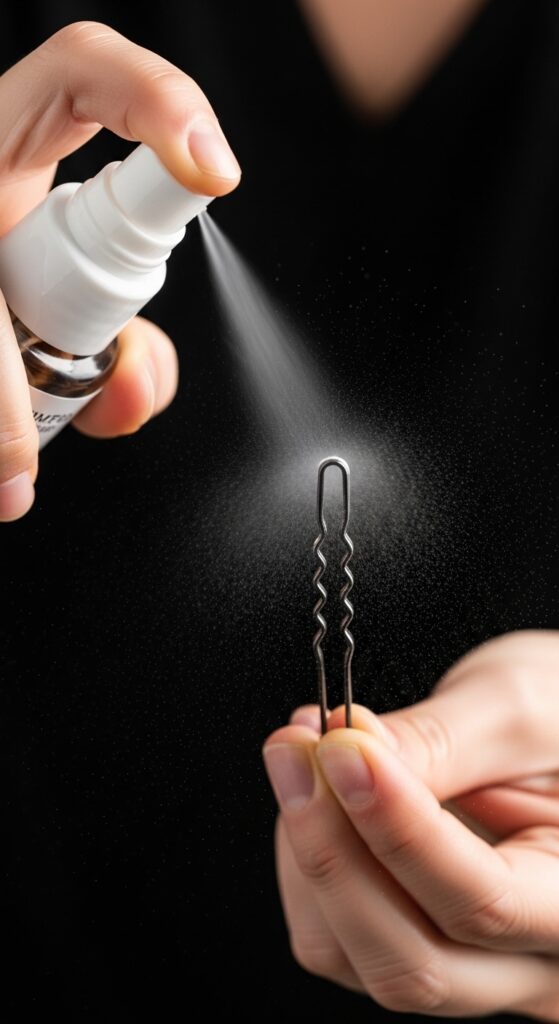
7. Hairspray First, Pin Second
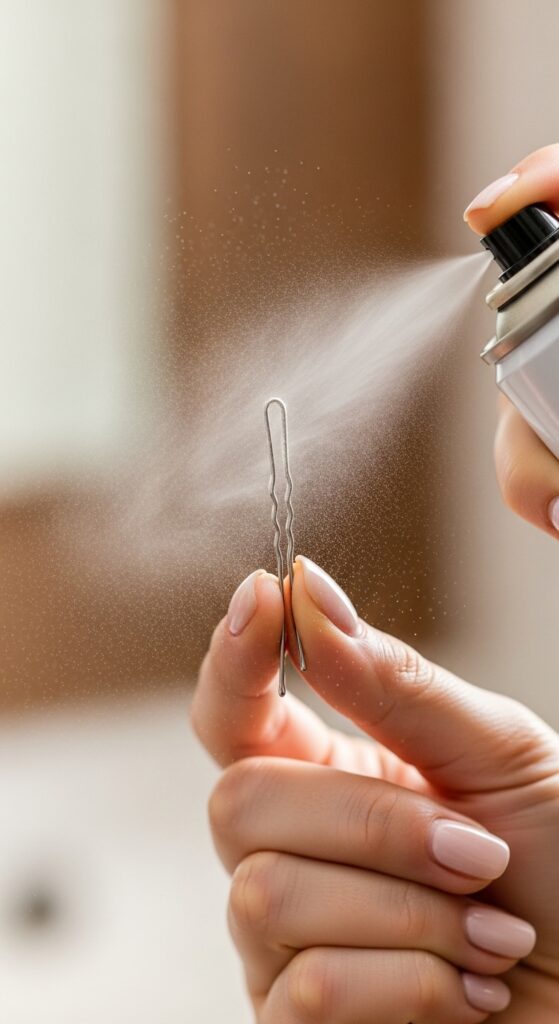
Here’s a sticky (in a good way) trick. Before you insert a pin, give it a quick, light spritz of strong-hold hairspray. Just a mist is enough.
Insert the pin while the spray is still tacky. As it dries, it essentially glues the pin in place to the individual hairs it’s touching. This is incredibly effective for flyaways or securing the ends of a vampire haircut fringe.
Be careful not to overdo it, or things can get gummy. A light touch is key.
8. Match Your Pin Color (Seriously)
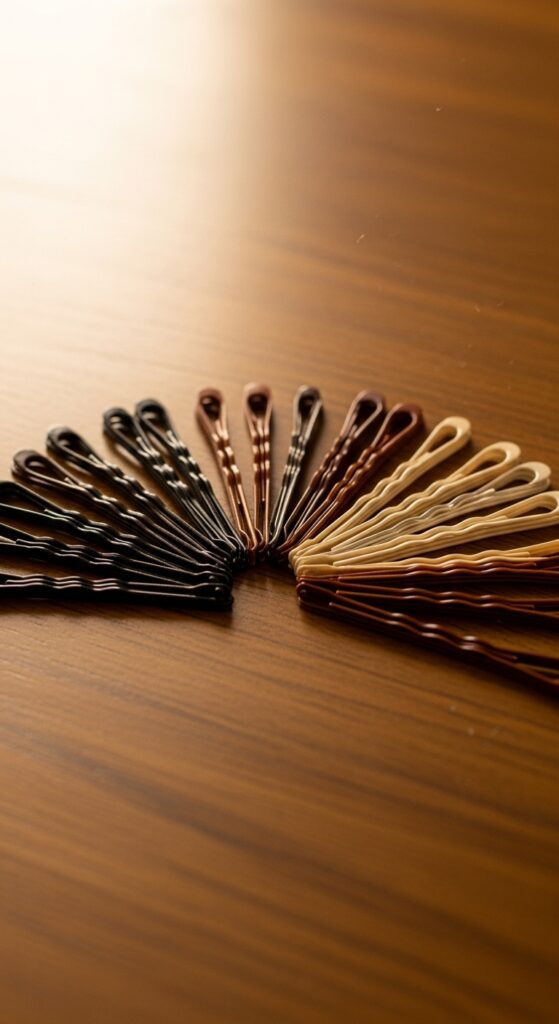
This seems obvious, but it’s often overlooked. Using a pin that closely matches your hair color isn’t just about being invisible. It’s about psychology.
When you use a perfectly matched pin, you’re not afraid to really place it where it needs to go—even if a tiny bit shows—because you know it’ll blend. This confidence lets you use the right number of pins and insert them at the most effective angles.
Mismatched pins make us shy and ineffective. Get a multi-pack and match your roots.
9. The Vertical Pin: For Side Sweeps
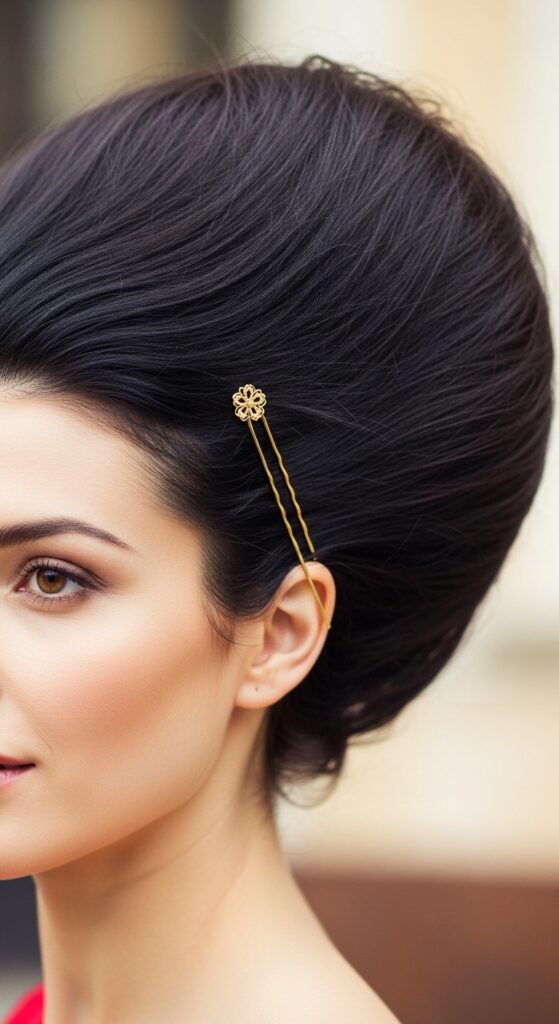
To hold a deep side-swept look or a glitchy glam hair twist away from the face, think vertically. Instead of placing the pin horizontally along the part, insert it vertically.
Start at the hairline where you want the hold, and slide the pin straight back, following the direction the hair is being swept. This pins the hair down along its natural flow path, preventing it from springing back to the center.
It’s more secure and looks cleaner than a horizontal pin fighting against the direction of the style.
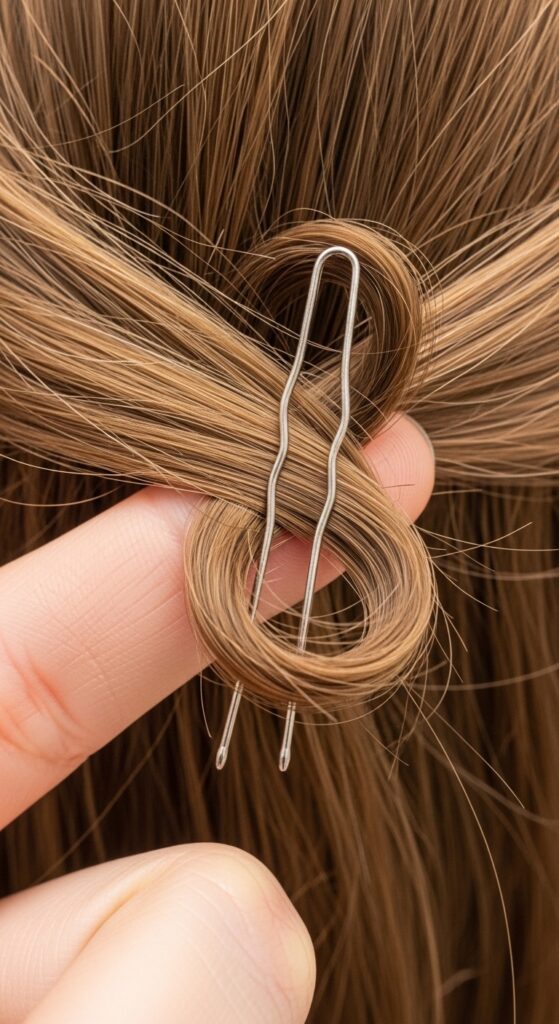
10. Pinch & Pin: For Slippery Ends
When tucking the ends of a braid, bun, or ponytail, don’t just stab a pin through a loose fold. First, pinch the end of the hair section you’re tucking so it’s flat between your fingers.
Then, insert the bobby pin directly through that pinched, flat section. You’re essentially spearing the hair end directly, rather than just hoping a fold will hold.
This traps the ends and prevents them from slowly worming their way out over the course of the day. It’s a definitive seal.
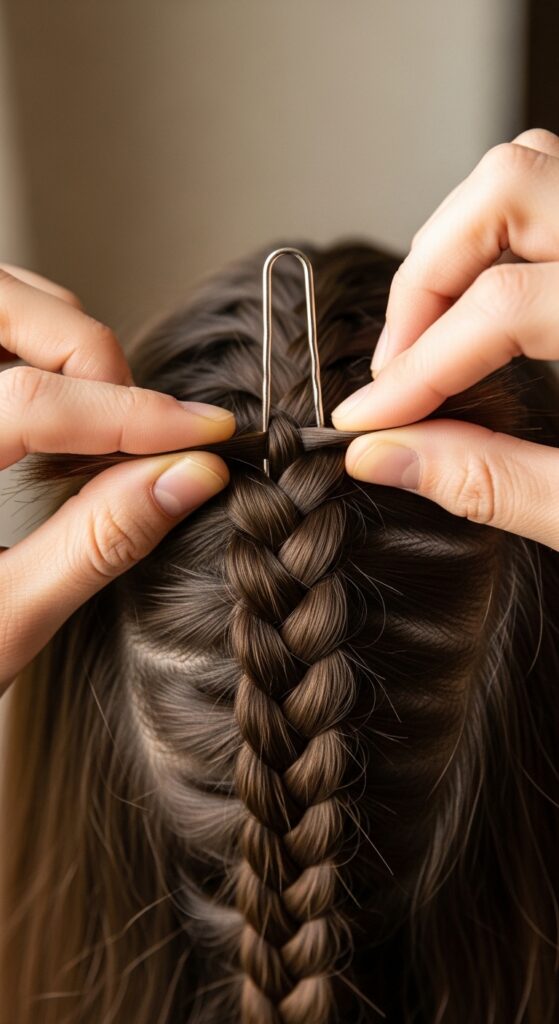
11. The “U” Shape Method: For Twists & Ropes
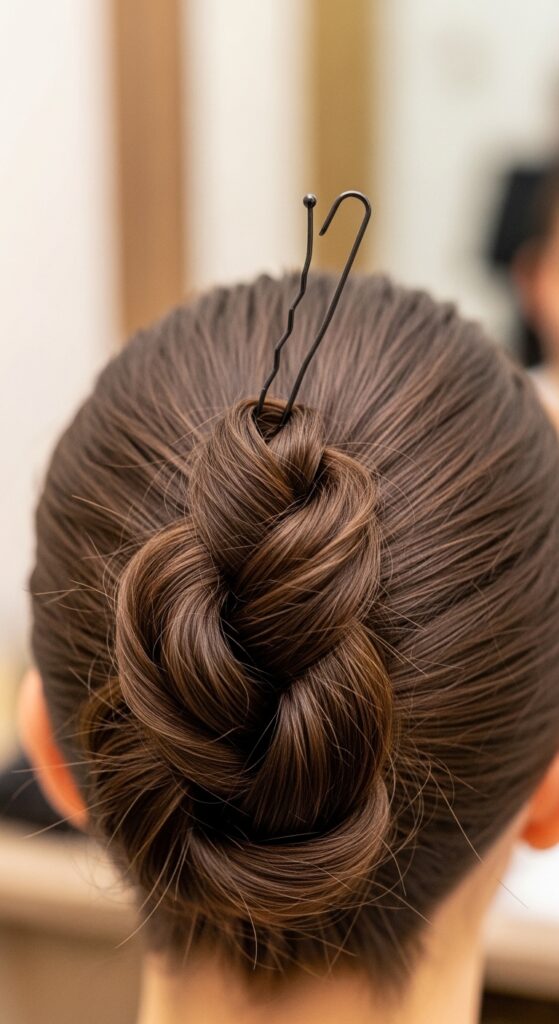
For holding a rolled or twisted section against the head, slightly bend your bobby pin into a soft “U” shape before using it. Don’t crease it, just give it a gentle curve.
This curved shape conforms better to the rounded shape of a twist or the curve of your head. A straight pin can only make point contact, but a curved pin makes broader contact.
Insert it so the curve cups the twist. This provides a hugging grip that holds the entire thickness of the style, perfect for old money hair twists.
12. The Underlayer Weave: Maximum Discretion
To hide a pin completely while securing a top section, work in layers. Use a pin to pick up only a small, bottom section of hair from where you need hold.
Then, slide the pin *under* the top, visible layer of hair, and finally into your scalp. The pin’s grip is happening underneath, on the hidden layer.
The top layer cascades smoothly over it, hiding everything. This is magic for seamless styles where you want zero hardware showing.
13. Cold Shot from Your Blow Dryer
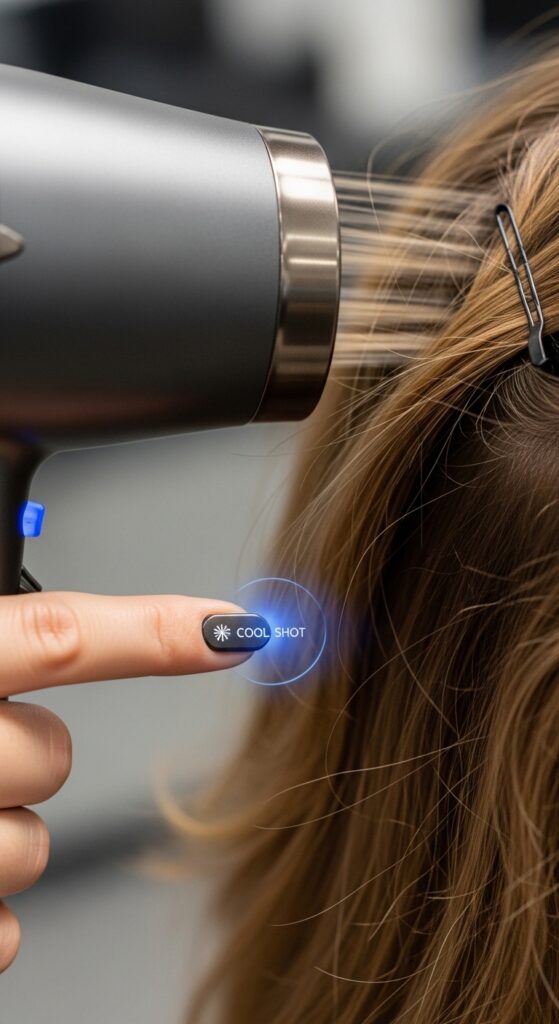
After you’ve placed your pins, give the area a 10-second blast of cold air from your blow dryer. The cold air helps “set” the hair around the pins.
It smooths the cuticle and helps the hair fibers settle into their new, pinned position. Think of it like quenching hot metal—it locks in the shape.
This little step adds lasting power to any style, from a simple pin-back to a complex romantic goth hairstyles updo.
14. The Pin & Tuck: For Wispy Pieces
For those annoying, shorter face-framing pieces that won’t stay put, don’t just pin them flat. Create a tiny, loose loop or curl with your finger.
Tuck that loop into a nearby section of your style—like into the base of a ponytail or under a longer layer. Then, pin through the *tucked loop* and into the anchor hair.
You’re pinning the shape you created, not fighting a straight, slippery strand. It looks intentional and holds beautifully.
15. Bobby Pins as Mini-Barrettes
For a thick section of hair, like a deep side part or to hold back one side of an asymmetrical lob, use two pins as a team. Place them parallel to each other, about half an inch apart.
Insert the first pin, then the second right next to it. This acts like a tiny, invisible barrette, distributing the grip across a wider area and preventing the hair from bulging between pins.
It gives a sleek, flattened hold that one pin alone can’t achieve on thicker sections.
16. The Spiral Wrap for Ponytails
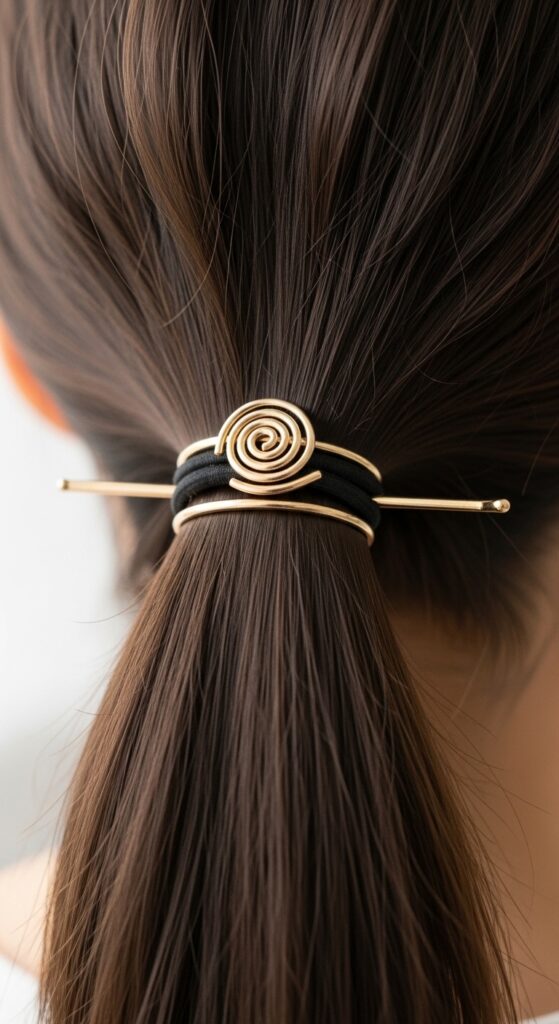
To both hide a ponytail elastic and add security, use a bobby pin in a spiral. After making your ponytail, take one pin and open it slightly.
Hook it under the elastic, then spiral it around the base of the ponytail, weaving over and under the elastic and catching small hair sections. End by pushing the tip into your scalp.
This binds the hair to the elastic and covers the band completely. It’s a polished, quiet luxury finish.
17. Texturizing Spray on the Pin
Similar to the hairspray trick, but with a different result. A light mist of texturizing or sea salt spray on the pin adds grit without hard hold.
This is perfect for styles where you want movement and texture, not a stiff shell. It helps the pin grip without making the hair around it crunchy.
Great for messy buns, beachy waves, or any of the more undone 2026 hairstyles we’re seeing.
18. The “Pick-Up” for Added Volume
Bobby pins aren’t just for holding hair down. They can also hold it *up*. For instant root lift, take a small section of hair at the crown.
Backcomb the roots lightly, then smooth the top layer. From underneath, insert a bobby pin horizontally into the teased base, with the ends pointing up, to prop the hair up slightly.
Cover with the top layer. It’s a tiny, hidden volume boost that lasts all day.
19. Secure Headbands & Bandanas
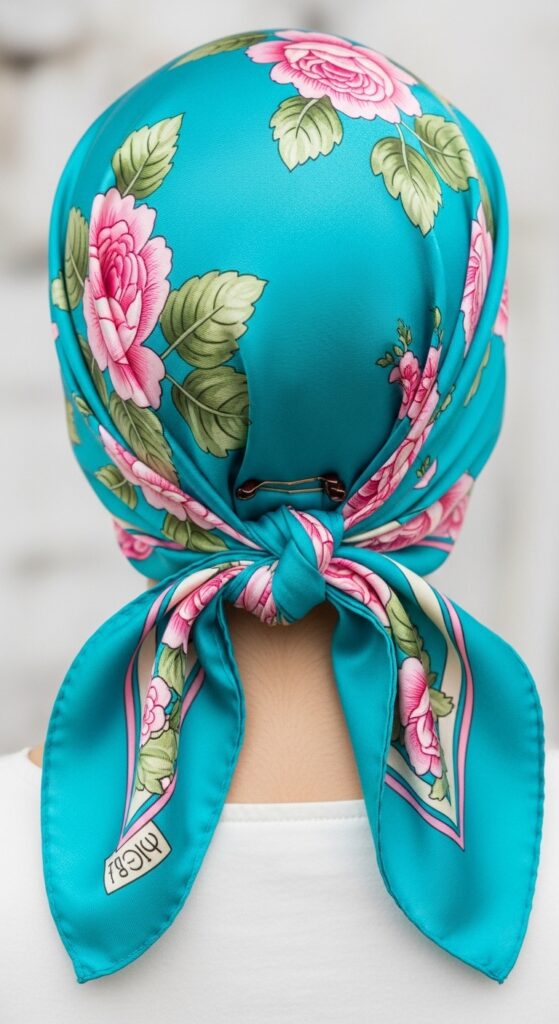
To stop a headband or tied bandana from sliding back, use pins strategically. At the point behind each ear, where the band meets your hair, gently lift the band.
Slide a bobby pin under it, through the hair underneath, and then back over the band’s edge. The pin clips the band to your hair.
Do this on both sides. It’s invisible and keeps your accessory perfectly in place, even with fine, slippery hair.
20. The Final Lock: Pin Your Pins
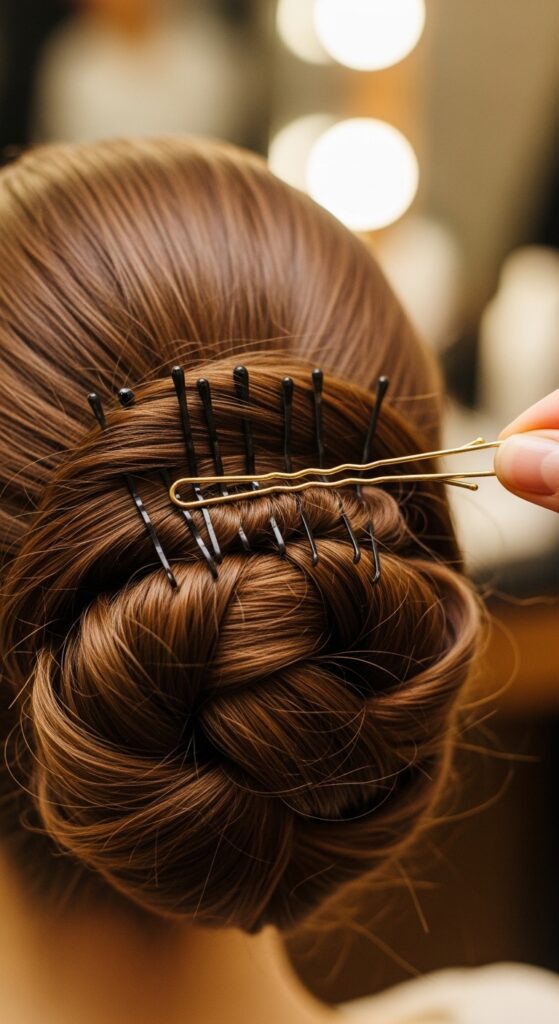
On a complex updo with multiple pins, add one final “lock” pin. Look for spots where several pin ends are clustered or crossing.
Take one last pin and insert it horizontally, sliding it over the ends of the other pins like a bar. This physically blocks the other pins from sliding back out.
It’s the ultimate insurance policy for a big event or a long day. Your style isn’t going anywhere.
21. For Clip-In Extensions
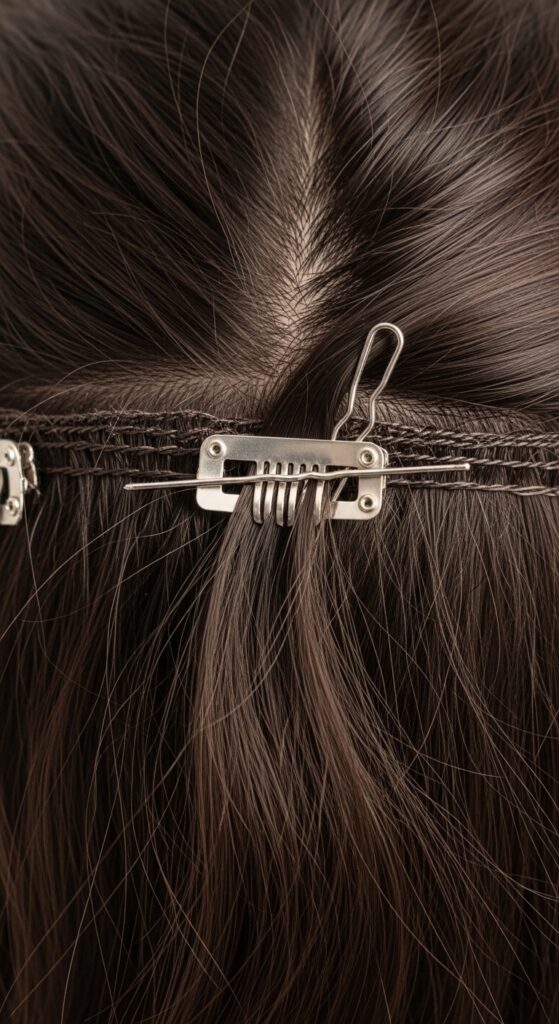
Clip-ins can be obvious on fine hair. For added security and discretion, after clipping in a weft, use a bobby pin on the clip itself.
Open the pin and hook it through the small hinge hole on the clip. Then, push the pin into your natural hair underneath. This anchors the clip mechanism directly to your hair, preventing it from flipping open or showing.
It blends the seam and adds serious staying power.
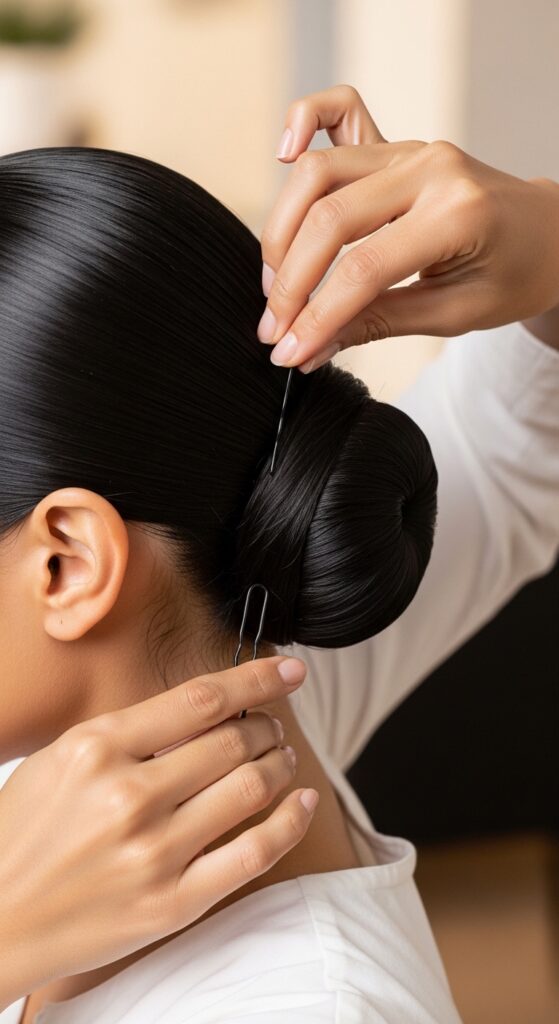
22. The Quick Chignon Anchor
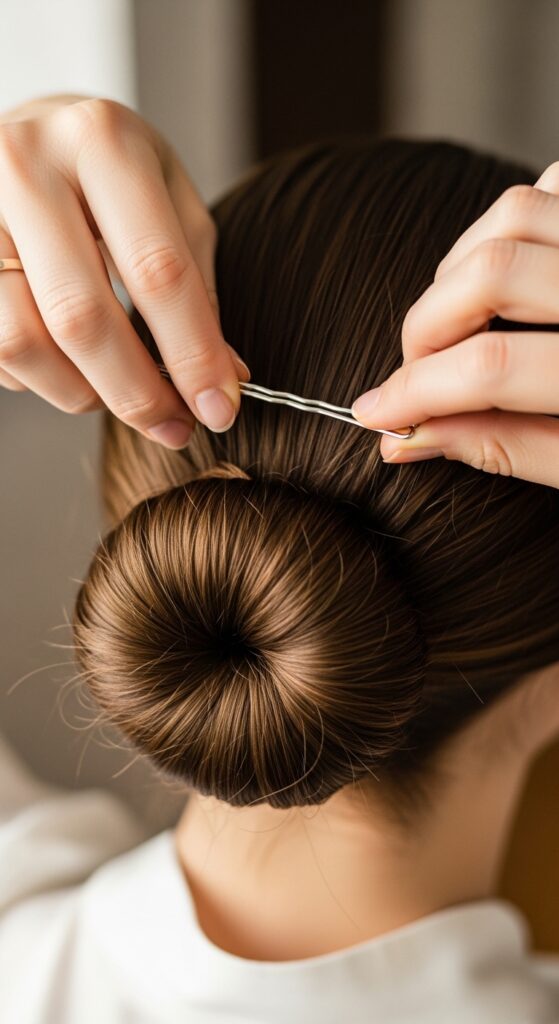
For a simple, elegant chignon, the pin placement is key. After twisting your hair into a knot, don’t just stab pins randomly. Think of the pin as a stitch.
Insert it at the base of the knot, catch a piece of the wrapped hair, and then push it into the hair at the center of the knot. You’re sewing the knot to your head with the pin.
Use 2-3 pins placed this way, and your chignon will survive anything.
23. Repair a Snapped Pin
If a pin snaps, don’t throw both pieces away. The piece with the sealed end is still usable. If the break is clean, you can often hook the open-ended piece onto the sealed piece.
This creates a shorter, but still functional, pin. It’s perfect for securing very small sections, wispy bits, or for use in the pin within a pin hack where the length isn’t as critical.
Waste not, want not!
24. Grippy Pins: The Best Investment
If you struggle daily, invest in pins with built-in grip. Look for brands that have a tiny rubberized coating or texture on