Ponytails 16 Protractor Angled Peaks Precision Athletic Perfection Achieved
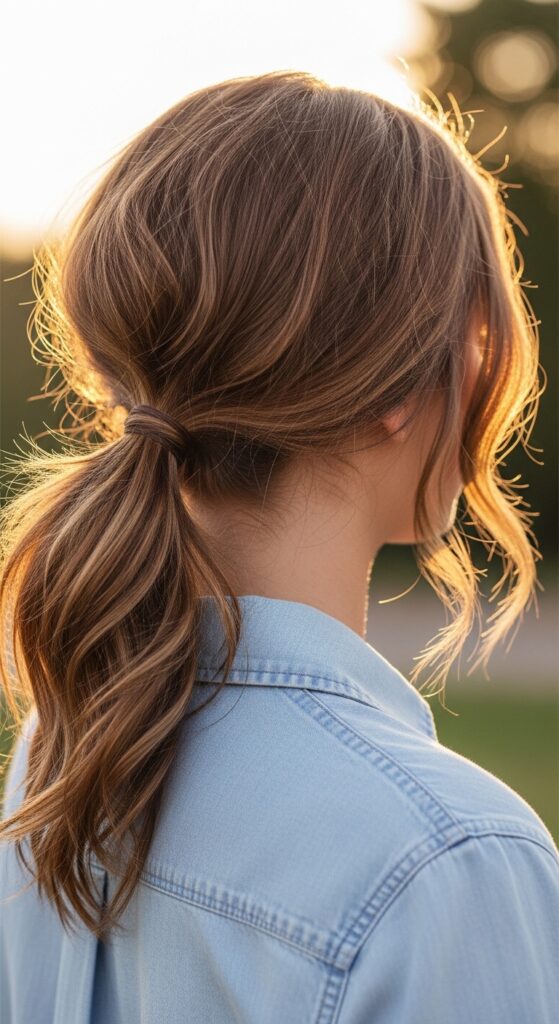
Okay, let’s be real. We’ve all been there. You’re about to crush a workout or just need a sleek look that lasts, and your regular ponytail feels… blah. It droops. It pulls. It gives you a headache. It’s just not the sharp, put-together vibe you’re going for.
What if I told you the secret isn’t a new product, but a new angle? Literally. I’m talking about using the simple, forgotten geometry of a protractor to map out your ponytail placement.
It sounds intense, but trust me, it’s the fastest hack for athletic perfection and red-carpet polish. This is about precision, not complexity. Let’s ditch the guesswork and find your perfect peak.
Why Your Ponytail Angle Matters More Than You Think
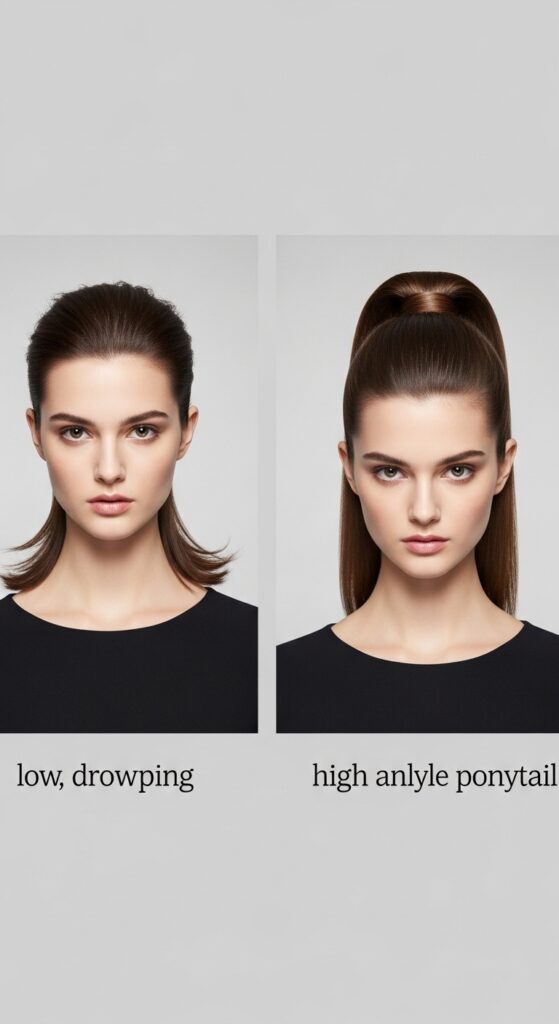
It’s not just high, medium, or low. The exact degree of your ponytail changes everything. A few centimeters can lift your entire face, relieve tension at your crown, and create a silhouette that looks intentional.
Think of it like contouring for your hairstyle. The right angle provides support, enhances your bone structure, and makes the style look modern. It’s that subtle detail that separates a messy after-gym look from what I call ‘athletic perfection’. Let’s get specific.
The Tools You Actually Need (It’s Not Much)
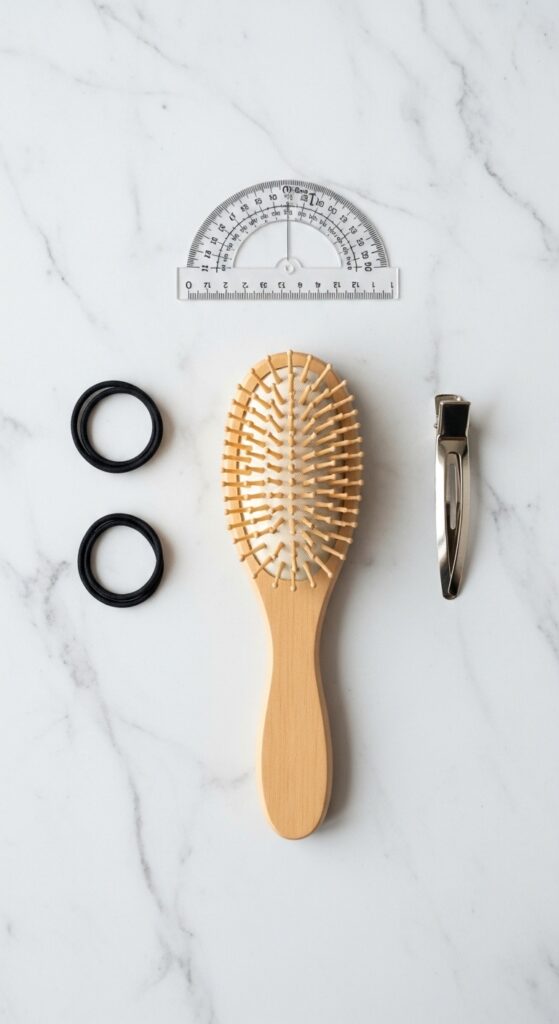
Don’t worry, I’m not sending you back to math class. You just need a basic tool to train your eye. A small, clear plastic protractor is perfect. You can find one at any office supply store for a couple dollars.
Other than that, your normal kit works great:
- A fine-tooth comb for clean parts
- Strong, snag-free elastics (I like coil ones)
- A texture spray or light-hold gel for flyaways
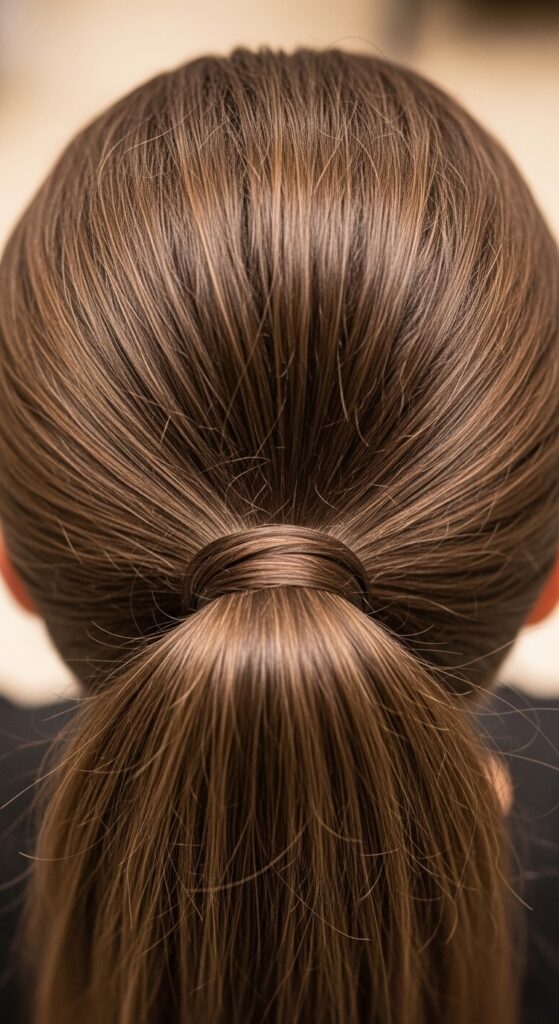
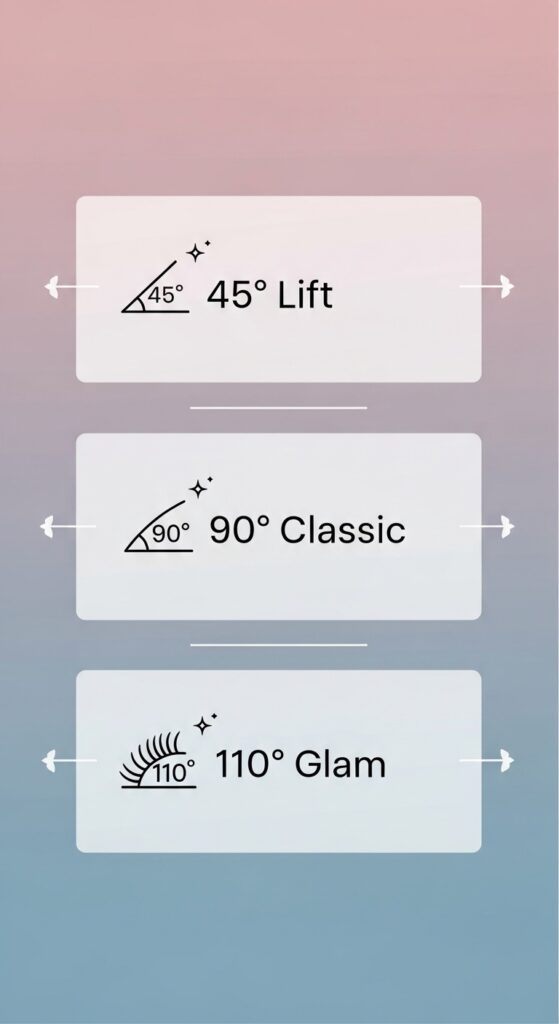
Finding Your Baseline: The Standard 90-Degree Ponytail
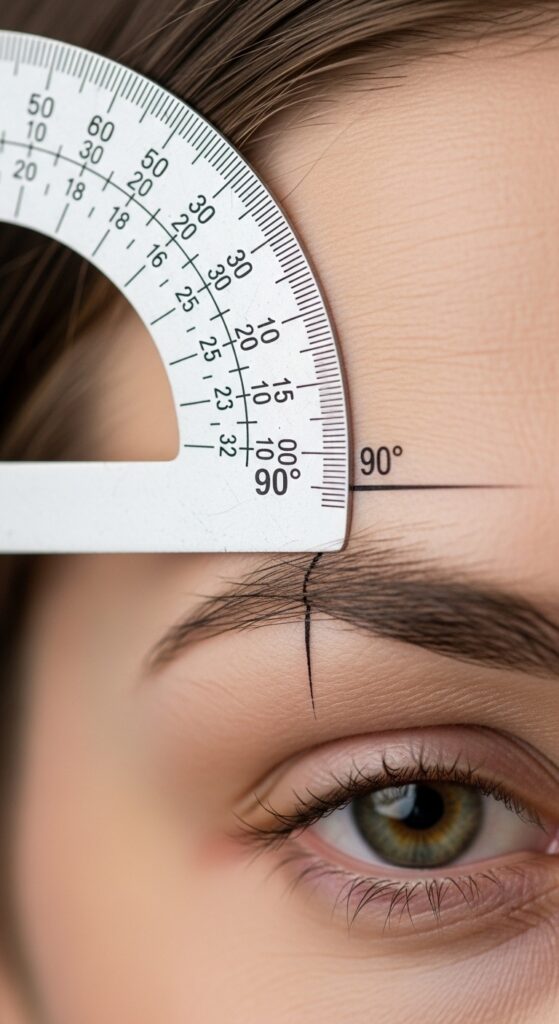
This is our starting point. Hold the protractor’s flat side along your eyebrow, pointing straight back. The 90-degree mark shows you the classic, centered ponytail position.
It’s a clean, sporty look that works for most face shapes. Secure your hair at this exact intersection. Feel how it sits? This is your neutral. From here, we can go up for lift or down for drama.
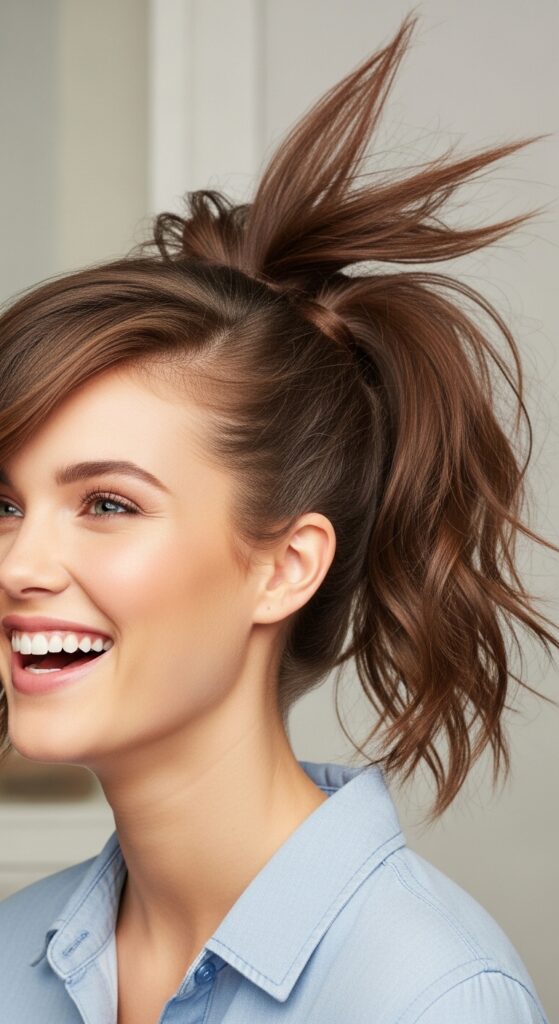
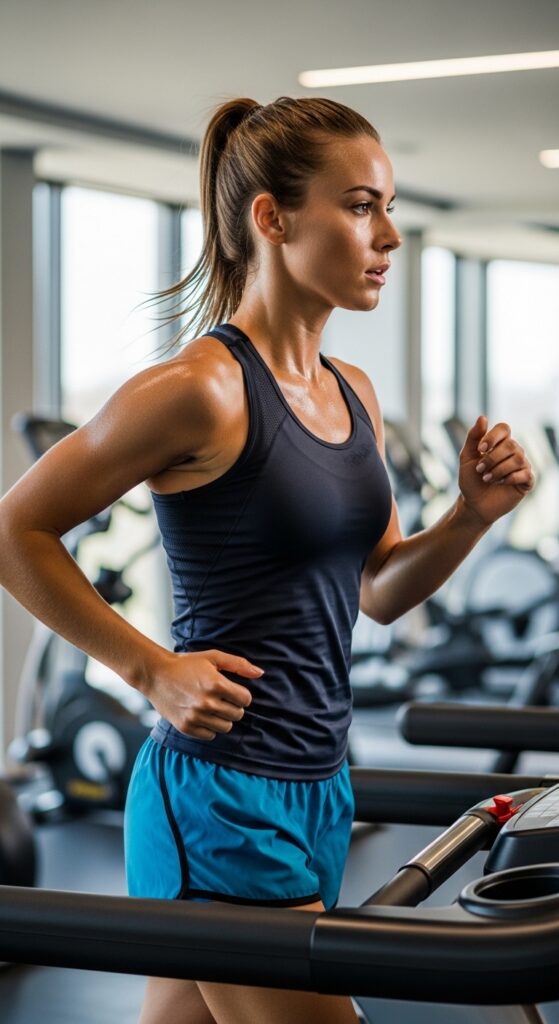
The Face-Lifting 45-Degree “High Peak”
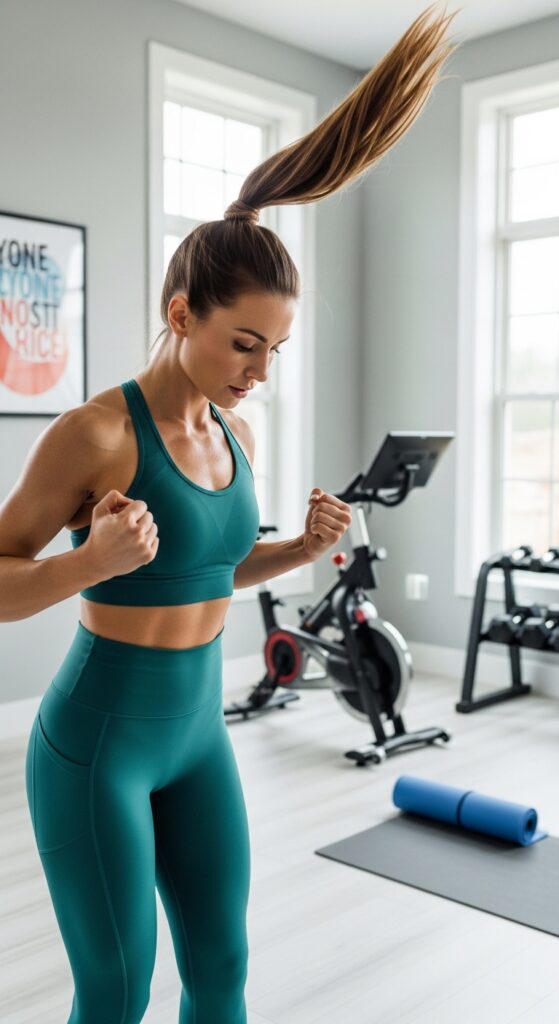
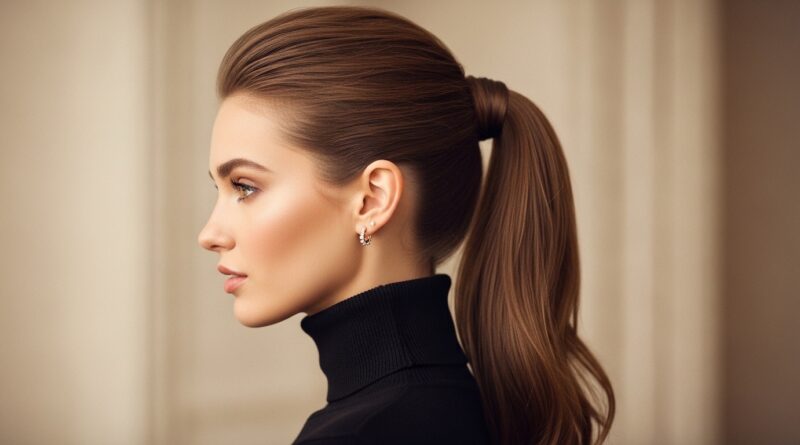
This is the ultimate athletic look. Angle your protractor upward from the corner of your mouth to the top of your ear. The 45-degree line points to a spot high on your crown.
This placement pulls the features upward for an instant facelift effect. It’s perfect for high-intensity workouts because it’s secure and keeps hair completely off your neck. It screams energy and precision.
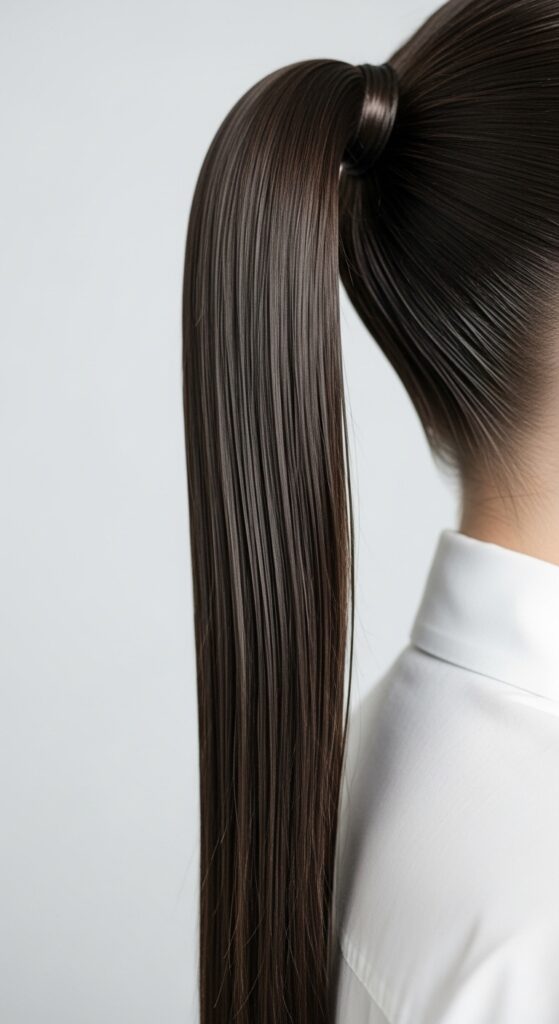
The Red Carpet 110-Degree “Low Glam”
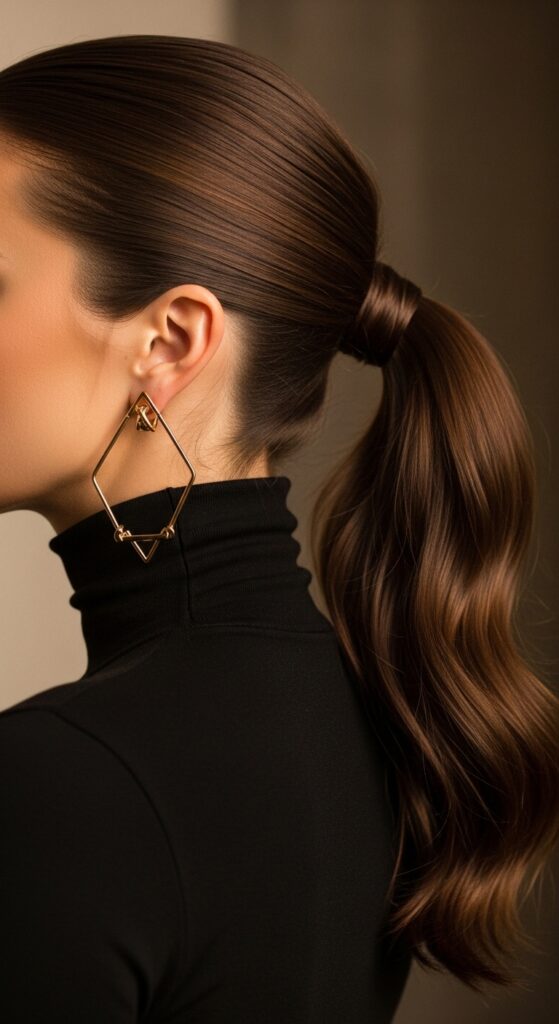
For quiet luxury and old money hair vibes, go lower. Angle the protractor down from your cheekbone. A 110-degree angle places the base of your ponytail at your nape, but off-center.
This creates a gorgeous, cascading line that’s incredibly elegant. It’s less severe than a centered low pony and works beautifully with sleek, straight hair or soft waves. It’s effortlessly chic.
Mapping Asymmetry: The Side-Swept Statement

This is where it gets fun. Create a deep side part. Now, use your protractor from the highest point of your eyebrow on the heavier side. Follow a 75-degree line back.
You’ll secure the pony behind your ear on the opposite side. This creates beautiful, dramatic asymmetry. It feels modern and artistic, a great way to play with the principles of an asymmetrical lob in a ponytail form.
Securing The Base For Zero Slip
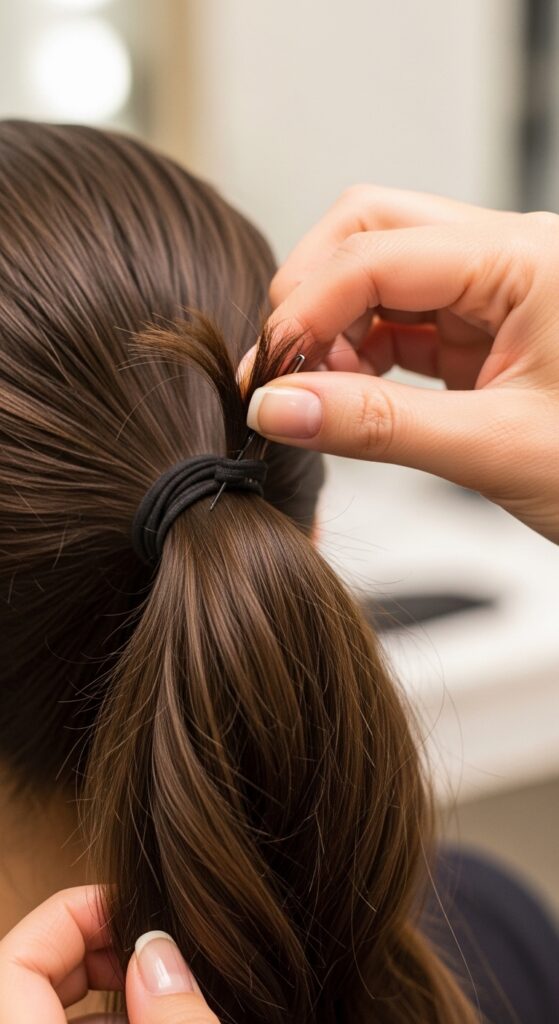
Precision placement is useless if it slips. After securing with an elastic, take a small section of hair from beneath the pony. Wrap it tightly around the base to cover the band.
Secure the end with a tiny clear elastic or a bobby pin tucked underneath. This locks the angle in place and gives you that polished, seamless look. No one will see your tools.
Texture Is Your Secret Weapon
A perfectly angled ponytail shouldn’t look shellacked. For grip and style, add texture before you pull it back. On day-old hair or dry hair, work in a texturizing spray or a light mousse at the roots.
This gives the elastics something to hold onto and creates a softer, fuller look. It keeps the style from looking too rigid or flat. Think effortless grip, not helmet head.
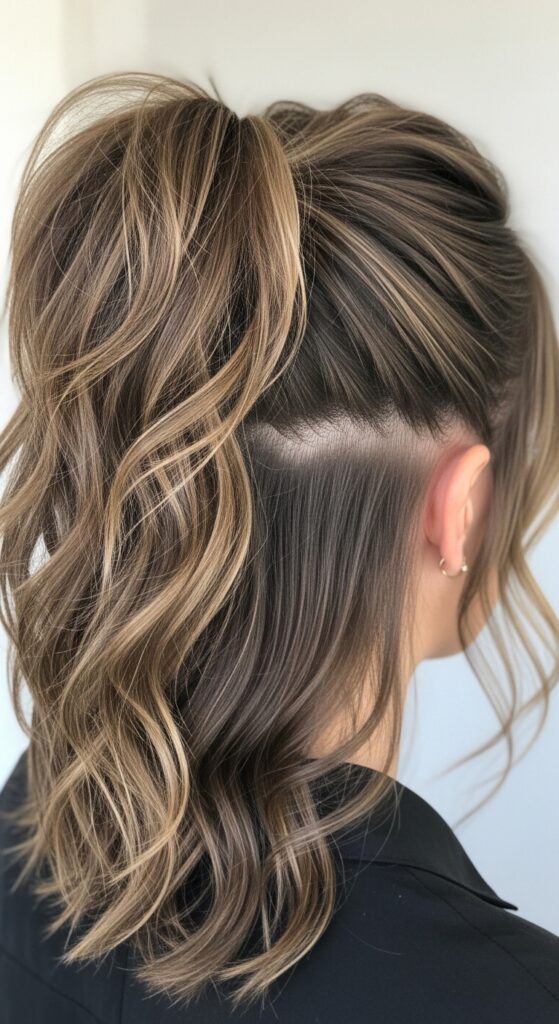
The “Peak” Perfection Finish
This is the pro trick. Before you make the final pull-through with your elastic, gently tease the hair at the very top of your crown. Just a few strokes with a fine-tooth comb.
Then, smooth the top layer over it. This creates a slight, rounded “peak” at the base of your ponytail. It adds volume and makes the angle look even more intentional and lifted.
For Curly & Coily Hair Textures
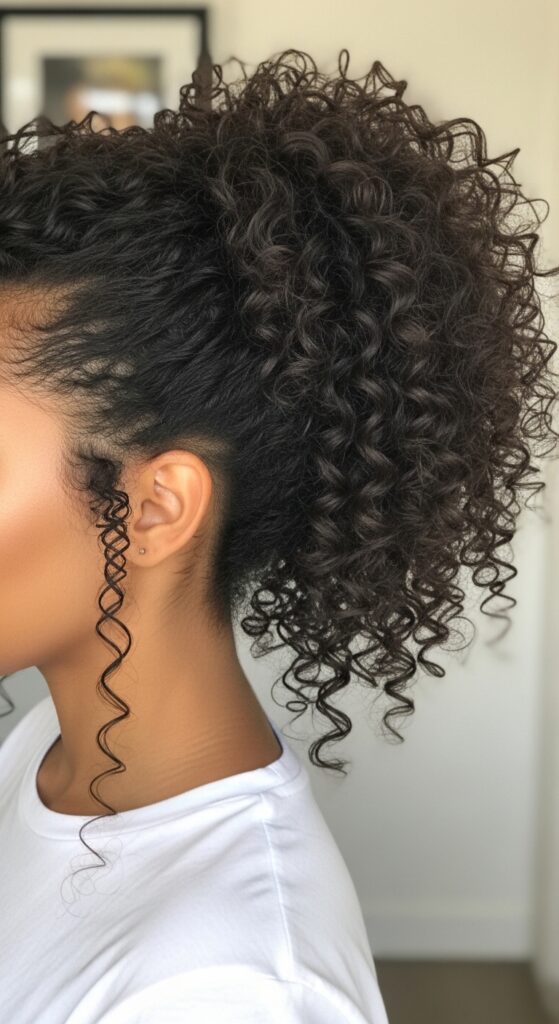
The same angle rules apply, but your gorgeous texture does the work. Use a wide-tooth comb or your fingers to gather your hair. The goal is to preserve your curl pattern and minimize frizz.
Use a soft, coil-friendly elastic (like a scrunchie or a telephone cord tie). The angles will define your shape beautifully, and the volume you naturally have will make the style pop.
Doubling Up: The Angled Double Ponytail
Want to tap into the glitchy glam hair trend? Create two distinct angles. First, secure a small high section at a sharp 50-degree angle. Then, gather the rest below it at a 100-degree angle.
This creates a cool, deconstructed look that’s full of movement. It’s unexpected, fun, and a great way to play with the precision trend in a more experimental way.
Incorporating Braids & Twists
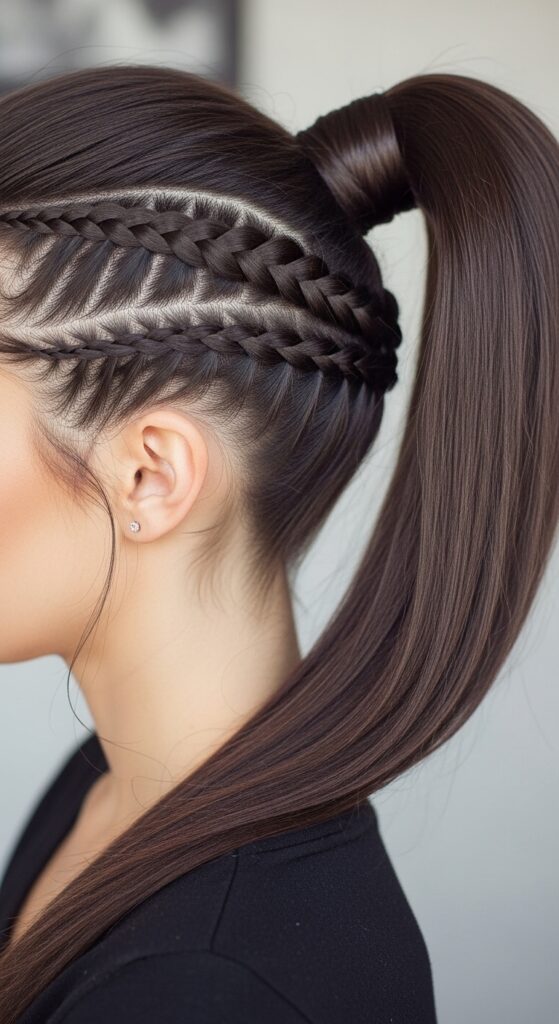
Add detail before you gather. Try a small Dutch braid along your hairline, following the angle you’ve chosen for your pony. Incorporate the braid into the base of your ponytail.
This adds a touch of romantic intricacy. It’s a perfect blend of athletic precision and something a bit more delicate, like elements you might see in romantic goth hairstyles.
The Sleek “Wet Look” Angle
For maximum impact, go ultra-sleek. Apply a strong-hold gel or pomade to damp hair, combing it through thoroughly. Use your protractor to find your chosen angle.
As you secure it, use a toothbrush dipped in a little more gel to tame every single flyaway. This look is all about stark, modern lines and high-shine polish.
Transitioning From Day To Night
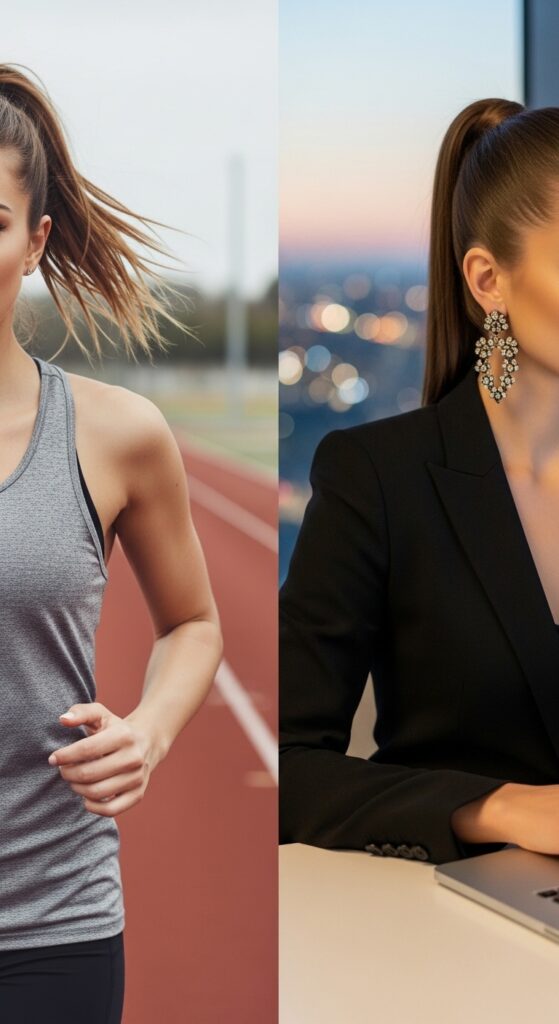
Your perfect athletic pony can easily go out. Start with your secure, high-angle 45-degree peak for the day. At night, gently loosen the base just a touch to soften it.
Pull out a few face-framing pieces. Swap the plastic elastic for a silk scrunchie or wrap a strand of hair around the base. Add dramatic earrings. It’s transformed.
Avoiding The Dreaded “Pulling” Feeling

If your ponytail hurts, the angle is wrong for your hairline. The goal is to distribute weight. A super high, tight pony on a low hairline will always pull.
Experiment with moving the base just a centimeter up or down from your first try. The right spot will feel secure but not tense. Your scalp should feel comfortable.
Making It Last Through A Full Workout
Start with texture for grip. Use two elastics instead of one for critical support. After securing, lightly mist the entire style with a flexible-hold hairspray.
For extra insurance, criss-cross bobby pins at the base underneath the top layer of hair. They’ll grip and hold without being seen. Now you’re sweat-proof.
Connecting The Dots To Big Trends
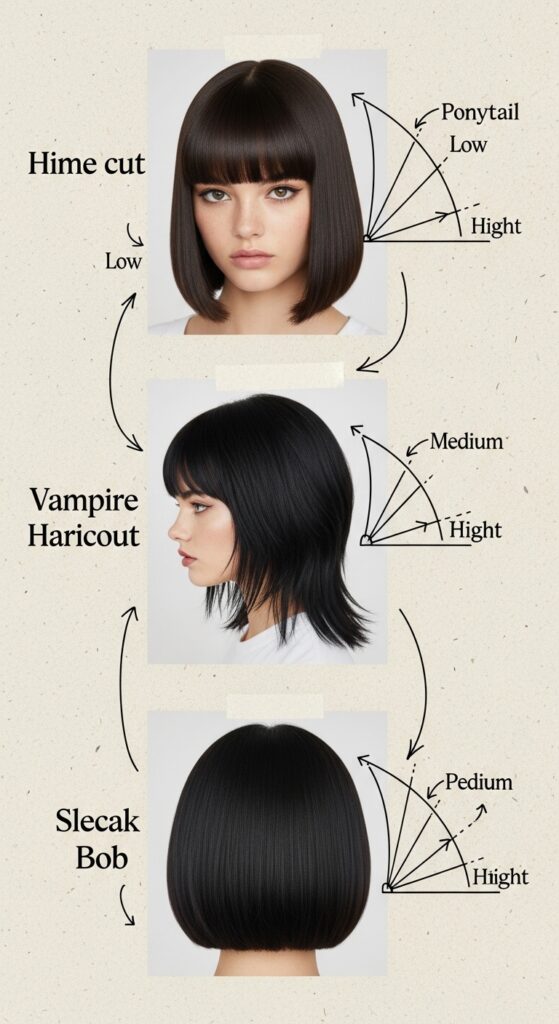
This precision approach connects to all the 2026 hairstyles we’re seeing. The sharp lines of a hime cut, the dramatic fringe of a vampire haircut, the clean nape of a quiet luxury bob—they all rely on intentional angles.
Your ponytail is a training ground for understanding these shapes on your own head. Mastering this helps you understand what makes any modern cut work.
When To Break The Rules
Once you know the rules, break them beautifully. The “glitchy glam” trend is all about intentional imperfection. Create a precise angle, then gently pull out a few sections in the front and back.
Let a few pieces wave free. It shows you meant to do it. This works amazingly for creative dates or artistic events where you want to look thoughtfully undone.
Your Quick-Start Cheat Sheet
Let’s simplify. Bookmark this list for your next style session.
- 45-Degrees: From mouth to ear tip. High energy, face-lifting.
- 90-Degrees: From eyebrow tail straight back. Classic, clean, sporty.
- 110-Degrees: From cheekbone down. Low, glamorous, elegant.
Start here. Adjust an inch up or down based on your comfort. These are your blueprints.
Common Mistakes & How To Fix Them
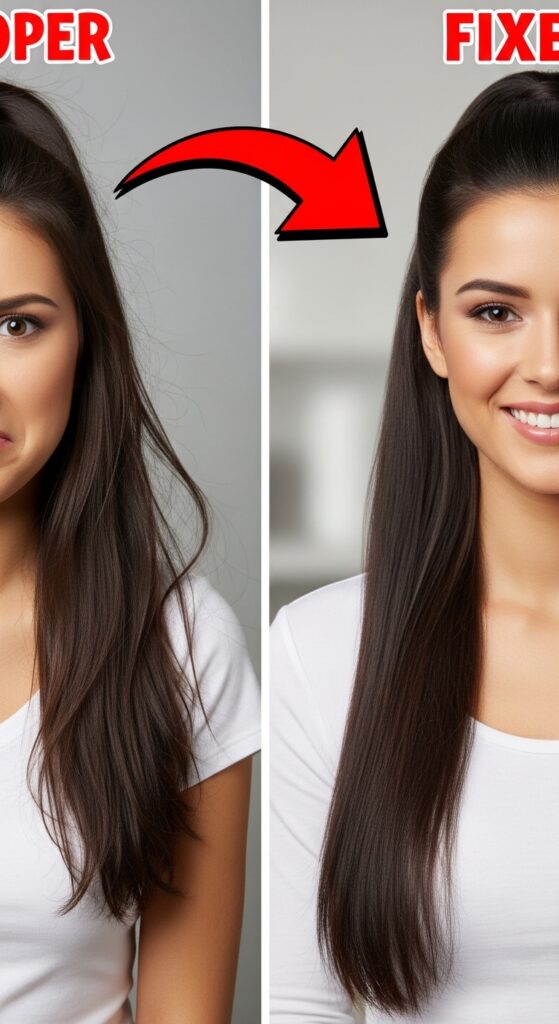
The main mistake is guessing. Without a guide, we often place the pony too low or too far to the side without intention, which can look sloppy.
If your pony feels off, take it out. Use your protractor or even just your comb handle as a straight edge to re-map the line. That five-second check makes all the difference between messy and masterful.
My Final Piece Of Advice
Practice this when you’re not in a rush. Try a different angle on a lazy Sunday. See how it feels, how it makes you look. Your perfect angle is as unique as your face shape.
It might be 48 degrees, not 45. It might be 105. Use the tool to train your eye and your hands. Soon, you’ll be able to nail your signature, scalp-friendly, face-lifting peak without even thinking.
So there you have it. What sounds like a geometry lesson is really just a shortcut to looking and feeling incredibly put-together. It takes the same amount of time as a messy pony, but the result is in a totally different league.
This is the kind of small, practical change that upgrades your whole routine. It gives you that “I tried without trying” polish that works for the gym, the office, or a night out. That’s the kind of style hack I live for.
Save this post to Pinterest to keep your angle cheat sheet handy! And tell me in the comments—which degree are you trying first? Is it the high-energy 45 or the glamorous 110? I want to hear!


