Quick Braided Headband Style for Keeping Bangs Off Your Face
Some days, your bangs just have a mind of their own. They fall in your eyes, stick to your forehead, or lose every wave you tried to create. It’s frustrating, and honestly, you’re too busy to fight them all day.
So here’s your shortcut: a braided headband style that tucks those bangs away in under two minutes. No special skills. No complicated tools. Just a pretty braid that sits across your hairline like a super-chic accessory. Keep reading, and I’ll show you exactly how to get it right every time.
You can also rock this look with literally any hair length, texture, or trend. That’s the beauty of it. Whether you love old money hair or a hime cut, this braid plays nicely with everything. Let’s dive in.
Why This Braided Headband Style is a Lifesaver

When your bangs are sliding into your eyes, a regular headband can slip or give you a dull headache. This braided headband uses your own hair to secure everything back in a soft, flattering line. It only takes about two minutes, so it’s perfect for busy mornings.
It works in seconds and doubles as a cute style. You never look like you’re having a bad hair day. Even with zero makeup, the braid gives your face a little lift. Plus, when you take it out at night, you get soft waves for free.
- No heat tools needed
- Works on second or third-day hair
- Hides greasy roots quickly
The Best Bangs for This Style

Honestly, this works on almost every fringe. I’ve had the best luck with grown-out curtain bangs or wispy pieces. They braid smoothly and tuck without too much bulk. Braiding the front half also lets the rest of your hair keep its natural swing.
For blunt or heavy bangs, try taking just the top half of the section. That way, you still get the look without sacrificing volume. Hime cut bangs need a lighter touch, but they still work beautifully. More on that later.
Try it once and you’ll see exactly what I mean.
What You Need Before You Start
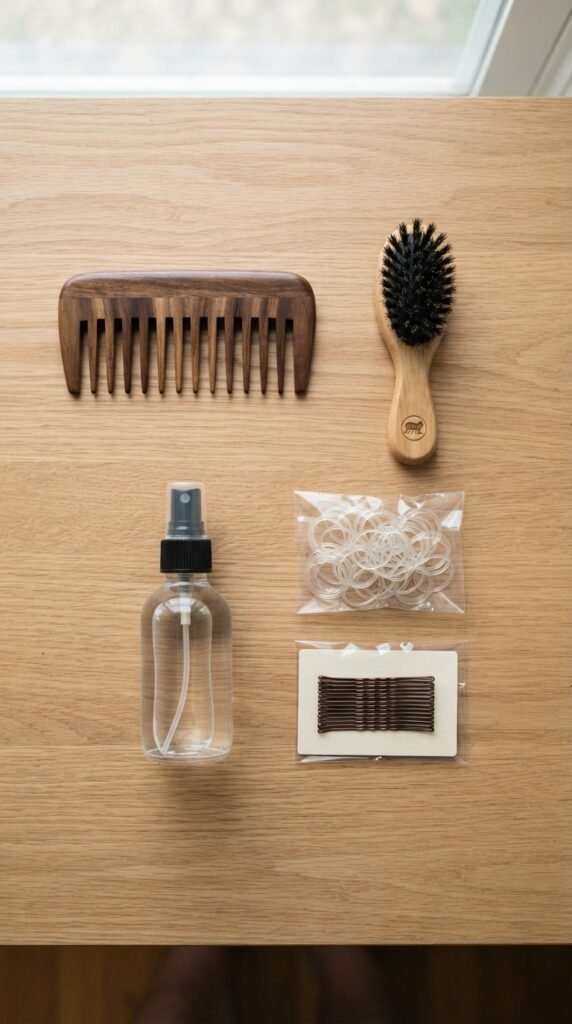
You probably own all of this already. Nothing fussy here. Just a few basics that fit into any purse or gym bag.
- Small clear elastic or a ribbon tie
- Two to four bobby pins that match your hair
- Fine-tooth comb
- Water spritz or travel-size spray bottle
Pro tip: keep that mini spray bottle at your desk. One quick mist can fix flat bangs after lunch.
Prep Your Hair the Right Way
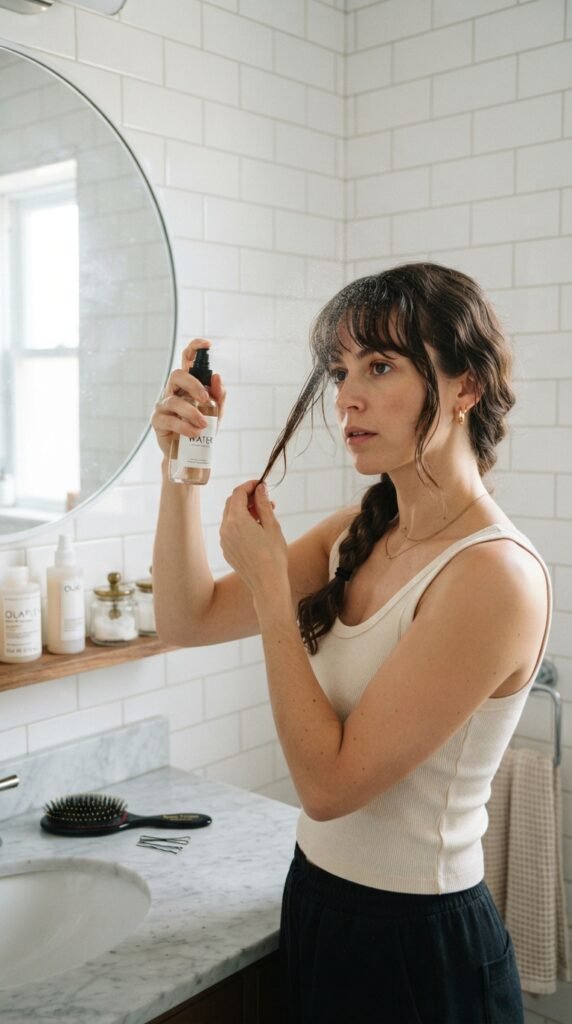
Damp hair catches better than dry, flat hair. Give your bangs a light spray or rub a drop of water between your palms. This calms flyaways and gives the braid grip. It takes five seconds and makes the whole style last much longer.
If your hair is freshly washed and almost too slippery, add a pinch of texturizing powder at the roots. That’s the trick for bangs that won’t slide out by noon. You want them to feel slightly “grippy,” not oily.
Avoid heavy serums here. They make the braid fall apart.
Step 1: Create a Deep Side Part
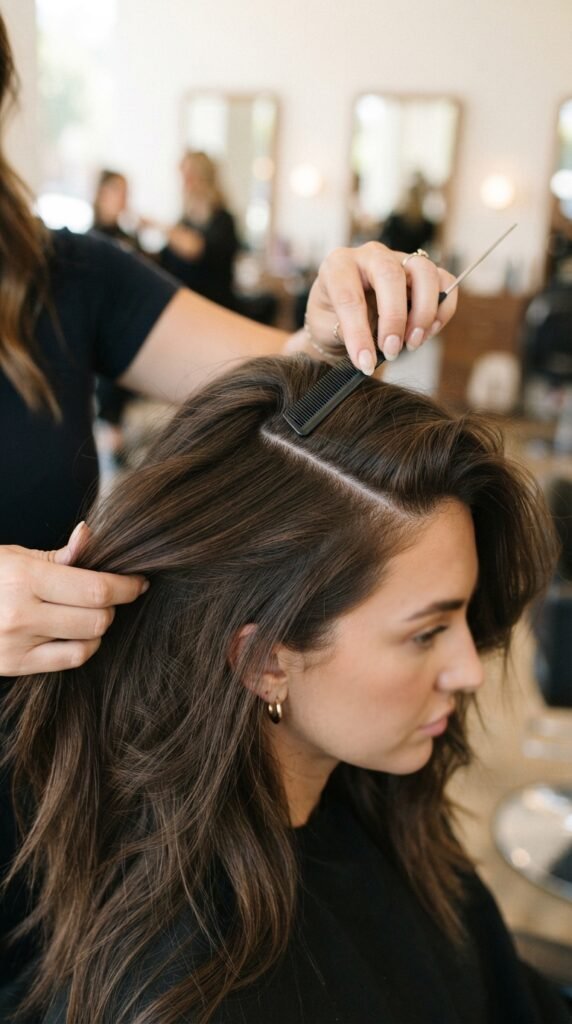
Choose whichever side feels natural — I usually start on my left. Comb a clean, deep part from the front hairline all the way to your crown. A defined part gives the braid a clear path to follow.
Leave the rest of your hair down for now. You don’t need to clip it yet. Focus on that one front section that will become your braided headband.
If your part starts to blur, add a little hairspray before you begin.
Step 2: Take the Front Bang Section
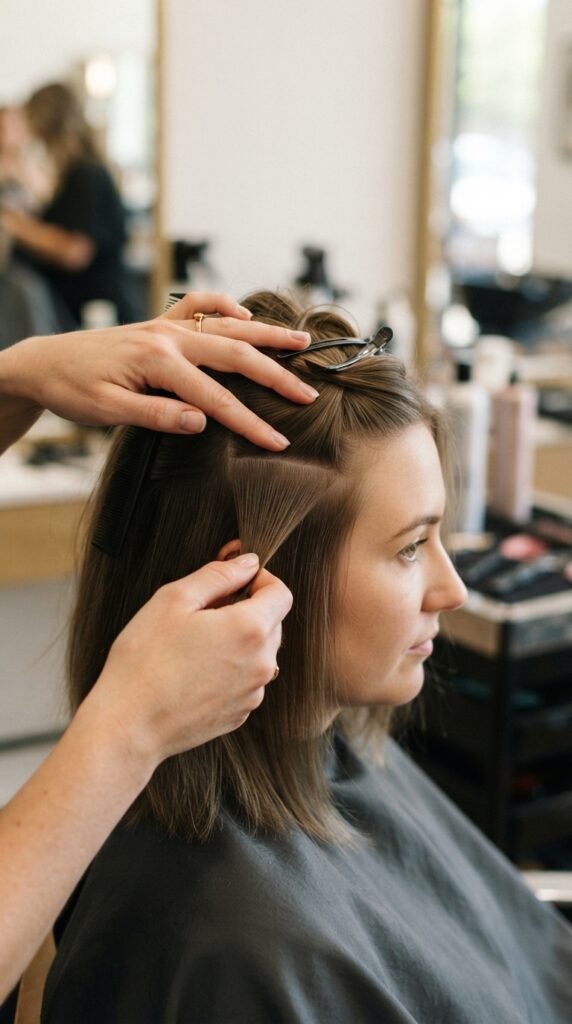
Picture a triangle that starts at your part and ends right above your ear. That’s the piece you want. Pick it up cleanly with your fingers, then gently comb it forward. This section will include your bangs plus a little extra length for a stable braid.
Clip the rest away so you don’t accidentally grab too much. If your bangs are very long, take a thinner slice to avoid a bulky look.
Keeping this section separate is what turns a normal braid into a headband.
Step 3: Braid the Section Loosely
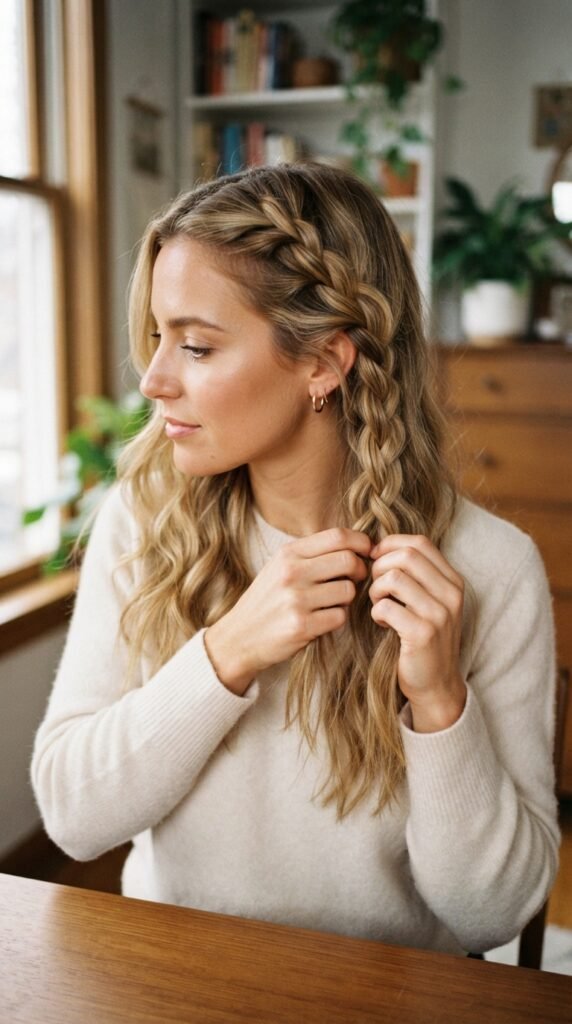
Split that section into three equal pieces. Cross them over one another like a classic braid. Don’t pull tight. A relaxed braid wraps around your head much easier and feels so much more comfortable.
Stop around two inches before the middle and tie it off with your clear elastic. That loose end becomes the headband tail. Keep the braid loose enough to bend gently over your crown.
If it feels too stiff, wiggle the strands apart until the braid softens.
Step 4: Drape It Over Your Crown
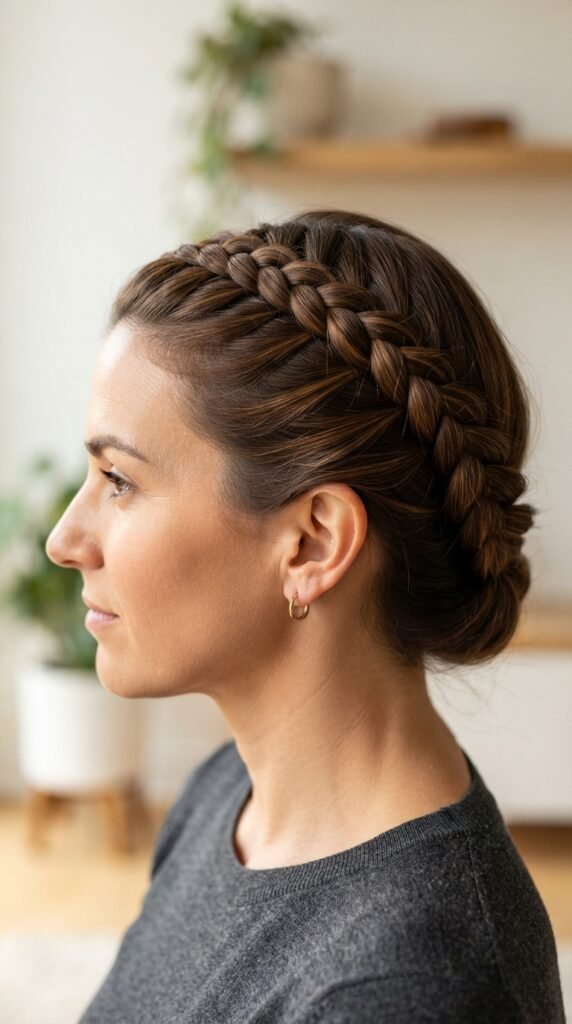
This is the satisfying part. Lift the whole braid gently up and over your head, following your hairline. Let it sit right around where a thin headband would rest. You want it low enough to hold bangs back, but high enough to look intentional.
Look in the mirror and adjust until the spacing feels soft and flattering. No tight gaps, no pulling at your temples. Adjust the curve of the braid until it sits like a gentle arc.
Take a breath—you’re almost done.
Step 5: Tuck and Pin (No One Will See)
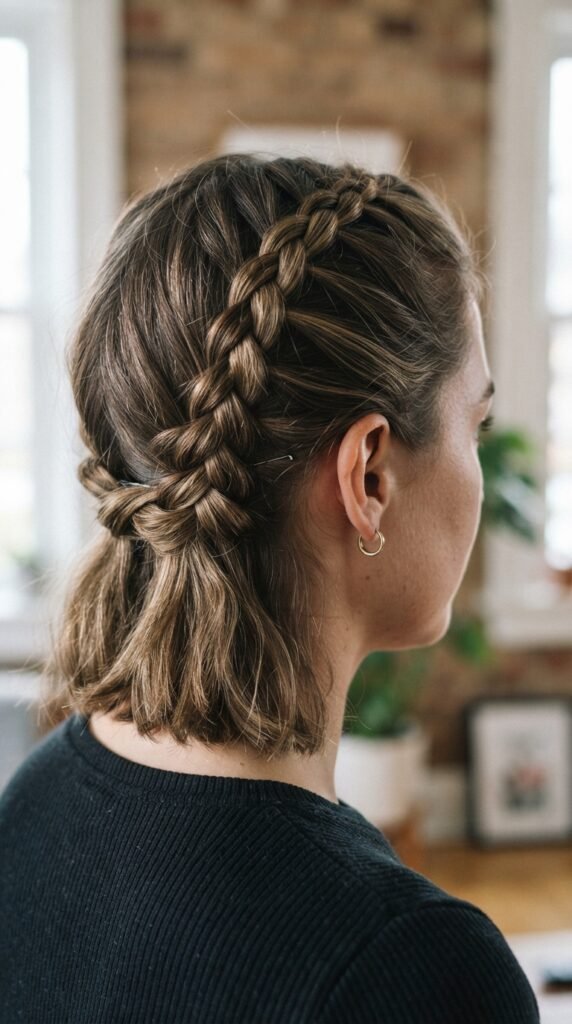
Tuck the tail behind your opposite ear. Then slide bobby pins crosswise through the fold, toward your scalp. That hidden V pattern holds way better than straight pins because it grips more hair.
Use one or two pins at the front start too, especially if your hair is smooth. Press the pins flat so they don’t poke out. If you feel any sharp ends, tuck them under the braid itself.
Give your head a little shake. If nothing moves, you nailed it.
How to Make It Stay Put All Day (A 2026 Hairstyles Trick)
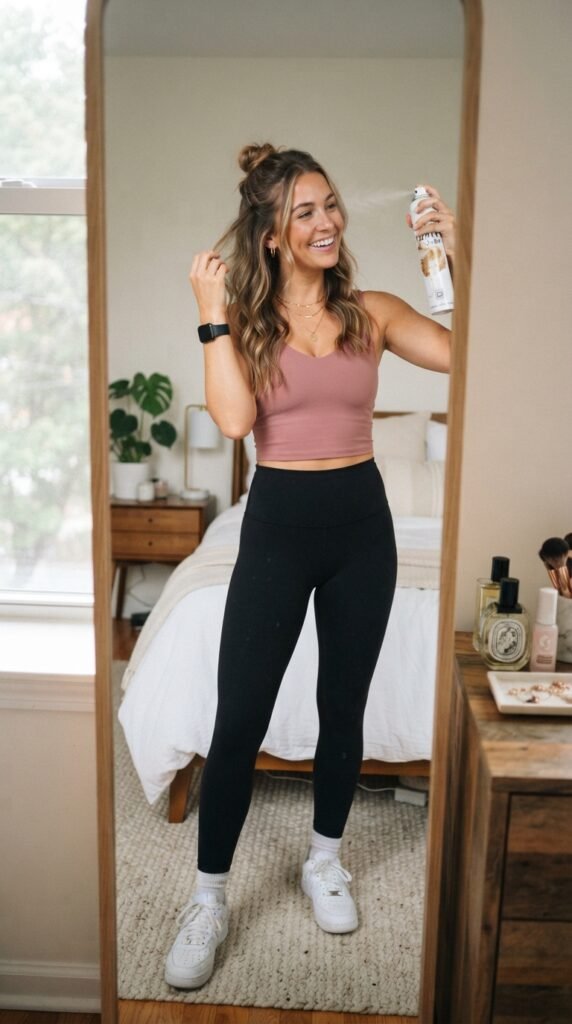
The secret in 2026 hairstyles is less stiff hairspray and more texture. A flexible-hold spray across the braid locks everything in without crunch. It keeps the edge soft and natural.
One quick mist, then press the braid with your palm for ten seconds. That helps the braid settle against your head. You’ll get natural movement plus all-day hold, even on humid afternoons.
If you’re between sprays, a tiny drop of water smoothed over the braid works in a pinch.
Give It an Old Money Hair Vibe

Old money hair thrives on understated polish. For that vibe, choose a smaller, tighter braid. Press it flat like a satin ribbon rather than a chunky plait. This makes the style look more refined and less “summer camp.”
Tuck flyaways with a dab of wax. Add a single pearl pin near the start of the braid. Clean, preppy, and quietly expensive—that’s exactly what 2026 hairstyles are leaning toward.
The result is effortless polish, not a costume.
Works Great with a Quiet Luxury Bob

Have a quiet luxury bob? Great news. This braided headband doesn’t fight your length. It actually complements that sleek, minimal shape you worked hard to get.
Start the braid near the temple and pin it behind the crown. That clears your forehead but lets the blunt bob edges shine. All that clean geometry stays visible.
If your bob is super short, try a tiny two-strand twist instead. It bends more easily and hides the pins better.
Versatile for Romantic Goth Hairstyles

Romantic goth hairstyles respond well to texture and shadow. Braid the same section, then mess it up a little. Pull tiny pieces loose near your face so they frame your cheekbones.
Maybe tie the end with a black velvet ribbon. Or leave the tail unhidden and drape it behind your ear like a secret detail. That contrast against pale hair is crisp and dreamy.
This braid feels right for gloomy weather, lace dresses, and vintage perfume.
Add a Glitchy Glam Hair Twist
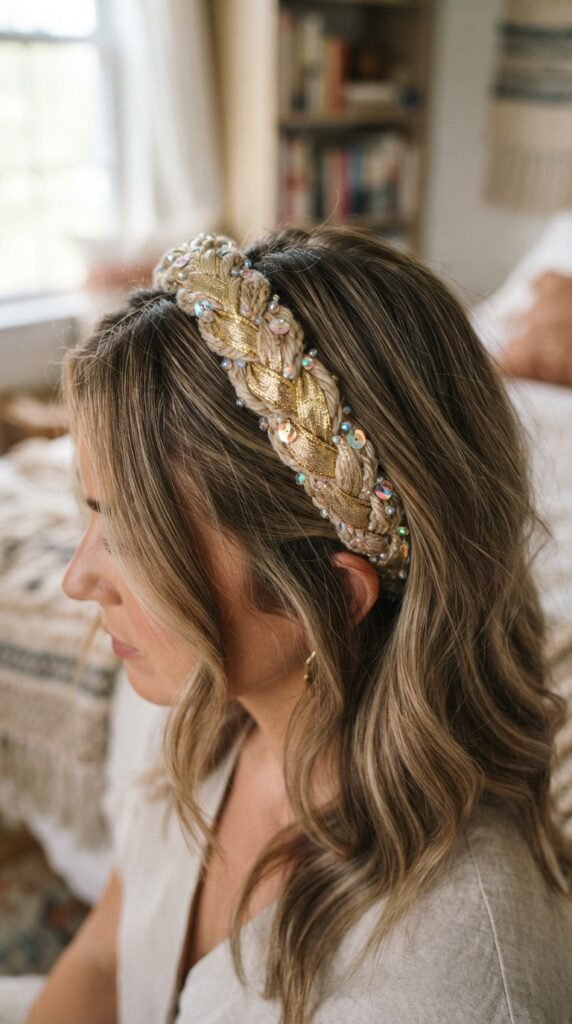
Glitchy glam hair loves shimmer and disruption. Weave a thin metallic thread or iridescent string through your braid before wrapping it. You’re basically creating a futuristic hair accessory using your own strands.
Or spray temporary shimmer over the finished plait. Just keep it subtle—glitchy glam is more about a weird little detail than full glitter coverage. Your braid becomes the “glitch” that breaks up a sleek look.
It’s playful, bold, and honestly, so fun for a night out.
Great Companion to an Asymmetrical Lob
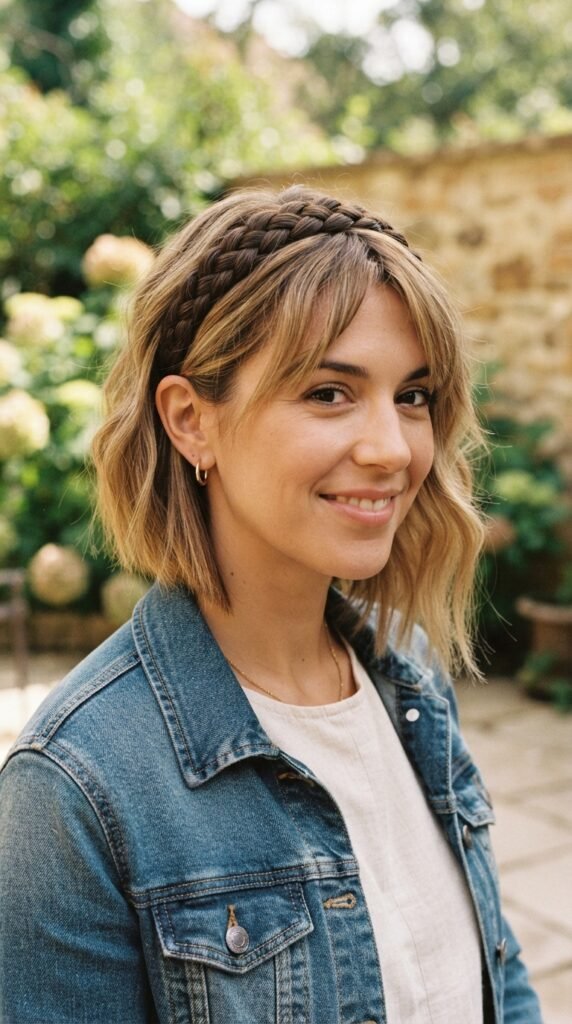
Asymmetrical lobs have that cool, sharp shape, but the longer front side can flop all over your face. The braided headband catches those strands perfectly. It keeps your vision clear and your cut looking expensive.
Pin it lower on the longer side to match the diagonal line of your cut. That keeps the visual rhythm of the asymmetry alive. It’s a 2026 hairstyles favorite because it’s half-up but never heavy.
Your lob keeps its edge, and you keep your sanity.
Try It Instead of Fussing Over a Vampire Haircut

Vampire haircut pieces are razor-textured and dramatic. When you want to show off those sharp edges, sweep everything away with this braid. It frames your eyes and balances the statement cut.
Leave a little crown volume to keep the whole look from falling flat. Dark roots and a deep part make it even more mysterious. This braid is your secret weapon for “I woke up like this” even when your hair is a bit wild.
No cape required.
Gentle on a Hime Cut Fringe
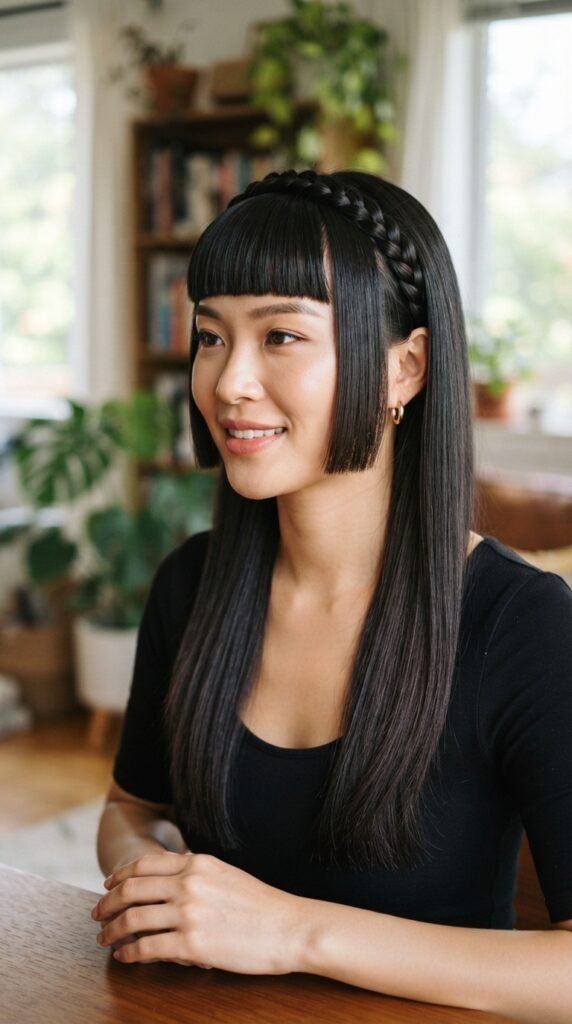
Hime cut bangs are blunt and precise, with that signature straight edge. They need extra love to stay that way. Braiding the front up for a few hours gives that straight edge a break from daily friction and styling.
Use a loose braid so you never leave a crease in the blunt ends. Tuck the tail gently, and avoid tight pins near the cut edge. Release it carefully and the hime fringe will fall like it was just trimmed.
This is a quiet maintenance trick that protects the shape.
Damaged Bangs? Give Them a Break

If stress, heat, or bleach left your bangs fragile, this style is a small lifesaver. It tucks them off your face without any pulling or tension. Your forehead gets more airflow, and your roots get a break from constant brushing.
Before braiding, smooth a drop of repair oil onto the ends. Make sure the oil is on the mid-lengths and ends, not the roots. That way they stay protected while you go about your day.
This style might become your new healing ritual.
The One-Minute Version (If You’re Running Late)

No time for a three-strand braid? Try a two-strand twist instead. Separate your bangs into two pieces and twist them together until you reach the end. Twisting is slower to unravel and even easier than braiding.
- Wrap the twist behind your ear, over your crown.
- Pin it flat with two bobby pins. Done.
It looks exactly as pretty as the braided headband—just faster. Keep this one in your back pocket for school pickup, morning meetings, and missed alarms.
Remove It the Right Way (No Creases)
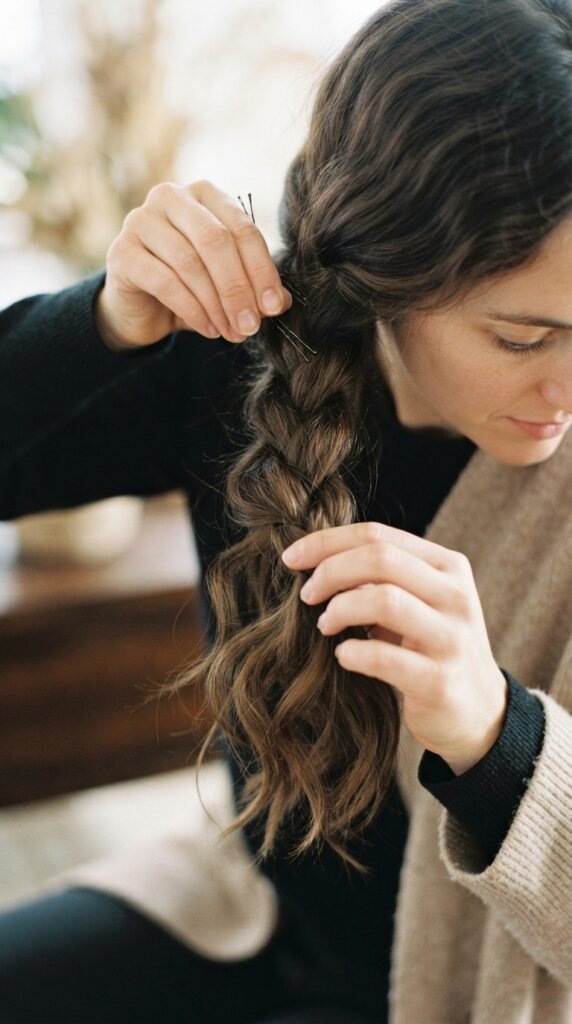
Take out the pins slowly, and don’t yank the braid downward. Fast removal leaves dents in your bangs that can last for hours. Slow and steady is the goal.
Shake the strands gently with your fingers, then comb from underneath. If one stubborn kink stays, spray a little water and let it air dry. It will relax quickly, especially if you scrunch your bangs lightly.
Treat your bangs with love, and they’ll love you right back.
Okay, Go Try Your New Braided Headband
That braided headband style is one of those practical tricks that saves you on busy mornings. It works, it flatters, and it takes less time than ordering coffee. You don’t need a special occasion or a perfect hair day to wear it.
Give yourself one try today. The muscle memory comes after that. Soon you’ll be doing it without a mirror.
Save this post to Pinterest so you have it ready for your next bad bangs day. And tell me in the comments—what’s your go-to way to keep bangs out of your face?


