Quick Space Bun Tutorial for Festivals and Casual Weekend Outings
Hey friend, let’s be honest: getting ready for a festival or a casual weekend outing should feel fun, not stressful. That’s why I’m obsessed with space buns. They’re quick, cute, and keep your hair off your face for hours.
In this tutorial, I’m sharing my easiest five-minute version. No perfect part, no curling iron, no panic. You’ll walk out the door looking like you planned your vibe ahead of time.
Whether you love soft boho pieces or sleek, polished buns, I’ve got simple ways to make it yours. Grab a mirror and let’s do something adorable with your hair today.
Why Space Buns Are Still It in 2026
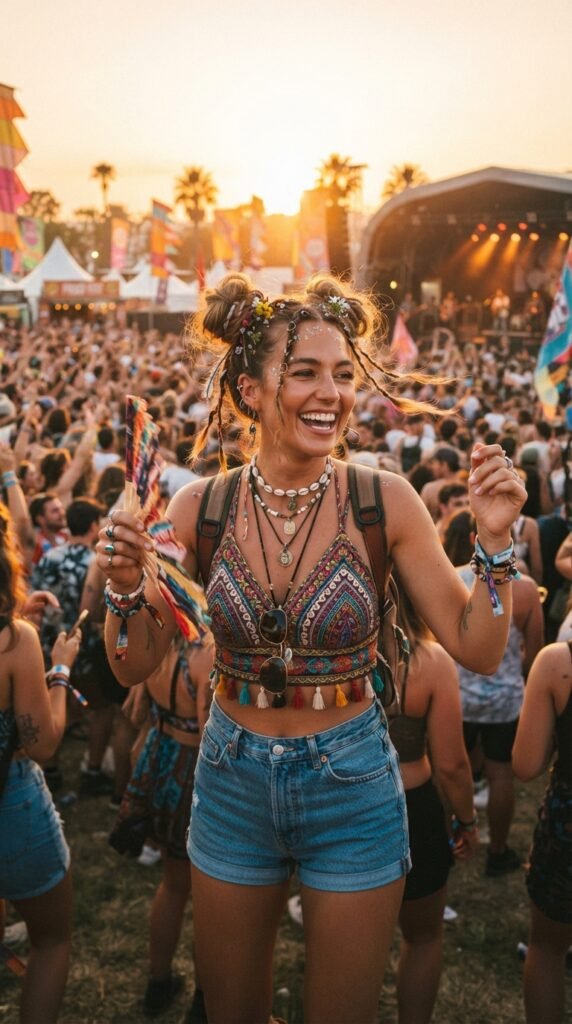
Space buns are one of those 2026 hairstyles that keep returning for a reason. They feel playful but still put together, and they work with almost all natural textures. You can wear them high for festivals or loose for weekend brunch.
I also love that they don’t require a salon visit or hot tools. Once you learn the basic wrap-and-pin trick, you can recreate it in minutes.
- Quick to master
- Keeps hair off your face
- Fits festival and casual plans
The Exact Hair Tools You Need
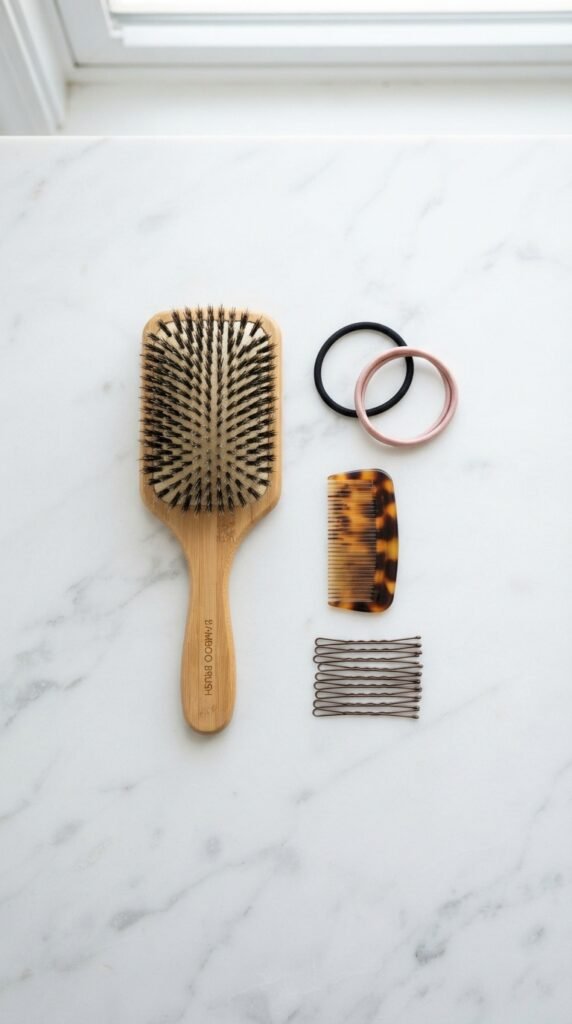
Space buns don’t need fancy tools. Here’s what I keep in my weekend bag:
- Two soft elastic hair ties
- 4 to 8 bobby pins
- A fine-tooth comb for teasing
- A soft brush to smooth
- Light hairspray or water for flyaways
If you have shorter layers, add a few small snap clips for extra hold. That’s seriously it.
How to Prep Hair for Space Buns
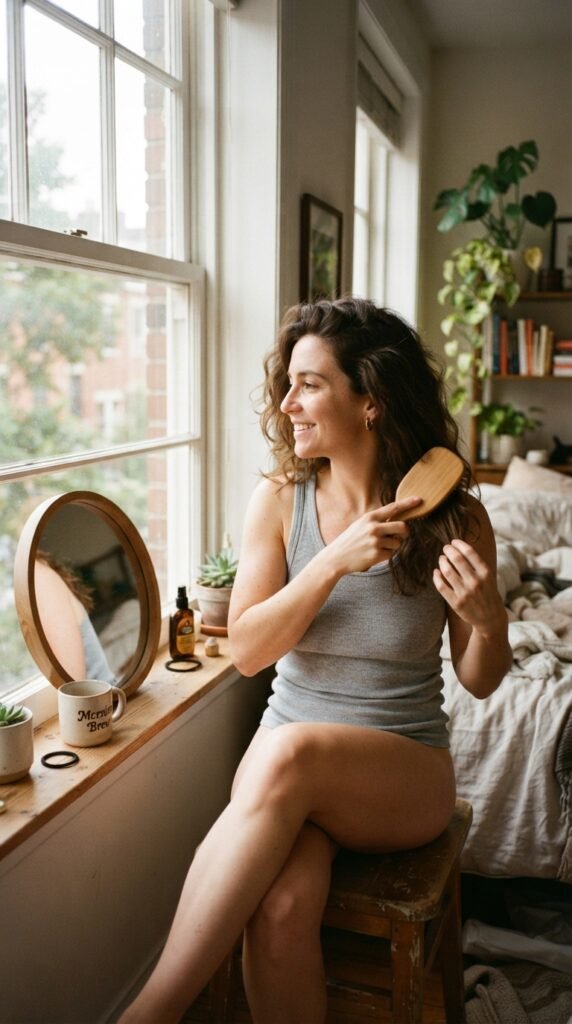
Day-old hair is actually perfect for space buns. It has enough grip to stay wrapped without sliding out. If you just washed and your hair feels too slick, use a little dry shampoo or texture spray.
Brush hair completely to remove knots, then decide: shiny and sleek or soft and messy. Both start with smooth, tangle-free hair.
Step 1: Part Your Hair Down the Middle
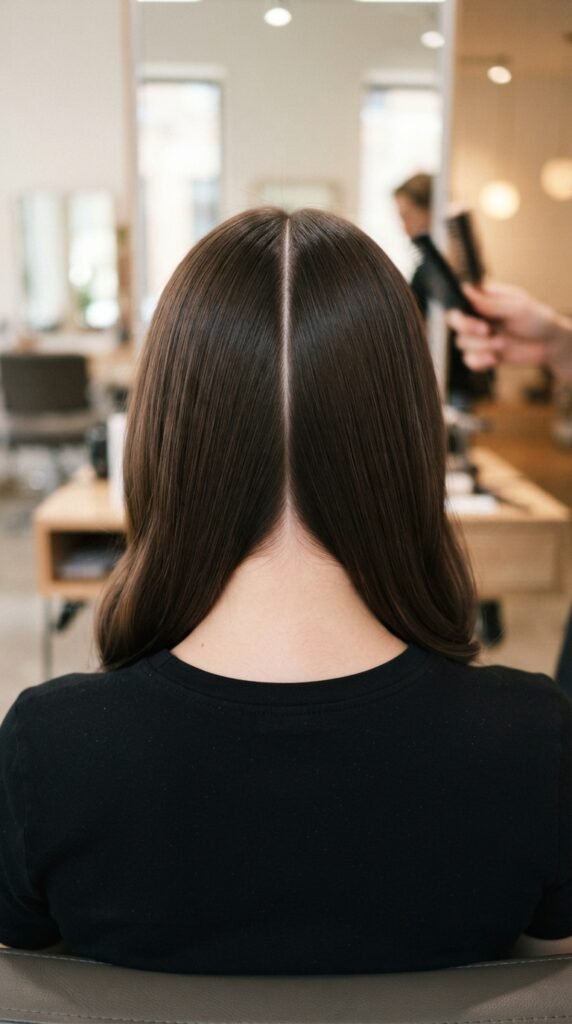
- Start with dry hair.
- Use the tail of a comb to draw a line from the center of your forehead to your nape.
- Make sure both sides feel even.
A straight middle part gives space buns their playful symmetry. It also makes the final look feel more intentional. Don’t spend forever getting it perfect—the two sides just need to be close to equal.
Step 2: Tease for Volume Without Damage
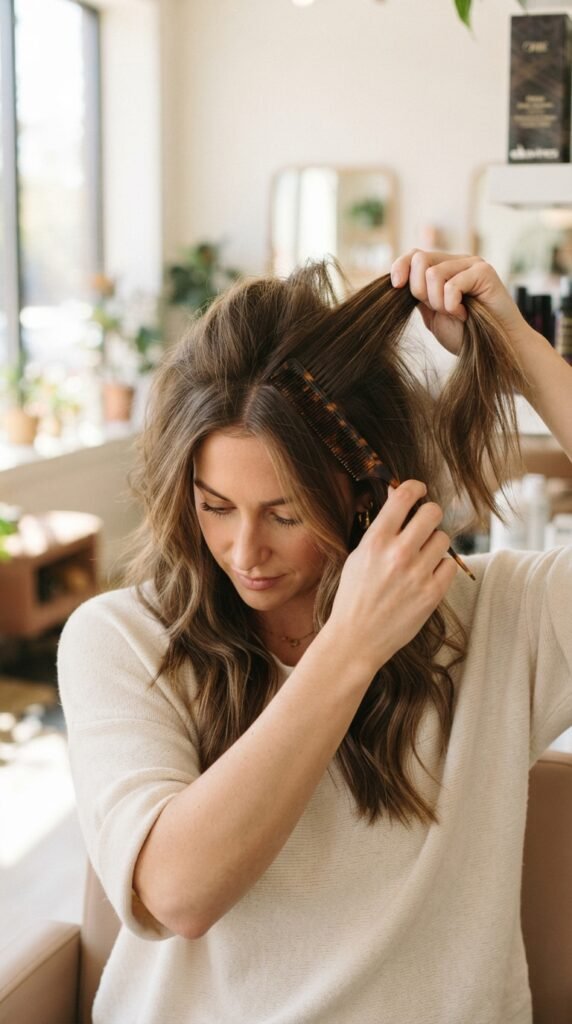
Teasing creates that airy, voluminous shape that makes buns look full instead of tiny. Hold a one-inch section straight up and comb downward toward the scalp gently. Repeat on each side.
- Lift one section at a time.
- Comb from mid-length to root.
- Don’t drag the comb too hard.
If your hair is fine, add a little texturizing powder before teasing. It gives grip and prevents pulling.
Step 3: Slick and Smooth the Sides
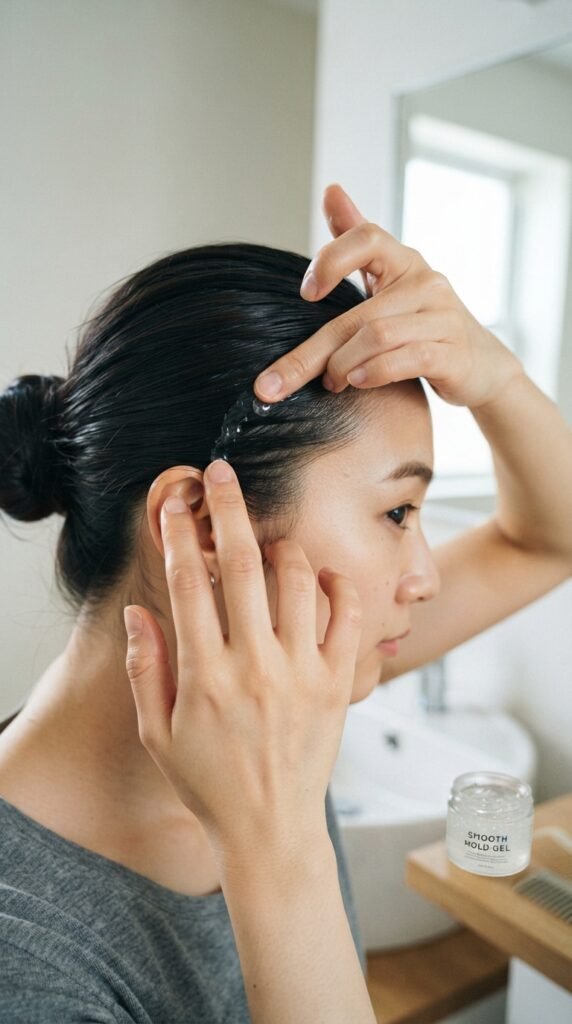
For a cleaner look, use your palms or a toothbrush with gel. Slick back the top and sides, but leave the lower back sections loose for the buns. Start near your temples and brush straight back.
This step is optional. If you prefer a softer vibe, skip extra gel and just tuck obvious flyaways. The trick is to keep the front neat while leaving the bun area textured and fun.
Step 4: Twist and Wrap into Buns
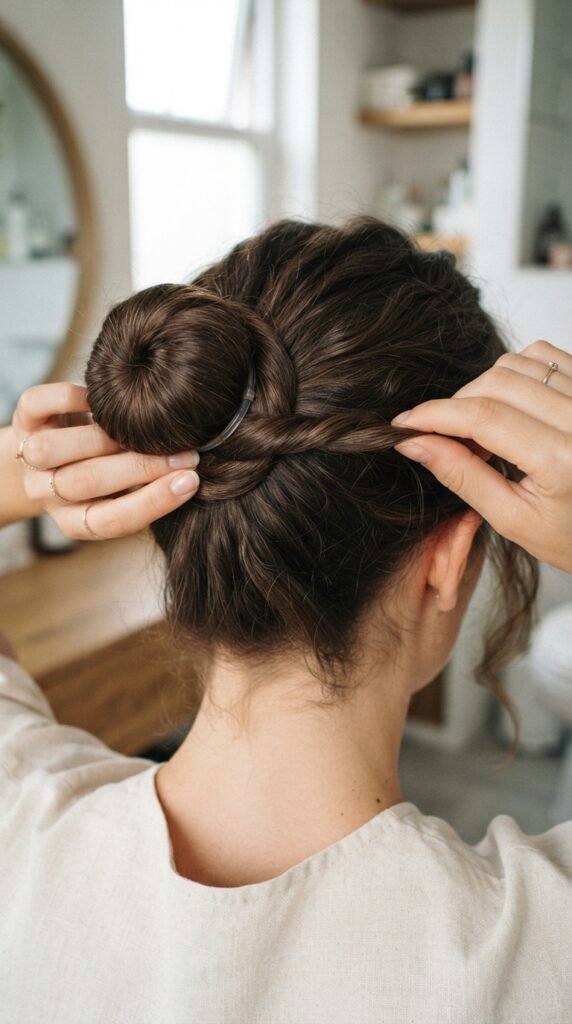
Now the fun part. Pull one half of your hair back and smooth it into a ponytail. Twist it loosely around its base to form the bun. You can go once or twice around, depending on hair length.
- Hold the tail in one hand.
- Twist until it’s snug but not tight.
- Wrap around the center and tuck the end.
Repeat on the other side. If little strands pop out, don’t stress. They add movement and keep the style from feeling too stiff.
Step 5: Pin Like a Pro
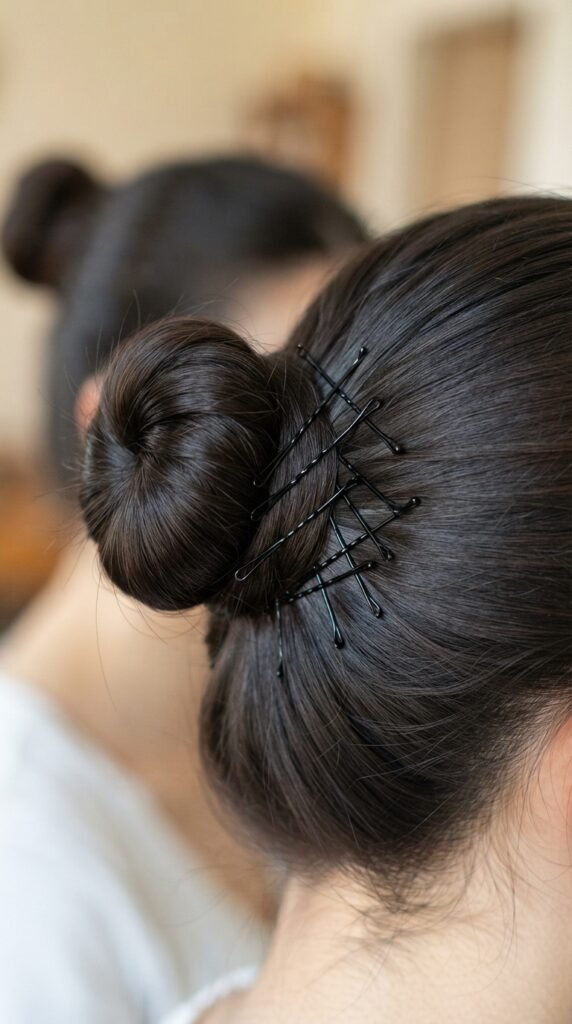
Bobby pins are your best friend here. Slide them gently into the base of the bun, then open the end outward if you need extra security. Pin the top, bottom, and sides.
- Use 2 to 4 pins per bun.
- Cross pins for extra hold.
- Hide pin ends inside the bun.
Give each bun a little tug. If it moves, add another pin. Simple, secure, done.
How High Should Space Buns Sit?
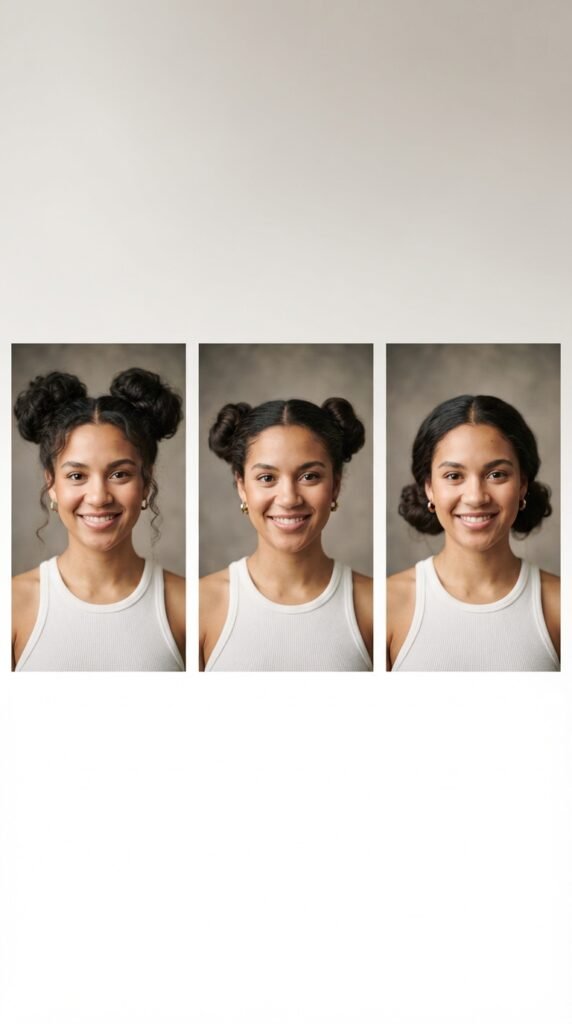
Where you place your buns changes the whole mood. High buns feel playful and retro. Mid-height buns are everyday-friendly. Low buns look polished and relaxed.
For festivals, I usually go high and slightly toward the back. For farmers markets or coffee dates, mid-height keeps the vibe easy. Hold each side up and check the mirror from all angles before pinning.
- High: party energy
- Mid: casual sweet spot
- Low: quiet, polished
Make Them Look “Old Money Hair” Polished

If you usually wear a quiet luxury bob or love old money hair, you can make space buns feel just as polished. Keep the center part sharp and smooth every hair so the buns look intentional.
Use a lightweight shine cream and place the buns low near your ears. This style shares that tidy, expensive vibe without feeling fussy.
- Draw a precise center part.
- Use serum or gel to flatten sides.
- Keep buns compact and close to the head.
Space Buns vs Hime Cut: Which Is Quicker?
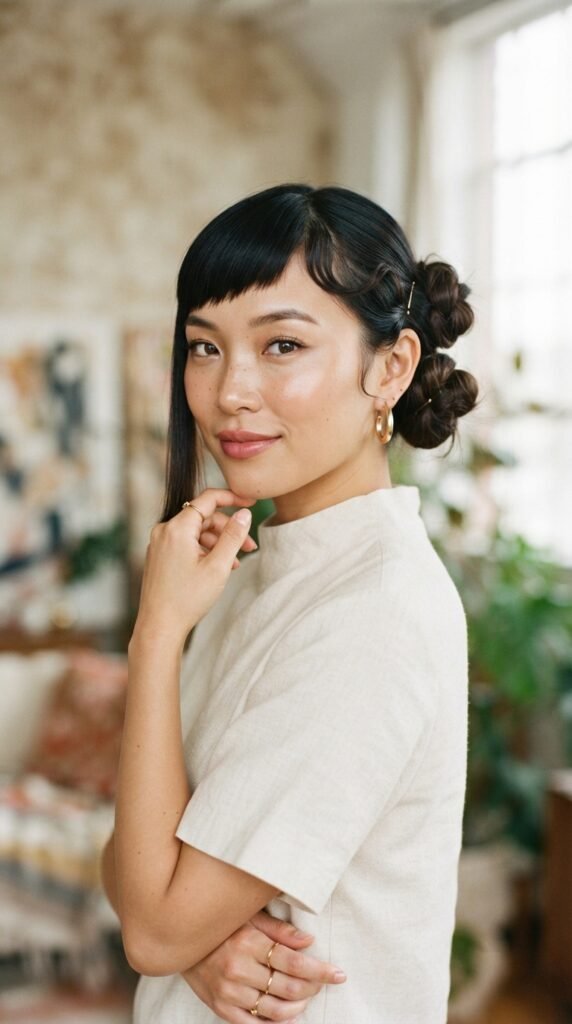
Hime cut is gorgeous and still one of the most exciting 2026 hairstyles. But it requires precision and regular trims. Space buns need zero commitment and take minutes.
I think they work together, honestly. If you already have a hime cut, gather the longer back into little buns and leave those blunt front pieces out. It gives that cute anime-inspired frame with an easy weekend twist.
Add a Romantic Goth Hairstyles Vibe
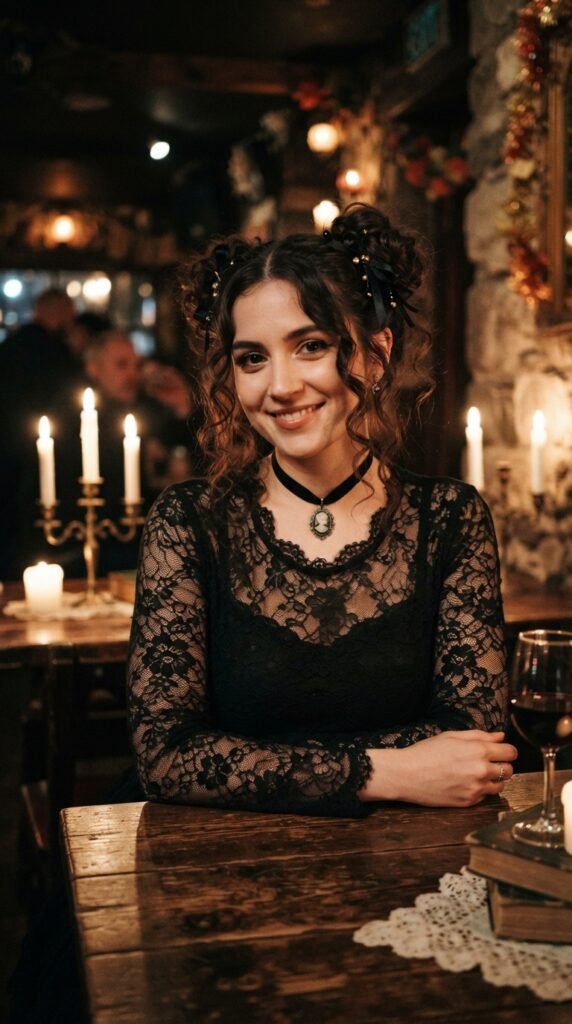
Romantic goth hairstyles often use loose texture, moody color, and dark accessories. You can get the same feeling with space buns by leaving wispy strands around your face and adding black ribbon or vintage clips.
This is also where the vampire haircut influence comes in. Long curtain bangs and wispy shaggy layers framing the face keep the style soft, mysterious, and easy to wear.
Go Glitchy Glam Hair for Nights Out
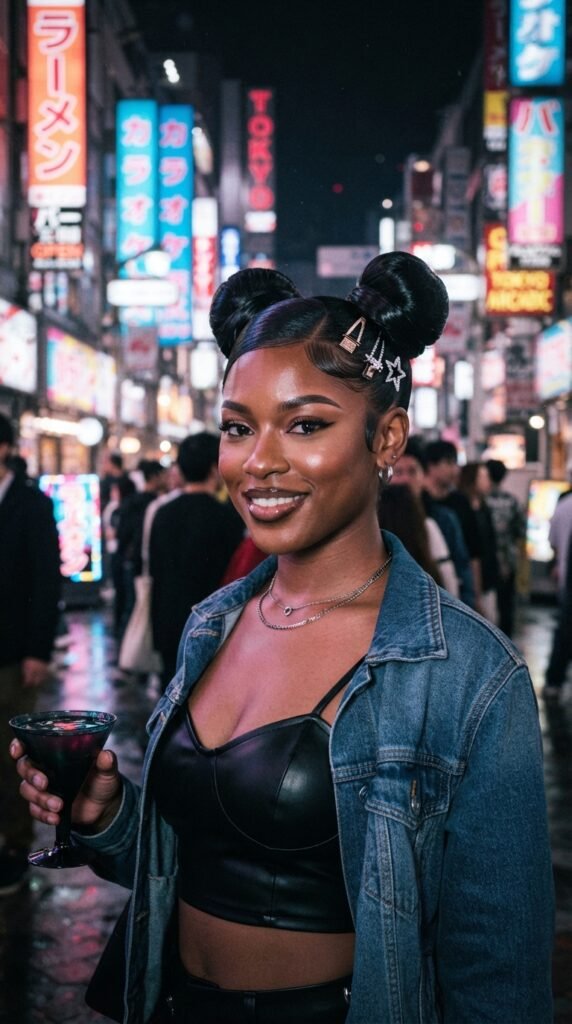
When your festival plans go late, switch the vibe with glitchy glam hair. Think sleek, futuristic shine with small pieces that catch the light around your face. Space buns make a perfect base for it.
Add a light gloss or shine spray and place small metallic clips around each bun. Don’t overdo the product—just enough to look glossy and intentional.
- Define with shine spray
- Add metallic mini clips
- Keep buns secure with hairspray
Easy Weekend Space Buns Without the Fuss
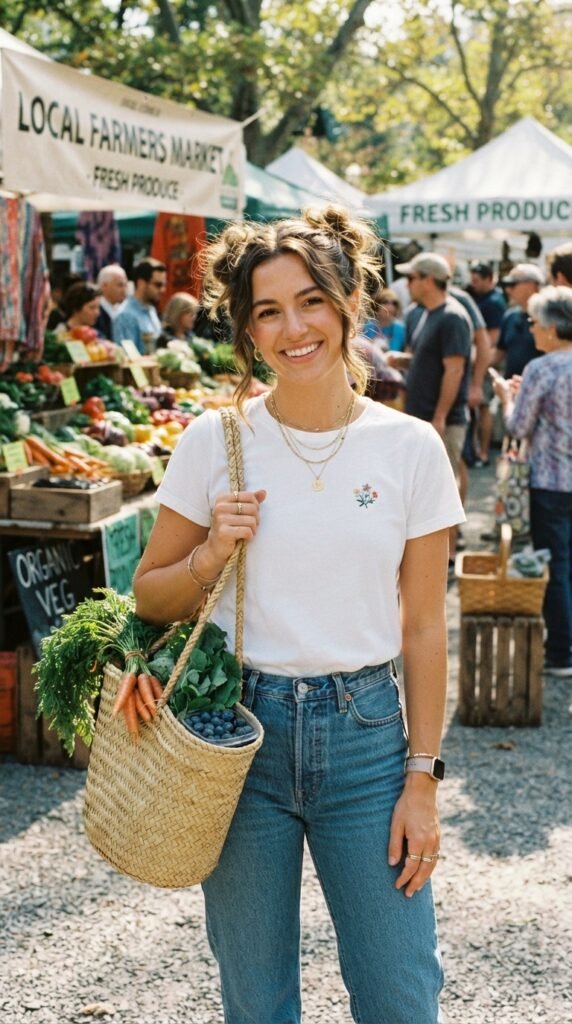
Not every space bun look needs ten products. For a lazy Sunday, pull your hair into two loose buns and leave your face bare. Add a clip if you want, or let strands fall naturally.
This style doesn’t scream “I tried hard.” It simply says “I’m ready to go.” My favorite version uses a middle part, no gel, and buns placed just above the ears.
Better Space Buns for Thick Hair
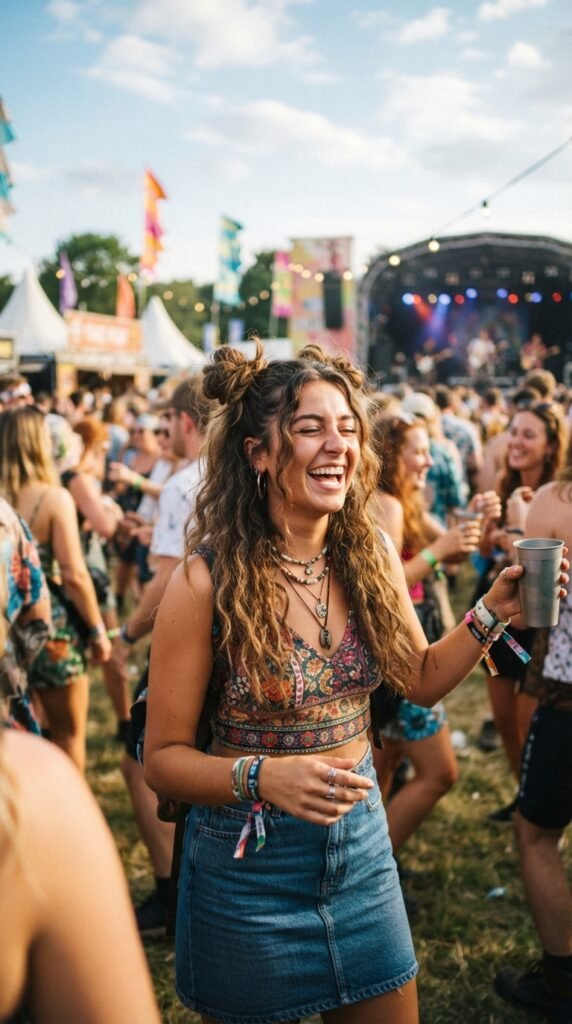
If you have thick hair, space buns can feel heavy. The fix is to work in smaller twists before wrapping, or divide each half into two sections so the bun is easier to shape.
Don’t tie too tight at the root. Place an elastic at the top, then wrap loosely. Cross bobby pins for extra anchor.
- Tease less if you have a lot of hair
- Use two elastics per side if needed
- Let some height fall naturally
Space Buns for Short Hair and Asymmetrical Lobs
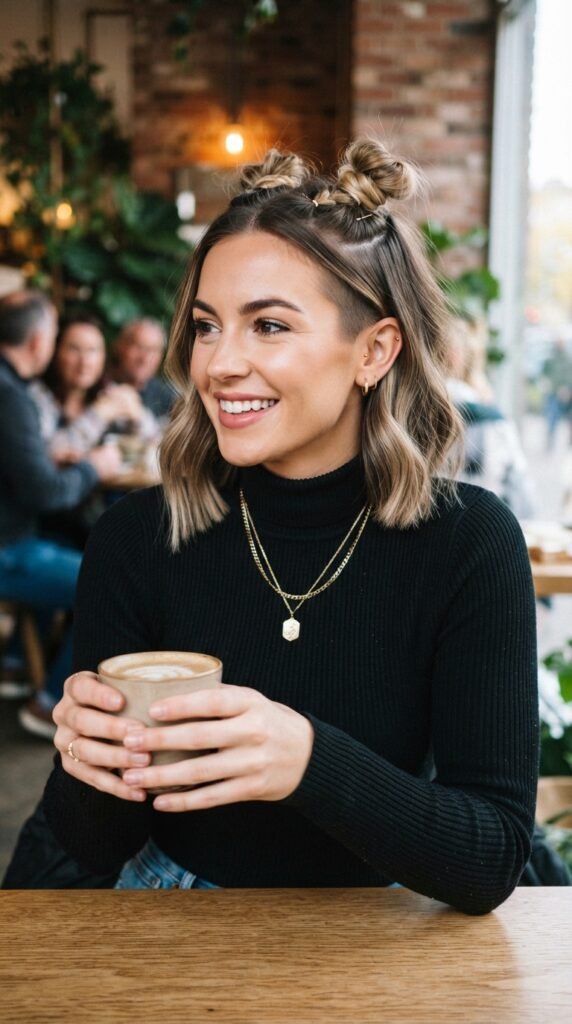
I get asked if space buns only work for long hair. Nope. If you have an asymmetrical lob, you can still make mini buns with the top sections and leave the shorter back down. It feels like a fresh modern take.
Use small claw clips instead of bobby pins for better hold when your bun is tiny. Add one spritz of hairspray and you’re set with a fun, flattering style.
Quick Fixes for Flyaways
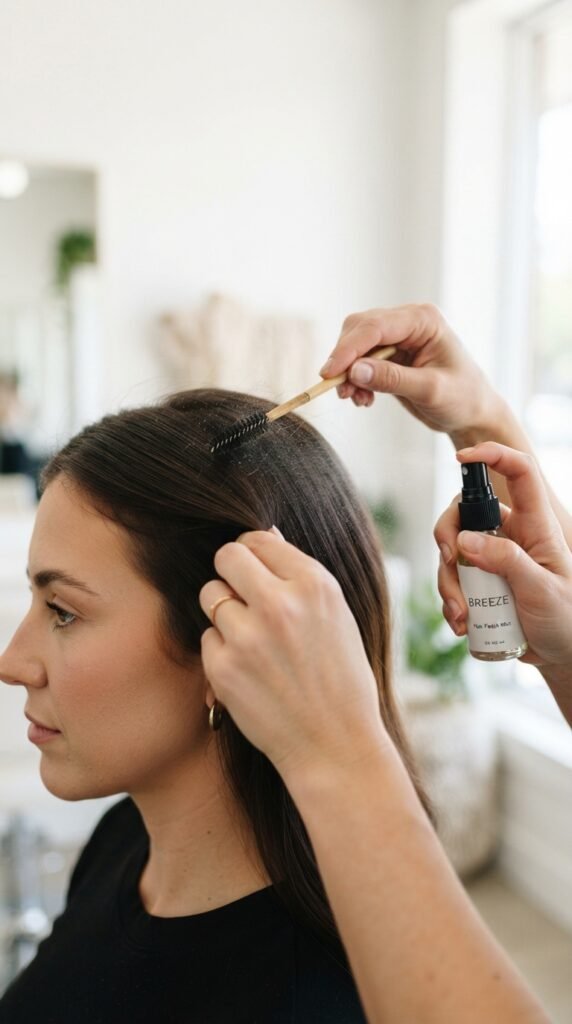
Flyaways happen to all of us, especially after a long festival day. Keep a mini spritz bottle or toothbrush with hairspray in your bag.
- Spray the brush lightly, not directly on your part.
- Smooth your hairline with gentle strokes.
- Press your palm over the area to set.
This keeps your buns looking fresh without adding sticky buildup.
Budget-Friendly Products That Actually Work
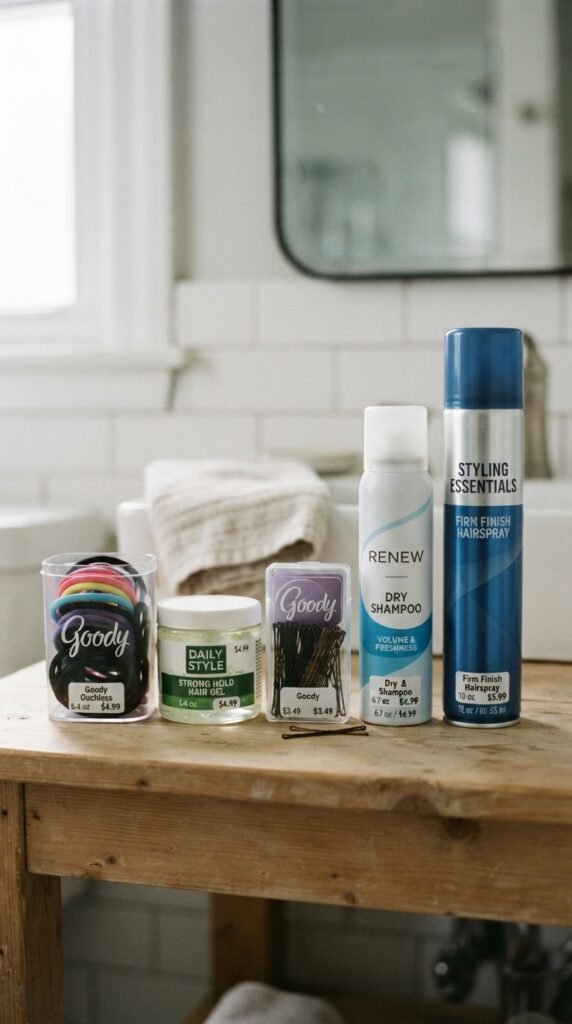
You don’t need luxury products for this. Drugstore gel, a $3 comb, and basic pins work beautifully. In fact, heavier products can weigh down your hair and make buns look flat.
My affordable favorites: texturizing dry shampoo, a flexible hairspray, and clear elastic bands. Use them sparingly.
- No expensive tools required
- Less product equals better bounce
- Old pins and ties work just fine
How Long Do Space Buns Last?
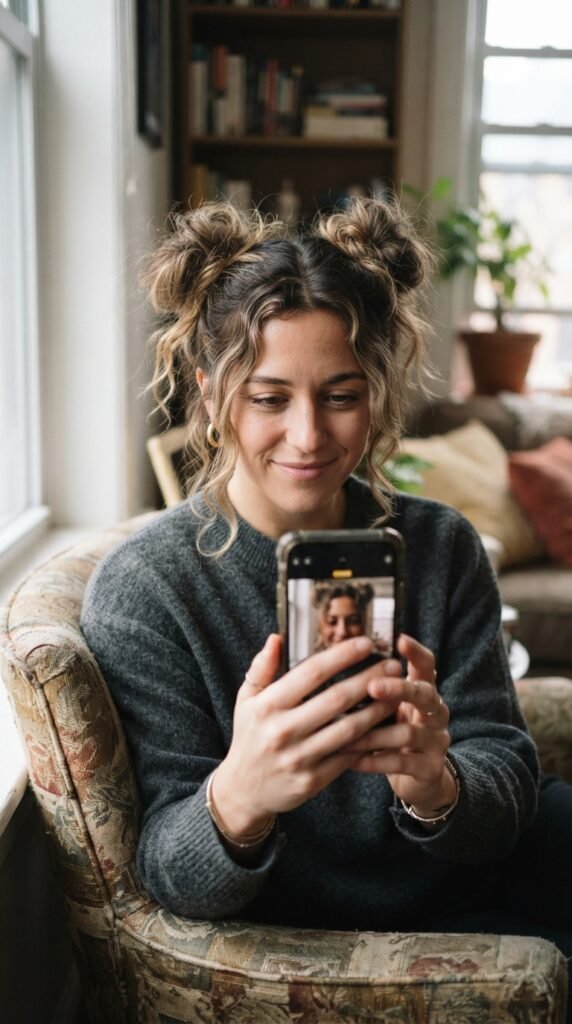
If you pin them right, space buns can easily last six to eight hours. They’re sturdy enough for dancing, walking, and packing up at the end of the day.
Curly and wavy hair holds even longer because the texture grips pins. Straight, fine hair may need a little extra hairspray and an extra pin around the front hairline.
Best Occasions to Wear Space Buns in 2026
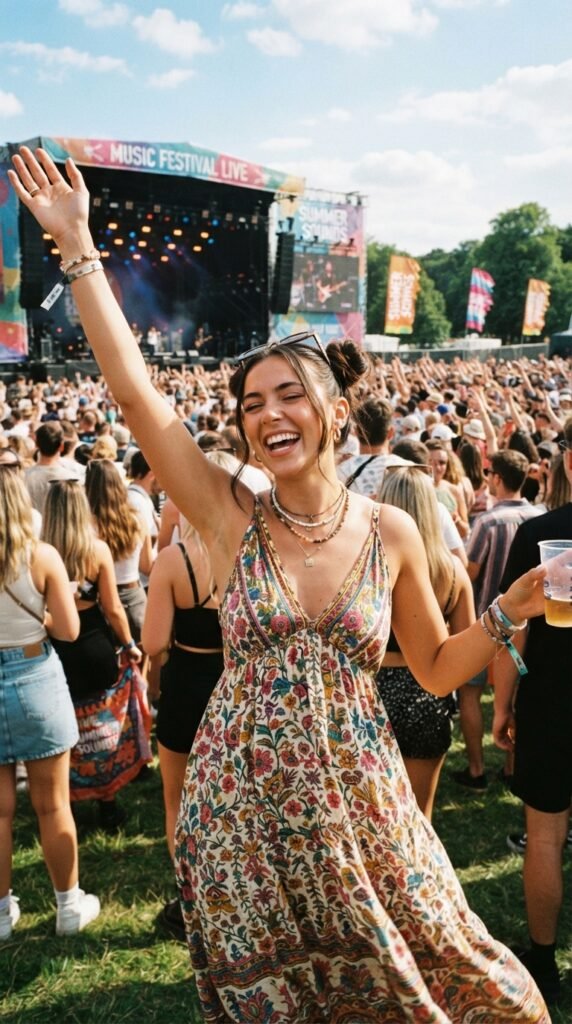
Space buns fit almost any spot in your 2026 calendar. They’re perfect for festivals, beach days, weekend markets, picnics, and slow Sunday coffee runs.
They also work for video calls if you keep them low and polished. Let the rest of your outfit stay simple so the buns add the character.
- Festivals: high and playful
- Brunch: soft and messy
- Evening: sleek with accessories
Cute Add-Ons: Ribbons, Scarves, and Clips
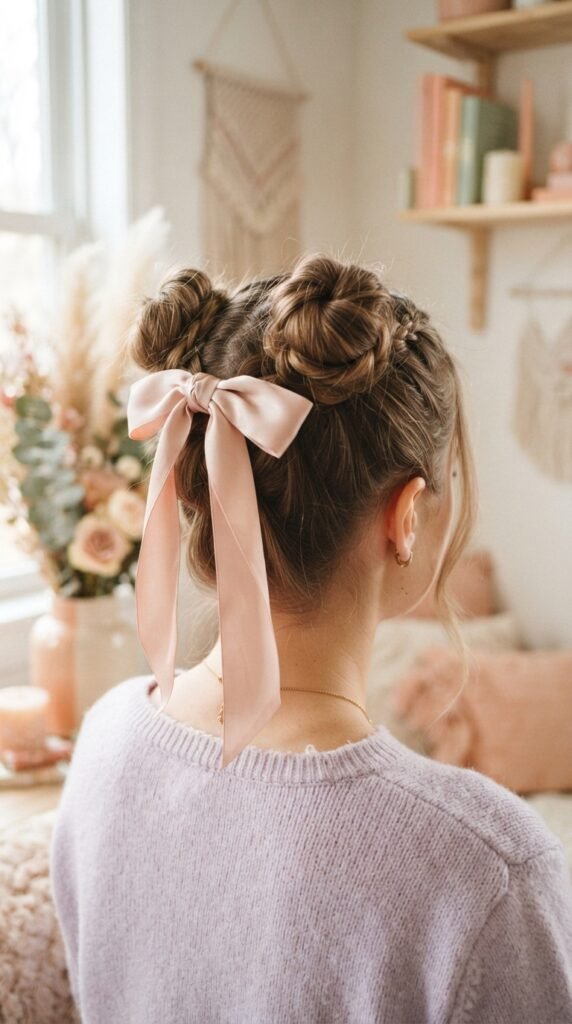
Want to upgrade your buns in ten seconds? Add ribbon, tiny butterfly clips, or a scarf. You can tie a satin ribbon around the base of each bun like a little bow.
- Scarf: wrap around the front hairline and tie at the top
- Pearl pins: perfect for a polished old money vibe
- Chain details: great for glitchy glam nights
Small extras make your hairstyle feel special without extra effort.
Take Down Your Buns Without Tangles
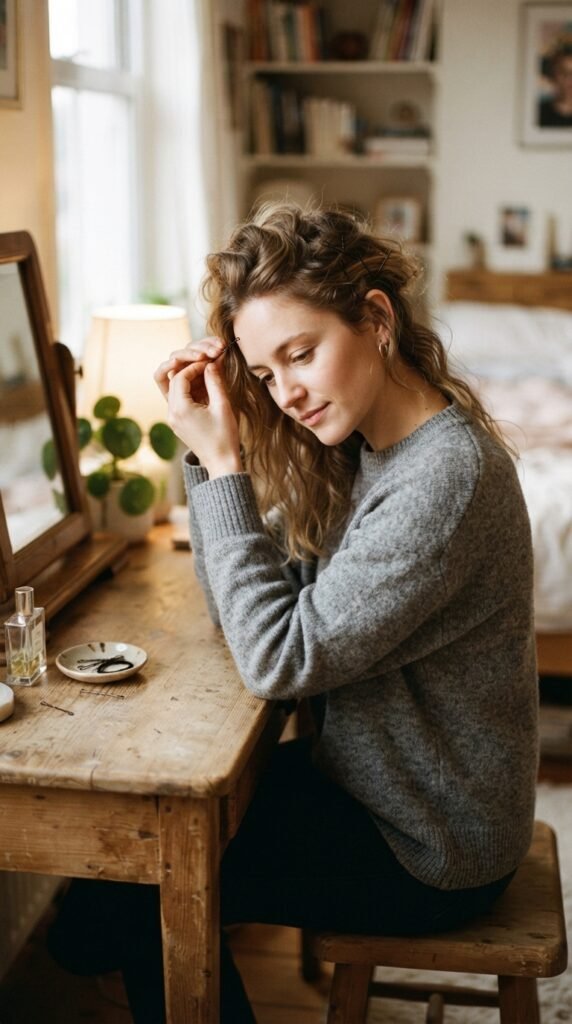
Take down matters. Don’t just pull the buns apart—you’ll get tangles. Gently remove each pin before unwrapping the twist.
- Slide pins out in the same direction you put them in.
- Untwist each bun slowly.
- Use a wide-tooth comb from ends to roots.
A quick mist of water or leave-in conditioner helps if any knots appear. Your hair stays healthy and ready for the next style.
One Last Space Bun Variation to Try
If you want to try one more version, braid each half before wrapping. This creates a textured, woven look and keeps thinner hair from disappearing.
Braid each ponytail loosely, wrap around the base, and pin. The buns hold really well and look a little more special.
You’ll feel cute, confident, and ready for anything.
Thank you for hanging out with me! Space buns are one of my favorite little tricks when I want to leave the house feeling put-together but not overdone. I hope this guide gives you a solid starting point.
If you try them for a festival or a simple weekend errand, let me know. I love seeing how you style yours.
Save this post to Pinterest so it’s ready for your next hair morning. And tell me in the comments: what’s your favorite bun height—high, mid, or low?


