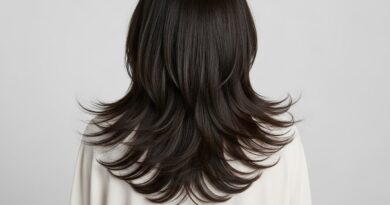
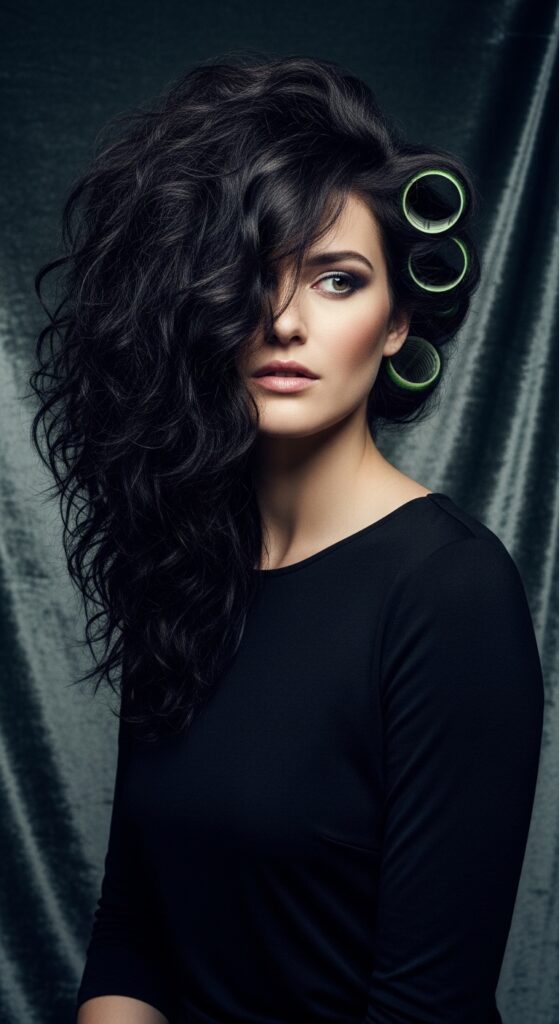
Ringlets 14 Rag Roller Wraps Vintage for Bouncy Sleep
Okay, let’s be real. We’ve all seen those gorgeous vintage photos of women with perfect, bouncy ringlets and thought, “How on earth did they do that?” The secret isn’t some magical gene or hours at the salon. It’s a simple, genius tool from the past: rag rollers.
And guess what? They’re having a major moment. This isn’t just a grandma trick anymore. It’s the key to that effortless, slept-in texture that’s all over your feed. The best part? You do it while you sleep and wake up with stunning, heat-free curls.
I’m talking about the specific 14-roller set that gives you the perfect amount of volume and definition. It’s the ultimate hack for that romantic, “I woke up like this” vibe. Stick with me, and I’ll show you exactly how to use them for the bounciest, healthiest curls of your life.
Why Rag Rollers Beat Modern Tools
In a world of high-tech curling wands and air stylers, why go back to strips of fabric? Simple: they’re kind. There’s zero heat, which means zero damage. Your hair gets to rest and actually recover while you style it.
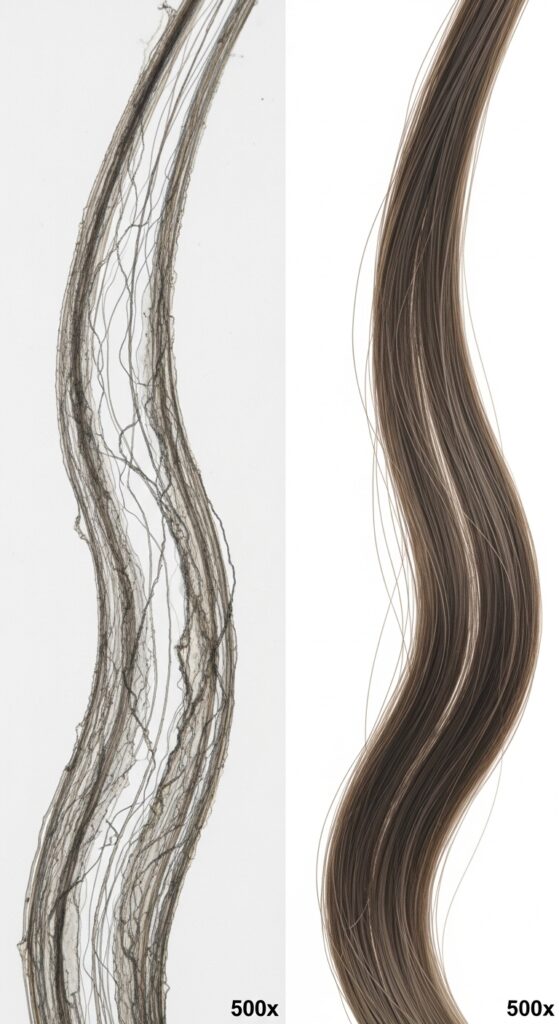
The curls they create are also totally unique. They’re soft, touchable, and have a lived-in texture from day one. Unlike the uniform curls from a barrel iron, rag roller curls have a charming, imperfect wave pattern that looks incredibly natural.
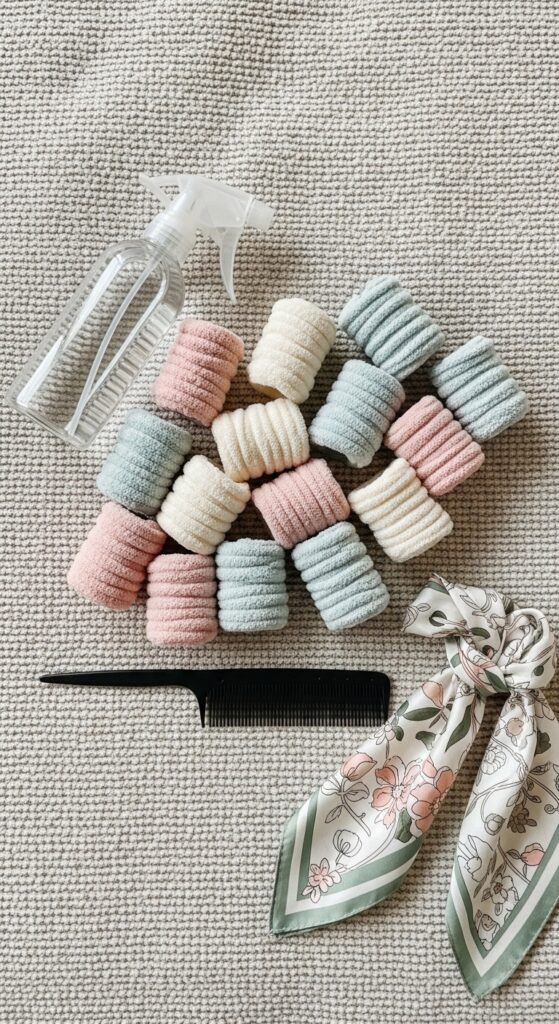
What You Need to Get Started
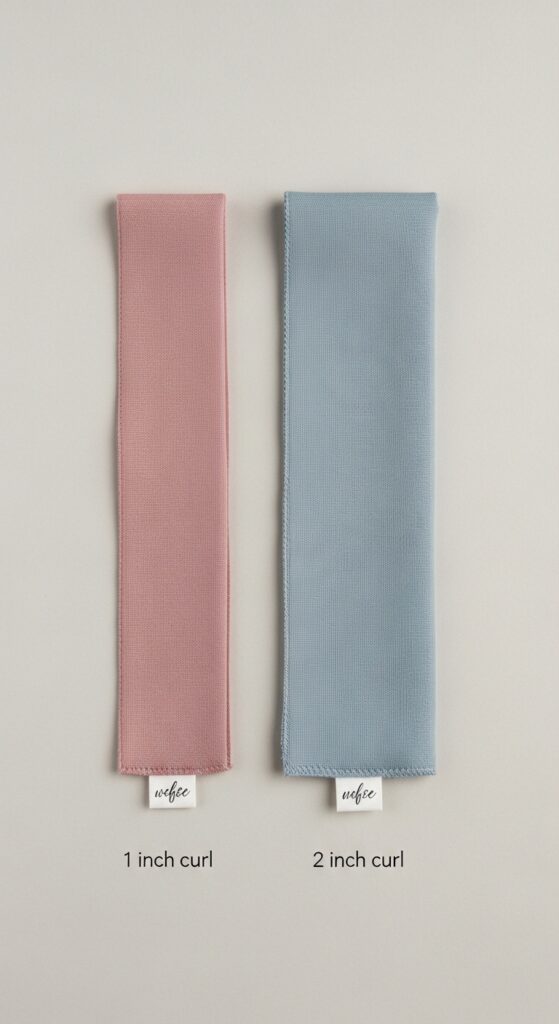
You don’t need much! The core item is a set of 14 rag rollers. You can buy a ready-made set online or make your own from strips of soft cotton or flannel fabric. The 14-count is perfect for a full head of medium-length hair.
Gather these few extras:
- A spray bottle with water or a light leave-in conditioner
- A wide-tooth comb or detangling brush
- Hair clips or ties to section your hair
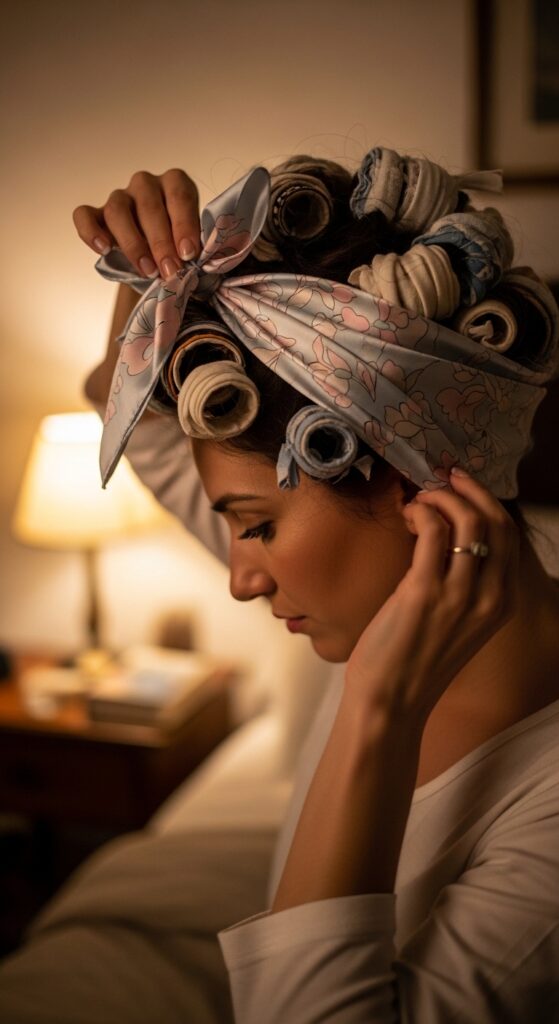
- A silk or satin scarf (optional, but great for protecting the style)
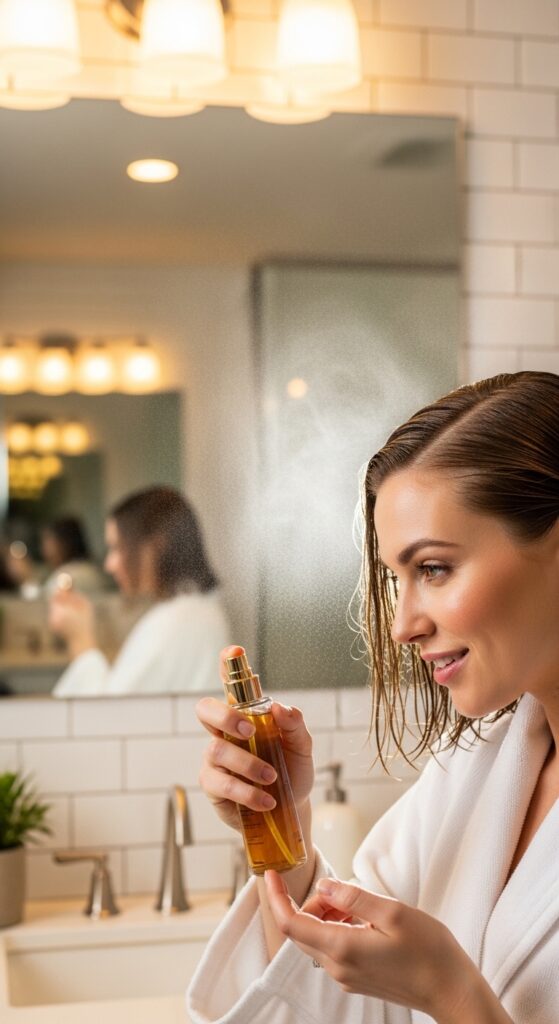
Prepping Your Hair for Perfect Curls
Start with hair that is slightly damp, not soaking wet. I mist mine with water until it’s about 70% dry. If your hair is fine, use just water. If it’s thicker or drier, use a mix of water and a lightweight leave-in conditioner.
Comb through thoroughly to remove any tangles. Working with smooth, detangled sections is the key to even curls and a tangle-free take-down in the morning. Part your hair as you normally would before you begin.
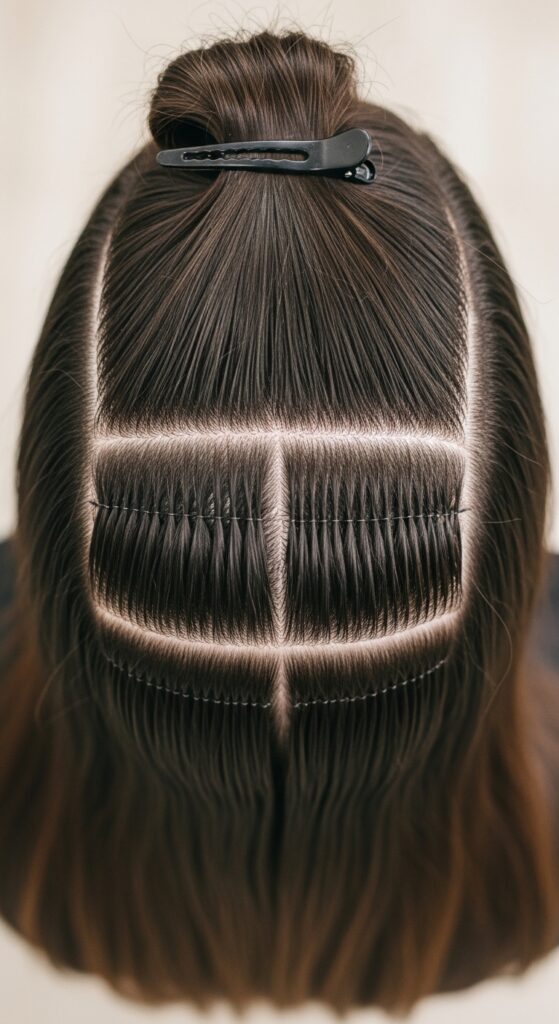
Sectioning Your Hair the Right Way
Divide and conquer! Start by clipping the top half of your hair up and out of the way. You’ll work with the bottom sections first. This keeps things organized and ensures every piece gets rolled.
For the most uniform results, try to make your sections about the same width as each rag roller. You don’t have to be perfect, but consistent sizing helps the curls set evenly and dry at the same time.
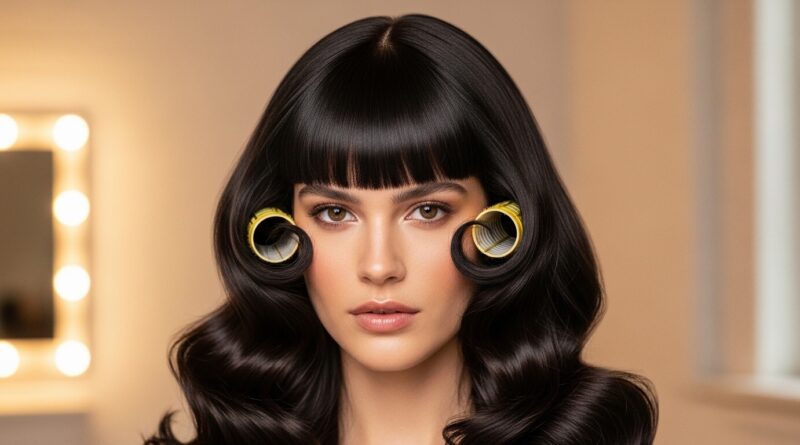
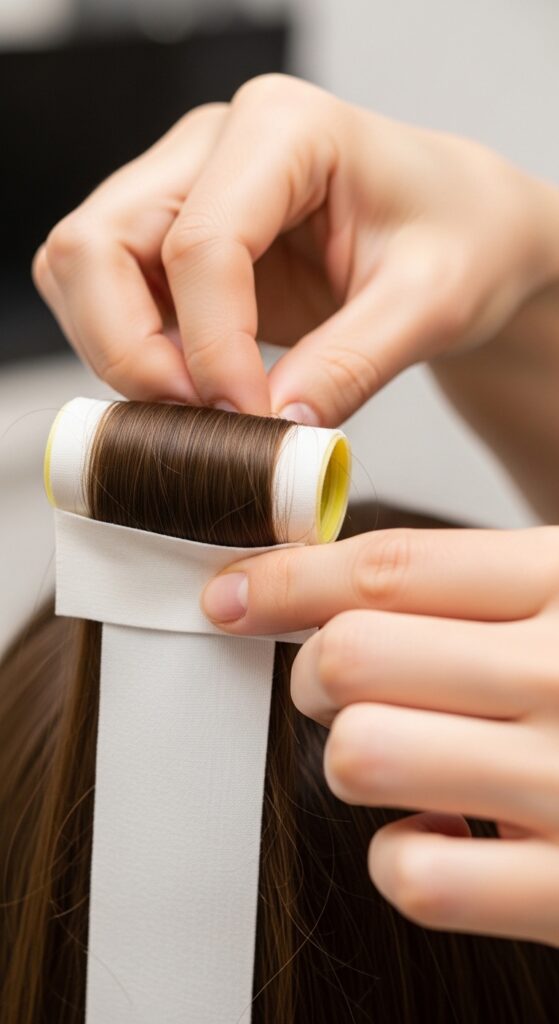
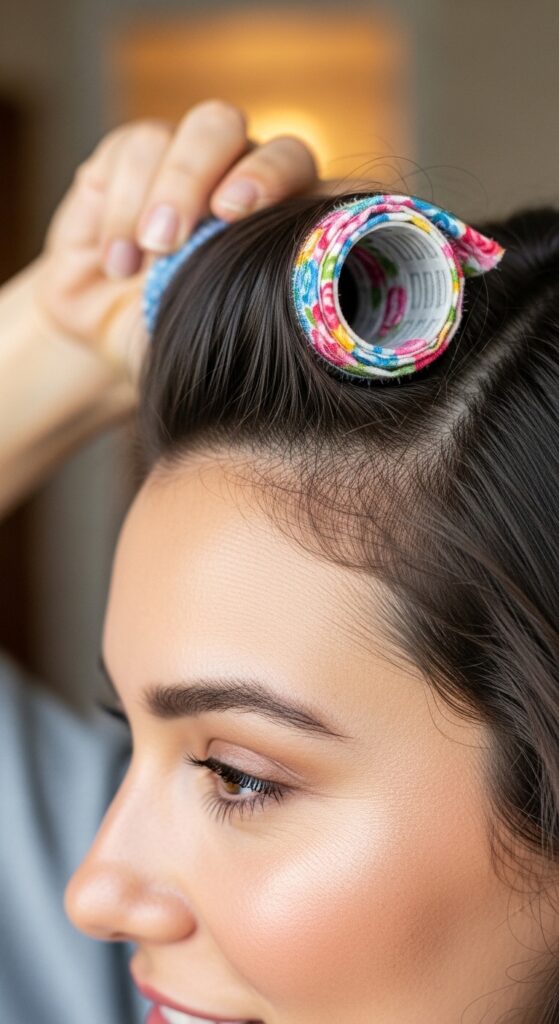
The Basic Rolling Technique, Step-by-Step
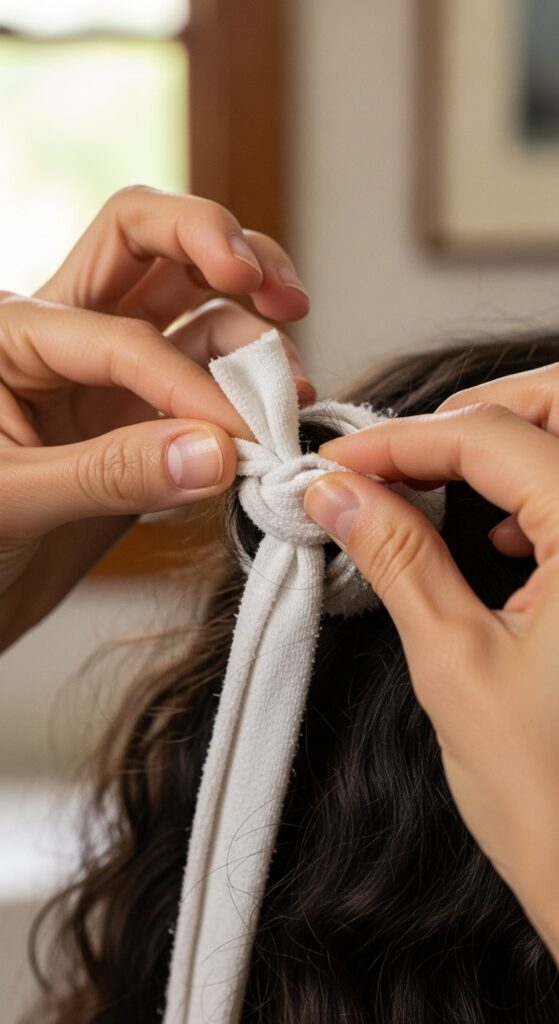
- Take one section of hair. Place the middle of a rag roller at the very ends of your hair.
- Fold the fabric over the ends to secure them, then start rolling upward toward your scalp.
- Keep the tension even as you roll. You want it snug, but not tight enough to pull or cause tension.
- Once you reach your roots, tie the two ends of the rag into a secure knot or a bow.
How to Roll the Front Sections for Volume
The front sections are crucial for framing your face. For maximum lift at the roots, roll these sections upward and slightly backward, toward the crown of your head. This creates that gorgeous, vintage volume at the front.
Be mindful of your hairline. Roll small, delicate sections around your face for soft, face-framing tendrils. These front pieces often create the prettiest, most romantic curls in the final look.
Securing the Rollers for a Comfy Sleep
Once all 14 rollers are in, give your head a gentle shake. Nothing should feel painfully tight. If it does, unroll that section slightly. The goal is security without a headache.
For sleeping, I loosely wrap a silk scarf around my head to keep everything in place and prevent friction. A loose, low ponytail or bun over the top can also work if scarves aren’t your thing. The key is not to squash them.
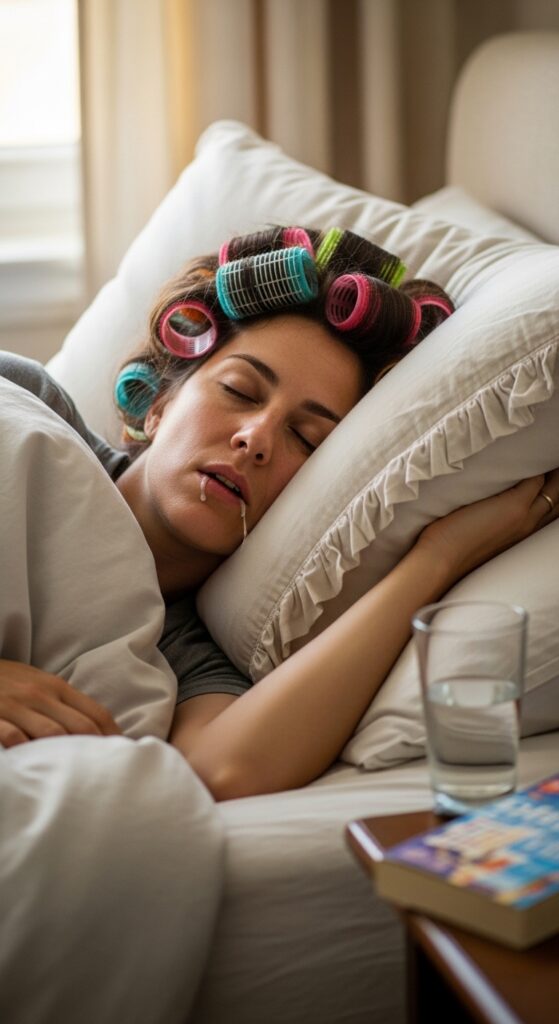
What to Expect Overnight
Yes, you can sleep on them! It takes some getting used to, but it’s not as bad as plastic rollers. The fabric is much softer. I recommend sleeping on your back or using a travel neck pillow to cradle your head if you’re a side sleeper.
Your hair needs time to dry completely. If you have very thick hair, you might need to do this on a weekend afternoon and let them set for 6-8 hours. Fine hair often dries overnight.
The Big Reveal: How to Take Them Out
In the morning, be patient! Gently untie each knot and slowly unroll the fabric downward. Don’t just pull the roller out. Let the curl fall naturally as you unroll.
Once all rollers are out, don’t brush or comb your hair yet. Just flip your head over, shake your roots gently with your fingers, and flip back up. This is when the magic happens.
Shaking Out and Defining Your Curls
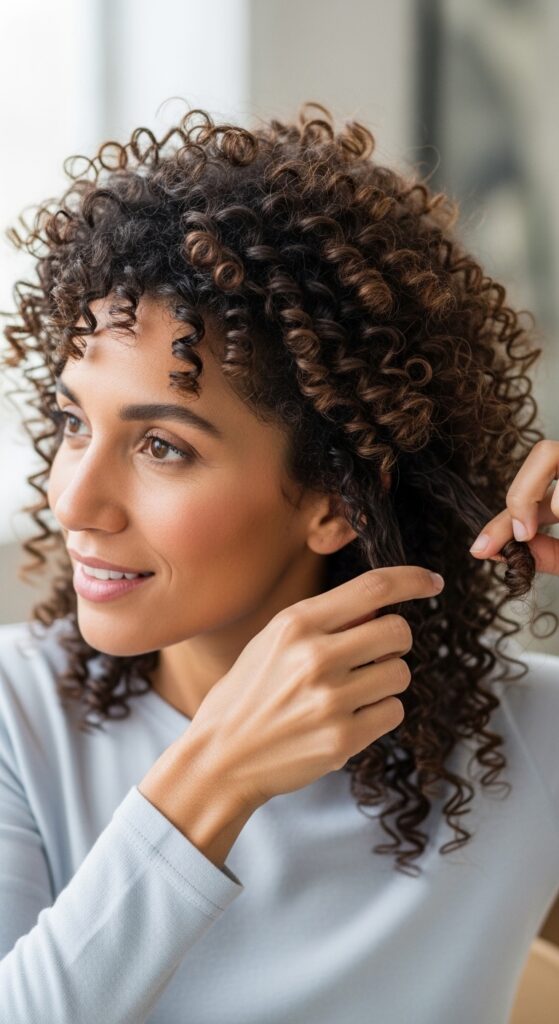
After the initial shake, let the curls settle for a minute. Then, with your head upright, use your fingers to gently separate any curls that are stuck together. Start at the ends and work up, never raking from the roots.
If you want more definition and less volume, you can lightly scrunch a tiny bit of curl cream or oil into the ends. But honestly, the texture right out of the rollers is usually perfect.
Making the Style Last All Day
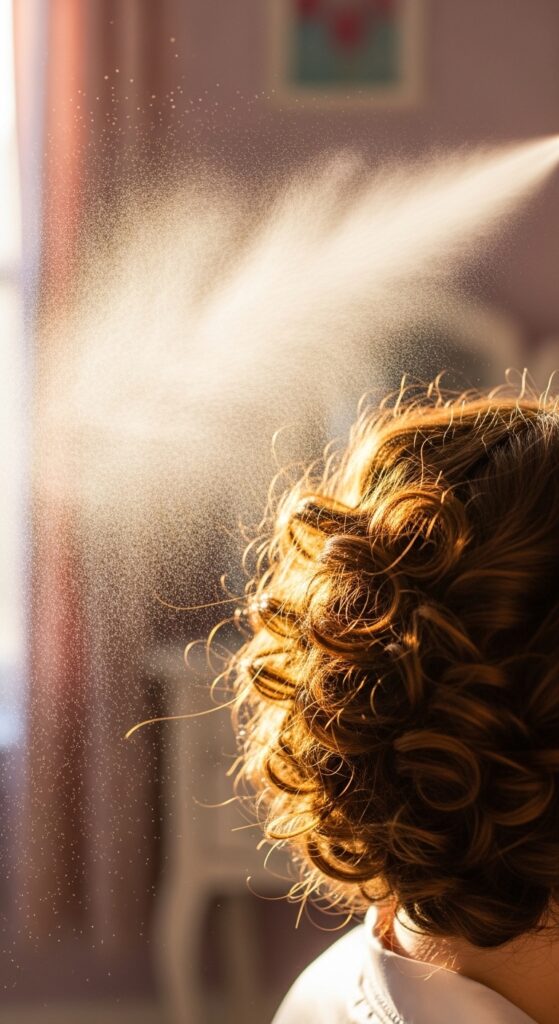
To lock in this gorgeous style, a light hold hairspray is your friend. Hold the can at arm’s length and mist lightly over your curls. Avoid heavy sprays that will make your hair crunchy or stiff.
Throughout the day, if your curls start to drop, you can revive them by lightly misting a section with water, re-rolling it around your finger, and holding it for 30 seconds. It’s the perfect touch-up.
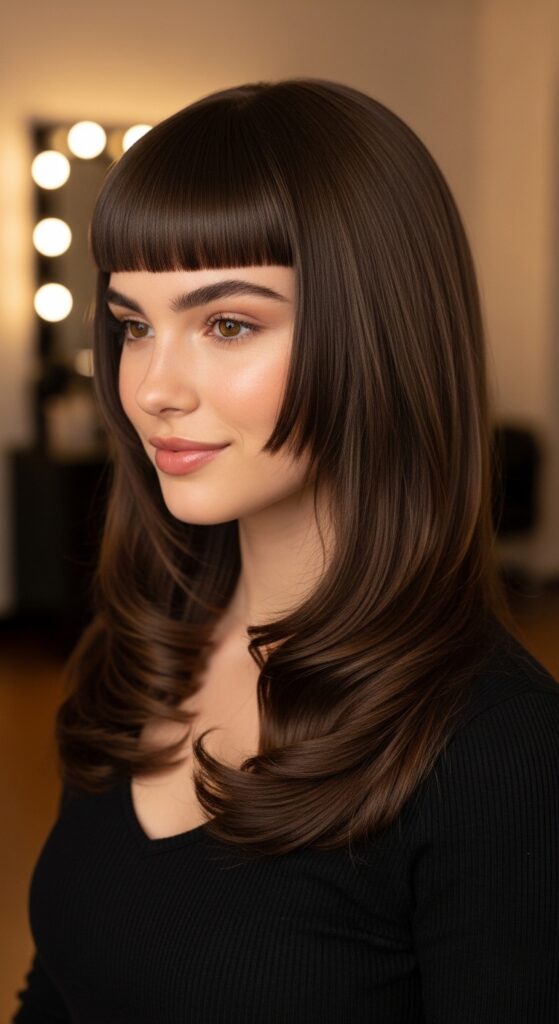
Adapting the Method for Short Hair
If you have a chic bob, lob, or even an asymmetrical lob, you can still use this method! You just won’t use all 14 rollers. Focus on the ends, rolling smaller sections to create a flipped-out or subtly wavy texture.
For a quiet luxury bob, this technique adds just the right amount of undone, expensive-looking body without any heat damage. It’s the ultimate low-effort, high-reward style.
Creating Modern 2026 Hairstyles with Vintage Tools
This is where it gets fun. Those trending 2026 hairstyles we’re seeing? They’re all about texture and personality. Rag roller curls are the perfect base for so many of them.
Want glitchy glam hair? Pair these imperfect ringlets with a stark, sleek middle part. Going for an old money hair aesthetic? The soft, set-and-forget waves are exactly that “effortless” inherited texture everyone wants.
For a Romantic Goth or Vampire Vibe
If your style leans toward romantic goth hairstyles or you’re obsessed with the vampire haircut trend, rag rollers are your secret weapon. They create that dramatic, cascading curl perfect for a dark romantic look.
Combine these deep, bouncy ringlets with a deep side part or some face-framing layers. The result is hauntingly beautiful, textured volume that looks straight out of a period drama.
Pairing with Hime Cut or Blunt Bangs
The structured hime cut with its blunt bangs and sharp lines gets an amazing contrast with soft, rag roller curls. It creates a beautiful balance between edgy and romantic.
Simply roll the longer lengths of your hair, leaving your blunt bangs or face-framing pieces straight. When you take the rollers out, you have this stunning mix of severe and soft that’s incredibly fashionable.
Transforming Curls into Second-Day Waves
Day two hair might be even better! As the ringlets relax, they melt into incredible, beachy waves. To refresh, just dampen your hands and scrunch the waves back to life.
You can also pull the top half back into a claw clip for an easy, elegant look. The texture from the rag rollers gives any updo a beautiful, romantic fullness.

Troubleshooting Common Rag Roller Problems
Problem: Curls are too tight. Solution: Roll your hair on larger-diameter rollers or use a wider strip of fabric. Also, make sure your hair is only slightly damp, not wet.
Problem: Curls didn’t set. Solution: Your hair may have been too dry when rolled. Try dampening it more, or leave the rollers in for a longer period. Thicker hair needs more time.
Why Your Hair Will Thank You
Swapping even one heat-styling session a week for rag rollers gives your hair a real break. You’ll notice less breakage, less dryness, and more shine over time. It’s true haircare through styling.
Think of it as a treatment that also gives you amazing hair. You’re essentially giving yourself a long, deep conditioning period without any of the damaging high temperatures.
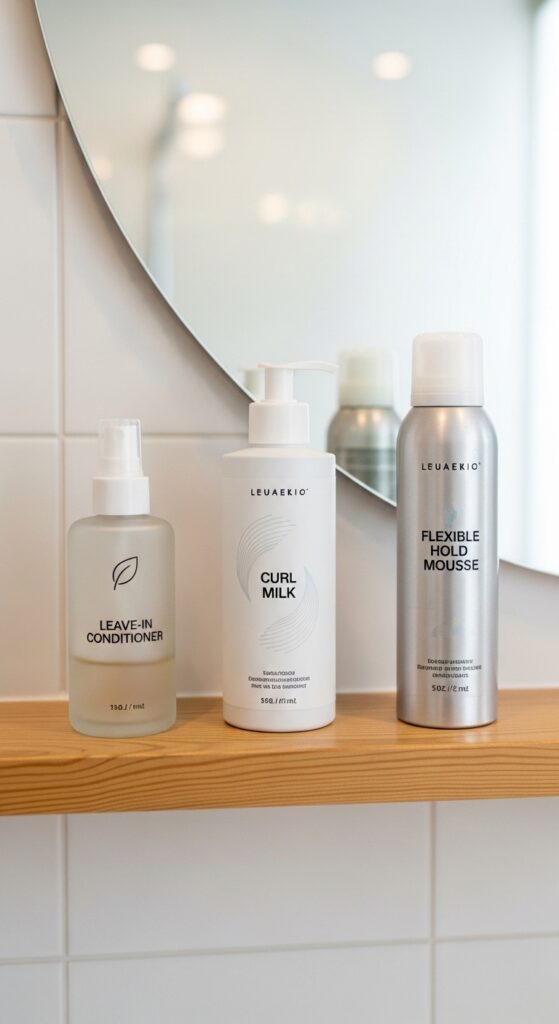
My Favorite Products to Use With Rag Rollers
I keep it simple. A light leave-in conditioner or a curl-defining milk is perfect for pre-dampening. My current favorite is a lightweight spray with argan oil.
For hold, a flexible-hold mousse applied to damp hair before rolling can give extra longevity. But honestly, most of the time, just water works wonders and leaves no residue.
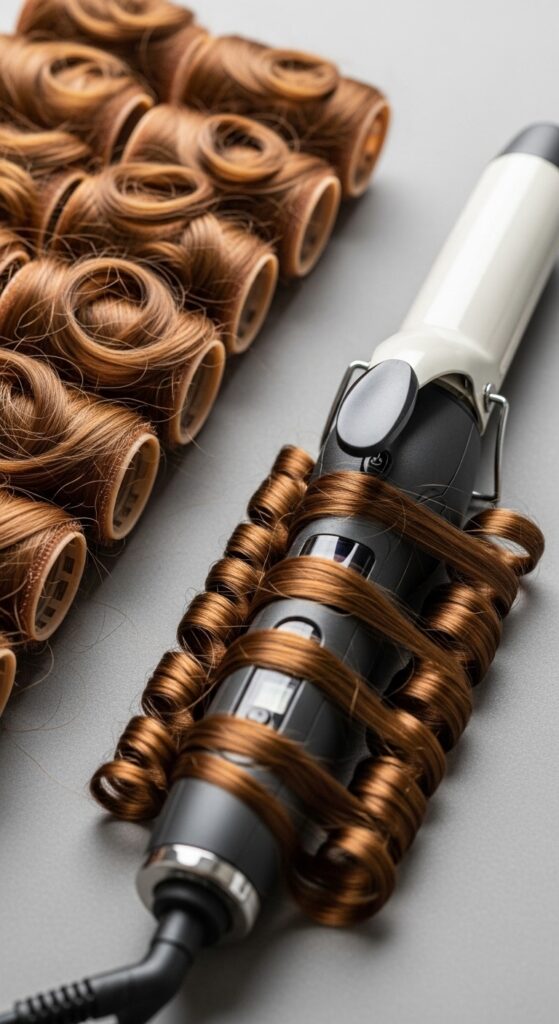
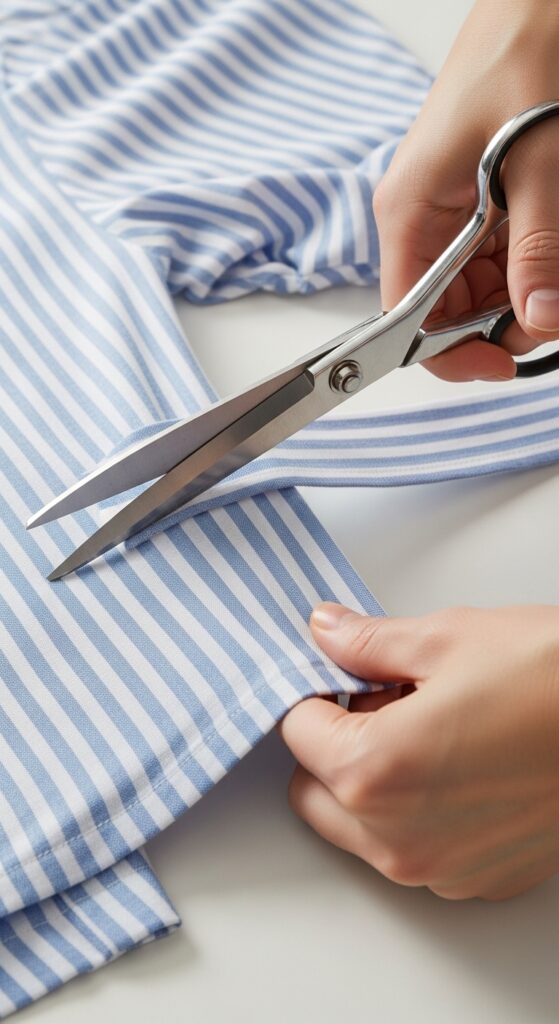
Making Your Own Rag Rollers: A DIY Guide
It’s incredibly easy. Use soft, old t-shirts, flannel, or cotton fabric. Cut them into strips about 2-3 inches wide and 12-14 inches long. The length ensures you can tie them securely.
You don’t need to hem them; a raw edge is fine. Just make sure the fabric is clean and soft. This is a fantastic, sustainable way to repurpose old textiles.
How This Method Fits a Busy Lifestyle
I know you’re busy. The beauty of this is that the “work” happens while you’re asleep. There’s no standing in front of a mirror with hot tools in the morning.
It’s a true time-saver. Your morning routine becomes just unrolling, shaking, and going. You get a complex, beautiful style with literally minutes of active effort.

Final Tips for Rag Roller Perfection
- Experiment with rolling direction for different looks: all back, all forward, or away from your face.
- For extra volume at the crown, roll two small sections at the top of your head vertically.
- Always make sure your hair is completely dry before unrolling for the longest-lasting set.
- Have fun with it! This is a no-pressure, playful way to style your hair.
So, there you have it. My complete love letter to the humble rag roller. This little vintage hack has saved my hair from heat damage and given me some of the best hair days of my life. It’s proof that sometimes, the old ways are truly the best ways.
The real magic is in how adaptable it is. Whether you’re channeling quiet luxury or full romantic goth drama, these fabric strips can get you there. It just takes a little practice and a good night’s sleep.
I’d love to hear how it goes for you! Did you try it? What style did you create? Tell me everything in the comments below! And if you found this guide helpful, save this post to Pinterest so you can always find the steps and share the vintage hair love.