Simple French Braid Tutorial Perfect for Busy School Day Mornings
School mornings at my house are a whirlwind. Between lost socks, breakfast chaos, and that one last-minute permission slip, perfect hair is usually the first thing to go. That’s why I stopped chasing perfect curls and started doing a simple French braid. It looks like I actually tried, but it honestly takes me under eight minutes.
A French braid keeps my hair out of my face, survives recess duty, and still looks soft and pretty by pickup. It also works with bangs, layers, and that slightly-too-wavy second-day hair we all have.
So here’s my no-fuss, beginner-friendly French braid routine for busy school mornings. No fancy tools. No complicated instructions. Just the steps I use when I’m half-awake and short on time.
Why the French Braid Saves My Mornings
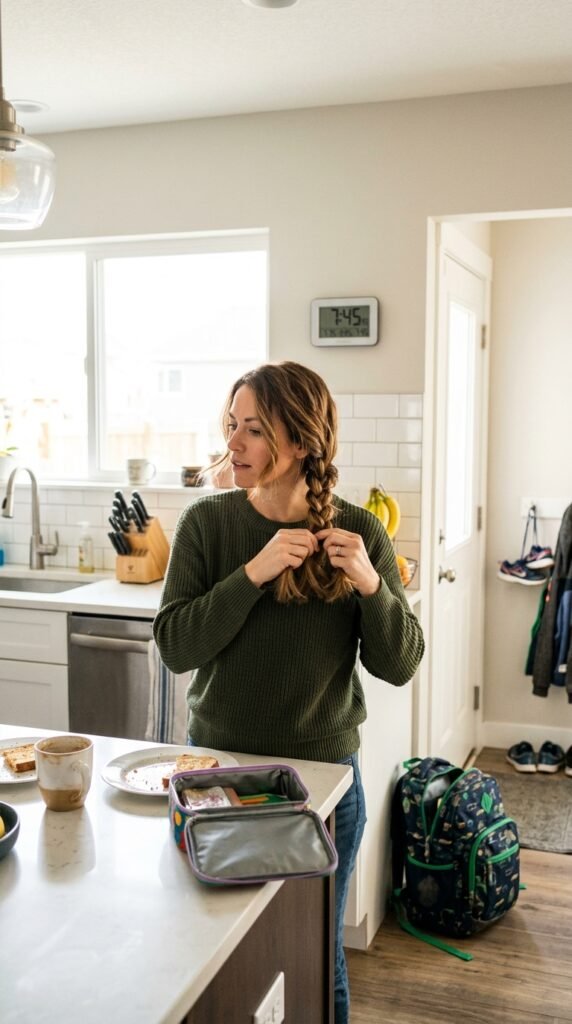
Some mornings I barely have time for coffee, so my hair has to cooperate. The French braid is my favorite because it keeps everything contained while still looking like I styled it on purpose.
Here’s why I keep coming back:
- No heat needed
- Stays put through a full school day
- Hides messy second-day hair
- Looks polished in under ten minutes
Once you practice this a few times, your hands just remember the rhythm. Even if you mess up at the back, no one will know but you.
What You’ll Actually Need
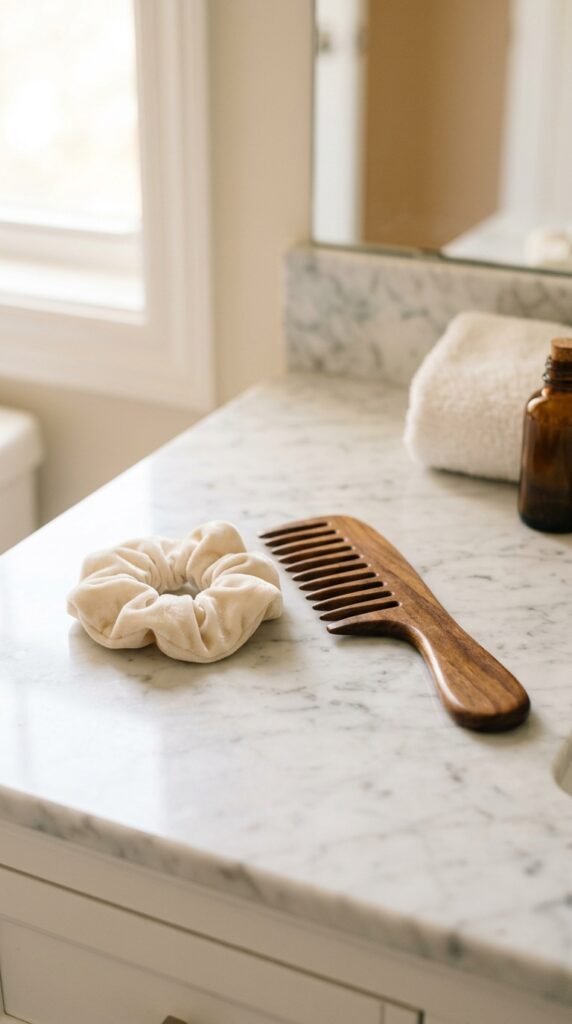
No need to buy a fancy braid kit. You probably already have everything at the bottom of your bathroom drawer.
- A stretchy hair tie or scrunchie — soft ones are gentler
- A wide-tooth comb, or your fingers
- A small mirror if you like to check the back
That’s honestly the whole list. No bobby pins, no hairspray, no special brush. Keep one soft tie on your wrist the night before and you’re already halfway done.
Start With Hair That Has Some Grip
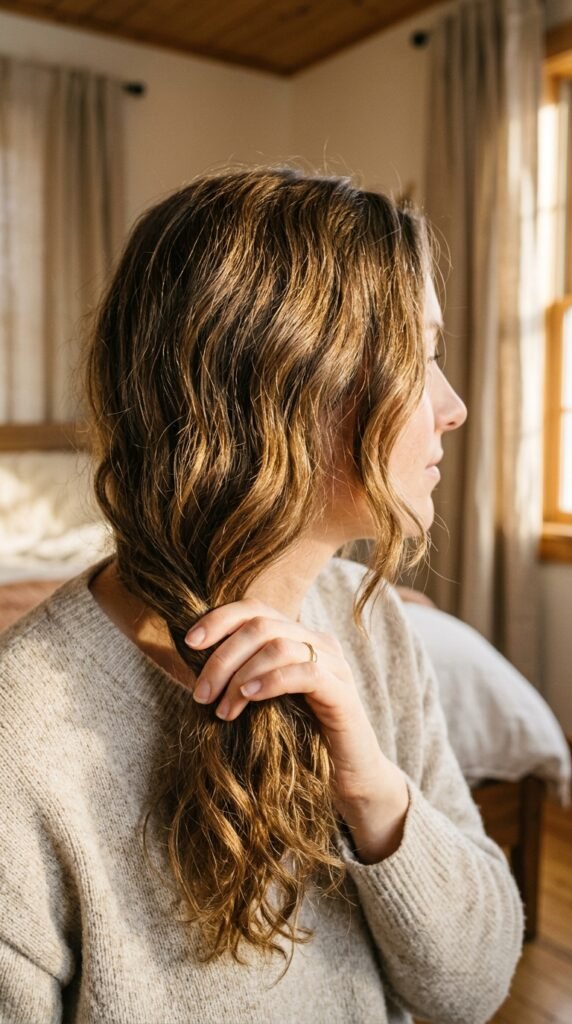
Freshly washed hair can feel too silky and slippery for a braid, especially at seven in the morning. If your hair is clean, just dampen your palms and smooth them over your hair or add a touch of styling cream.
The best starter hair is:
- Second-day hair with natural wave
- Hair that’s about eighty percent dry
- Hair with a little sea salt spray or dry shampoo
Texture helps your braid hold without being tight. It also keeps flyaways from getting wild by lunch.
Brush Out Tangles Gently
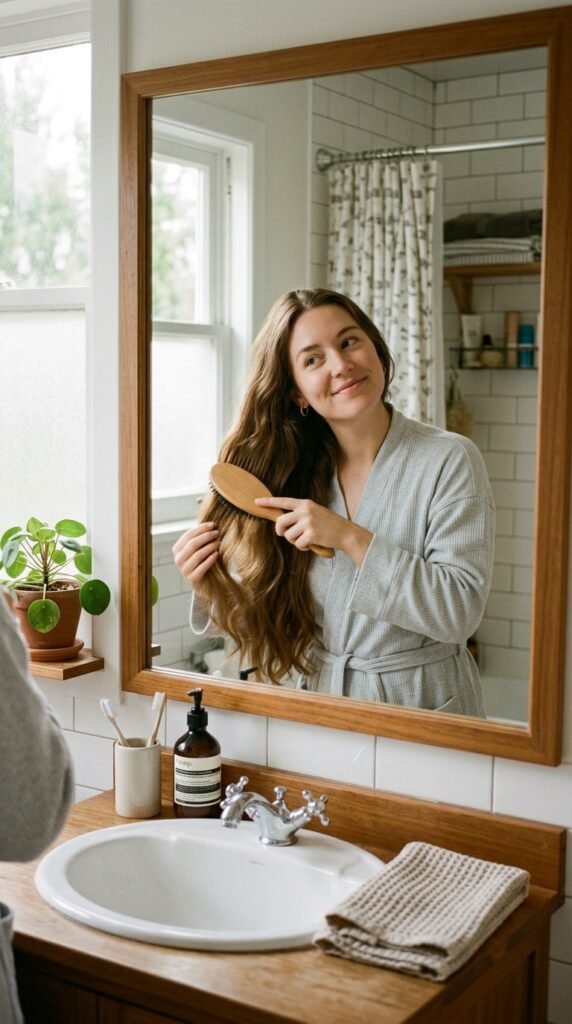
Start with a calm detangle. Tiny snags ruin a fast braid because your fingers get stuck mid-move, and suddenly the whole braid twists weird.
Use a wide-tooth comb and begin at the bottom:
- Work through the ends first
- Slowly move up toward the roots
- Keep your shoulders relaxed
Two minutes here saves you four minutes of fixing later. It honestly feels like a tiny act of self-care before the school run madness starts.
Choose a Part That Fits Your Morning Mood
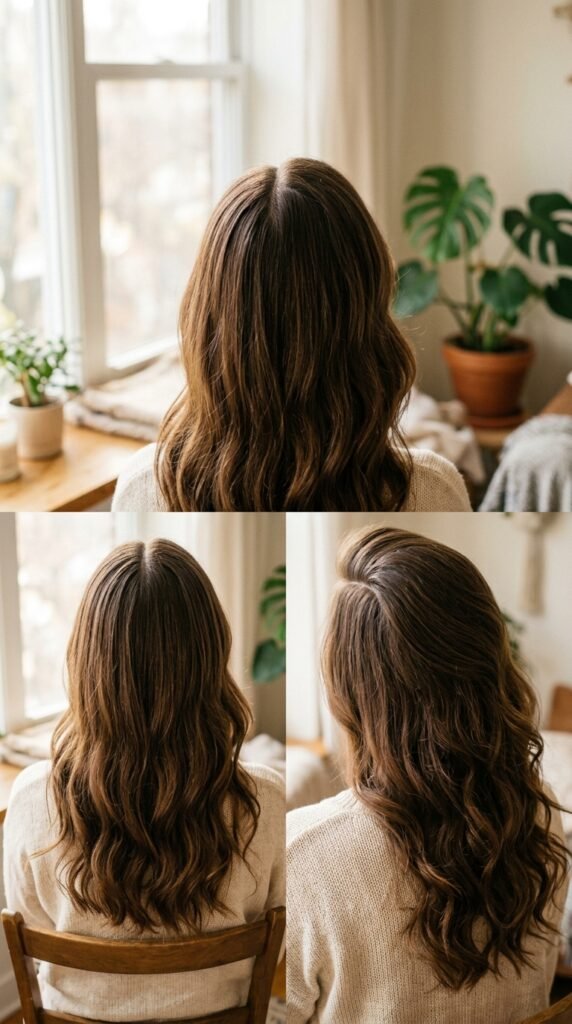
The part changes the whole feel. A middle part looks neat and calm. A deep side part feels a little more stylish and modern.
Don’t overthink this one. Swipe your comb or finger through your hair and go with whatever feels right. If you usually wear your hair parted a certain way, keep it consistent with your braid so everything feels like you.
The back of your braid will still look good no matter which side you choose.
Gather the Top Section With Your Hands
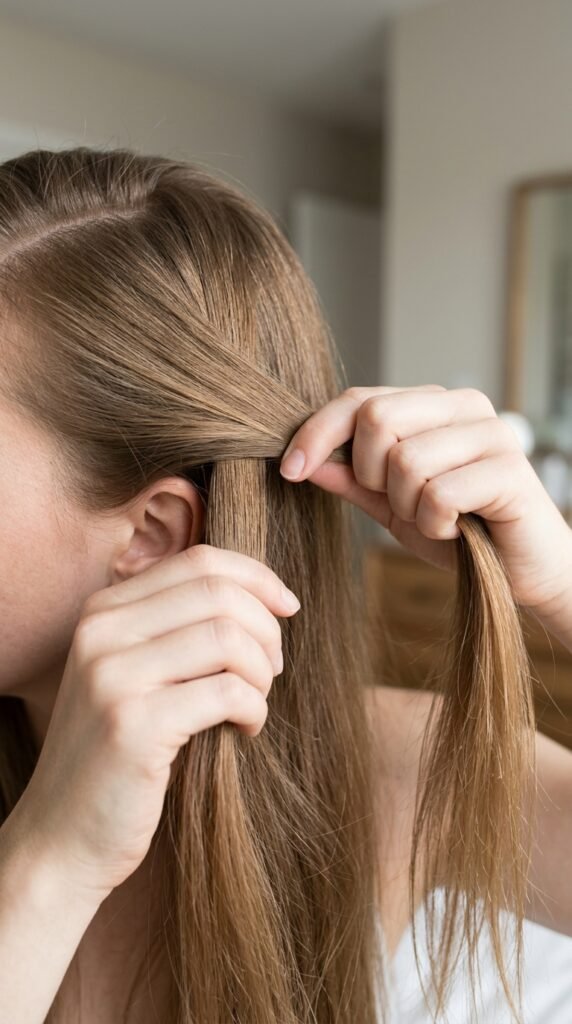
Your fingers are the best tool here. Imagine you’re making a half-up ponytail slightly above your ears. That section is where your French braid begins.
Gather it smoothly, but don’t scrape it tight. You want the hair to feel easy, not stretched.
Keep the underside a little looser. That little detail stops the braid from feeling like armor on your head. Soft is better on a busy morning.
Split the Hair Into Three Even Pieces
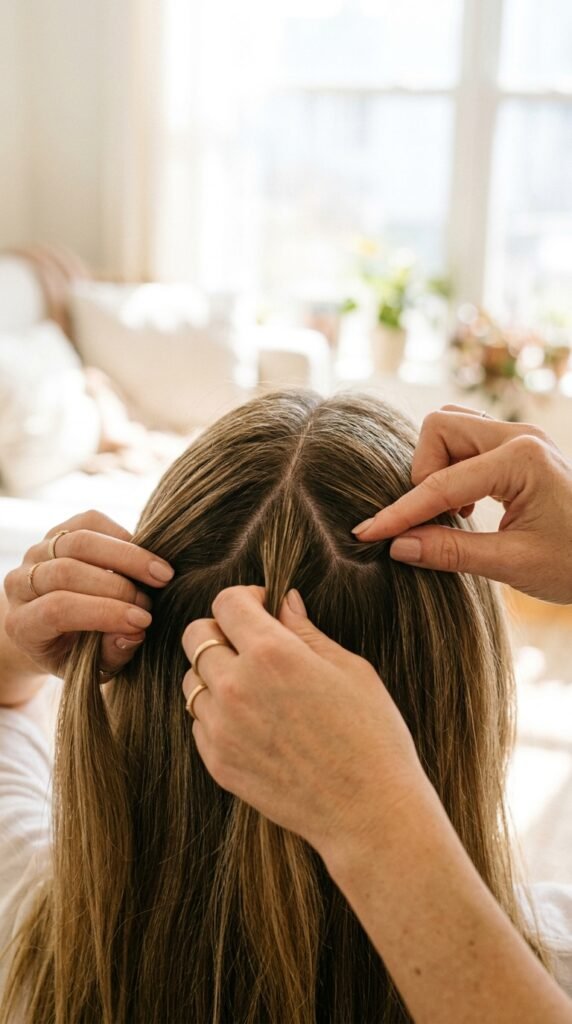
Now divide that section into three pieces: one on the left, one in the middle, and one on the right. They don’t need to be perfect, just close enough.
A simple trick is to hold all three pieces like you’re about to do a regular braid:
- Left piece in your left hand
- Right piece in your right hand
- Middle piece resting softly between them
When your fingers know where each section lives, the braid moves much faster.
Make Your First Two Crosses
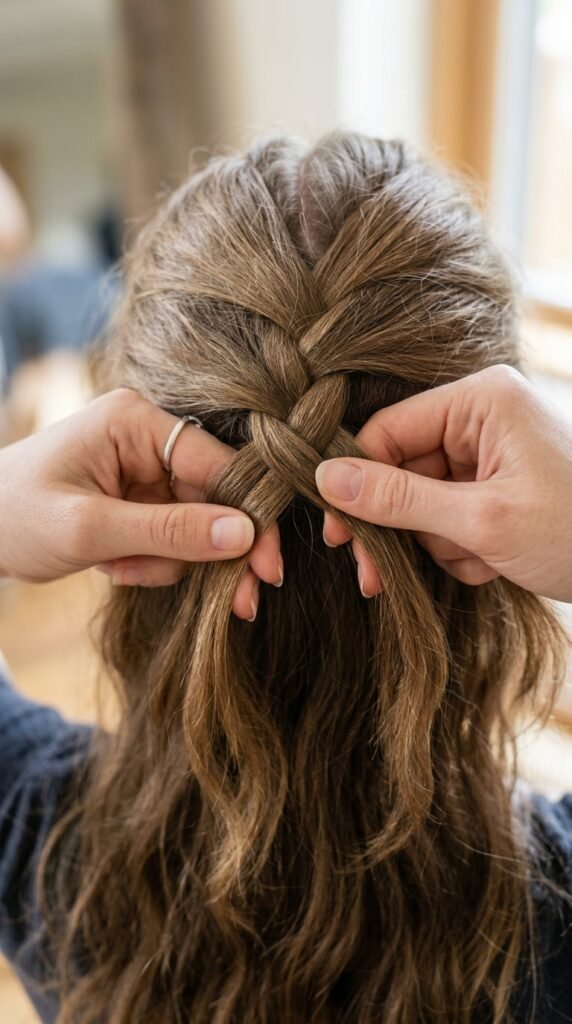
This part feels like a regular braid. Take the right piece and cross it over the middle. Then take the left piece and cross it over the new middle.
That’s it. You’ve officially begun a French braid.
Don’t panic if it looks small at first. The braid will show itself once you start adding hair. Just keep the pieces calm and let your hands do the crossing.
If this part feels awkward, practice it once before bed tonight. Muscle memory picks it up fast.
The “Scoop” Move That Changes Everything
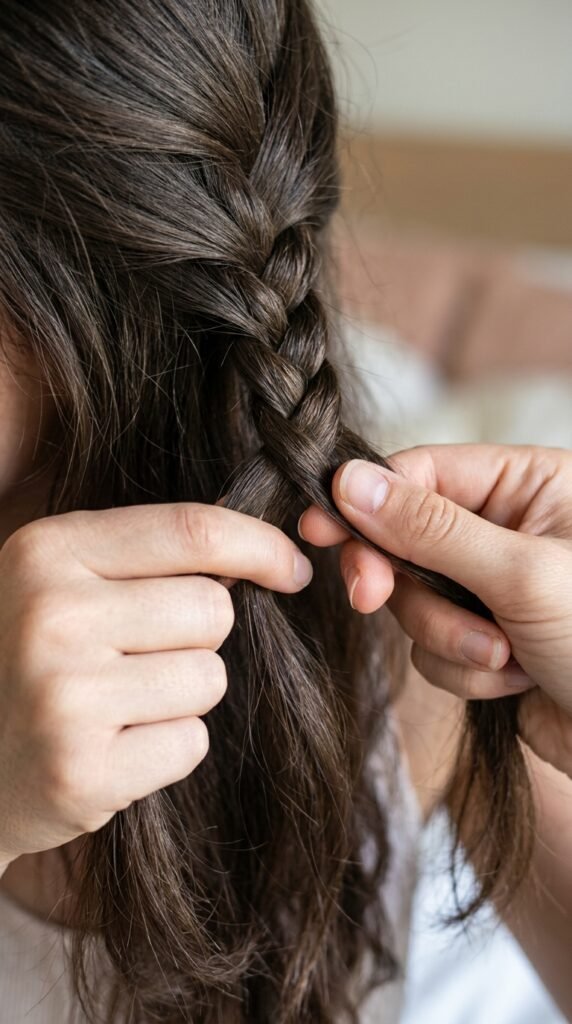
Now the fun part. After each cross, add a little hair to the strand before you cross it over.
Here’s how I explain it to anyone learning in my kitchen:
- Pinch the strand you’re about to move
- Use your index finger to scoop in hair from that side of your head
- Merge it into the strand
- Cross it over the middle
- Repeat on the other side
The scoop adds new hair and makes the braid lie flat and beautiful against your head.
Keep It Comfortable, Not Tight

A French braid should never hurt your head. Mornings already have enough pressure, honestly.
I keep the braid snug against my scalp but loose enough to move:
- Don’t stretch your hair out of shape
- Leave a little room at the roots
- Let the braid sit softly against your head
If it feels painful while you’re braiding, loosen your grip and start the next scoop with a gentler hold.
Stop Adding Hair When You Reach the Nape
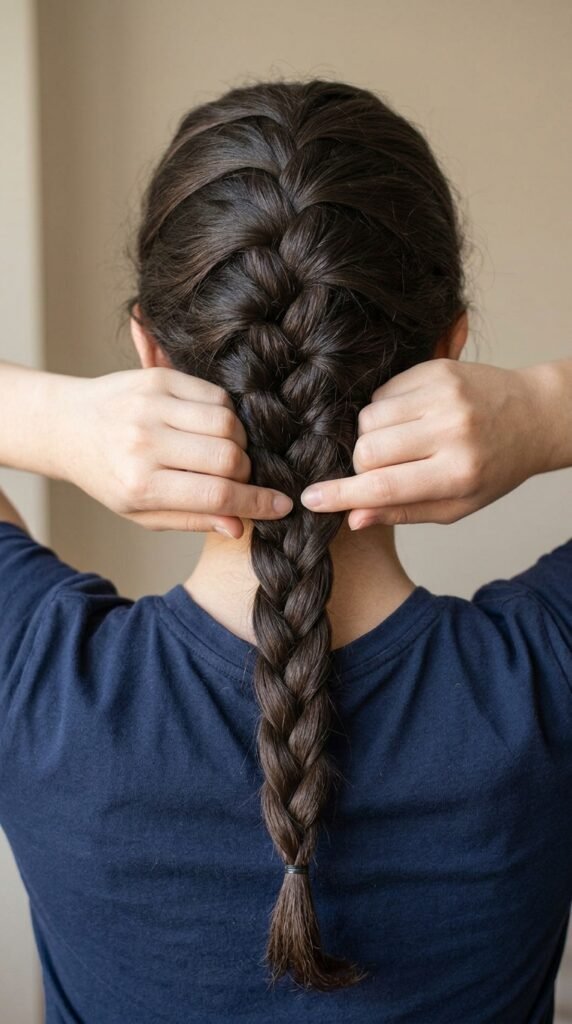
Once you reach the base of your neck and there’s no loose hair left to scoop, stop adding in new sections. From here, just finish with a classic three-strand braid to the ends.
Keep the cross motion the same. It takes about two more rounds down your back.
If you have shorter layers, they might slip out near the bottom. That’s great news, because it looks cute and intentional.
Tie It Off With Something Soft
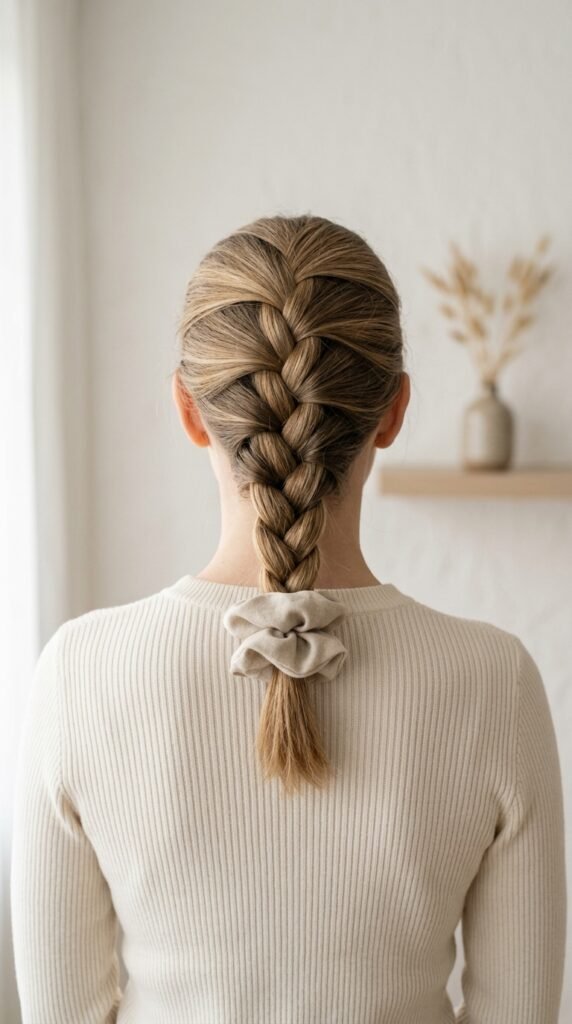
Regular tight elastics can crease your ends and pull during the school day. I use a soft scrunchie or fabric tie because they look softer and feel better when you take the braid out later.
Wrap it two or three times, and don’t choke the end of the braid. If the braid feels too tight at the tie, shake your head a little. That keeps the tail relaxed while your crown stays neat.
Your tie can match your coat or backpack for a tiny style bonus.
Loosen It for That “I Didn’t Try Too Hard” Feel
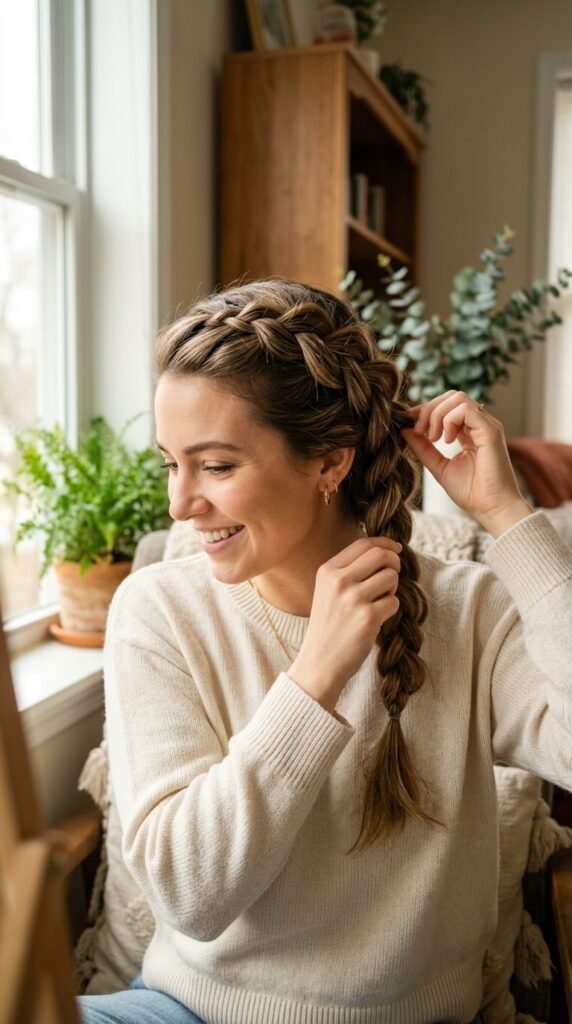
Here’s the step that makes it look salon nice instead of kindergarten tight. Gently tug the sides of each braid segment outward.
Work from the bottom toward the top:
- Pinch each link between your thumbs
- Pull it just a quarter inch outward
- Let the crown loosen a tiny bit
This gives the braid that soft, romantic shape that seems to match everything right now.
A French Braid Fits Right Into 2026 Hairstyles
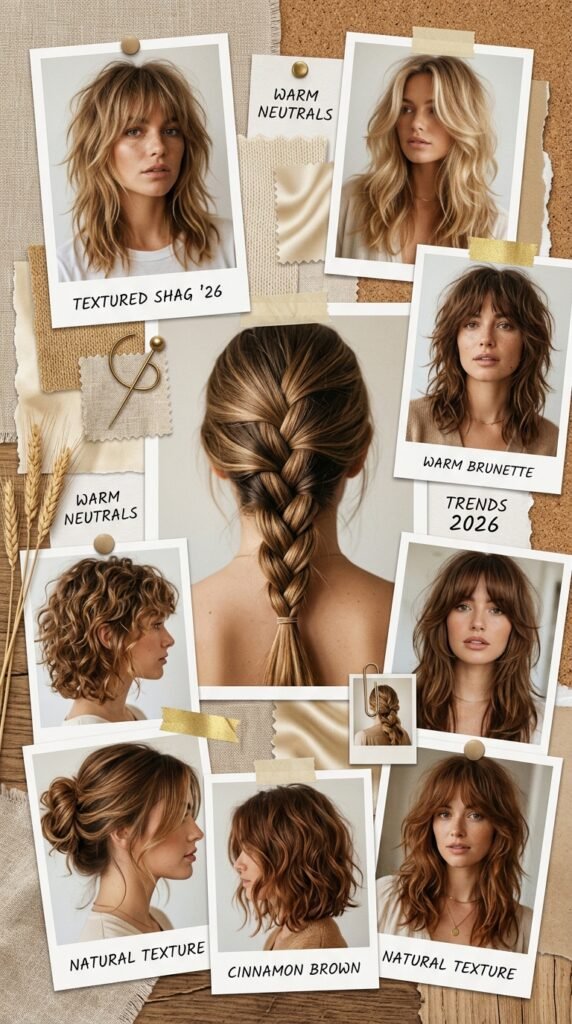
French braids might feel traditional, but they still belong in the 2026 hairstyles conversation. This year is all about hair that looks intentional yet easy, and that’s exactly what a braid delivers.
It also works as a base for so many trends. You can add a ribbon, try a half-braided look, or pair it with sleek face-framing strands.
Think of this braid as your starting point to test any trend without a big commitment.
Old Money Hair Loves a Simple Braid

Old money hair is all about looking calm and polished, like you didn’t need a stylist to prove it. A smooth, low French braid hits that exact note.
Pair it with:
- Pearl studs
- A soft knit sweater
- A clean middle part
No elaborate twists needed. When your braid is smooth and simple, it fits right into that understated, rich-energy style that feels so fresh right now.
Yes, You Can Braid a Quiet Luxury Bob

I get this question all the time: “Can I French braid short hair?” If you have a quiet luxury bob, the answer is absolutely yes.
Use a smaller top section and don’t expect all your ends to fit inside. That’s the charm:
- French braid the top
- Let the bob’s ends peek out underneath
- Leave a few face-framing bits loose
The result looks tailored and modern, like you clearly meant to do it.
Romantic Goth Hairstyles Just Need This One Twist

If you love romantic goth hairstyles, a French braid can fit that dark, dreamy mood too. After braiding, weave a black ribbon through the links or tie a velvet bow at the end.
Keep the braid loose and slightly waved. That gives it that soft, lived-in, poetic feel rather than a strict school plait.
Pair it with a dark lip color and you have soft drama that still works at school pickup.
Try a Glitchy Glam Hair Detail at the Front

Glitchy glam hair is bold, playful, and full of little surprises. A full French braid might feel too classic, but you can borrow the technique.
Braid a tiny section near your temple, then pin it back:
- Grab a one-inch piece of hair
- Braid it normally
- Clip it behind your ear
- Continue your French braid on the rest of your hair
Add a silver clip or barrette to bring that glitchy, reflective energy.
Asymmetrical Lob? Braid the Top and Keep the Ends Free
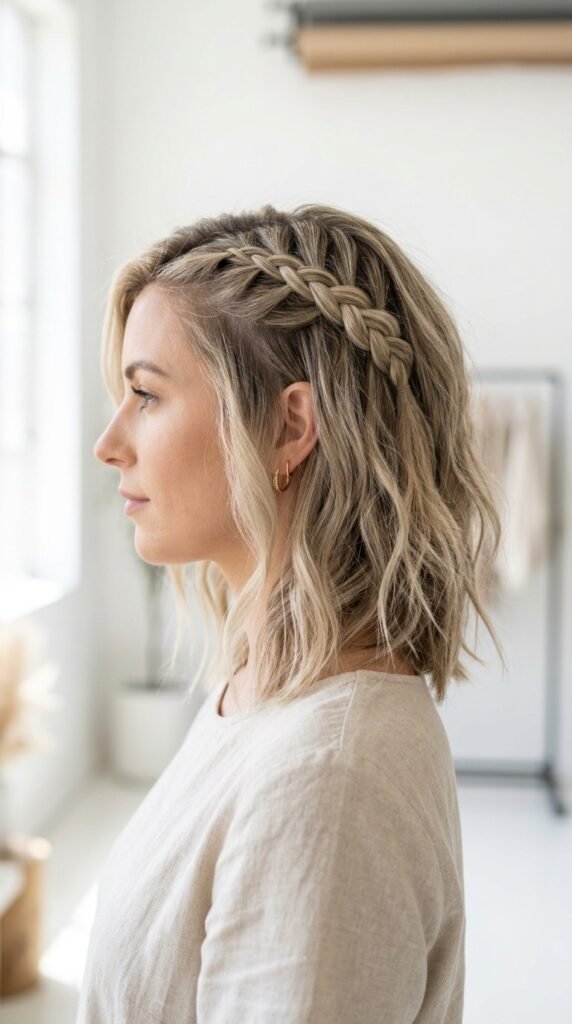
An asymmetrical lob is one of my favorite haircuts because it already has an edgy shape. A French braid can help you show it off on hot mornings.
Start the braid near your part, above your ear, and scoop down like normal. When you reach the middle, let the braid flow into your shorter side.
This creates a cool diagonal line that makes the lob’s asymmetry feel completely intentional.
A Hime Cut and French Braid Can Be Friends
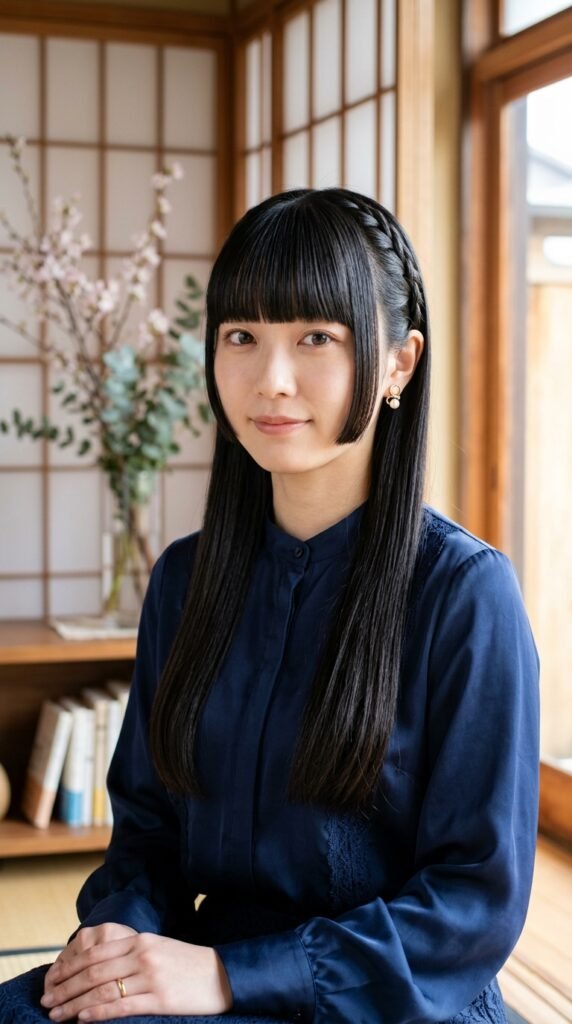
The hime cut is all about sleek strands, blunt bangs, and face-framing sides. Braiding around it might feel tricky, but it’s actually lovely.
Here’s the trick:
- Keep your blunt bangs out
- Braid the hair behind your ears
- Don’t tuck your cheek pieces away
This keeps the cut’s sharpness while giving you a softer look for school pictures, dance days, or any morning when you want to feel extra put together.
Vampire Haircut Layers Look Amazing Braided

If you’ve been eyeing the vampire haircut, you probably love layers that frame your face and add movement. A French braid brings those layers forward beautifully.
As you braid, purposely leave a few front pieces out. Those wispy strands around your face catch the light and give that mysterious, effortless vibe.
This is one of my favorite ways to keep longer vampire haircut layers styled without losing that sharp look during busy weeks.
How to Make It Last Until the Afternoon Bell

French braids are sturdy, but they also need a little prep if you want them to survive recess and lunch.
Here’s what works:
- Avoid touching it all morning
- Lightly mist with hairspray before you walk out
- Sleep on it carefully if you want a second day
A tiny bit of hairspray at the roots and ends keeps flyaways quiet. Then let it live its best life while you chase schedules.
What If Your Braid Falls Out Mid-Day

Listen, it happens. If your braid gets loose or fuzzy by lunch, don’t fight it. Just do a quick reset in under two minutes:
- Take out the tie
- Gently finger comb the back
- Re-braid a simple regular braid
- Tie with a spare scrunchie
It won’t look exactly like your morning braid, but it will look intentionally messy. That’s more than good enough for a school day.
A Few Gentle Last Words Before You Head Out
I want you to remember something: messy braids are still doing their job. Some days that braid will look perfectly smooth, and other days it will tell a wild story.
That is okay. The goal isn’t perfection. The goal is making mornings feel lighter and showing up with hair that doesn’t need a second thought.
Thank you for being here with me today. You’ve got this, and I’m already cheering for your school year.
Save this post to Pinterest so it’s waiting for you on your next busy school morning. You’ll thank yourself later when the bus is coming and you’re still looking for your other shoe.
Now tell me in the comments: what’s your go-to rush-hour hairstyle? I’m always looking for new ideas to try.


