Sock 23 Bun Ring Alternatives Flexible for Oval Shapes
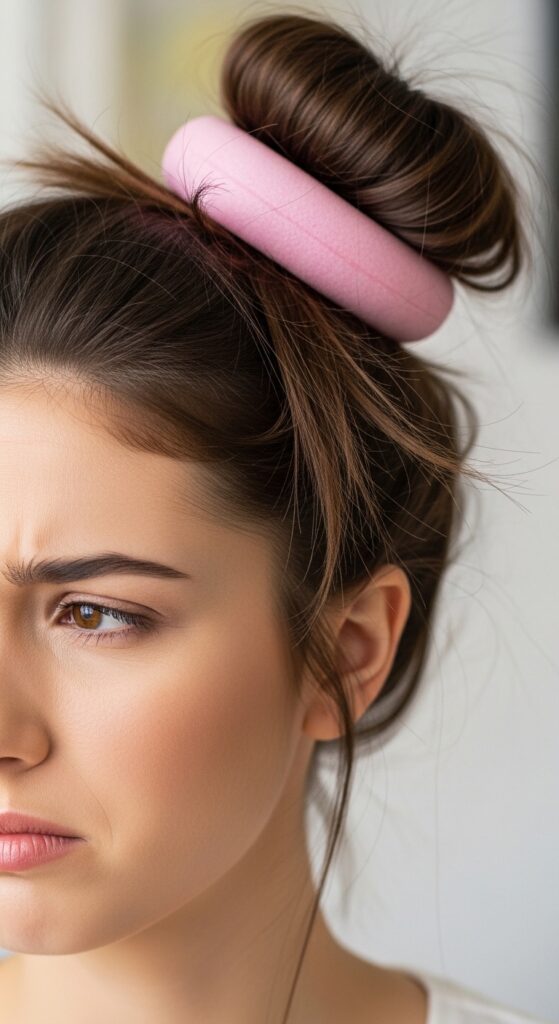
Okay, let’s be real. You saw that perfect, fluffy Sock Bun on someone and immediately ordered a “Sock 23 Bun Ring” online. It arrived, you tried it, and… your hair just didn’t cooperate. It slipped out, looked lopsided, or just felt too bulky for your head shape.
Sound familiar? You’re not alone. I have an oval face shape, and those rigid foam donuts can be a real struggle. They don’t always hug our head’s natural curve.
But I’m here to tell you that the dream of a quick, elegant updo is NOT over. In fact, ditching that single tool opened up a world of better, more flexible options for me.
This guide is all about the actual, practical alternatives I use and love. We’re talking simple items you might already own and a few genius cheap buys that work with your hair, not against it. Let’s get into it.
Why the Classic Bun Ring Fails Oval Faces
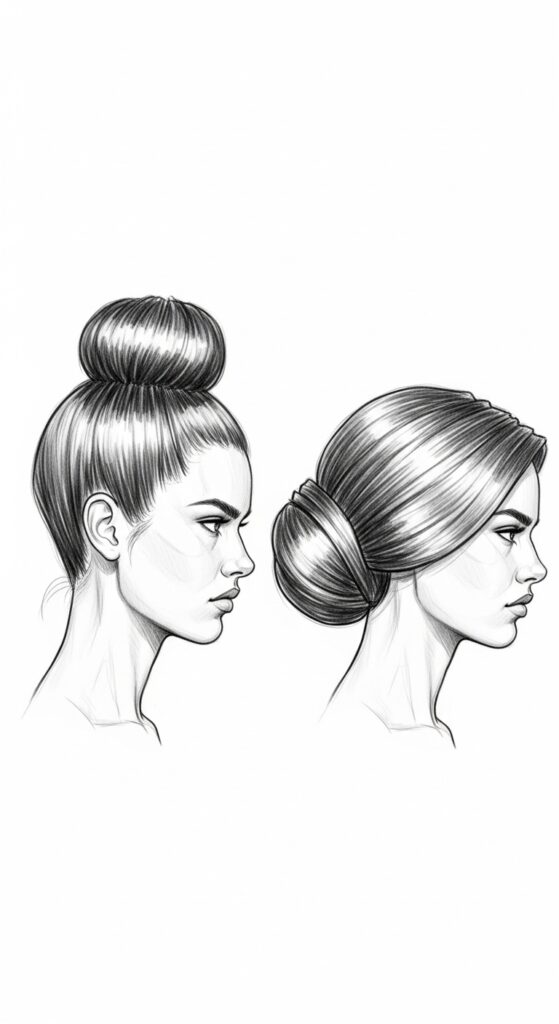
Oval faces are beautifully balanced but longer than they are wide. A rigid, round bun ring placed at the classic crown spot can actually elongate your face further. It pulls the eye up and down, not across.
The other issue is grip. Oval heads have a subtle curve that a firm foam circle can’t always conform to. This leads to that annoying sliding and shifting, forcing you to use a million pins.
We need flexibility and adaptability. The goal is to create width and softness around the temples and cheeks. The right tool should help you do that effortlessly.
The Magic of a Simple Hair Sock (The Real One)

Before there were branded bun kits, there was just… a sock. And honestly? It’s still a top contender. The fabric is flexible and molds to your head’s shape perfectly.
You can control the volume by how much you roll it. A thinner roll is perfect for a sleeker, more polished look that fits the quiet luxury bob vibe. A thicker roll gives you that dramatic, romantic volume.
Here’s my quick method:
- Use a knee-high or cut the toe off an old ankle sock.
- Roll it into a doughnut from the toe end.
- Pull your ponytail through the center and spread hair evenly.
- Roll the sock down to your scalp, tucking hair as you go.
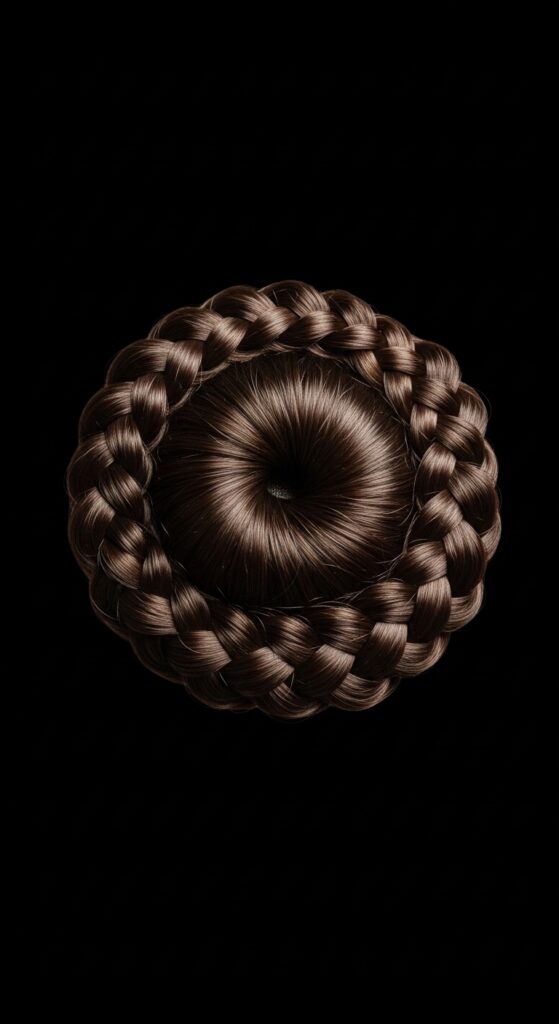
My Favorite: The Spiral Hair Rat

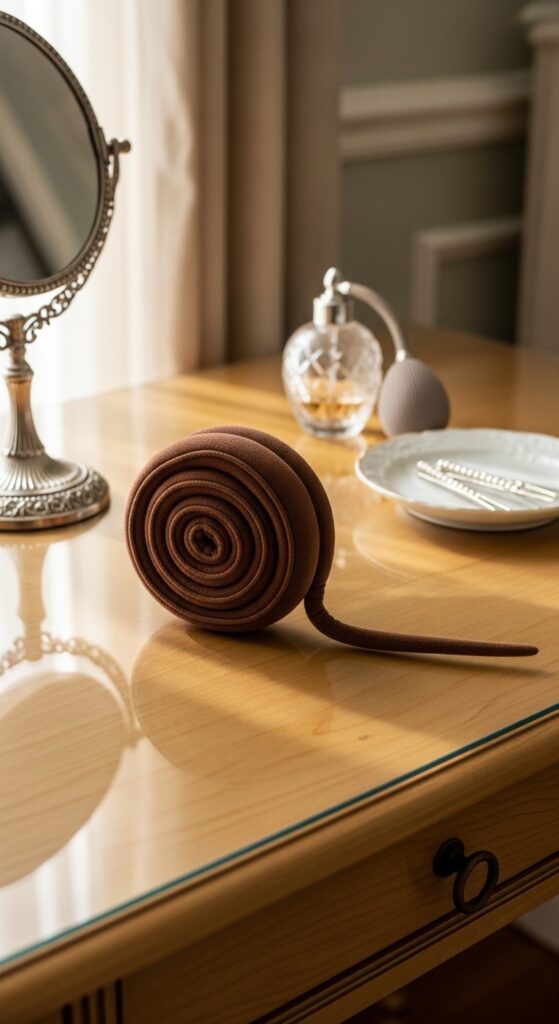
This is my holy-grail find. It’s a mesh tube that you twist into a spiral. Because it’s not a solid ring, it bends and shapes to the exact curve of your head. No slipping!
It also creates a softer, more natural-looking bun shape compared to the perfect circle of a foam donut. It’s ideal for achieving that “undone” but elegant look that’s so big in 2026 hairstyles previews.
You use it just like a sock, but the mesh grips your hair better. It’s lightweight, cheap, and you can find it at any beauty supply store or online. A total game-changer for oval shapes.
Soft Scrunchie Base Technique
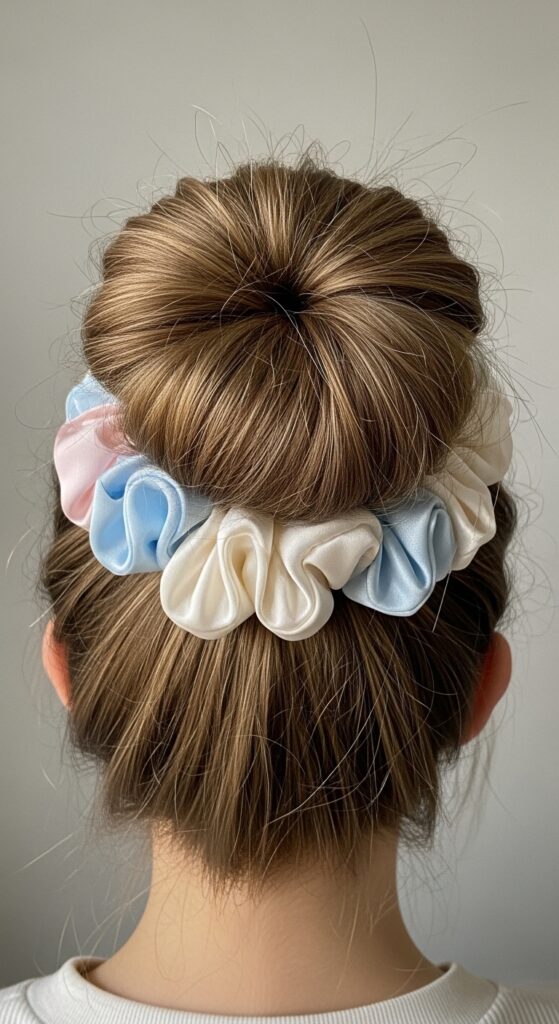
This is the quickest trick for a messy, romantic bun. Use a large, fabric scrunchie as your base instead of an elastic. Make a loose ponytail with the scrunchie on your final loop.
Then, twist or braid the tail and wrap it around the scrunchie base, pinning as you go. The scrunchie gives you instant, soft volume and a grippy base to anchor your pins into.
It creates width right at the nape or crown, which beautifully balances the length of an oval face. This method is perfect for old money hair aesthetics—effortless and chic.
Braiding for Built-In Volume
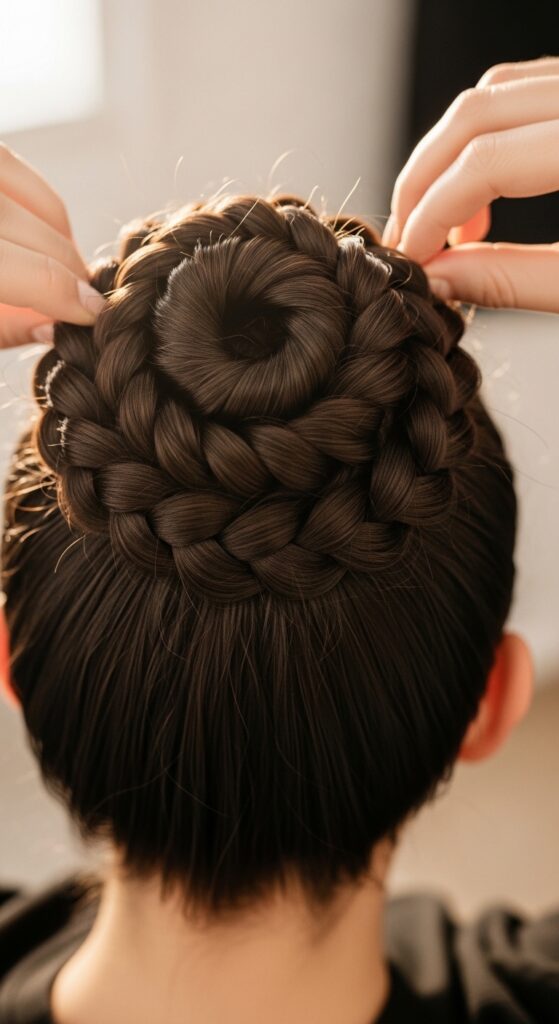
Sometimes, the best tool is your own hair. Creating a braid before you form your bun gives the style natural texture and grip, so it holds better without a bulky base.
A simple three-strand braid or a loose Dutch braid adds width. When you coil it, the bun sits flatter against your head in a flattering way, avoiding that “pineapple” effect.
This technique pairs amazingly with more thematic styles, like romantic goth hairstyles or vintage looks. It adds detail and interest right from the start.
Using a Flexi-Rod or Soft Curler
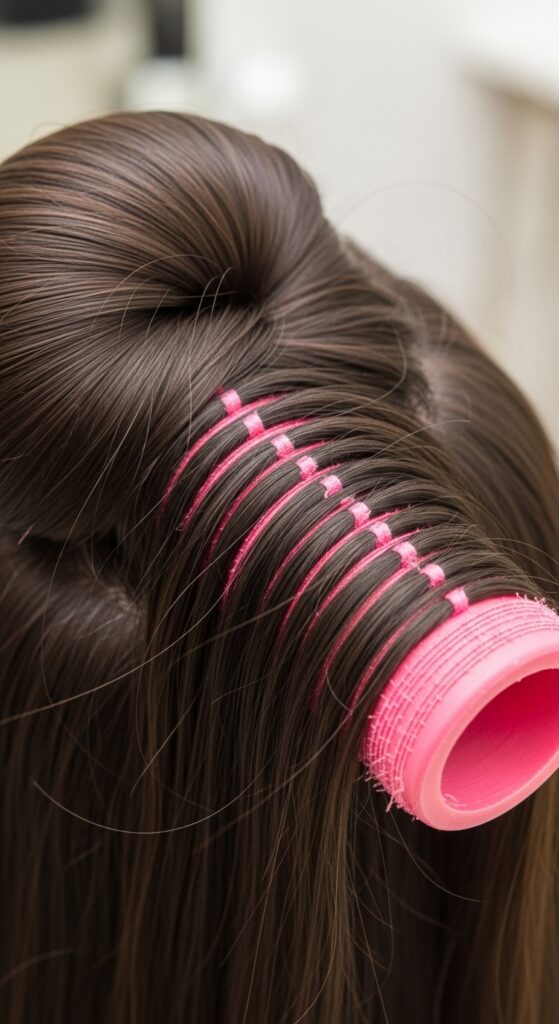
Get creative! A large, soft flexi-rod can be bent into a U-shape or circle to form a custom bun base. Wrap your hair around it just like you would a traditional donut.
The foam is softer than a bun ring and the wire inside lets you adjust the shape. You can make it wider on the sides to create that balancing width we want for oval faces.
This is a pro-move for special occasions when you want serious, lasting volume. It’s a trick I see a lot in glitchy glam hair tutorials for that intentional, sculpted feel.
The Power of Bobby Pins & The “Pin-Wrap”
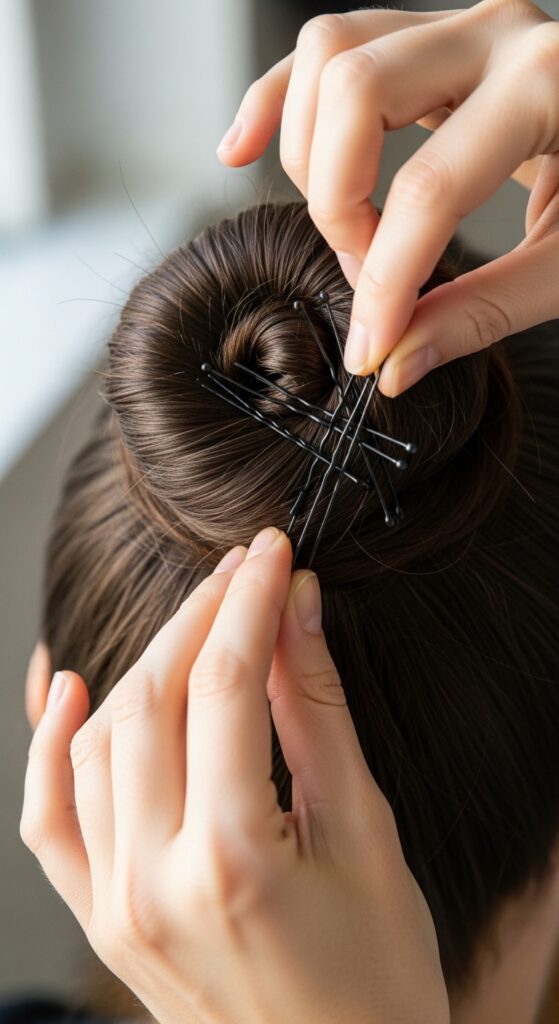
Your technique matters as much as the tool. Instead of just popping pins in, use the “pin-wrap” method. Insert a pin, twist it to grab hair from the bun and a section from your scalp, then close it.
This anchors the style directly to your head. You can use a much smaller base—or even just your own twisted hair—and secure it firmly with this criss-cross pinning strategy.
It takes practice, but it’s the secret to any updo that lasts all day. It’s essential for holding styles like a sleek asymmetrical lob tucked into an updo.
Texturizing Spray: Your Grip Secret Weapon

No matter what base you use, if your hair is too silky, it will slip. A good texturizing spray or dry shampoo on day-old hair is non-negotiable. It adds the grit and grip that makes everything stay.
Don’t just spray the surface. Lift sections and spray at the roots where your bun will anchor. This gives the pins and the base something to really hold onto.
This step alone can make the difference between a bun that lasts an hour and one that survives a full workday and dinner. It’s the foundation of all modern, lived-in 2026 hairstyles.
The Low Bun for Instant Balance
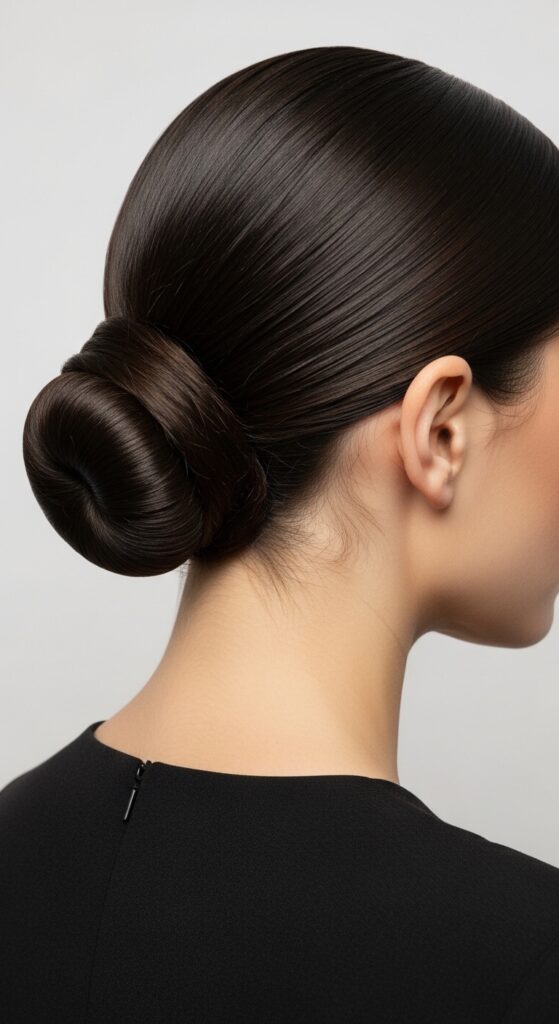
If crown buns elongate you, try a low bun at the nape of your neck. This placement draws the eye across, creating a horizontal line that visually shortens the face’s length.
You can use any of the flexible bases here—a small sock roll or spiral rat works great. Keep it soft and slightly loose. Pull out a few face-framing pieces to soften the look further.
This style screams quiet luxury bob energy, even if your hair is long. It’s polished, sophisticated, and incredibly flattering for oval shapes.
The Side-Swept Bun Drama
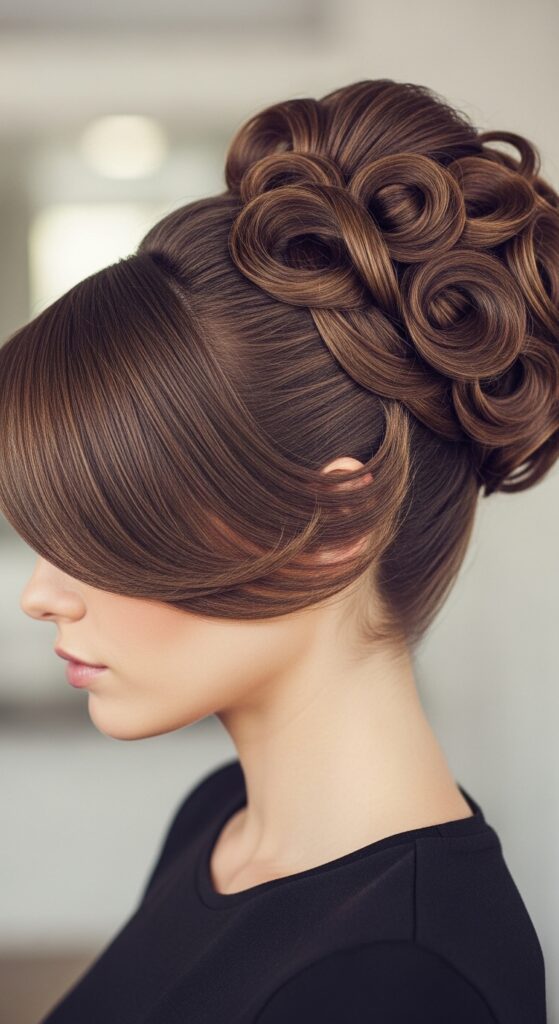
Creating a bun off to one side is another fantastic way to add width. It breaks the symmetry in a really stylish, dramatic way. This is a great look for evening or when you want to feel extra.
Use a flexible base to build your bun just above your ear. Let some tendrils fall around your face. The diagonal line it creates is super flattering.
This has a touch of vampire haircut drama to it—dark, romantic, and a little edgy. It’s a fun way to play with the romantic goth aesthetic in a wearable way.
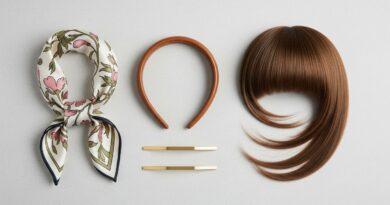
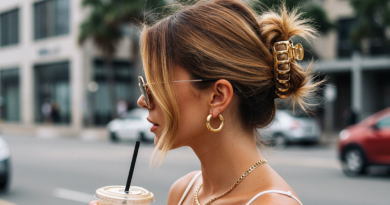
Incorporating Hair Accessories
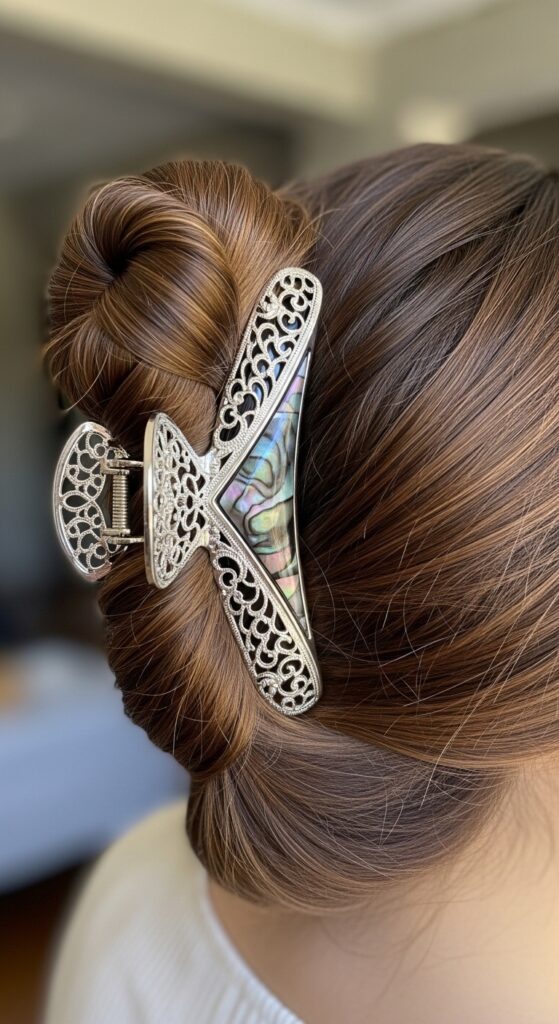
Accessories aren’t just decoration; they’re functional. A large claw clip can hold a half-up twist that gives the illusion of a bun with tons of volume. It’s a 30-second style.
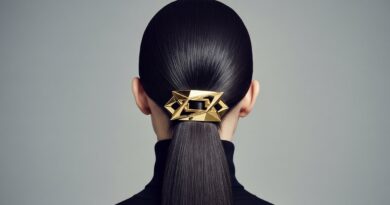
Or, after making your bun, slide a decorative hair pin or two through the base. This adds security and beauty. Look for pins with a bit of texture or a wavy shape—they grip better than straight ones.
This is an easy way to tap into the old money hair trend. Think pearl-encrusted pins, simple gold bars, or silk scarves woven through the base.
When to Choose a Braided Crown
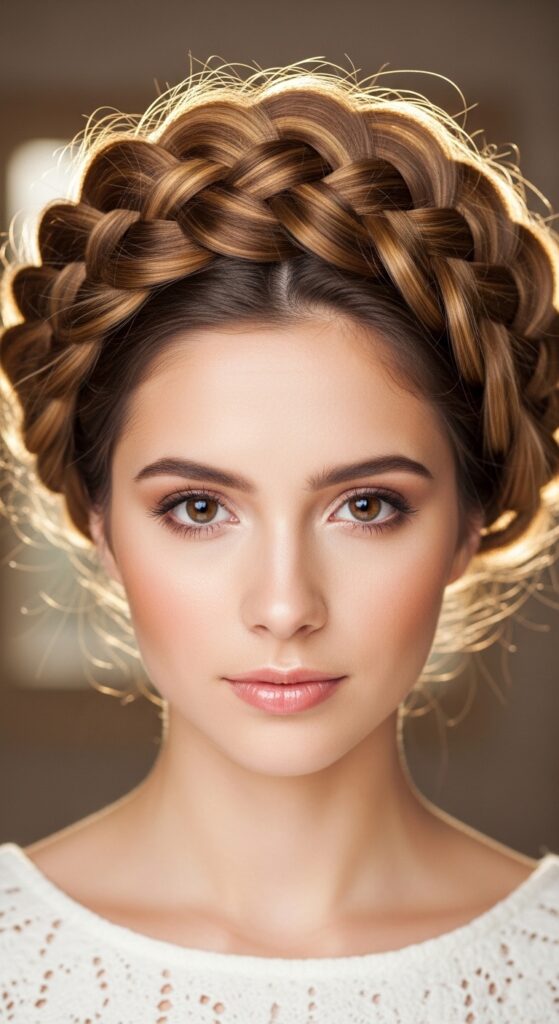
For the ultimate in face-widening magic, a braided crown is your best friend. It literally creates a circle of width around your entire face, which is the perfect contrast to an oval length.
It uses your own hair as the tool, so no bases needed. A Dutch or French braid started at one temple and wrapped around gives incredible structure.
It has a beautiful, ethereal feel that works for everything from weddings to festivals. It’s a classic for a reason, and it’s having a major moment again in style forecasts.
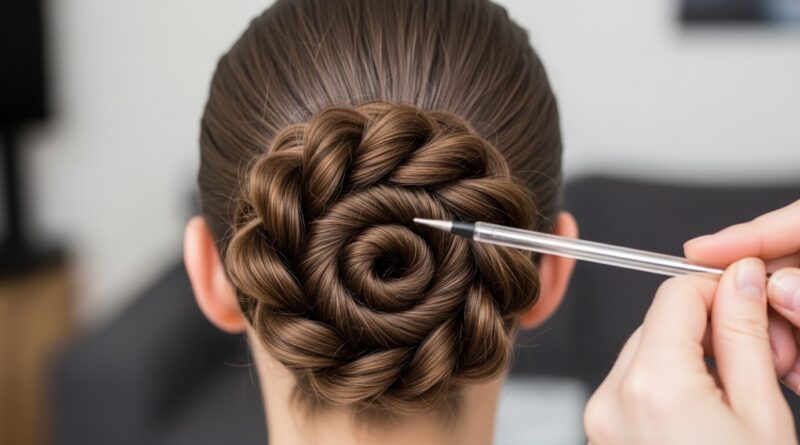
Mixing Techniques: The Hybrid Bun
Don’t be afraid to mix and match. Use a spiral rat for the core volume, but then take a small section of hair, braid it, and wrap that braid around the base of the bun.
This hides any visible tool, adds gorgeous texture, and gives you extra security. The braid acts like a built-in headband, holding everything in place.
This hybrid approach is where personal style really shines. It feels custom and detailed, like you’ve mastered your own signature look.
Adapting for the “Hime Cut” or Lob
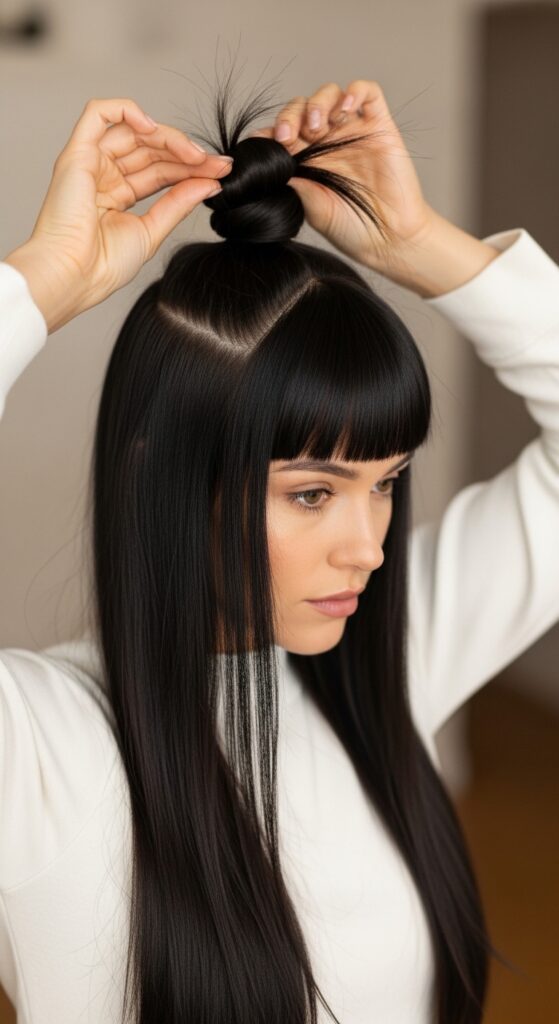
Shorter cuts like the asymmetrical lob or the dramatic hime cut can feel tricky. But you can still get the bun effect! Focus on a half-up style.
Gather just the top section of your hair. Use a tiny, rolled sock or just twist and pin it into a small knot or mini bun at the crown. This gives you the elegance of an updo while showing off your fantastic cut.
It’s a modern, cool-girl take on the bun. Perfect for those with shorter hair who still want that polished updo feeling.
Day-Old Hair Is Your Best Friend

Let’s state it again: freshly washed, silky hair is the enemy of a good bun. Plan your best updos for day two or three hair. The natural oils and texture provide a perfect foundation.
If you must style on clean hair, that texturizing spray we talked about is mandatory. But really, try to embrace the slightly lived-in look. It’s the key to that effortless vibe.
This is a universal tip for almost all 2026 hairstyles we’re seeing—less perfection, more personality and grip. Your hair tools will thank you.
Practice When You’re Relaxed
Don’t try a new technique or tool for the first time when you’re rushing before an event. Practice on a lazy Sunday afternoon. Put on a show, relax, and play with your hair.
Experiment with different placements: high, low, side. See what feels most secure and flattering on your unique oval shape. Muscle memory is real.
By the time you need the style, you’ll be able to do it quickly and without stress. This peaceful practice time is how you discover your go-to, signature bun.
Finding Your Perfect Placement

Placement changes everything. Here’s a quick guide for oval faces:
- High at the Crown: Can elongate. Counter it with face-framing pieces and a softer, wider bun shape.
- Low at the Nape: Most universally flattering. Creates width and elegance.
- Side-Swept: Adds drama and breaks symmetry beautifully.
- Middle of the Head: A “midi” bun is a great sweet spot, especially when paired with a deep side part.
What to Avoid with Oval Shapes
Knowing what to skip is just as important. Avoid super tight, slicked-back high buns with no volume. This combination will make your face look longer.
Also, be wary of tiny, precise buns placed high up. They can look a bit severe. Instead, aim for a little messiness, a little width, and some softness around the face.
Steer clear of super stiff, unyielding tools. Flexibility in your tool and your technique is the ultimate goal for the most flattering look.
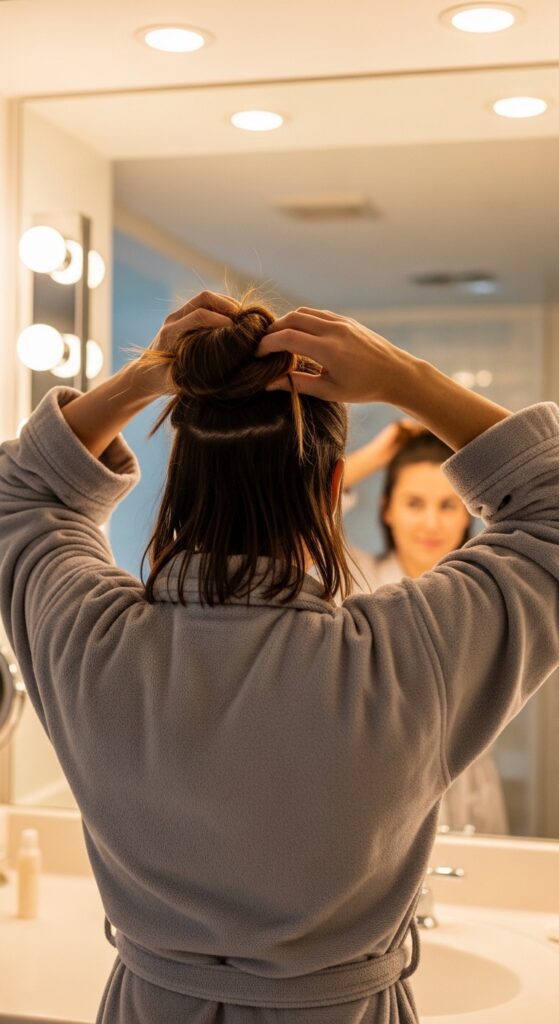
My Quick 5-Minute “Date Night” Bun

Here’s my fail-safe routine when I’m short on time:
- Spritz texturizing spray on day-old hair.
- Make a low, loose ponytail with a scrunchie.
- Twist the tail and wrap it around the scrunchie base.
- Secure with 4-5 bobby pins using the pin-wrap method.
- Gently pull at the sides of the bun for width, and tug out 2-3 face-framing pieces.
It’s soft, romantic, and holds all night. It works with the vampire haircut aesthetic or a simple quiet luxury look.
Investing in One Great Tool
If you want to buy one thing, make it a high-quality flexible bun former—like that spiral mesh rat I love. Spend the extra $5-$10 for something that’s well-made.
A good one will have a tight, sturdy mesh that won’t snag and a flexible wire that holds its shape but bends to you. It should feel substantial, not flimsy.
This tool, more than any rigid donut, will become your go-to. It’s the workhorse that makes styling easy, fast, and flattering every single time.
Remember, It’s About Your Confidence
At the end of the day, the best hairstyle is the one that makes you feel amazing. If you love a sky-high bun, wear it! These tips are just guidelines, not rules.
Hair is a playground. The goal is to find the methods that make you feel put-together, stylish, and like yourself. That confidence is the most attractive thing you can wear.
So play, experiment, and don’t take it too seriously. A few flyaways never hurt anybody. In fact, they’re part of the charm.
And that’s the real tea on buns for our oval-shaped gals! It was a journey for me to move past that one-size-fits-all bun ring and discover what actually works with my hair and face shape. I promise, once you find your two or three favorite methods from this list, you’ll never struggle again.
Your quick, beautiful, secure updo is totally possible. It just takes the right flexible friend (goodbye, Sock 23!) and a few minutes of practice. You’ve got this.
Save this post to Pinterest so you always have these tips handy! And tell me in the comments—which alternative are you most excited to try? Is it the spiral rat or the trust