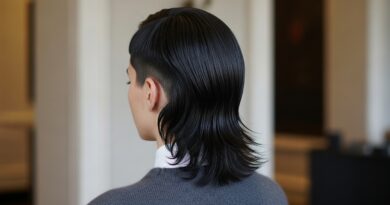
This Overnight Oiling Ritual Restored Shine to My Damaged Hair
I used to hate the way my hair looked in the mirror. It was dull, dry, and broke off every time I brushed it. I tried every serum and mask out there, but nothing gave me that lit-from-within shine.
Then I started doing one simple thing: an overnight oiling ritual. It changed my hair more than any expensive salon treatment. The best part? It only takes five minutes before bed, and the ingredients are probably in your bathroom already.
This post is the honest, practical routine I wish someone had handed me years ago. I’ll walk you through exactly what I did to bring my damaged hair back to life, plus a few mistakes to skip.
Why my hair lost its shine
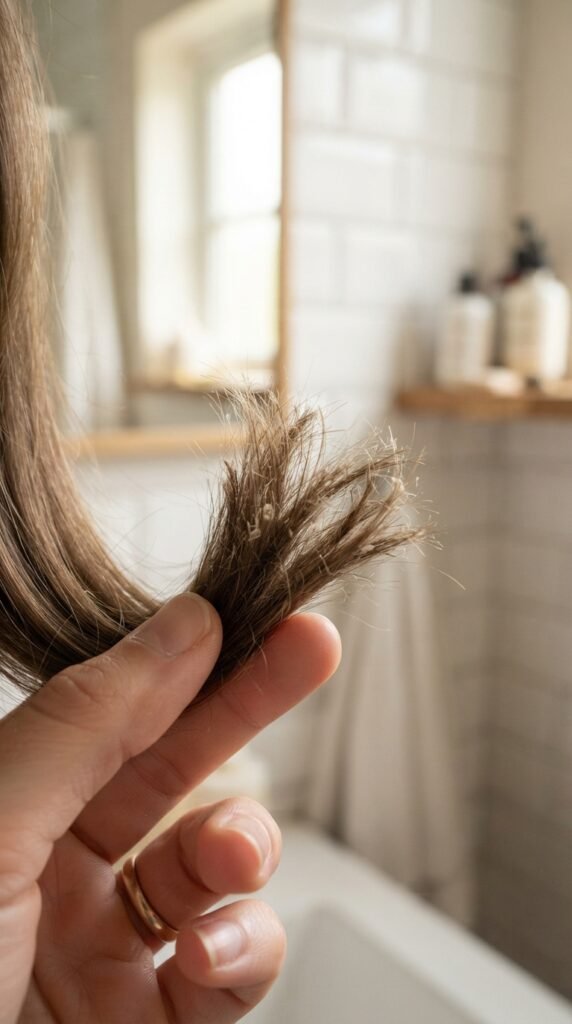
I heat-style a lot. I also love a good color touch-up. Over time, the outer layer of my hair got rough, so light couldn’t bounce off it. The result was a dull, dry finish that no amount of product could fix.
Oiling overnight helps by soaking into the cuticle while you sleep. It’s not magic. It’s just giving your hair the moisture and fatty acids it’s been missing.
- Rough texture and split ends
- Frizz that never calms down
- Dull color, even right after washing
If you checked all three, this ritual is for you.
What you need for this overnight oiling ritual
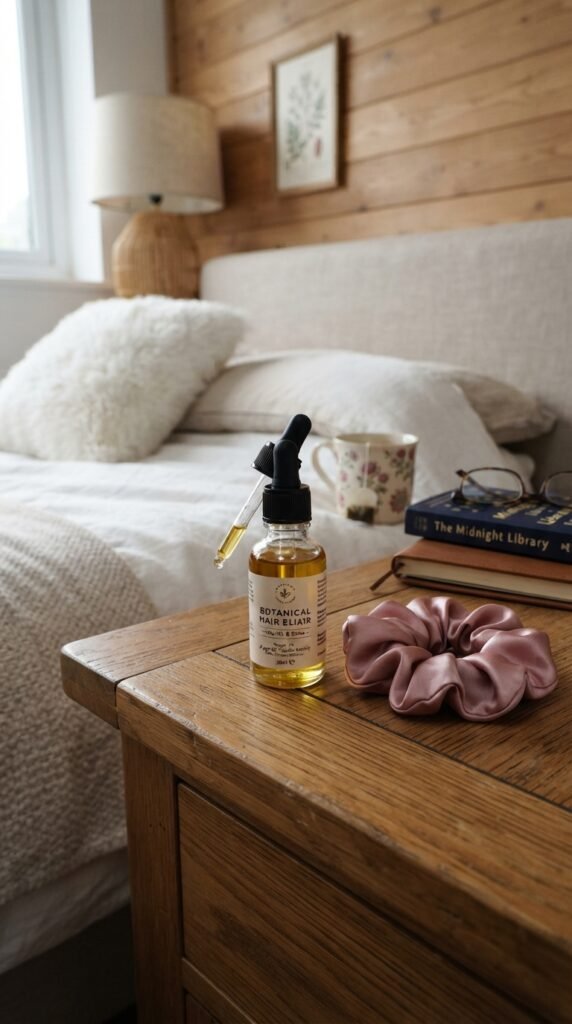
You don’t need a full spa shelf to make this work. Keep it simple and use what you already have.
- A lightweight carrier oil, like jojoba
- A richer oil for the ends, like argan or coconut
- A wide-tooth comb
- A loose silk scrunchie or satin bonnet
- A soft pillowcase you don’t mind getting a little oily
That’s it. I put everything in a little basket next to my bed so the ritual actually happens. Once you have these, you’re ready. You can start tonight without buying anything fancy.
The best oils for damaged hair and what I used
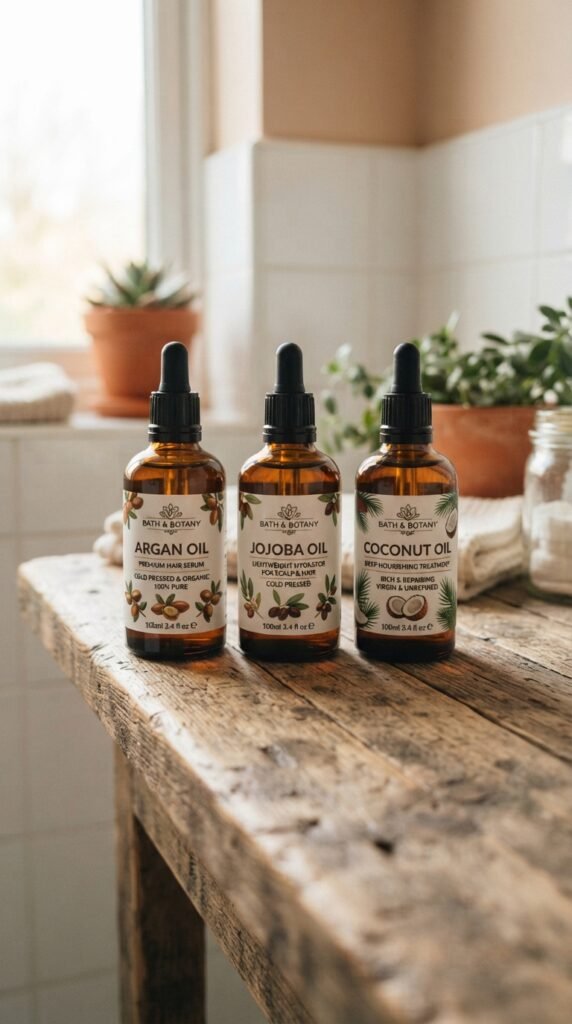
Not all oils are the same. The trick is balancing lightweight moisture with something that can really coat the damaged ends.
- Jojoba: closest to your scalp’s natural oil
- Argan: full of shine-boosting fatty acids
- Coconut: great for stronger protein support, but use a little
I used a 50/50 mix of jojoba and argan. My hair soaked it up without looking greasy. Every few weeks, I added a few drops of rosemary oil for my scalp. You can switch the mix based on your hair’s mood, but this combo is a great place to start.
How to prep your hair before oiling

Prepping matters more than you think. Oiling tangled hair just moves the damage around.
- Brush your hair gently from the bottom up.
- Divide it into four loose sections.
- Keep the hair mostly dry. Damp hair can swell and feel brittle overnight.
I also slide a towel over my shoulders. That keeps oil off my favorite pajamas and makes cleanup quicker. Your hair should be detangled and divided before you reach for the oil. If your hair is very long, clip up three sections and work one at a time.
The 3-minute massage that makes a difference

The oil is good, but the massage is what levels it up. It boosts blood flow, relaxes your head, and helps the oil reach your roots.
Use the pads of your fingers, not your nails. Move in small circles all around your scalp. Here’s exactly what I do:
- Start at the front hairline
- Work toward the crown
- Finish at the nape of the neck
Three minutes is plenty. You don’t need to overthink it. If it helps, set a timer on your phone and just breathe. It becomes the calm part of your evening.
My step-by-step overnight oiling routine
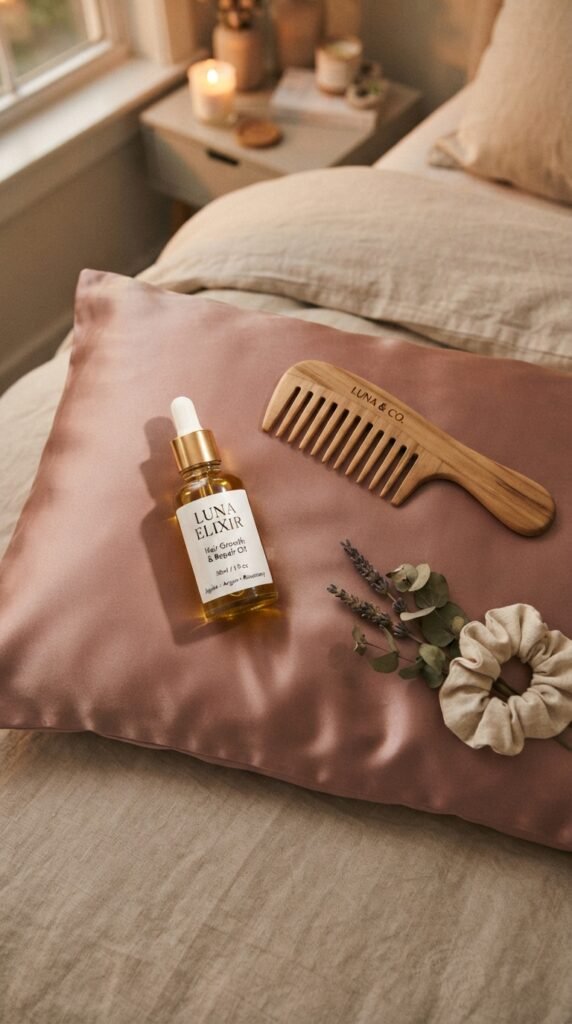
- Brush your hair and split it into sections.
- Warm a few drops of oil in your palms.
- Smooth oil from mid-length to ends.
- Use leftover oil for a quick scalp massage.
- Twist hair into a loose low bun or braid.
- Sleep and rinse in the morning.
That’s the whole routine. It feels way too simple, but the consistency is what brought my shine back. I do the same five-minute version every time. The order matters more than the amount. Always smooth the lengths before you massage your scalp. Once you get comfortable, it becomes automatic.
How much oil to use so you don’t wake up greasy

Less is more. If you soak your hair, you’ll spend the whole morning shampooing and still feel oily.
For my shoulder-length hair, I use about five drops on the lengths and one drop on each side of my scalp. If your hair is very thick, start with a dime-sized amount total and add more only if needed.
My biggest mistake at first was using too much. I looked like a wet puppy and had to wash twice. Learn from me. You want a light film on each strand, not a heavy coat.
Protecting your pillowcase while you sleep
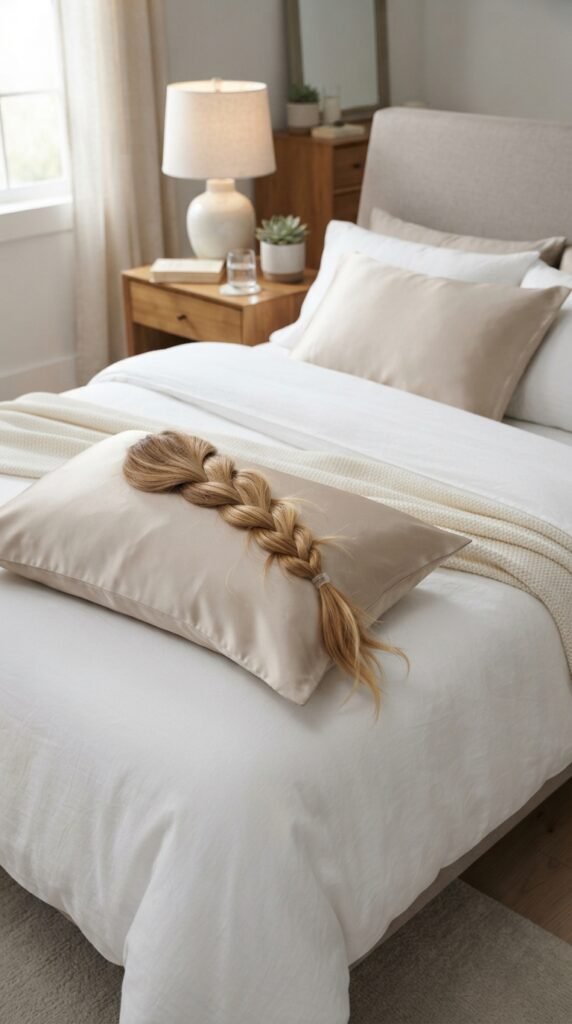
A silk or satin pillowcase is your best friend on oil nights. It creates less friction, so your hair doesn’t tangle while the oil works.
If you don’t have one, just lay a soft cotton T-shirt over your pillow. That works in a pinch.
I also keep an old pillowcase in my rotation for these nights. It saves my good one from oil stains and is easier to wash. If you have sensitive skin, washing it after each oil night keeps breakouts away. It’s a tiny step, but your future self will thank you.
What to do with your hair while the oil works overnight

Don’t just leave your hair loose. It can tangle and rub against your pillowcase, which undoes the smoothness you’re trying to create.
A loose braid is my go-to. It keeps the oil on the ends, stops tangles, and is comfortable to sleep in.
- Low braid for long hair
- High loose bun for shorter hair
- Two loose braids if you toss and turn
Use a soft scrunchie, never a tight elastic. The goal is to keep your hair still without creasing it or pulling your hairline. I switch between a braid and a bun depending on how I feel.
Morning rinse: how to wash it all out

- Rinse with warm water first to help release the oil.
- Shampoo twice if your hair still feels slick.
- Condition the ends only.
- Finish with a cool water rinse for extra shine.
Don’t skip the second shampoo if you need it. Overnight oil leaves a film, and you want it completely gone so your hair feels light, not heavy.
The cool rinse is the little hack that makes my hair look glossy all day. Warm water helps open the cuticle and release the oil. Cold water helps seal the cuticle and lock in shine.
How often you should do this ritual

Once a week is plenty for most hair types. If your hair is very dry or damaged, twice a week is safe.
I do mine on Sunday and Wednesday night. That rhythm is easy to remember and my hair never gets overloaded.
Don’t do it every single night. Too much oil can leave hair limp, heavy, and dull. Consistency beats intensity. Try this for three or four weeks before you change anything. Your hair’s needs change with the weather too. In summer, I back off to once a week. In winter, I add a little more.
Why shine also comes from your brush
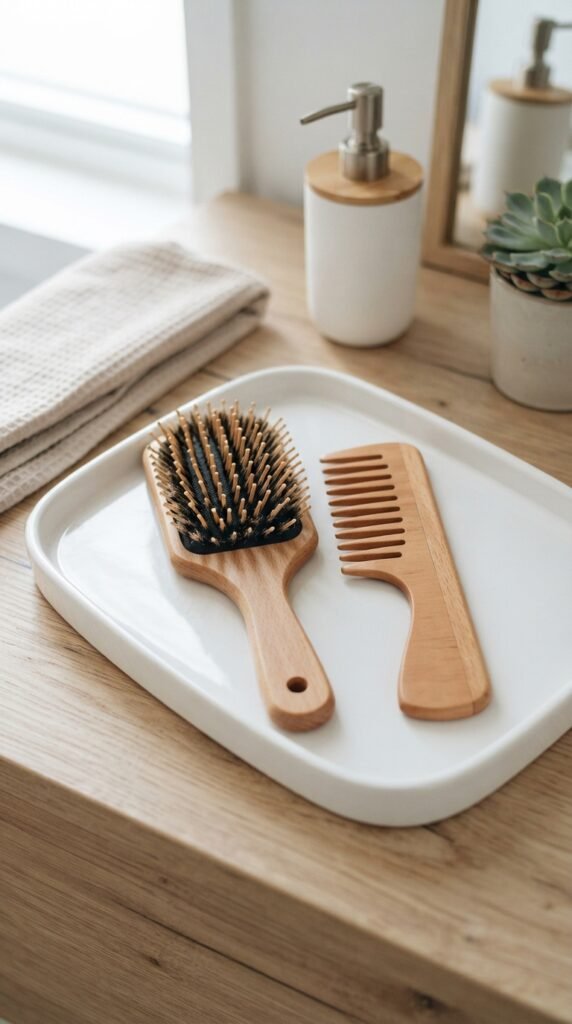
Oiling helps, but your brush matters too. If you rip through knots, you’re shredding the cuticle that you just worked to smooth.
I use a wide-tooth comb on damp hair, then a soft paddle brush once my hair is dry. A clean brush also matters. Dirty brushes carry old product and oil, which makes hair look flat.
Give your brush a quick wash once a week. It’s a small habit with a visible difference. I use baby shampoo and warm water. Then I lay the brush face down to dry. Your hair touches your brush almost every day, so keep it clean.
The easiest way to make oiling feel less messy
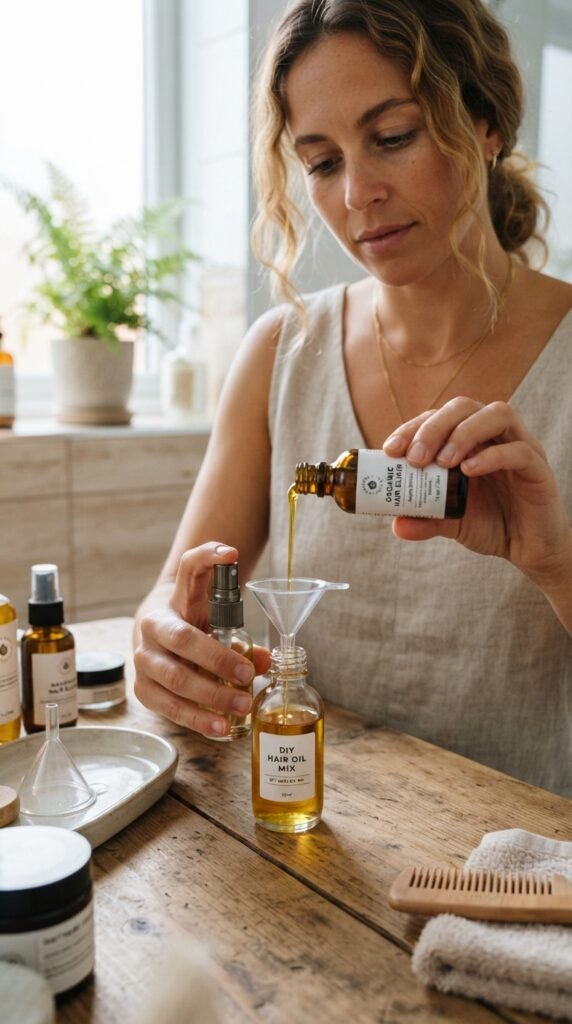
I love oiling, but I hated the mess at first. Here’s the fix: put your oil in a small pump bottle or dropper bottle that you keep by your sink.
That way, you can see exactly how much you’re using. No pouring from a giant bottle at night.
I also apply oil over the sink or while sitting on the edge of the tub. If any drips, it lands somewhere easy to wipe down. Some people use a spray nozzle on their oil, but I find a pump gives me more control. You still want to warm it in your palms before applying.
What I noticed after one week

The first week was about softness, not miracles. My ends felt smoother and less crinkly. The frizz around my ears finally calmed down.
I also noticed my scalp felt calmer. The nightly massage probably helped as much as the oil.
The shine didn’t really show up yet. But I trusted the process because the texture was already better. If you’re trying this and feel impatient, give it another week. That’s when the real shift started for me. Also, drink enough water. Shine really does start from the inside. I know that sounds basic, but it mattered.
What I noticed after one month

After a month, I finally saw the shine. My hair reflected light again, especially around my face and the ends of my layers.
Breakage slowed down, and my ponytail felt thicker. My hair also held styles longer because it wasn’t fighting against dryness.
This is the part that made me a believer. The ritual didn’t just make my hair look better. It made my whole morning routine easier. I got a compliment from a friend who thought I had just left the salon. That was the moment I knew this was becoming a habit, not a phase.
This ritual helps every 2026 hairstyle look better

Healthy hair is the base for any new cut. 2026 hairstyles are all about clean, intentional shapes that need shine to look finished.
Whether you want a sleek asymmetrical lob or a sharp hime cut, damaged hair will hide the line. Smooth, glossy hair makes the style look expensive and polished.
I started this oiling ritual before my last haircut, and my stylist noticed the difference before I even told her. It’s not about chasing every trend. It’s about having hair that can pull off whatever cut you choose.
Why old money hair and quiet luxury bobs need shine

Old money hair is not about complicated color. It’s about healthy, expensive-looking shine that looks effortless.
The quiet luxury bob fits right into that vibe. Clean lines, simple styling, and a glassy finish make the cut stand out. Oiling the ends keeps them blunt and smooth instead of fuzzy.
This ritual gave me that low-key polished look I always saw in inspiration photos. The best part is that the finish looks natural, not overdone. Healthy hair does the heavy lifting for you, and this oiling ritual is the easiest way I’ve found to get there.
Can this help romantic goth hairstyles and vampire haircuts?

Yes, and it’s a game changer for darker hair. Dark colors show shine more easily, but they also show dry ends more clearly.
Romantic goth hairstyles and the vampire haircut lean on sharp layers and moody movement. Those shapes look best when the hair is hydrated and sleek, not fuzzy.
I use a little extra oil on my ends with this style to keep the edge sharp and the waves from puffing up overnight. A light touch is still best. You want the drama in the cut, not in the grease.
Does oiling work with glitchy glam hair and asymmetrical lobs?

Definitely. Glitchy glam hair can be playful and textured, but the texture should look deliberate, not damaged.
An asymmetrical lob relies on blunt, precise ends. A few drops of oil smooth those ends and add definition without making the style greasy.
Oiling overnight gives me the control to play with edgy trends without sacrificing shine. For this look, I focus the oil mostly on the bottom few inches. That keeps the roots clean and the style sharp. You can also use a tiny bit after styling for extra polish.
Oiling for hime cut and face-framing pieces

The hime cut is all about those straight, glass-like sections around your face. Damaged strands ruin the visual.
On oil nights, I pay extra attention to my face-framing pieces. I smooth a tiny drop of oil from mid-length to the ends before bed.
Just keep it off your forehead if you’re prone to breakouts. A little goes a long way here. You don’t need to oil the whole head if you don’t want to. The hime cut reads cleanest when those front pieces look polished. This is also a great trick for anyone growing out bangs.
A cozy little wrap-up
This overnight oiling ritual is the most practical thing I’ve done for my hair. It’s cheap, simple, and fits into my normal bedtime routine.
It won’t fix years of damage overnight. But if you stick with it, your hair will start to look softer, calmer, and shinier in a few weeks. That’s the kind of change you can feel, not just see.
Save this post to Pinterest so you have the exact steps next time you wash your hair. And tell me below: what is the one hair problem you’re trying to fix this month? I’d love to cheer you on.