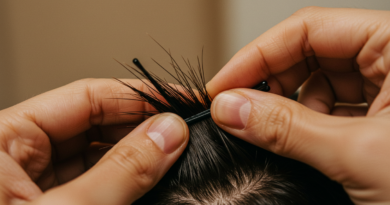
This Round Brush Technique Changed How I Blow Dry And Cut My Time In Half
I have a confession: I used to avoid blow drying my hair like it was a chore. I would let it air dry, sleep on it damp and hope for the best. Half the time I looked like I had just survived a windstorm and lost the fight.
Then a stylist friend showed me one simple round brush technique that completely changed my morning routine. No more arm fatigue, no more re-doing sections three times, no more worrying about frizz before noon.
This is the technique that taught me how to get that expensive-looking, salon-fresh blowout at home. And honestly? It cut my drying time in half. Whether you wear your hair long and flowing, cropped into a bob, or somewhere in between, this trick works for everyone.
Why My Old Blow Dry Routine Was Broken
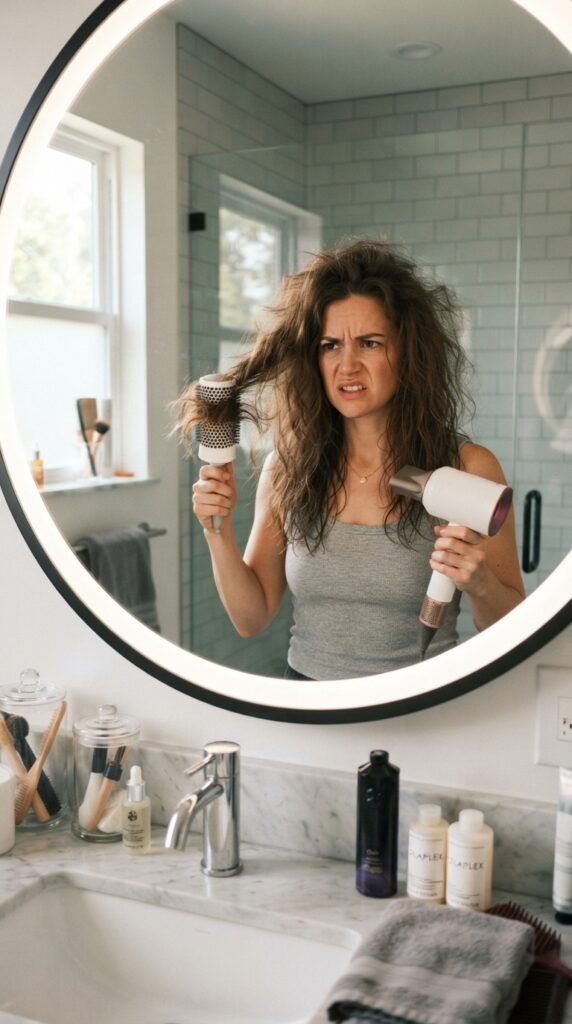
My old routine took forever because I was doing everything wrong. I would point the dryer straight down on soaking wet hair and then try to use a round brush on dripping strands. The result was always the same: frizz, arm cramps and about 45 minutes of my life gone before I even looked human.
Sound familiar? Here is the thing: the problem is not your hair and it is not your dryer. It is the order of operations. Once I flipped a few simple steps around, everything changed. My hair dried faster, looked smoother and felt a whole lot lighter.
The Round Brush Mistake That Was Slowing Me Down
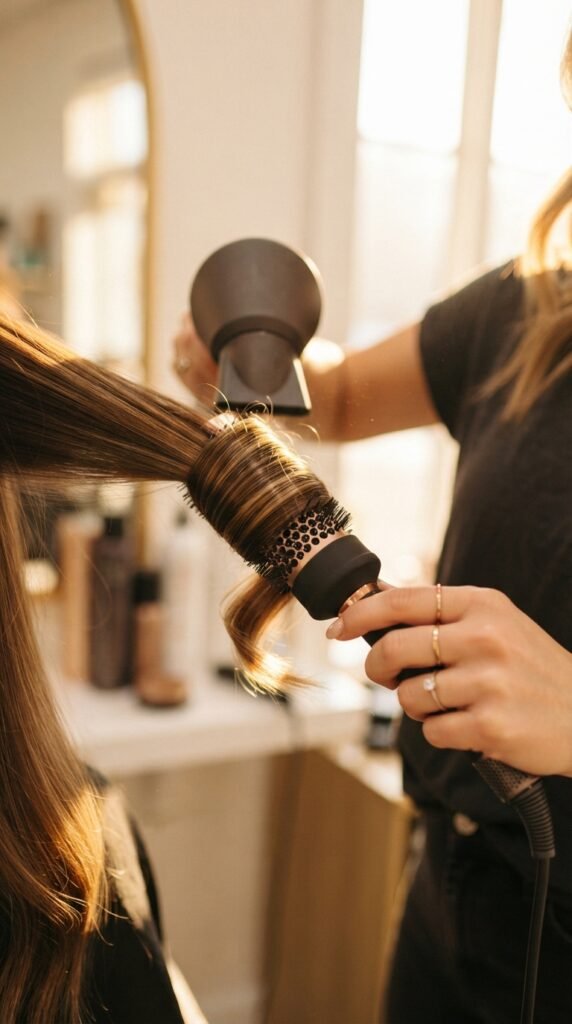
Here is what I learned the hard way: I was yanking the brush through my hair like I was trying to start a stubborn lawnmower. Big, aggressive strokes. Zero tension. Zero patience. And then I would get so frustrated when the roots stayed damp and the ends looked crispy all at once.
The trick is to stop pulling and start wrapping. When you wrap your hair around the barrel and hold it in place, the heat has time to work its magic on each strand. That tiny difference changed everything for me. It is gentler, faster and honestly, it feels better.
Step One: Towel Dry The Right Way
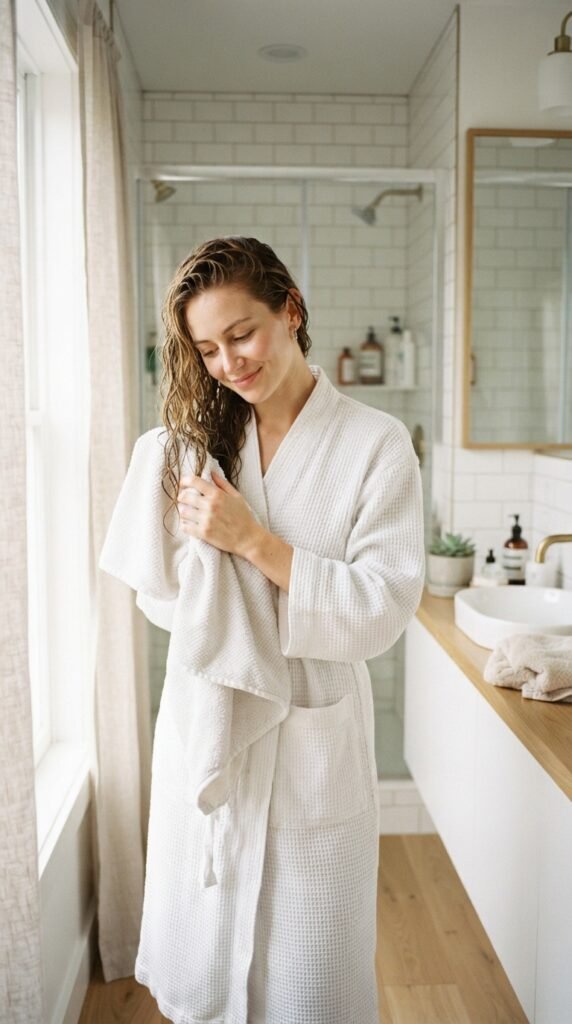
Step one happens before you even plug in the dryer. After your shower, squeeze out the extra water with a microfiber towel. Do not rub your hair like you are polishing a car. Rubbing roughs up the cuticle and sets you up for frizz.
Gently squeeze from the middle down to the ends, then let your hair sit in the towel for a few minutes while you do your skincare. Your hair should be damp, not dripping, before any heat touches it. Think of it as a little pre-pamper moment. Your hair gets a head start on drying before the blow dryer even turns on.
It is a small change, but it saves so much time later.
Step Two: Prep With The Perfect Product Combo
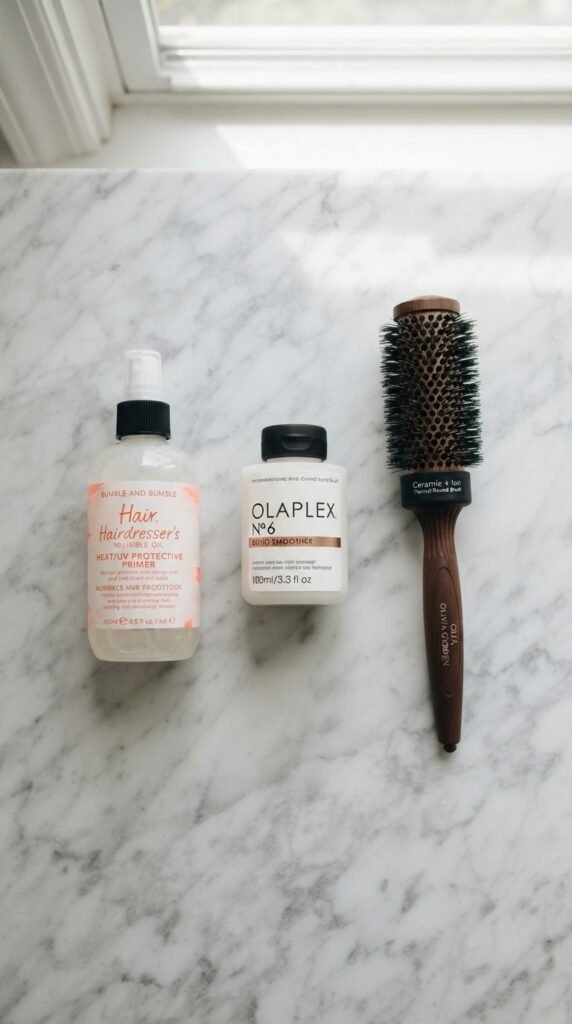
Before you pick up the brush, add a light heat protectant and a smoothing cream. Two pumps of each, rubbed between your palms, then pressed into your hair from mid-length to ends. Avoid the roots unless you have very thick hair and need the extra volume boost.
The right products make the brush glide easier and honestly, they make your hair look shinier. You do not need a million products. Just two good ones that actually work for your hair type. Keep it simple and your mornings will thank you. I rotate mine depending on the season.
Step Three: Rough Dry Until 80% Dry
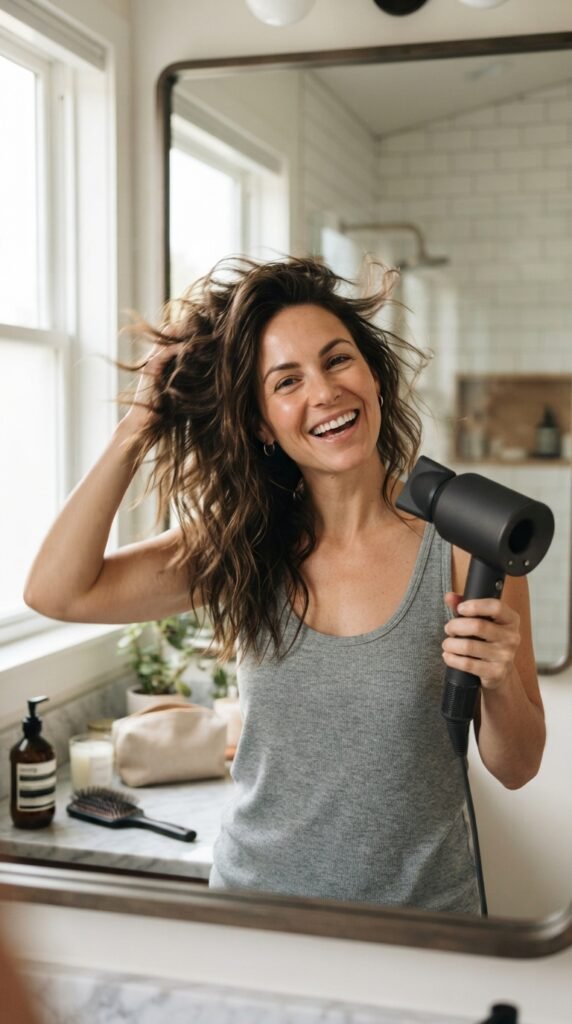
This is the step that honestly cut my drying time in half. Do not pick up the round brush until your hair is about 80% dry. Use your hands or a paddle brush to rough dry the bulk of the moisture out first. Focus on the roots and the nape of your neck. One pass over each section is usually enough.
When your hair is mostly dry, the round brush only has to smooth the last 20%. That means less time frying your hair and way less time holding your arms up. It feels like a cheat code because it kind of is.
Step Four: Section Your Hair Like A Pro
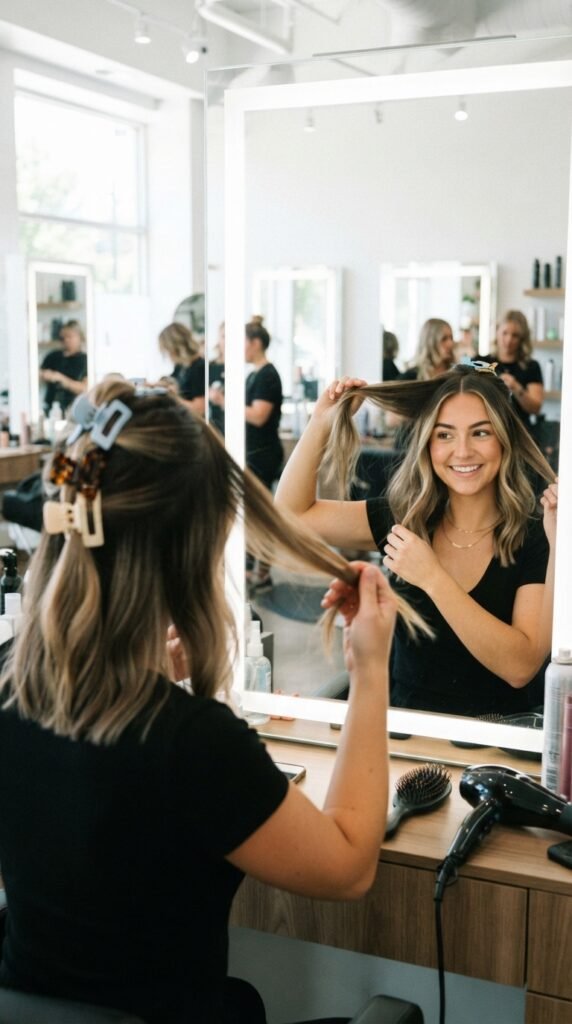
Stop trying to blow dry your whole head at once. It does not work with a round brush. Trust me, I tried. Separate your hair into four or five sections using clips. Start at the bottom layer and work your way up.
Keep each section about one to two inches wide. This is not about being fussy. It is about giving each strand the attention it needs. Smaller sections dry faster and smooth better than one giant chunk. It feels tedious at first, but I promise you it saves time overall. Think of it as mini blowouts, one after another.
Step Five: The Tension Wrap Technique
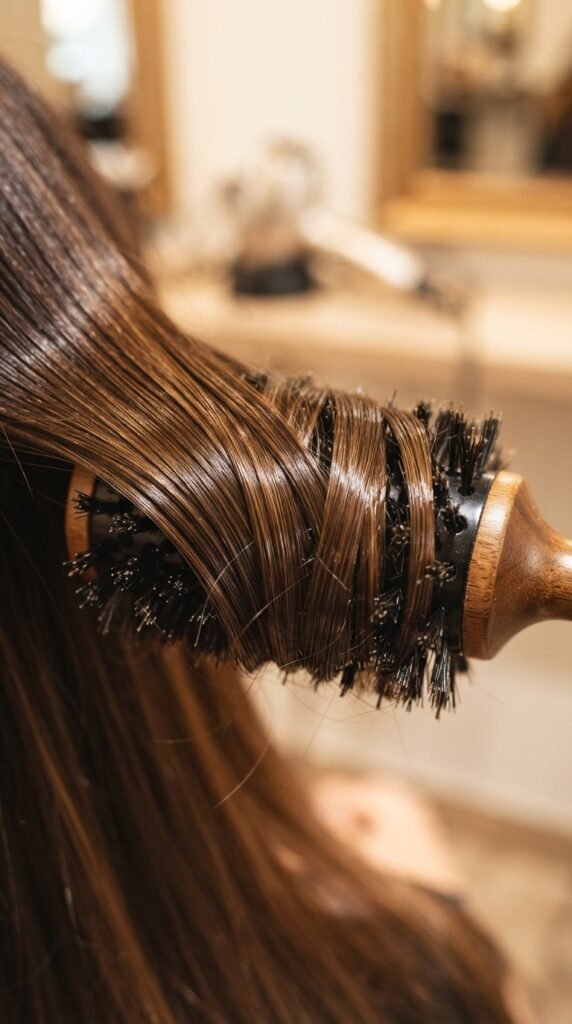
Here is the heart of this whole routine. Take a small section and wrap it around the round brush, pulling the brush away from your scalp so there is gentle tension. Hold it like that for a few seconds while the heat works through the hair.
Then release the tension slowly and pull the brush down to the ends in one smooth motion. The combination of heat, tension and time is what gives you that smooth, glossy finish. No fancy movements, just one simple wrap. I usually do this twice per section for extra shine. Once you feel it, you get it.
Step Six: Lock It In With Cool Air
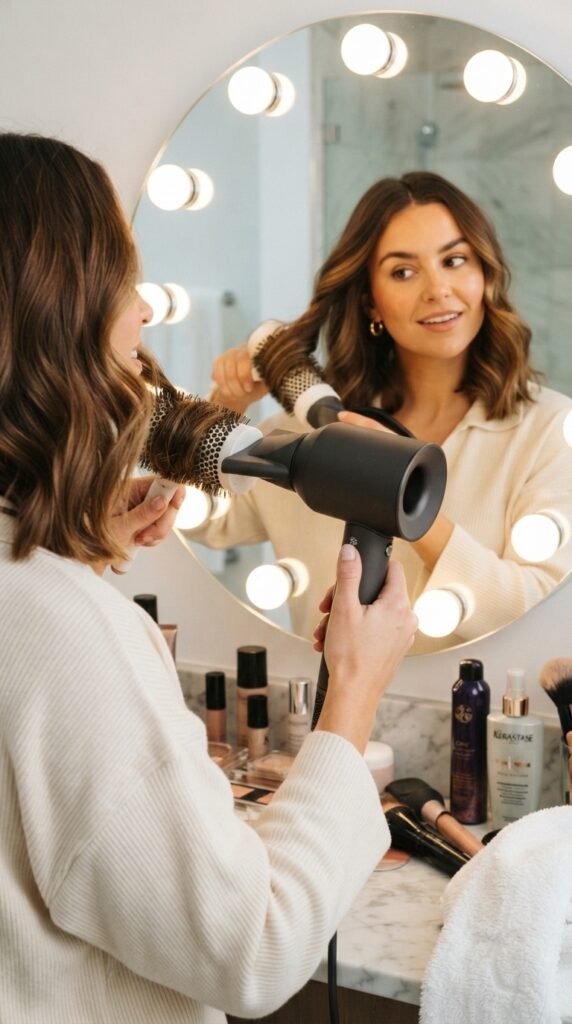
You might be tempted to turn the dryer off the second you finish a section. Do not do it. The cool shot button is your best friend. After the warm air does its job, hit each wrapped section with a few seconds of cool air to lock the shape in place.
This sets your style and makes it last way longer. It also adds a smooth shine that warm air alone cannot give you. Ten extra seconds per section is worth it. Your hair will stay put all day, even when the humidity tries to ruin you. Future you will be so happy.
Why This Works For 2026 Hairstyles
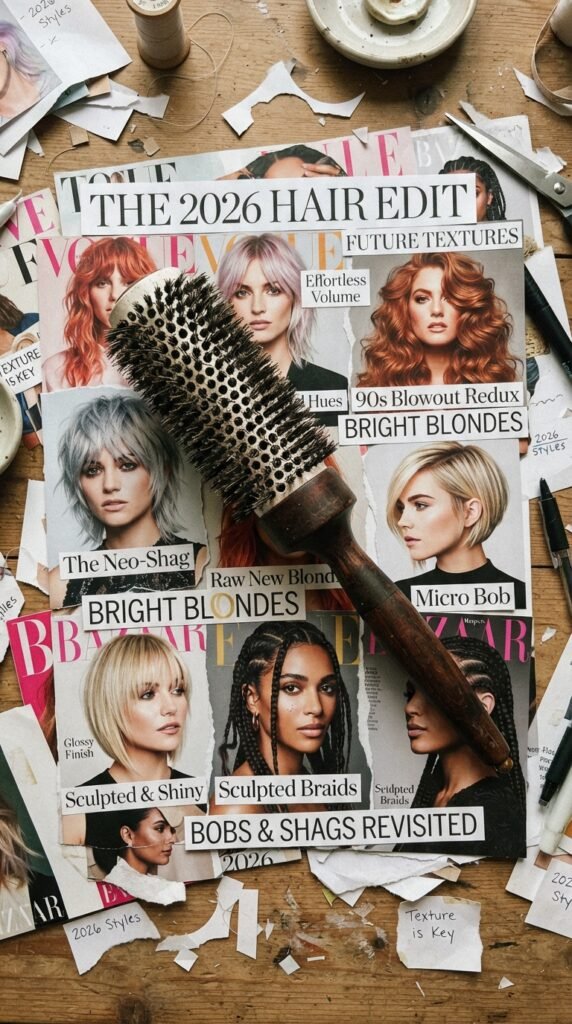
If you have been keeping up with 2026 hairstyles, you know it is all about texture, movement and effortless polish. This round brush technique gives you exactly that. It creates a smooth base that works with any trend, without looking stiff or overdone.
Whether you are going for old money hair vibes, a modern asymmetrical lob or romantic goth hairstyles with a soft edge, the round brush is the common thread. Master it once and every haircut looks amazing. It is honestly the best skill I have ever learned for my hair.
Old Money Hair Loves A Smooth Base

Old money hair is all about quiet wealth and polished elegance. Think sleek, shiny, minimal effort. This technique delivers that look every single time. The tension wrap smooths the cuticle, which means your hair catches the light beautifully.
No frizz, no flyaways, just that expensive-looking finish. Pair it with a deep side part or a low ponytail and you have an instant old money aesthetic that looks like you spent a fortune at the salon. But you did not. It was just you and your round brush. That is the whole point. Effortless does not mean zero effort, it means smart effort.
Styling A Quiet Luxury Bob In Minutes

The quiet luxury bob is everywhere right now, and honestly, it deserves this technique. Because a bob is short, the tension wrap works even faster. You can finish the entire style in under ten minutes.
Wrap each section, hold for a few seconds, hit it with cool air and move on. The result is a smooth, shiny bob that curves gently under your chin. It looks expensive, feels light and works with every outfit in your closet. I genuinely get asked if I got a fresh blowout when I do this. That is the best compliment.
The Secret To A Polished Asymmetrical Lob
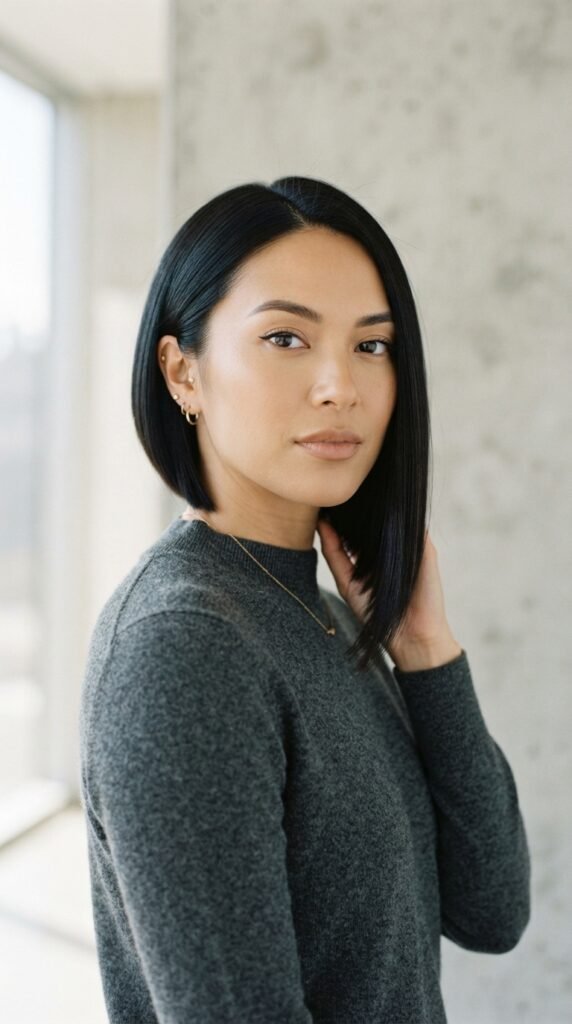
An asymmetrical lob is a fun, modern cut that needs the right finish. Too much styling and it looks heavy. Too little and it looks messy. The round brush technique finds the happy middle.
Use the tension wrap on the longer side to create a soft inward curve. On the shorter side, angle the brush slightly downward to keep the edge sharp. You get that editorial, fashion-week look with almost zero effort. It is my favorite way to style a lob, hands down. And it works whether your lob is straight, wavy or somewhere in between.
Hime Cut Styling Made Easy
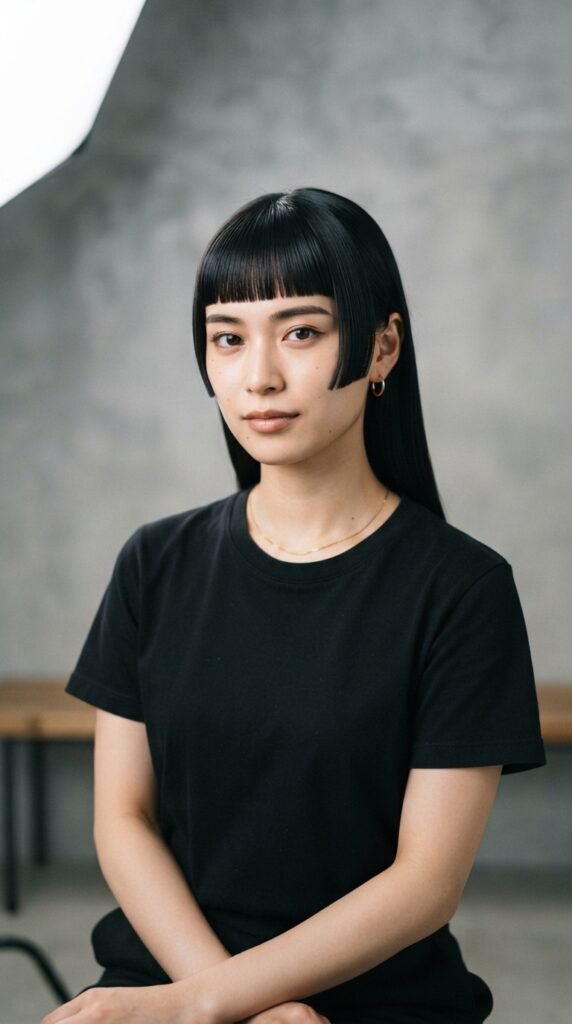
The hime cut is such a stunning trend for 2026. It has those bold, cheekbone-framing pieces that need to lay perfectly flat. This technique is perfect for that. The tension wrap smooths those front pieces so they sit exactly where they should.
For the longer back section, treat it like a mini blowout and let the brush glide through smoothly. The hime cut is sharp, graphic and a little bit dramatic. A good round brush makes it look intentional and polished instead of messy. I love pairing it with a middle part for that ultra-clean finish.
Romantic Goth Hairstyles Need This Base

Romantic goth hairstyles are having a real moment, and they are all about texture, volume and a touch of drama. This round brush technique gives you a smooth, sleek base that you can build any goth look on top of.
Want sleek witch-core waves? Use the brush to smooth, then add soft bends. Want that dark, moody volume? Rough dry the roots, then wrap sections upward. The brush is your starting point. Everything else is just the fun part. It makes styling feel like play instead of work. And that is exactly what a good hair day should be.
Glitchy Glam Hair Starts Here

Glitchy glam hair is the cool new trend that mixes sleek shine with intentionally unfinished pieces. It is like your hair is glitching in the best way. To pull this off, you need a strong foundation. That is where this technique comes in.
One pass with the round brush gives you that glassy smoothness. Then you can mess it up on purpose. Pair it with a mirror finish. You control the whole look, because you already have the base. That is the beauty of learning one good technique. You start with something polished and then decide how far you want to push it.
The Vampire Haircut Deserves This Finish

The vampire haircut is all about sharp layers, face-framing details and dark, glossy color. This look depends on precision. The round brush technique helps you style those layers so they fall dramatically and perfectly.
Use the tension wrap on the top layers to create a subtle curve that frames your face. The vampire cut is dramatic, bold and a little mysterious. A smooth blowout makes the layers look intentional and the color look even richer. That rich, vampire-approved shine does not happen by accident. It happens because the cuticle is smooth and reflecting light.
How Much Time Did I Actually Save?
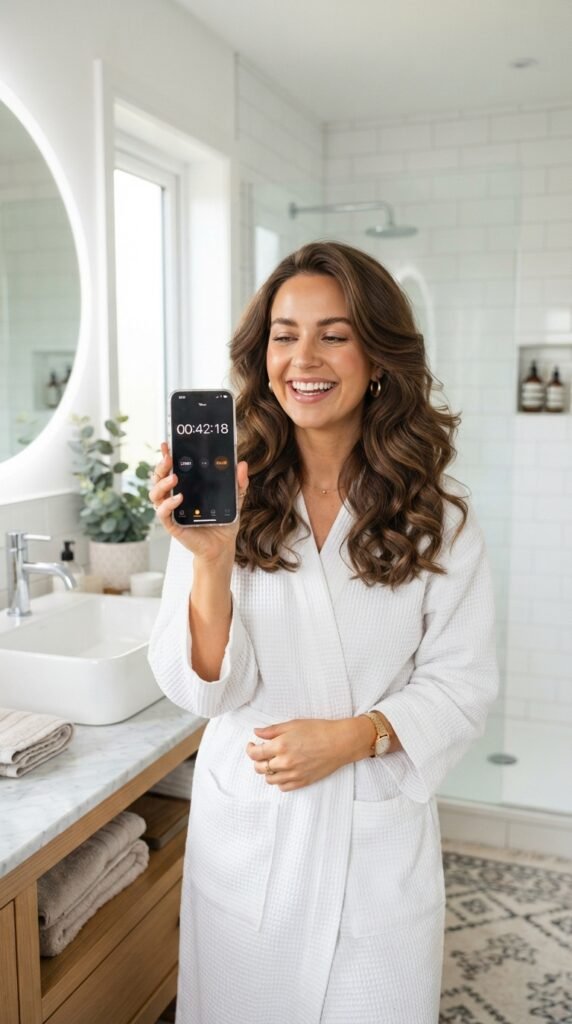
Here is the honest math. Before this technique, I was spending 40 to 45 minutes on a full blowout. Now I am down to around 20 to 25 minutes. That is practically half. And honestly, it feels like I got part of my morning back.
- Rough drying step: saves about 10 minutes
- Smaller sections: saves about 8 minutes
- Less re-drying and fixing: saves about 7 minutes
The biggest time saver is the rough dry. But honestly, the time savings go beyond the clock. My arms do not ache. I am not sweating by the time I finish. I actually look forward to blowout days now. That alone makes it worth learning.
Feel-Good Results After Two Weeks

I have been using this technique every wash day for two weeks, and the results are honestly noticeable. My hair feels softer and looks shinier. It also stays smooth for longer, even on day two and day three.
The tension wrap helps my blowout last, which means I am styling my hair less often. That is a huge win for my hair’s health and my schedule. If you are tired of fighting with your brush, give this two weeks. I think you will be surprised. I genuinely did not expect the difference to feel this big. Small change, huge payoff.
My Favorite Round Brushes For This Method
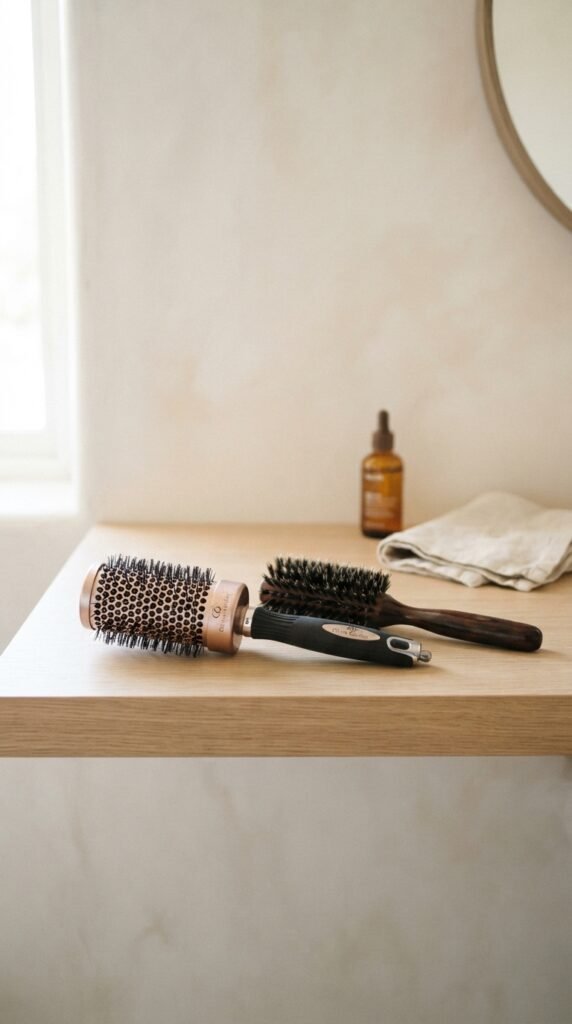
Not all round brushes are built the same. I have tried way too many, and now I stick to two favorites. One is a ceramic barrel that heats up gently and adds extra smoothness. The other is a boar-bristle mixed brush that grips the hair without pulling.
Both have one thing in common: they are not too huge. A smaller barrel gives you more control, especially for the tension wrap. You do not need an expensive brush to make this work. You just need one that feels comfortable in your hand. Start with what you already own before buying anything new. Trust me, your arm will thank you.
Heat Protection Is Non-Negotiable
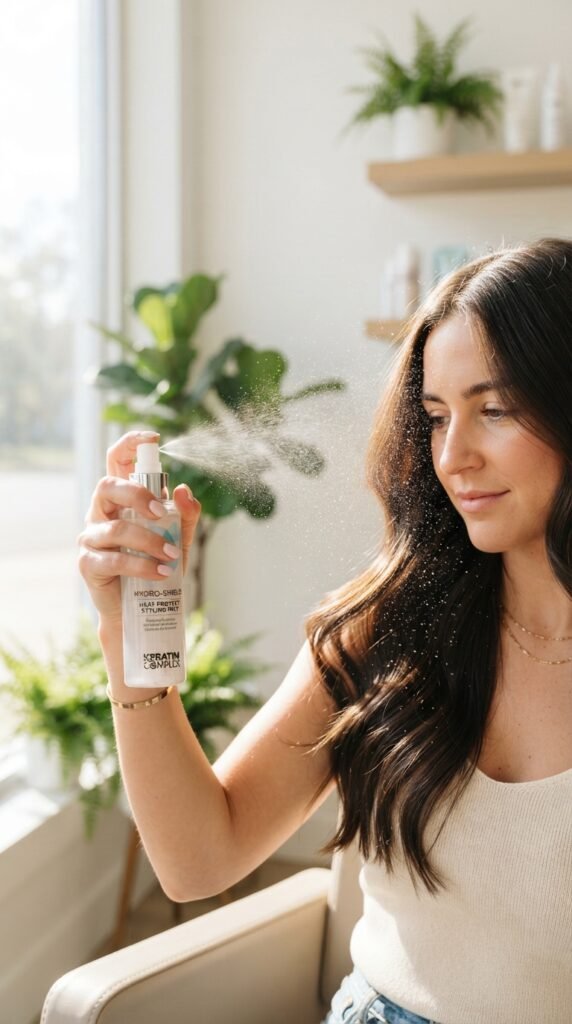
I have to say this because I learned it the hard way: always use heat protection. Always. Even on low heat, you are exposing your hair to heat, and the damage adds up over time. A lightweight protectant spray does not weigh your hair down. I keep mine right next to the dryer so I never forget.
It saves your strands from breakage and keeps your color from fading. And it takes literally two seconds to spray. If you skip everything else in this post, do not skip this one piece. It is the smallest habit with the biggest payoff. Your future self will thank you.
Can You Do This On Second-Day Hair?
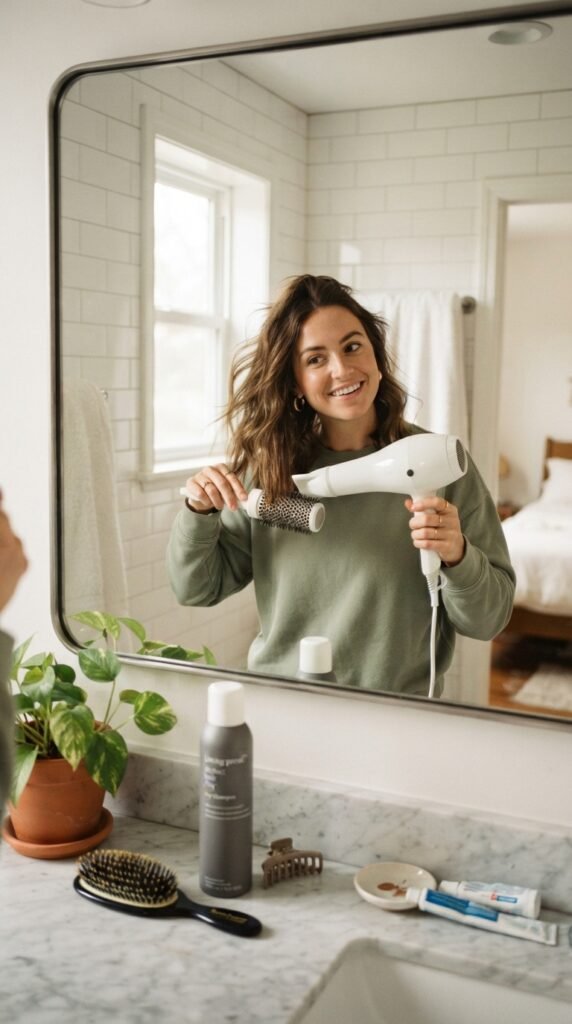
Yes, and it might actually be easier. If your blowout is looking flat or a little greasy at the roots, you do not need to start over. Spray a little dry shampoo at the roots, wait a minute, then use the round brush with just warm air to refresh each section.
No water, no shampoo, no full routine. The tension wrap smooths out any bends and brings the bounce back. It is my favorite hack for making a good blowout last three or four days. This seriously changed how often I wash my hair, and I love it. Your hair will behave better on day two if you refresh it like this.
What To Do If Your Hair Is Curly
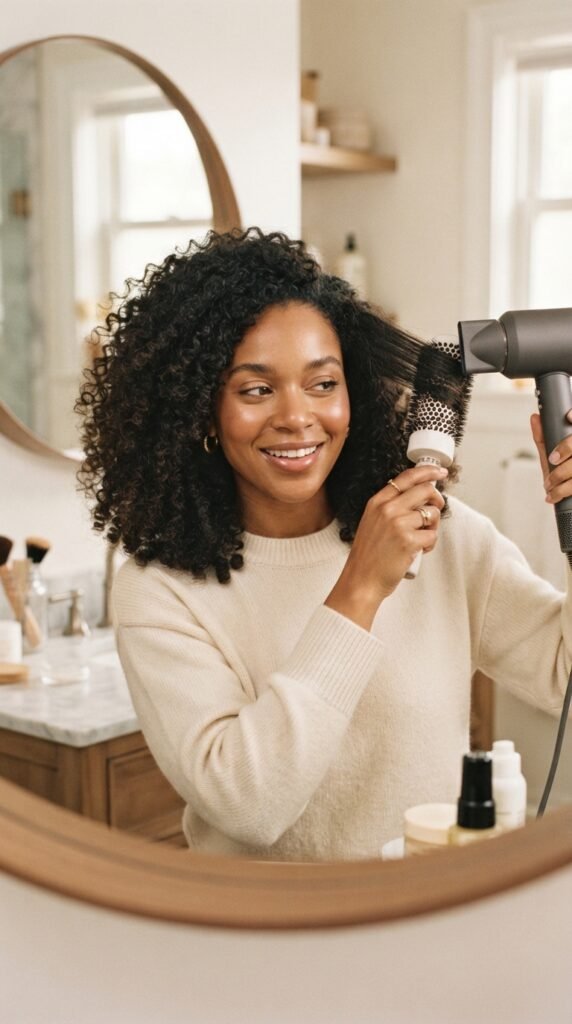
If you have curly or coily hair, this technique works, but with a tweak. Make sure your hair is fully detangled before you start. Use a wide-tooth comb and plenty of slip from a leave-in conditioner. Then rough dry until your curls are about 80% dry.
Once the natural curl pattern is set, use the round brush only on the sections you want to smooth. You do not have to straighten everything. Sometimes you just want a polished finish with a little bend left at the ends. Work with your texture, not against it, and your hair will thank you.
What Common Mistakes Should You Avoid?
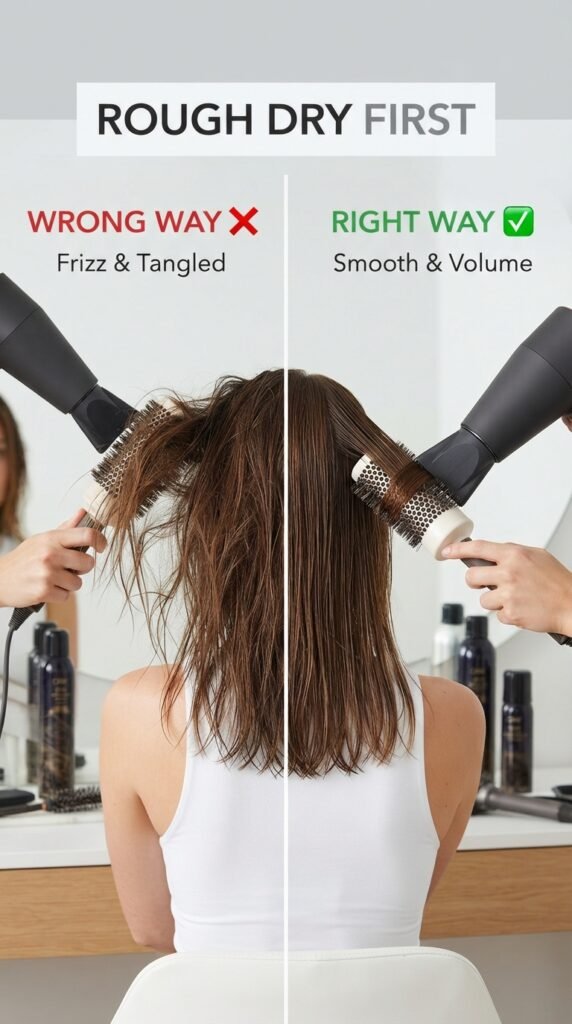
Let me save you the trial and error. I have tested these so you do not have to. These four were the biggest culprits for me.
- Using a round brush on soaking wet hair. It takes forever and creates frizz. Always rough dry first.
- Pulling too hard on the brush. Gentle tension is enough. Aggressive pulling just hurts.
- Skipping the cool air. It locks everything in and protects your finish.
- Using too much product. It makes hair heavy and sticky.
Avoid these four mistakes and you are basically a pro already. I made every single one of them at some point, so learn from me. I promise.
One Last Thing From Me
Okay, one last thing from me. Learning this round brush technique honestly changed my mornings. It is simple, effective and gives me that expensive salon feeling without the price tag or the arm workout. No more dreading wash days.
If you try it, I would love to hear how it goes. Did it cut your time in half too? What is the one haircut you are most excited to style with your new skills?
Save this post to Pinterest so you have it ready for your next wash day.
Then come back and tell me: how much time did you save? I would genuinely love to know.