
Trim Split Ends Yourself with Precision at Home
Okay, let’s be real. Your hair is finally getting to that perfect length, or you’ve nailed your dream 2026 hairstyles vibe, and then you see them. Those dreaded split ends. They make your hair look frizzy and dull, and a salon trip just isn’t in the cards this week.
I get it. I’ve been there so many times. But what if I told you that with the right technique, you can actually trim those splits yourself at home and maintain your style? It’s totally possible.
This isn’t about giving yourself a full haircut. It’s about precision maintenance to keep your hair looking healthy and fresh between trims. It saves money and time, and honestly, it’s kind of empowering.
I’m going to walk you through the exact, safe method I use. It’s kept my own hair—whether I’m rocking an asymmetrical lob or growing out a hime cut—in way better shape. Let’s get your strands smooth and your confidence high.
Why You Shouldn’t Ignore Split Ends
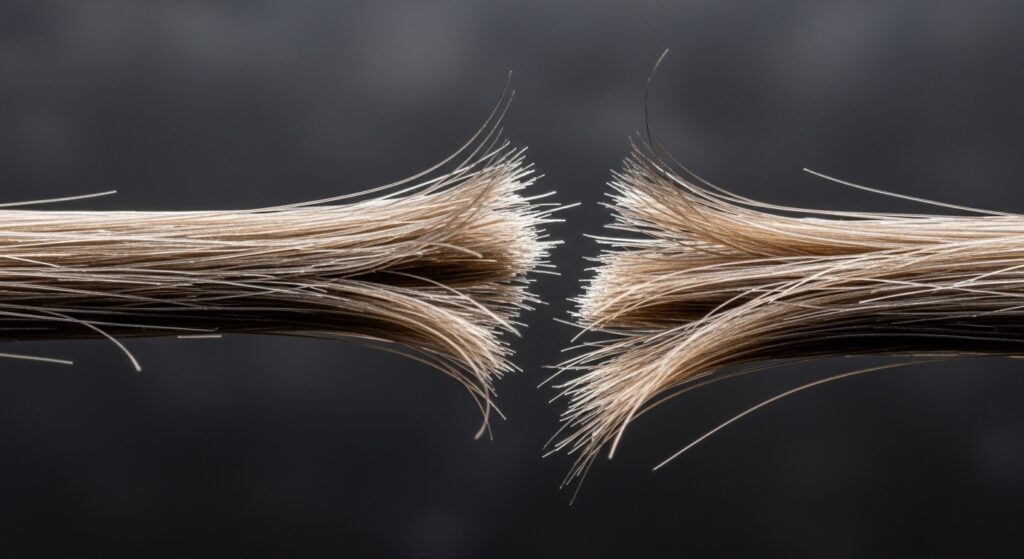
Split ends aren’t just a cosmetic issue. Once the hair shaft splits, that damage can travel up the strand, making the problem worse over time. Your hair becomes more prone to breakage, which is the enemy of length retention.
Ignoring them means your hair will never look or feel its healthiest, no matter what expensive products you use. It’s the foundation of any great style, from old money hair to romantic goth hairstyles.
Regular trims are the secret. By snipping off just the damaged ends, you protect the rest of your hair. This simple act keeps your style looking intentional and polished, not frayed and tired.
Gather Your Tools: You Don’t Need Much
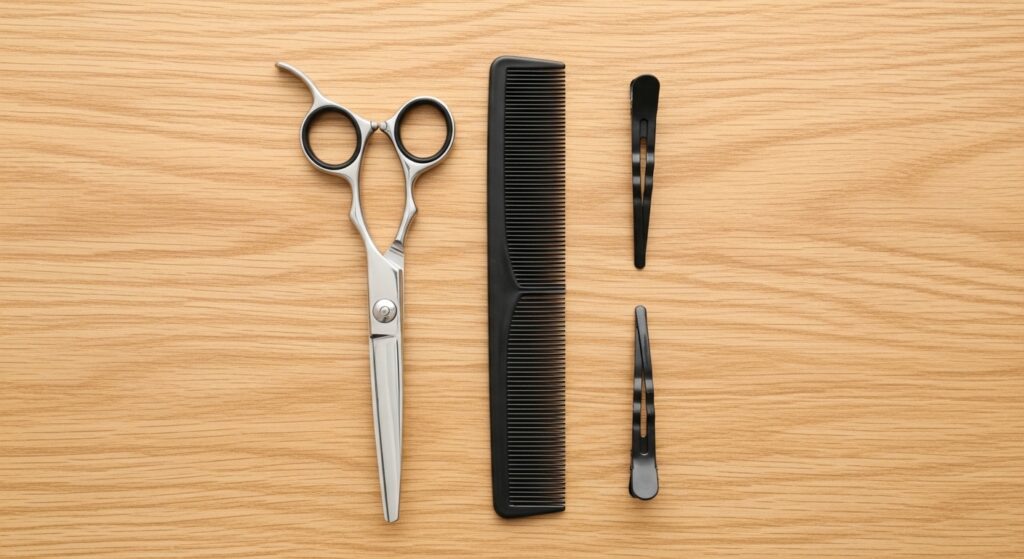
You can do this with just a few key items. First, you need a pair of sharp hair-cutting shears. Please do not use kitchen or craft scissors—they will crush the hair and make the split ends worse.
You’ll also need a fine-tooth comb, two hair clips to section your hair, and good lighting. A mirror you can get close to is essential. That’s really it. Set up in a bright, comfortable space where you can take your time.
Having the right tools makes all the difference in getting a clean, precise result. It turns a potentially messy job into a simple self-care ritual.
Start with Clean, Dry Hair
Always, always work on hair that is completely dry and preferably freshly washed. Hair stretches when it’s wet, so if you cut it damp, you’ll end up with uneven lengths once it dries and shrinks back up.
Dry hair also lets you see the true texture and where the splits are most visible. Blow-dry your hair as you normally would, whether that’s sleek or with your natural wave.
This ensures you’re trimming only what you need to and your results will be predictable. It’s the first rule for a reason!

Section Your Hair Like a Pro
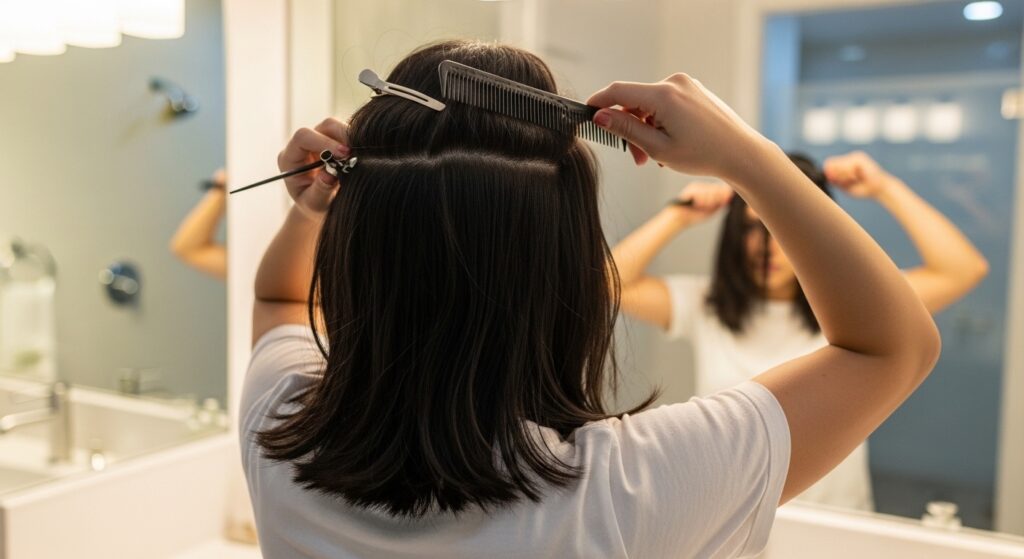
This step is non-negotiable for control. Part your hair down the middle from forehead to nape. Clip one side up and out of the way. Now, take the other side and create a horizontal part from the top of your ear across the back of your head.
Clip the top section up. You should be working with just the bottom, back section of hair first. This methodical approach lets you focus on small, manageable pieces without missing spots.
It might feel fussy, but it’s what stylists do to ensure evenness. Trust the process.
The Precision Technique: Searching and Snipping
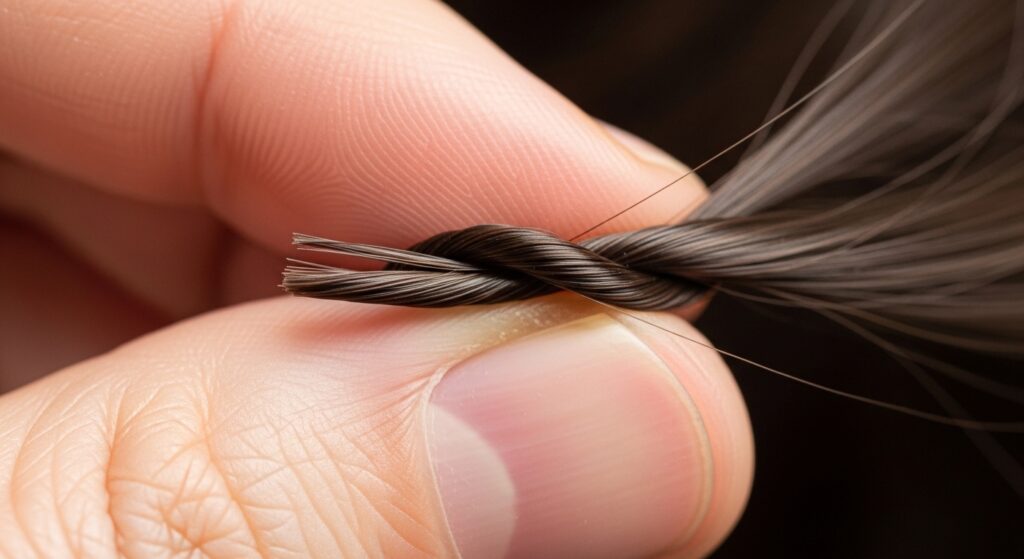
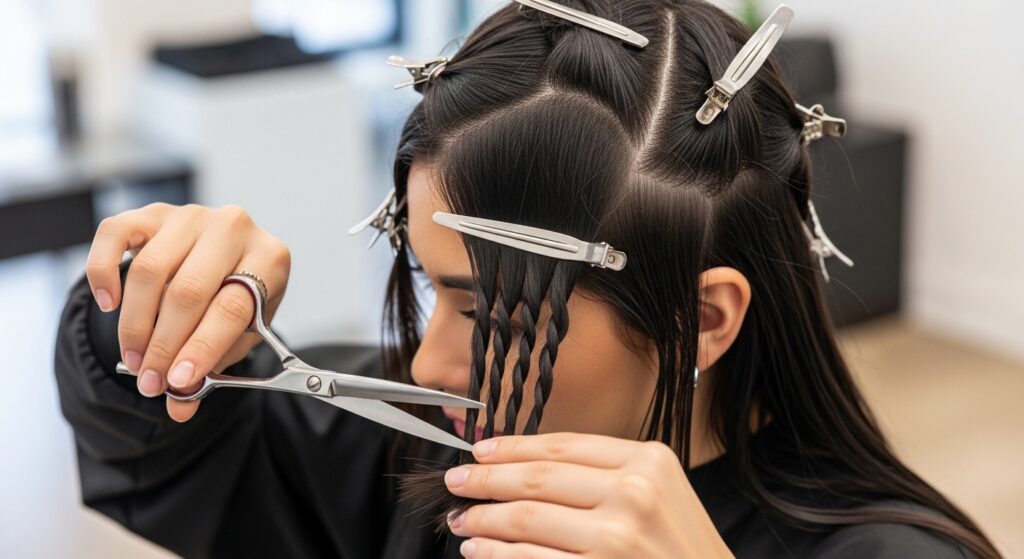
Take a very small, thin section of hair from your bottom layer—no wider than half an inch. Comb it through smoothly. Now, twist that section tightly from the top down to the ends.
This twisting motion forces any split ends or damaged bits to poke out perpendicular to the twist. They become super easy to spot. Slowly scan the entire length of the twisted section.
Where you see a white dot or a frayed end sticking out, that’s your target. This is the heart of the precision method.
How to Make the Actual Cut
Hold your shears correctly, with your thumb in the small hole and your ring finger in the larger one for stability. When you see a split end poking out from your twisted section, position your shears just above the split.
You are only cutting off the damaged bit, not a chunk of hair. Make a quick, clean, vertical snip. Think of it as “point cutting” into the twist to remove just the offender.
This preserves your length and blends perfectly. It takes a moment, but it’s worth it for the health of each strand.

Work Through Each Section Methodically
Continue searching and snipping through that entire bottom, back section. Release another small, thin subsection, twist, scan, and snip. Take your time. This isn’t a race.
Once the entire back-bottom section is done, unclip the next horizontal layer down. Repeat the process: thin subsections, twist, scan, snip.
Work your way up to the top sections and then repeat everything on the other side of your head. This systematic check ensures you cover every single part of your hair.
What to Do with Bangs or Face-Framing Layers
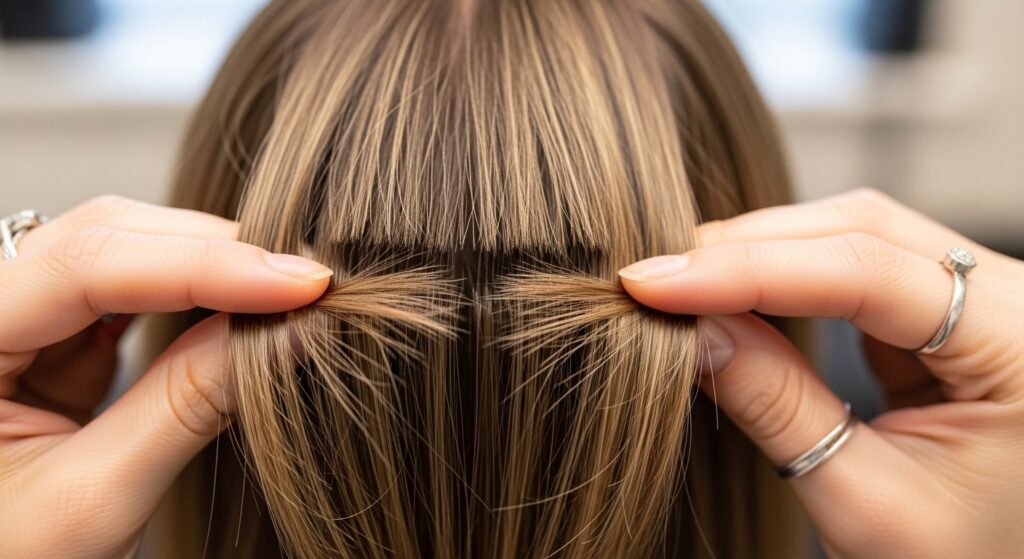
Be extra careful here. For bangs or the pieces that frame your face, do not twist. Instead, comb them straight down and hold them between your fingers where you want the length to be.
Look for splits individually. You might make tiny, vertical snips with the very tips of your shears to remove splits without altering the shape of your glitchy glam hair or vampire haircut fringe.
When in doubt, trim less. These pieces are front and center, so a light touch is key.
How Often Should You Do This?
This isn’t a replacement for a professional haircut every 3-4 months. Think of it as maintenance in between. I do a thorough search-and-snip session like this about once a month.
If your hair is particularly damaged or you use a lot of heat, you might need to check every 3 weeks. If your hair is very healthy, every 6 weeks could be enough.
Let your hair be your guide. A quick scan under bright light will tell you if it’s time for a mini session.

Common Mistakes to Avoid
- Cutting too much: You are snipping splits, not cutting length. If you cut more than 1/4 inch, you’re probably cutting healthy hair.
- Using dull scissors: This crushes the hair shaft and causes more splits.
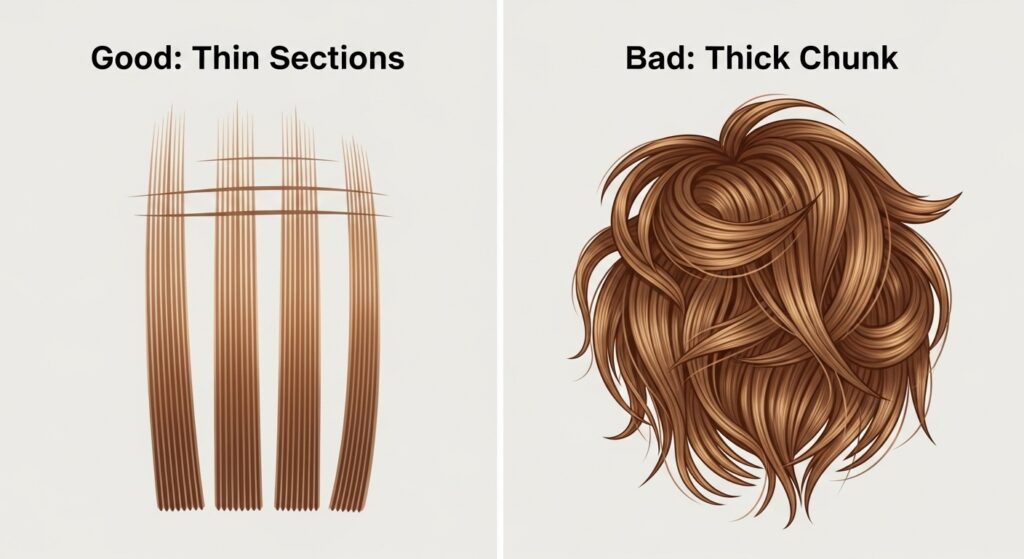
- Working in thick sections: You’ll miss hidden damage. Keep sections thin.
- Trimming wet hair: Again, this leads to uneven results. Dry hair only.
Avoiding these pitfalls ensures your at-home trim is helpful, not harmful.
Post-Trim Hair Care Tips
After you’ve removed the damage, protect your fresh ends. Always use a heat protectant before styling. Incorporate a hydrating hair mask into your routine once a week.
Be gentle when brushing, especially on wet hair. Start from the ends and work up. Silk or satin pillowcases can also reduce friction and prevent future splitting.
Healthy habits post-trim make the results last longer and keep your style—like a quiet luxury bob—looking expensive and sleek.

Does This Work on All Hair Types?
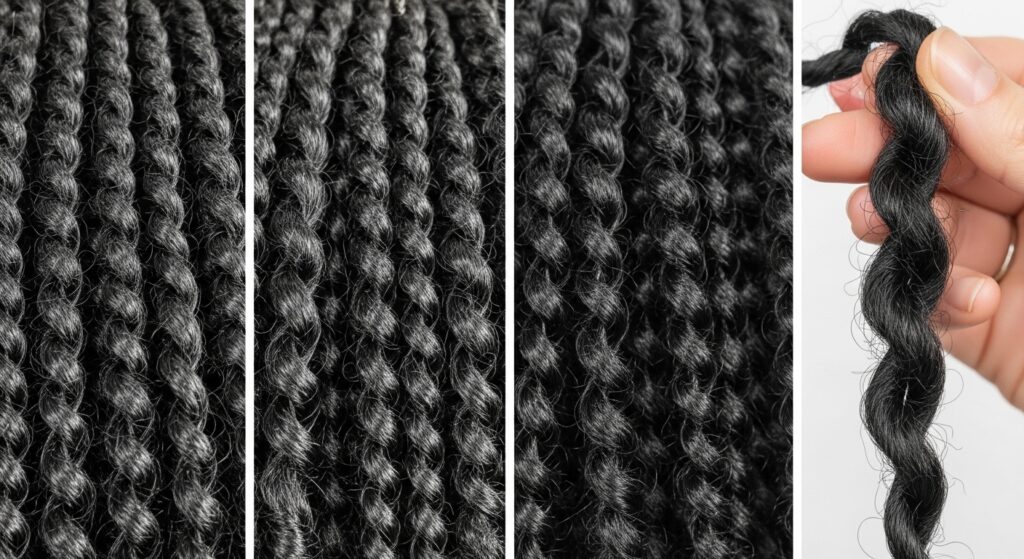
Yes! The twist-and-snip technique works on straight, wavy, curly, and coily hair textures. The key is to ensure your hair is detangled and dry in its natural state or styled state before you begin.
For very curly hair, you may need to twist smaller sections and be meticulous, as splits can be harder to see. The principle remains the same: remove only what’s damaged to retain length and health.
Everyone can benefit from this targeted approach to hair maintenance.
When to See a Professional Instead
This method is for maintenance, not transformation. If you need more than an inch cut off, want to change your shape (like going from a lob to a vampire haircut), or have severe damage, book the salon.
A stylist is also needed for complex cuts like a true hime cut or a sharp asymmetrical lob. Use your at-home trims to keep those professional shapes fresh and fray-free for longer.
Knowing when to DIY and when to call a pro is the mark of true hair wisdom.

Making It a Relaxing Ritual
Put on a podcast or your favorite playlist. Pour yourself a drink. Don’t rush. This is time you’re investing in yourself and your appearance.
When you frame it as self-care instead of a chore, it becomes something you might actually look forward to. It’s a moment to check in with yourself and give your hair the attention it deserves.
Light a candle, get comfortable, and enjoy the process of nurturing your look.

How This Saves Your Hairstyle Investment
You paid good money for that last haircut, right? This technique helps you preserve the shape and integrity of your style for weeks longer. It stops splits from ruining your blowout or making your curls look frizzy.
Whether you’re growing out a cut or maintaining a precise one, this is how you get the most mileage out of every salon visit. Your stylist will also notice and appreciate the care you’re taking at home.
It’s the smart way to extend the life of any trend, from old money hair to romantic goth hairstyles.

Travel-Friendly Split End Management
On a long trip and notice your ends getting scraggly? Pack a pair of small, foldable hair shears in your checked luggage. You can do a quick check in your hotel bathroom with good lighting.
Just take small sections from the front and sides that you can see easily and snip any obvious splits. It’s a quick fix that can make your vacation hair look polished in photos without finding a salon in a foreign city.
A little preparedness goes a long way for your hair confidence on the go.

Pairing with Your Favorite Hair Trends
Healthy ends are the foundation of every great hair trend. Crisp, blunt ends make a quiet luxury bob look expensive. Well-maintained length is essential for the ethereal feel of romantic goth hairstyles.
Even the intentionally piecy look of glitchy glam hair relies on healthy ends, not broken ones. By keeping splits at bay, you ensure your chosen style looks intentional and cool, not messy and damaged.
Good maintenance lets you play with trends authentically.

My Favorite Products for Preventing Splits
Prevention is the best medicine. I rely on a few heroes: a thermal protectant spray before any heat tool, a lightweight hair oil for my ends daily, and a deep conditioning mask weekly.
Look for ingredients like keratin, argan oil, and shea butter. They help seal the hair cuticle and add strength. A silk pillowcase is also a game-changer for reducing overnight friction.
These products, combined with regular trims, keep my hair in fighting shape.

Answering Your Biggest Fear: “I’ll Ruin My Hair!”
This is the most common worry. Remember, you are not cutting a straight line across your hair. You are snipping individual, already-damaged ends that are sticking out from a twist.
If you follow the thin-section rule and only cut what visibly protrudes, it’s physically impossible to ruin your haircut. You might not get every single split end, but you’ll get the vast majority without altering your shape.
Start on the underneath back layers where any mistake is hidden, and your confidence will grow.

Getting the Lighting Just Right
This is crucial. Natural daylight by a window is absolute gold. If it’s evening, use the brightest lights you have—bathroom lighting often isn’t enough.
Consider a portable LED mirror or even a small book light you can clip nearby. You need to see those tiny, white split ends clearly. Good lighting turns a guessing game into a precise operation.
Don’t sabotage your efforts by working in the dark.
Involving a Friend (The Buddy System)
If you’re really nervous, ask a trusted friend to help with the back sections. Guide them through the technique: thin sections, twist, look for white dots, snip just above.
It can be a fun, mutual self-care night. You can even return the favor for them. Having a second pair of eyes ensures you don’t miss any hard-to-see spots and can make the process faster.
Sometimes, the best beauty routines are shared ones.

Celebrating the Win & Your Healthier Hair
When you’re done, run your fingers through your hair. Feel how much smoother it is from the ends up? Look at how the light reflects off your strands without those frayed bits scattering it.
That’s the win. That’s the proof that a little focused effort pays off. Your hair will feel lighter, look shinier, and style more smoothly. Take a moment to appreciate it.
You just leveled up your hair care game, saved some cash, and invested in your own confidence. That deserves a celebration.
And there you have it—your complete guide to taking matters (and split ends) into your own hands. It might feel a little strange the first time, but like anything, it gets easier with practice. You’ll become a pro at spotting those splits and zapping them away in no time.
The best part? You’re actively participating in the health of your hair. You’re not just waiting for a salon appointment to fix things. That proactive feeling, knowing you can maintain your look on your own terms, is pretty powerful. It makes those in-between weeks feel just as good as salon day.
So go on, give your hair that little bit of TLC it’s asking for. Your future, smoother-haired self will thank you. And remember, this is just between us—your secret for always looking put-together.
Save this post to Pinterest to keep this guide handy for your next at-home maintenance session! Did you try the twist-and-snip method? Tell me how it went for you in the comments below—I love hearing your stories and tips!