Velvet Bow Hair Accessories Elevating Simple Half Up Ponytail Styles
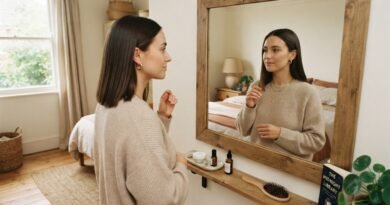
Some mornings you have four minutes and zero patience. That is exactly when a velvet bow earns its spot in your routine. Clip one into a simple half up ponytail and suddenly you look like you tried, in the best way.
I have been wearing this combo for months now, and it works with almost every hair length and texture I have tested. Short, long, fine, thick, curly, straight. It just works.
In this post I am sharing everything: how to pick the right bow, how to hide the hair tie, how to style it for work, date night, and weddings, plus the little tricks that keep it from sliding down your head by noon.
Grab your coffee. This is a quick, no-stress read that will quietly upgrade your morning hair forever.
Why Velvet Bows Are Everywhere in 2026
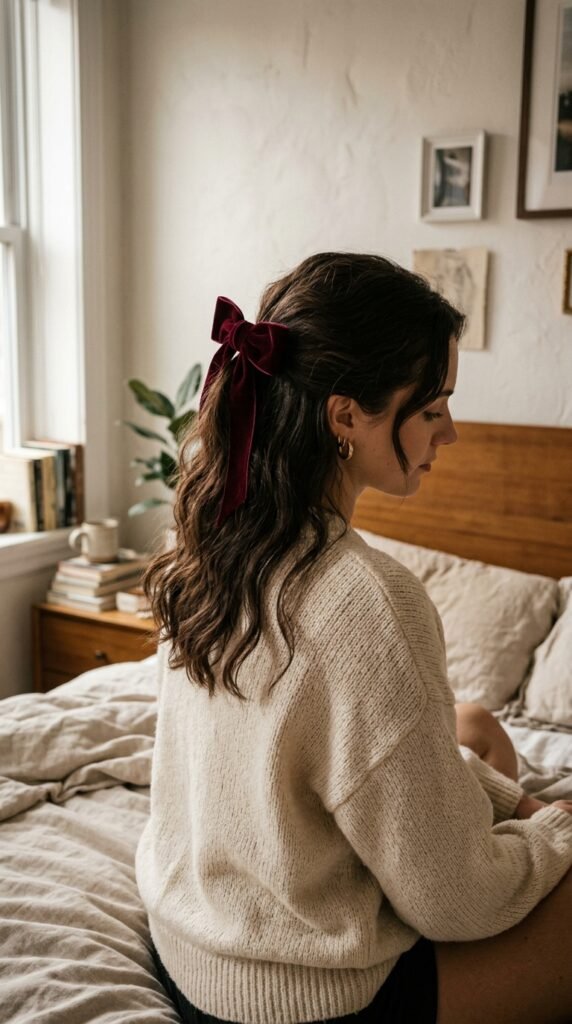
Velvet is having a moment, and I get it. It reads expensive without actually being expensive. A five dollar velvet bow looks like thirty, and nobody can tell the difference.
It also plays nice with every trend happening right now. Old money hair, quiet luxury, romantic goth hairstyles, even glitchy glam hair. Velvet fits all of them.
- Softer than satin, so it grips slippery hair better
- Matte finish, which photographs beautifully
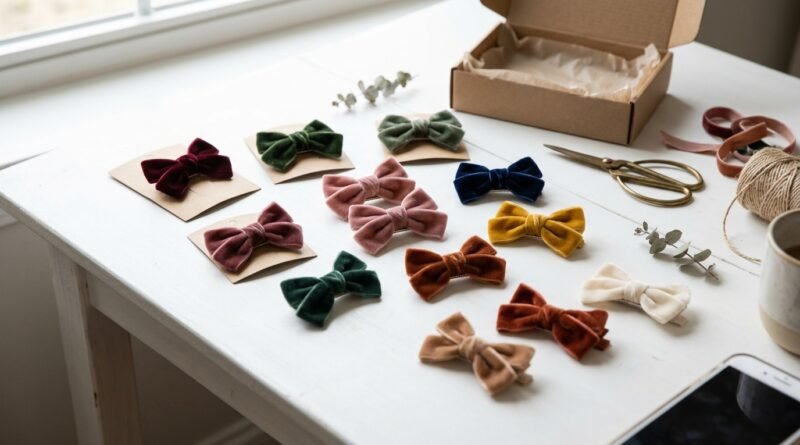
- Comes in every color, from ivory to oxblood
Velvet vs Satin vs Grosgrain Ribbon
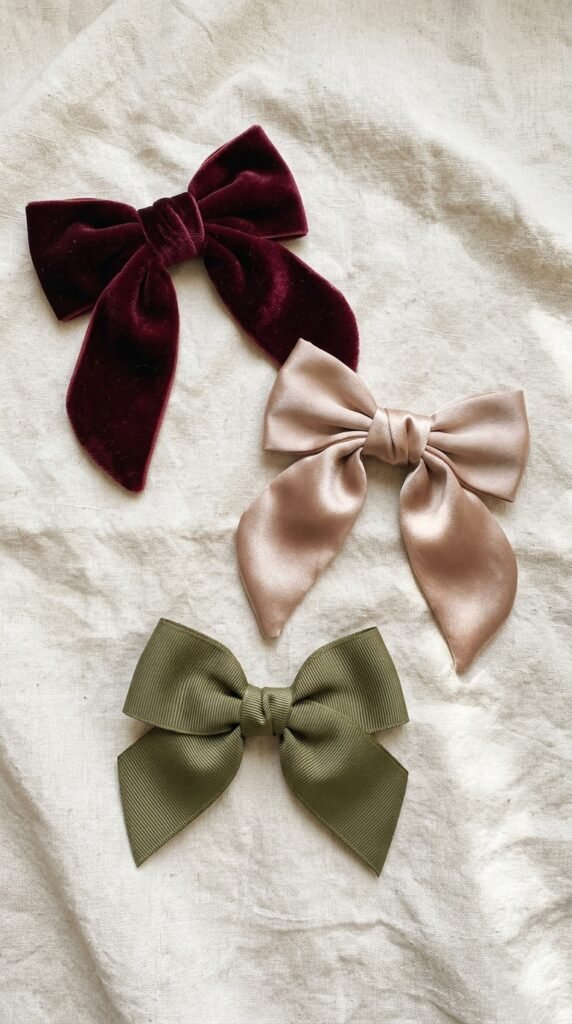
Before you buy, know what you are buying. It changes how the bow behaves on your head all day.
- Velvet: grippy, matte, holds its shape, best for slippery hair
- Satin: shiny and pretty, but slides and creases easily
- Grosgrain: structured and crisp, great for preppy looks
If you want a bow that stays put through a full workday, velvet wins. Every single time.
The Half Up Ponytail in Plain English
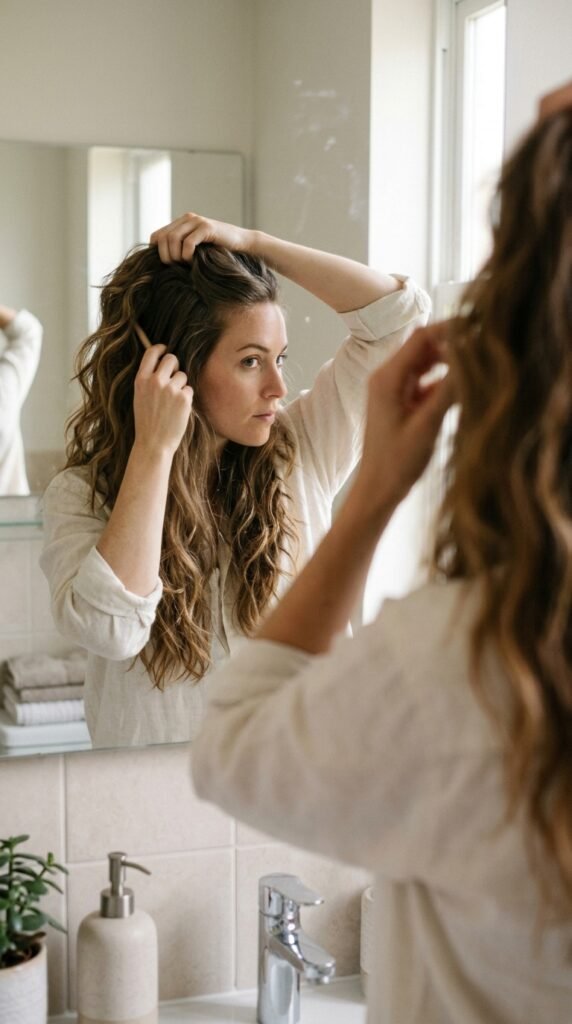
If you have never done one, here it is in four steps. It takes ninety seconds once you get the hang of it.
- Brush your hair back with your fingers, not a brush. Fingers leave softness.
- Section from the top of each ear up to the crown. That is your half up.
- Gather it into a ponytail and secure with a small clear or matching elastic.
- Clip the velvet bow right over the elastic.
That is it. No teasing, no spray, no stress.
Choosing the Right Bow Size
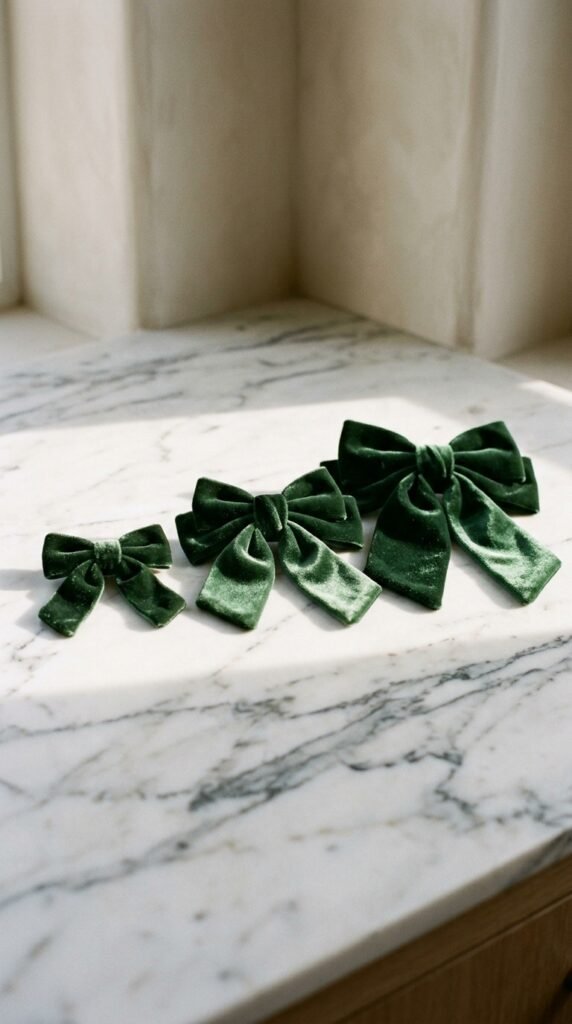
Size is the one thing people get wrong. Too big and it swallows your head. Too small and it disappears.
- Fine or short hair: small to medium, about two inches
- Medium length: medium, two to three inches
- Long or thick hair: large, three to four inches
My rule: the bow should be about the width of your ponytail, or slightly bigger. That balance always looks intentional.
Color Pairing That Actually Works
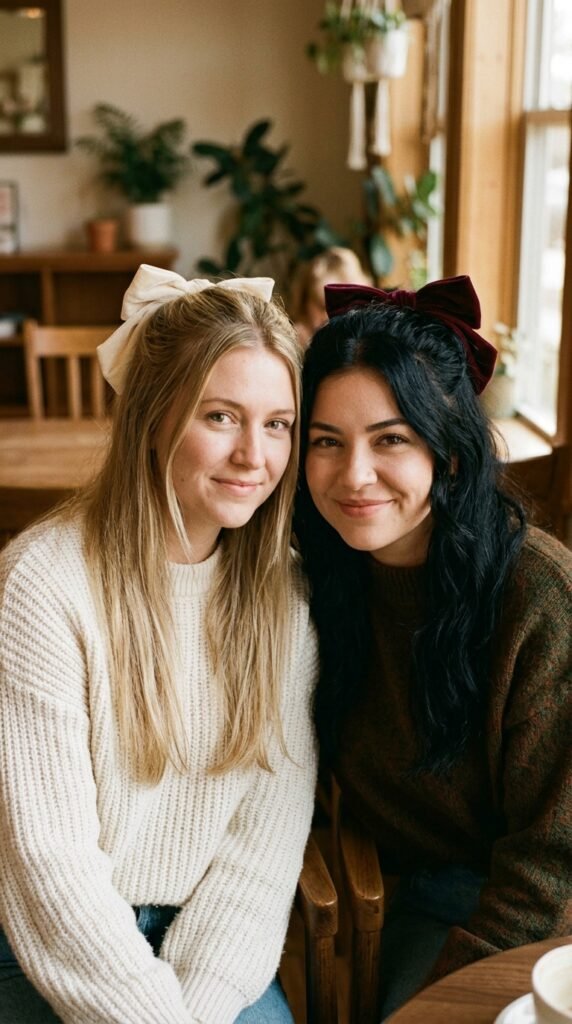
You do not need to match your outfit. Match your hair, your skin tone, or your mood instead.
- Blonde: cream, camel, dusty rose, chocolate
- Brunette: burgundy, emerald, navy, black
- Black hair: deep red, gold, ivory, plum
- Red hair: forest green, rust, cream, navy
When in doubt, pick a shade two steps darker than your hair. It looks rich and expensive, never costume-y.
The 3-Minute Everyday Version
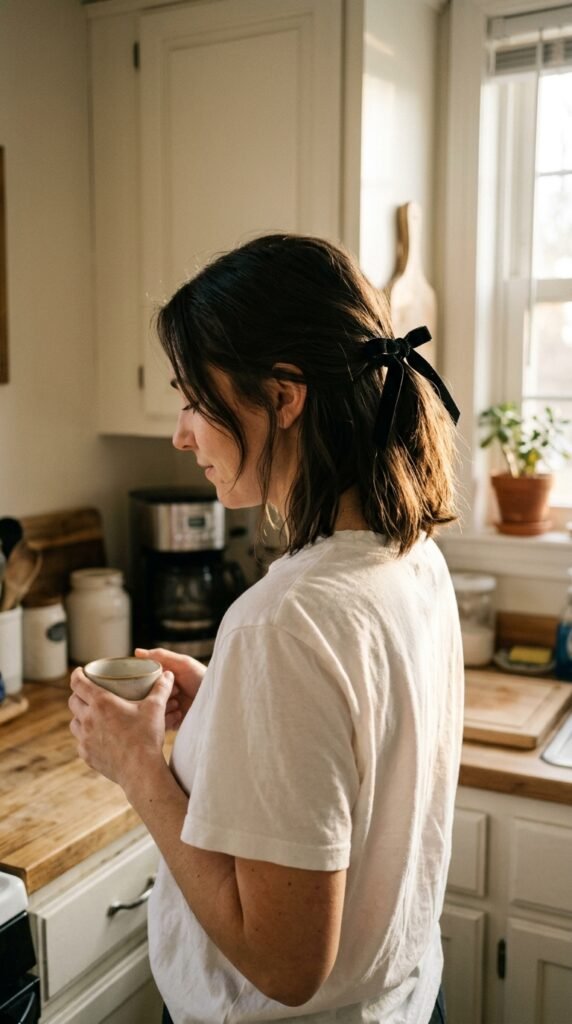
This is my go-to on busy weekdays. Nothing fancy, but it always looks put together.
- Skip the brush. Finger-comb only.
- Pull the ponytail slightly lower than usual, near the middle of your head.
- Use a thin velvet bow in a neutral color.
- Pull two small face-framing pieces loose.
The loose pieces are the secret. They soften everything and make it look relaxed instead of tight.
How to Hide the Hair Tie Completely
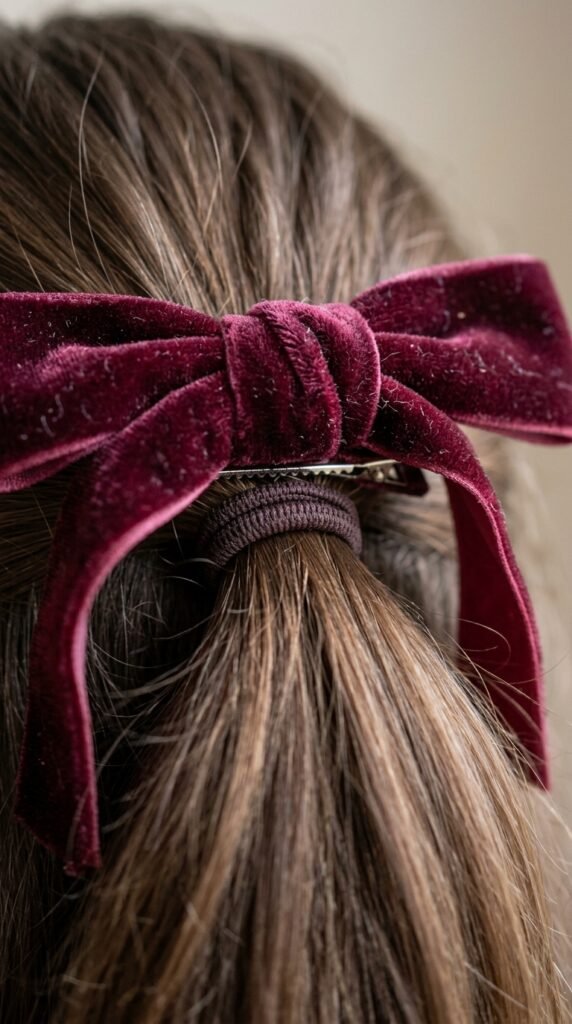
Seeing a plain elastic under a pretty bow ruins the whole look. Here is how I hide mine.
- Use a bow with a metal alligator clip, not a barrette
- Clip it slightly above the elastic, then slide it down over it
- Push the clip teeth into the hair just under the ponytail base
- Fluff the bow loops once it is in place
A clip-on bow with a decent grip fixes this in five seconds. If your bow has a thin elastic band instead, tuck the elastic under the bow loops with a bobby pin.
Volume Without the Crunchy Spray
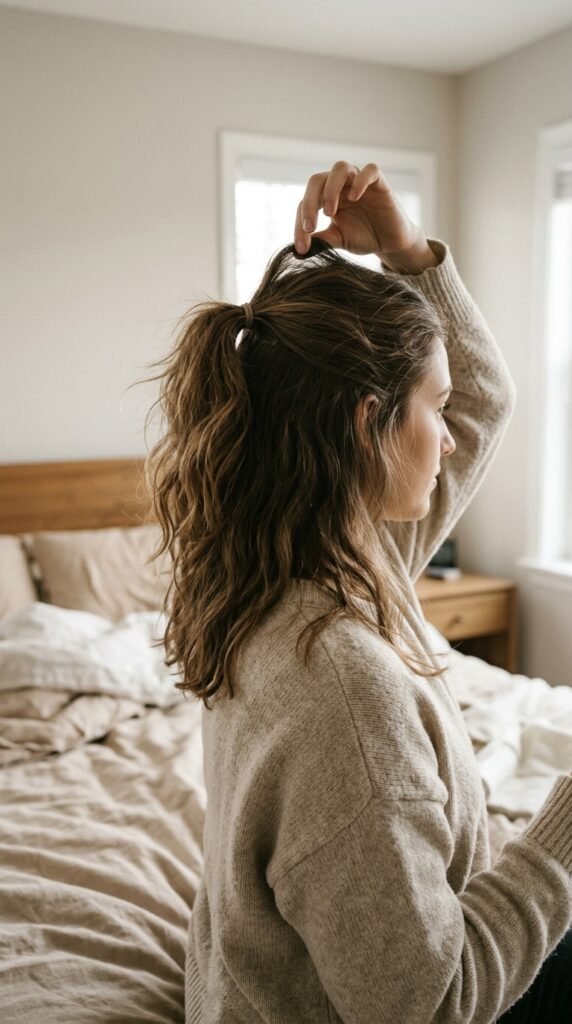
Flat half up ponytails look sad. A little lift fixes it without any product.
- After securing the ponytail, gently push up on the hair right above the elastic.
- Use two fingers to loosen the crown section, one small tug at a time.
- Spray a little dry shampoo at the roots if it still falls flat.
Dry shampoo is my favorite trick here. It adds grip and texture without that sticky hairspray feeling. Less product, better hair.
Old Money Hair Energy
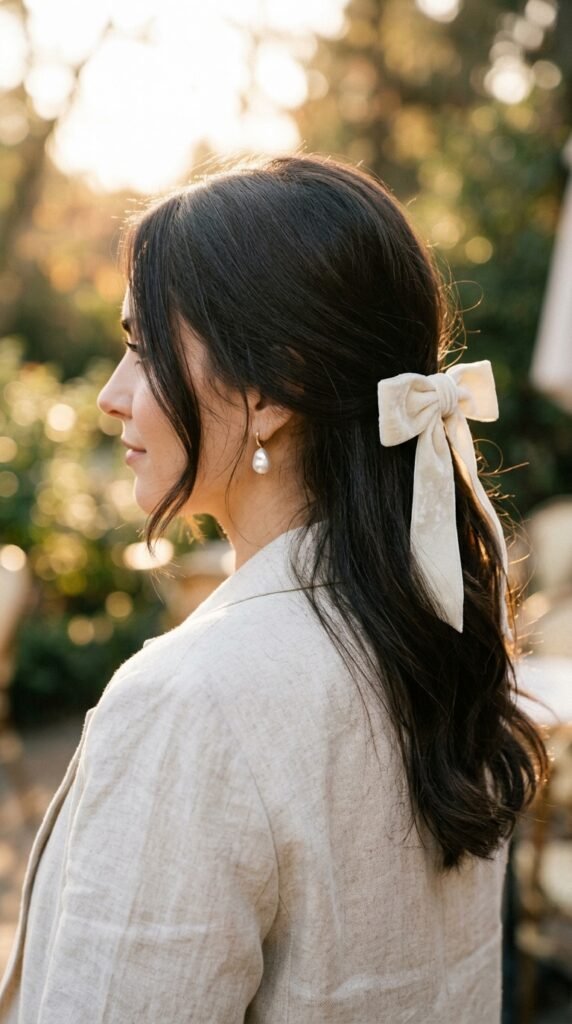
Old money hair is not about money. It is about looking calm, polished, and like you did not try too hard.
Velvet bows are perfect for this. Choose ivory, camel, or deep navy. Keep the ponytail low and smooth. Skip the sparkle.
- Low placement, near the nape
- Neutral or jewel tone velvet
- Smooth top, soft ends
Pair it with a plain white shirt and you are done. That is the whole aesthetic.
Quiet Luxury Bob With a Velvet Bow
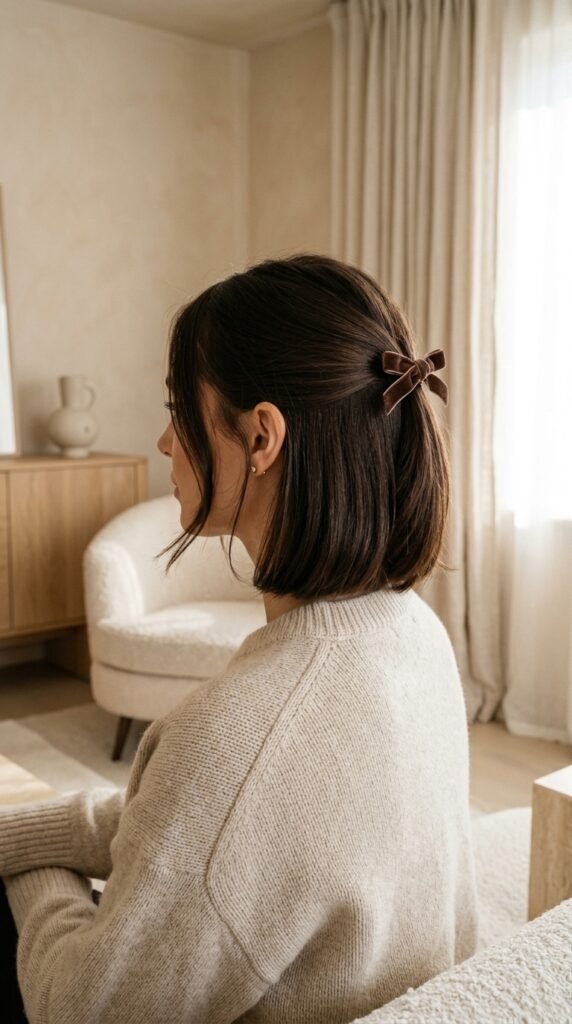
The quiet luxury bob is still one of the biggest 2026 hairstyles, and a velvet bow makes it feel fresh instead of overdone.
With a bob, keep the bow tiny. You only have a small amount of hair to work with, so a small bow looks intentional. A large one looks like a costume.
- Clip the bow low, close to the crown
- Keep the bob smooth and glassy
- Use one bow only, never two
Romantic Goth Hairstyles and Black Velvet
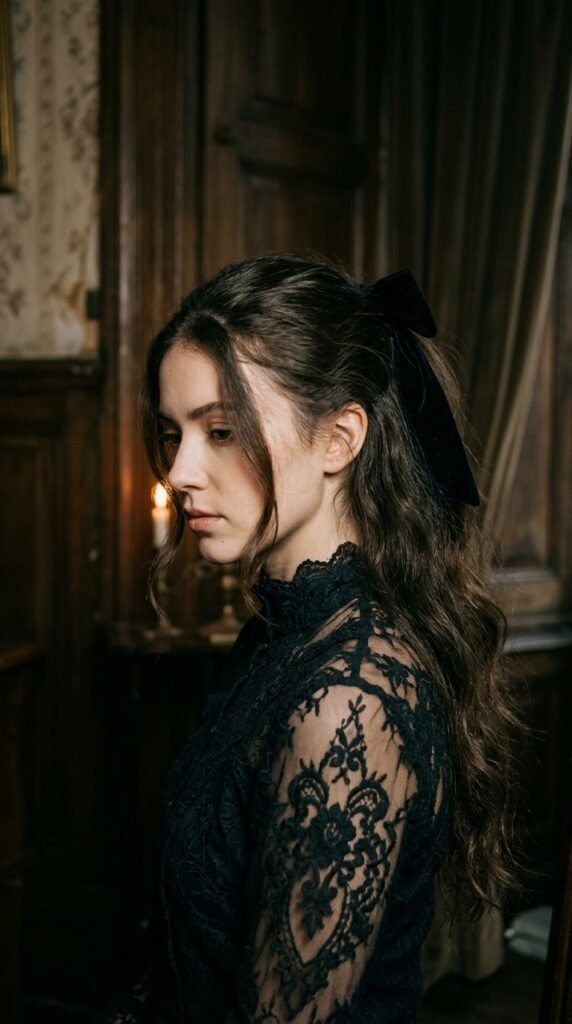
Romantic goth hairstyles are having a real moment, and black velvet is basically their best friend.
Go for deep black, oxblood, or midnight purple velvet. Keep the ponytail soft and slightly undone. Add a few loose strands around the face.
- Black or burgundy velvet bow
- Soft, brushed-out waves
- Loose face-framing pieces
It is romantic, a little dark, and honestly so flattering. One bow is enough here. Let the texture do the talking.
Glitchy Glam Hair Meets Velvet
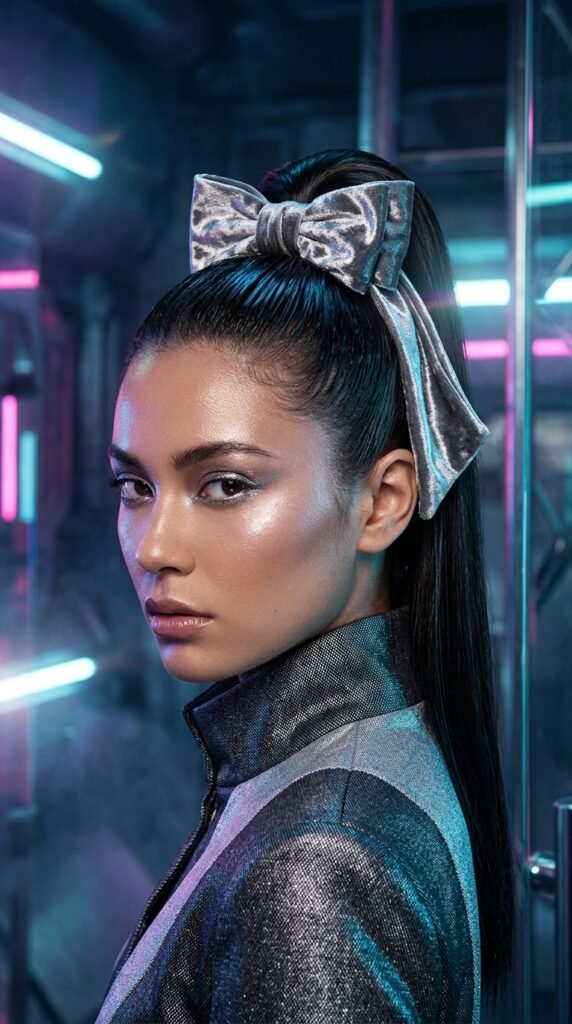
Glitchy glam hair is shiny, sharp, and a little futuristic. Velvet adds a soft contrast that keeps it from looking too cold.
Try a sleek high half up ponytail with a metallic or jewel tone velvet bow. Silver, gunmetal, deep emerald. It is unexpected and it works.
- Slick the top with gel or serum
- Place the ponytail higher than usual
- Choose a matte velvet to balance the shine
Velvet Bows on an Asymmetrical Lob
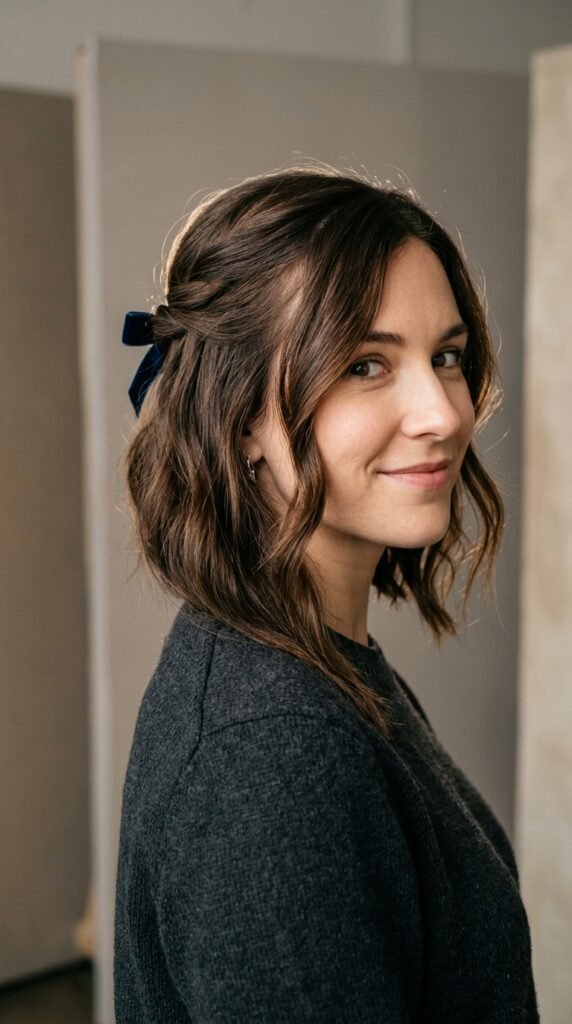
An asymmetrical lob is already a statement, so keep the bow small and off-center to match the energy.
Pull a small section from one side only, clip the bow near the crown, and let the longer side fall loose. It looks effortless and a little bit cool.
- Small bow, three quarters of an inch to two inches
- Off-center placement
- One side tucked, one side loose
This is one of my favorite looks for a dinner out. It reads styled without being fussy.
The Vampire Haircut With Deep Red Velvet
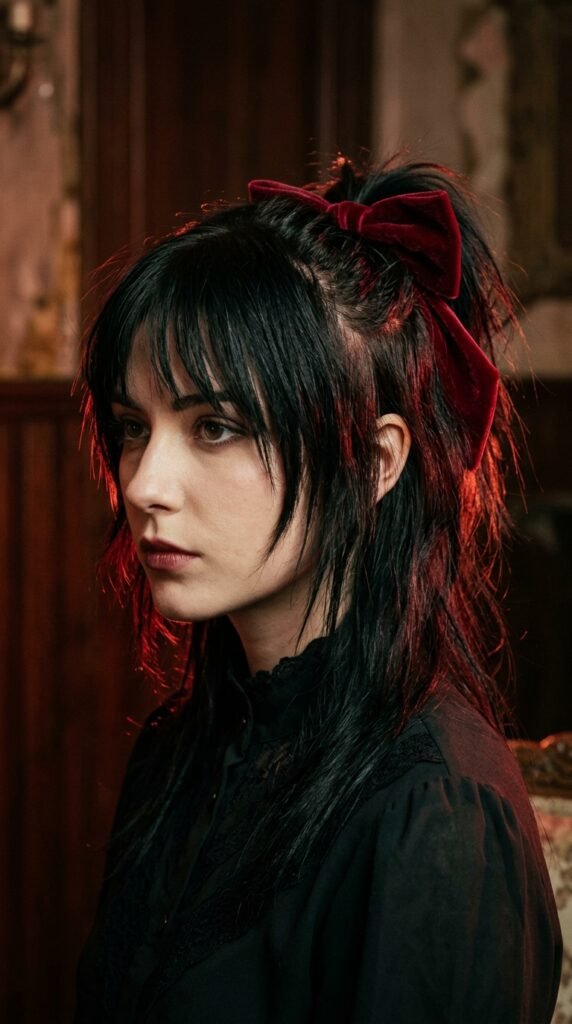
The vampire haircut is all sharp layers and drama. A deep red velvet bow makes it feel intentional instead of accidental.
Keep the ponytail high and tight, then let the layers fall loose around your face. The contrast between sharp and soft is the whole point.
- Oxblood or wine velvet
- High half up placement
- Sharp ends, soft bow
Hime Cut Plus Velvet Bow
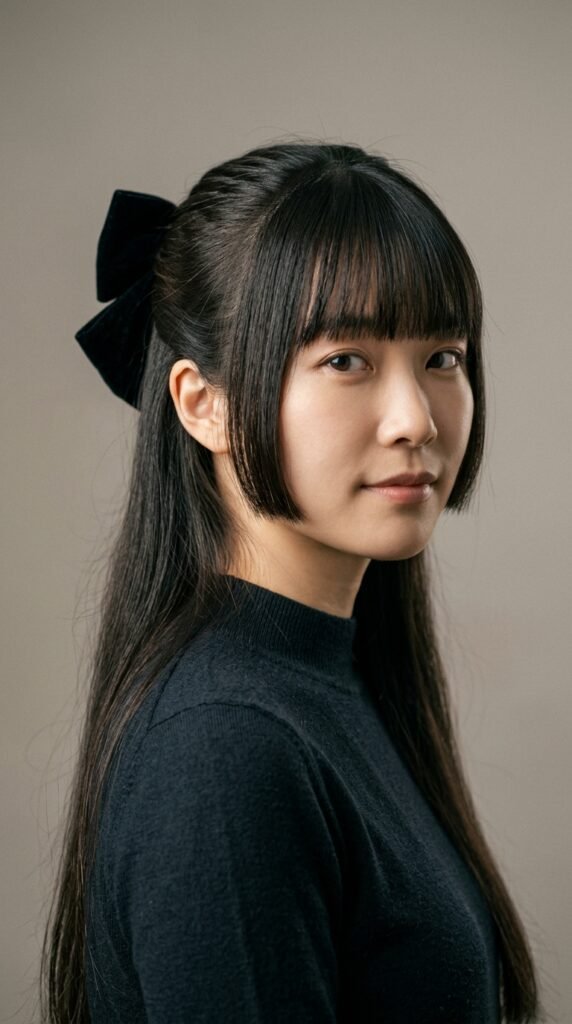
The hime cut has those signature blunt side pieces, so it already has built-in structure. A velvet bow in the back adds softness and balances it out.
Keep the ponytail low and smooth. Choose a bow in black, ivory, or deep plum. Let the side pieces stay crisp and straight.
- Low ponytail, smooth finish
- Structured side pieces left alone
- Bow centered and simple
It is elegant, a little dramatic, and very photogenic.
Curly and Coily Hair Tips
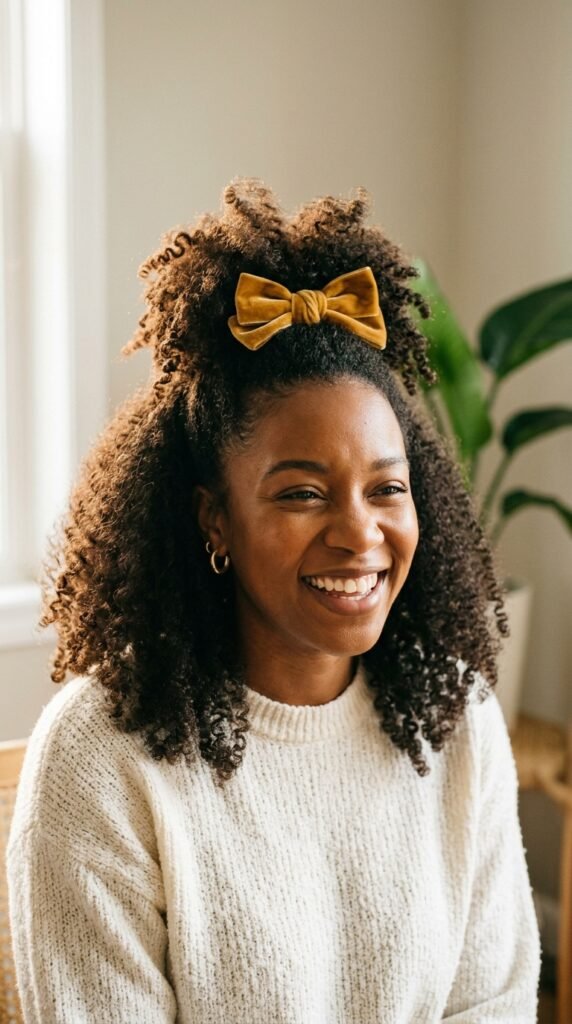
Velvet is a dream on curls because it grips instead of sliding. Here is how I would style it.
- Define your curls first, then let them dry fully.
- Use a soft scrunchie under the bow to avoid creasing.
- Place the bow at the base of your puff, not on top of it.
- Fluff the puff before you clip, not after.
Choose a bow with a strong clip. Curls are heavy and you want it to hold all day without pulling.
Fine Hair: Making It Look Fuller
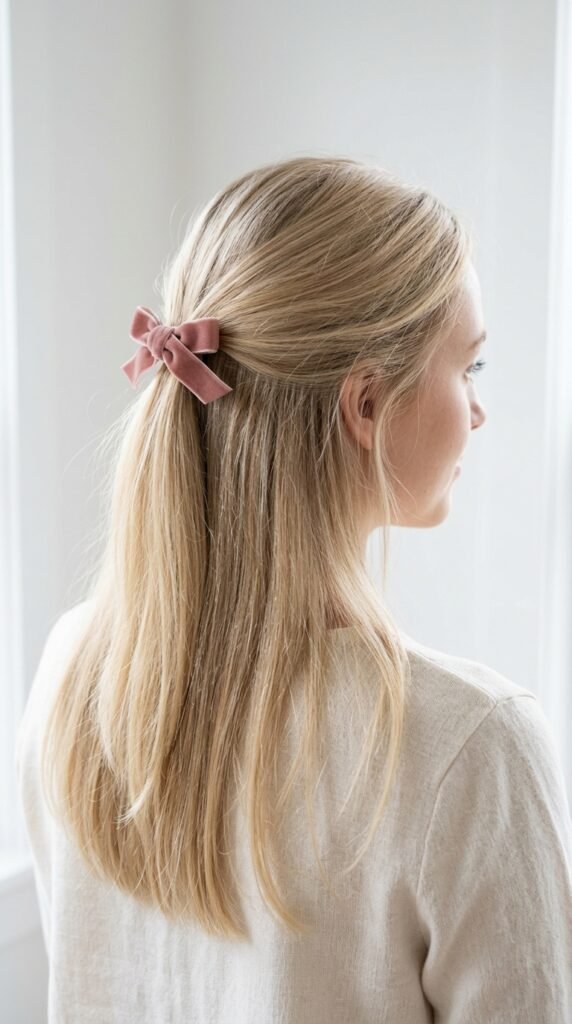
Fine hair and velvet bows are a great match, because velvet adds visual weight without adding bulk.
- Keep the bow small, under two inches
- Use a light hold dry shampoo at the roots
- Avoid heavy gels that flatten everything
- Choose lighter colors like cream or rose
Dark bows on fine light hair create a strong contrast that can make the ponytail look thinner. Soft, close-to-your-hair colors keep it looking full.
Thick Hair: Keeping the Ponytail From Slumping
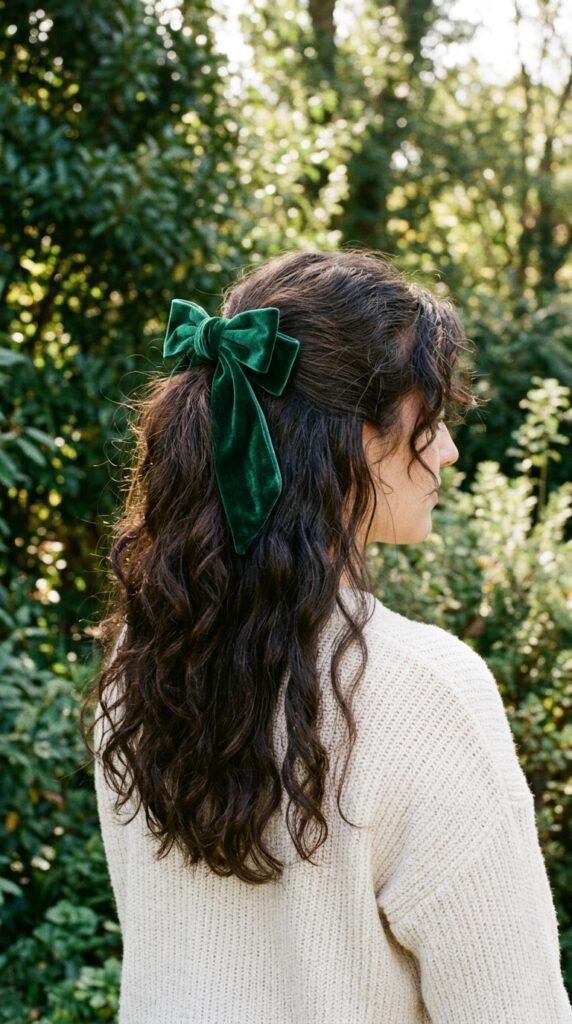
Thick hair has the opposite problem. The ponytail gets heavy and slowly slides down your head by lunch.
- Use two elastics, one above the other, for extra grip.
- Choose a large bow with a wide, strong clip.
- Skip slippery satin and stick with velvet or grosgrain.
- Spray a little texture spray at the base before clipping.
Heavy hair needs structure. The bow should feel substantial, not delicate, or it will disappear into all that volume.
Office-Ready in Five Minutes
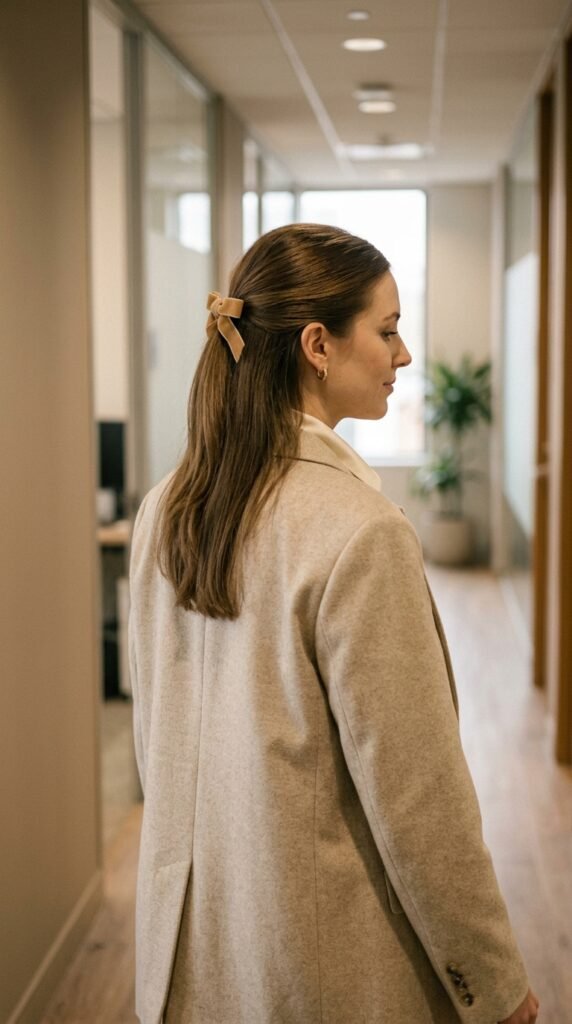
Work hair should look polished, not like you spent an hour on it. Here is my five minute version.
- Low ponytail, smooth top
- Small bow in camel, navy, black, or ivory
- Sleek ends with a tiny bit of serum
- One or two loose strands, no more
Keep everything else simple. Clean makeup, simple earrings, done. This also works perfectly for a quiet luxury office look.
Date Night Upgrade
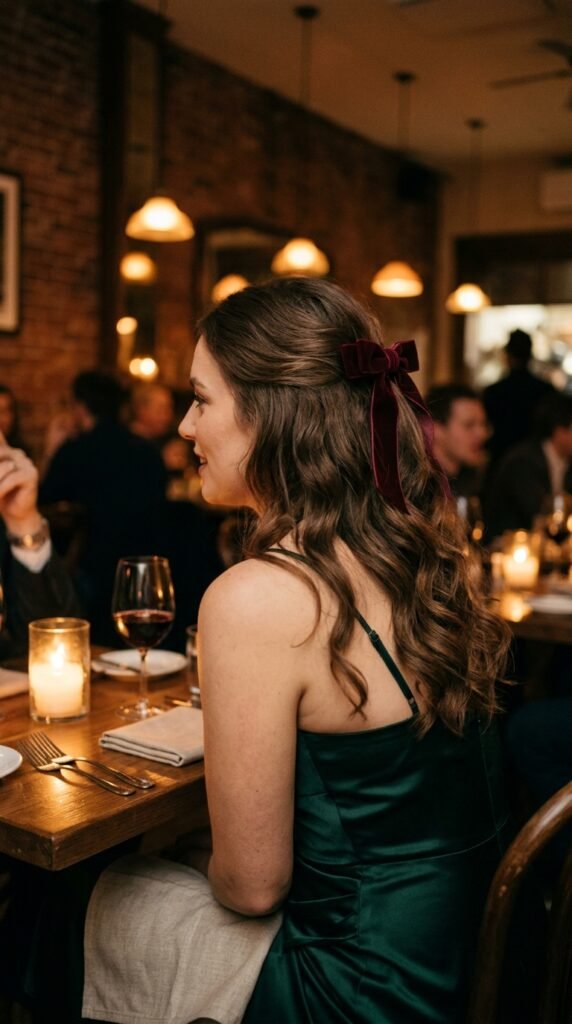
Same ponytail, bigger impact. Swap the small day bow for something richer.
- Velvet in burgundy, plum, or deep green
- Slightly larger bow for presence
- Soft waves instead of straight ends
- Loosen two face pieces and curl them away from your face
Add a little shine spray to the ends and you are ready. It is the same five minute hairstyle, just dressed up.
Wedding Guest and Bridal Ideas
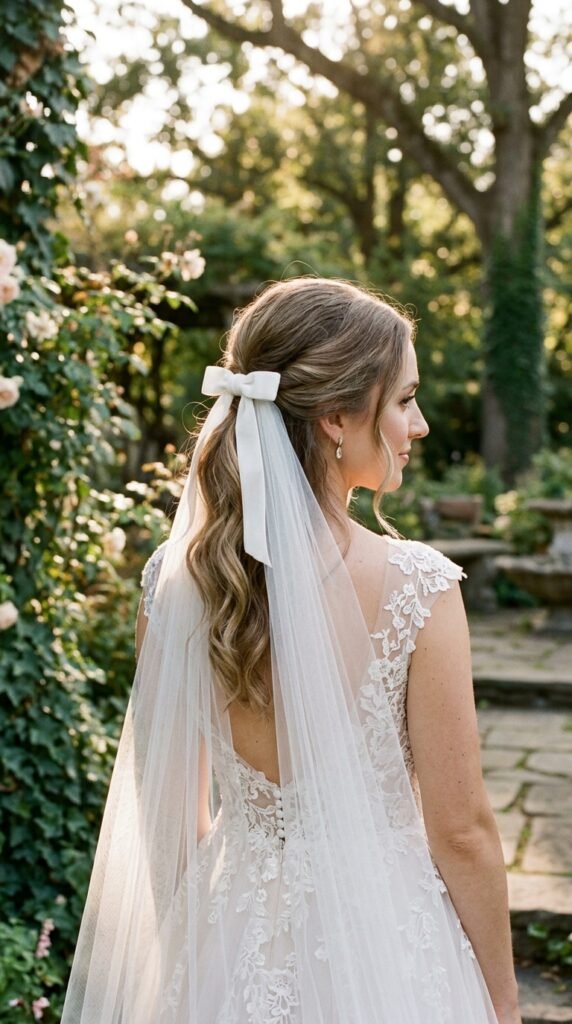
Velvet bows work beautifully for weddings, and not just for brides.
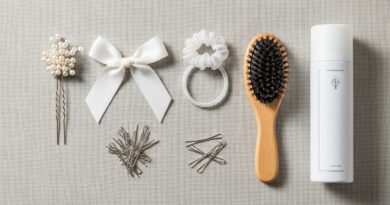
- Bride: ivory or white velvet, low ponytail, small pearl pins
- Bridesmaid: matching velvet in the wedding color
- Guest: jewel tone velvet, soft waves, minimal jewelry
If you are a guest, try a deep emerald or navy bow with a simple dress. It photographs beautifully and never competes with the bride.
Velvet Bows on Short Hair

Short hair can absolutely wear this look. You just need less hair and a smaller bow.
- Take a thin section from the crown only.
- Use a tiny elastic or a small clip.
- Choose a bow under two inches.
- Place it slightly off-center for a playful finish.
If your hair is too short for a ponytail, clip the bow into a half up twist instead. Same effect, easier to manage.
Stop the Slip: Tricks That Actually Work
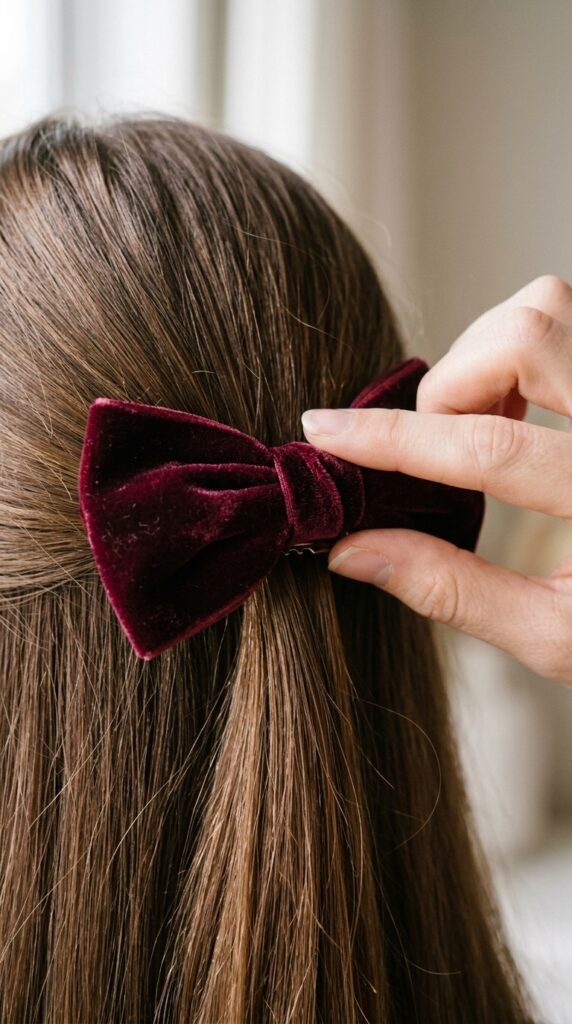
Slippery, freshly washed hair is the number one reason bows slide. Here is how I fix it.
- Style on day two hair whenever you can
- Crimp the clip teeth gently with pliers for a tighter grip
- Add a tiny bit of texture spray at the clip spot
- Cross two bobby pins in an X under the bow
Do not skip the texture spray. One light mist at the base makes a huge difference and takes two seconds.
Care and Storage for Velvet Bows
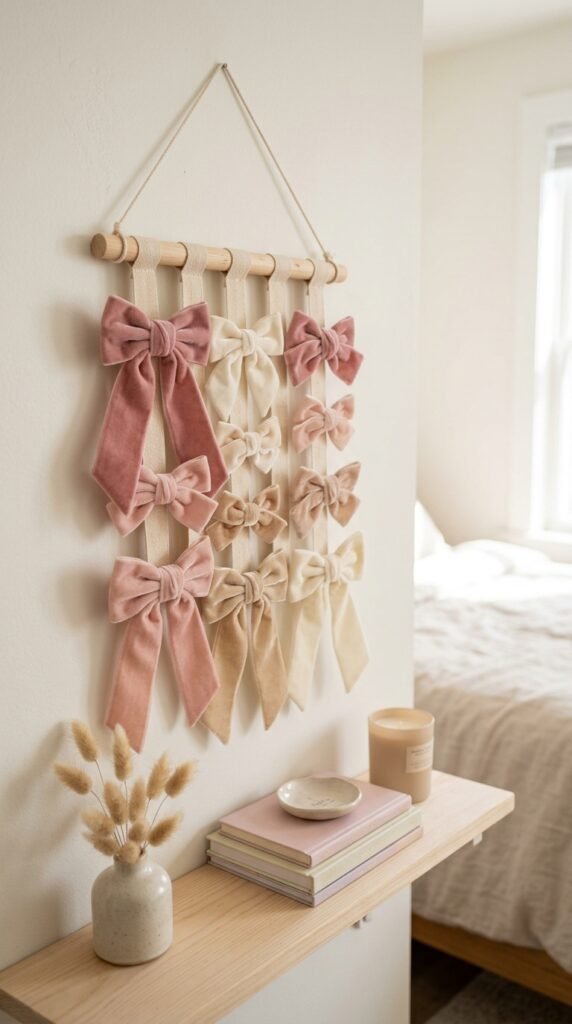
Velvet crushes easily and picks up lint, so a little care goes a long way.
- Store bows flat or hanging, never in a crowded drawer
- Steam lightly to remove creases, never iron directly
- Use a lint roller, not your fingers
- Keep them away from perfume and hairspray
Treat them well and a good velvet bow will last years. Mine have held up through hundreds of wears.
Where to Shop for Velvet Bows
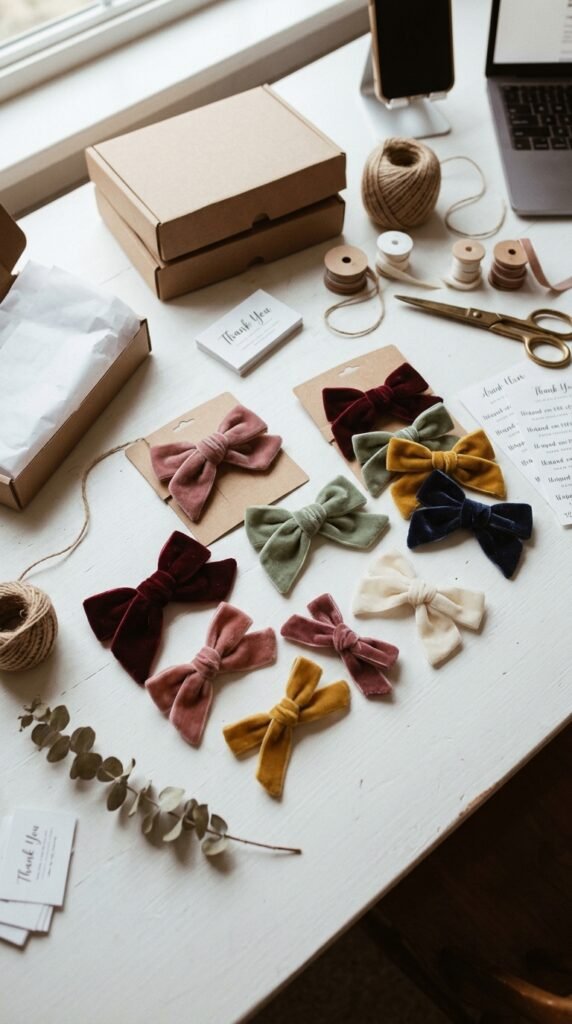
You do not need to spend a lot. Here is where I look.
- Small shops on Etsy: best colors and quality
- Local boutiques: great for trying sizes in person
- Big retailers: cheap basics in neutral colors
- Vintage shops: one-of-a-kind velvet pieces
Buy one good neutral bow first, then add colors. Start with cream or black, and build from there.
Five Mistakes to Skip
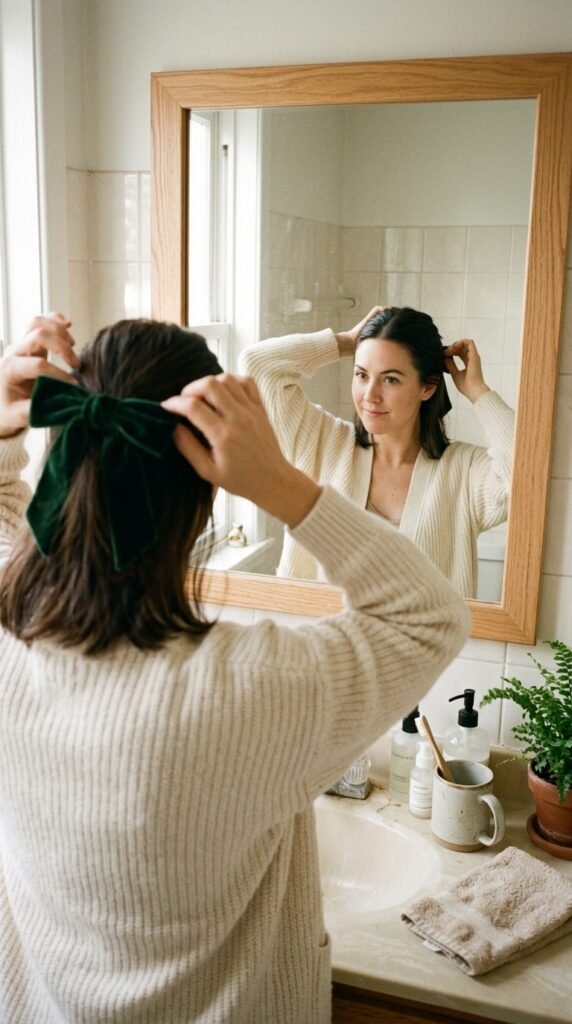
I made all of these when I started. You do not have to.
- Bow too big for your hair length
- Placing it right on top of the head instead of over the elastic
- Matching the bow to your outfit instead of your hair
- Using a weak clip that slides by noon
- Wearing two or three bows at once
One bow, right size, right spot. That is the formula.
Photo Tips: Make the Bow Pop
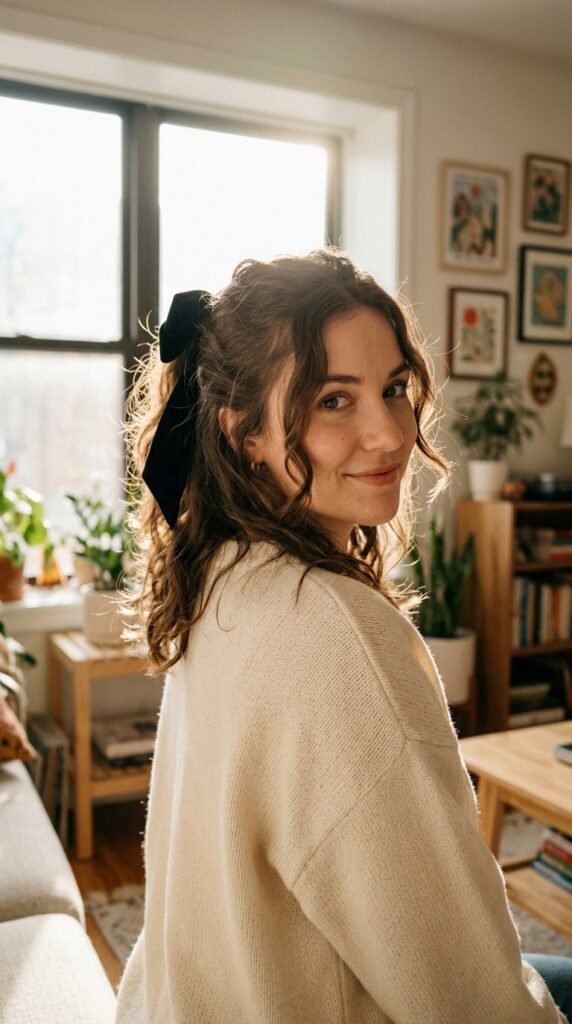
Velvet photographs best with soft, angled light. Here is how to get the shot.
- Turn slightly to the side so the bow is not flat to the camera
- Shoot in window light, never direct flash
- Use portrait mode for a soft background blur
- Take three shots, then pick the one where the bow shape is clearest
Matte velvet does not flare or glare, so it almost always looks good. Just avoid harsh overhead lighting.
Your Turn
Velvet bows and half up ponytails are the easiest upgrade in your routine. No heat tools, no styling skills, no extra time. Just one little clip that makes everything look intentional.
Start with one bow in a color close to your hair. Wear it for a week. I promise you will notice the difference in how you feel walking out the door.
Save this post to Pinterest so you can find it next time you are standing in front of the mirror with four minutes left. And tell me in the comments: what color velvet bow are you trying first? I read every single one.