Virtual 12 Zoom Halo Lighting Enhancing Hair Shine On-Camera
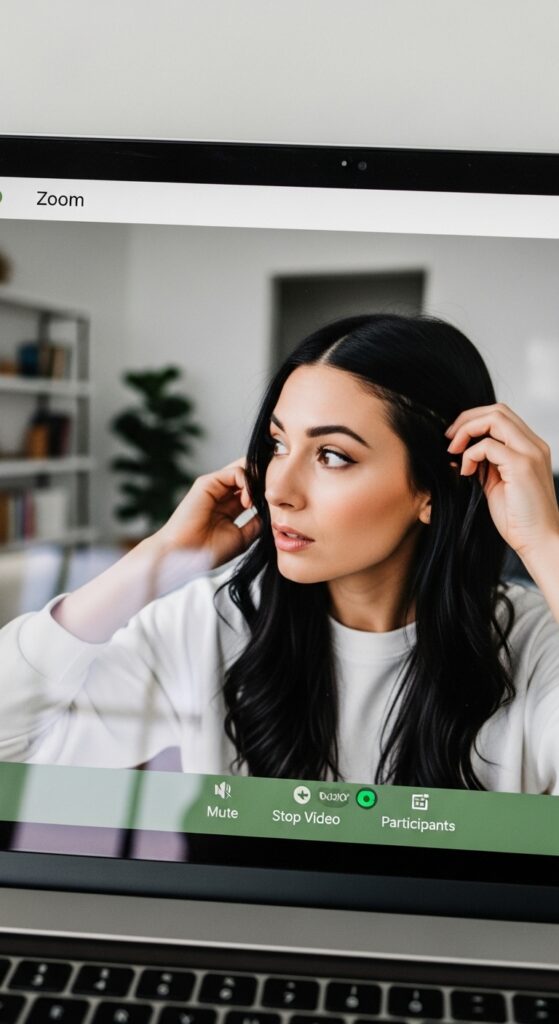
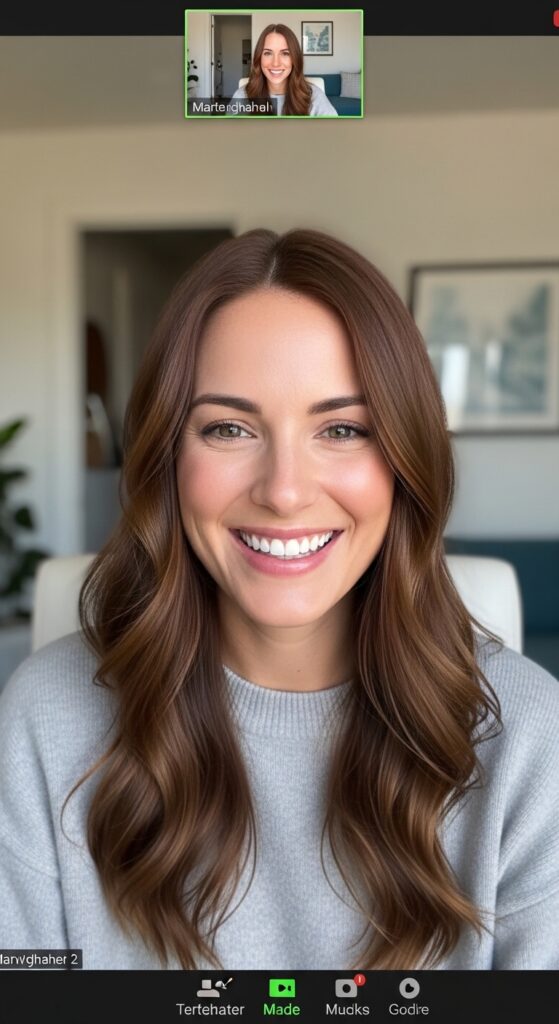
Okay, let’s be real. How many times have you jumped on a Zoom call and thought, “Where did my hair go?” The camera just sucks the life and shine right out of it, leaving you looking flat and washed out. I’ve been there too many times to count.
But what if I told you there’s a simple, free trick to make your hair look like it has a professional halo light around it? No fancy equipment needed, just your computer and a few minutes of setup.
This virtual lighting hack is a total game-changer for video calls, and it works with any hairstyle. Whether you’re rocking a sleek quiet luxury bob or trying out some 2026 hairstyles early, this will make your hair look incredible on camera.
Let’s dive into the simple steps to get that perfect, shine-enhancing glow every single time you’re on screen.
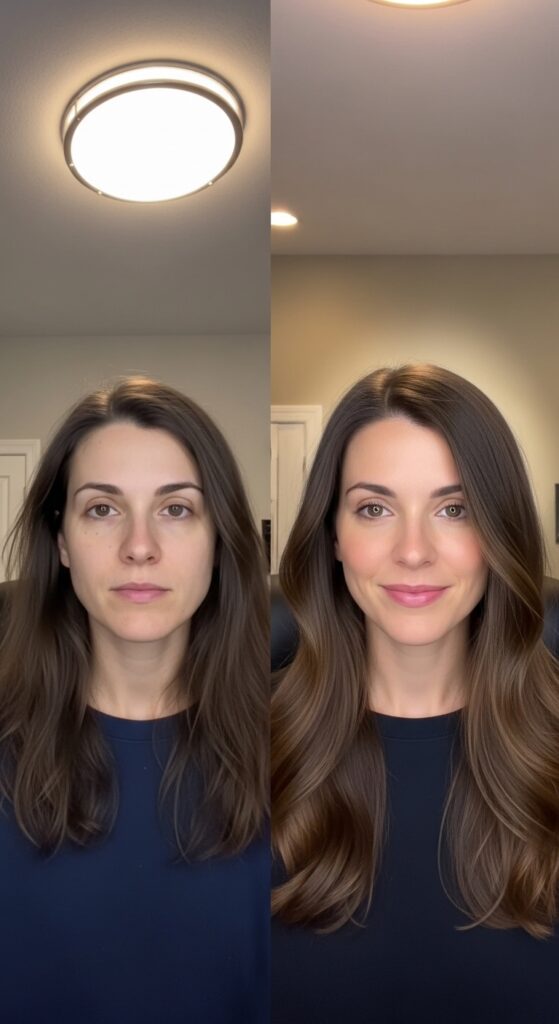
Why Your Hair Looks Dull on Camera
It’s not you, it’s the tech. Most laptop webcams are placed below your face, creating unflattering shadows that hide your hair’s dimension and shine. Harsh overhead lights can also create a glare that flattens everything out.
Your hair needs light to reflect off of to show its true color and texture. Without that front-facing light source, even the shiniest old money hair can look matte and lifeless. The goal is to mimic that perfect, soft window light.
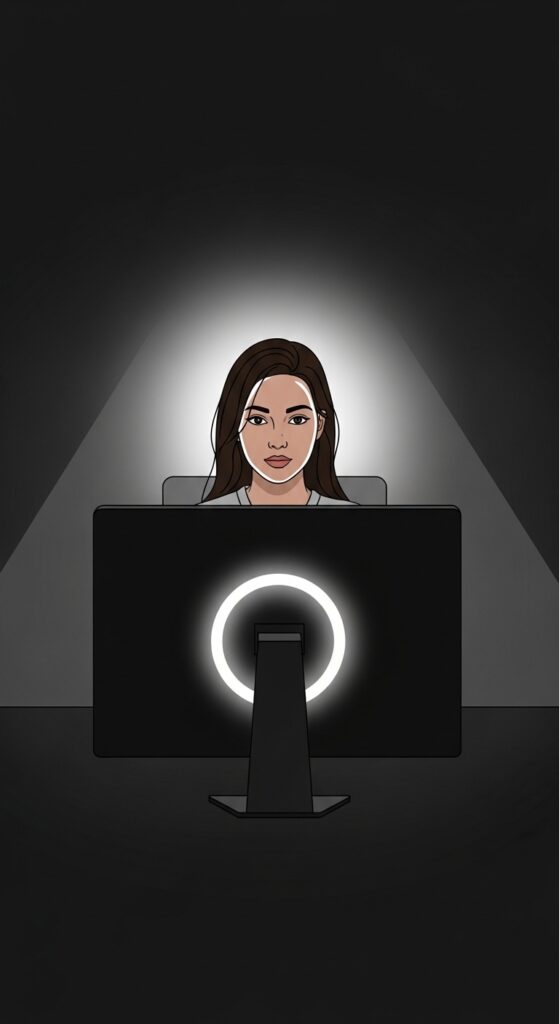
The “Halo Light” Setup Explained
A halo light is a ring-shaped light that surrounds your camera lens. It creates even, shadow-free illumination that makes your skin and hair glow. Professional streamers use them, but we can create the same effect virtually for free.
The key is positioning your main light source directly behind your webcam. This means the light hits the front of your hair, making every strand catch the light and enhancing your natural shine instantly.
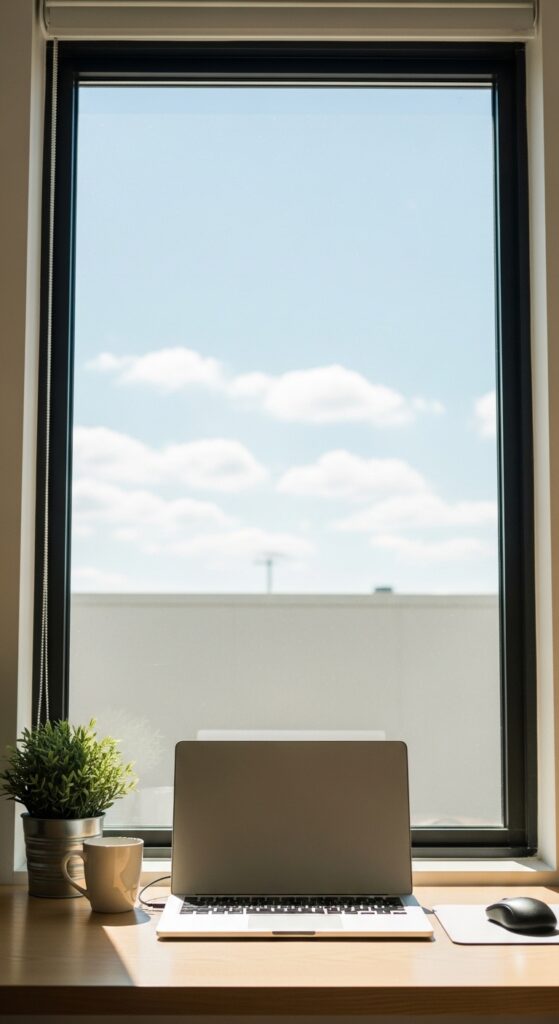
Step 1: Find Your Main Light Source
Your best friend is a window. Natural light is the most flattering. Position your desk so the window is directly in front of you, with your computer between you and the window. The light should hit your face and hair evenly.
If a window isn’t an option, use a lamp. A simple desk lamp with a white shade works perfectly. Just remember: the light needs to be behind the screen, shining at you.
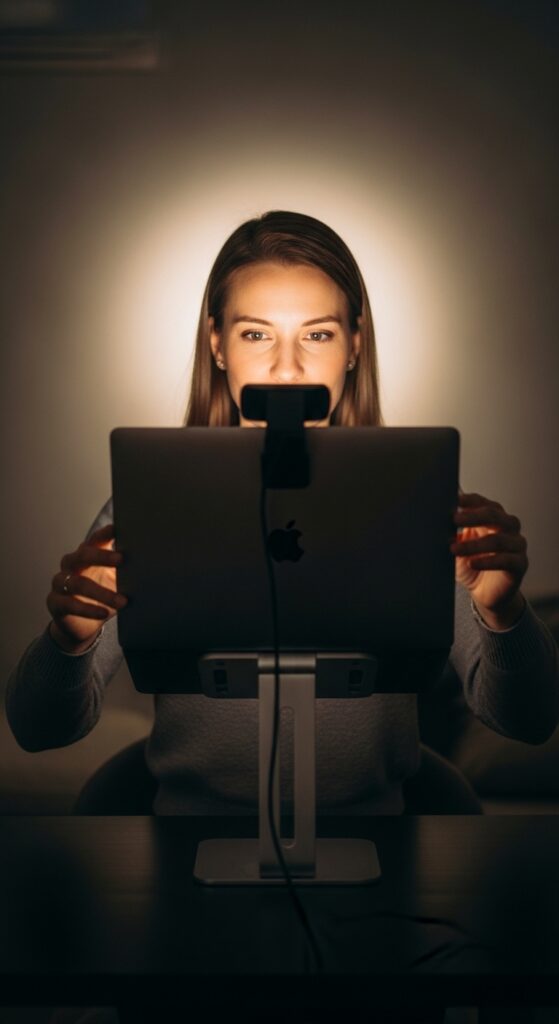
Step 2: Position Your Webcam Correctly
Your webcam should be at or slightly above eye level. This is crucial. Use a stack of books or a stand to lift your laptop. This angle is more flattering and allows the light to properly hit your hair.
Looking slightly down at your camera creates shadows under your eyes and on your hair. Looking up can create a double chin. Eye-level is the sweet spot for you and your hairstyle to shine.
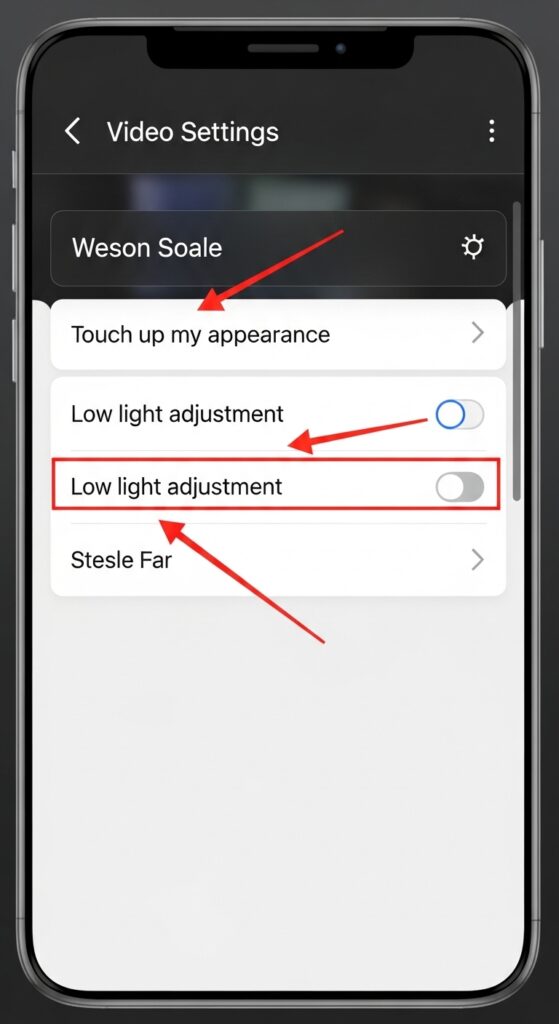
Step 3: Adjust Your Zoom Settings
Open Zoom and go to Settings > Video. Check “Touch up my appearance” for a soft-focus effect. More importantly, click “Advanced” and adjust the “Low light adjustment” slider.
This tells Zoom to brighten your image without washing you out. Play with the slider until your image looks clear and bright, but still natural. This makes a huge difference for darker hair colors.
Bonus: The Background Trick
Your virtual background or real room color affects your hair’s shine. A very dark background can make your camera overexpose your face, killing hair highlights. A very bright white one can do the opposite.
Choose a medium-toned, neutral background. A light beige wall, a simple bookshelf, or a neutral Zoom background helps the camera balance the light perfectly on your hair and skin.

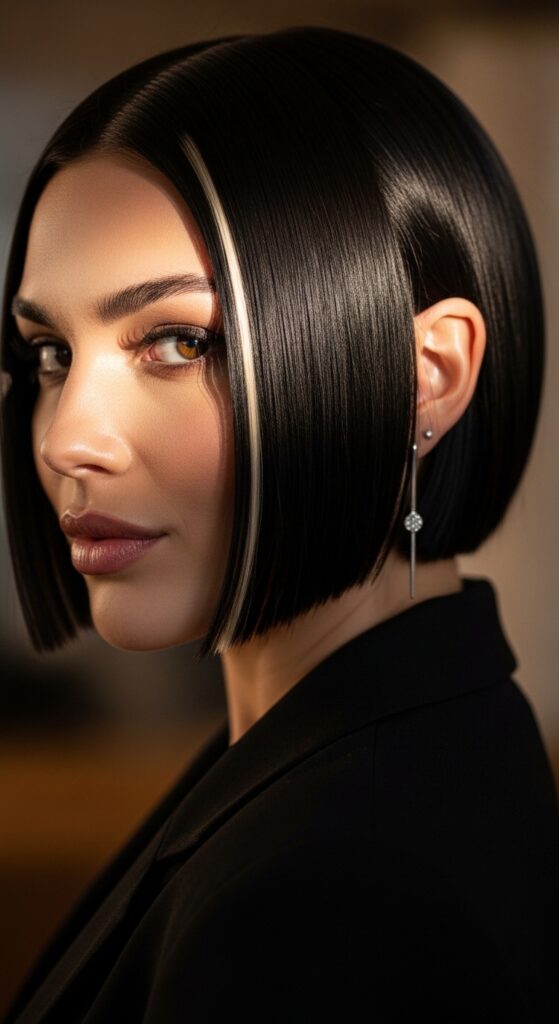
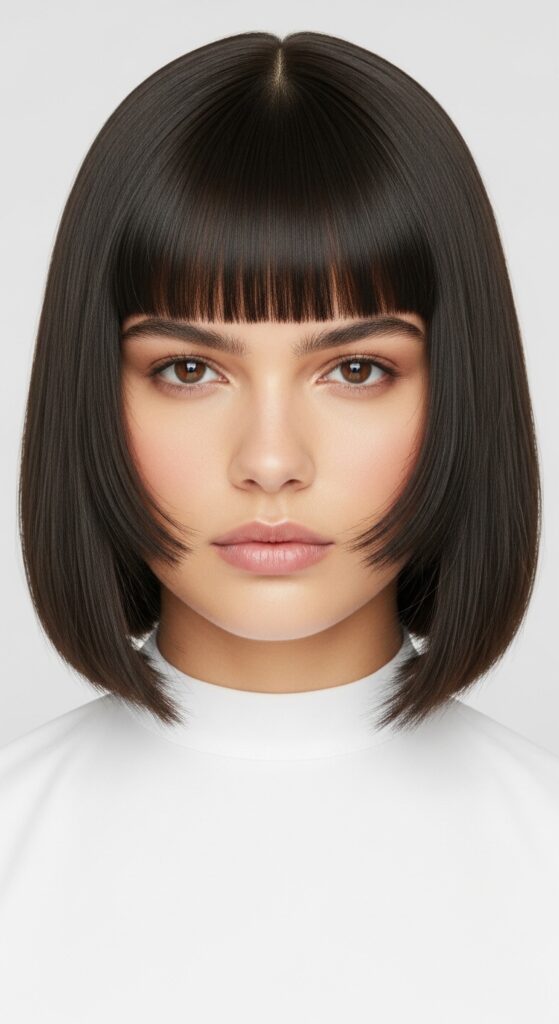
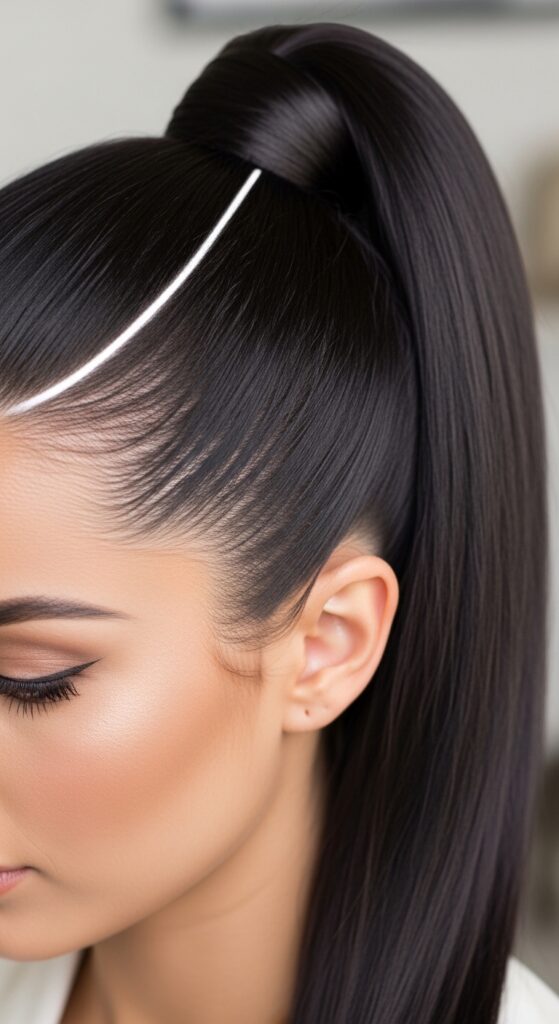
Making a Sleek Bob Shine
A sharp, quiet luxury bob relies on clean lines and shine. With your halo light setup, you’ll see every glossy swing. Make sure your part is clean and use a light-hold serum on dry hair to fight flyaways.
The camera will pick up the healthy sheen. This look is all about polished perfection, and the right lighting makes it look expensive and intentional, not flat.
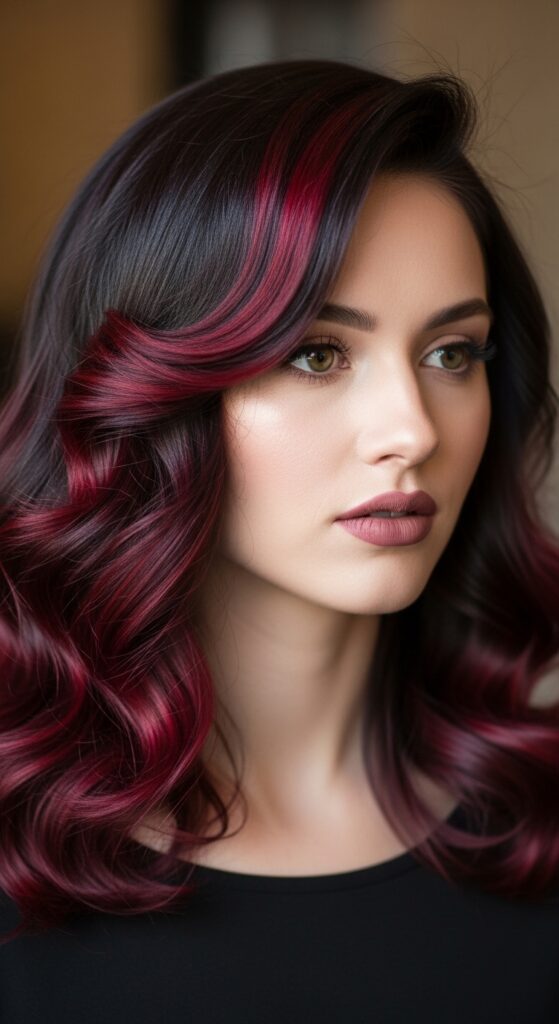
Enhancing Romantic Goth Texture
Romantic goth hairstyles have deep waves, volume, and often darker colors. The halo light is perfect for this. It will define those curls and waves without washing out your beautiful dark tones.
It creates dimension in the shadows of your curls, making the style look lush and deep rather than like a dark blob. The light will catch the highest points of your waves beautifully.
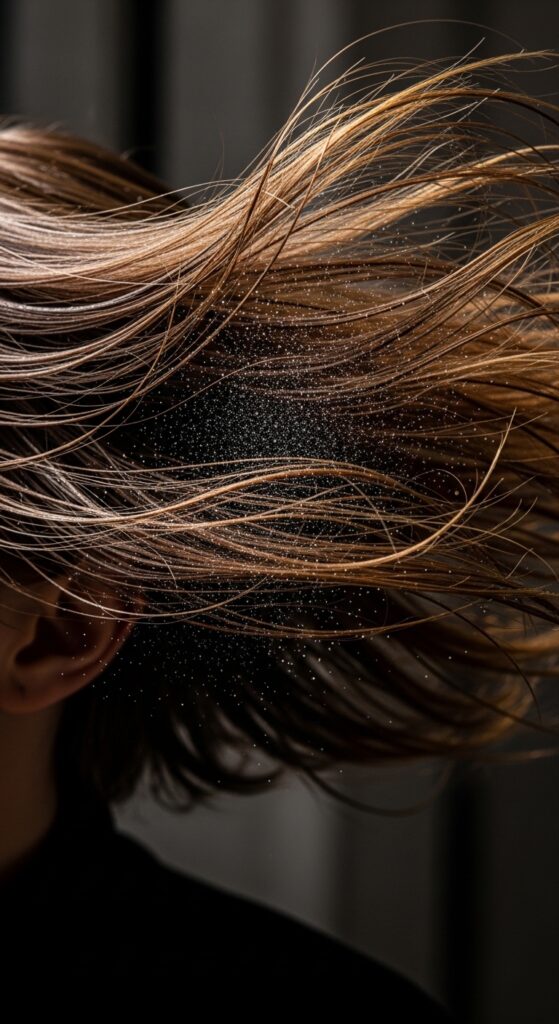
Playing Up Glitchy Glam Details
Glitchy glam hair is all about unexpected texture and pieces. Think wet-look strands or pieces of glitter. Your halo light will make these details pop on camera.
Apply a strong-hold gel to a few face-framing pieces or add tiny hair gems. The direct front light will make them sparkle and catch the eye during every movement on your call.
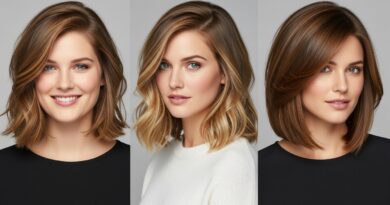
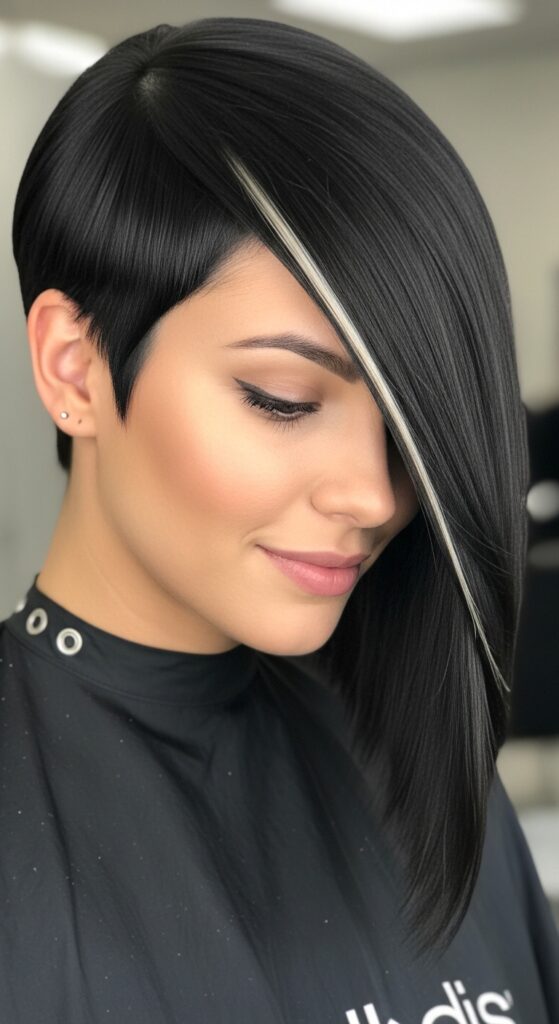
Styling the Asymmetrical Lob
An asymmetrical lob has so much movement. The halo light highlights the difference in length beautifully. Tuck the longer side behind your ear to really show off the cut’s shape.
The light will create a shine line along the angled edge, emphasizing the stylish cut. It makes a statement on camera without you having to say a word.
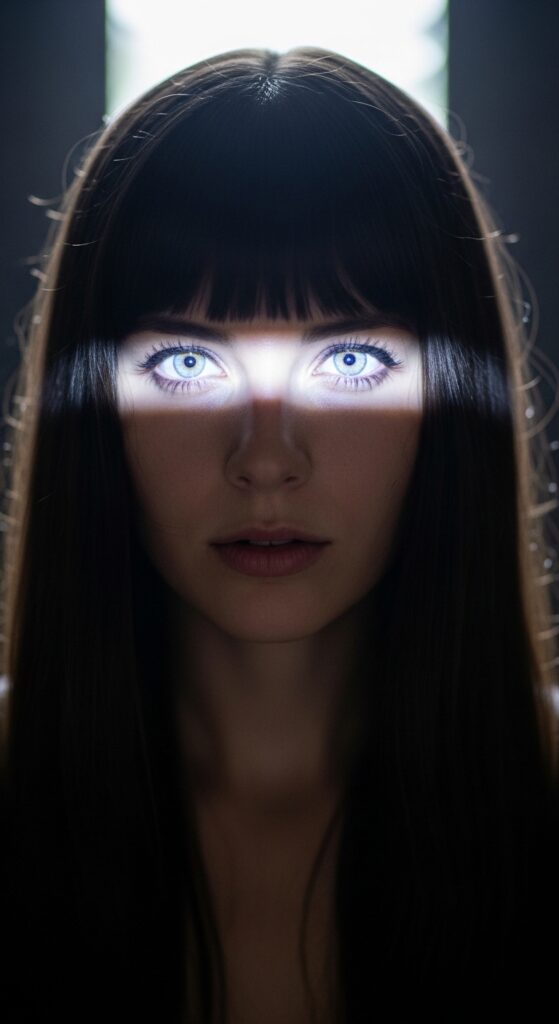
Perfecting the Vampire Haircut
The vampire haircut (long with heavy, disconnected bangs) is super trendy. The risk is the bangs casting a shadow. With your light source behind the camera, you illuminate under those bangs.
This keeps your eyes visible and mysterious, not hidden. It also makes the lengths of your hair look silky and dramatic, perfect for a bold on-camera presence.
Showing Off a Hime Cut
The hime cut, with its straight-across bangs and sharp, long sidelocks, is a graphic style. Clean, sharp lines need clean, sharp light to be appreciated.
The halo light will define the distinct blocks of the haircut. It creates a beautiful contrast between the lit front sections and the shadowed back hair, showing off the precise cut perfectly.
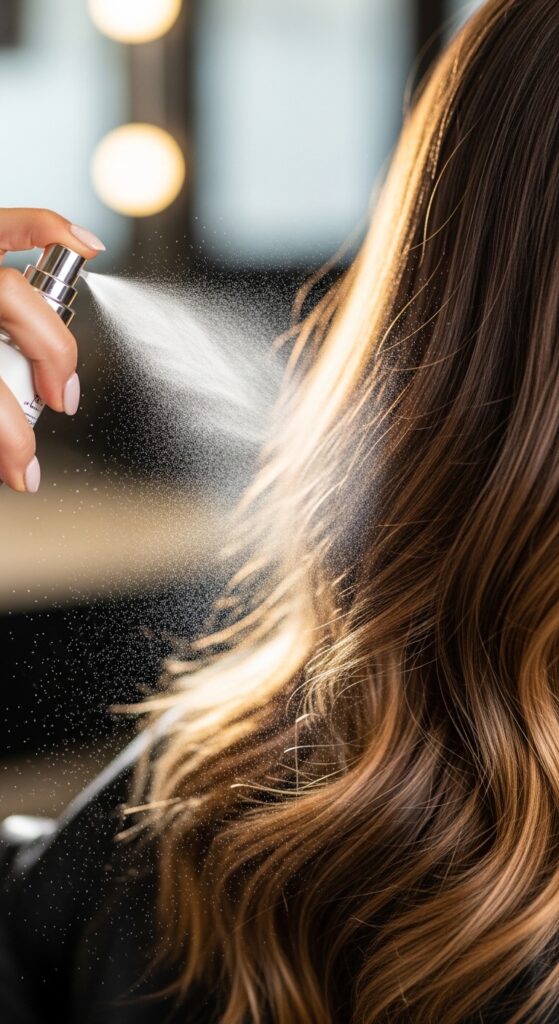
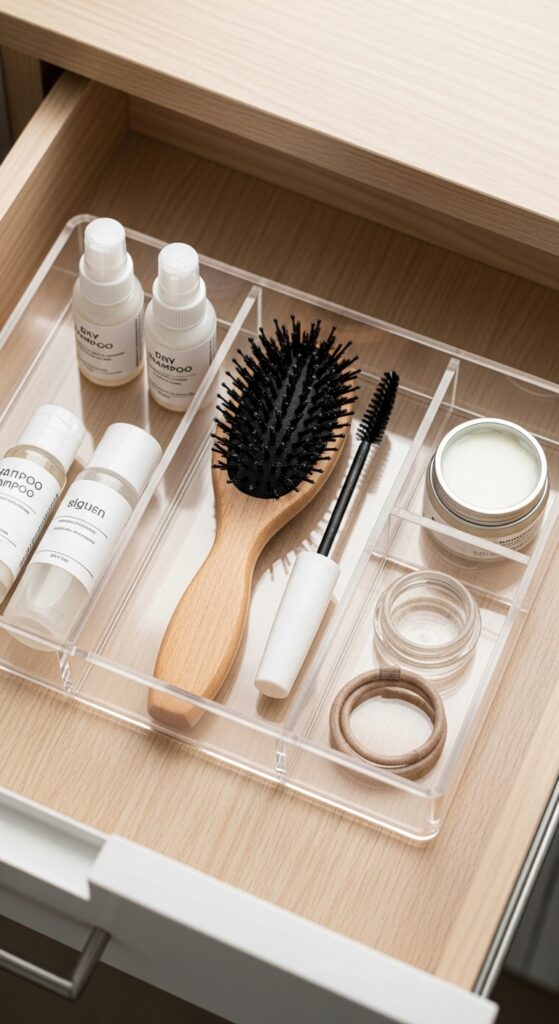
Quick Pre-Zoom Hair Refresh
No time to wash? No problem. Use a dry shampoo at your roots for volume, then a light hair oil or shine spray on your mid-lengths and ends. Comb through gently.
This combo soaks up oil at the root for lift and adds shine to the lengths where the camera’s light will hit. It’s a two-minute fix that makes a world of difference on screen.
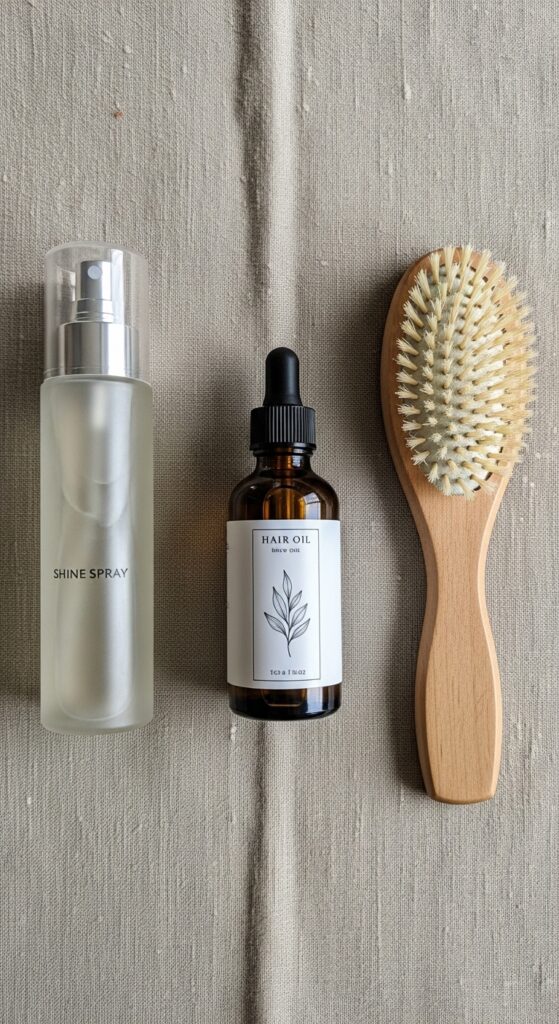
The Best Products for On-Camera Shine
You want shine, not grease. Look for lightweight products. A single drop of argan oil rubbed between your palms and smoothed over ends works wonders. A fine-mist shine spray is also perfect.
Avoid heavy gels or pomades that can look crunchy or wet under bright light. We’re going for healthy, natural-looking shine that moves with your hair.
- Lightweight hair serums
- Fine-mist shine sprays
- Dry oil mists
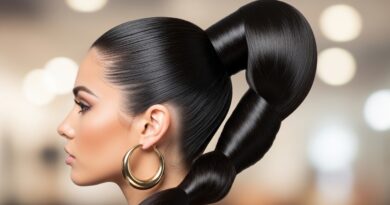
Hairstyles That Love the Halo Light
Some styles are made for this light. Sleek ponytails, deep side parts, and any style with defined waves or curls will look phenomenal. The light skims over the surface, highlighting the texture.
Even simple, down hairstyles look more polished. The light acts like a professional stylist holding a reflector, putting your best hair forward literally.
What to Avoid in Your Setup
Avoid having a bright window or lamp behind you—it will turn you into a silhouette. Also, avoid direct, harsh overhead lights that create shadows under your eyes and on your hair.
Don’t rely solely on your computer screen for light. It’s not bright enough and can cast a weird blue tone. Always have a stronger, whiter light source behind it.

Testing Your Look Before the Call
Always do a Zoom test with a friend or in a meeting with just yourself. Use the “Preview” window in Zoom settings. Check how your hair looks when you move your head side to side.
Does the shine catch? Do any flyaways become super obvious? This is your time to tweak your product or camera angle. A two-minute test saves you from a whole hour of bad hair.
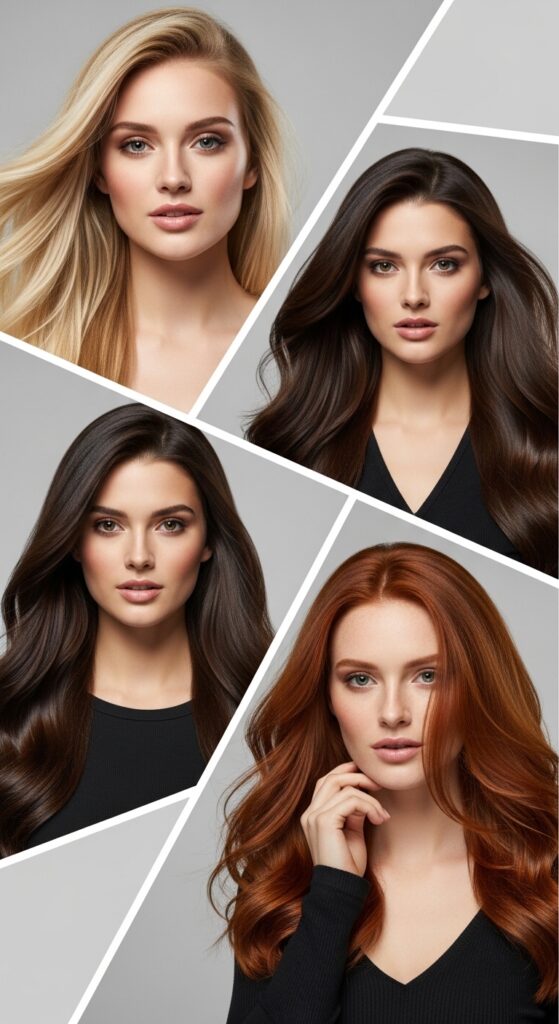
Adapting for Different Hair Colors
Blondes and light colors: Your light might need to be slightly less bright to avoid washing out. Brunettes and black hair: You can use a brighter light to really make that shine pop.
For reds or fashion colors, the halo light will make those tones vibrant and true on camera, not muddy. Adjust your “low light” setting in Zoom accordingly.
Long Hair vs. Short Hair Tips
Long hair: Pull the front sections forward over your shoulders. This gives the light more surface area to shine on. Short hair: Make sure the light hits the crown and any textured ends.
For both, volume at the crown is key. A little lift there catches the light and makes your whole style look more alive and dimensional on screen.

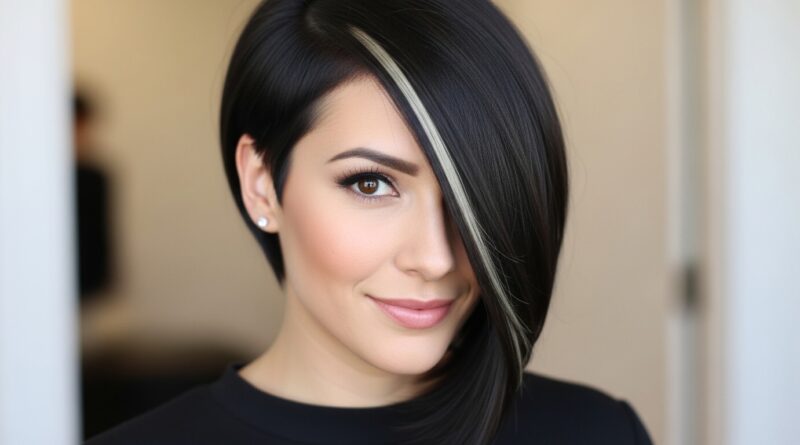
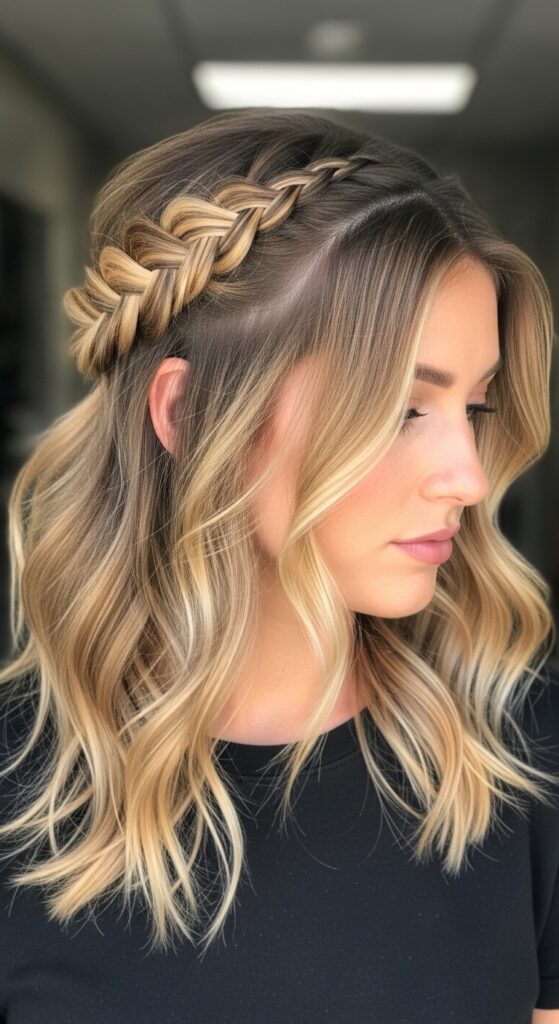
Incorporating 2026 Hair Trends
As we look at 2026 hairstyles, texture and personalized detail are huge. This lighting setup is perfect for showing off custom details like face-framing money pieces, hidden colors, or unique braiding.
It turns your Zoom window into a showcase for your personal style. A trend is only good if people can see it properly, and this light ensures they will.
Maintaining the Look All Day
For back-to-back calls, keep a travel-size shine spray and a clean toothbrush (for taming baby hairs) in your desk drawer. A quick spritz and smooth between meetings takes ten seconds.
If your hair gets flat, flip your head over, give it a shake, and spray a little dry shampoo at the roots for a quick volume refresh before you hop back on.
Your Confidence Is the Best Accessory
Finally, remember that when your hair looks good, you feel more confident. And that confidence translates directly through the camera. You sit up straighter, you speak more clearly.
Taking five minutes to set up your lighting isn’t vain—it’s a tool to help you present your best self. When you’re not worried about your hair, you can focus on crushing your meeting.
Final Checklist Before You Hit “Join”
- Light source is behind your computer, shining at you.
- Webcam is at eye level.
- Zoom “Low light adjustment” is on.
- Shine product applied to ends (if needed).
- Background is a neutral, medium tone.
- You’ve checked your preview video.
Run through this list, and you’re guaranteed to have shiny, camera-ready hair every single time.
And there you have it! My go-to system for never having a bad hair day on camera again. It sounds simple, but that’s the whole point. The best tricks usually are.
Once you get your setup dialed in, it becomes second nature. You’ll hop on calls feeling that little boost of confidence because you know your hair—whether it’s a classic style or something totally new—is looking its absolute best.
I’d love to hear from you! Did you try this setup? What hairstyle are you loving for video calls right now? Let me know in the comments below.
Save this post to Pinterest to keep these tips handy for your next big meeting or virtual catch-up with friends!