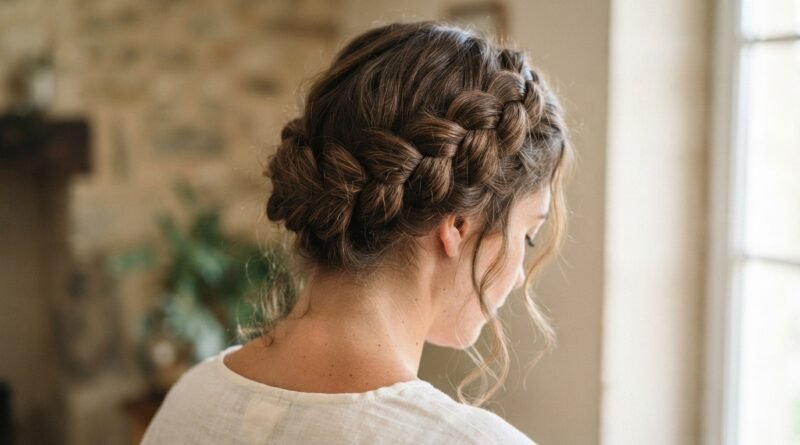
What Makes Crown Braids a Favorite Pinterest Pick This Year
I keep seeing crown braids everywhere. Not just on models or red carpets. On real people, in real life, at the grocery store and in the school pickup line. And my Pinterest feed? It is basically one long braid wrapped around somebody’s head.
So I did what I always do. I tried it. Then I tried it again. Then I made my friends try it so I could stare at their heads instead of mine.
Here is the short version: crown braids flatter almost everyone, they hold up all day, and they photograph like something out of a storybook. They also slide perfectly into the biggest 2026 hairstyles we are all loving right now, from old money hair to romantic goth hairstyles.
In this post I am sharing why everyone is pinning them, how to actually pull one off, and the small tricks that make a big difference. Grab a coffee. Let’s braid.
What Exactly Is a Crown Braid?
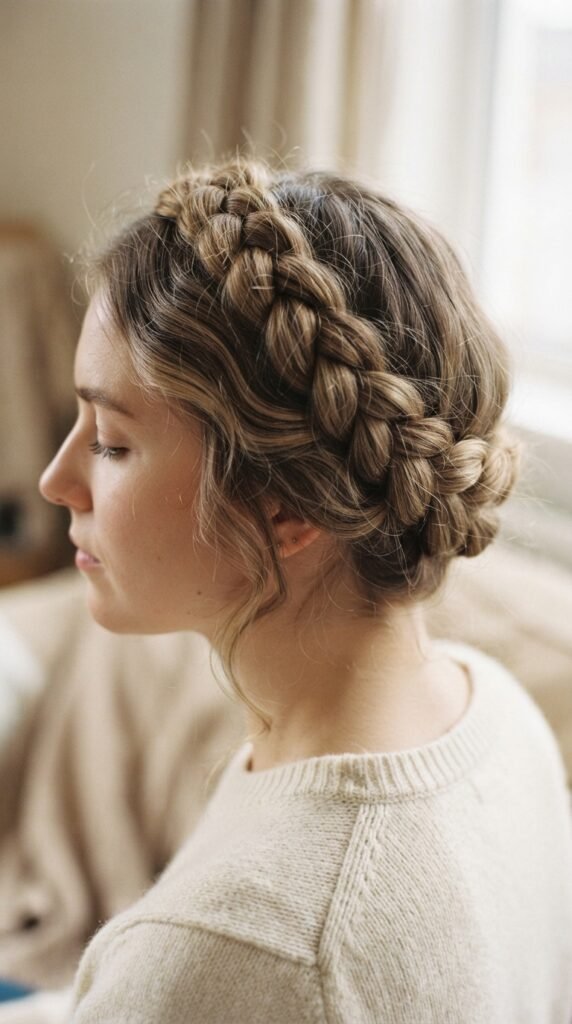
A crown braid is exactly what it sounds like. You braid your hair and then wrap that braid around your head like a crown, usually starting at the nape and working your way around.
There are two main versions:
- The true crown braid: one continuous braid that circles your whole head
- The faux crown: two braids pinned across the top, meeting in the middle
The faux version is what most of us actually do, because it is faster and way more forgiving. Both give you that same soft, romantic, “I woke up like this” look.
Why Crown Braids Took Over Pinterest This Year
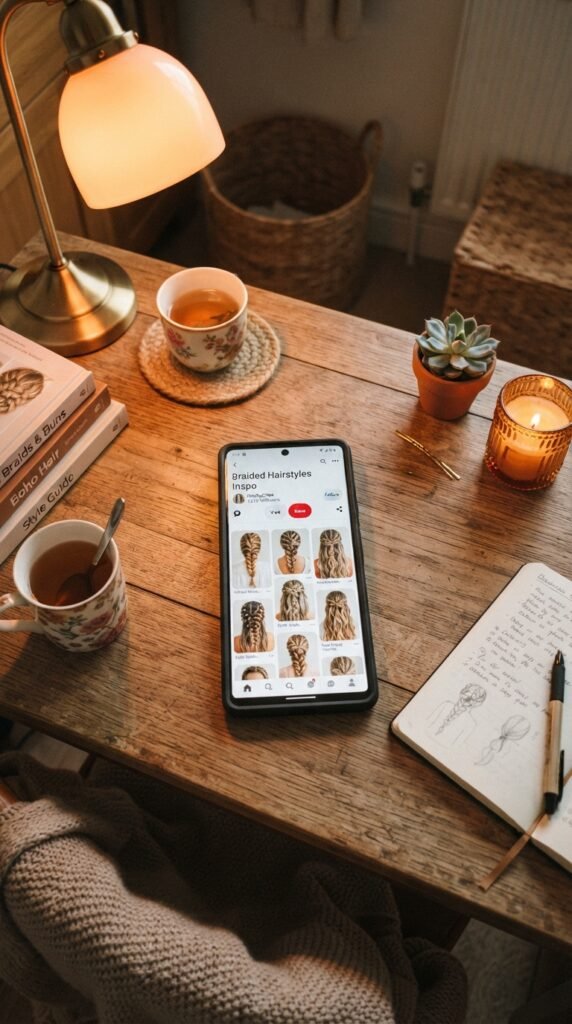
Three reasons, honestly.
First, they are hard to mess up. A messy crown braid looks intentional. A messy ponytail just looks like a ponytail.
Second, they work with hair you already have. No extensions, no heat, no salon appointment.
Third, they read as effortless but expensive. That is the whole mood right now.
Pinterest loves a style that looks complicated and takes eight minutes. Crown braids are that style. People save them, try them, and then save ten more.
Crown Braids Fit the 2026 Hairstyles Mood
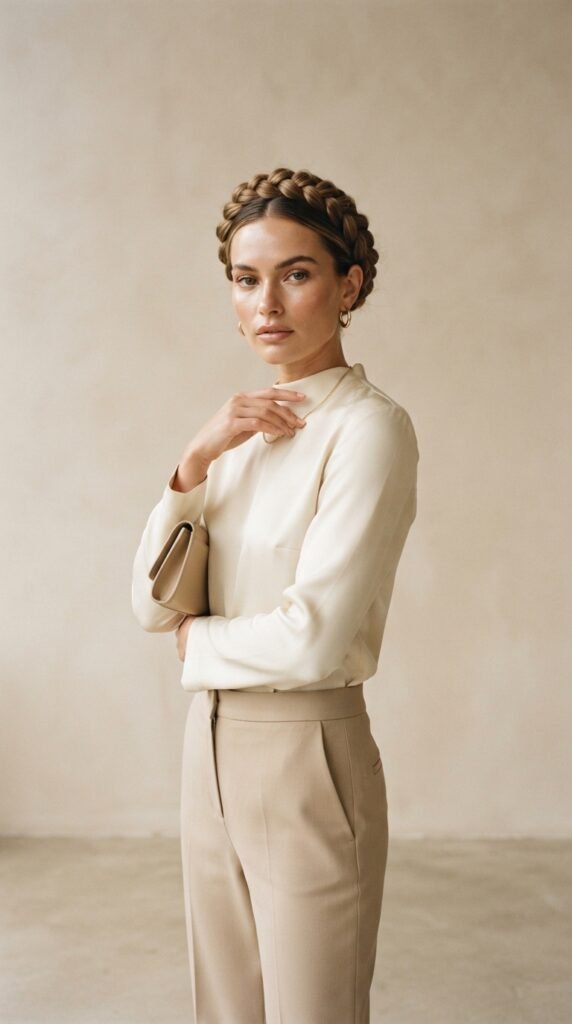
Look at what is trending for 2026 hairstyles. Soft texture. Natural finishes. Hair that moves. Nothing that looks like you fought with a curling iron for an hour.
Crown braids are the poster child for that.
- They are heat-free
- They work on dirty hair (a bonus, not a flaw)
- They look polished without looking stiff
They also bridge two very different trends at once. You can go clean and classic, or you can go dark and dramatic. Same braid, different vibe.
The Old Money Hair Connection
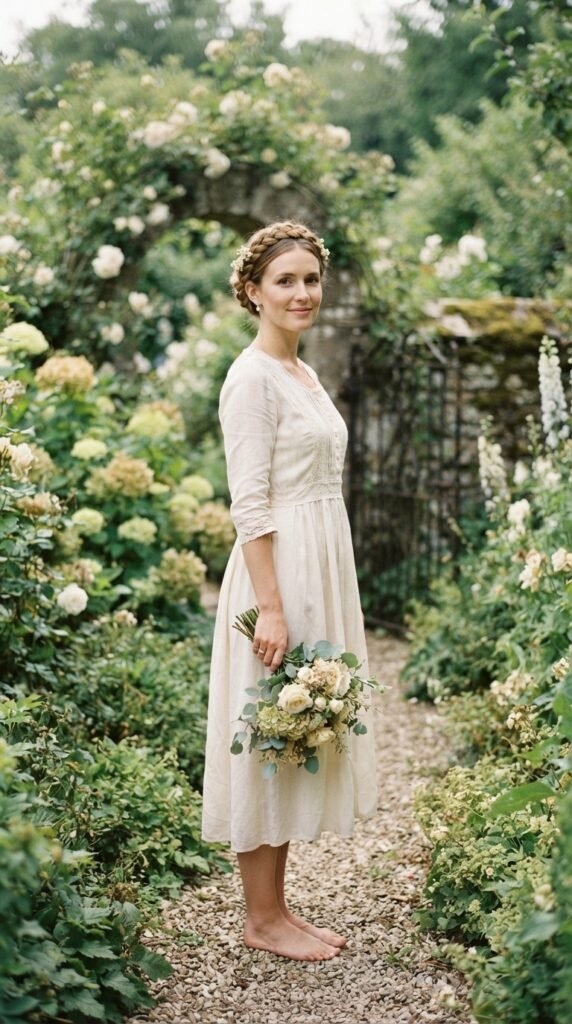
Old money hair is all about restraint. Neat, healthy, understated, and never trying too hard. A sleek crown braid is basically that in hairstyle form.
Here is how to get the old money version:
- Braid on day-two hair, not fresh-washed
- Keep the braid tight and smooth
- Skip the sparkly pins
- Leave a little softness at the temples
No glitter, no chunky accessories. Just a clean line and healthy shine. It reads as “I have a horse and a garden” energy, and I mean that as a compliment.
Crown Braids vs the Quiet Luxury Bob
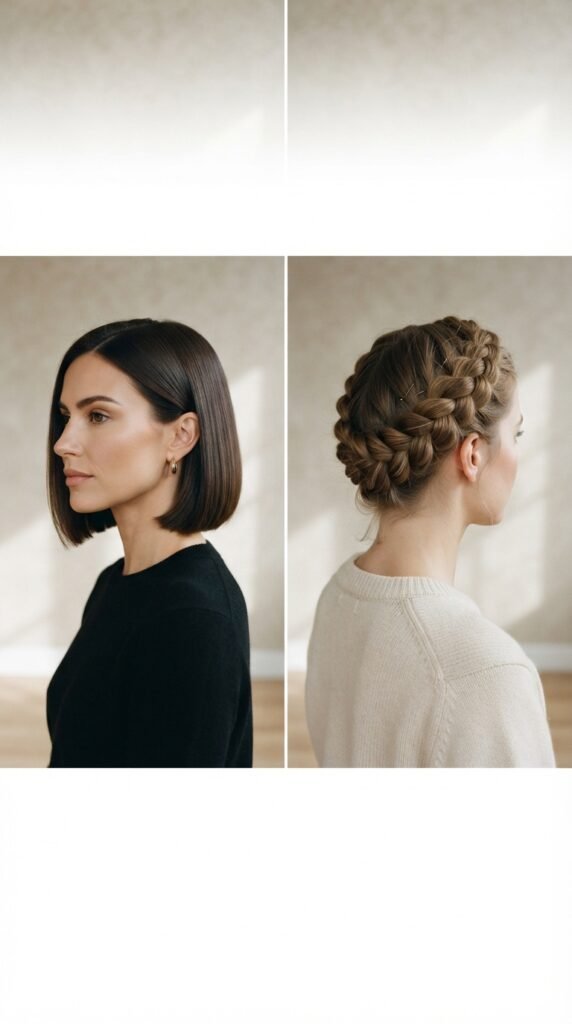
The quiet luxury bob is having a moment, and it deserves it. Blunt, glossy, chin to collarbone, zero fuss.
But here is the thing. Not everyone wants to cut their hair. And not everyone looks their best with a sharp line at the jaw.
A crown braid gives you the same “quiet luxury” feeling without the commitment. It is the updo version of that same energy: expensive, calm, understated.
If you already have a quiet luxury bob, you can still do a crown braid. Short hair crowns are a real thing, and they look adorable. More on that below.
Romantic Goth Hairstyles Love a Crown Braid
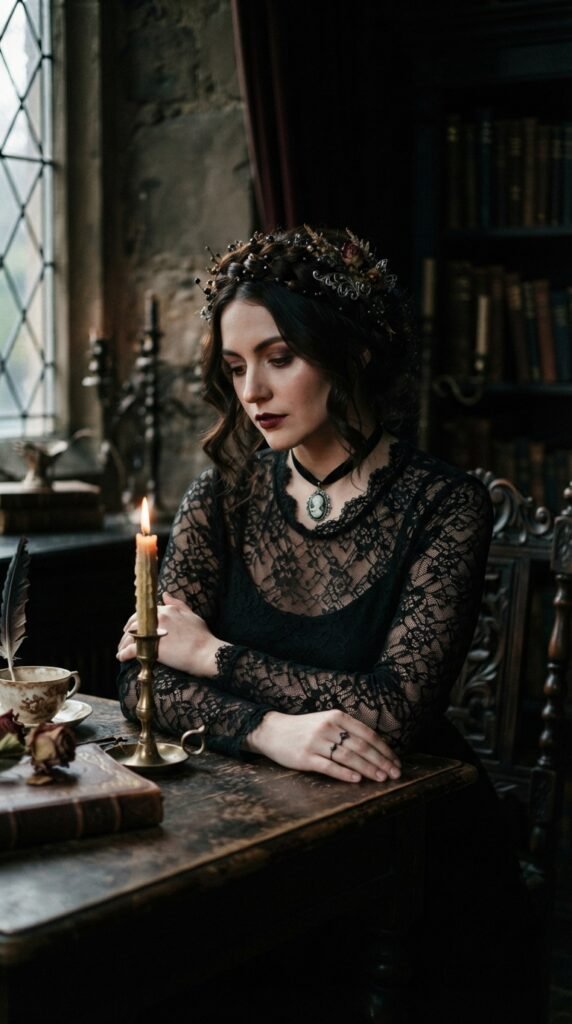
This is my favorite crossover. Romantic goth hairstyles are all about softness with a dark edge, and a crown braid is the perfect base.
Try this:
- Braid the crown, then pull tiny face-framing pieces loose
- Add a thin black velvet ribbon woven through
- Keep the rest of your hair down and wavy
It looks like something out of an old painting. Slightly haunted, very pretty. Add a dark lip and you are done.
Glitchy Glam Hair With a Crown Braid Twist
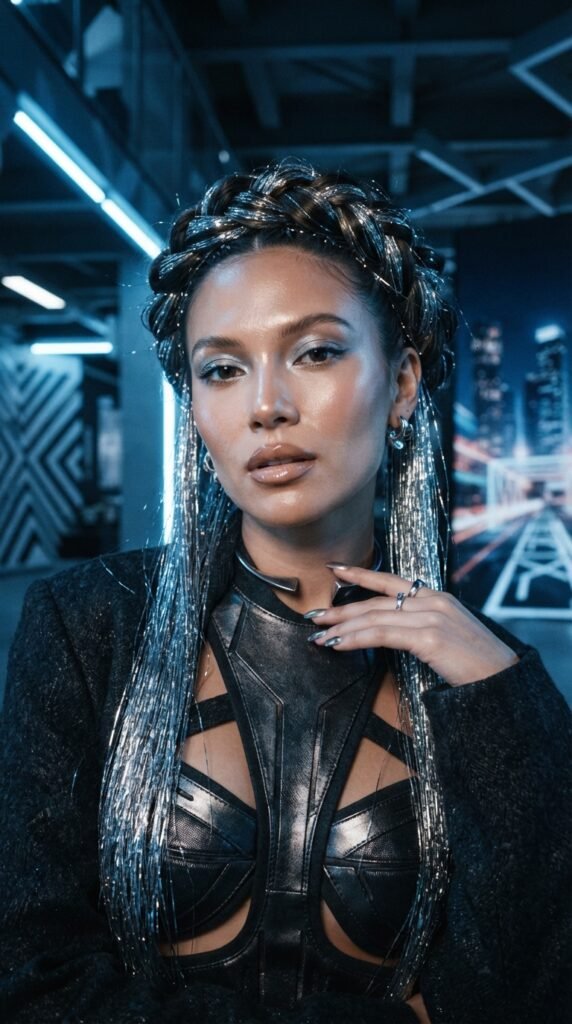
Glitchy glam hair is the fun, weird, shiny trend that keeps showing up on my feed. Think metallic clips, hair tinsel, sharp contrast, a little bit of chaos on purpose.
A crown braid is a great base for it because the structure holds all the extras in place.
- Weave silver or chrome tinsel through the braid
- Add two or three tiny metallic clips along the crown
- Keep the rest of your hair sleek and straight
The contrast between a soft braid and hard shine is what makes it work.
Crown Braids for the Asymmetrical Lob
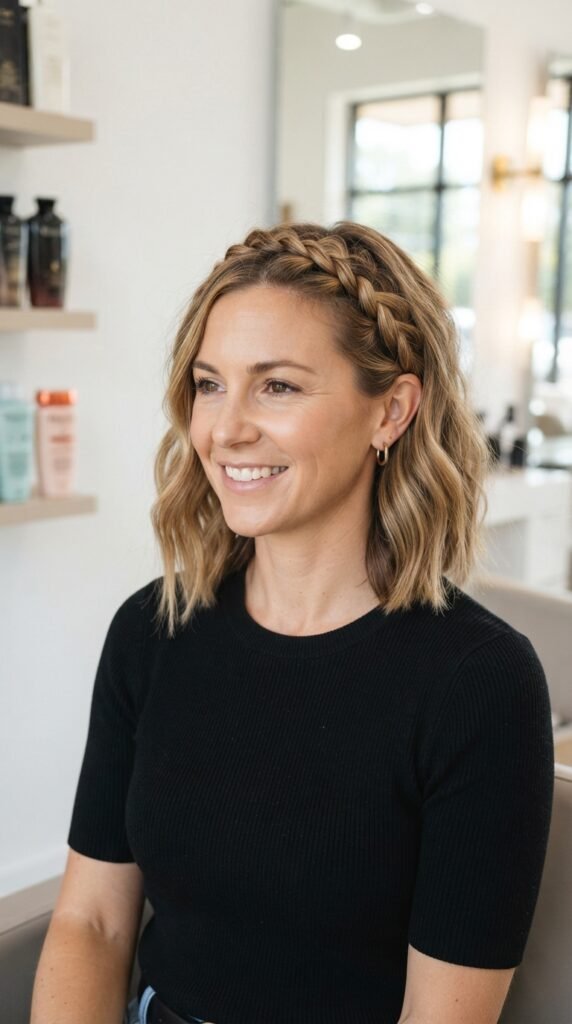
Got an asymmetrical lob? You are not left out. You just do a partial crown.
Instead of wrapping all the way around, braid one section along the top of your head and pin it where the short side starts. It looks intentional and a little edgy.
Steps:
- Part your hair where you normally do
- Take a two-inch section from the front
- Braid it backward along your part line
- Pin it hidden behind the longer side
It gives you that braided crown feel without needing length you do not have.
The Vampire Haircut Looks Even Better Braided
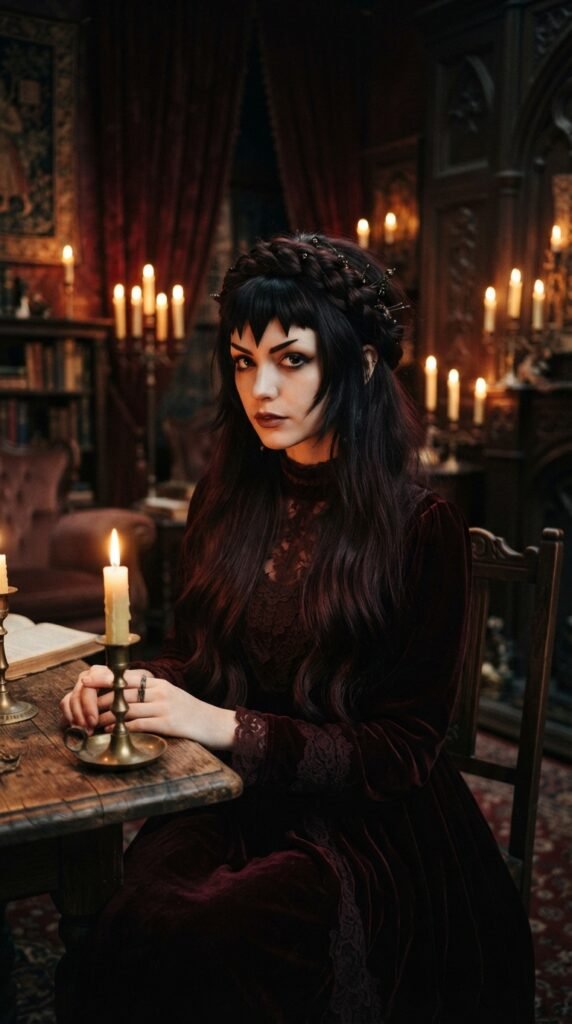
The vampire haircut is basically long, layered, a little wild, and very dramatic. Think slow-burn TV show love interest.
A loose crown braid on top of that is unreal. It softens the sharp layers and makes the whole thing look intentional instead of just “I have a lot of hair.”
Keep the braid loose and slightly undone. Pull pieces out around your face. Do not aim for perfect. The messiness is the point.
Hime Cut Meets Crown Braid
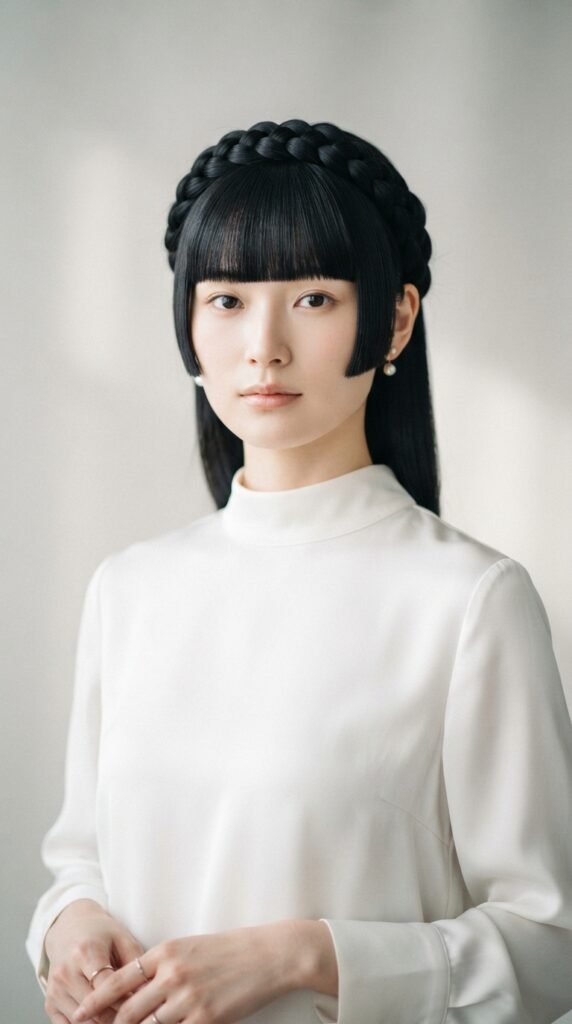
The hime cut is that Japanese style with blunt side pieces and straight length in the back. It is striking on its own.
Add a crown braid and it becomes something else entirely. Regal, a little otherworldly, very Pinterest.
A few tips:
- Keep the braid smooth and tight
- Do not touch the blunt side pieces
- Use a shine serum on the straight length
The contrast between structured braid and sharp cut is the whole magic trick.
How to Do a Simple Crown Braid (Step by Step)
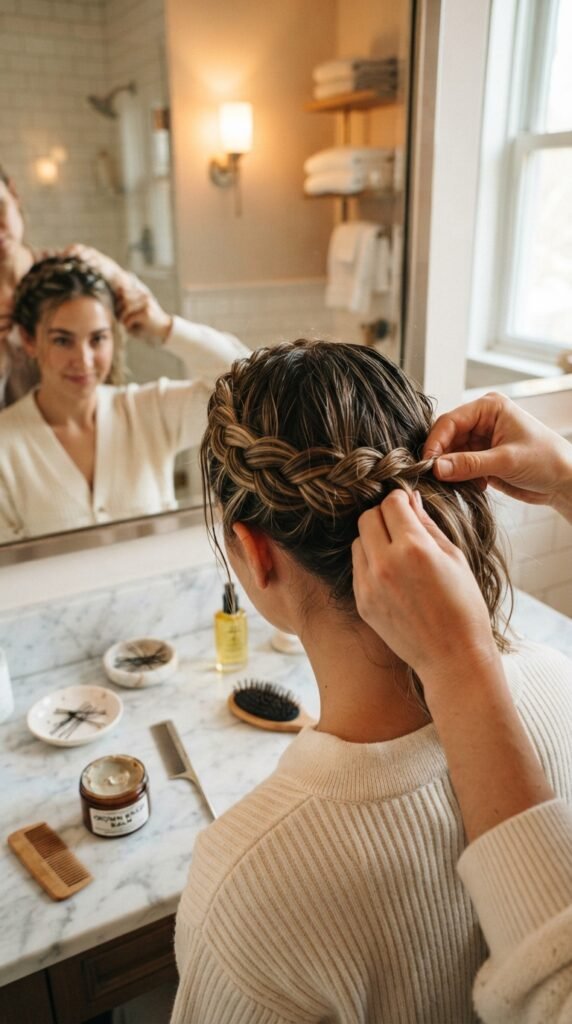
Here is the easiest method. No French braid skills required.
- Brush your hair and part it down the middle
- Split hair into two sections, left and right
- Braid each side into a regular three-strand braid
- Pull each braid up and over your head
- Pin them where they meet at the top
- Tuck the tails underneath and pin again
That is it. Two braids, six pins, five minutes. It looks way more complicated than it is.
The Two-Braid Method for Beginners
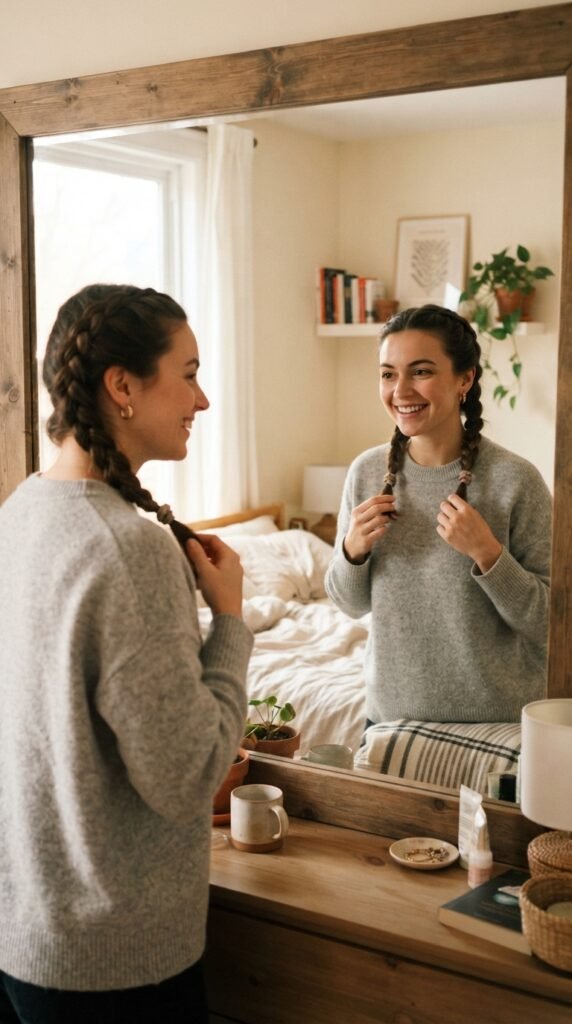
If you are brand new to this, the two-braid method above is your best friend. But a few small tweaks make it look ten times better.
- Braid loosely so it has thickness
- Pin the braids flat against your head, not floating
- Cross the tails at the back for a seamless finish
- Use bobby pins that match your hair color
Do it once while watching TV. By the third try, your hands will know what to do without you thinking about it.
Middle Part or Side Part? Let’s Settle It
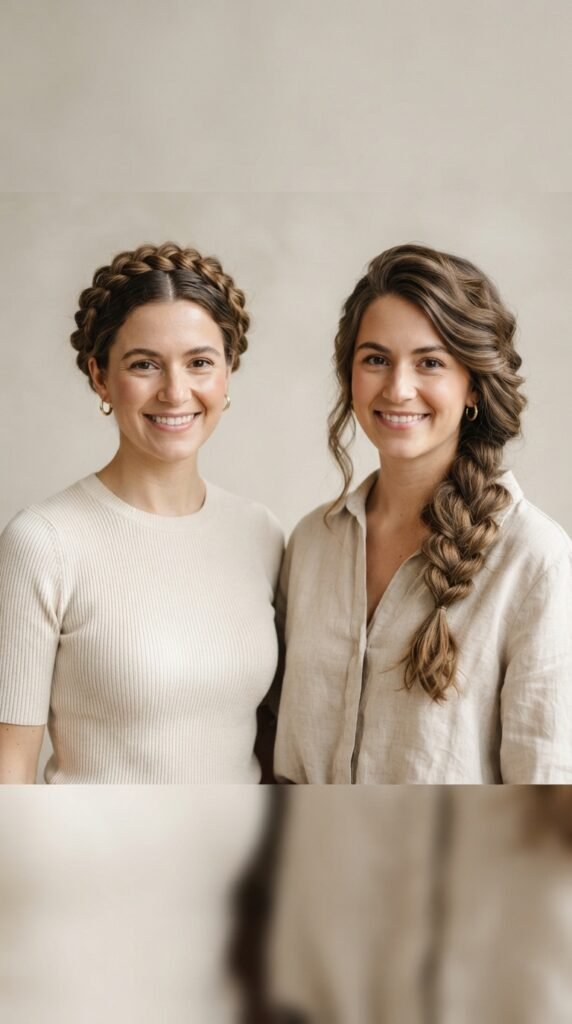
Both work. They just give different vibes.
Middle part: symmetric, regal, a little fairy tale. Great for weddings and formal events. Also great for round faces because it balances width.
Side part: softer, more casual, more modern. Better for oval and heart-shaped faces. Feels less “costume.”
My honest take: try the middle part first. If it feels too formal, shift to a side part and it instantly relaxes.
Which Hair Lengths and Textures Work Best
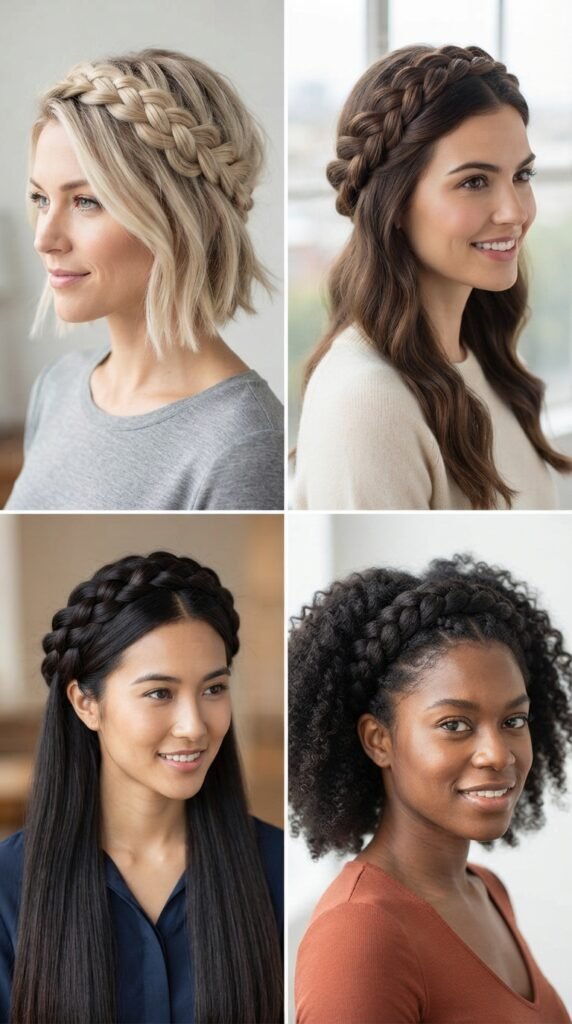
Short answer: almost all of them.
- Shoulder length: perfect. Enough to wrap, not enough to tangle
- Long hair: works, but you will have extra tail to tuck
- Fine hair: use texture spray first for grip
- Curly and coily: braid on stretched or damp hair for control
Really short hair is the only tricky one. Under chin length, you are better off with a headband braid instead.
The Only Products You Actually Need
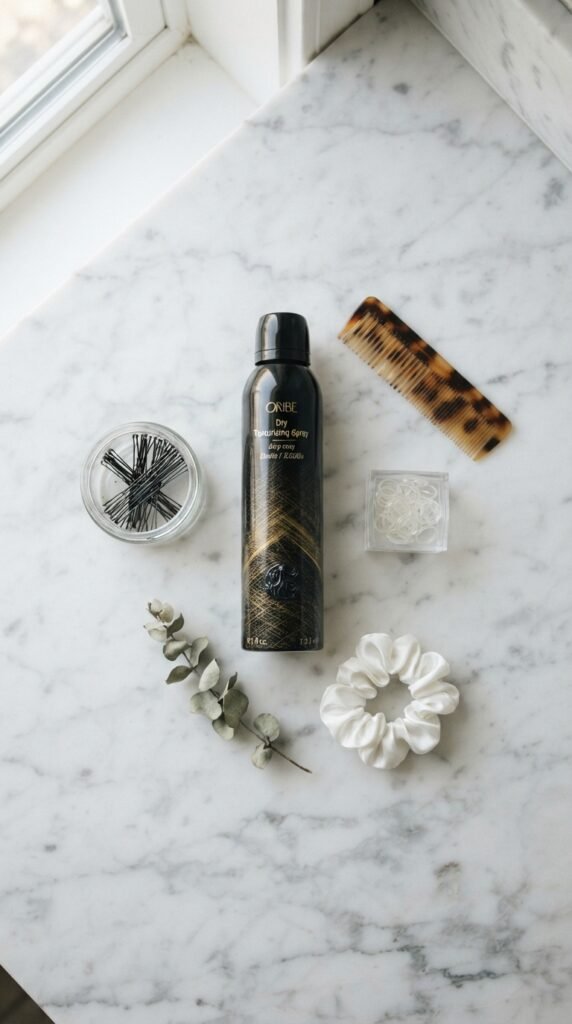
You do not need much. Anyone selling you a ten-step routine is overselling.
- Texture spray or dry shampoo for grip
- A handful of bobby pins
- Two small clear elastics
- A little light hold hairspray
That is genuinely it. Skip the heavy gel. Skip the wax. They make braids look greasy and dull in photos.
If your hair is very slippery, texture spray is the one product that will change everything for you.
How to Make It Last All Day (and Night)

A good crown braid should survive a full day. Here is how to get there.
- Start on hair that is not freshly washed
- Pin at four points, not two
- Spray the pins, not your whole head
- Sleep on a silk pillowcase if you want it to last overnight
I have worn one to a wedding and it was still standing at midnight. The secret is pinning flat against the scalp, not just at the ends.
Crown Braids on Fine, Thin Hair
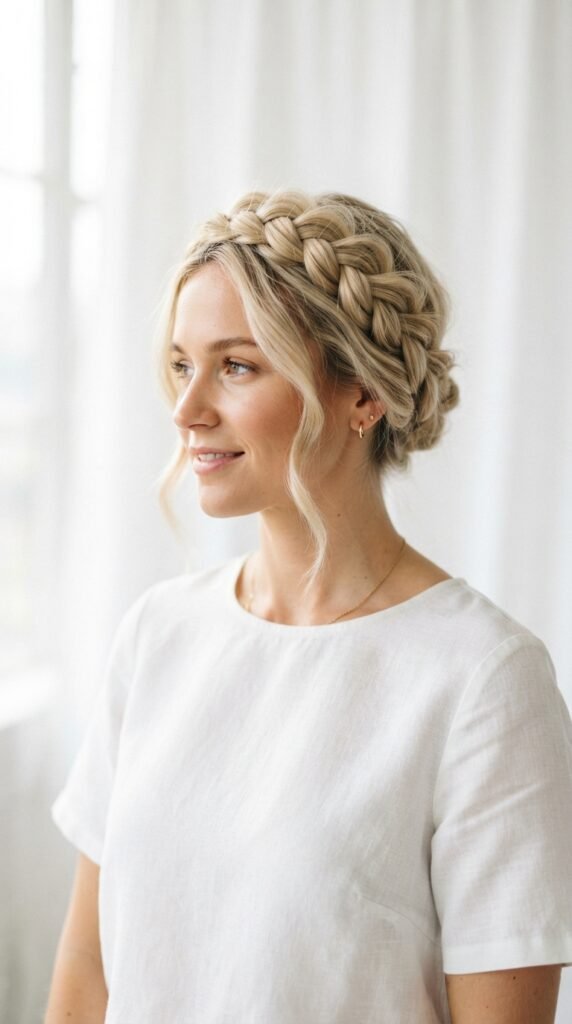
Fine hair can absolutely do a crown braid. You just need to fake thickness.
- Spray texture spray through dry hair
- Backcomb each section gently before braiding
- Braid loosely and then pull the edges outward
- Pin generously, because fine hair slips
The pulling-out step is the game changer. It makes a thin braid look twice as full in about thirty seconds.
Crown Braids on Thick, Curly, and Coily Hair
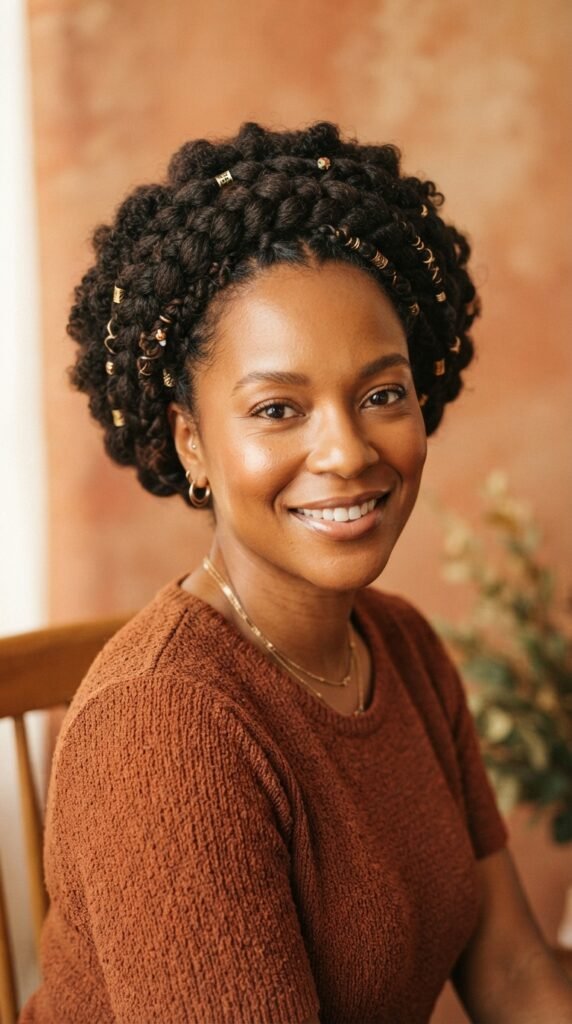
Thick hair makes the most stunning crown braids. Full stop. The volume does half the work for you.
The catch is control. Here is what helps:
- Work on damp, detangled hair
- Use a leave-in cream, not a gel
- Braid larger sections so it does not get bulky
- Pin with long bobby pins or spin pins
Curly crown braids are one of my favorite looks, period. They feel romantic and grounded at the same time.
One Style, Three Occasions: Work, Weddings, Weekends
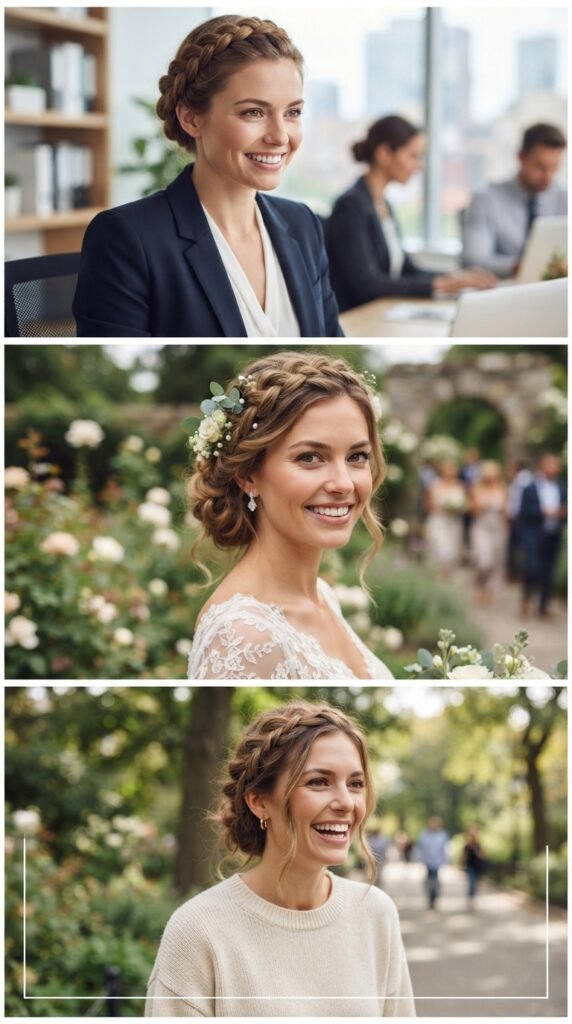
Same braid, three completely different outfits.
- Work: tight braid, middle part, no accessories, minimal makeup
- Wedding: loose braid, small pearl pins, soft waves left out at the back
- Weekend: messy braid, sunglasses, oversized sweater, zero effort
This is why I love it. You learn one skill and it covers basically your whole calendar. That is a good return on five minutes of practice.
Accessories That Make It Look Expensive
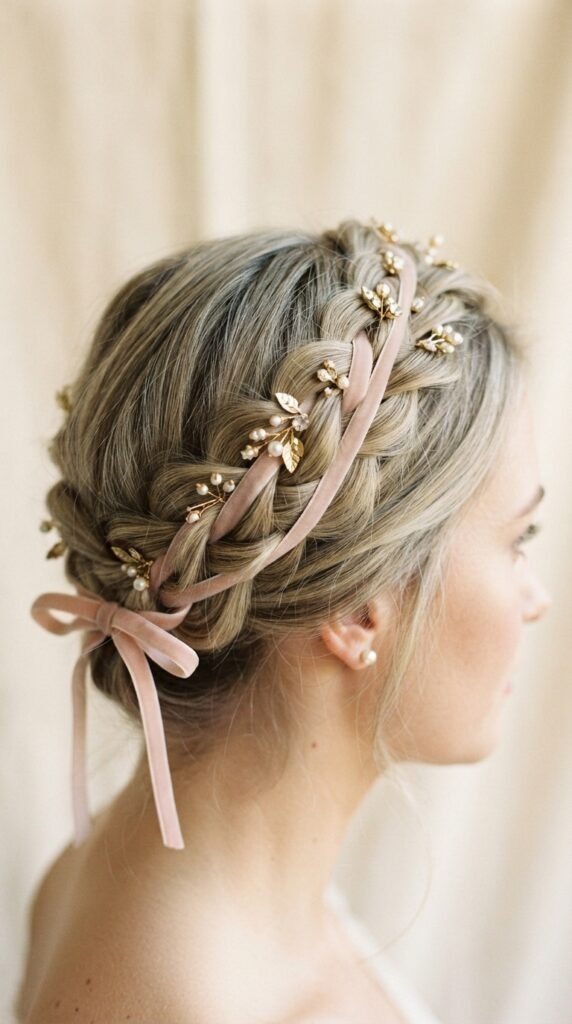
Accessories can push a crown braid from cute to expensive. The rule is simple: keep it small.
- Pearl or gold bobby pins along the braid line
- A thin silk or velvet ribbon woven through
- One small clip at the meeting point
- Fresh baby’s breath for weddings
Skip anything chunky or sparkly. It competes with the braid instead of highlighting it. Delicate and minimal always wins.
Crown Braid Mistakes I See All the Time
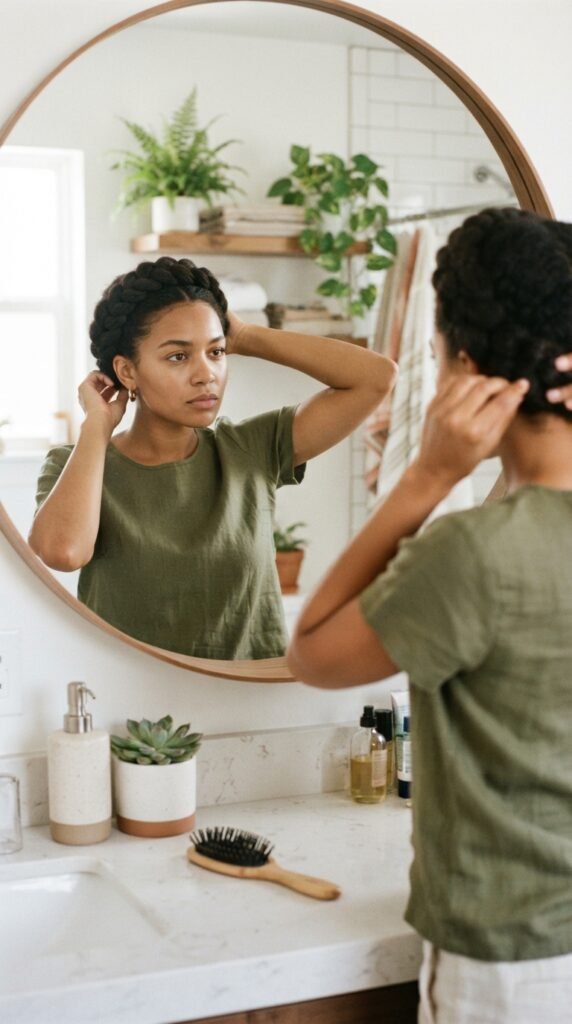
I have made every one of these. Learn from me.
- Braiding too tight, which flattens the head
- Pinning only at the ends, so it droops by lunch
- Using too much product, so it looks greasy
- Starting with squeaky clean hair
- Not pulling out face-framing pieces
That last one matters most. Those little loose strands are what make it look soft and lived-in instead of severe.
How to Photograph Your Crown Braid for Pinterest

If you are pinning your own looks, a few quick tips.
- Face a window, never use overhead light
- Shoot at a slight angle so the braid line shows
- Use a plain wall or soft background
- Take the photo within an hour of styling
Vertical photos perform best on Pinterest. Natural light beats any filter. And do not be afraid to show the back of your head, because that is the part people actually want to see.
Five Crown Braid Variations to Try Next
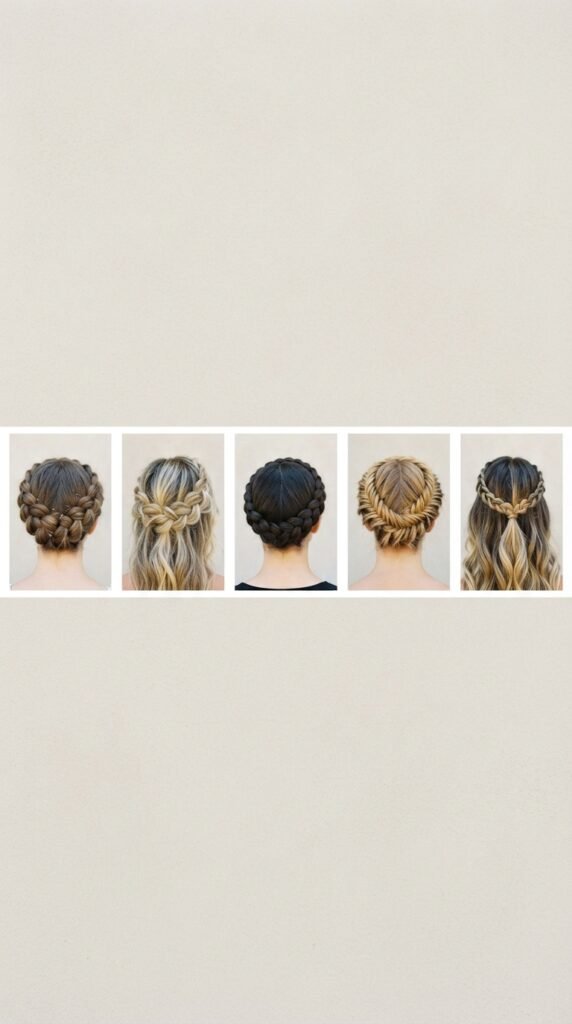
Once you have the basic down, mix it up.
- Ribbon braid: weave a silk ribbon through as you braid
- Half crown: braid only the front section, leave the rest down
- Dutch crown: braid underneath for a raised, 3D effect
- Boho crown: pull out lots of pieces for a soft messy look
- Double crown: two stacked braids for extra volume
Start with number two if you are short on time. It gives you the vibe in half the effort.
Why Crown Braids Are Not Going Anywhere
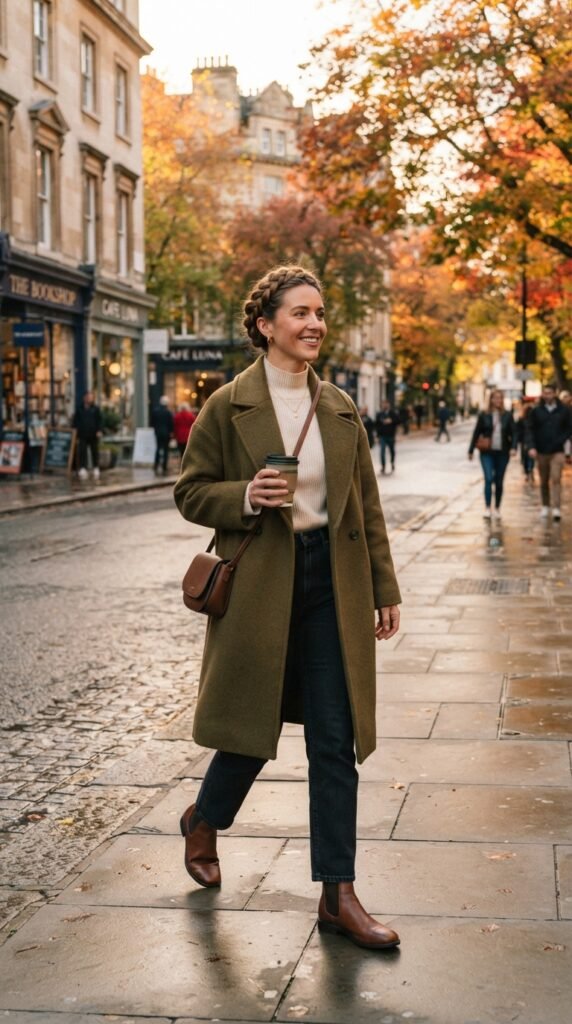
Trends come and go. Crown braids are different, because they solve a real problem.
They are fast, they are heat-free, they work on almost every hair type, and they look beautiful in photos. That combination does not go out of style.
They also fit every mood on the 2026 hairstyles list, from old money hair to romantic goth hairstyles. That kind of range is rare.
So if you learn one new style this year, make it this one.
A Few Last Thoughts Before You Braid
Here is what I want you to take away. Crown braids are not a complicated salon skill. They are two braids and a handful of pins, and you can learn them tonight on the couch.
Practice once when nobody is watching. Then wear it somewhere. Then watch how many people ask how you did it.
That little confidence boost is honestly the best part.
Save this post to Pinterest so you have the steps handy next time you are getting ready in a hurry. And tell me in the comments: have you tried a crown braid yet, or is this your sign to finally give it a go? I read every single one.