Why Everyone With Wavy Hair Should Try The Curly Girl Method At Least Once
What Is the Curly Girl Method, Anyway?
Simply put, the Curly Girl Method (CGM) is a gentle haircare routine created by hairstylist Lorraine Massey. It focuses on cutting out harsh ingredients and adding moisture back into your hair. It was designed for curly hair, but waves count too, and honestly, waves respond beautifully because they’re usually thirsty for moisture.
The basics are simple:
- No sulfates (harsh detergents that strip your hair)
- No silicones (heavy oils that build up)
- No drying alcohols
- Lots of water and plenty of conditioner
For waves, you don’t have to follow every rule to the letter. You just take the parts that help your hair feel and look better. And the parts that help? They help a lot. Give it a chance, and your waves will thank you.
Why Wavy Hair Gets the Short End of the Stick

Wavy hair is the middle child of the hair world. It doesn’t curl enough to get curly hair advice, and it’s not sleek enough to behave like straight hair. So it just sits there, looking confused and frizzy. Most of us were never taught how to care for it properly.
We brush it dry, use products made for straight hair, and wonder why it poofs up into a mess every single morning. The Curly Girl Method finally gives wavy hair its own playbook. It shows you how to enhance your natural texture instead of hiding it. And that alone is worth the try.
How the Curly Girl Method Changed My Waves

I’ll be honest: I was skeptical at first. But when I swapped my regular shampoo for a gentle cleanser and stopped brushing my hair dry, something clicked. My waves started clumping together instead of flying in every direction.
The biggest change? Definition. My hair started forming these soft, bouncy S-curves that I didn’t even know were hiding underneath all the frizz. It felt like I finally had the hair I had been chasing for years.
It took about two weeks to see real results. And once I did, I never went back. My only wish is that someone had told me about this method sooner, so I could have stopped fighting my waves long ago.
The Golden Rule: Ditch the Sulfates
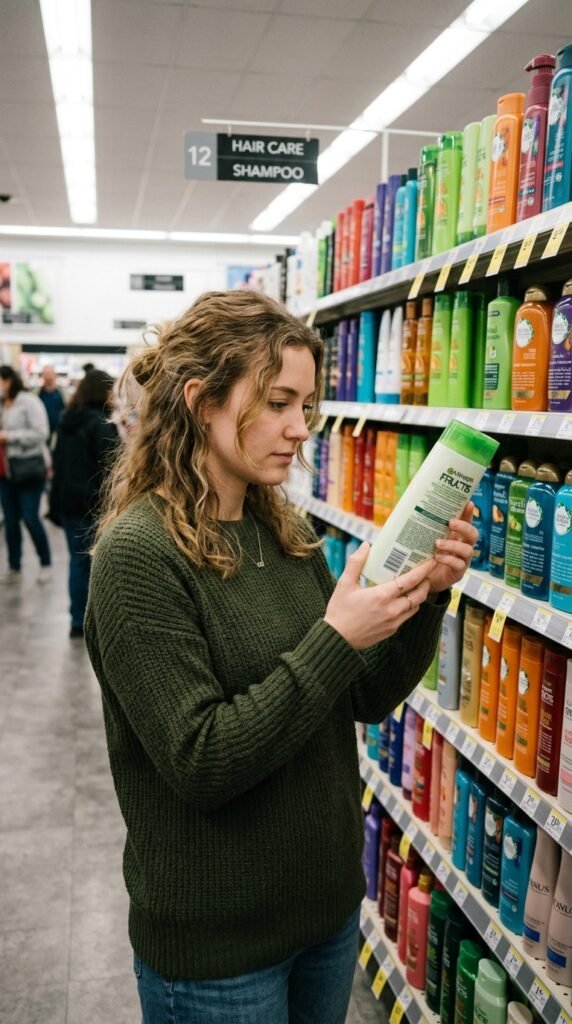
Sulfates are the harsh detergents that make shampoo foam up like dish soap. They strip your hair of its natural oils, which sounds good, but it’s actually really drying. And dry wavy hair turns into frizz fast.
Without sulfates, your hair keeps its natural moisture. That means less frizz, softer waves, and more definition. It’s the single easiest change you can make, and your hair will feel the difference from the very first wash.
Easy swaps to start:
- Look for shampoos labeled “sulfate-free”
- Try co-washing (conditioner-only washing)
- Check labels and avoid sodium lauryl sulfate
Silicones Are Sneaky—Here’s Why
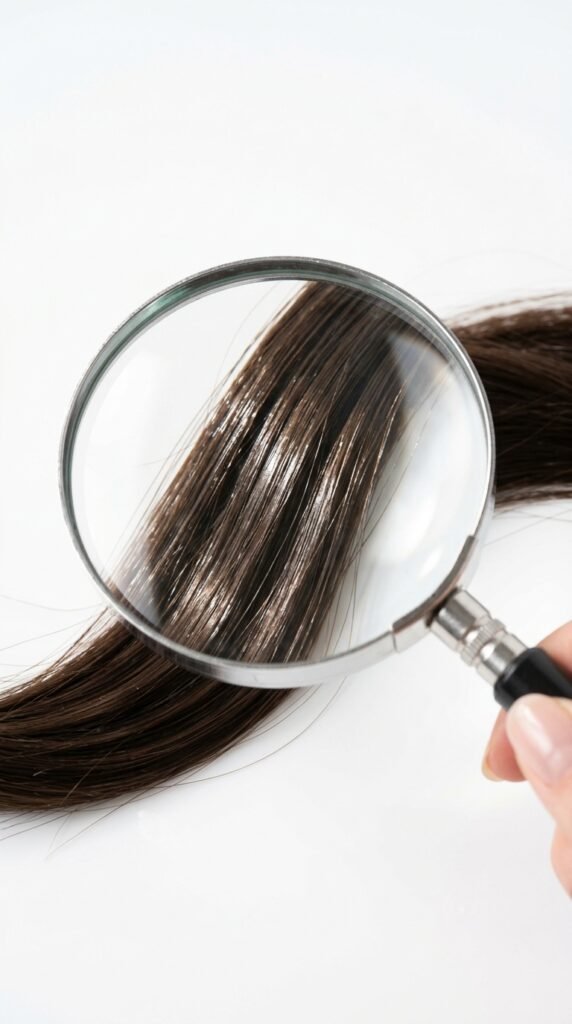
Silicones are the ingredients that make hair feel super smooth and shiny right after you use a product. They coat the hair shaft like plastic wrap. It feels nice at first, but here’s the problem.
Silicones build up over time. Since you’re not using harsh sulfates anymore, they have nowhere to go. After a few weeks, your hair feels heavy, greasy, and flat, exactly the opposite of what you want.
In the Curly Girl Method, silicones are out. Instead, you use water-soluble products that wash away easily. Your waves stay light, springy, and honestly, much happier. And when your hair is happy, you’re happy too.
The Cleansing Step That Feels Like a Ritual
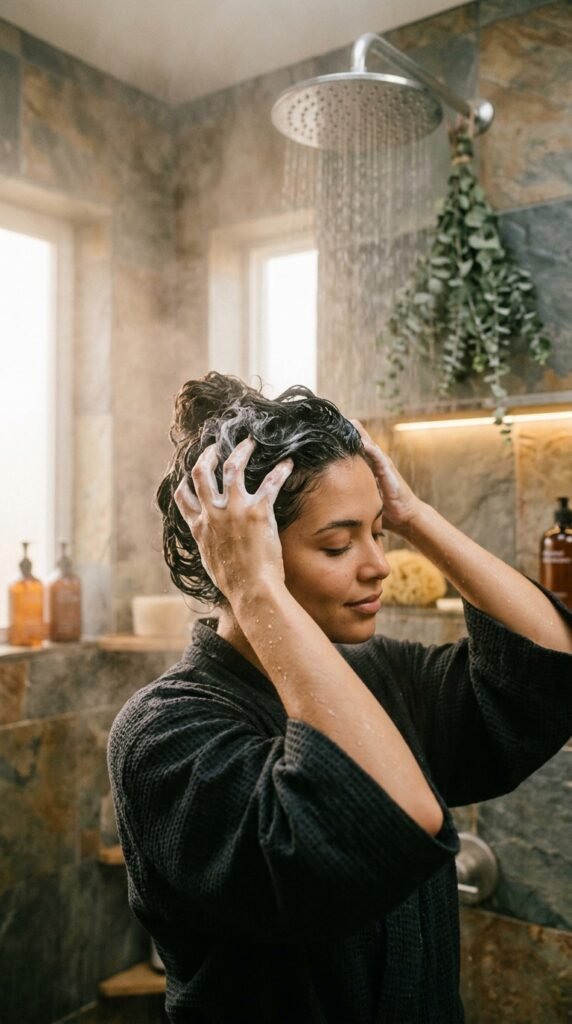
Since you’re not using regular shampoo, cleansing becomes more of a self-care moment. You massage your scalp gently with your fingertips, using a sulfate-free cleanser or just a good conditioner.
This step is called co-washing, and it’s a wavy hair savior. It cleans your scalp gently while keeping your lengths hydrated. Here’s how to do it right:
- Wet your hair thoroughly
- Massage conditioner into your scalp for a minute
- Rinse it out completely
- Follow with regular conditioner on your lengths and ends
It only takes five extra minutes, but it completely changes how your waves feel. Your hair gets the clean it needs without losing the moisture it craves.
Why You Need a Good Conditioner (And Lots of It)
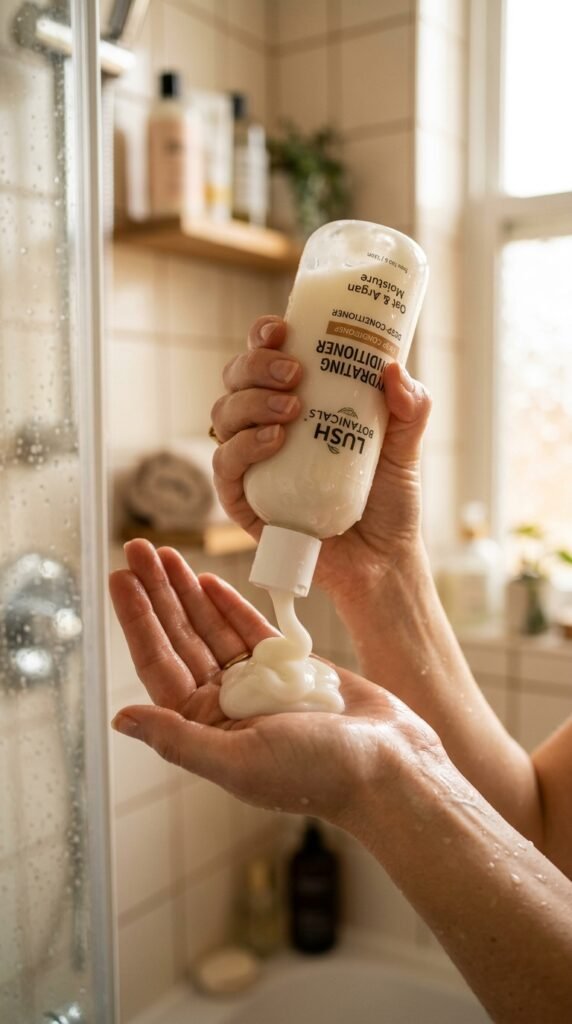
Conditioner is the star of the Curly Girl Method. For wavy hair, more conditioner equals less frizz. It’s the hydration that keeps your strands smooth and clumped together.
Don’t be shy. Use more than you think you need, especially on the mid-lengths and ends. Wavy hair is naturally drier than straight hair, so it needs that extra love.
My personal trick: after rinsing out most of the conditioner, I leave a tiny bit in. It acts like a built-in leave-in and gives my waves extra softness. It sounds a little weird, but it genuinely works. Once you try it, you’ll never go back.
Styling Products That Actually Define Waves
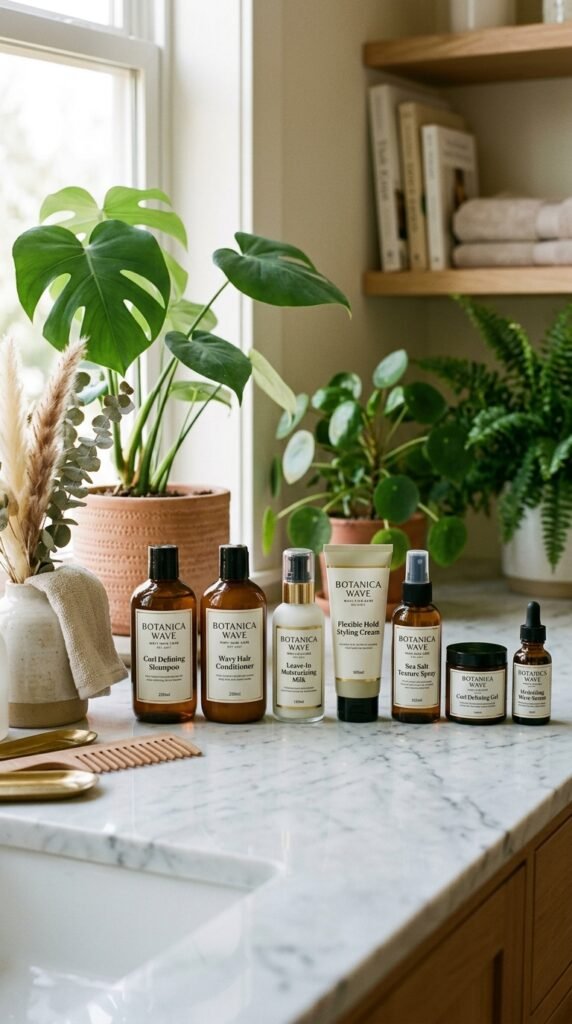
Now for the fun part: styling. The right products can take your waves from messy to polished in minutes. And you don’t need a ten-step routine either.
For wavy hair, look for:
- A lightweight leave-in conditioner
- A curl cream (use a tiny amount)
- A mousse or gel for hold
The golden trick is to apply everything on soaking wet hair, then scrunch gently upward. This encourages your natural wave pattern to form instead of fighting against it. Keep it simple, and your waves will do the rest.
Plopping: The Game-Changer You Didn’t Know About
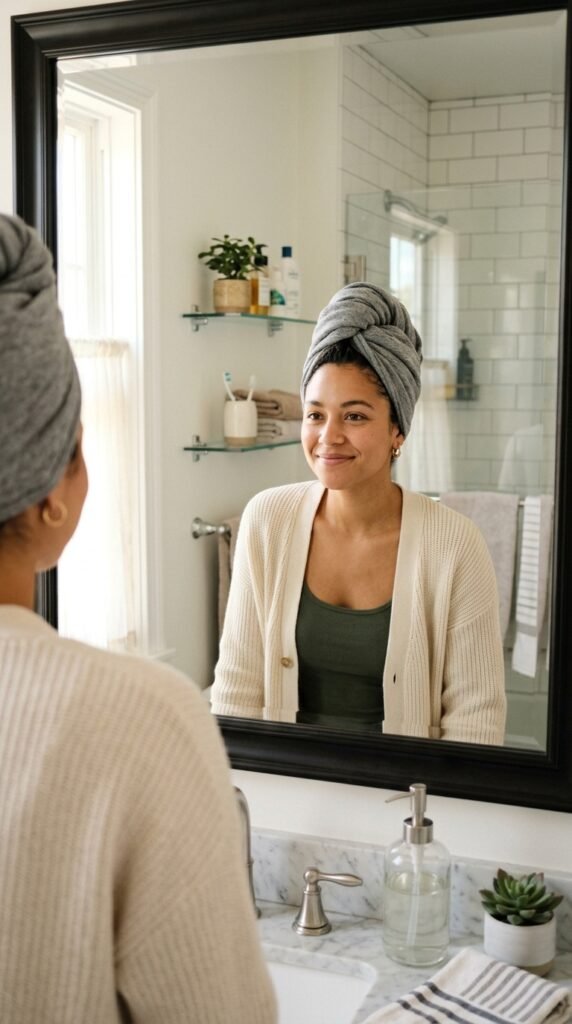
Plopping is the technique where you wrap wet, styled hair in a soft cotton t-shirt to dry. It helps set your wave pattern and cuts down drying time. It sounds a little silly, but it’s a total game-changer.
Here’s how it works:
- Lay a t-shirt flat on your bed
- Flip your head over and lower your hair onto it
- Fold the shirt up and over your head
- Clip it at the back and leave it for 10–20 minutes
When you take it down, your waves are already formed and drying beautifully. No towel rubbing, no frizz, no fight. It’s honestly the closest thing to a curly hair hack that actually lives up to the hype.
Diffusing vs. Air Drying: What’s Better for Waves?

Air drying is the easiest option, and it works well for loose waves. You just apply your products, plop, and let nature do its thing. If you have time, air drying gives gorgeous, soft results with minimal effort.
But if you want more volume and hold, diffusing is the way to go. A diffuser is the bowl-shaped attachment on your blow dryer that spreads air gently. Use it on low heat and low speed so you don’t disturb your wave pattern.
My favorite trick? Diffuse your hair until it’s 80% dry, then let it air dry the rest of the way. You get the best of both worlds, and your waves look fuller without extra heat.
The “Squish to Condish” Move Everyone Loves
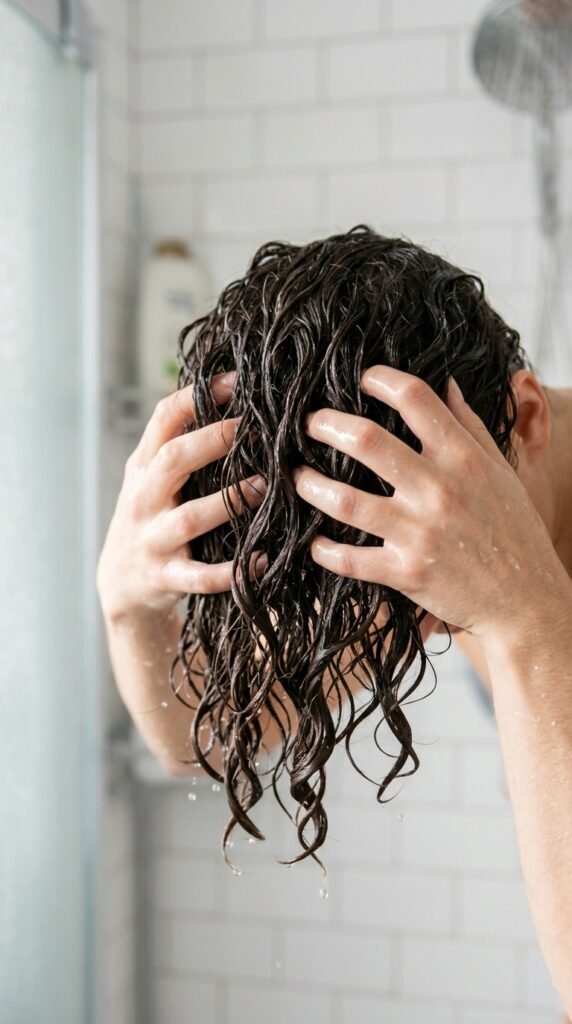
This might be the most fun step to say out loud. And it’s also one of the most effective. Squish to condish is a technique where you squish your hair upward while it’s full of conditioner, then squish in more water to reactivate the product.
The motion is exactly what it sounds like. You cup sections of hair in your palm and gently squeeze them upward, like you’re scrunching grapes. It’s simple and kind of satisfying.
This helps your hair form clumps, which means defined, smooth waves and way less frizz. It takes about two minutes, and you notice the difference immediately. Try it once, and you’ll see what all the fuss is about.
How to Refresh Waves on Day Two (and Three!)
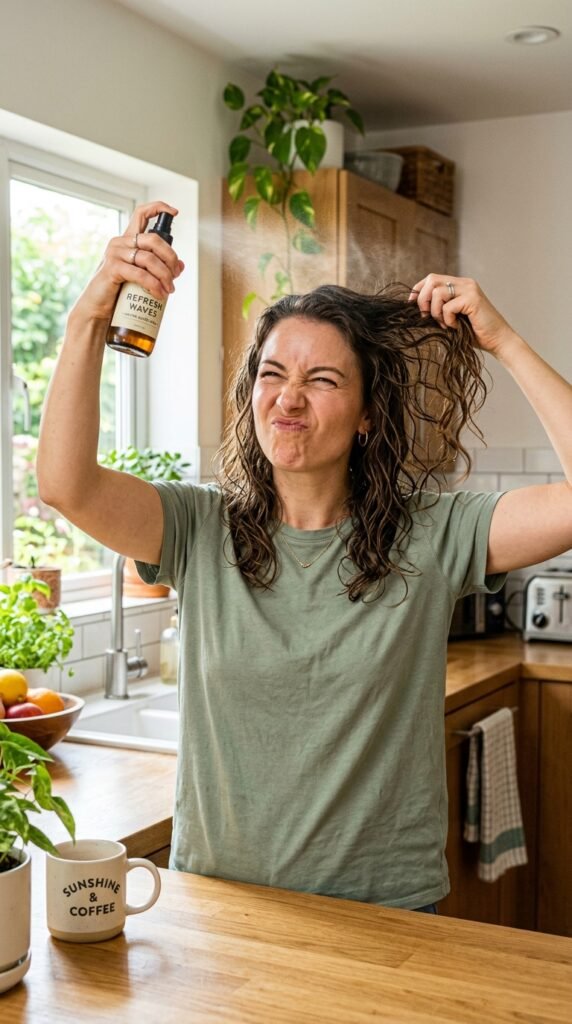
The hard truth about wavy hair is that it rarely looks as good on day two as it did on day one. But there’s a simple fix, and it doesn’t require a full wash day.
You just need a refresh spray. Fill a spray bottle with water and a tiny bit of your favorite leave-in conditioner. Shake it up, spritz your dry waves lightly until they’re damp, then scrunch them back to life. It takes two minutes.
If you’re in a real rush, just run your hands under water and scrunch your hair. The water reactivates the products already in your hair, and your waves bounce right back. No heat, no fuss, no problem.
What About Brushing? (Hint: Stop It)
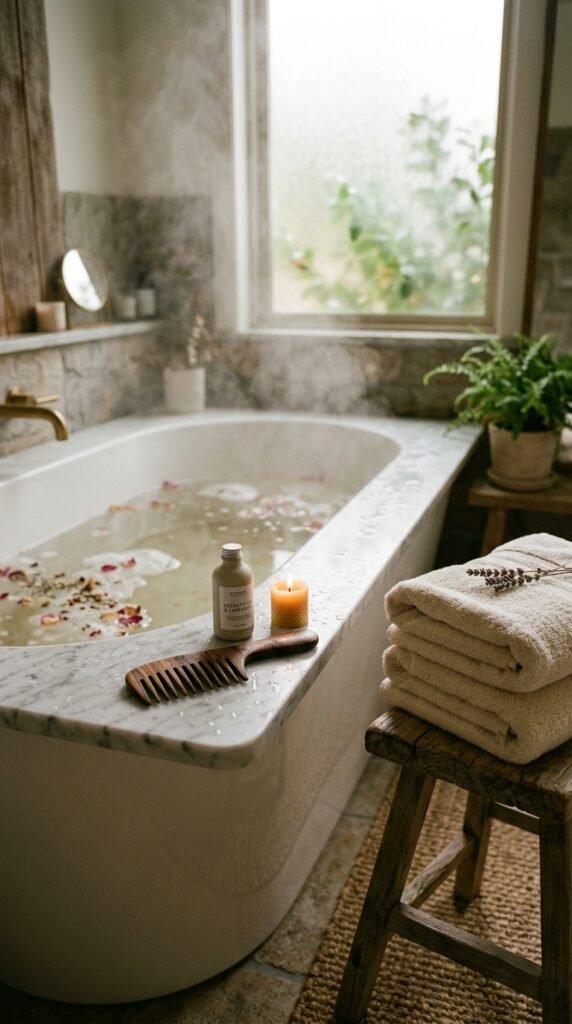
This one hurts to hear, but it’s true: brushing wavy hair when it’s dry is the fastest way to ruin it. It breaks up the wave clumps and makes everything poofy and undefined.
Instead, brush your hair only when it’s wet and full of conditioner. Use a wide-tooth comb or just your fingers. While it’s soaking wet is the best time to detangle because everything slips through easily.
If you absolutely must touch your hair on dry days, use your fingers to gently separate waves. But a brush? Let it stay on the shelf. This is one of the hardest rules to follow, but it makes the biggest difference.
Protecting Waves While You Sleep

You spend so much time perfecting your waves during the day. Don’t let a pillow undo all that work at night.
The best trick is called the pineapple. Flip your head over, gather your hair loosely on top of your head, and secure it with a silk scrunchie. The name comes from how your hair looks, like a little pineapple. It keeps your waves tangle-free while you sleep.
Even better: sleep on a satin or silk pillowcase. It creates way less friction than cotton, so you wake up with fewer tangles and way less frizz. The combo of a pineapple and a silk pillowcase? Total game-changer for wavy hair.
The Deep Conditioner Date Night
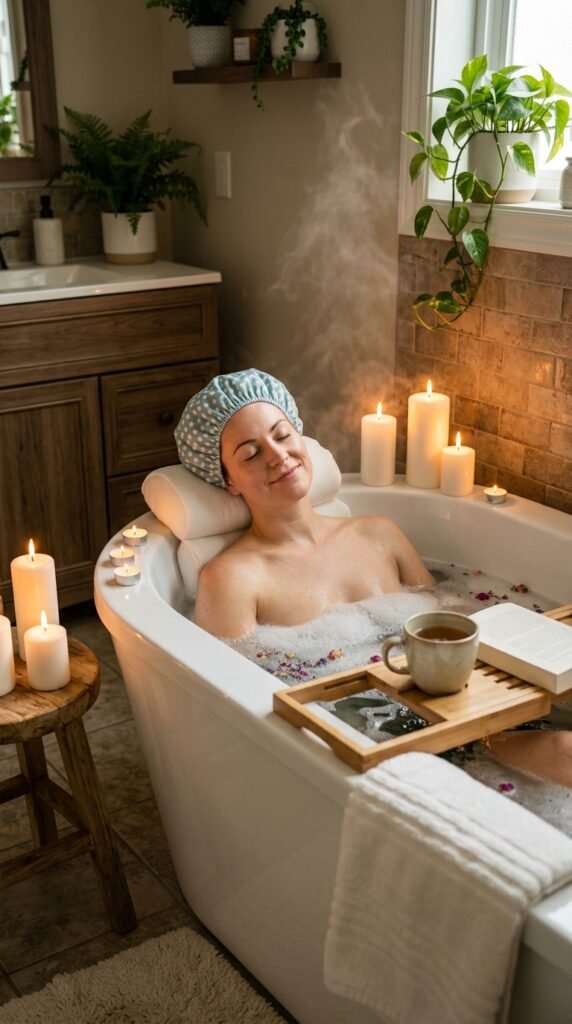
Once a week, your waves deserve a little extra love. That means deep conditioning. Think of it as a spa date for your hair, a chance to reset and soak up some serious moisture.
Apply a deep conditioner or hair mask on damp hair, then let it sit for 15 to 20 minutes. If you want to go the extra mile, pop on a shower cap and let your body heat help it absorb.
The result? Softer, smoother, happier waves that actually hold their shape. This weekly ritual is what keeps your hair healthy in the long run, so don’t skip it. Your future self will absolutely thank you.
Protein vs. Moisture: A Quick Balance Lesson
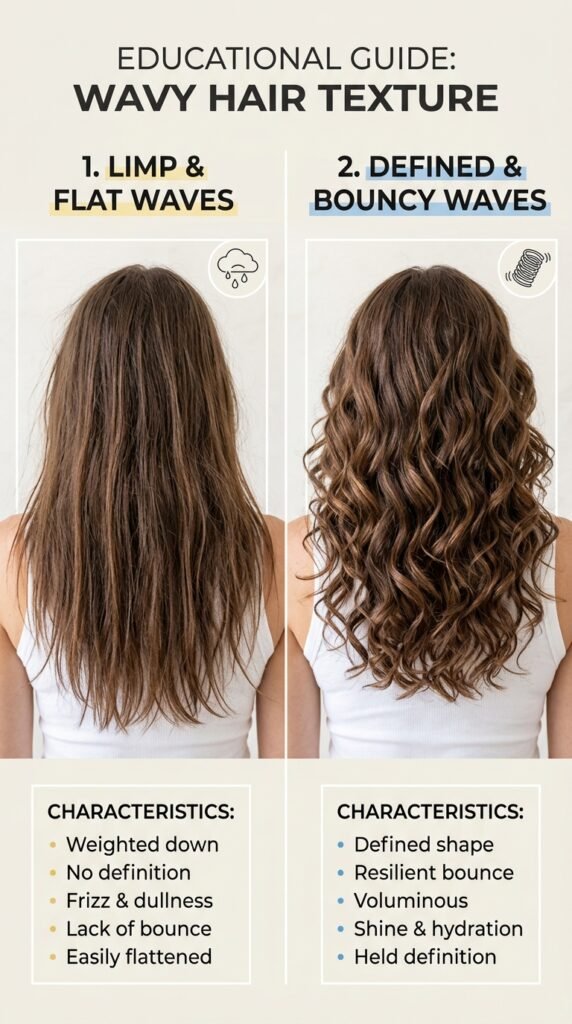
Sometimes wavy hair goes limp and stretchy, or it gets dry and brittle. That’s usually a protein-moisture balance issue. It sounds complicated, but it’s actually pretty simple to figure out.
Both are important:
- Protein gives structure and strength
- Moisture gives softness and bounce
How to read your hair:
- Limp and stretchy: needs protein
- Crunchy and dry: needs moisture
- Normal and shiny: you’re doing it right
A light protein treatment once a month usually keeps things balanced for wavy heads. Listen to your hair, and you’ll nail the balance in no time.
When the Method Feels Hard—Don’t Quit

Okay, real talk. The Curly Girl Method has a learning curve. There will be wash days where your hair looks like a frizzy mess and you want to throw all your new products in the trash. We’ve all been there.
Please don’t give up. Transition periods are completely normal. Your hair has spent years being stripped and dried out, and it needs time to heal and relearn how to hold moisture.
Give it three to four weeks. Keep your routine simple, and take notes on what works and what doesn’t. You’re not failing, you’re learning your hair. That’s the whole point, and once you figure it out, it’s so worth it.
The Best Cuts for Wavy Hair Right Now
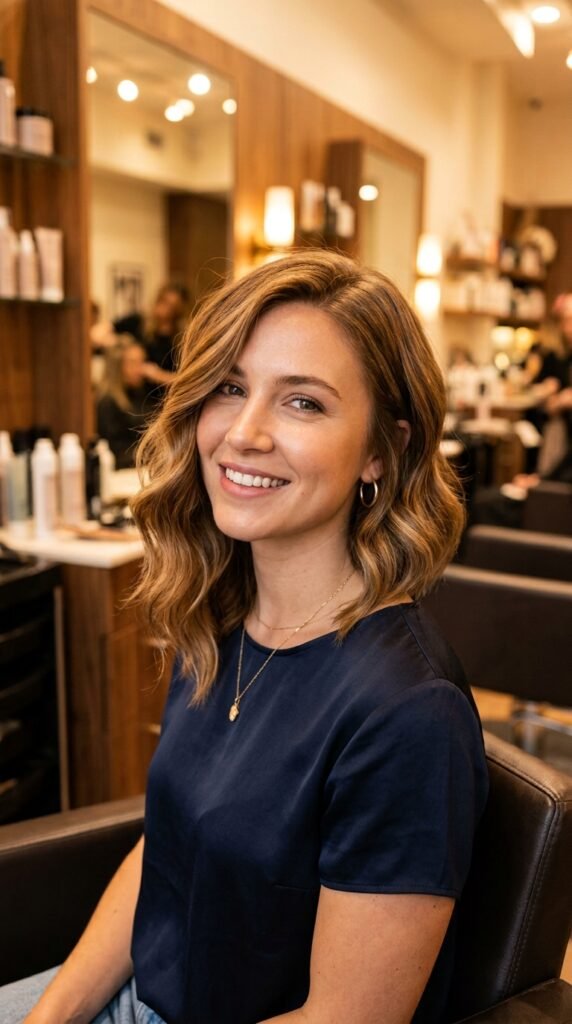
The right haircut makes everything easier. For wavy hair, layers work beautifully because they let your waves bounce freely. The asymmetrical lob is a big one right now, and it looks amazing on wavy textures. It gives you movement without the extra weight pulling waves down.
Also popular this year:
- Old money hair: soft, bouncy layers that look effortless and rich
- Quiet luxury bob: smooth, subtle, and polished, great for finer waves
- Hime cut: straight-across face-framing pieces if you want a bit of edge
Whatever you choose, ask for layers. Waves need them to shine, and a good stylist will know exactly how to cut for your texture.
2026 Hairstyles That Work With Wavy Texture

Looking ahead to 2026 hairstyles, wavy hair is honestly in the perfect position. It’s the ideal texture for the trends that are coming. You don’t need to fight your natural waves, they’re already right on style.
A few trends to love:
- Romantic goth hairstyles: dark, moody waves with velvet or lace vibes
- Glitchy glam hair: sleek pieces mixed with textured waves for a cool contrast
- Vampire haircut: long, layered, and dramatic, made for wavy heads
The best part? These trends celebrate texture instead of hiding it. Your natural waves are exactly what’s in style right now, and that’s a really freeing feeling. Lean into it, and your hair will love you for it.
How to Start the Curly Girl Method This Week
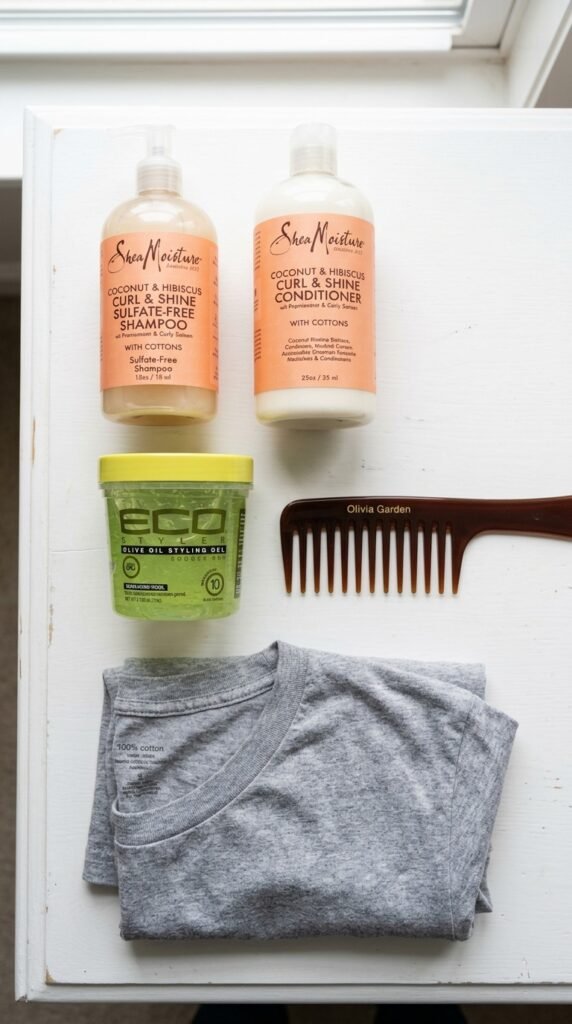
Ready to give it a try? Here’s your simple, no-overwhelm starting plan.
- Grab a sulfate-free shampoo and a silicone-free conditioner. Nothing fancy needed.
- Skip your brush and use a wide-tooth comb on wet hair only.
- Apply a basic gel or mousse on soaking wet hair and scrunch gently.
- Plop for 15 minutes, then air dry or diffuse.
That’s it. That’s the whole beginner routine. Keep it simple, stay patient, and watch your waves do their thing. Everyone with wavy hair started exactly where you are right now, so just take the first step. You’ve got this.
Okay, That’s a Wrap for Today
I hope this post made the Curly Girl Method feel a little less intimidating. You don’t have to be perfect at it to see results. Just start, be patient, and let your waves lead the way. Everyone with wavy hair should try this method at least once, because you might be shocked by what your hair can do when you treat it gently.
Now I want to hear from you. Have you tried the Curly Girl Method, or are you thinking about giving it a shot? What’s the one thing you struggle with most when it comes to your waves? Drop a comment below and let’s chat.
Save this post to Pinterest so you can come back to it on your next wash day. Trust me, future you will be glad you did.