Wig Styling Guide for Natural Seamless Movement Daily
Let’s be real. We’ve all seen those wigs that look… well, like wigs. They’re stiff, they have that tell-tale shine, and they sit on your head like a helmet. It can make you want to give up and just throw your hair in a bun again.
But what if I told you that getting a wig to move and feel like your real hair is actually way easier than it looks? It’s all about the styling secrets the pros use.
This guide is your no-nonsense playbook. We’re skipping the complicated stuff and going straight to the techniques that give you that natural, seamless movement every single day. Get ready to fall in love with your wigs all over again.
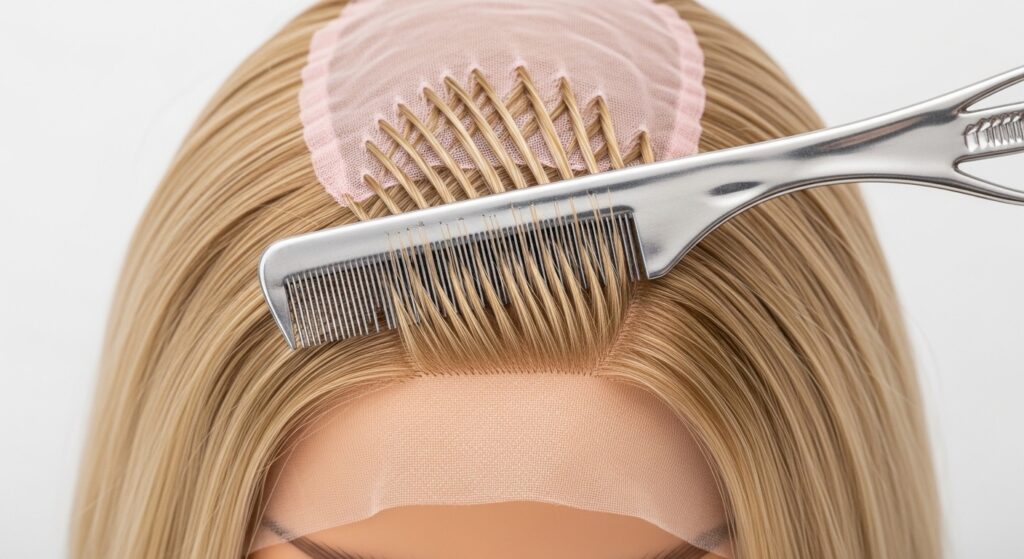
1. Start With the Right Wig Cap
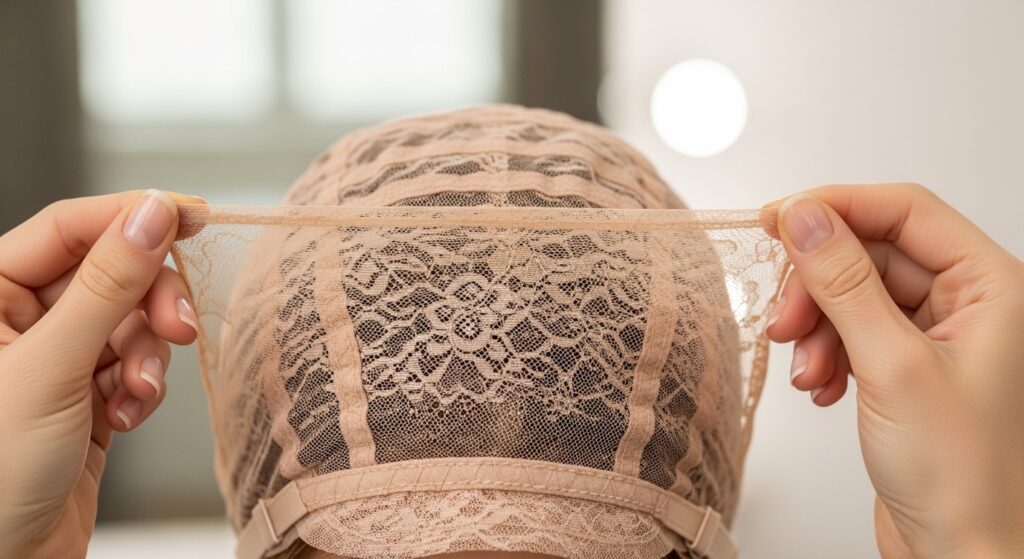
Think of the wig cap as the foundation for a house. If it’s wrong, everything you build on top will be off. A good cap allows for natural scalp movement and prevents that bulky, “head-full-of-hair” look.
For the most realistic feel, I swear by lace fronts and monofilament tops. The lace melts into your skin, and the monofilament part lets you part your hair anywhere. It mimics how your scalp would peek through naturally.
- Lace Front: Creates an invisible hairline.
- Monofilament Top: Allows for multi-directional parting.
- Full Lace: Offers the most styling versatility.
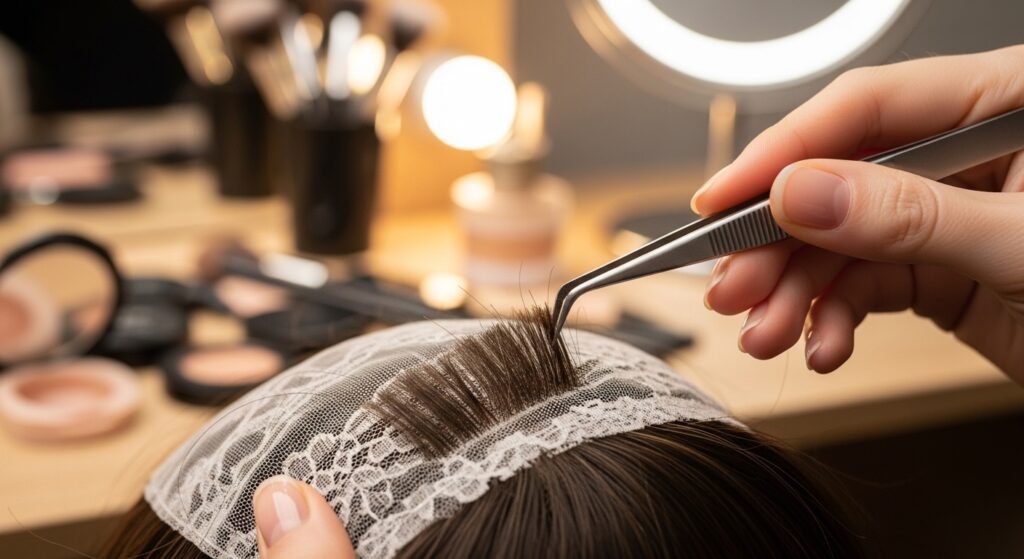
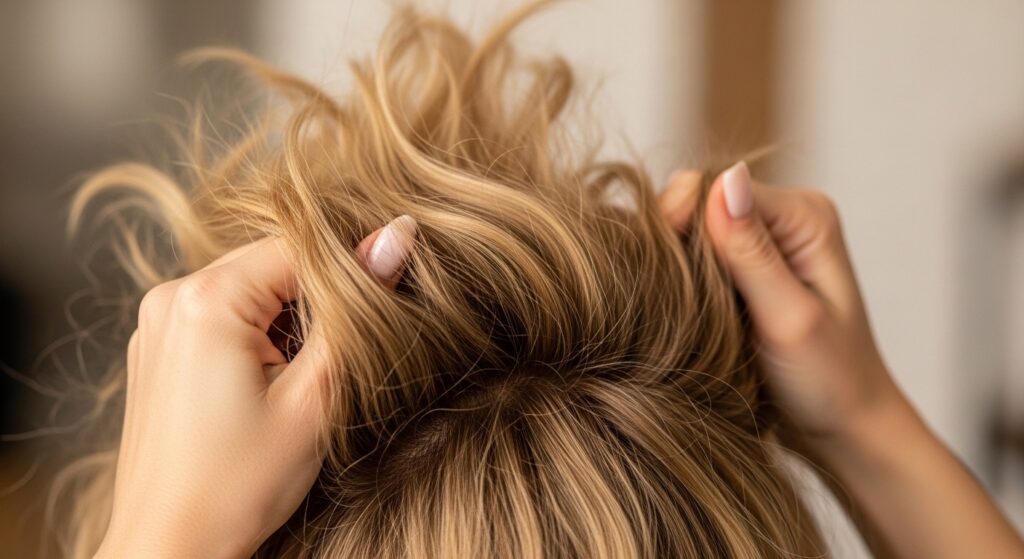
2. The Non-Negotiable: Plucking & Tweezing
This is the #1 trick for killing that “doll hair” look. Factory-made wigs often have hairlines that are too dense and perfect. Real hairlines are irregular, with baby hairs and slight gaps.
Take your time. Use tweezers to gently pluck a few hairs from the hairline and part line. Go little by little, step back, and check. You’re creating a softer, more graduated growth pattern. It makes a world of difference.
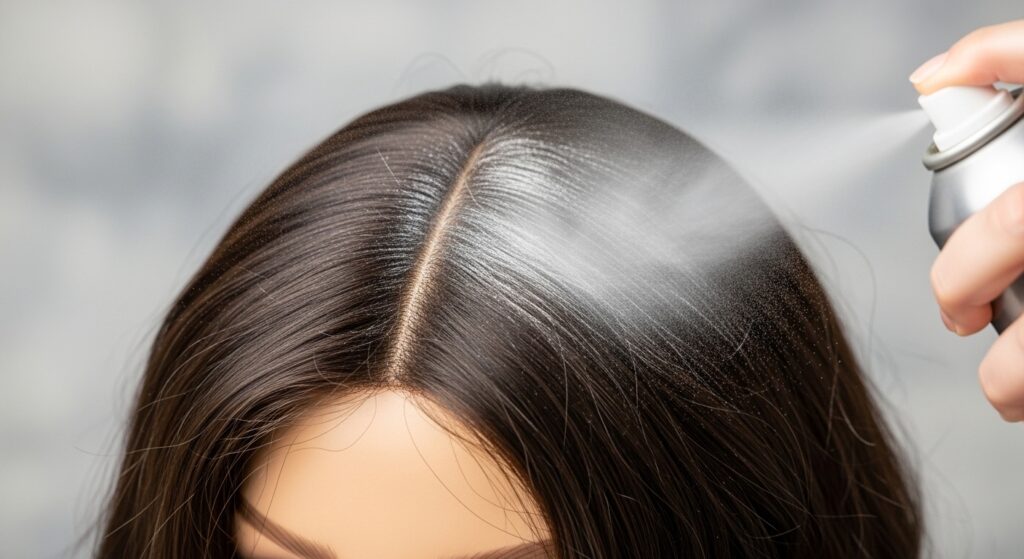
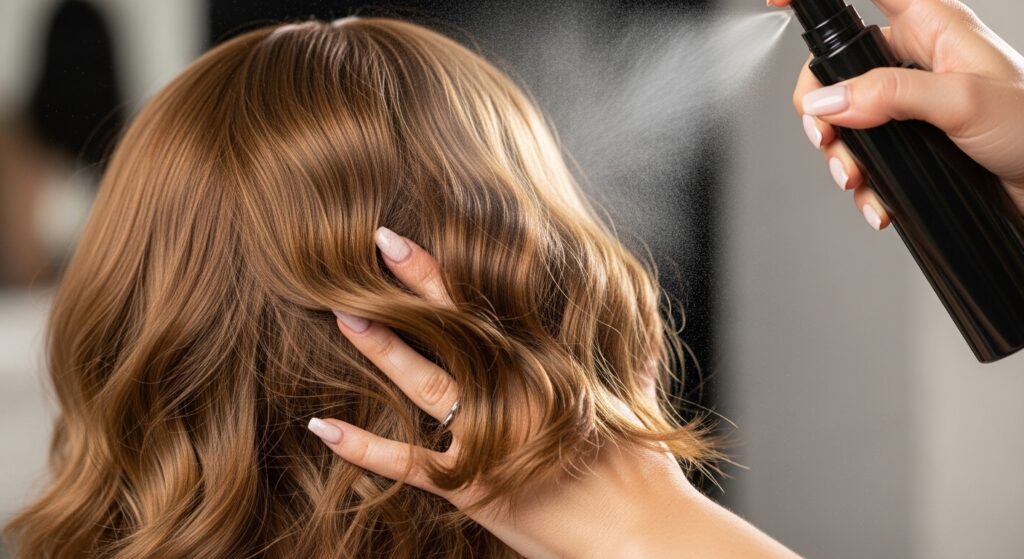
3. Taming Synthetic Shine for Realism
That synthetic shine is a dead giveaway. But don’t worry, you don’t need special products. A simple dry shampoo or even a bit of translucent powder is your best friend.
Lightly dust it along the part and hairline, then gently rub it in with your fingers. For all-over dulling, a mix of water and a tiny drop of fabric softener in a spray bottle works wonders. Just test a small section first!
- Dry Shampoo: Absorbs oil and adds texture.
- Translucent Powder: Cuts shine at the roots.
- Fabric Softener Spray: A light mist softens fibers.
4. Mastering the “Moving” Part
A stiff, straight part is a sure sign of a wig. To make it look real, you need to create a “broken” part. After plucking, use the end of a rattail comb or a pin to gently separate the fibers in a zigzag or slightly uneven pattern.
Then, take a small, soft-bristle brush (like a toothbrush) and brush the tiniest baby hairs away from the part. This mimics how natural hair grows and falls, creating softness instead of a harsh line.
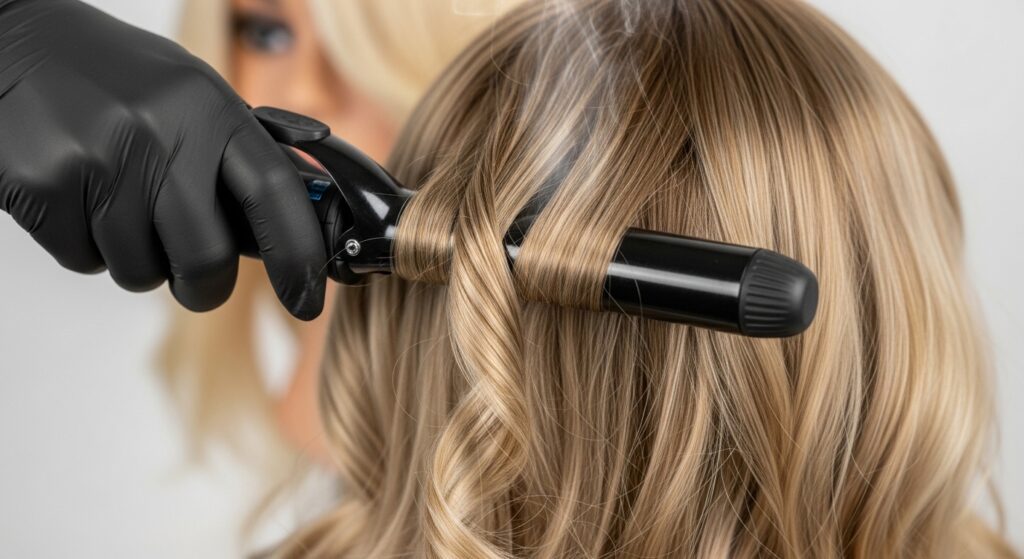
5. Heat Styling for Custom Movement
Most synthetic fibers can handle low heat now (check the label!). Using a low-temperature curling wand or flat iron is key to adding personalized movement. Don’t curl all the hair the same way.
Alternate the direction of your curls—some forward, some back. Leave pieces out. This creates the natural, effortless texture you see in 2026 hairstyles previews, which are all about lived-in, personalized movement.
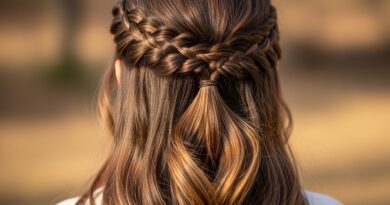
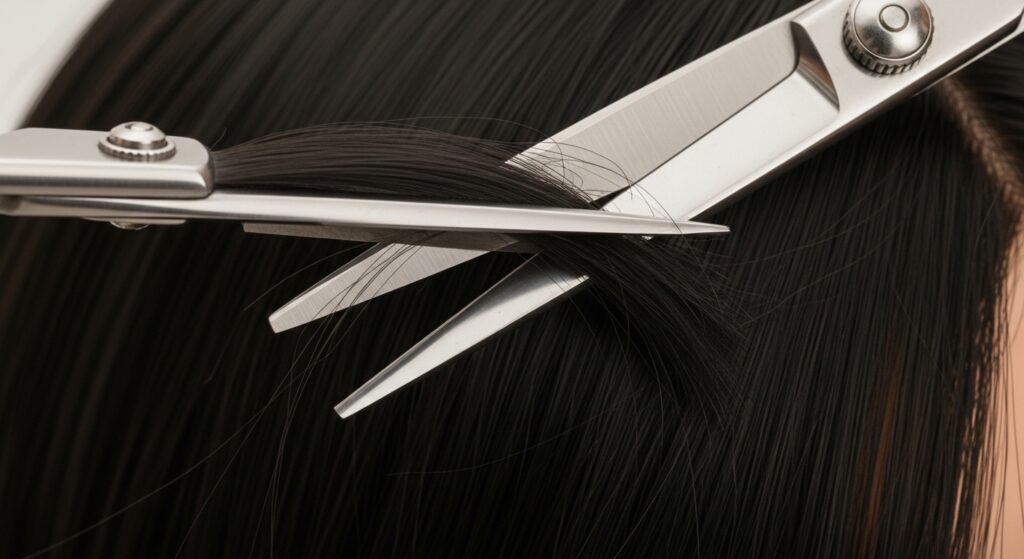
6. Creating Soft, Face-Framing Layers
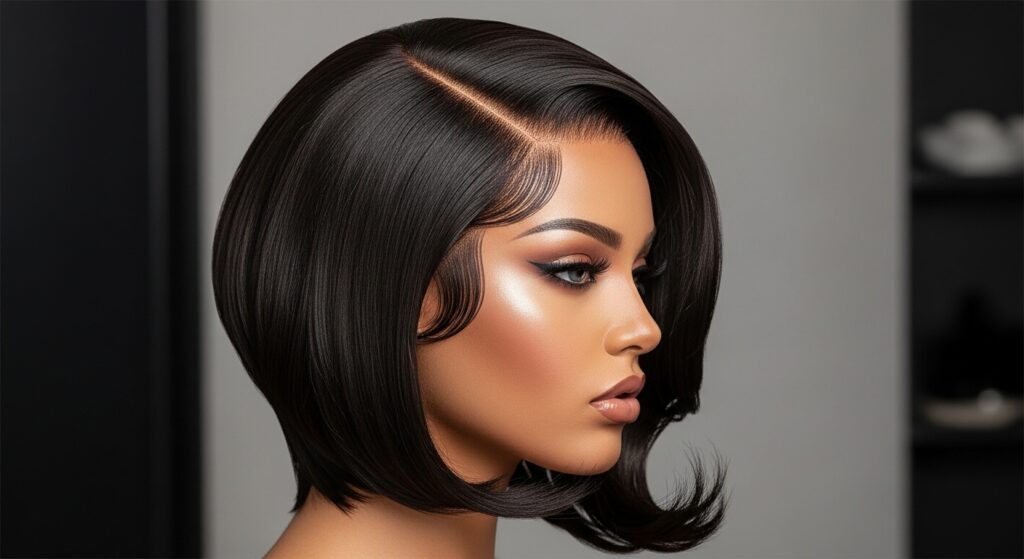
Even if your wig is one length, you can create the illusion of layers for movement. Take small, face-framing sections and point-cut into the ends with hair shears. This means cutting vertically into the hair, not straight across.
This technique removes weight and allows those pieces to move independently. It’s perfect for crafting a soft asymmetrical lob or adding movement to a blunt cut without losing length.
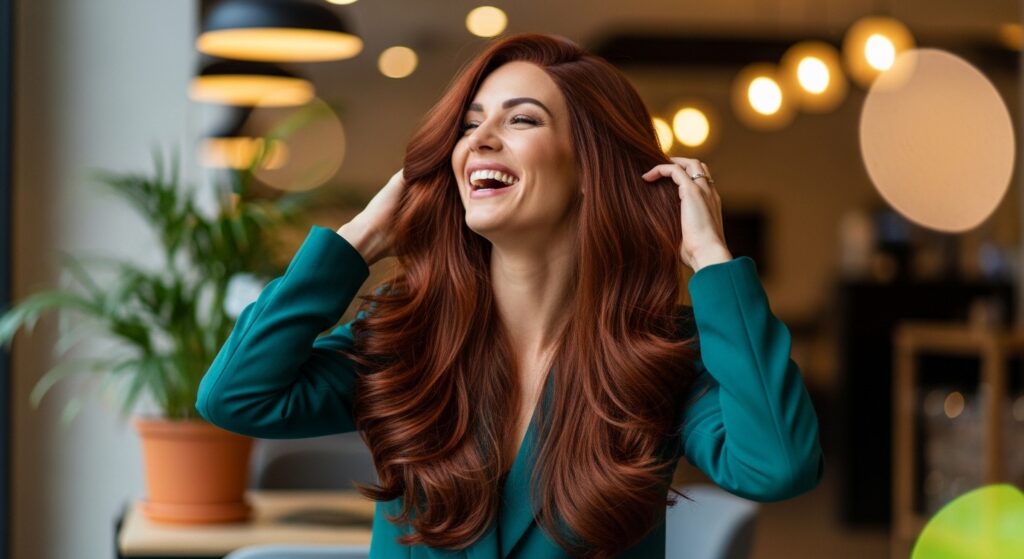
7. The Texture Spray Secret
Texture is the enemy of stiffness. A good sea salt spray or texturizing spray for synthetic hair is a game-changer. It adds grit, body, and that piecey-ness that makes hair look touchable.
Spray it on mid-lengths to ends while scrunching the hair with your hands. Avoid the roots to prevent buildup. This is how you get that “I just woke up like this” vibe, even with a structured quiet luxury bob.
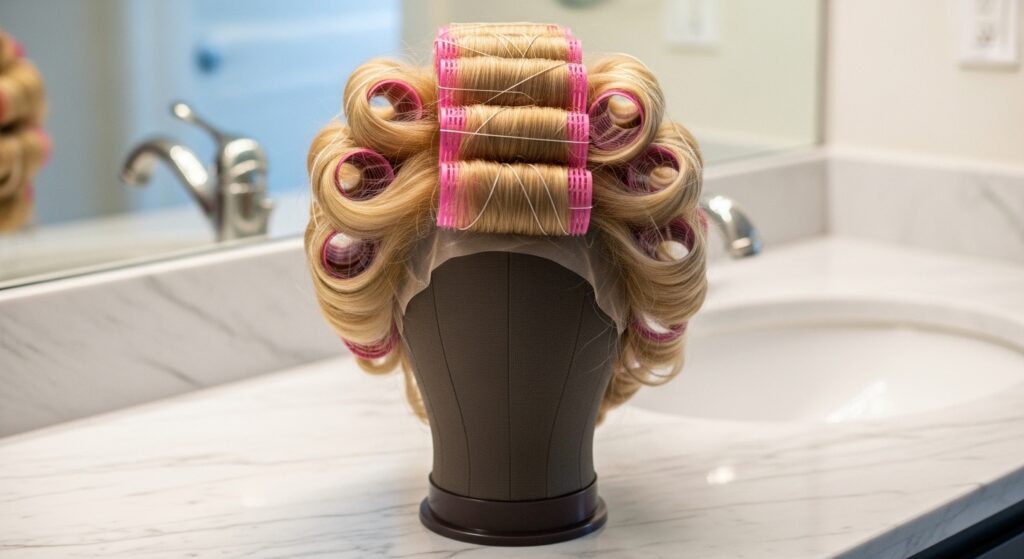
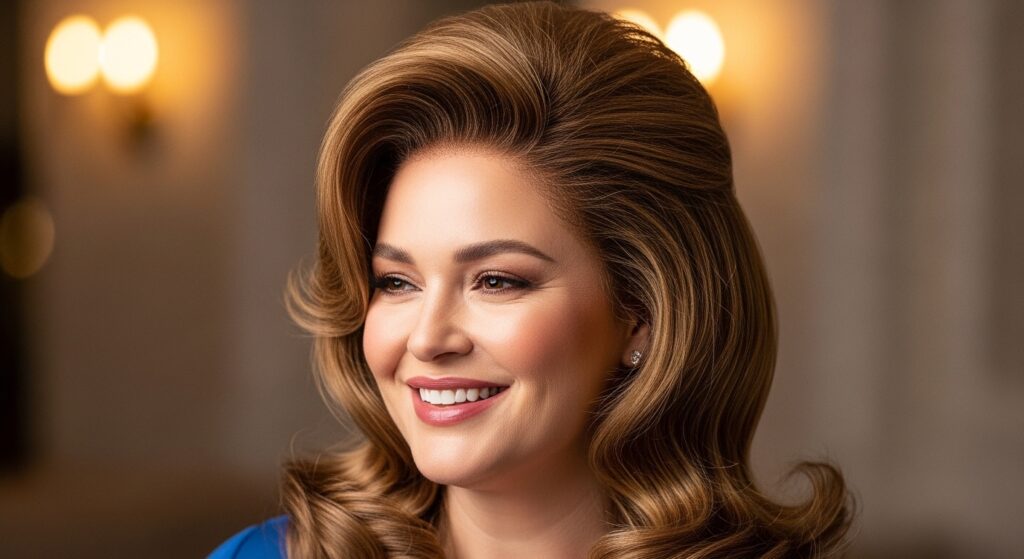
8. Styling an Effortless “Old Money” Wave
The old money hair aesthetic is polished but never stiff. It’s about healthy, touchable waves. To achieve this with a wig, use large Velcro rollers on slightly damp, styled hair. Let it set completely.
When you take them out, don’t brush the curls. Instead, gently run your fingers through them and flip your head over to shake the roots loose. Finish with a light-hold hairspray for touchable hold.
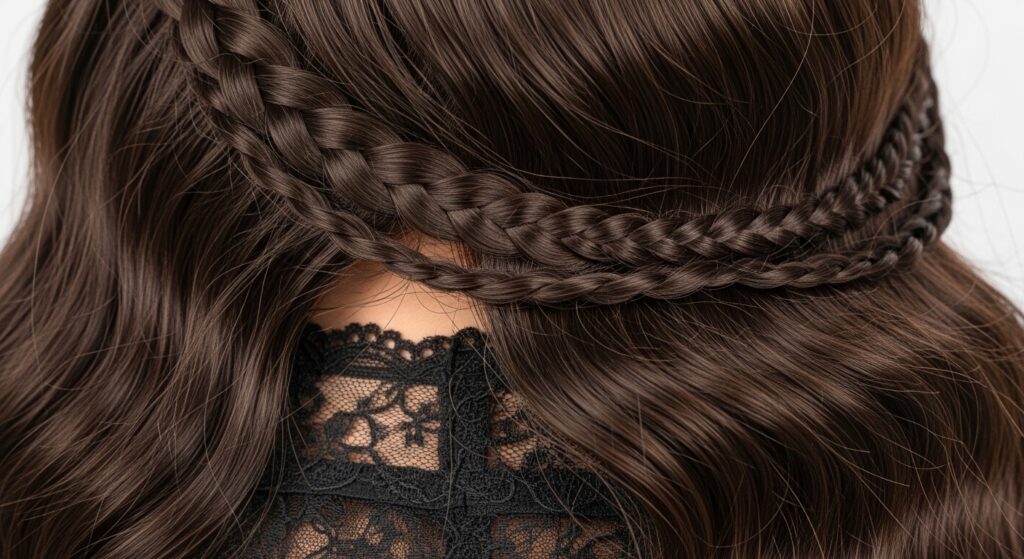
9. Achieving the “Romantic Goth” Texture
Romantic goth hairstyles are deeply textured, with a mix of soft waves, braids, and tendrils. Start by braiding small sections of your wig while damp. Let them dry or use a blow dryer on low heat.
Undo the braids and gently separate the waves with your fingers. Pull out a few delicate pieces around the face and neck. The key is intentional messiness—it should look artful, not chaotic.
- Small Braids: Create tight, romantic waves.
- Finger-Combing: Preserves texture better than a brush.
- Face-Framing Pieces: Add a soft, ethereal touch.
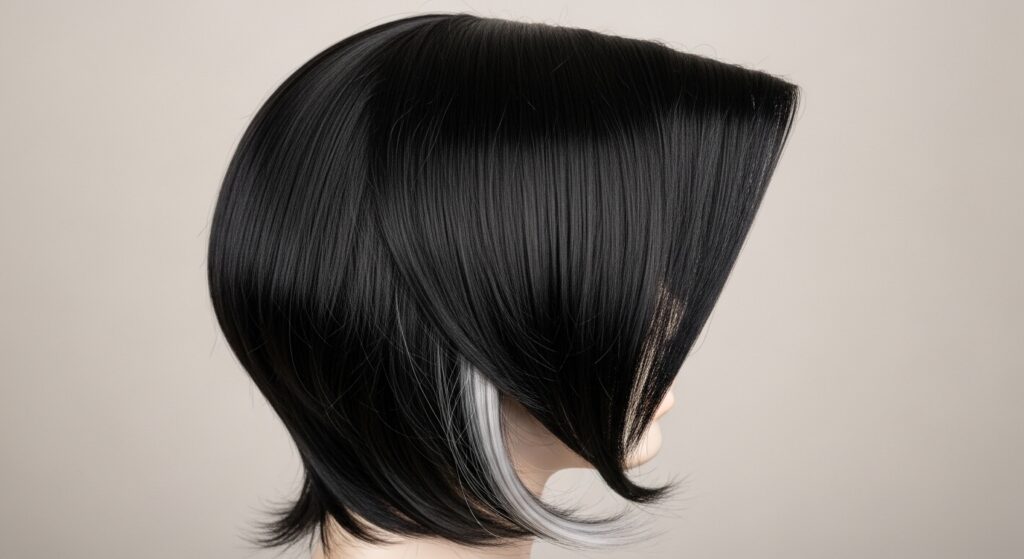
10. Playing with “Glitchy Glam” Pieces
Glitchy glam hair is all about unexpected, textured pieces. Use a flat iron to create sharp, angular bends in select sections, not smooth curls. Crimp a single, thin layer underneath for hidden texture.
Add in a few clip-in pieces in a contrasting but complementary color—think a streak of silver or platinum. The goal is deliberate, piece-y disruption that looks both edgy and expensive.
11. Styling a Chic Asymmetrical Lob
The asymmetrical lob is a classic for a reason. On a wig, ensure the shorter side is cut to graze the jawline. Style with a flat iron, turning the ends under on the longer side and flipping them out slightly on the shorter side.
This creates dynamic movement that draws the eye. Use a light pomade on just the ends to define the separation and keep each section moving independently.
12. Crafting the Modern “Vampire” Cut
The vampire haircut is a sharp, dramatic mullet. To style it on a wig, focus on extreme texture contrasts. Flat-iron the front sections pin-straight, then use a curling wand to create chaotic, messy curls in the back.
Backcomb the crown slightly for volume and keep the sides sleek. Finish with a strong-hold, matte product to keep the dramatic shapes in place without shine.
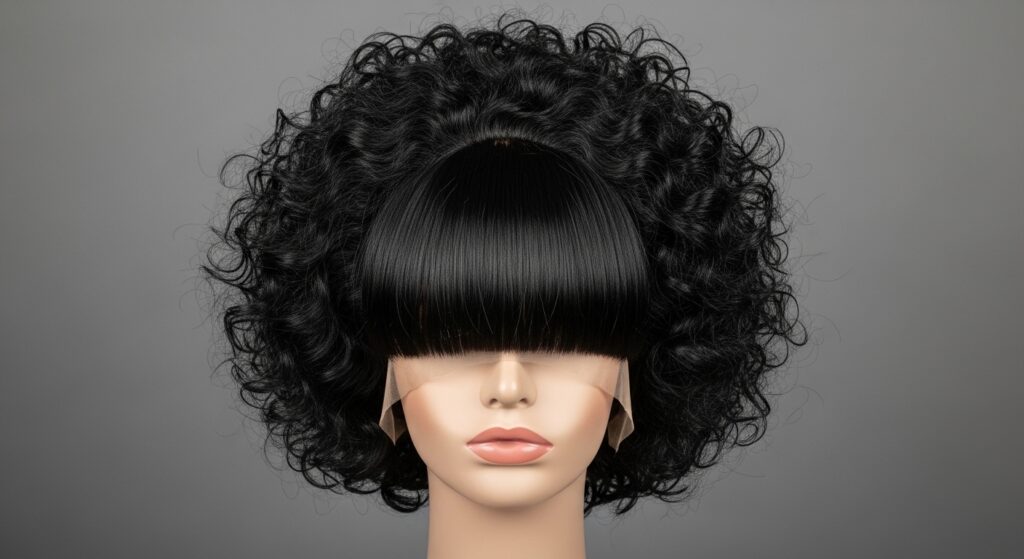
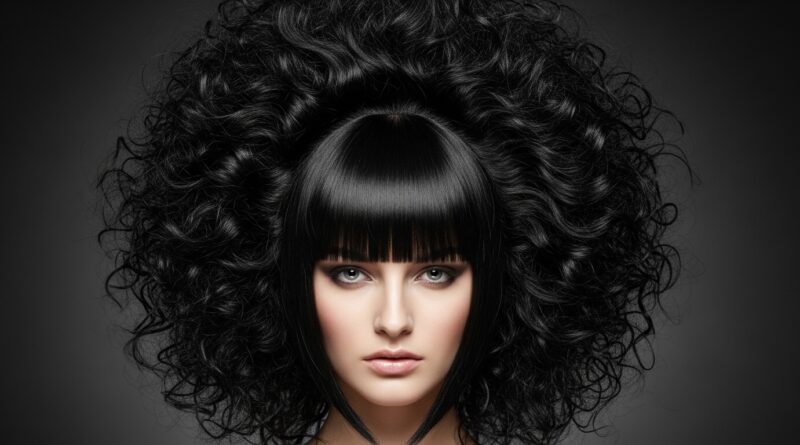
13. Trying the Structured Hime Cut
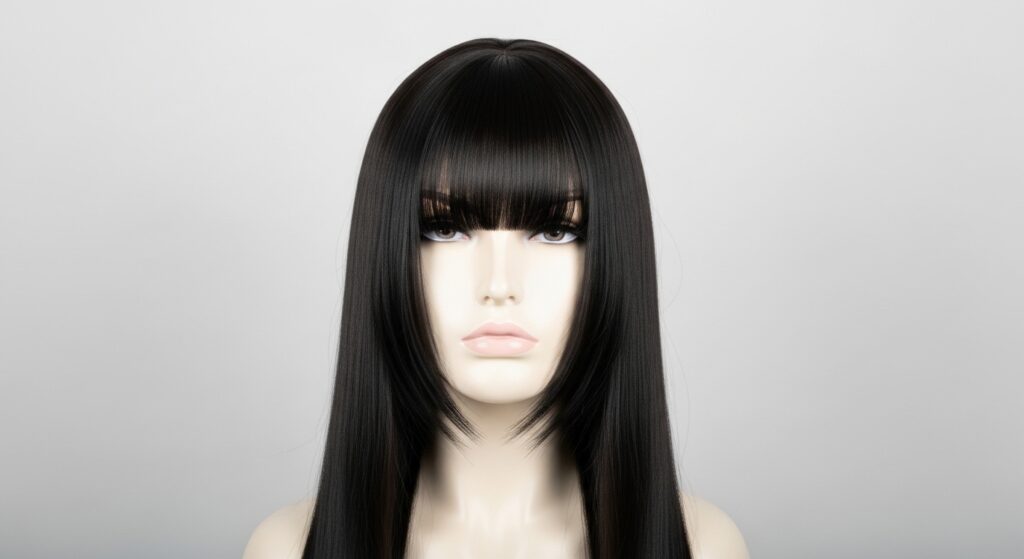
The hime cut is beautifully structured. The blunt, straight-across fringe and sharp, straight lengths require a wig with excellent density. Use a flat iron on high heat (for heat-friendly fiber) to get it razor-straight.
The secret is in the finish. Use a shine serum sparingly on the mids and ends to emphasize the severe, sleek lines. Keep the fringe perfectly straight and above the eyebrows for maximum impact.
14. Daily Brushing: Do It Right
Brushing a wig wrong can ruin the style and create frizz. Always start from the ends and work your way up gently, holding the hair above the section you’re brushing to prevent tension on the cap.
Use a wide-tooth comb or a brush designed for wigs. Never aggressively tug through knots. A detangling spray is your best friend for daily maintenance and keeping movement fluid.

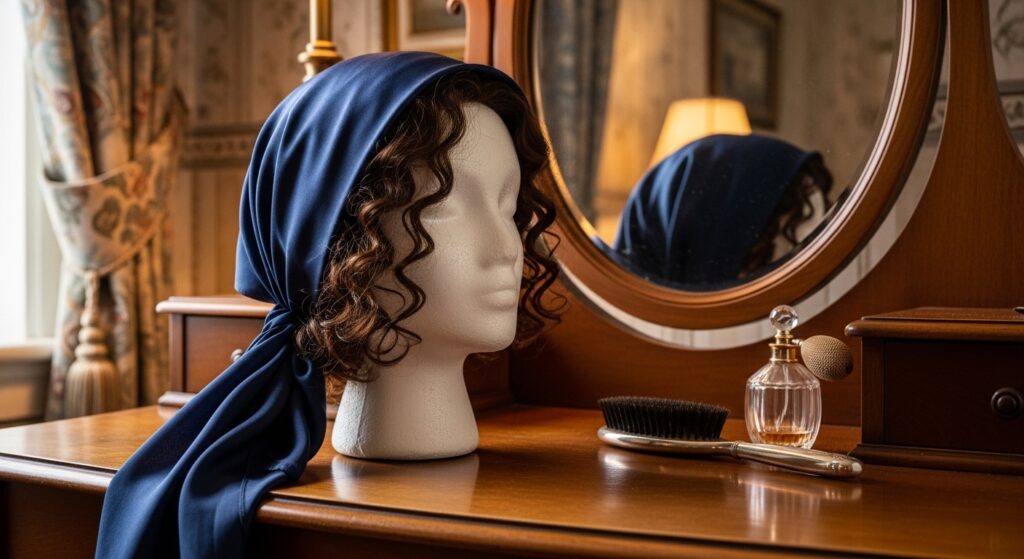
15. Nighttime Care to Preserve Style
Don’t just throw your wig on the dresser! To preserve the style and movement, place it on a wig stand. Gently brush it out and cover it with a silk or satin scarf.
This prevents friction, tangling, and frizz. If you have curls, you can loosely pineappling the hair on top of the stand with a soft scrunchie. You’ll wake up to a style that’s ready to go.
- Wig Stand: Maintains cap shape and volume.
- Silk Scarf: Reduces friction and static.
- Loose Pineapple: Preserves curl pattern.
16. Reviving Second-Day Wig Hair
Your wig doesn’t need a full restyle every day. To revive second-day hair, flip it over and gently shake the roots. Use a boar bristle brush to redistribute natural oils (from product) and smooth the surface.
Hit the roots with a little dry shampoo for volume and re-twist a few key curls around your finger. This quick refresh makes the style look even more natural and lived-in.
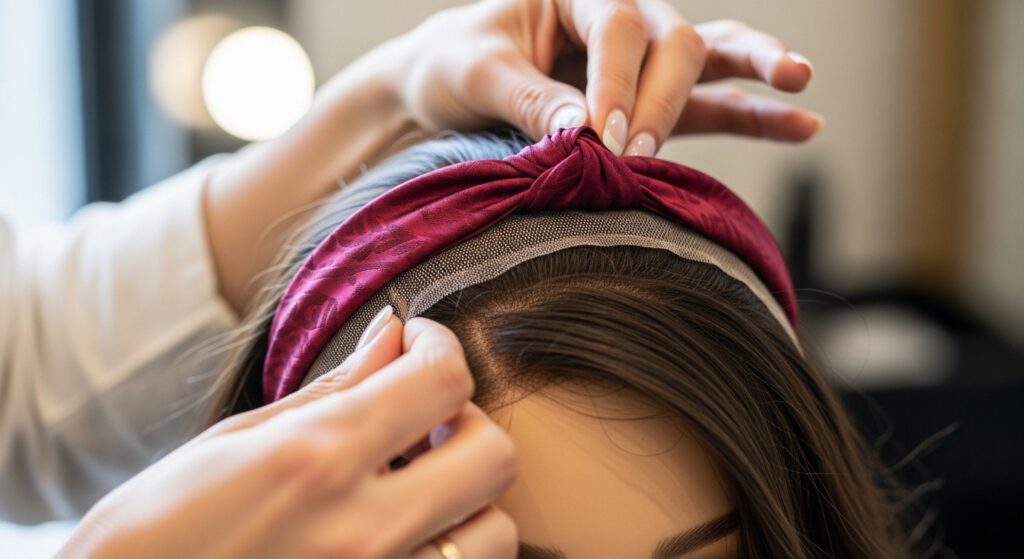
17. Using Accessories for Natural Anchoring
Headbands, scarves, and clips aren’t just cute—they help anchor your wig and make it look more natural. A thin headband placed just behind the hairline can help blend the lace and add a stylish touch.
When using clips, gently tease the hair at the root underneath before clipping to create friction and hold. This stops the accessory from sliding and adds to the realistic feel.
18. Adjusting for Your Face Shape
Movement should flatter you. If you have a round face, create volume at the crown and movement that falls downward. For square faces, soft, side-swept layers add balance.
Heart-shaped faces look amazing with volume around the jawline. The goal is to use the wig’s movement to frame your face beautifully, just like you would with your bio hair.
19. Confidence is the Best Styling Tool
This is the real secret. The most seamless wig is the one you wear with confidence. Practice your styling, get comfortable with it, and own it. A little self-assurance makes any style look more natural.
Walk with your head high, toss your hair, and forget it’s there. When you feel good, you stop worrying about the “wigness,” and so does everyone else. You’ve got this.
20. Your Quick-Start Routine Recap
Feeling overwhelmed? Just follow this simple 5-step routine every time you wear your wig. It guarantees natural movement without the fuss.
- Prep: Pluck the hairline and dull the shine.
- Style: Use heat tools on low settings for custom waves.
- Texture: Spray with texturizer and scrunch.
- Set: Let it cool and shake out the roots.
- Finish: Use a light hold spray and go!
And there you have it—your blueprint for wigs that move, feel, and look like they grew right from you. It’s not about magic; it’s about understanding a few simple techniques that make all the difference.
Remember, the goal isn’t perfection. It’s that effortless, “I-just-have-great-hair” vibe. Whether you’re channeling quiet luxury or full romantic goth, it all starts with a foundation of natural movement.
Now I’d love to hear from you! Which of these styles are you excited to try first? Did I miss any of your favorite movement tricks? Spill your secrets in the comments below!
Save this post to Pinterest to keep this guide handy for your next wig styling session!