17 Easy Messy Bun Hairstyles Effortless Undone Chic Morning Approved Daily
Okay friend, let’s be real for a second. Mornings are hard. You hit snooze one too many times, and suddenly you have five minutes to look like you have your life together. But here’s the secret: a messy bun is not a disaster. It is a style choice. It’s the ultimate “I woke up like this” move that actually takes thirty seconds. I’m sharing seventeen ways to master that undone-chic look that feels good, looks expensive, and works for coffee runs, Zoom calls, and everything in between. No fancy tools, no stress, just you and your hair being best friends.
Let’s get that bun to hold, look effortless, and actually stay put. Consider this your morning survival guide.
1. The Classic “Throw It Up” Messy Bun
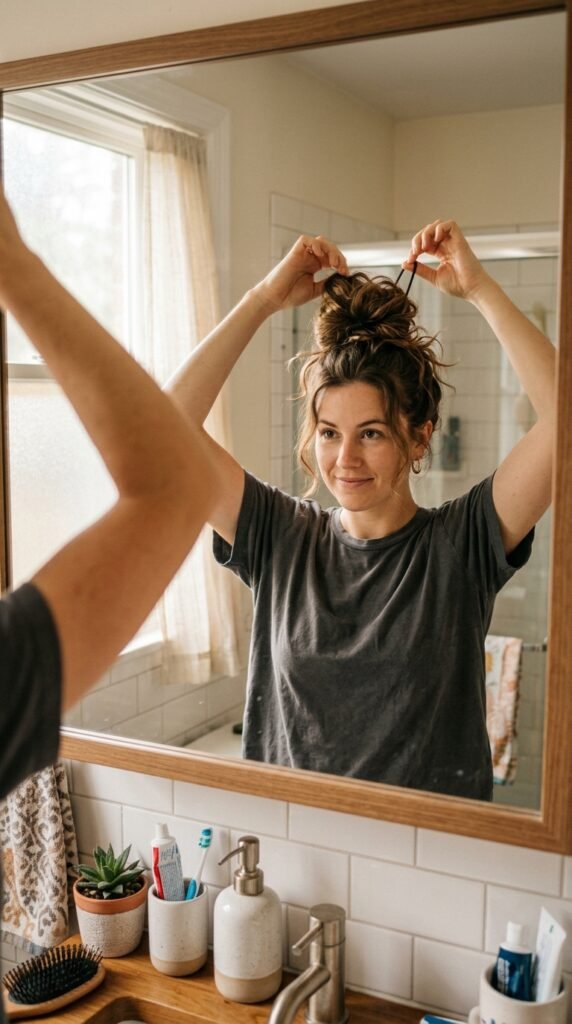
This is the starter bun. The one you do when you’re running late but still want to look cute. Gather all your hair into a high ponytail at the crown of your head. Don’t smooth it down too much.
- Twist the ponytail loosely until it starts to coil.
- Wrap it around the base and tuck the ends under.
- Secure with a scrunchie or hair tie.
Pull a few face-framing pieces out. Tug gently on the bun’s sides to make it look fuller. Done in under 60 seconds.
2. The Low & Loose Sock Bun (No Sock Required)
You don’t actually need a sock for this. You just need a hair tie and a little patience. This gives that “quiet luxury” vibe without trying too hard. Start with slightly dirty hair—it holds better.
- Pull your hair into a low ponytail at the nape of your neck.
- Grab the ends and fold them upward, tucking them back into the hair tie.
- Let the middle part puff out to create a soft loop.
Fluff the sides, and you have a soft, round bun that looks fancy but feels like pajamas.
3. Textured Top Knot with a Middle Part
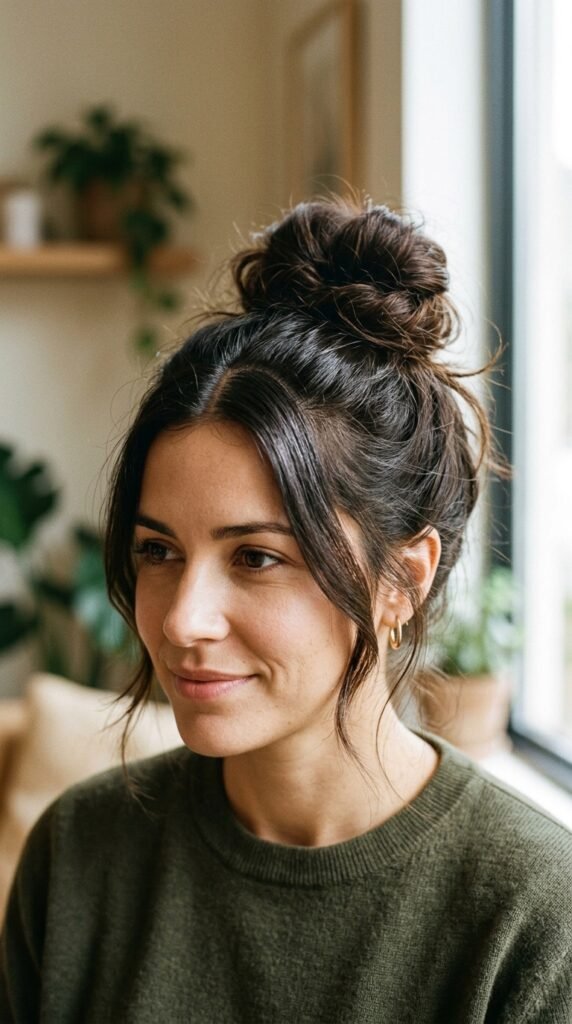
If you want to channel 2026 hairstyles energy without going to a salon, this is it. The middle part keeps it modern and clean. The messy top knot keeps it playful. Start by spraying dry shampoo into your roots for grit.
- Part your hair straight down the middle.
- Pull it up into a ponytail, but don’t pull the ends all the way through on the last loop.
- Let the ends hang out like a little tail.
Scrunch the bun to break up any smoothness. It should look like you just rolled out of bed in the best way.
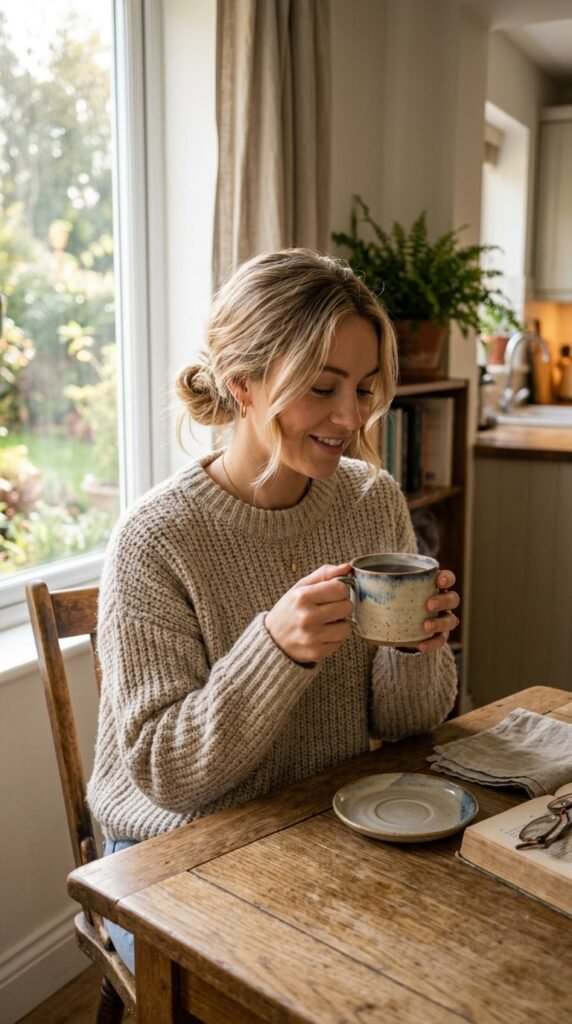
4. The “Old Money” Low Bun

This one is for days when you need to look polished but not stiff. The old money hair aesthetic is all about simplicity and shine. Start with brushed-out hair and a little serum at the ends.
- Gather hair at the very nape of your neck.
- Twist it tightly and wrap into a small, neat coil.
- Pin it down with bobby pins, leaving the top smooth.
Add a silk scrunchie or a velvet ribbon. It whispers “I have my life together,” even if you don’t.
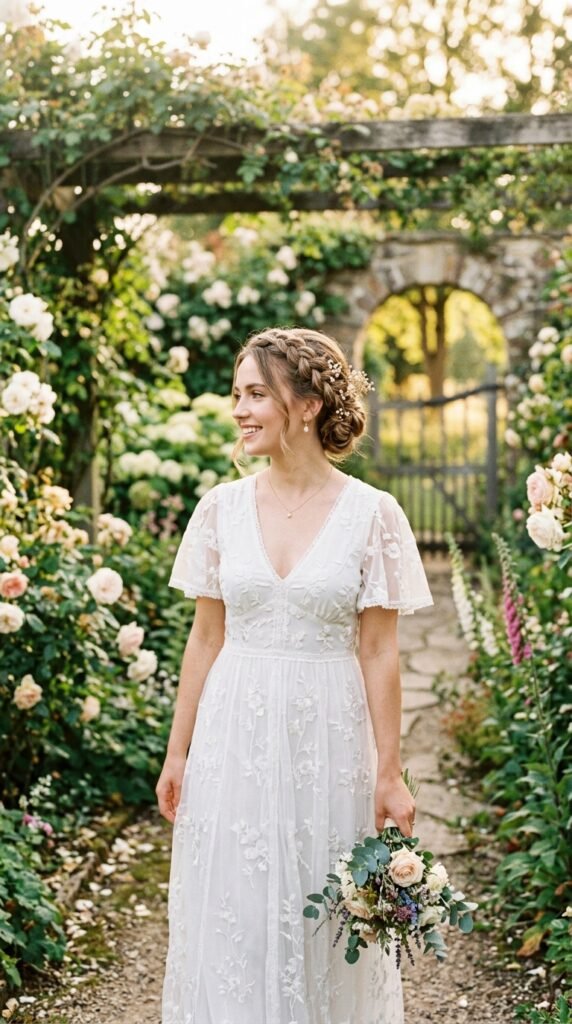
5. The Hair Scarf Twist Bun
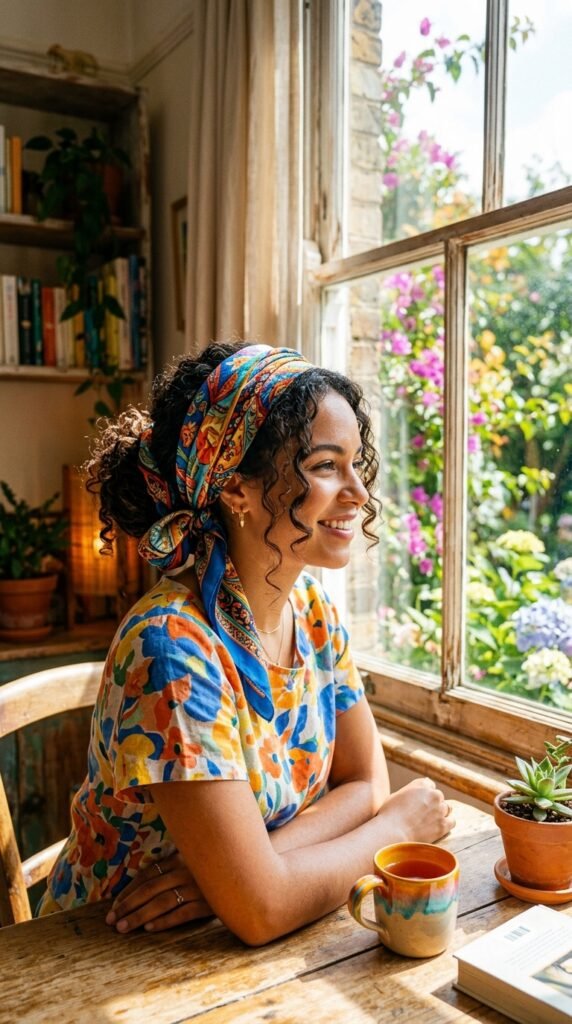
Hair scarves are not just for your grandmother. They are the secret weapon for a messy bun that looks intentional. Pick a scarf with a fun pattern. Fold it into a strip.
- Make a loose low ponytail.
- Wrap the scarf around the base of the bun once.
- Tie the ends into a small bow on top or let them hang.
This hides any bumps or lumps. Plus, it keeps hair off your neck on humid days. Perfect for the romantic goth hairstyles trend if you choose dark floral prints.
6. The Braided Base Messy Bun
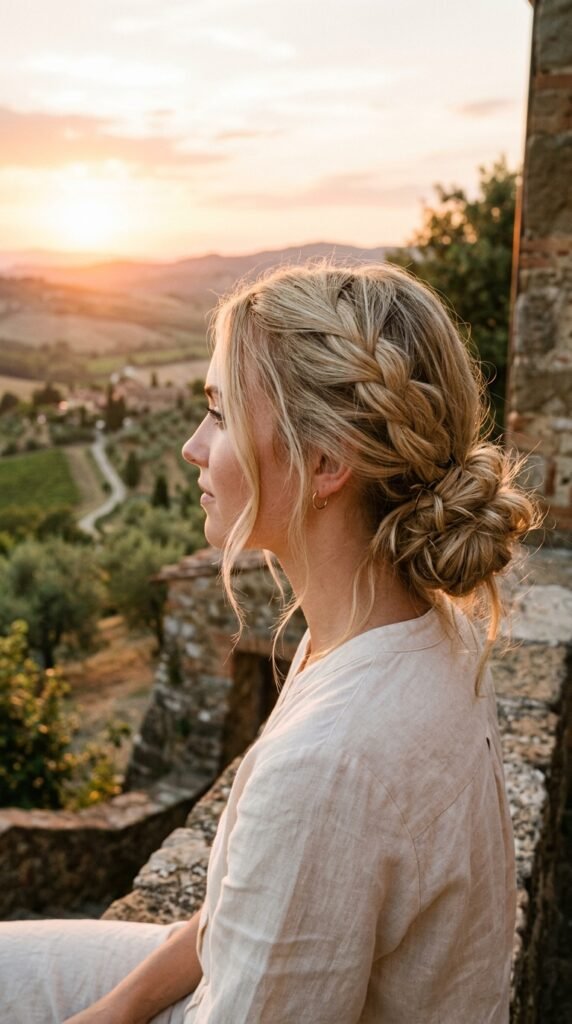
Adding a braid before the bun gives texture that holds all day. It also looks more complicated than it is. This is great for second-day hair that needs a refresh.
- French braid or Dutch braid your hair from the crown to the nape.
- Tie it off, then twist the remaining braid into a bun.
- Secure with pins and pull a few pieces loose.
The braid adds volume and interest. It feels boho but stays put through a busy morning.
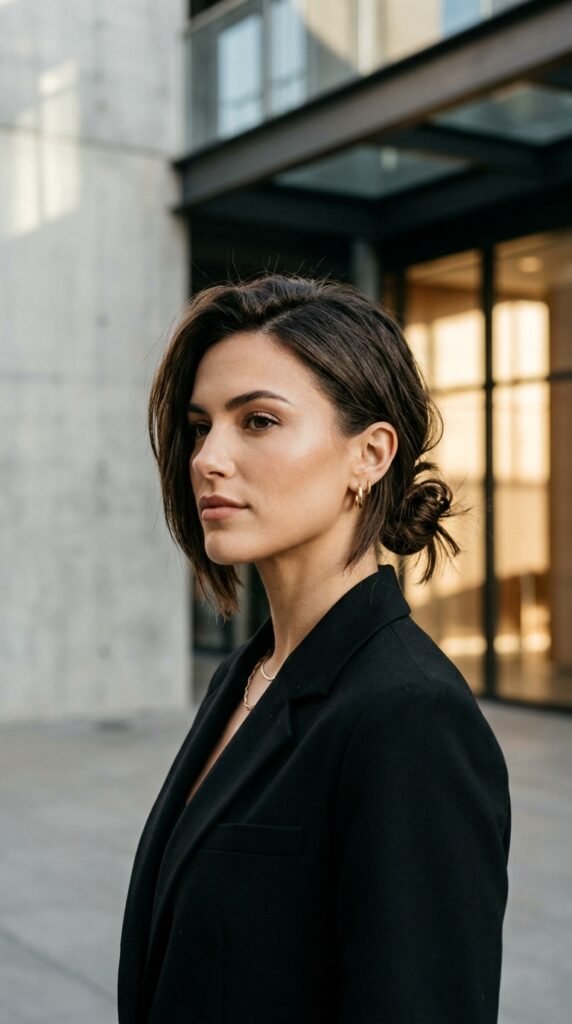
7. The Sleek & Slicked Back Bun

For days you need to look like a CEO on a budget. This is the quiet luxury bob of buns—clean, sharp, and unfussy. Wet your hair slightly, or use gel.
- Brush all hair back smoothly.
- Secure in a high ponytail at the peak of your head.
- Twist and wrap tightly, tucking ends under.
Use a strong hold hairspray. No flyaways allowed. Paired with a turtleneck, you look expensive.
8. The Half-Up Messy Bun (The “I’m Trying” Bun)
You want your hair down, but you also want it out of your face. This is the compromise. The half-up messy bun is the MVP of lazy days.
- Grab a section of hair from each side of your head.
- Gather them at the back, leaving the bottom loose.
- Twist into a small bun and secure.
This works best with textured waves. Curl the loose ends with a wand for that effortless wave. Very glitchy glam hair vibes if you mix in some subtle highlights.
9. The Space Buns (But Make It Messy)

Space buns sound intimidating, but they are just two messy buns. They are fun, youthful, and perfect for festivals or lazy Sundays. Section your hair down the middle.
- Make a high ponytail on each side.
- Twist each ponytail into a bun and pin.
- Pull the buns apart slightly to make them fluffy.
Leave your bangs out or sweep them to the side. This style screams “I’m fun and I don’t care,” but it takes five minutes.
10. The Faux Crown Braid Bun
This sounds fancy, but it’s basically a braid that goes across your head. Start by parting your hair in the center. Take a small section from one side.
- Dutch braid that section down to the nape.
- Repeat on the other side.
- Cross the braids at the back and tuck the ends into a low bun.
It looks like a vampire haircut meets cottagecore. Perfect for date nights or lazy afternoons. No heat required.
11. The Textured Low Ponytail Bun

Sometimes a ponytail is the first step to a bun. This one keeps the volume while looking clean. Start by curling the ends of your hair for movement.
- Pull hair into a low ponytail at the base of your skull.
- Loosen the front pieces for a softer look.
- Twist the ponytail into a loose coil and pin.
This is the “I’m going to work but still look human” bun. Add a claw clip for extra grip.
12. The Asymmetrical Lob Bun (Yes, Short Hair Works)
If you have an asymmetrical lob, don’t think you can’t do a bun. You can. The trick is to use small sections. Gather the longest pieces at the nape.
- Use a tiny hair tie to secure a mini ponytail.
- Twist and pin the ends upward.
- Let the shorter layers fall naturally.
This creates a textured, modern look. It’s edgy and practical. The asymmetry adds that quiet cool factor.
13. The “I Slept on It” Overnight Bun
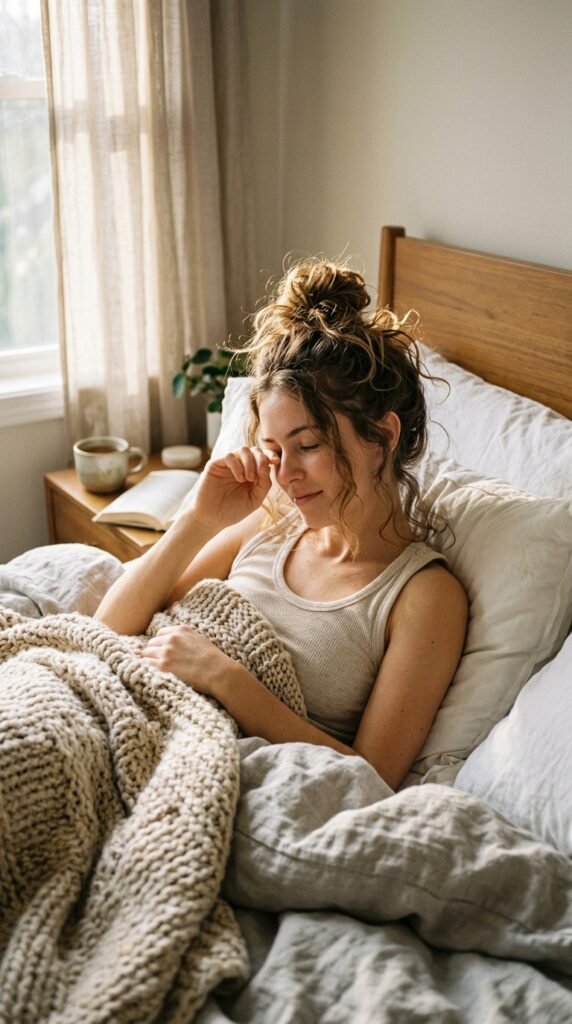
This is the easiest bun in the world. You do it before bed, and you wake up with waves and volume. Put your hair in a very loose, high bun before sleep.
- Don’t twist it. Just pile it up and secure loosely.
- Use a silk scrunchie to avoid breakage.
- In the morning, shake it out or leave it.
The result is effortless texture. It’s the hime cut of buns—structured but undone. Spritz with texturizing spray.
14. The Romantic Goth Low Bun
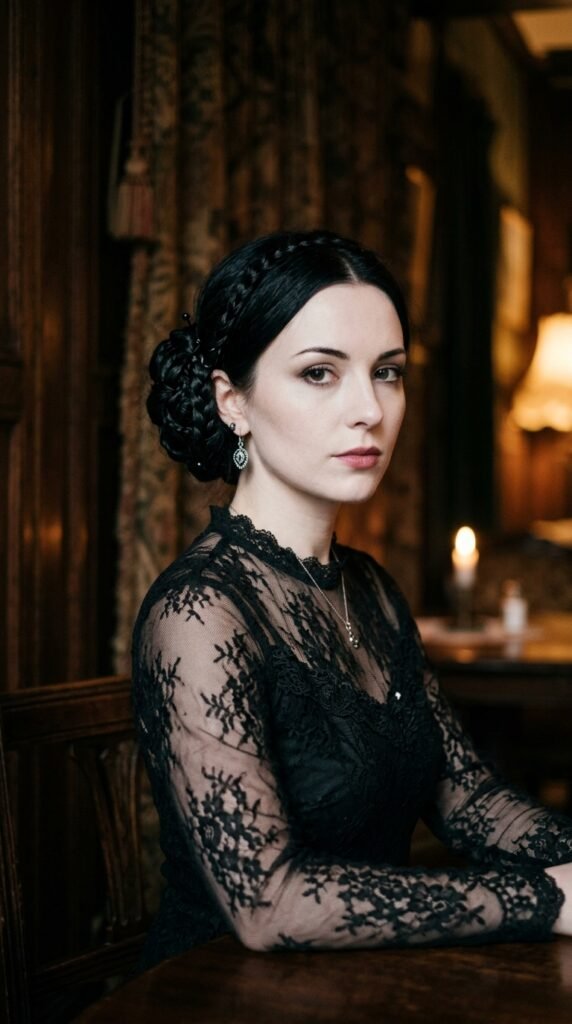
Dark colors, velvet ribbons, and small braids. This is for the romantic goth hairstyles lovers. Start with a deep side part.
- Take two small strands from the front and braid them.
- Pull the rest into a low bun at the back.
- Wrap the braids around the base of the bun.
Add a black velvet scrunchie. It’s dark, delicate, and perfect for fall. You’ll feel like a moody painting.
15. The Glitchy Glam Messy Bun
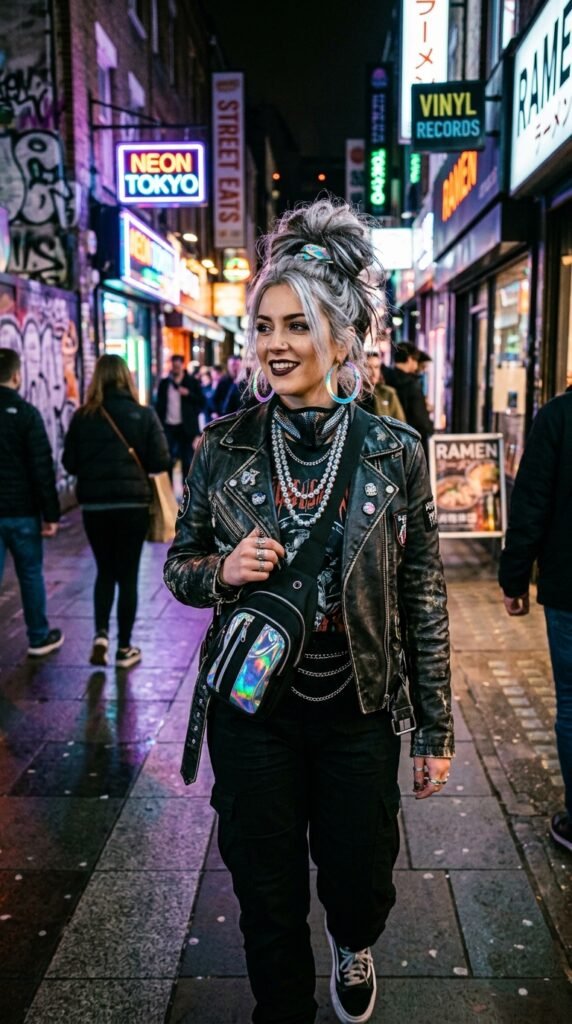
For the bold ones. This style plays with texture and shine. Use a glitter spray or metallic clips to add that glitchy glam hair vibe.
- Make a high ponytail with volume at the crown.
- Backcomb the ponytail for a teased look.
- Wrap into a messy bun and add sparkly pins.
It’s party-ready. The messiness is intentional. Wear it with a leather jacket for maximum edge.
16. The Vampire Haircut Inspired Bun
The vampire haircut is all about layers and texture. This bun highlights those layers. Let the front pieces hang long around your face.
- Pull the top section into a high bun.
- Leave the bottom layers loose.
- Let the layers cascade like a waterfall.
It’s dramatic but easy. Perfect for cooler weather or a night out. You’ll look like you have a personal stylist.
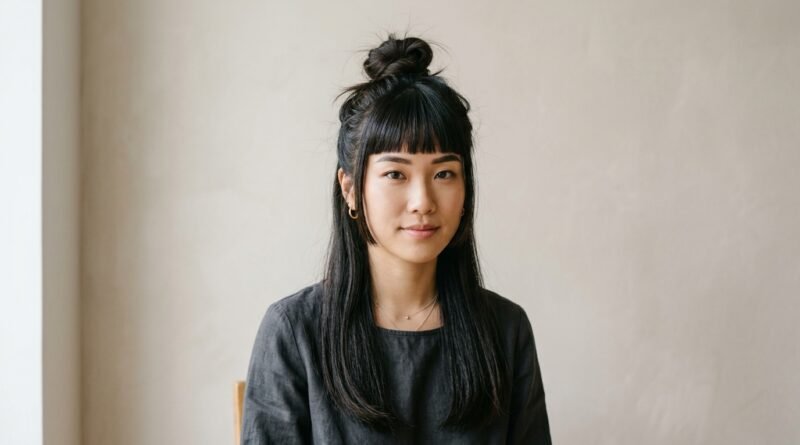
17. The Super Simple Hime Cut Bun

If you have a hime cut, your bangs and side pieces are already doing the work. The bun is just for support. Section off your bangs before starting.
- Gather the back half of your hair into a messy bun.
- Keep the front pieces straight and smooth.
- Secure the bun high or low, depending on your mood.
The contrast between the sleek bangs and messy bun is stunning. It feels very 2026. Very quiet luxury.
A Note on Tools and Products
You don’t need much. Honestly, a good hair tie and three bobby pins can do wonders. But investing in a few items makes your buns look better.
- Get a silk scrunchie to prevent breakage.
- Use dry shampoo for grip and volume.
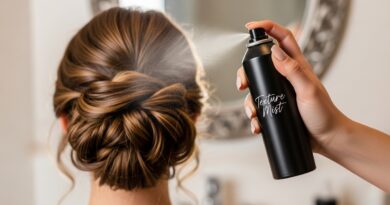
- Texturizing spray is your best friend.
Also, bobby pins that match your hair color are a game-changer. They disappear into your bun and hold everything in place.
Now, here’s the real talk: Your messy bun will look different every time. That is the point. Some days it will be perfect. Other days it will be a disaster that you call “textured.” Both are valid. The secret is confidence. Stand in the mirror, give your bun a little tuck, and walk out the door like you meant to do that. Because you did.
I’d love to know which of these bun styles you’re trying first. Drop a comment below and tell me your favorite morning bun trick. And if this helped you get out the door faster, save this post to Pinterest so you can find it again tomorrow morning when you’re running late. We all need that reminder.