20 Braided Headband Hairstyles Natural Accent Pull Through Half Up Elegant
You know that feeling when you want to look put-together but you only have five minutes and your hair is just… there? That’s where the braided headband comes in. It’s the secret weapon that makes a simple half-up style look like you spent an hour on it. Today, I’m sharing 20 ways to nail that “natural accent pull through” look—elegant, effortless, and totally doable. Let’s get braiding!
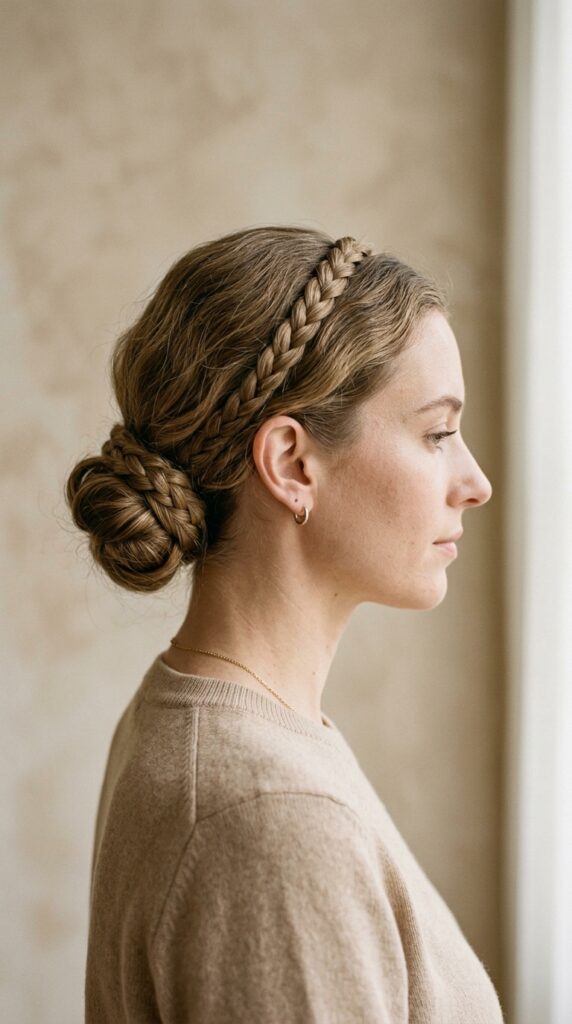
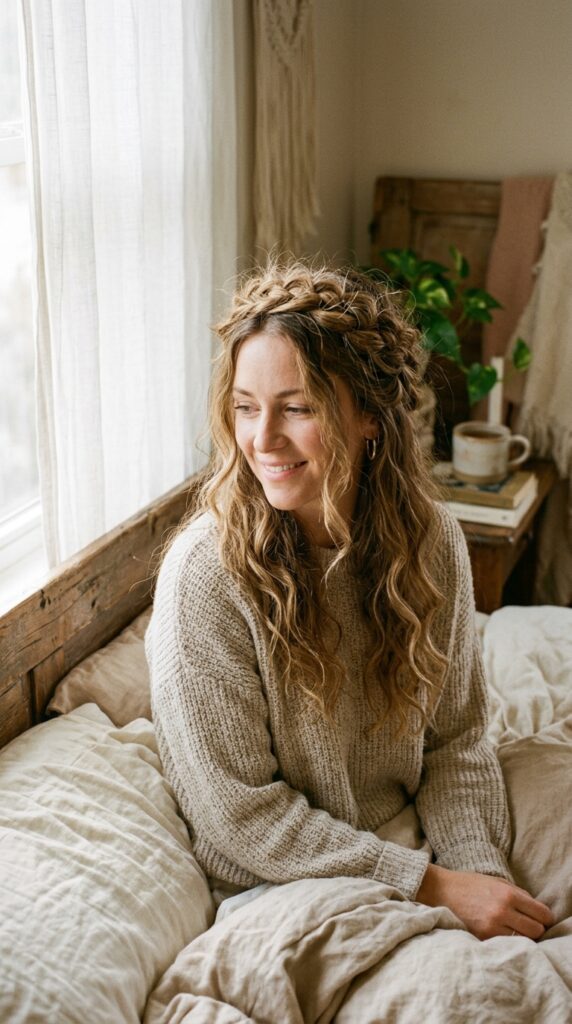
1. The Classic Three-Strand Headband
Start with the easiest braid ever. Just take a section of hair from behind your ear, braid it, and drape it over your head like a headband. Tuck the end behind your other ear.

- Use a clear elastic to secure the end.
- Pin it in place with bobby pins that match your hair color.
- This works for both straight and wavy hair.
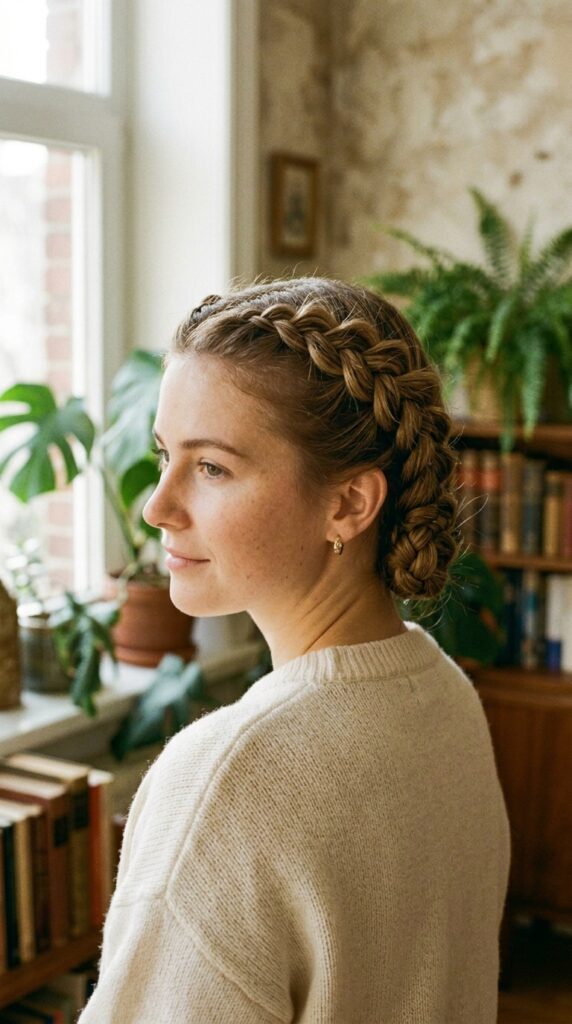
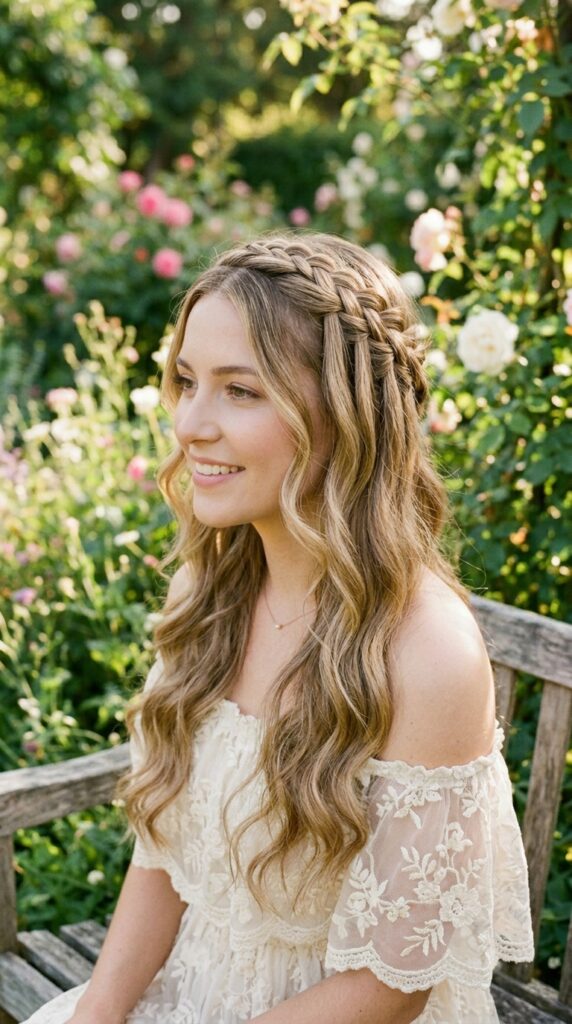
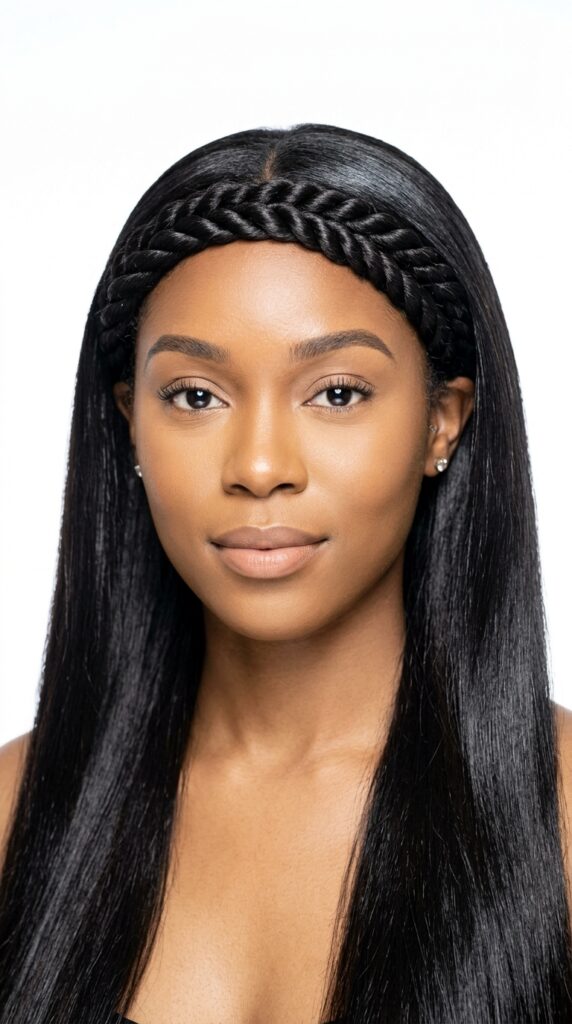
2. Pull Through Half-Up with Dutch Braid Accent
A Dutch braid (that inverted one that pops out) makes a gorgeous frame. Braid a small section along your hairline, then pull the rest back into a half-up ponytail.
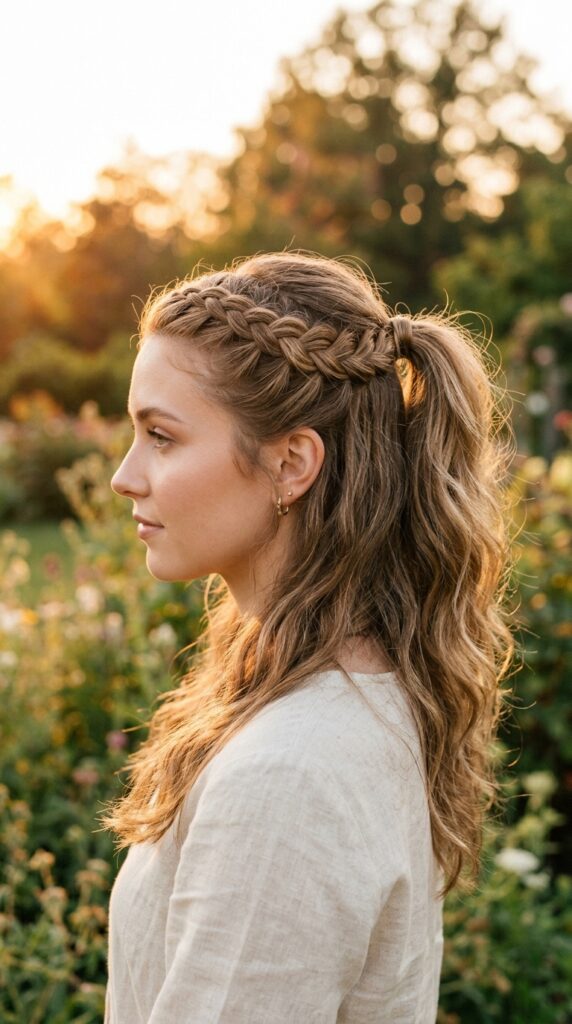
- Dutch braid a one-inch section from your temple to your nape.
- Gather the top half of your hair and tie it.
- Pull the ponytail through the braid for a seamless look.
3. Old Money Hair with a Silk Ribbon Braid
For that quiet luxury vibe, weave a thin silk ribbon into a simple three-strand braid. It adds a subtle, elegant shine without trying too hard.
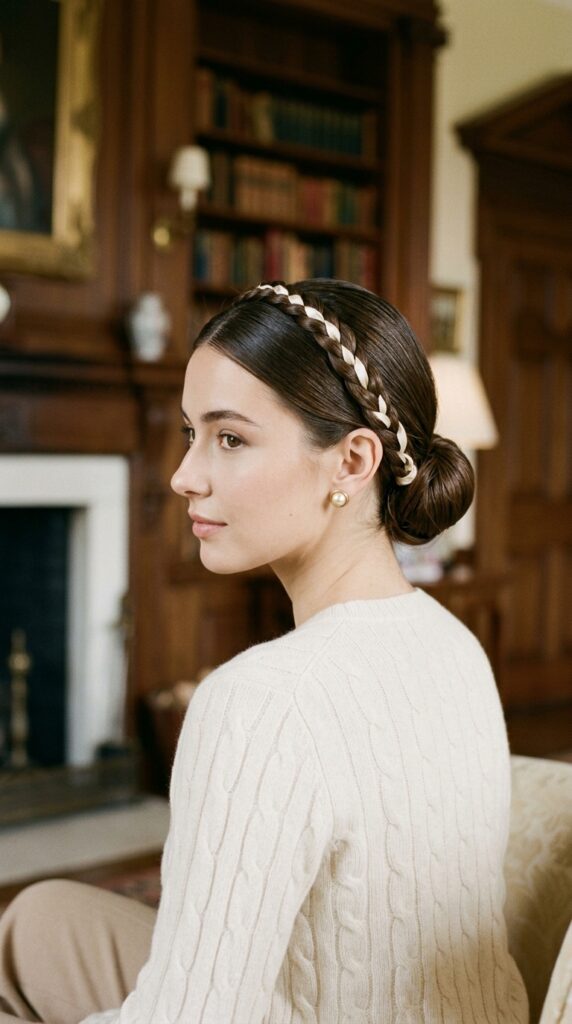
- Choose a ribbon in a neutral tone like ivory or champagne.
- Fold the ribbon in half and tie it around your starting section.
- Braid normally, letting the ribbon fall with the strands.
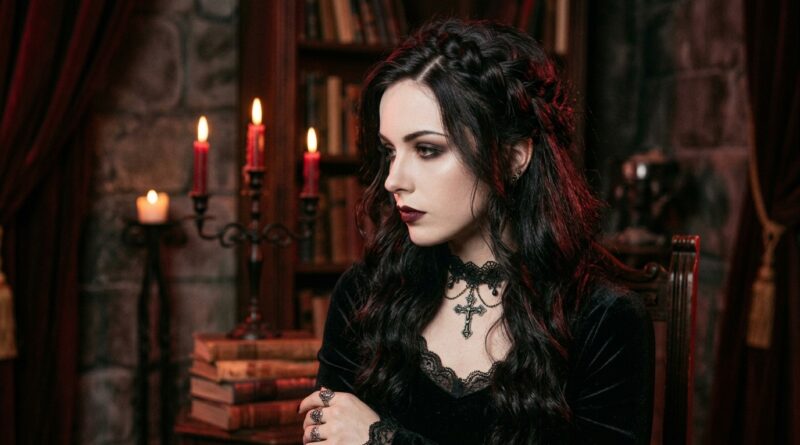
4. The Romantic Goth Side Braid Headband
If you love romantic goth hairstyles, this one is for you. Braid a dark, textured section from your part line and let it drape across your forehead.
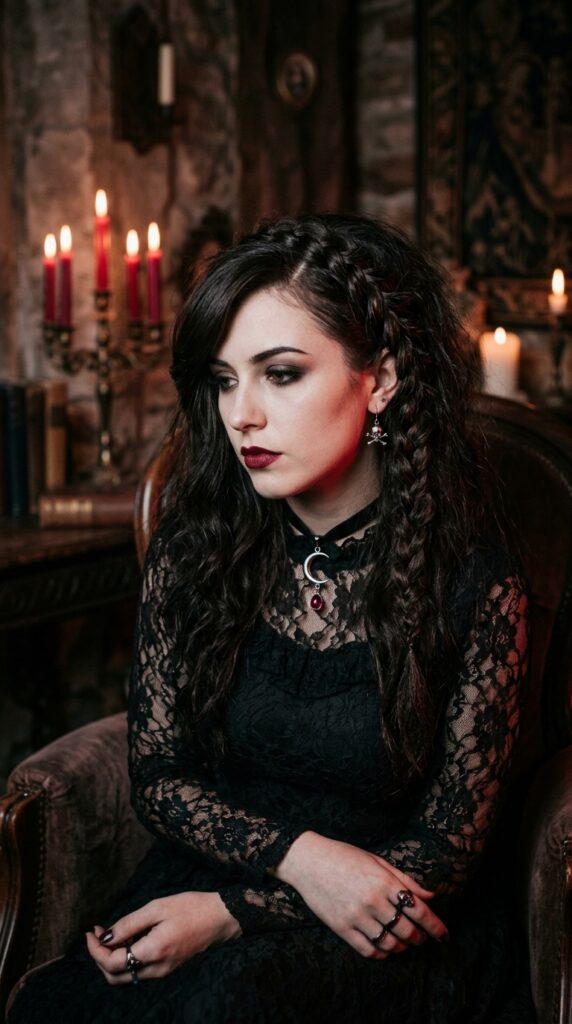
- Create a deep side part.
- Take a two-inch section from the heavier side and braid it loosely.
- Pull it across your hairline and pin behind the opposite ear.
5. Quiet Luxury Bob with a Tiny Braid
Short hair can do this, too! A quiet luxury bob gets an instant upgrade with a mini braid right at the hairline. It’s subtle but so chic.

- Take a tiny section near your temple.
- Braid it tightly, then tuck it behind your ear.
- Bobby pin it in place underneath the top layer.
6. Glitchy Glam Hair with a Metallic Thread
Embrace glitchy glam hair by weaving a thin metallic thread (like silver or gold) into your braid. It catches the light and looks modern and fun.
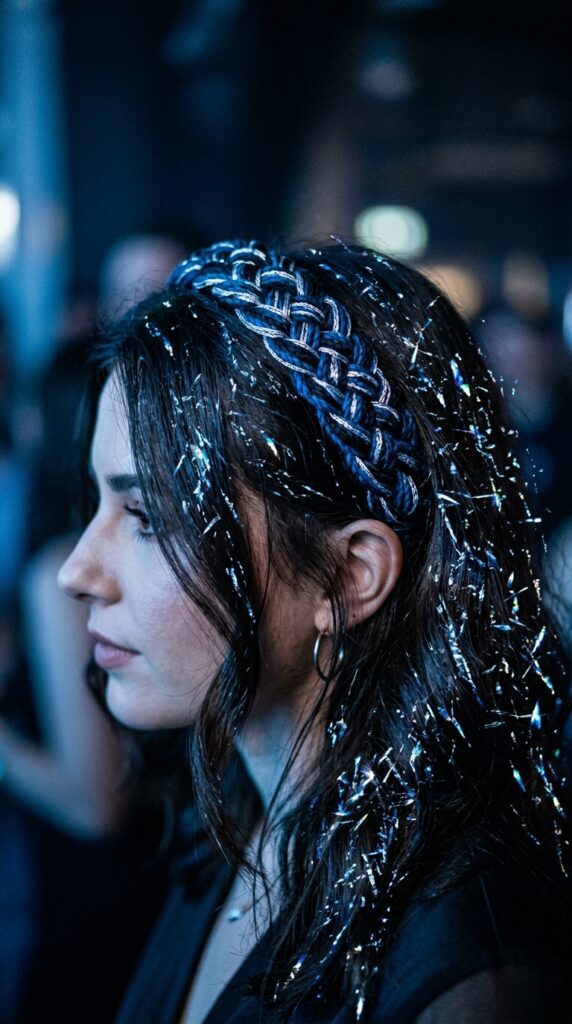
- Wrap a piece of thread around your base section before braiding.
- Braid as usual, keeping the thread visible.
- Secure with a clear elastic and hide the thread end.
7. The Asymmetrical Lob with a Diagonal Braid
An asymmetrical lob looks amazing with a diagonal braided accent. Braid from one ear across the back of your head, and let the rest hang loose.

- Start the braid at your left ear, going downward toward your right.
- Stop about two inches before your right ear.
- Secure and tuck the braid under the hair.
8. Vampire Haircut with a Deep Side Braid
For the vampire haircut (think sharp layers and texture), add a deep side braid that acts like a crown. It softens the edges and looks very dramatic.
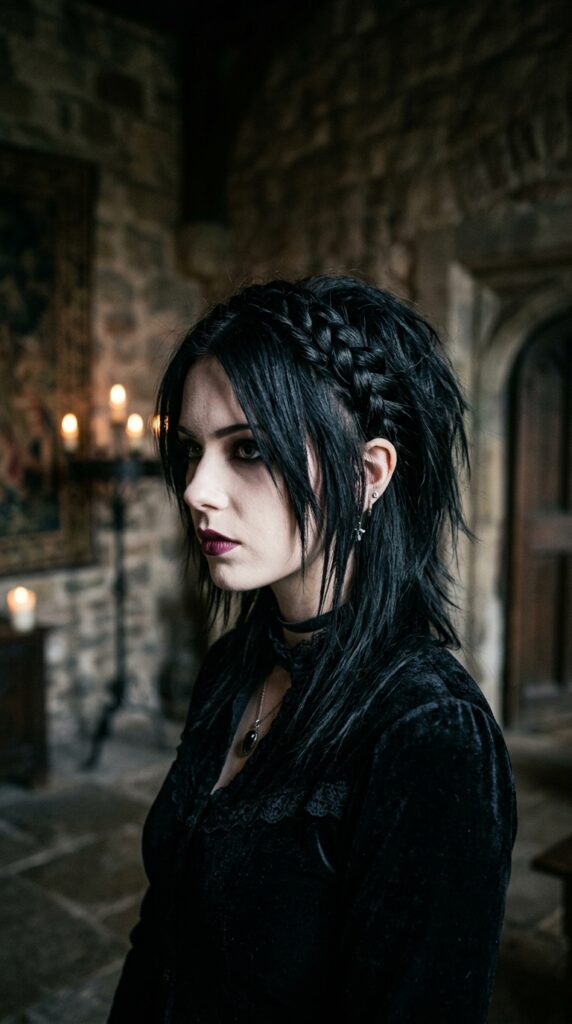
- Section off the top layer of your hair on your heavier side.
- Braid it starting from the part, going downward.
- Pin it along your hairline for a crown effect.
9. The Hime Cut Braided Headband
The hime cut usually has blunt bangs and long sides. A braided headband keeps the bangs separate while pulling back the middle section elegantly.

- Keep your bangs and side pieces out of the braid.
- Braid the top middle section from forehead to crown.
- Pull it back and secure with a small clip.
10. Pull Through Braid with a Scarf
Use a thin scarf instead of hair for a pop of color. Wrap the scarf around your head and braid the tails into the pull-through section.

- Fold the scarf into a strip and tie it at your nape.
- Take the tails and braid them with a small section of hair.
- Wrap the braid up and pin it.
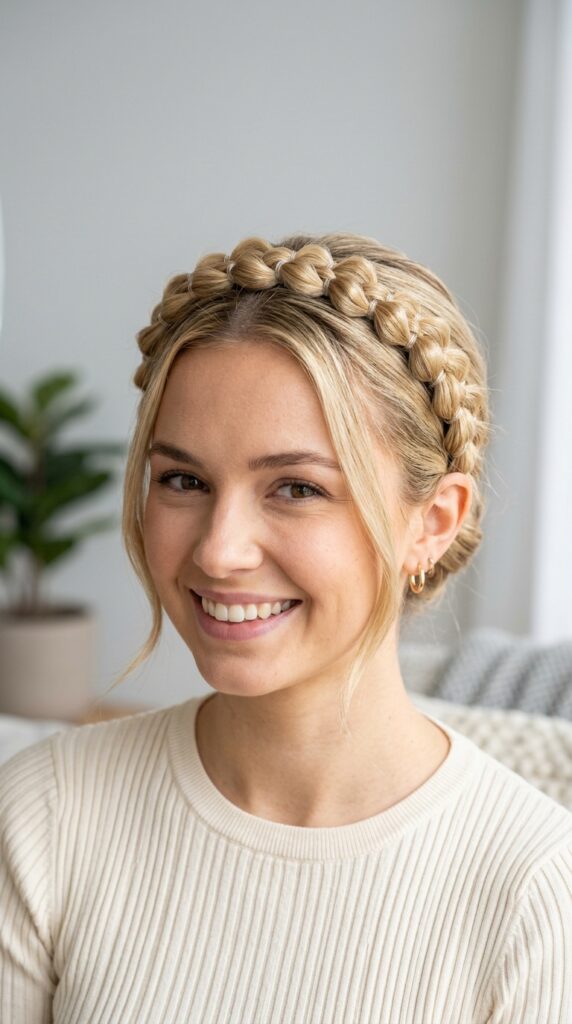
11. Double Dutch Braid Headband
Two small Dutch braids starting at your part line and meeting at the back give you a double-frame effect. Perfect for 2026 hairstyles that love symmetry.
- Part your hair in the middle or slightly off-center.
- Dutch braid a section on each side of the part.
- Bring them to the back and pin together.
12. The Fishtail Headband for Texture
A fishtail braid adds incredible texture without being bulky. It’s delicate and looks more intricate than it actually is.

- Take a small section from your hairline and split it in two.
- Cross small pieces from the outside to the inside.
- Secure and pin it behind your ear.
13. Birthstone or Pearl Accented Braid
Clip tiny pearl or crystal hair pins onto your braid for a touch of quiet luxury. It elevates the whole look without being loud.
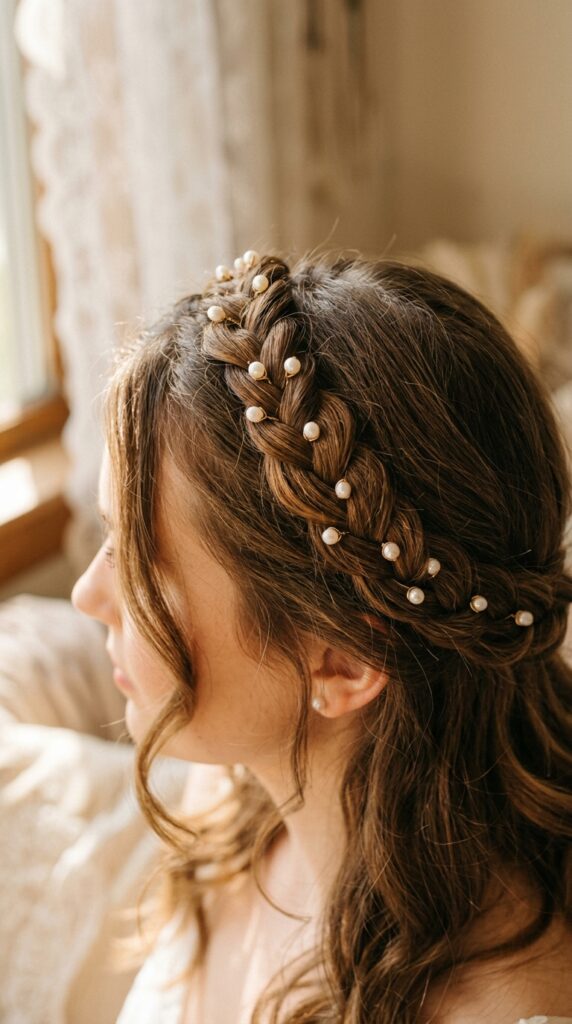
- Finish the braid and secure it.
- Clip small jeweled pins along the braid.
- Space them an inch apart for balance.
14. The Pull Through with a Low Bun
Take the half-up part and twist it into a low bun. Then, drape a braid from one side over the top and wrap it around the bun base.
- Pull the top half into a low ponytail and twist into a bun.
- Braid a section from your left temple.
- Wrap the braid around the bun and pin.
15. Waterfall Braid Headband
The waterfall braid lets hair cascade down while forming a braided edge. It’s romantic and works great for 2026 hairstyles with soft waves.
- Start the waterfall braid at your temple.
- Drop the bottom strand each time you cross.
- Stop at the nape and pin.
16. The Twist-and-Braid Hybrid
Twist a section at the front, then braid it with the rest of the half-up ponytail. It gives you two textures in one style.
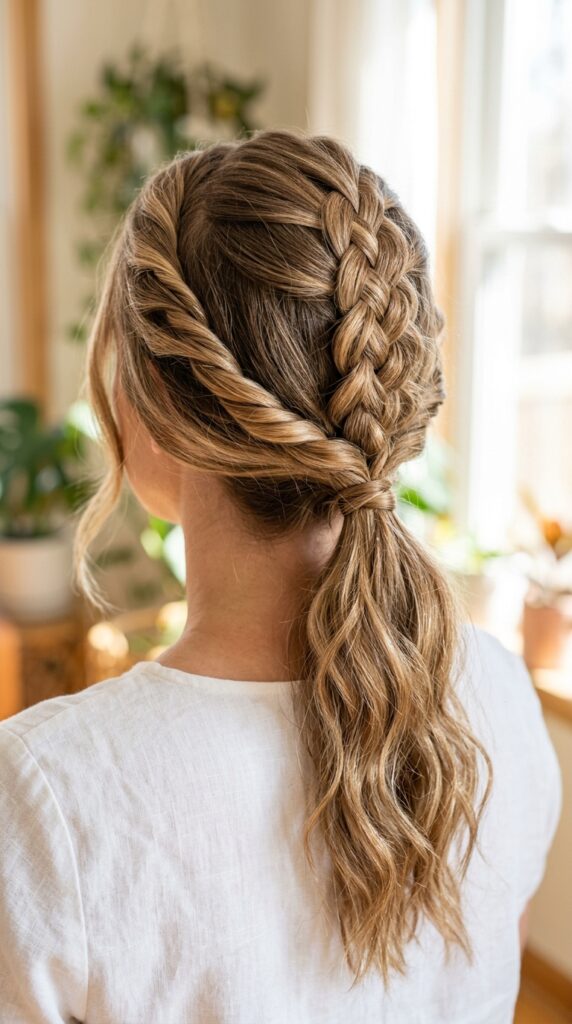
- Twist a front section away from your face.
- Add it to the half-up ponytail section.
- Braid the whole ponytail normally.
17. The Bubble Braid Headband
For a playful twist, use small clear elastics along a single braid to create “bubbles.” It’s a take on glitchy glam hair without the metal.
- Braid a front section loosely.
- Place clear elastics every inch down the braid.
- Gently pull each segment to puff it up.
18. Messy Braided Crown with Pull Through
This is the “I woke up like this” version. A messy braided crown that still looks intentional and chic. Pull the crown through the half-up part.
- Braid two sections from each side, leaving them loose.
- Cross them over the top of your head and pin.
- Pull the half-up section through the front of the crown.
19. The Rope Twist Braid Headband
Rope twists are super fast. Twist two sections together, and they look like a sleek, modern braid. Perfect for when you’re in a hurry.
- Take a one-inch section from each side of your part.
- Twist each section away from your face.
- Pin them together at the back, crossing over.
20. The Sleep-In Braid for Next Day Waves
Spray your hair lightly, braid it before bed, and in the morning, undo for soft waves. Then, use a small braid as a headband to finish the look.
- Sleep with a large loose braid in dry hair.
- In the morning, finger-comb the waves.
- Add a small braid headband for definition.
So here’s the thing: a braided headband isn’t just a hairstyle. It’s a shortcut to looking like you have your life together, even when you don’t. Whether you’re leaning into old money hair, trying a vampire haircut, or just playing with glitchy glam hair, these 20 ideas give you a way to feel polished in minutes.
The best part? Once you get the hang of the pull-through technique, you’ll be able to adapt any of these. It’s all about finding the one that makes you feel like the best version of you.
Save this post to Pinterest so you have it ready for your next hair day. And seriously, tell me in the comments—which braided headband style are you trying first? I’d love to know.