23 Cream-Based Styling Routines for Soft, Touchable Curls
If you dream of curls that are defined yet impossibly soft, bouncy yet never crunchy, then you’ve likely heard the buzz about cream-based styling. Moving beyond gels and mousses, curl creams have become the secret weapon for those seeking a touchable, natural finish. But with so many techniques and products, where do you begin? This guide is your ultimate resource. We’re diving deep into 23 cream-based styling routines designed to transform your curl game, offering solutions for every texture, density, and desired look. Say goodbye to stiffness and hello to soft, touchable curls that beg to be played with.

Why Creams Are the Key to Touchable Curls
Curl creams are uniquely formulated to provide a balance of moisture, light hold, and definition. Unlike hard-hold gels that can create a cast, creams are designed to absorb into the hair, combating frizz while allowing the hair to move freely. They are typically rich in emollients and humectants that nourish the hair shaft, enhancing shine and reducing dryness. The result? Curls that look and feel healthy, not product-laden. For anyone prioritizing a natural, soft-to-the-touch finish, a well-chosen curl cream is non-negotiable.

The Foundational Routine: The Basic Wash Day Blueprint
Before we explore the 23 routines, let’s establish a core wash-day sequence. This foundation ensures your curls are primed to receive and benefit from any styling cream.
1. The Clarifying Cleanse: Every 2-4 weeks, use a clarifying shampoo to remove product buildup, allowing creams to penetrate effectively.
2. The Co-Wash or Low-Poo Refresh: For routine washes, use a gentle, moisturizing shampoo or co-wash to cleanse without stripping natural oils.
3. The Deep Condition: Apply a rich deep conditioner, focusing on mid-lengths to ends. Use heat for 15-20 minutes for intense hydration.
4. The Rinse and Detangle: Rinse with cool water to seal the cuticle. Detangle gently with a wide-tooth comb or your fingers while conditioner is still in.
5. The Prep Step: With hair sopping wet, apply a leave-in conditioner to lock in moisture. This is the perfect base for your curl cream.

23 Cream-Based Styling Routines for Every Curl Need
For Definition & Soft Hold
6. The Simple Smoother: On dripping wet hair, rake and shake a generous amount of curl cream through sections. Scrunch gently and air dry for a simple, defined, and soft finish.
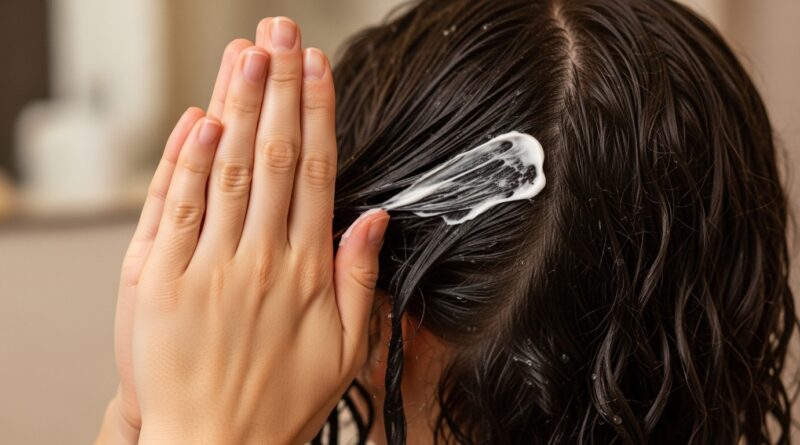
7. The Rake and Glide: Use the “praying hands” method to smooth cream down each hair section before scrunching. This enhances curl clumps and reduces frizz.
8. The Cream-Only Scrunch: Perfect for fine curls. Apply a lightweight cream to wet hair, then scrunch vigorously upward towards the scalp. Diffuse on low heat for volume.

For Maximum Volume & Body
9. The Root-Focus Flip: After applying cream overall, flip your head upside down. Apply a tiny extra dab of cream just to the roots and scrunch. Diffuse upside down for lift.
10. The Cream and Mousse Cocktail: For volume with softness, apply curl cream first for moisture. Then, scrunch in a volumizing mousse, focusing on roots. This gives a lasting boost without crunch.
11. The Pineapple Prep: Before bed on styled hair, apply a tiny amount of cream to your palms, rub them together, and lightly smooth over the surface of your pineapple. This reduces morning frizz while preserving volume.

For Frizz Control & Humidity Fighting
12. The Sealant Layer: Apply your curl cream to wet hair as usual. Then, seal it in with a tiny amount of lightweight serum or oil, scrunched over the clumps. This creates a protective barrier.
13. The Damp Style Refresh: On non-wash days, dampen hair thoroughly with a spray bottle. Mix a pea-sized amount of cream with water in your palms and glaze over hair, then rescrunch. Reactivates style perfectly.
14. The Intensive Smoothing Treatment: For high-porosity or very frizzy hair, use the “smaster” technique: apply cream, then scrunch in a dollop of gel, then immediately scrunch again with a palm coated in a bit more cream. It locks in definition with a softer finish.
For Curl Training & Enhancing Pattern
15. The Brush Coiling Method: Apply cream to soaking wet hair. Using a denman brush or coil brush, twist the brush under each section as you pull it through to form perfect, springy ringlets.
16. The Finger Coil Refresh: On damp, day-two or three hair, take small sections. Mix cream with water on your fingers and twirl each section around your finger from root to tip to redefine curls.
17. The Twisting Tutorial: On damp hair, apply cream and separate hair into large sections. Two-strand twist each section. Allow to air dry or diffuse, then untwist for beautiful, elongated wave patterns.

For Low-Manipulation & Protective Styles
18. The Wash-and-Go Simplified: In the shower, apply leave-in and cream to sopping wet hair. Do a final rinse under the showerhead to help form clumps, then plop in a microfiber towel. No extra scrunching needed.
19. The Plopping Power Hour: After applying cream, plop your hair into a microfiber towel or cotton t-shirt for 20-30 minutes. This sets the curls at the roots with minimal handling before air drying or diffusing.
20. The Pineapple & Go: For overnight, apply cream to very damp hair, pineappled loosely. Sleep on a satin pillowcase. In the morning, shake out at the roots for effortless, voluminous curls.
For Specialized Curl Types & Needs
21. For Fine, Low-Density Curls: Dilute a lightweight cream with water in a spray bottle. Mist it evenly over wet hair and scrunch. This gives even distribution without weighing down delicate strands.
22. For Thick, Coarse Curls: Use a rich, buttery cream. Apply in sections using the “shingling” method: smoothing cream down each individual curl clump from root to tip for ultimate definition and moisture sealing.
23. For Wavy Hair (2a-2c): Apply a very light foam or mousse first for root lift. Then, emulsify a pea-sized amount of cream with water and scrunch only into the mid-lengths and ends to define waves without flattening them.

Pro Tips for Cream Success
Always Start on Soaking Wet Hair: This is the golden rule for most creams. Water helps distribute the product evenly and prevents sticky or patchy application.
Emulsify in Your Hands: Rub the cream between your palms with a little water before applying. This warms and thins the product slightly for more even coverage.
Less is More, Then Add More: Start with a small amount (almond-sized for shorter hair, walnut-sized for longer/thicker hair). You can always add more if needed, but too much initially can lead to buildup and heaviness.
Diffuse for Volume: To maximize the soft volume creams can offer, use a diffuser. Dry roots first upside down, then hover diffuse the lengths until 90% dry. Let the rest air dry to prevent frizz.

Embracing Your Soft Curl Journey
Finding your perfect cream-based routine is a journey of experimentation. Your hair’s needs may change with the seasons, your health, or even your water quality. The 23 routines outlined here are a toolkit. Start with the one that most closely matches your primary goal—be it volume, frizz control, or definition. Remember, the goal is soft, touchable curls that feel as good as they look. With patience and the right cream technique, you can achieve a head of curls that are truly, authentically, wonderfully yours—defined, bouncy, and irresistibly soft.