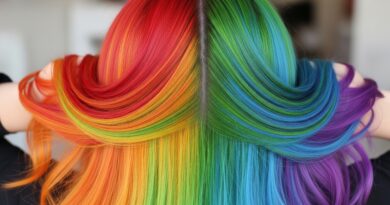
23 Diffuser Attachment Techniques for Every Curl Type
If you have curly hair, you know the diffuser is more than just a hair dryer attachment—it’s a magic wand for definition, volume, and frizz-free finishes. But simply plopping it on your head and blasting away can lead to a frizzy, uneven mess. The secret lies in the technique. Different curl patterns, from loose waves to tight coils, demand different approaches to truly thrive.
Understanding Your Curl Type and Diffuser Basics
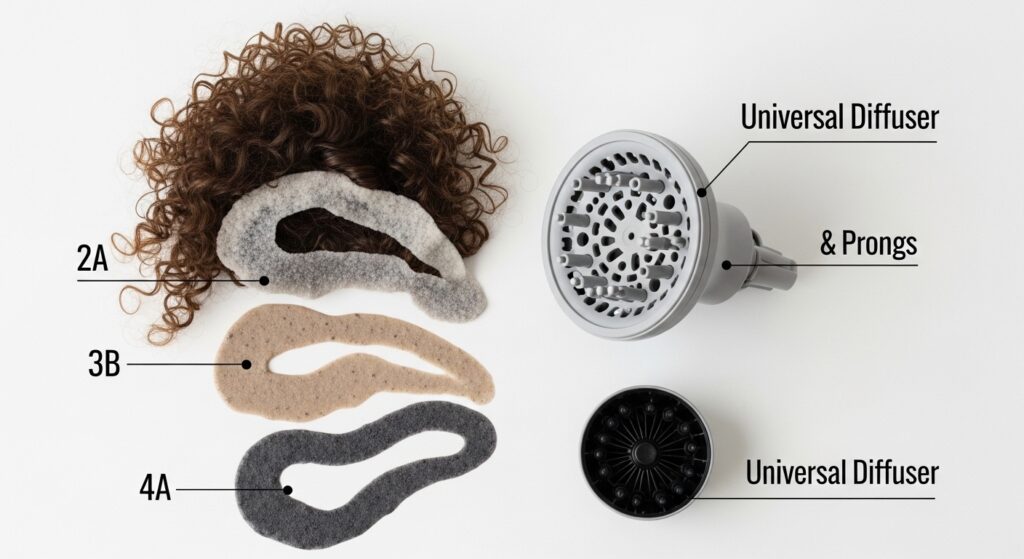
Before we dive into the techniques, let’s set the foundation. Curl types are generally categorized from Type 2 (wavy) to Type 4 (coily). A universal diffuser technique doesn’t exist because these hair types have different needs: waves seek volume and lift, curls crave definition and shape, and coils need gentle drying to maintain moisture and shrinkage.
Your diffuser itself is key. Look for one with long, flexible prongs or fingers and a wide bowl. Always use a heat protectant and start with hair that is gently towel-dried or plopped to remove excess water. Use low heat and medium-to-low speed settings to minimize disruption to your curl pattern.
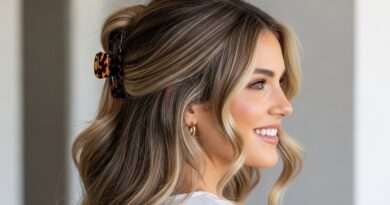
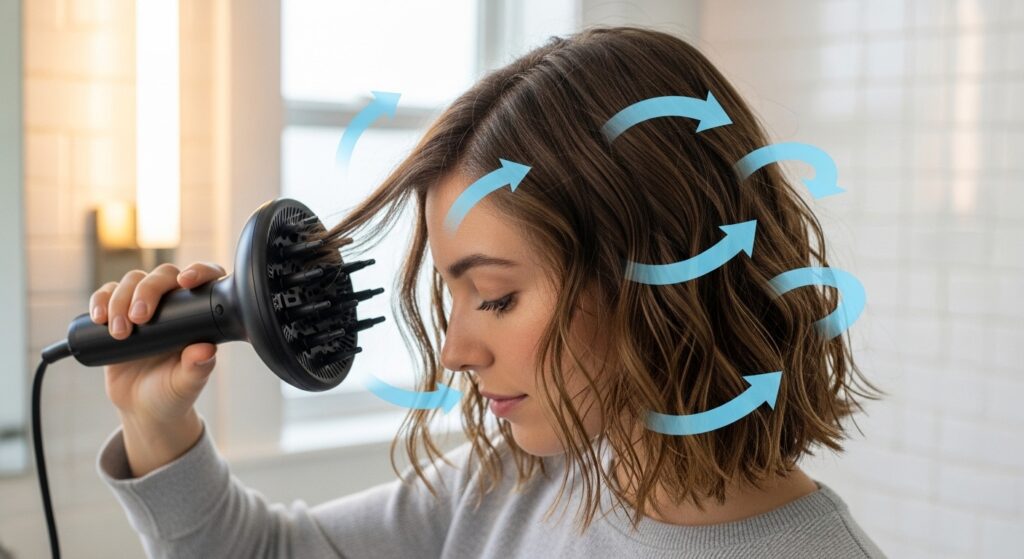
Techniques for Type 2: Wavy Hair
Wavy hair often struggles with flat roots and losing its pattern. The goal is to enhance body and encourage the wave formation without weighing hair down or causing frizz.
1. The Hover Method: Don’t touch your hair! Hover the diffuser around your scalp and lengths, allowing the indirect airflow to dry waves gently. This creates incredible volume at the root with minimal frizz.
2. Side-to-Side Rocking: With the diffuser cupping your hair, gently rock it side-to-side as you dry. This creates movement and prevents waves from being plastered to your head.
3. Upside-Down Volume Lift: Bend at the waist, let your hair fall forward, and place sections into the diffuser, lifting straight up towards the ceiling. This is a game-changer for root lift.
4. Scrunch & Hold: The classic. Gather a section of hair into the diffuser bowl, scrunch upwards to your scalp, and hold for 30-90 seconds. Release and move on.
5. Pixie-Diffusing for Waves: Take small, vertical sections of hair (like pixie cuts). Place them in the diffuser, scrunch, and hold. This maximizes definition in finer wavy hair.
6. The “Cradle” for Lengths: Focus on drying your mid-lengths and ends first by cradling them in the diffuser, preventing heavy, wet ends from pulling out your root waves.
7. Cold Shot Blast: Once 90% dry, use the diffuser with the cold air button engaged to set your waves and boost shine.
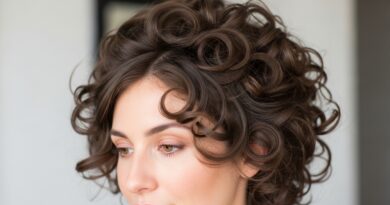
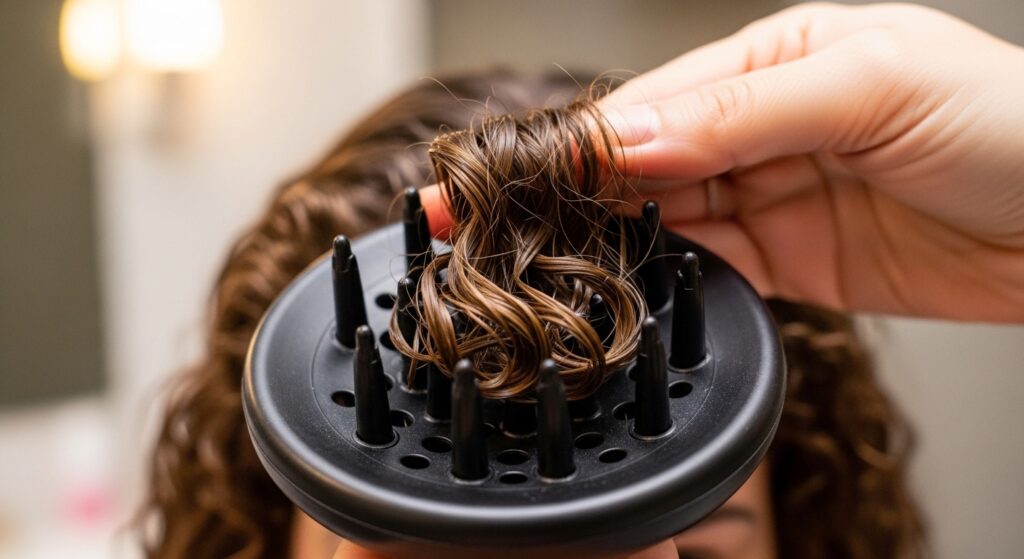
Techniques for Type 3: Curly Hair
Curls need definition and shape preservation. The focus is on supporting the curl clump from root to tip and avoiding any action that might break them apart.
8. Deep Cup Scrunching: Take a well-defined curl clump, deeply cup it into the diffuser so the prongs are nestled at your scalp, and scrunch hold. This dries the curl uniformly.
9. Vertical Sectioning: Work in vertical (from forehead to nape) rather than horizontal sections. This follows your curl’s natural fall and prevents separating clumps that formed while washing.
10. The “Don’t Move” Method: After applying product, don’t disturb your curls. Gently place large sections into the diffuser and hold without scrunching or moving, allowing them to dry in their natural formation.
11. Root-to-Tip Cupping: For tighter curls, use your hand to guide a curl clump from the very root into the diffuser bowl, ensuring the entire strand from scalp to end is supported.
12. Diffuser “Pixie” for Curls: Similar to wavy hair but with larger clumps. Isolate a single, fat curl clump, place it in the diffuser, and hold. Perfect for fixing wonky curls.
13. The Nape-First Strategy: Start diffusing the curls at the nape of your neck, which are often the densest and slowest to dry, ensuring even drying throughout.
14. Micro-Plopping with Diffuse: Use a microfiber towel or t-shirt to gently scrunch out excess water (micro-plop) between diffusing sections for faster drying.
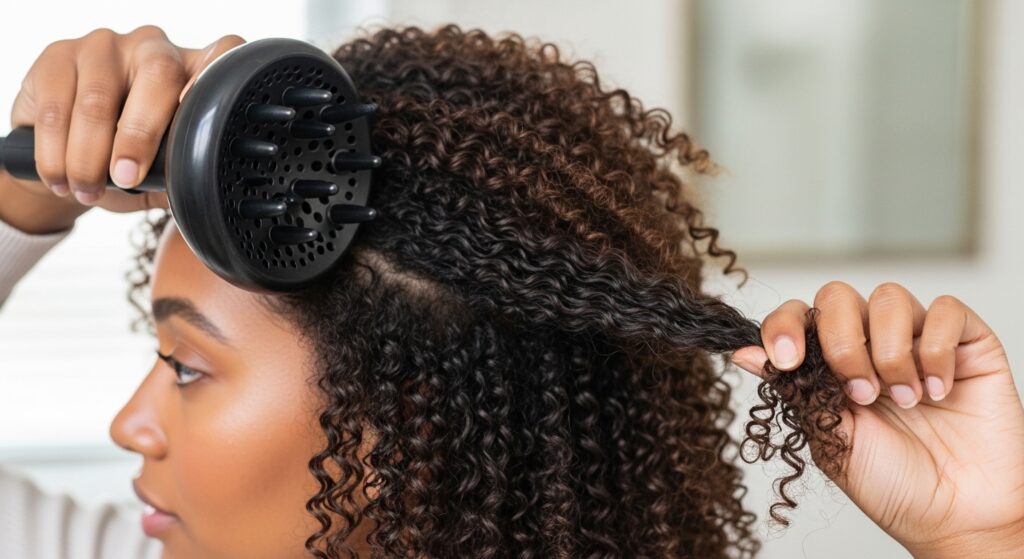
Techniques for Type 4: Coily & Kinky Hair
Type 4 hair is delicate and prone to moisture loss. Techniques must be extra gentle to avoid disrupting fragile coil patterns and to prevent shrinkage from happening too quickly before the hair is set.
15. The Low & Slow Hover: Use only the lowest heat and speed settings. Hover the diffuser around the head for a long time, allowing hair to dry almost completely without touch.
16. Tension Stretching: While diffusing a section, use your free hand to gently pull the hair at the root, applying slight tension away from the scalp. This provides a bit of stretch and root lift.
17. The “Pixie” for Shrinkage Control: Take a small section, gently stretch it downward, and place it in the diffuser. Hold it in this slightly stretched state to dry for more length retention.
18. Diffuse on Cool: Consider using only the cool air setting from start to finish. It takes longer but is the ultimate method for maximizing moisture retention and minimizing frizz.
19. Hooded Diffuser Attachment: If your dryer has a bonnet-style attachment, use it! It allows for hands-free, gentle drying that doesn’t disturb coil definition.
20. Section & Clip Before Diffusing: Thoroughly detangle and section hair, clipping up the top layers. Start diffusing the bottom-most sections first while they are still at their heaviest with water.
Advanced & Universal Techniques for All Hair Types
These methods can be adapted to any curl pattern for specific, often dramatic, results.
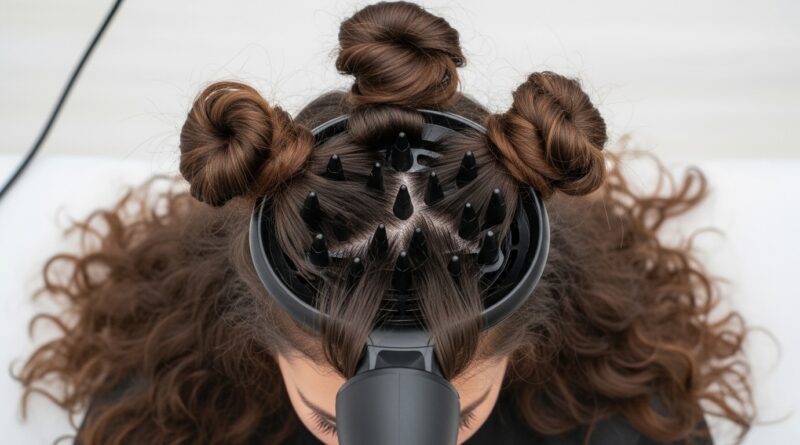
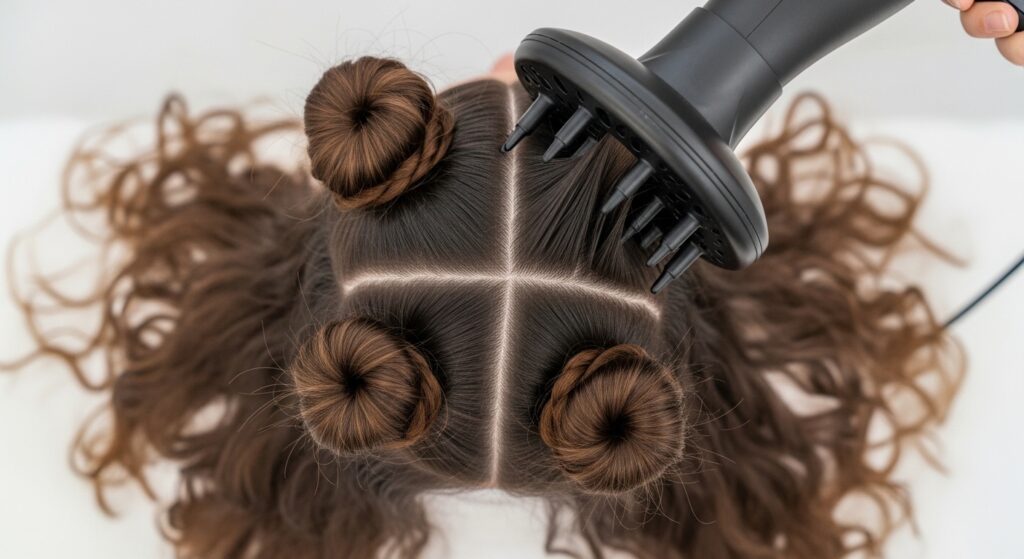
21. The “Medusa” or “Pineapple” Diffuse: For very long hair, create several high, loose pineapples or buns around your head. Diffuse each “pod” individually. This creates massive volume and reduces drying time.
22. Product-Infused Diffusing: Spray a light leave-in conditioner or curl refresher onto the inside of the diffuser bowl *while drying* for an extra boost of moisture and frizz control mid-process.
23. The 50/50 Method: Diffuse your hair only until it is 50% dry, then let it air-dry the rest of the way. This gives you control over root volume and shape while allowing for a perfectly casted, frizz-free finish.
Choosing Your Champion Technique & Final Tips
With 23 techniques, where do you start? Begin with 2-3 methods recommended for your specific curl type. Master those before experimenting. Pay attention to how your hair responds: Does it get frizzy? Try more hovering. Does it fall flat? Incorporate more root-lifting scrunches.
Remember, your hair can be multiple types! You might have Type 3A curls in the front and 3C in the back. Don’t be afraid to mix and match techniques on different areas of your head. The back may need deep cup scrunching while the front benefits from a side-to-side rock.
Finally, always end with a cool shot to seal the hair cuticle. And once dry, resist the urge to touch your curls until they are fully cooled and set. This prevents frizz and preserves your hard work.
Mastering your diffuser is a journey of experimentation. It’s the key to unlocking consistent, beautiful, healthy curls that look and feel their best every single day. So grab your diffuser, pick a technique, and get ready to meet your most defined, voluminous, and glorious curls yet.