23 Type 3 Curly Hairstyles Ringlets Bounce Definition Diffuser Plopping Techniques
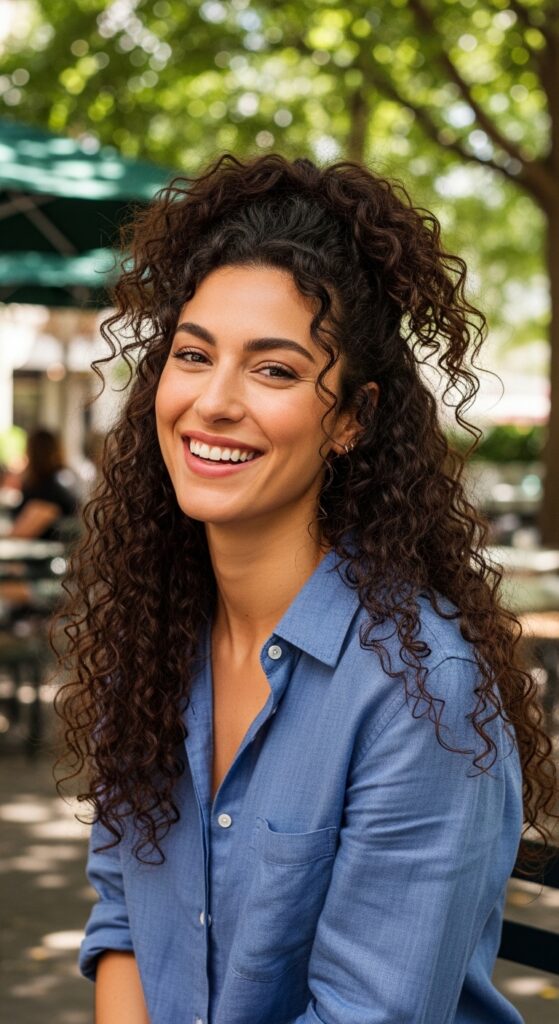
Hey friend. If you’re reading this, you’re probably like me: you’ve spent way too much time staring at your gorgeous, chaotic, type 3 curls in the mirror, willing them to just cooperate. You want that perfect ringlet definition, that incredible bounce, but sometimes it feels like a mystery.
Well, I’ve been there. After years of trial and error (and some serious hair fails), I’ve finally cracked the code. This isn’t about changing your curls, it’s about celebrating them and giving them exactly what they need to shine.
In this post, I’m sharing 23 hairstyles that are perfect for our curl pattern, from everyday looks to special occasion vibes. Plus, I’m breaking down the exact techniques—like diffusing and plopping—that make all the difference. Let’s get into it!
1. The Classic Defined Wash-and-Go
This is the foundation. A great wash-and-go isn’t just air-drying; it’s about applying your products on sopping wet hair in sections to encourage every curl to clump together beautifully.
The key is in the technique and the hold. Use a strong-hold gel or mousse on wet hair, then don’t touch it until it’s 100% dry to avoid frizz.
- Start with hair drenched in the shower.
- Apply a curl cream, then a gel, using prayer hands and scrunching.
- Let it air dry or use a diffuser on low heat to set the cast.
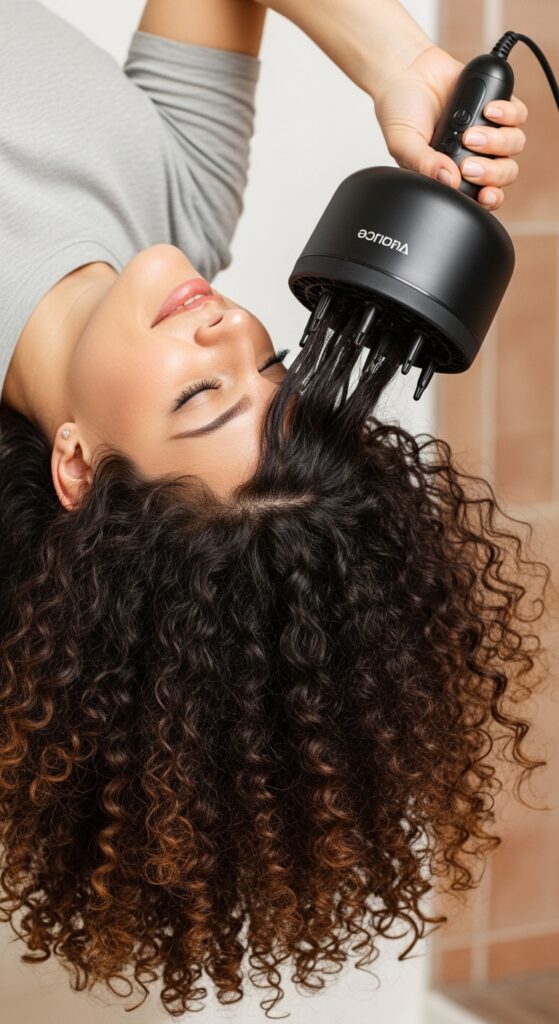
2. Diffuser for Maximum Volume & Bounce
If you think diffusers are just for speeding up drying time, think again. Used right, they are your number one tool for insane volume, root lift, and lasting definition.
The “hover” or “pixie” method is a game-changer. You don’t actually put the curls in the bowl. You hover the diffuser around your roots and sections to dry the cast without disturbing the pattern.
- Start with head flipped upside down.
- Hover the diffuser on medium heat/low speed around your scalp.
- Once roots are 80% dry, gently cup sections to dry the ends.
3. Master the Art of Plopping
Plopping is that perfect trick for enhancing your natural curl pattern while you get ready. It uses a t-shirt or microfiber towel to gently soak up water and let your curls set without friction.
It’s perfect for getting more consistent ringlets, especially at the crown. It helps reduce drying time and prevents the flattening that a regular towel causes.
- Use a 100% cotton t-shirt or a dedicated plopping towel.
- Lay it flat, flip your hair onto the center, and fold the sides up.
- Secure the ends at the nape of your neck and leave for 15-30 minutes.
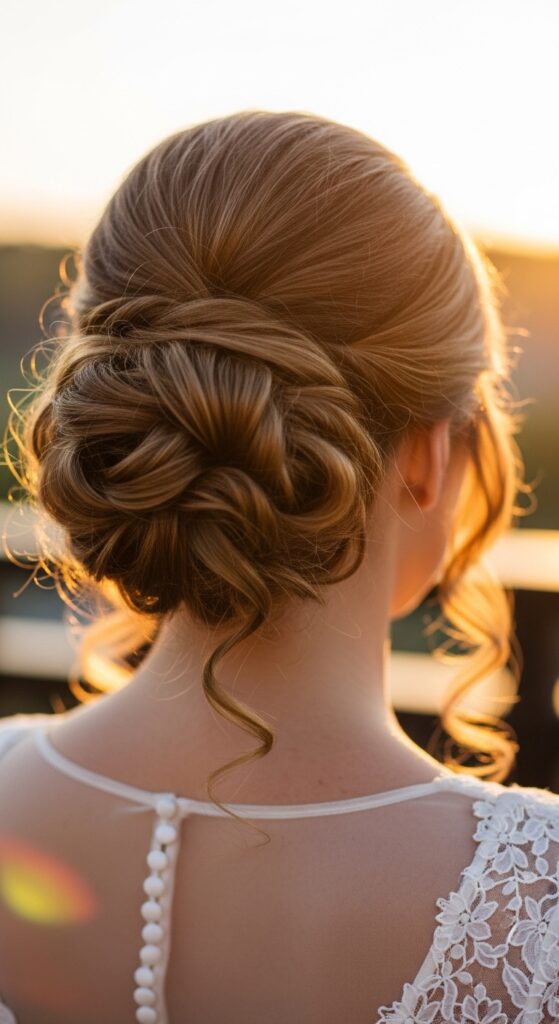
4. Romantic Curly Updo with Tendrils
This is my go-to for weddings, dates, or any day I want to feel put-together but still romantic. It works with second or third-day hair beautifully.
Pull the top half of your hair back loosely, leaving plenty of face-framing tendrils. The goal is softness, not perfection. Use a cute clip or silk scrunchie to secure it.
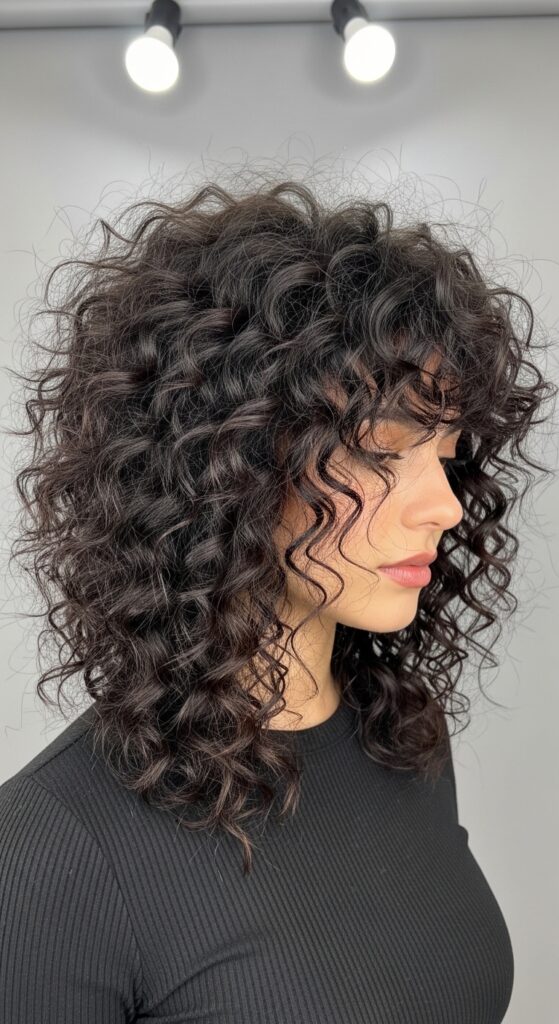
5. The Asymmetrical Lob for Curls
The asymmetrical lob is one of the biggest 2026 hairstyles trends hitting curly hair, and for good reason. It’s chic, modern, and gives amazing shape without sacrificing length.
One side is cut slightly longer than the other, creating a dynamic line that makes your curls look fuller and more intentional. It’s a low-maintenance style with high impact.
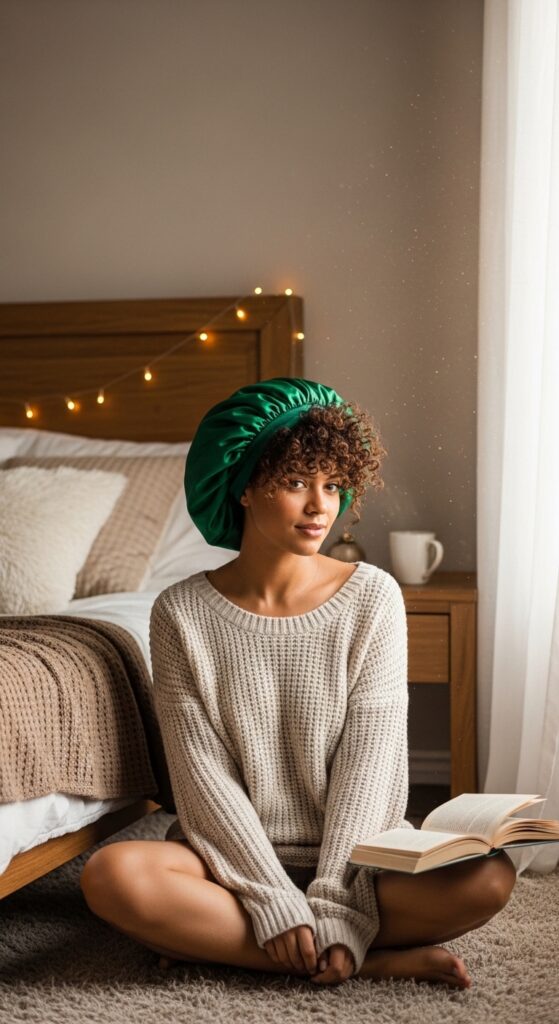
6. Pineappling for Overnight Protection
Want to preserve your wash-and-go for days? Pineappling is the answer. This simple overnight technique prevents your curls from getting smashed flat while you sleep.
Gently gather all your hair at the very top of your head and secure it with a loose silk scrunchie. It should be high enough that you can sleep on your back or side without crushing it.
- Always use a silk or satin scrunchie.
- Don’t pull too tight—you want to preserve volume.
- Cover with a silk bonnet or scarf for extra protection.
7. The “Quiet Luxury” Curly Bob
Think of the quiet luxury bob as the ultimate “I woke up like this” chic cut. It’s not overly styled or perfect; it’s a healthy, shoulder-grazing bob that lets your curl pattern be the star.
The vibe is expensive, effortless, and timeless. It works with your natural texture, asking for minimal product and offering maximum sophistication. It’s the epitome of old money hair for curls.

8. Half-Up, Half-Down Curly Crown
This is the perfect style when your roots are a bit flat but your ends are still popping. It gives you that cute, polished look in under two minutes.
Simply take two small sections from the front, twist them back gently, and secure them at the crown. Pull out a few pieces for that effortless, face-framing effect.
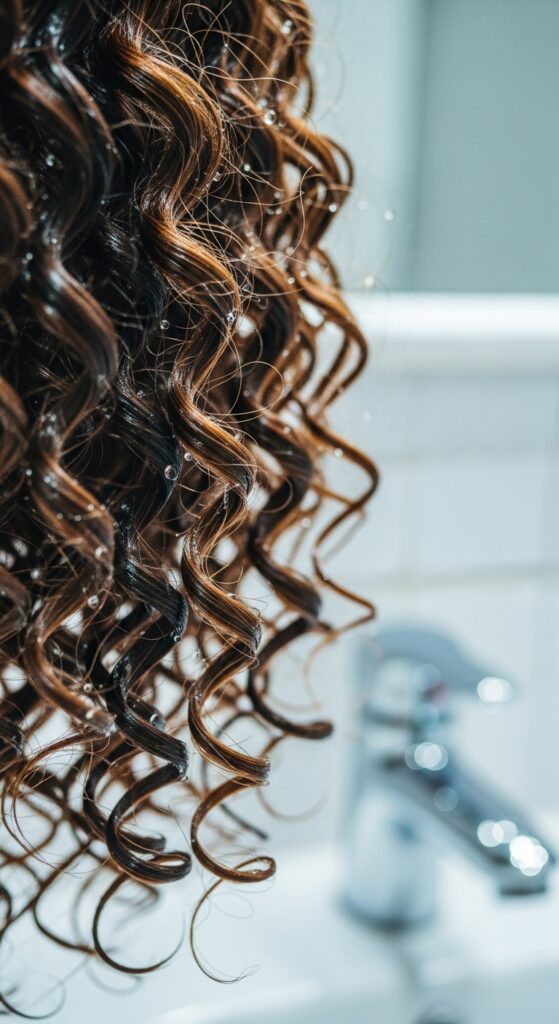
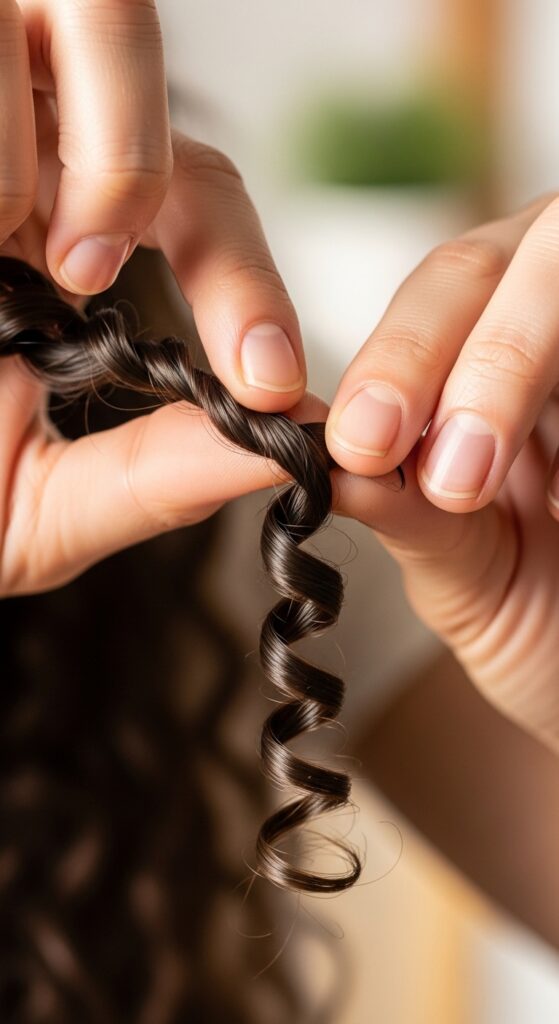
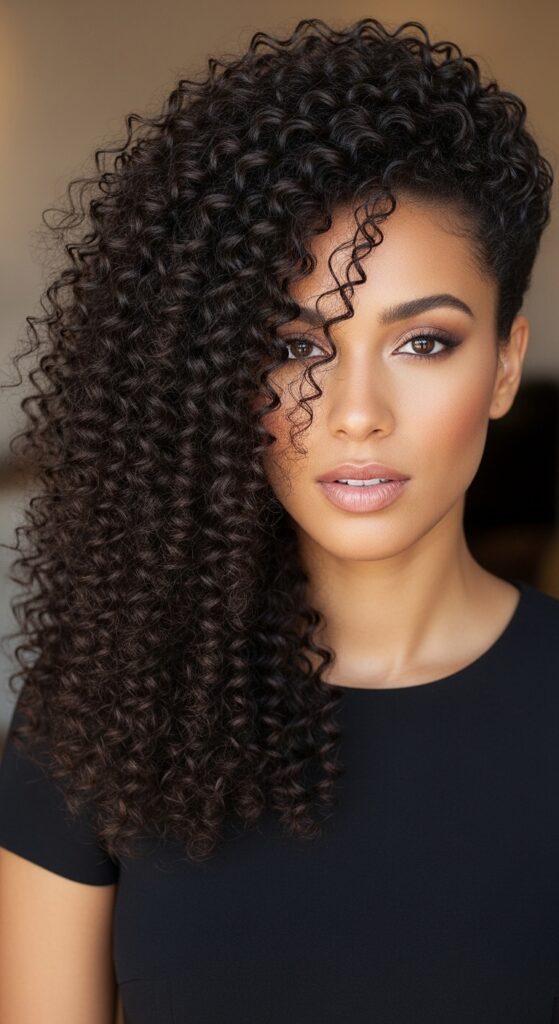
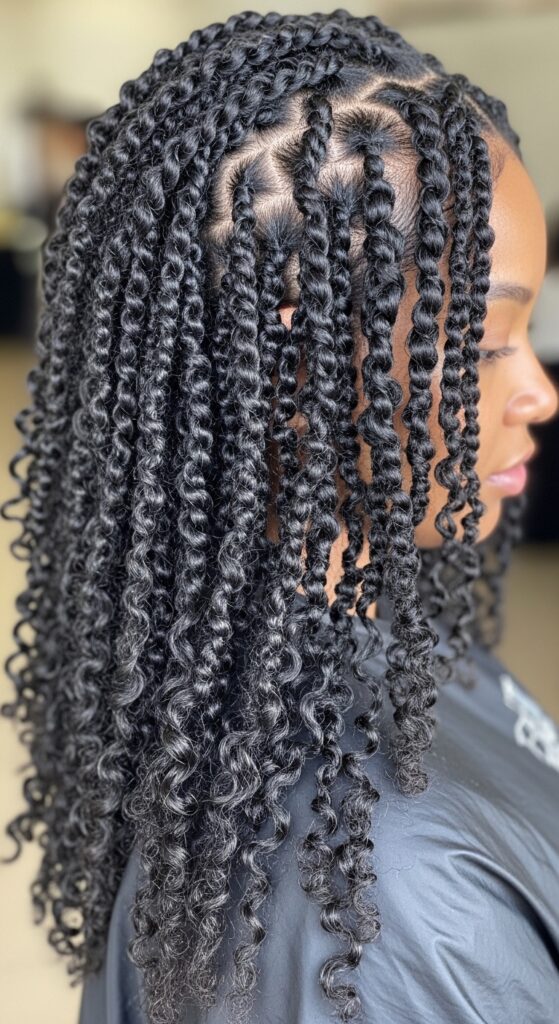
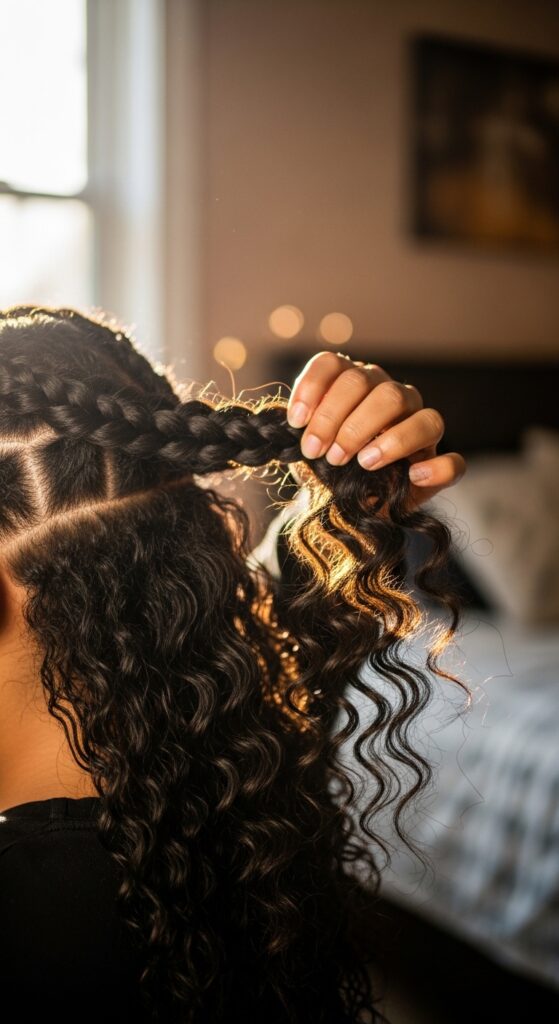
9. Defined Ringlets with Finger Coiling
For special events or when you want ultimate definition, finger coiling is your secret weapon. It helps train looser curl patterns and creates uniform, springy ringlets.
Take small sections of wet, product-soaked hair and twirl them around your finger from root to tip. Then, let them dry without disturbing. The result is stunning, defined spirals.
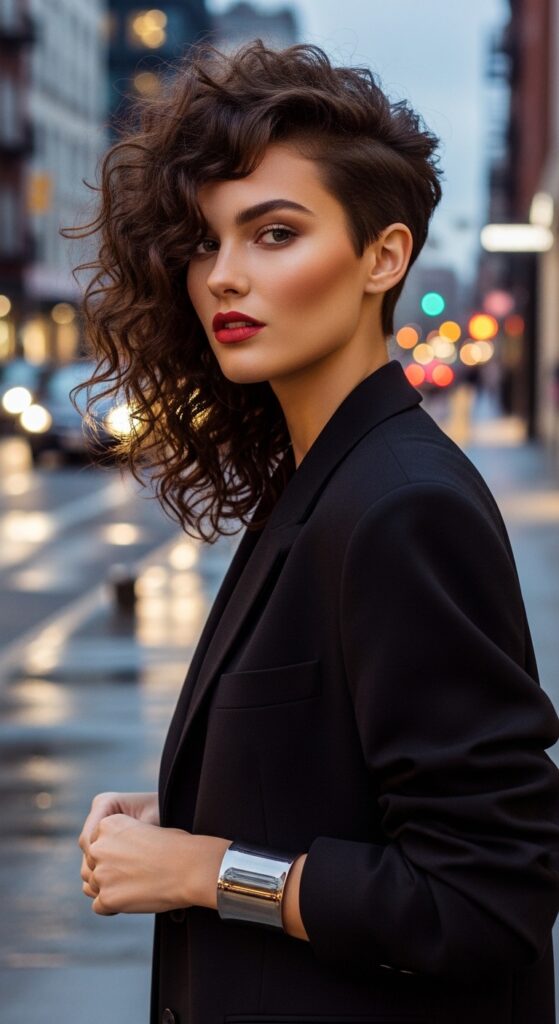
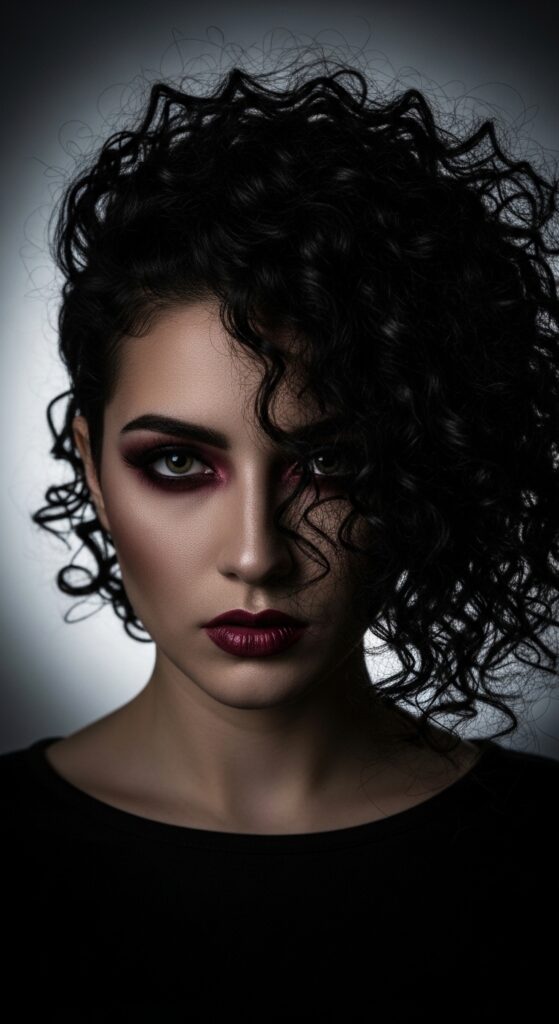
10. The “Vampire Haircut” for Dramatic Curls
Embrace the drama with the vampire haircut. This look is all about sharp, face-framing layers and a generally moody, textured vibe. It’s a perfect match for romantic goth hairstyles.
The layers are cut to create movement and shadow, making your curls look deep and dimensional. Pair it with a deep side part for extra intensity.
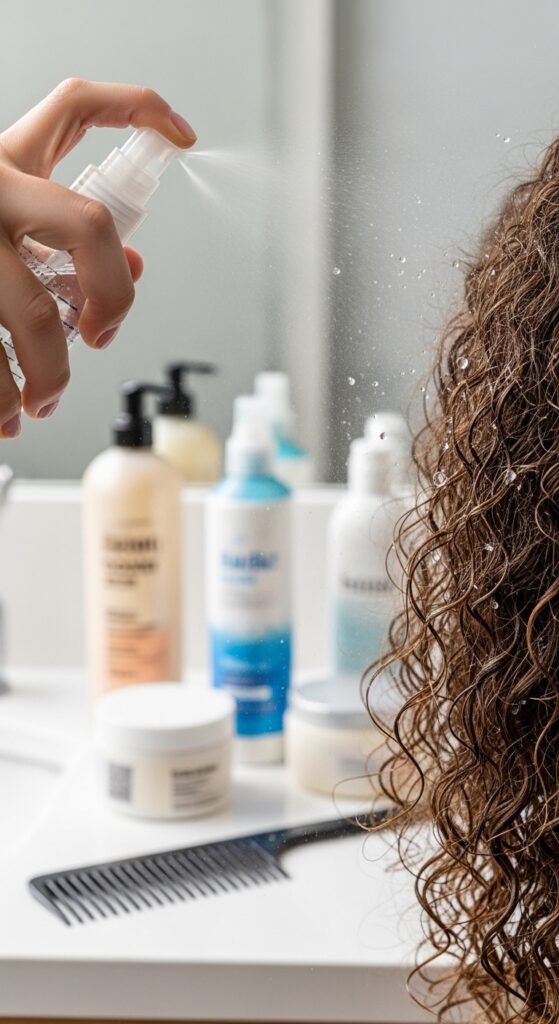
11. Refresh Spray Recipe for Day 2 & 3
Don’t wash your hair! A good refresh can bring your curls back to life. My favorite DIY spray is simple, effective, and costs pennies.
Mix it in a spray bottle: 80% water, 15% leave-in conditioner, and 5% lightweight oil (like argan). Shake well, spray generously, then scrunch. Let it air dry or diffuse lightly.
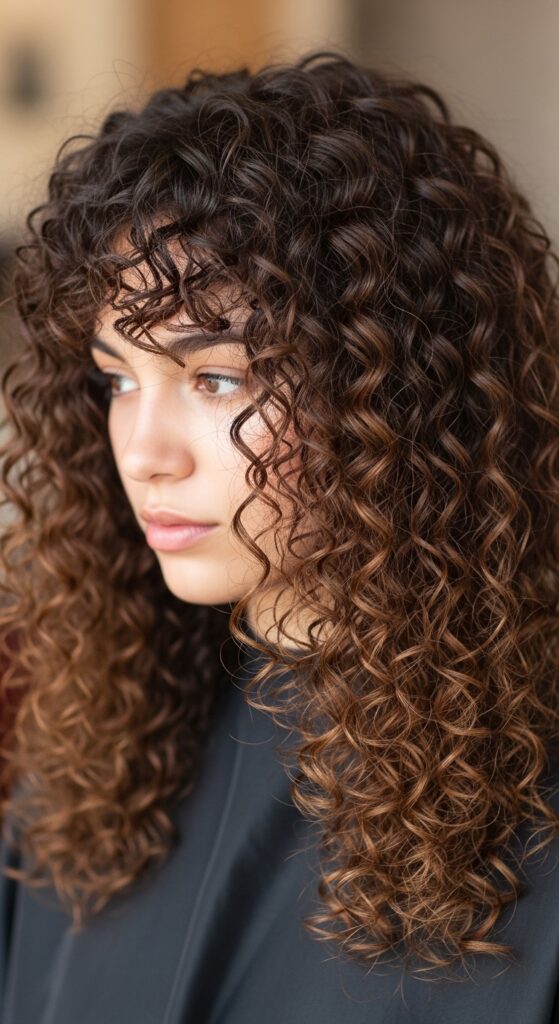
12. The Curly Shag with Bangs
The curly shag is back and better than ever. It’s a layered cut that removes weight and encourages your curls to spring up with insane volume and texture.
Adding curly bangs frames your face and completes the cool-girl, rock-and-roll vibe. This cut is all about embracing chaos in the best way possible.
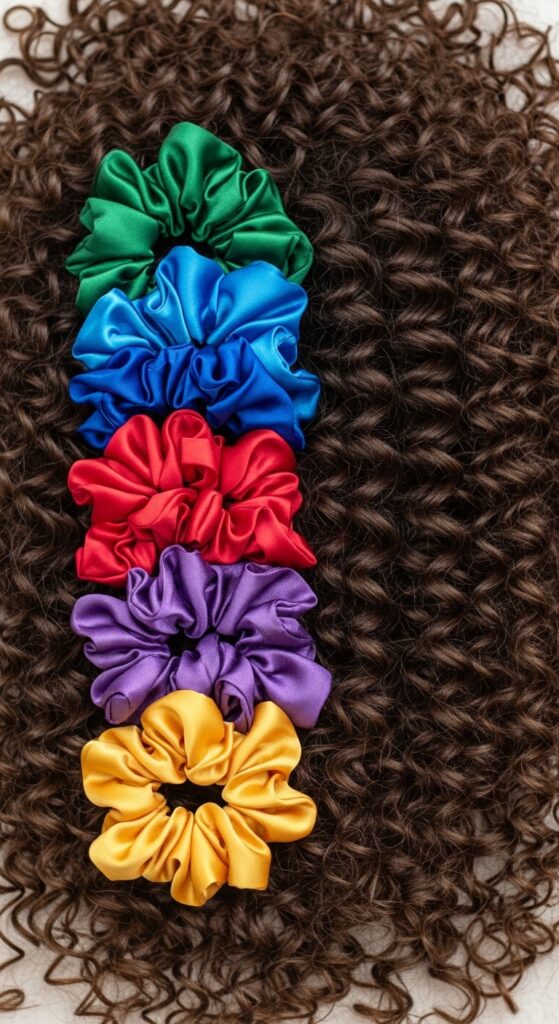
13. Silk Scrunchies & Why They Matter
This is a tiny change with a huge impact. Regular hair ties cause breakage and dent your curls. Silk scrunchies glide on, hold securely without pulling, and leave no crease.
They’re essential for pineappling, ponytails, or any updo. They protect your hair’s cuticle, reducing frizz and helping your styles last longer. Invest in a few good ones!
14. The “Hime Cut” Meets Curly Texture
The hime cut is a striking Japanese style with straight, blunt-cut front strands and layered back hair. Translated to curly hair, it becomes something uniquely beautiful.
Imagine defined, blunt-cut curly tendrils at the front, framing your face, with the rest of your curls flowing freely. It’s a bold, artistic take that plays with shape and texture.
15. Deep Side Part for Instant Glam
Sometimes the simplest trick is the most effective. Switching your part from the center to a deep side instantly adds volume, drama, and a touch of old-Hollywood glamour to your curls.
It changes the entire shape of your style, making it look fuller and more intentional. It’s a zero-effort way to make your everyday curls feel brand new.
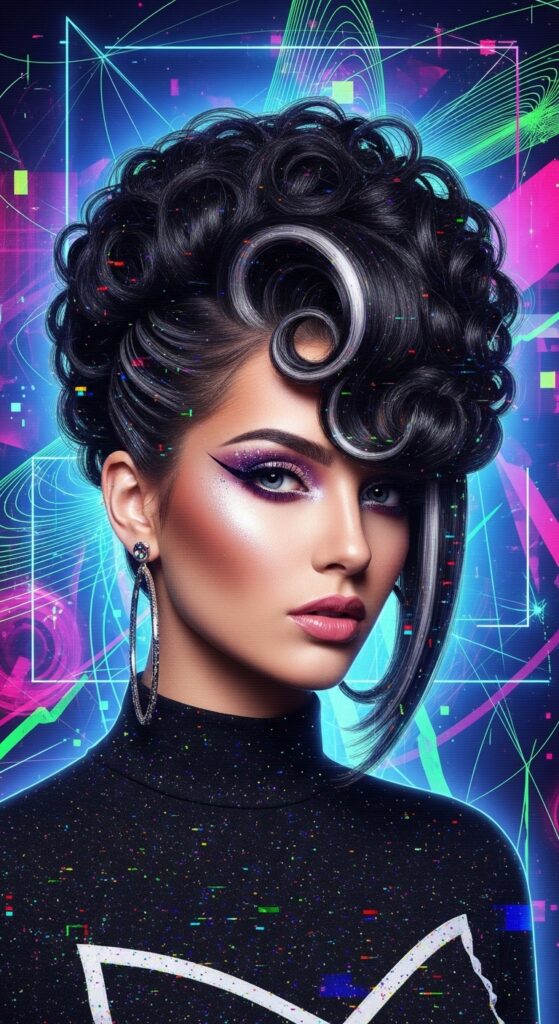
16. The “Glitchy Glam” Curly Look
Glitchy glam hair is all about intentional imperfection. Think a perfectly defined curl pattern with one or two sections deliberately picked out, flattened, or styled straight.
It’s a playful, modern trend that breaks the “rules” and feels very fashion-forward. It works amazingly on shorter curly cuts and bobs.
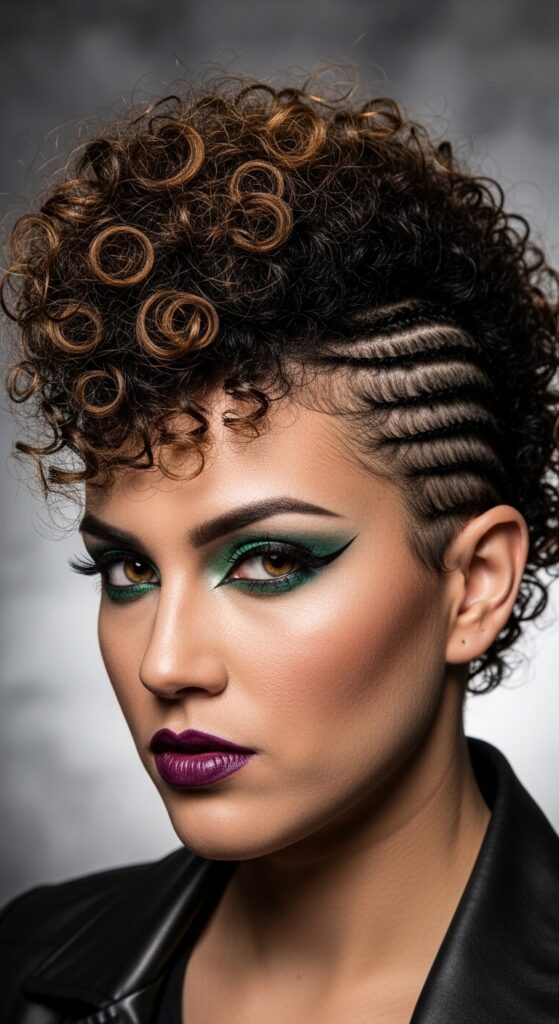
17. Curly Frohawk for Bold Days
Feeling bold? The curly frohawk is an incredible statement. It shows off the shape of your cut and the versatility of your texture.
Using strong-hold gel or foam, slick down the sides of your hair (or leave them out for a softer look) and let the middle section rise up in all its voluminous glory.
18. Twist-Out for Defined Texture
A twist-out is a classic for a reason. On stretched or blown-out hair, or even on wet hair, twisting sections creates a beautiful, defined wave pattern that lasts for days.
The smaller the twists, the tighter the pattern. Let them dry completely before unraveling for the best, frizz-free results. Then, separate gently for volume.
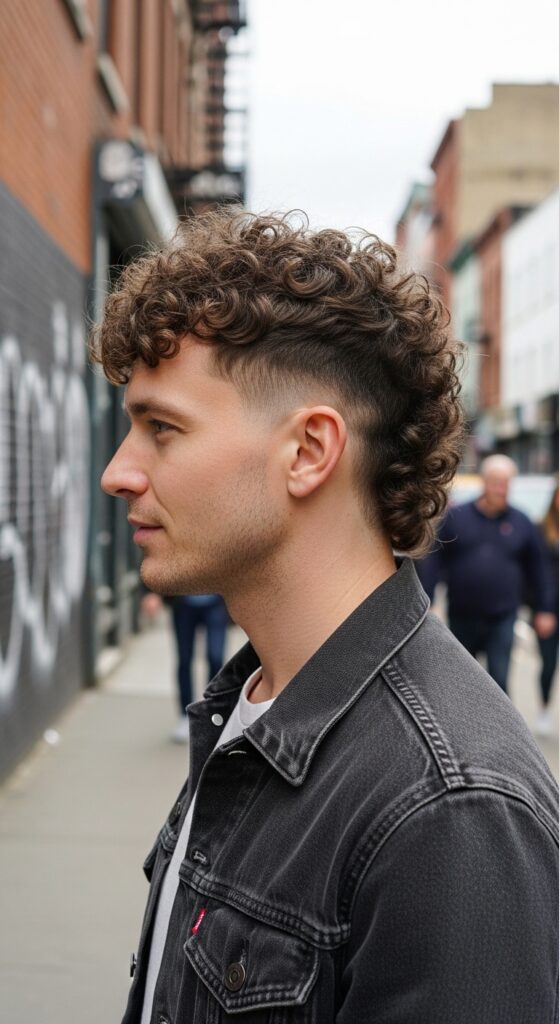
19. The Modern Mullet for Curls
The curly mullet is playful, edgy, and full of personality. It’s short and layered at the front and top, with longer, textured curls in the back.
This cut celebrates the natural movement of your curls and is surprisingly low-maintenance. It’s a confident choice that’s all about fun and self-expression.
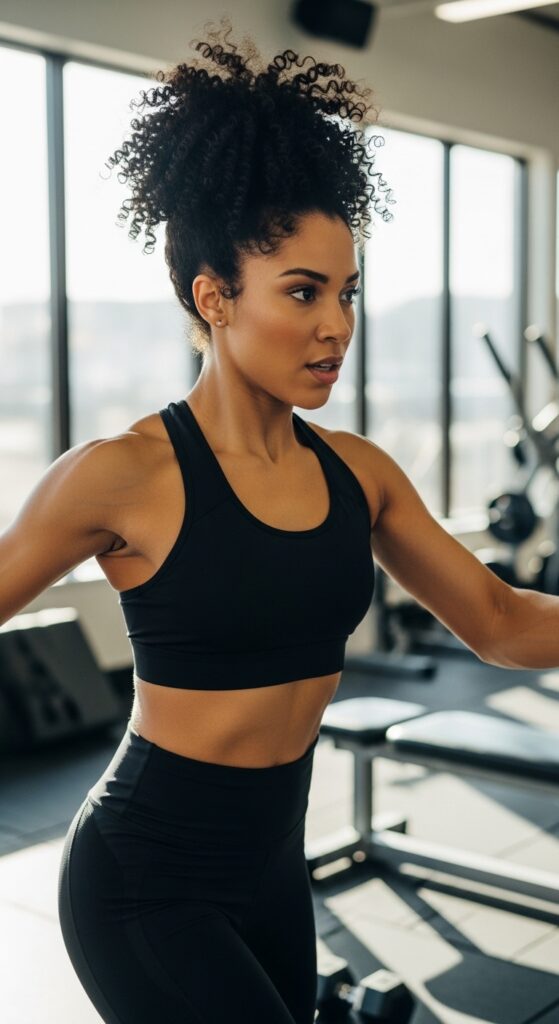
20. Protecting Curls at the Gym
Working out with curls doesn’t have to mean a sweaty reset. The key is prevention. Put your hair in a very loose, high ponytail or pineapple with a silk scrunchie before you start.
After your workout, don’t take it down immediately. Let your scalp cool and dry first. Then, use your refresh spray to revive any flattened areas.
21. Braid-Out for Voluminous Waves
Similar to a twist-out but with a different result. Braid-outs create a looser, wave-like pattern with tons of volume. They’re perfect when you want a change from your usual curl definition.
Do a few large braids on damp, product-treated hair. The more braids you do, the more waves you’ll get. Sleep on it and unravel in the morning for gorgeous, heat-free waves.
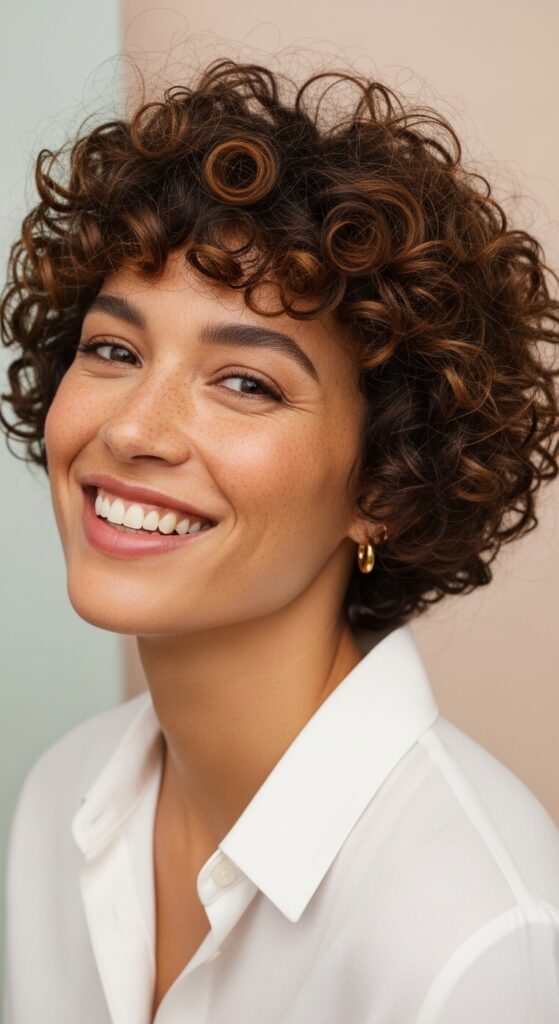
22. The Tousled Curly Pixie
For the ultimate low-maintenance, high-style cut, consider the curly pixie. It’s liberating, chic, and shows off your curl pattern in a bold, short format.
Styling is a breeze: just add product, scrunch, and go. It air dries in minutes. This cut is all about confidence and embracing the natural shape of your curls.
23. Your Curly Hair Emergency Kit
Be prepared for anything! My purse-sized kit saves me from bad hair days. It has a travel spray bottle for water, a tiny jar of curl cream, a silk scrunchie, and two small jaw clips.
With this, I can fix a frizzy section, revive flat roots, or throw my hair up in a cute clip style in seconds. It’s a game-changer for curly girls on the go.
- Mini spray bottle
- Sample-size curl cream
- Silk scrunchie & 2 clips
And there you have it, friend! A whole treasure chest of ideas and techniques just for your beautiful type 3 curls. Remember, the goal isn’t perfection—it’s finding what makes you feel amazing and works with your life.
Your hair is as unique as you are, so have fun playing with these styles. Some will be your new favorites, and others might just be for a fun night out. That’s the beauty of having such versatile hair!
Save this post to Pinterest so you always have this guide handy for your next wash day or style inspiration. And I’d love to know—which style are you trying first? Tell me in the comments below!