27 Polished Long Haircut Layers Emphasizing Healthy Reflective Hair Shine
Long hair with layers is having a moment, and not the messy kind. In 2026, the prettiest cuts are the ones that look expensive, move softly, and catch the light.
I’ve spent years testing cuts on my own fine-but-there’s-a-lot-of-it hair, and here’s what I know: shine is not luck. It’s the cut, the care, and a few small habits.
So today I’m sharing 27 polished long haircut layers that emphasize healthy, reflective shine — plus exactly how to ask for them at your next appointment.
You’ll get face shape tips, product picks, and routines you can start tonight. No salon degree needed.
Why Polished Layers Are the Look of 2026

Polished layers are the quiet backbone of 2026 hairstyles. They’re soft, blended, and intentional — never choppy, never thin at the ends.
Unlike the heavy V-cuts from a few years ago, these layers sit smoothly so light travels straight down the strand. That’s what creates the mirror-like finish.
You’ll spot them on old money hair, on the runway, and on that one neighbor who always looks put together.
The best part? They grow out beautifully. You get months of good hair days instead of three weeks.
The Shine Secret: Light Needs a Smooth Surface
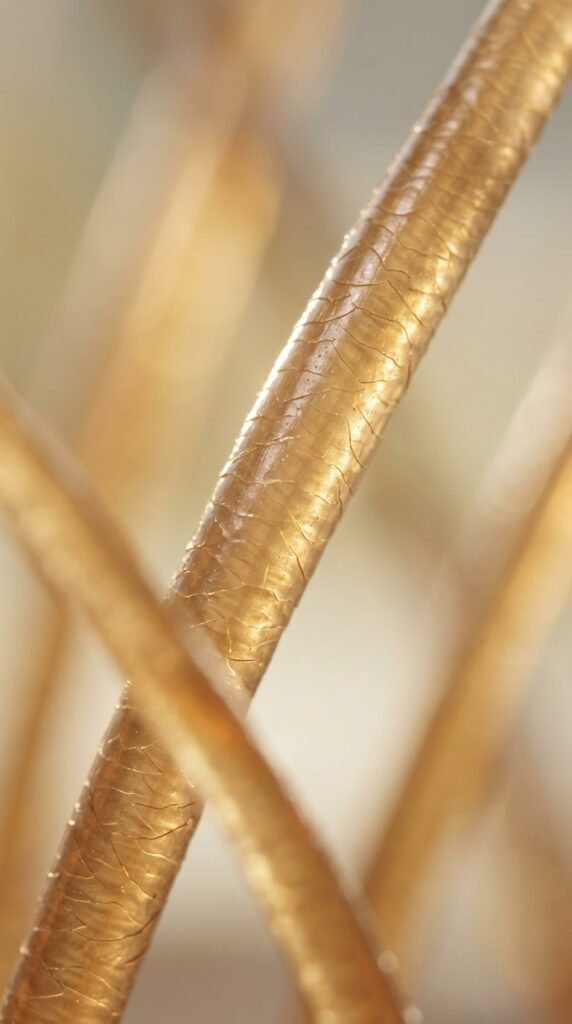
Shine isn’t a product. It’s reflection. When your cuticle lays flat, light bounces off your hair like a window. When it’s rough or raised, light scatters and your hair looks dull.
So every layer you cut should support a smooth surface. That means blunt-ish ends, gentle graduation, and no razor-thin tips.
Healthy hair shines. Damaged hair doesn’t, no matter how much gloss you spray on top.
Keep that in mind as you scroll. Pretty shape plus healthy ends equals glow.
What “Polished Layers” Actually Means
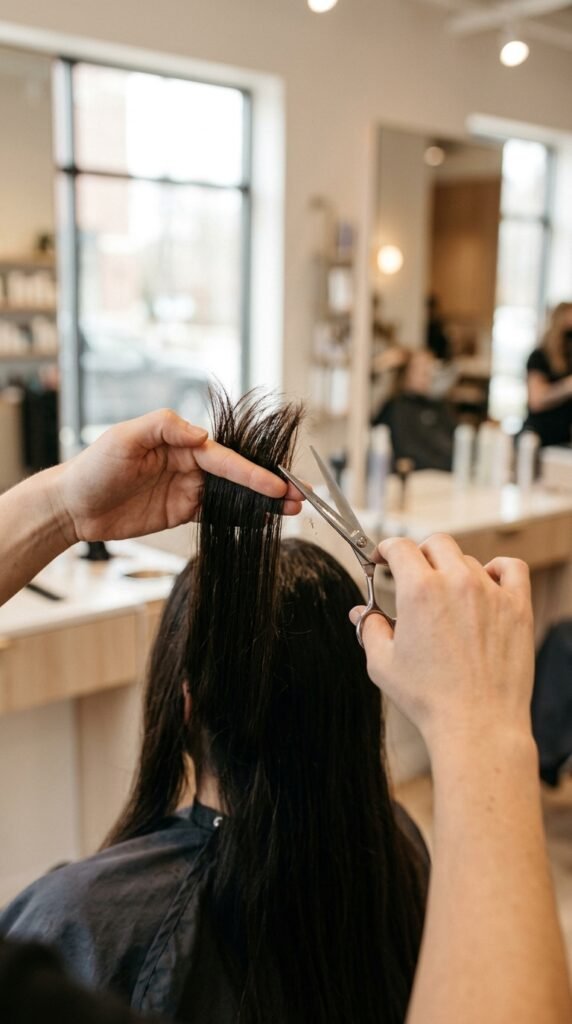
Polished has three rules:
- Layers start below the chin so the top stays full.
- Ends are point-cut or slide-cut, never hacked.
- The shortest layer blends invisibly into the longest.
This is different from choppy or shaggy layers, which are intentionally piecey. Polished layers read smooth, calm, and expensive.
Ask for “invisible layers” or “soft blended layers.” You’ll get much closer than saying “long layers with a little volume.”
Find Your Best Layer Start Point by Face Shape
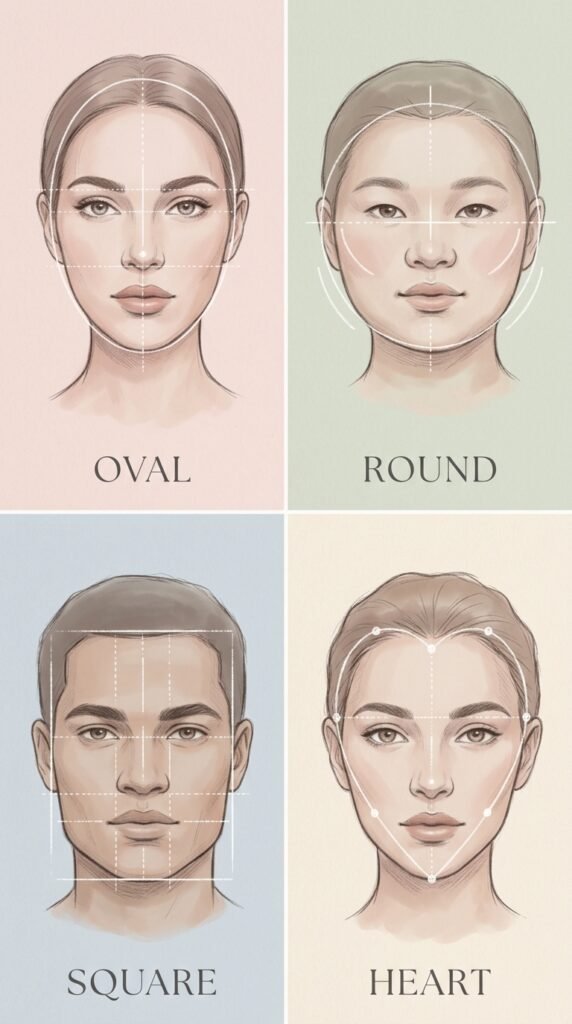
Round faces: start layers at the collarbone to lengthen.
Square faces: soft curved layers around the jaw soften angles.
Heart faces: add face-framing pieces near the cheekbone.
Oval: lucky you — almost anything works.
Long faces: keep layers low and add width near the earlobes.
Bring a photo. Point to where you want the shortest layer to start. That one detail matters more than the overall length.
The Quiet Luxury Bob Grew Out — Now It’s This

The quiet luxury bob was everywhere. Now the girls who cut it are two years in, and their hair is long again — with layers.
That grow-out is the blueprint. Shoulder-length pieces in front, longer layers behind, all blended together.
It’s the easiest way to look expensive without a big change.
If you loved your bob but want length, ask for a soft asymmetrical lob that transitions into long layers in back.
Asymmetrical Lob to Long Layers
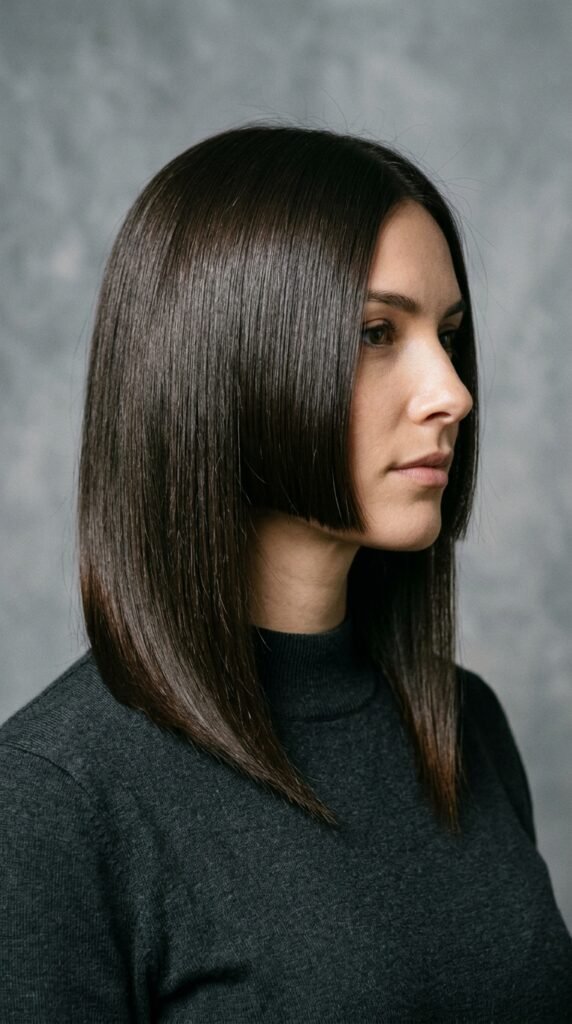
The asymmetrical lob is the perfect middle step. One side grazes the jaw, the other skims the shoulder.
Ask for one side an inch or two shorter, with the difference hidden inside long layers so nothing looks accidental.
It’s sharp, modern, and very 2026 hairstyles energy.
Wear it sleek for a stronger line, or with a bend at the ends for softness. A little root boost at the crown keeps it from falling flat.
Hime Cut for the Bold Minimalist
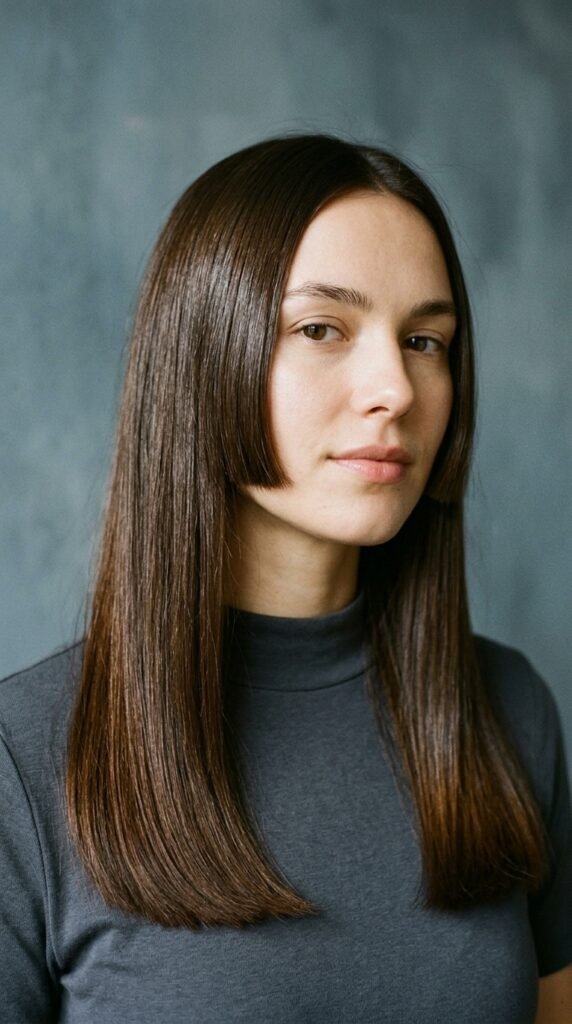
The hime cut is blunt side pieces plus long straight length. Add soft layers through the back and it becomes wearable every single day.
Ask for side pieces at cheekbone or jaw level, kept blunt and smooth.
Shine matters most here. Straight, glossy hair shows every detail, so a monthly gloss is worth it.
Great on medium-thick hair. On fine hair, keep the side pieces thin and ask for gentle blending.
The Vampire Haircut, Softened

The vampire haircut is sleek, dark, and slightly sharp — usually a strong center part with face-framing pieces.
To make it polished instead of costume-y, ask for blended layers rather than blunt slices.
It looks incredible on deep brunette and cool-toned black hair.
Pair it with a middle part and a tiny bit of shine serum on the ends.
Bonus: it grows out into pretty long layers with almost no awkward stage.
Romantic Goth Hairstyles With Long Shiny Layers

Romantic goth hairstyles love length and shine. Think soft waves, deep tones, and layers that flow instead of chop.
Ask for long layers that start at the collarbone and taper gently toward the ends.
Add a dark gloss — black cherry, deep espresso, cool plum — to catch the light.
Keep ends smooth. Goth hair looks best when it’s polished, not fried.
A loose braid or half-up style shows off the layers and keeps the mood.
Glitchy Glam Hair for the Edgy Girl

Glitchy glam hair is all about contrast — sleek roots, a flick here, a strand out of place there. On purpose.
Build it on a polished long layered cut, then break the rules with styling.
Try a deep side part, pin one side, and let a few pieces fall forward.
A sharp shine spray plus a slightly messy end keeps it interesting.
It photographs beautifully in flash, which is exactly why it’s trending for nights out.
Old Money Hair: The Shine Standard
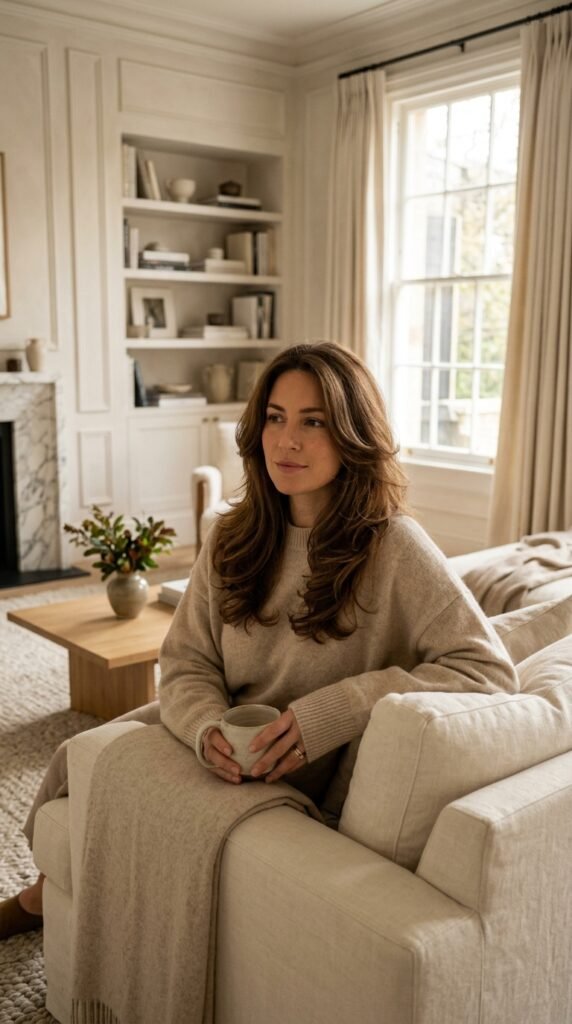
Old money hair is simple: healthy, bouncy, and never overdone. Long layers with a soft bend do the heavy lifting.
Keep your color close to your natural tone. Grown-out highlights look richer than fresh ones.
Blow-dry with a round brush for smoothness, then brush through with a drop of oil.
No visible product. No crunch. Just hair that looks like it’s been cared for forever.
That’s the whole trick.
How to Ask Your Stylist for Polished Layers
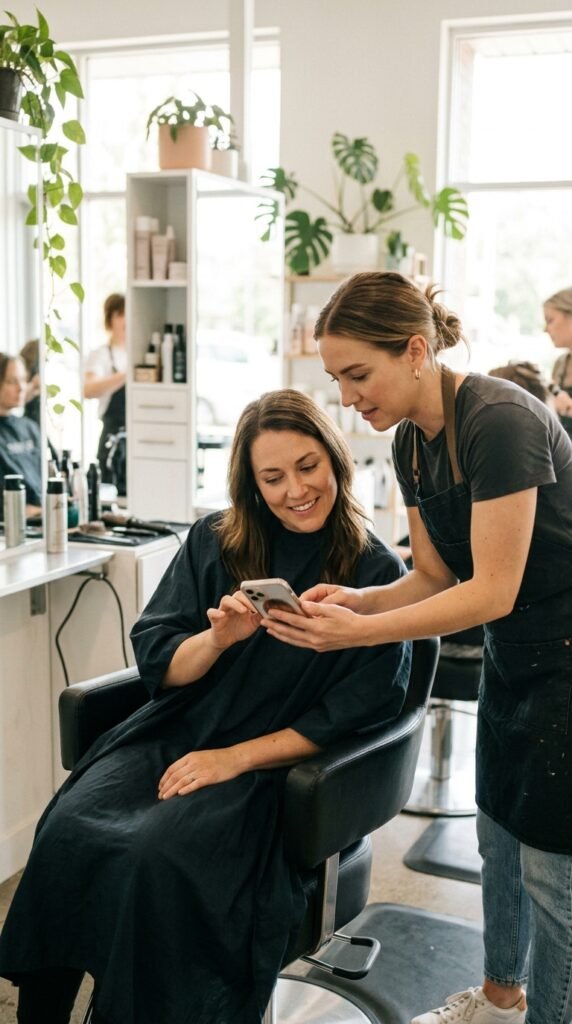
Use these exact words:
- “I want long layers that blend invisibly, starting below my chin.”
- “Please point-cut the ends — no blunt shelves.”
- “Keep my ends thick and take the weight from the inside.”
- “I want it to look smooth when I air dry it.”
Bring two photos: one of the shape, one of the finish. Skip the color photo unless you actually want the color too.
Fine Hair: Layers That Don’t Thin You Out

Fine hair needs fewer layers, not more. Too many and the ends go see-through.
Ask for two or three long layers, starting at the collarbone or lower.
Keep the perimeter blunt for a fuller look, and skip the razor entirely. Ask for slide-cutting or point-cutting only.
A little dry shampoo at the roots plus a light oil on the ends gives you shine without weight.
Thick Hair: Layer Without the Puff

Thick hair needs weight removed from the inside, not the outside.
Ask for invisible internal layers, sometimes called thinning with structure.
Keep the outline long and soft so the shape doesn’t go mushroom.
A stylist who works with a razor or slide-cut is your best friend here.
Then blow-dry with tension to smooth the cuticle and let the layers fall flat and shiny.
Curly and Wavy Long Layers That Still Shine
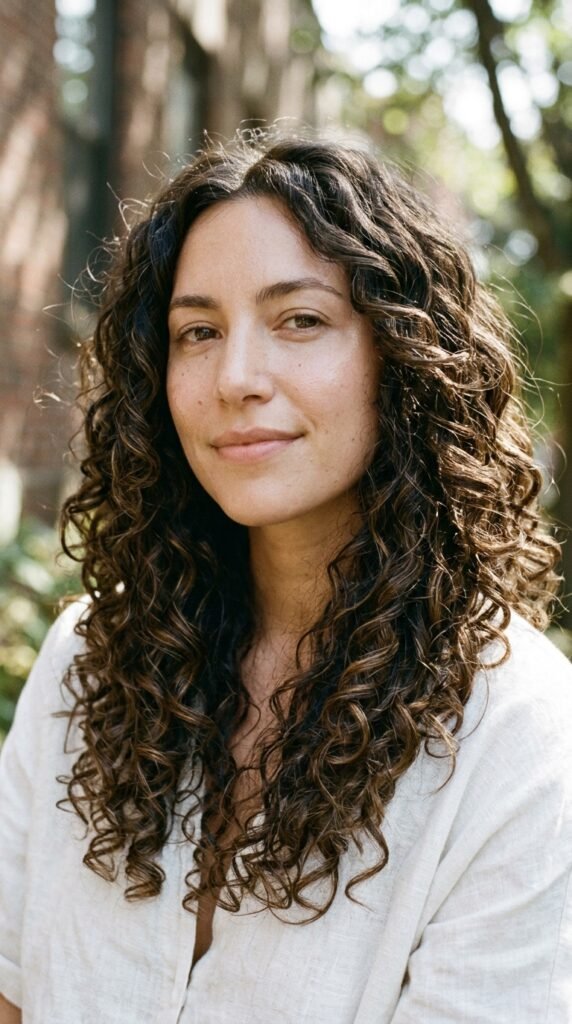
Curls need layers cut dry, curl by curl, so each one sits where it belongs.
Ask for a shape that’s longer in back with soft framing in front.
Avoid thinning shears — they create frizz.
Shine on curls comes from moisture. Leave-in conditioner plus a gel cast, then scrunch out the crunch.
Diffuse on low heat and don’t touch until it’s fully dry. A curl-friendly gloss adds reflection without killing your pattern.
The Blowout Routine That Creates the Shine
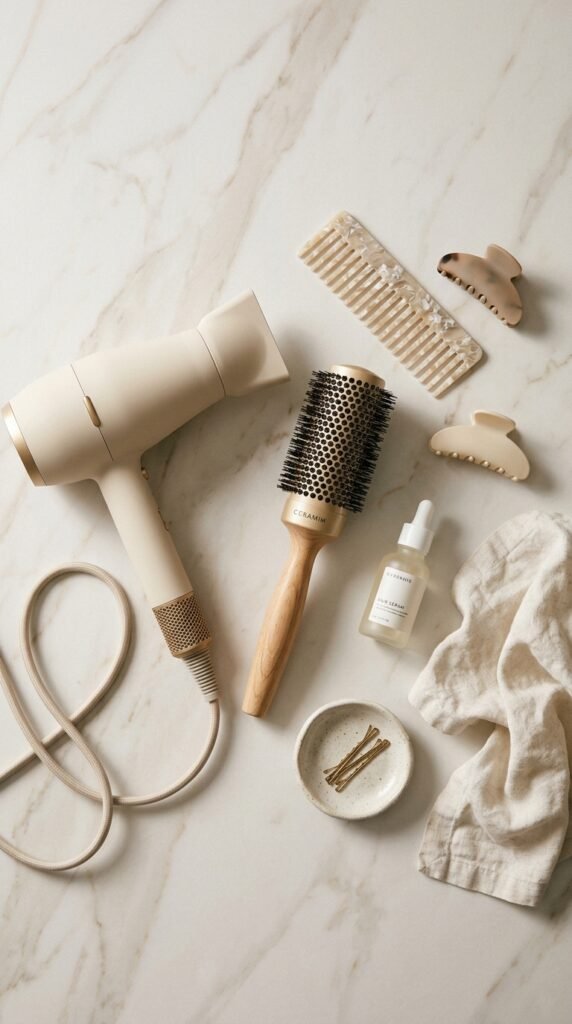
Shine starts with tension and heat control.
- Towel-dry gently, then add heat protectant.
- Rough-dry to 80% with your head upside down for root lift.
- Section and blow-dry with a round brush, nozzle pointed down the strand.
- Finish with a cool shot to seal the cuticle.
- One drop of lightweight oil through the ends only.
That cool shot is the step most people skip, and it’s the one that makes hair look glassy.
Shine Starts in the Shower
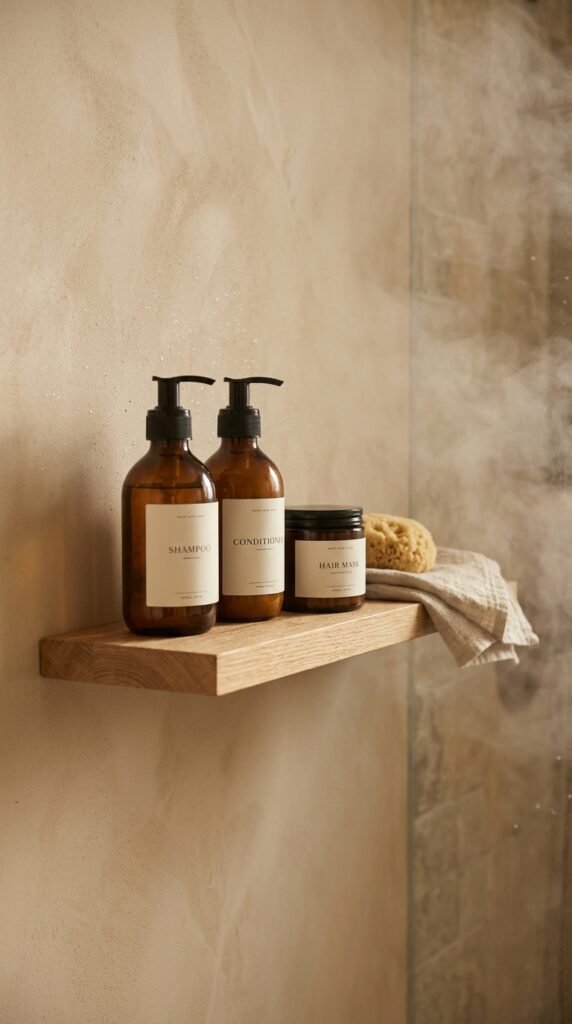
Your cuticle is happiest at a slightly acidic pH, so choose a shampoo that doesn’t strip.
Wash your scalp, not your ends. Let the suds rinse through the length.
Follow with conditioner from mid-shaft down, and leave it on for two full minutes.
Once a week, swap in a bond-building mask.
Rinse with cool water at the end. It’s a small thing that genuinely helps.
Heat Protection Without the Heavy Feel
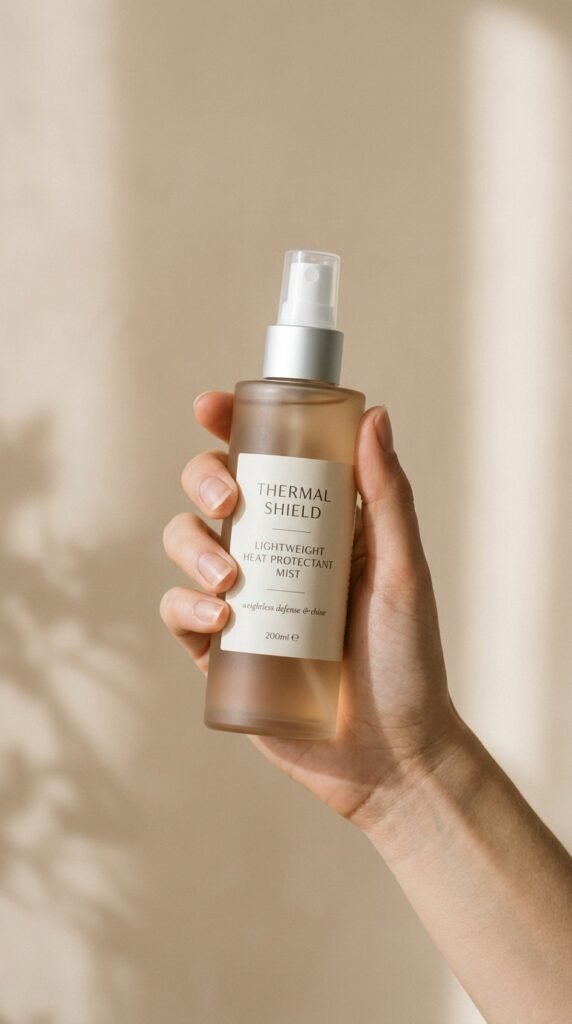
Fine hair girls, this one’s for you.
Look for a lightweight mist with hydrolyzed silk or panthenol. Spray on damp hair, not dry.
Keep your iron under 350°F and only do one pass per section.
If your hair squeaks when you flat iron it, it’s too dry — add a little leave-in first.
And always use the cool shot. It sets the shine in place.
Gloss Treatments: Salon vs. At-Home
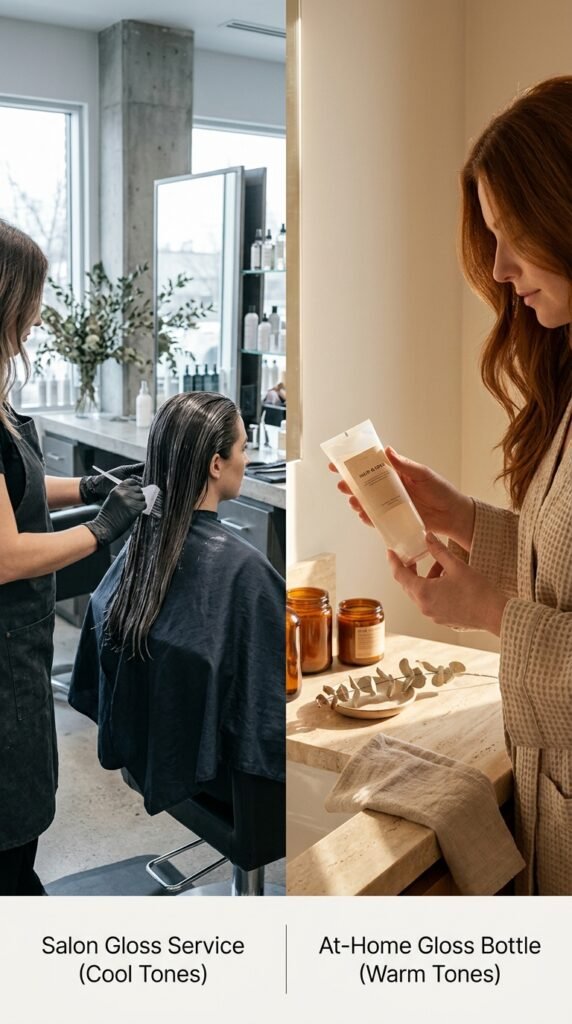
A salon gloss lasts four to six weeks and makes layers look twice as defined. Worth it before events.
At-home glosses are great between visits. Look for clear or tinted options with no ammonia.
Apply on damp hair, wait the full time, then rinse well.
You’ll notice the difference most on the mid-lengths where light hits.
If your hair is damaged, do a bond treatment first, then gloss.
Trims Are the Real Shine Secret
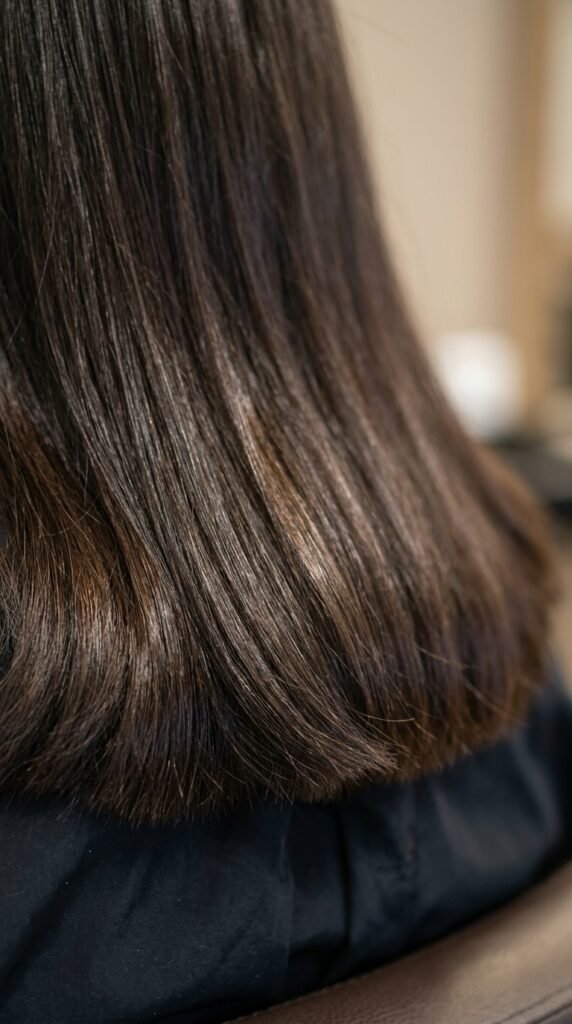
Split ends travel up. Once they split, no product fixes them.
A dusting every 10 to 12 weeks keeps your ends smooth and reflective.
If you’re growing your hair out, ask for a dusting — just the very tips.
Layers look more expensive on healthy ends. It’s that simple.
Book your next appointment before you leave the salon. Future you will thank you.
Products That Add Shine Without Grease
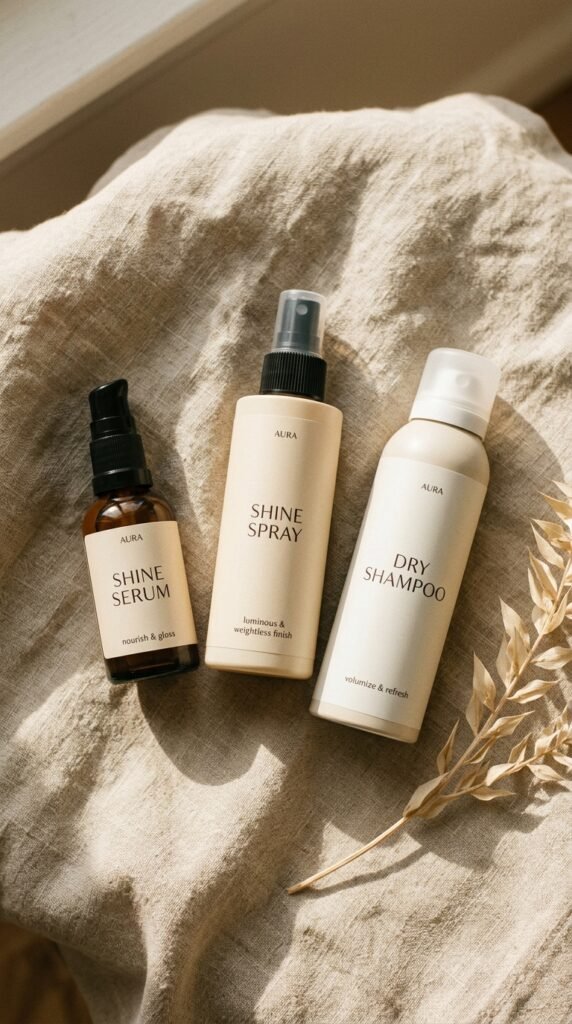
Keep it to three:
- Lightweight shine serum or oil for the ends
- Shine spray for finishing
- Dry shampoo for the roots, used sparingly
Apply oils to damp ends, never the roots. Use less than you think you need.
Spray shine spray from about 10 inches away and let it settle.
If your hair looks greasy by noon, you used too much. Halve it next time.
Sleep Habits That Protect Your Shine
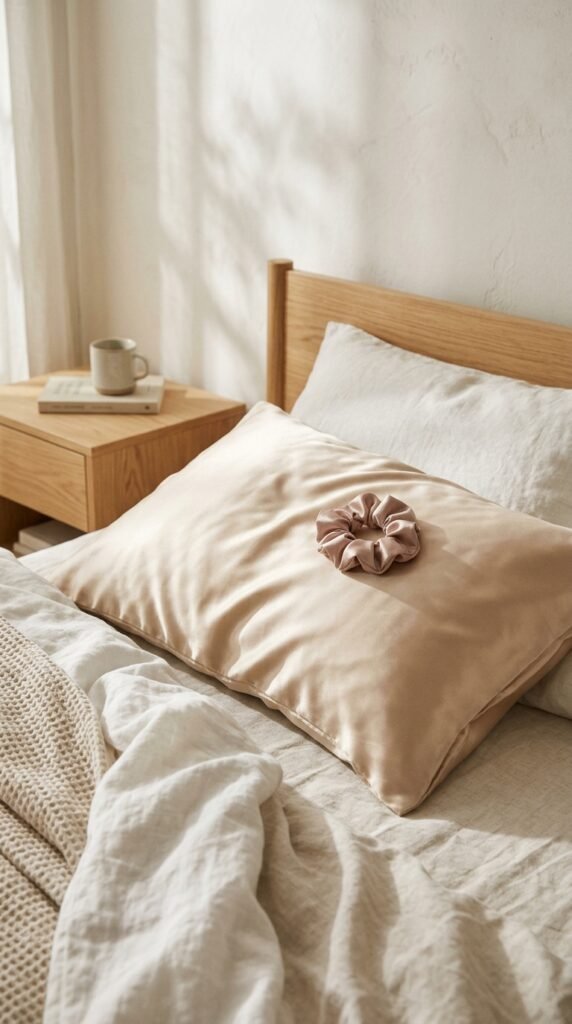
Cotton pillowcases rough up your cuticle all night long.
Switch to satin or silk. Your layers will look smoother in the morning.
A loose braid or silk scrunchie keeps long hair from tangling.
A satin bonnet works too, especially if you have curls.
You’ll need fewer trims and less heat, which means more shine over time.
The 5-Minute Day-Two Refresh
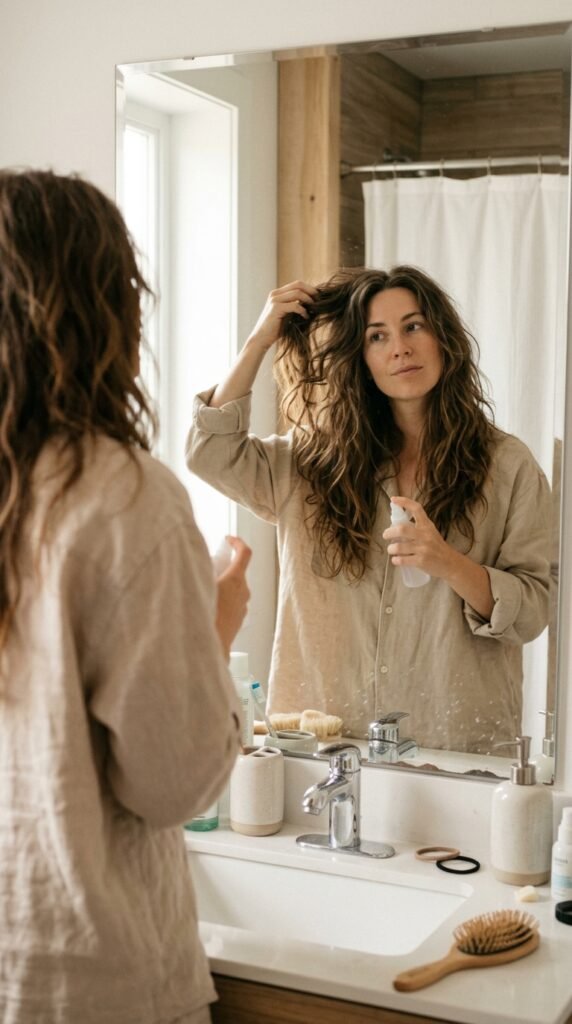
Don’t wash. Just reset.
- Dry shampoo at the roots, then massage with your fingers.
- Mist the mid-lengths with water and a little leave-in.
- Re-blow-dry the front pieces with a round brush for 60 seconds.
- Add one drop of oil to the ends.
Five minutes and your polished layers look fresh again. This is the routine that makes long layers actually worth it.
Mistakes That Kill Shine
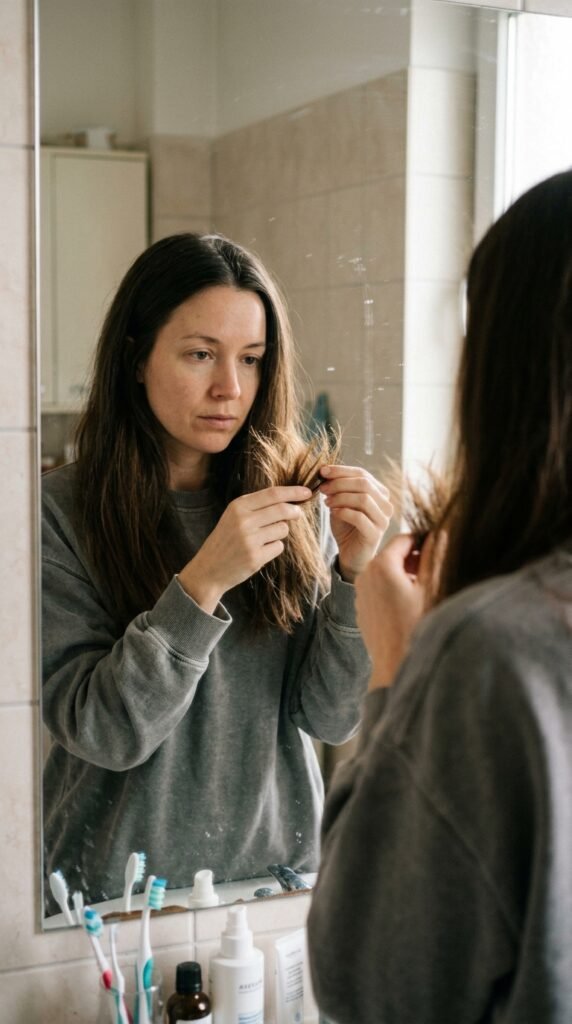
Watch out for these:
- Over-layering fine hair until ends look stringy
- Skipping heat protectant
- Brushing wet hair from the top down
- Too much oil at the roots
- Going six months without a trim
- Hot tools on soaking wet hair
Fix two of these and you’ll see a difference in a week or two. Fix all six and people will ask what you changed.
Building a Routine You’ll Actually Keep
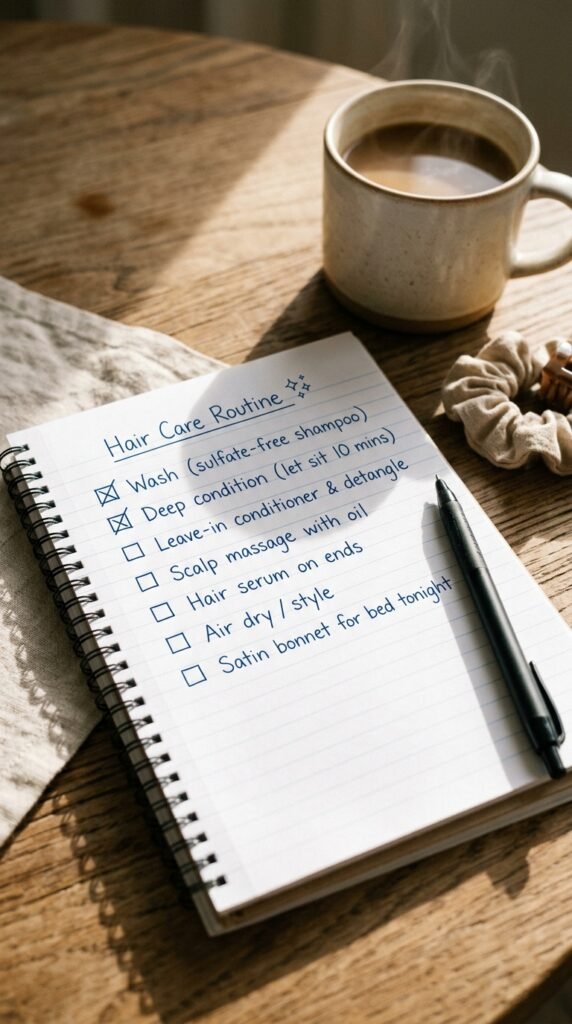
Consistency beats expensive products. Every single time.
Pick a wash day schedule. Add one mask a week. Trim every 10 to 12 weeks.
Keep your tools clean and your heat low.
Take a photo every month — you’ll see the shine build before you feel it.
Long layered hair isn’t high maintenance. It’s just a few small habits done often.
Your Shine Era Starts Now
Long hair doesn’t need to be complicated. Polished layers, healthy ends, and a little consistency will get you that reflective, expensive-looking finish — whether you lean old money hair, romantic goth, or something with a little glitch.
Pick one style from this list, screenshot the section that fits your hair type, and bring it to your stylist. Then start with just one habit: heat protectant, the cool shot, or a trim.
Small moves, big shine. You’ve got this.
Save this post to Pinterest so you have these 27 polished long layered looks and the full shine routine ready for your next salon visit.
And tell me in the comments: which one are you trying first — the hime cut, the asymmetrical lob, or soft old money layers?