27 Polished Long Haircut Layers Emphasizing Healthy Reflective Hair Shine
Long hair with layers can look like a shiny dream or a frizzy afterthought. I have lived through both versions, sometimes in the same week.
Here is the thing I finally learned: shine is not about the cut alone. It is about layers that work with healthy hair instead of shredding it.
So I pulled together 27 polished long haircut layers that put reflective, healthy shine first. Think soft face-framing pieces, quiet luxury movement, and zero stringy ends.
Whether you love old money hair or something a little darker, there is a layered cut here for you. Let’s find your match.
Why Shine Is the Real Star of 2026 Hairstyles
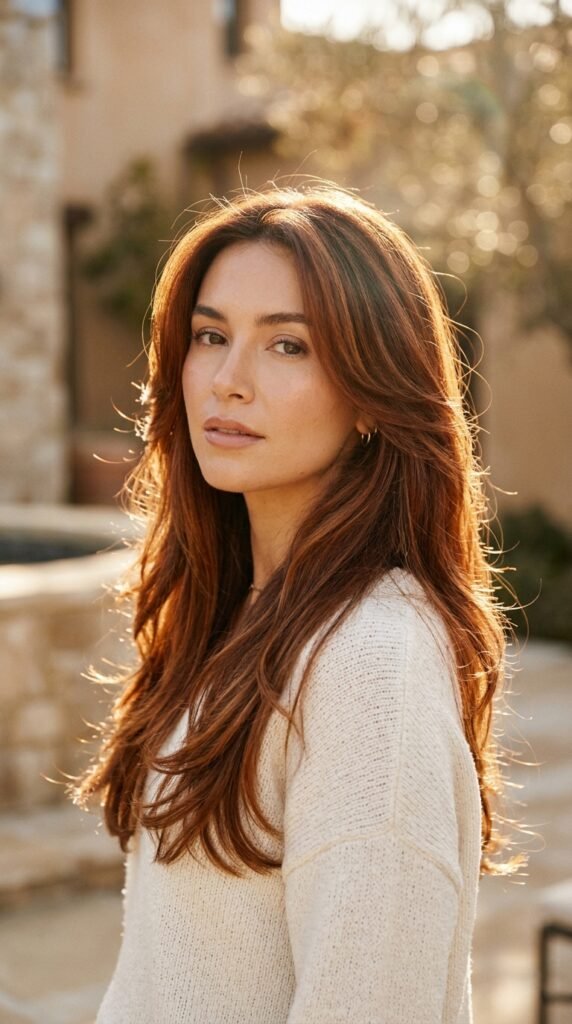
Shine is the whole personality of 2026 hairstyles. You can have the trendiest cut in the world, but if the hair looks dry, it reads tired instead of polished.
That is why I built this list around one filter: does this layered long cut make healthy hair look even healthier? Every option works with your natural texture instead of fighting it.
You will see old money hair, a grown-out quiet luxury bob, an asymmetrical lob, hime cut layers, and a few edgy picks too. Let’s get into it.
The One Rule That Makes Long Layers Look Expensive
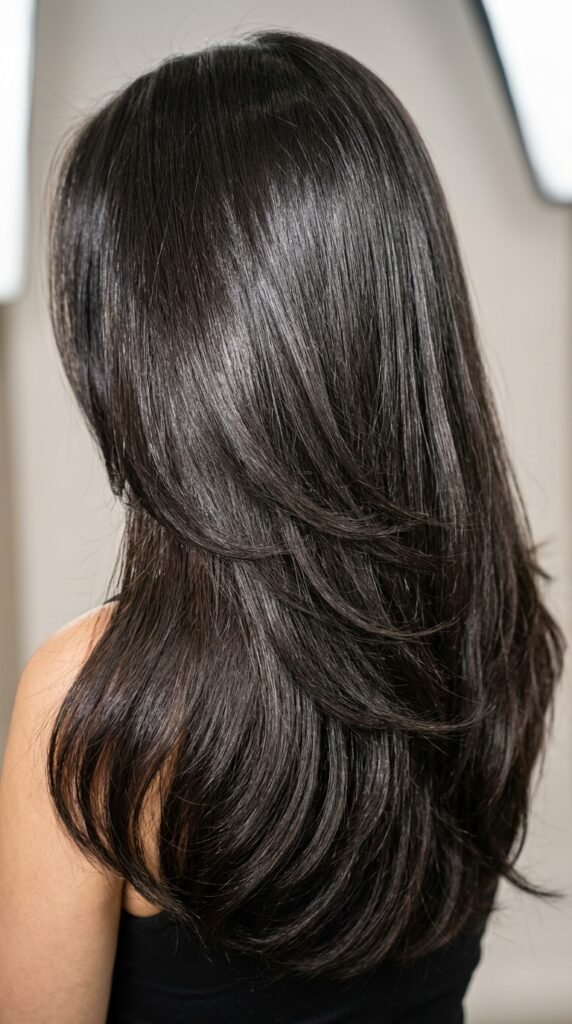
Here is my golden rule: layers should be invisible until the hair moves.
Choppy, obvious steps look cheap fast. Soft, blended layers keep the surface smooth so light bounces off in one clean sheet. That is the whole trick behind polished long hair.
Ask your stylist for weight removal in the interior and blending at the ends, not big visible steps. Keep the perimeter strong.
- Say: “soft invisible layers, keep my ends thick”
- Show a photo of movement, not a photo of choppy texture
- Ask for a dry cut if your hair is wavy or curly
Face-Framing Layers That Flatter Every Face Shape
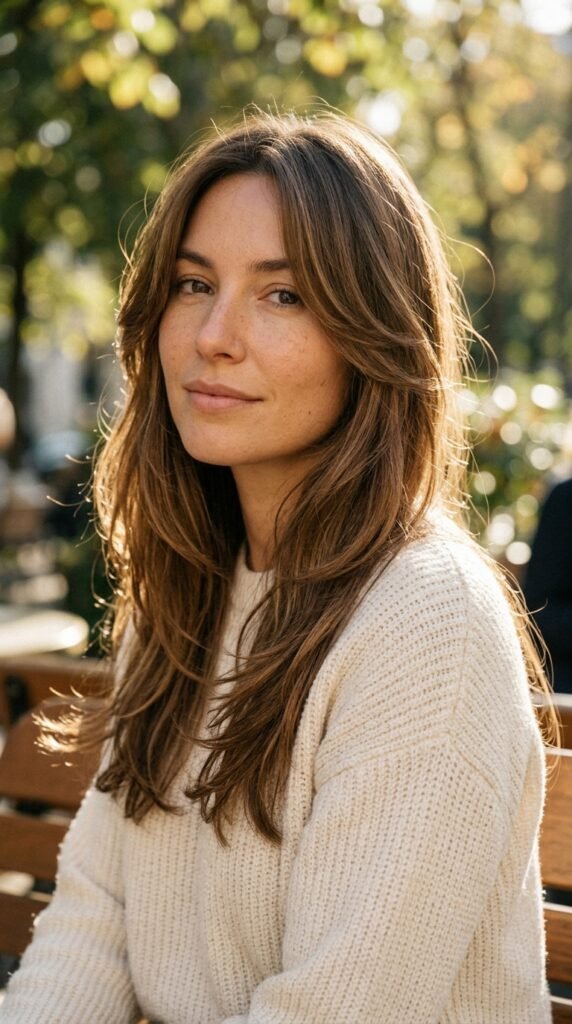
Face-framing layers are the fastest way to make long hair look intentional rather than grown out.
They start around your cheekbone or jaw and curve toward the chin, which softens your features and adds a glow right where the light hits.
For round faces, start the frame below the chin to add length. For long faces, start at the cheekbone to add width. Heart shapes look amazing with a soft jaw-length piece.
- Cheekbone start: adds softness and width
- Chin start: lengthens and slims
- Collarbone start: subtle, low-maintenance version
The Classic Long Layer With a Blunt Bottom
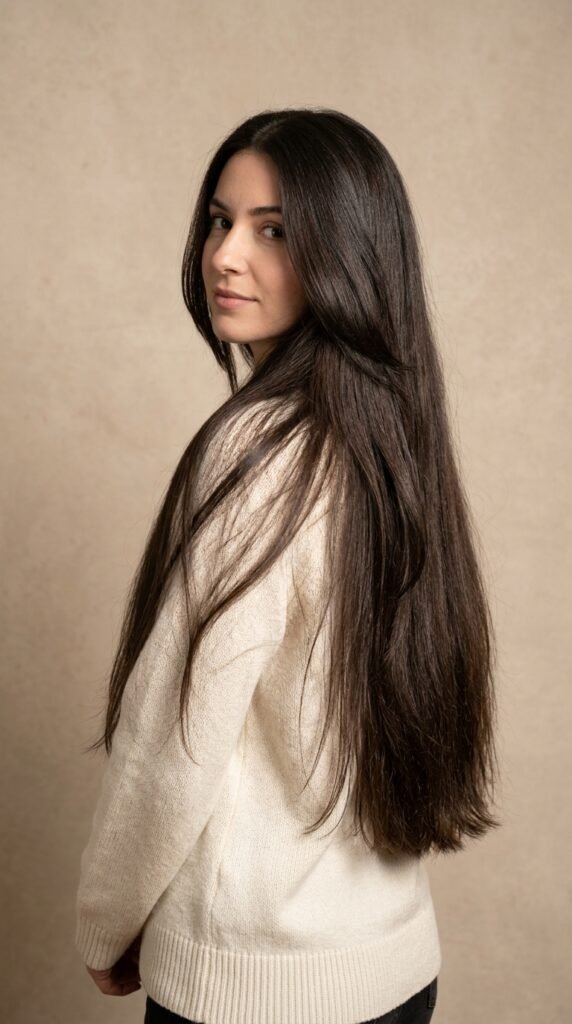
This is the cut that made me fall back in love with long hair. Thick, blunt ends plus hidden interior layers equals shine you can see from across the room.
Blunt ends keep the hair looking full and healthy because there is no tapering. The layers underneath just remove bulk so it moves.
It also grows out beautifully, which means fewer salon visits and less money spent. That is a win in my book.
- Best for: thick, heavy, or one-length hair
- Ask for: invisible interior layers only
- Avoid: short layers near the crown
Old Money Hair: Soft Layers, Zero Frizz

Old money hair is less about trends and more about upkeep. It looks like you were born with it, even though you definitely were not.
The cut itself is simple: long, soft layers that fall around the collarbone and shoulders with a gentle bend. Nothing sharp. Nothing loud.
The magic is in the finish. Smooth roots, glossy mid-lengths, and ends that look freshly trimmed. That is the whole look.
- Long soft layers with a slight bend
- Smooth, not flat
- Gloss treatment every six to eight weeks
The Quiet Luxury Bob, Grown Into Long Layers
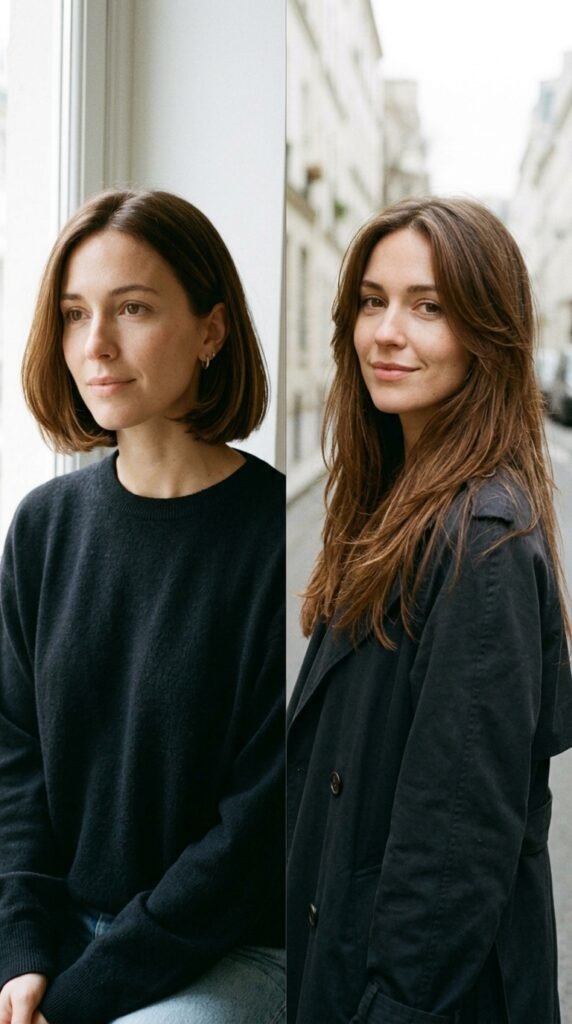
If you are growing out a quiet luxury bob, do not just wait it out. Shape it.
Ask for long layers that start at your collarbone so the shorter pieces blend into the length instead of hanging there awkwardly. This makes the grow-out phase look deliberate and expensive.
It is honestly the most elegant way to handle that weird in-between stage. Nobody will know you are growing anything out.
- Add long layers at the collarbone
- Trim the back slightly to even things out
- Use a round brush to blend the shorter pieces
Butterfly Layers for Bouncy Movement

Butterfly layers are basically face-framing layers plus short crown layers, and they create serious bounce.
The shorter top layers lift at the roots while the longer ones flow down. When it is done right, your hair looks full and bouncy without any teasing.
The catch is shine. Short layers can look dry quickly, so keep your ends trimmed and use a light glossing serum.
- Short crown layers for lift
- Face-framing pieces for shape
- Long bottom layers for length
Asymmetrical Lob That Grows Into Long Layers
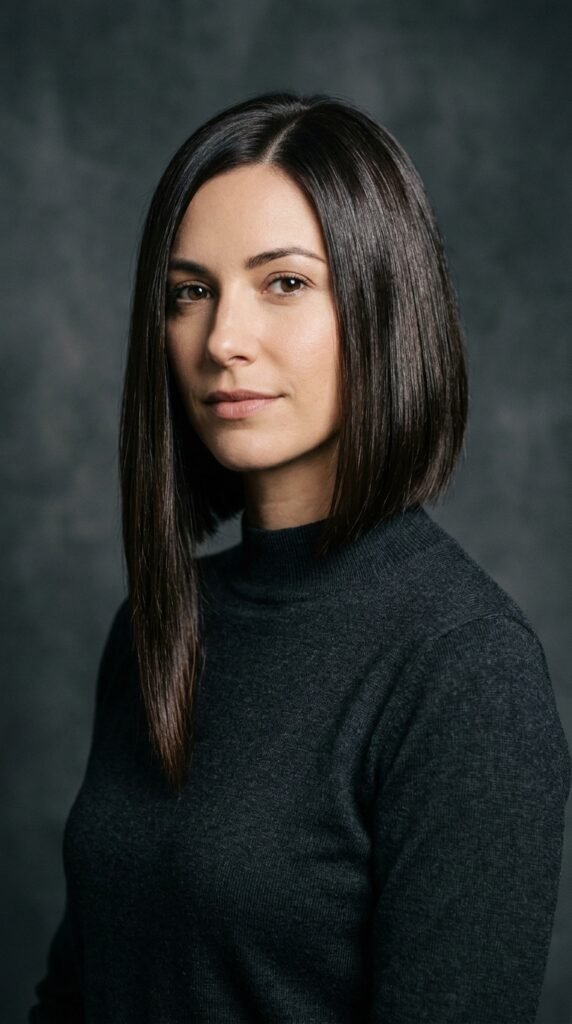
The asymmetrical lob is one of my favorite transitional cuts because it looks intentional at every stage.
Start with a sharp angle near the jaw, then let it grow into soft long layers over a few months. The angle gives you edge now, and the length gives you shine later.
It suits almost everyone, especially if you like a little drama without going full dramatic.
- Sharper angle: bolder, more editorial
- Softer angle: wearable and easy
- Style with a middle part for extra polish
Hime Cut Layers for Glass-Like Shine
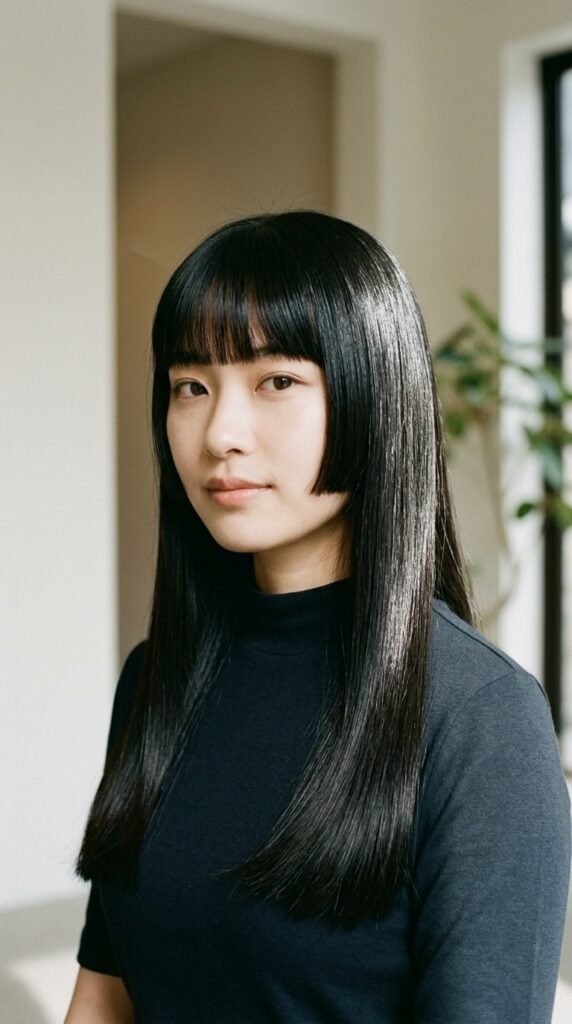
The hime cut is the shiniest cut on this entire list, and I stand by that.
It gives you blunt side pieces at the cheek or jaw plus long, straight length in the back. Because the surface stays flat, light reflects off it like glass.
The secret is health. This cut shows every dry patch, so invest in a gloss and a good heat protectant before you commit.
- Blunt side pieces at cheek or jaw
- Long straight back section
- Best on straight or gently wavy hair
The Vampire Haircut With Invisible Layers
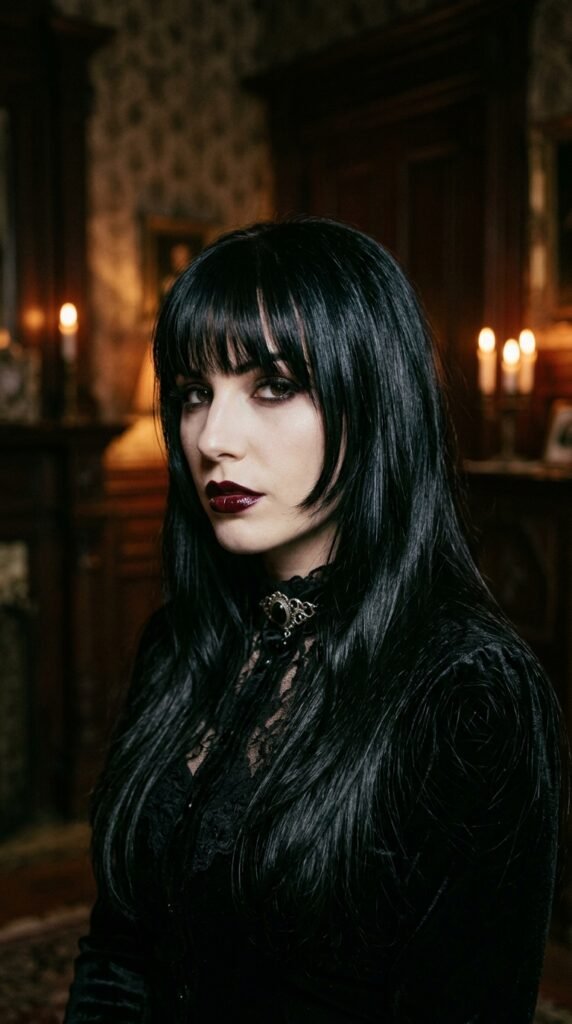
The vampire haircut is dramatic, moody, and shockingly wearable when you soften it with layers.
Think long length, strong face-framing pieces, and a deep side part. Adding soft invisible layers keeps it from looking flat or costume-like.
This one looks best on dark hair with a high-shine finish. If your hair is lighter, ask for a gloss to deepen the tone.
- Long length with strong frame pieces
- Soft interior layers for movement
- Gloss for that deep, liquid shine
Romantic Goth Hairstyles With Soft Long Layers

Romantic goth hairstyles get a bad rap for being harsh. They do not have to be.
Soft long layers plus gentle waves give you that dreamy, dark-romance feeling while still looking polished and shiny. Think silk, not spikes.
Keep the layers long and blended, add a little volume at the roots, and finish with a shine spray.
- Long blended layers, nothing choppy
- Soft waves or brushed-out curls
- Shine spray on the mid-lengths and ends
Glitchy Glam Hair: Piecey Layers With Gloss

Glitchy glam hair is the fun one. It is piecey, a little undone, and genuinely glossy at the same time.
You get there with longer, more visible layers and a wet-look finish. It sounds contradictory, but the contrast between texture and shine is exactly the point.
Ask for medium layers that start around the collarbone, then style with a glossing gel or cream on damp hair.
- Visible, piecey medium layers
- Wet-look or high-gloss finish
- Works great on straight or wavy hair
Curtain Bangs Plus Long Layers

Curtain bangs are the easiest way to add face-framing interest without committing to real bangs.
Paired with long layers, they create a soft, swoopy shape around the face that looks great growing out. No awkward forehead phase.
Keep them long enough to tuck behind your ears. That way you can style them down or swept to the sides.
- Start bangs at the cheekbone
- Blend into long layers, not a separate chunk
- Style with a round brush away from the face
U-Cut, V-Cut, or Straight Across: Which Shines Most
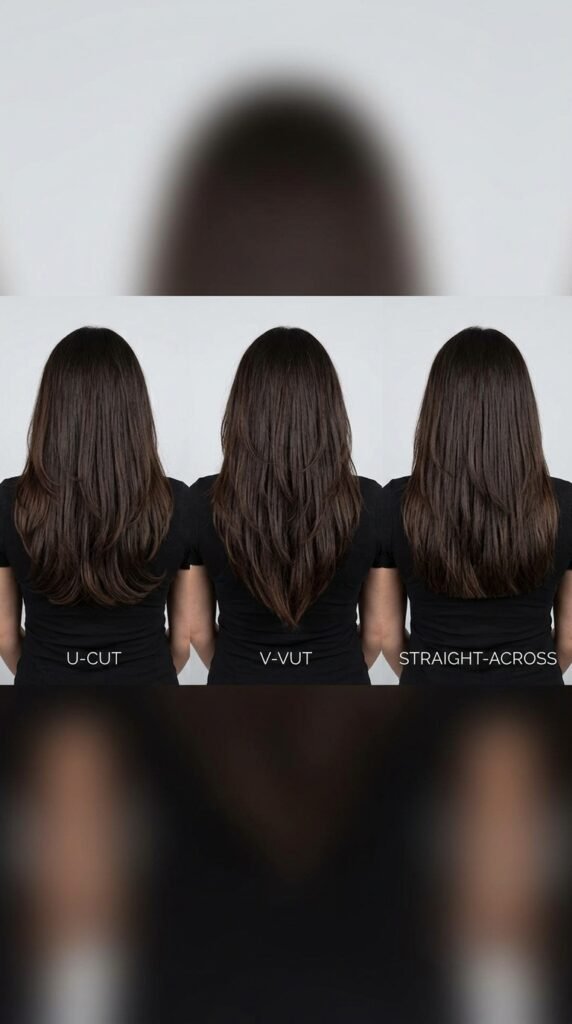
This one comes up in my inbox constantly, so here is the short answer.
U-cut is the most universally flattering and gives the softest shine. V-cut adds drama and length but can look thin at the ends. Straight across is the shiniest option because it creates one flat reflective surface.
If shine is your goal, go straight or U-shaped. Save the V for thick hair that can handle the taper.
- Straight across: max shine, max fullness
- U-cut: soft, flattering, versatile
- V-cut: dramatic, best on thick hair
How to Ask Your Stylist for Shine-First Layers
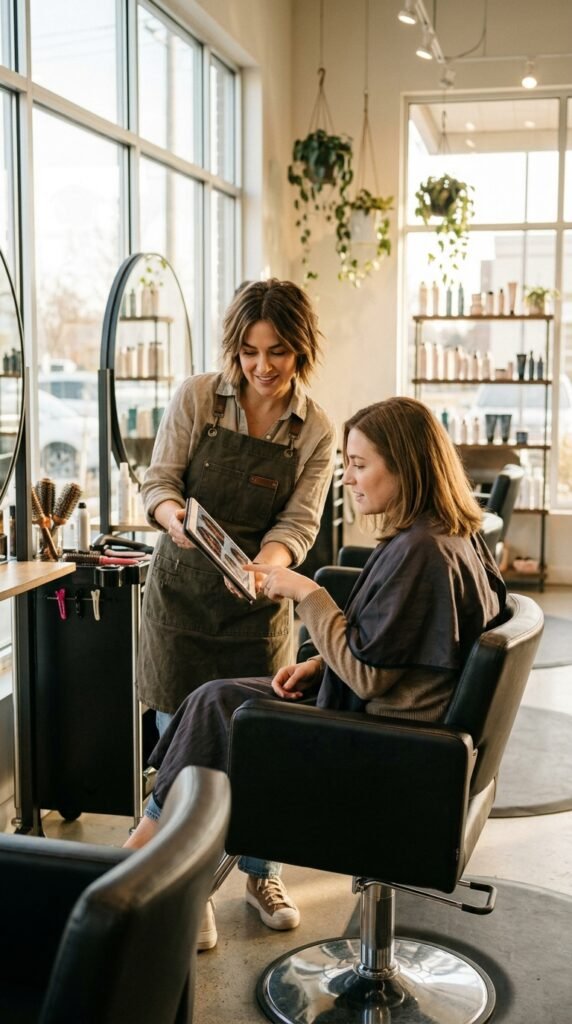
You get better hair when you speak the language. Here is my exact script.
Tell them: “I want long layers with invisible blending, thick ends, and I care most about shine and health.” Then show two photos, not ten.
Also mention how much time you actually style. Ten minutes a day means a different cut than forty.
- Say your goal out loud: shine and health
- Show two reference photos max
- Be honest about your styling time
- Ask what will look best in eight weeks
The Gloss Treatment That Changes Everything
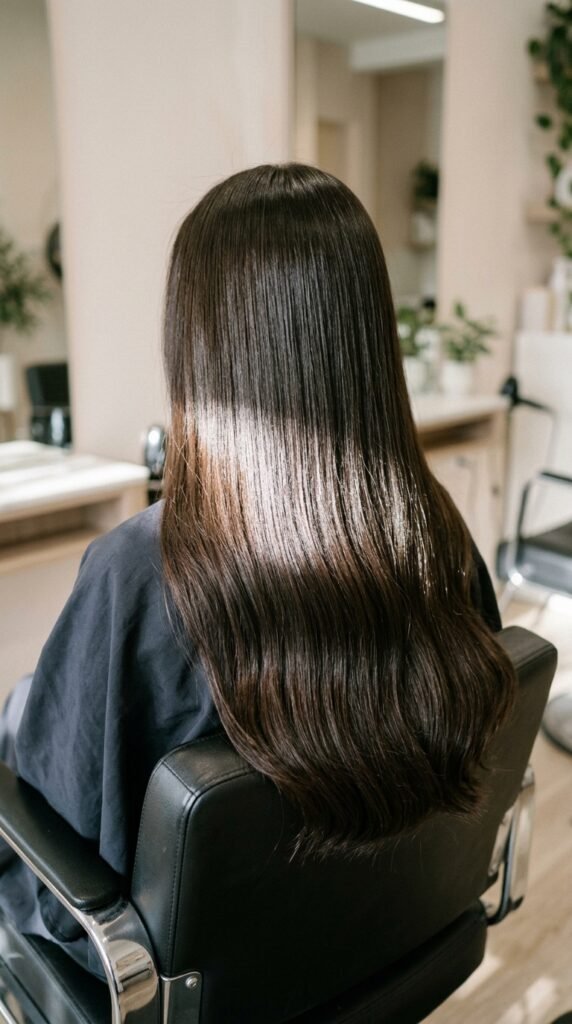
If you only do one thing from this list, do a gloss. It is the single biggest shine upgrade for long layered hair.
A gloss seals the cuticle and adds a translucent layer of color that makes light bounce. It lasts about four to six weeks and takes under an hour in the chair.
It also makes layers look blended and expensive, because every strand reflects the same way.
- Clear gloss: pure shine, no color change
- Tinted gloss: shine plus tone refresh
- Do it every six to eight weeks
Your Wash Day Routine for Reflective Hair

Shine starts in the shower. If your wash day is harsh, no cut will save you.
Use a sulfate-free shampoo, focus it on your scalp only, and let the suds rinse down your lengths. Conditioner goes mid-length to ends, never on the roots.
Finish with a cold rinse. It takes thirty seconds and it genuinely smooths the cuticle.
- Sulfate-free shampoo on the scalp
- Conditioner mid-length to ends
- Cold rinse to seal the cuticle
- Microfiber towel, no rough rubbing
Heat Styling Without Frying Your Ends
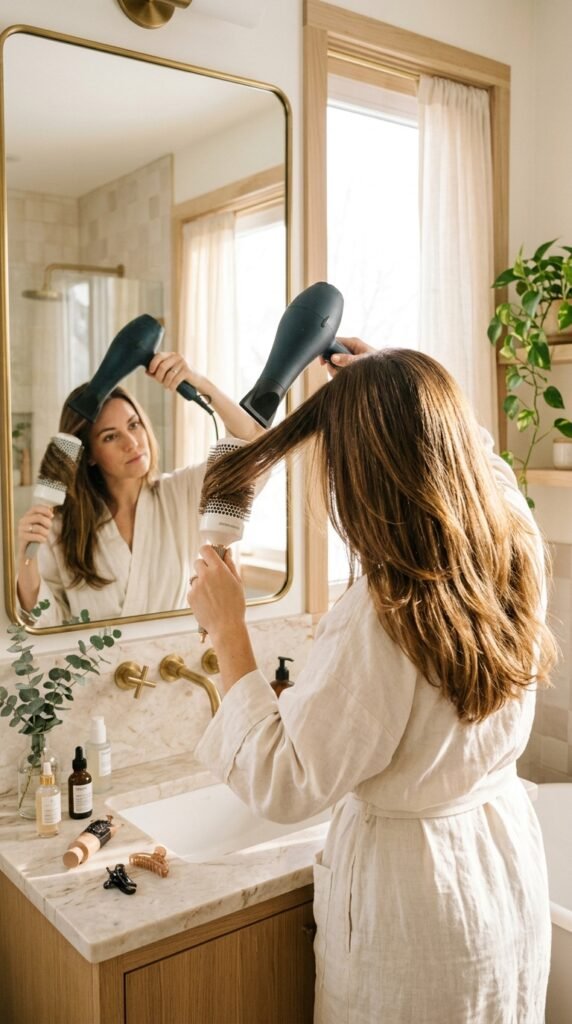
Heat is not the enemy. Unprotected heat is.
Always use a heat protectant on damp hair before you blow dry, and keep your dryer moving. Never hold it in one spot.
For flat irons, stay under 380 degrees and do one clean pass instead of three. Fewer passes means less damage and more shine.
- Heat protectant every single time
- Dryer on medium heat, high speed
- Flat iron one pass, under 380 degrees
- Always finish with a cool shot
Why Your Haircut Needs a Good Brush
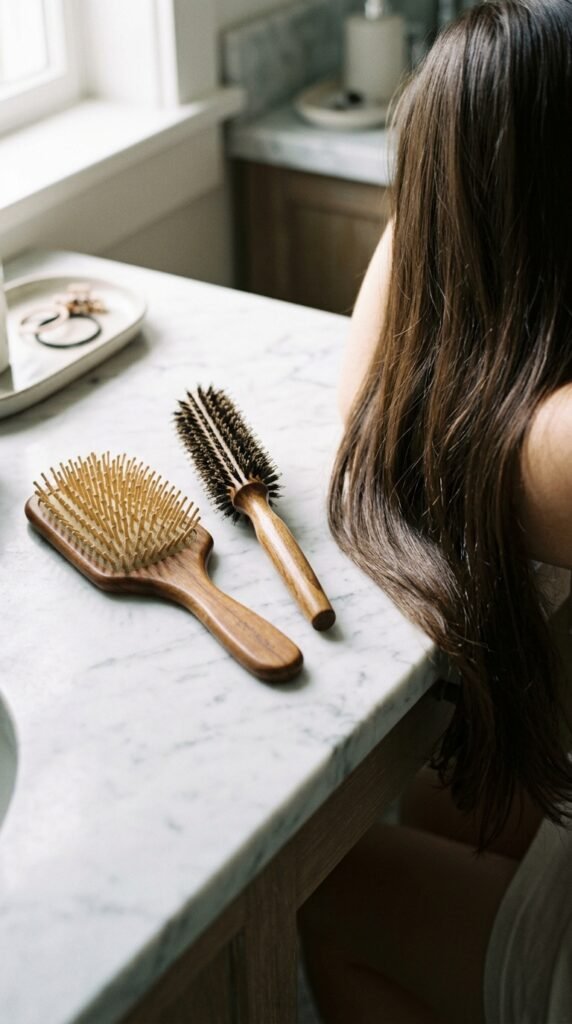
You can have perfect layers and still look dull if you are brushing wrong.
Rough brushing on wet hair roughens the cuticle, which kills shine fast. Use a wide-tooth comb in the shower and a paddle brush on dry hair.
A boar-bristle brush is the shine secret. It distributes your natural oils from root to tip, which is basically free gloss.
- Wide-tooth comb on wet hair
- Paddle brush on dry hair
- Boar bristle for shine and oil distribution
Serums, Oils, and Not Overdoing It
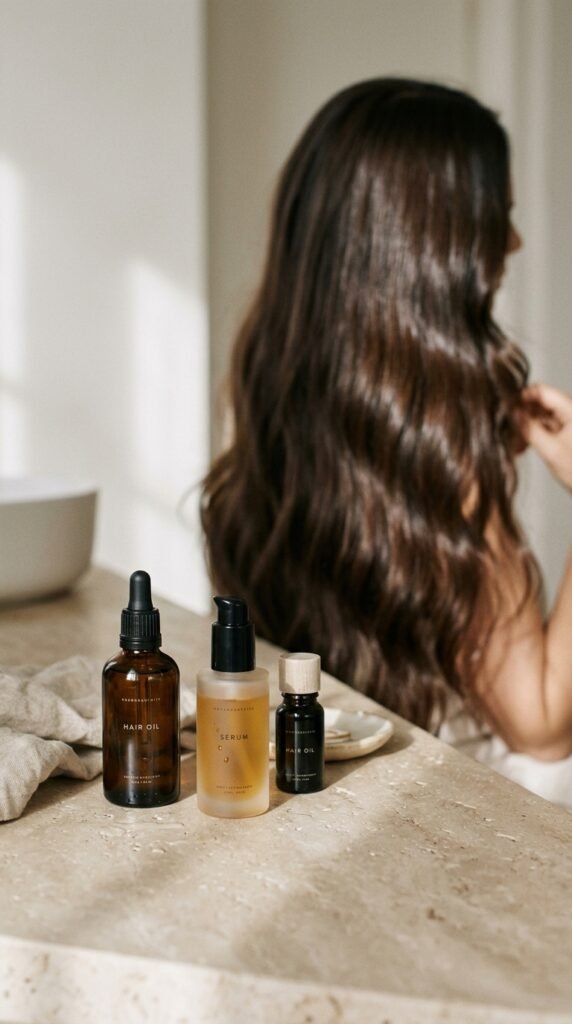
Here is where most of us mess up. We add product until the shine turns into grease.
Less is genuinely more. One or two drops of lightweight oil, warmed between your palms, pressed into your ends only. That is it.
For fine hair, use a shine serum instead of oil. For thick or coarse hair, oil is your friend.
- Oil: thick, coarse, or dry hair
- Serum: fine or thin hair
- Ends only, never the roots
- One to two drops maximum
Blowout Tips for That Old Money Finish
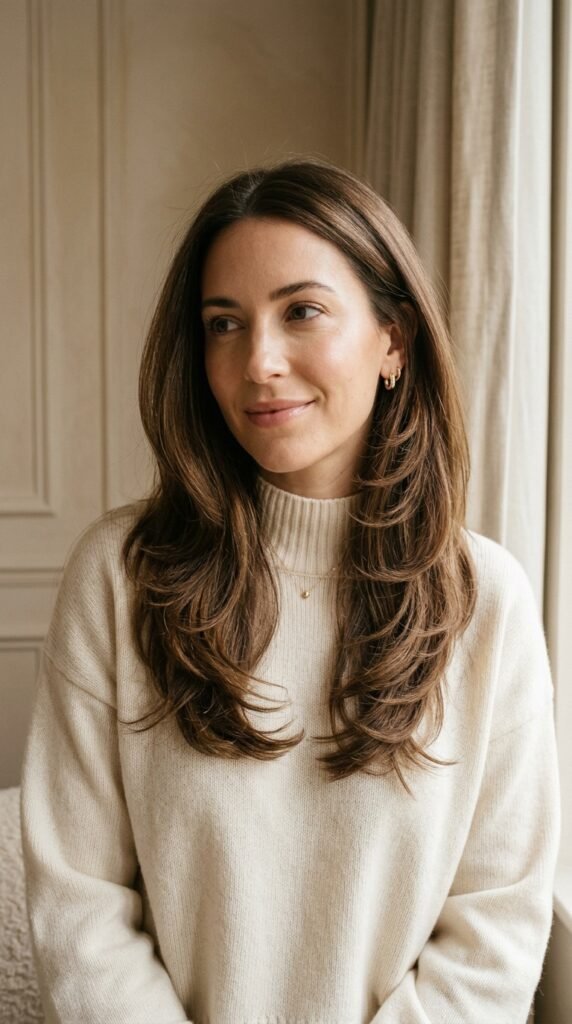
The old money hair look is basically a good blowout plus patience.
Rough dry until hair is eighty percent dry, then section it. Use a round brush and pull each section taut, directing the nozzle down the hair shaft.
That downward direction is what makes the cuticle lie flat and reflect light. Finish with a cool shot to lock it in.
- Rough dry to eighty percent
- Section hair into four parts
- Round brush, nozzle pointing down
- Cool shot to seal the shine
Trim Schedule: The Shine Secret Nobody Talks About
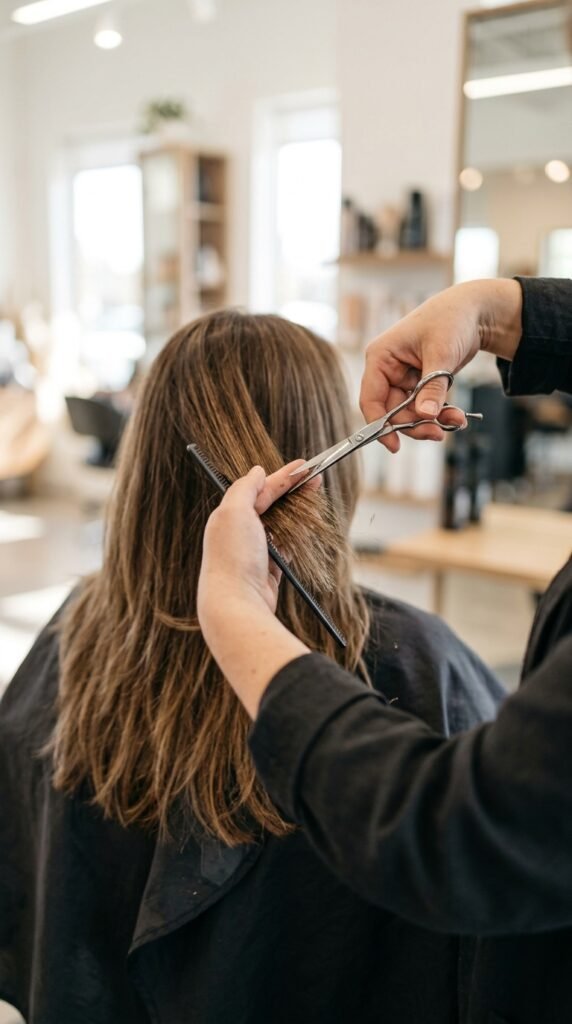
Split ends do not reflect light. They absorb it. That is why your hair looks dull even when everything else is right.
Get a dusting every eight to twelve weeks if you are growing your hair out. Every six to eight weeks if you heat style often.
You only need a quarter inch. Just enough to keep the ends smooth and the layers looking fresh.
- Growing out: every 10 to 12 weeks
- Heat styling often: every 6 to 8 weeks
- A quarter inch is plenty
Color Tricks That Add Mirror Shine
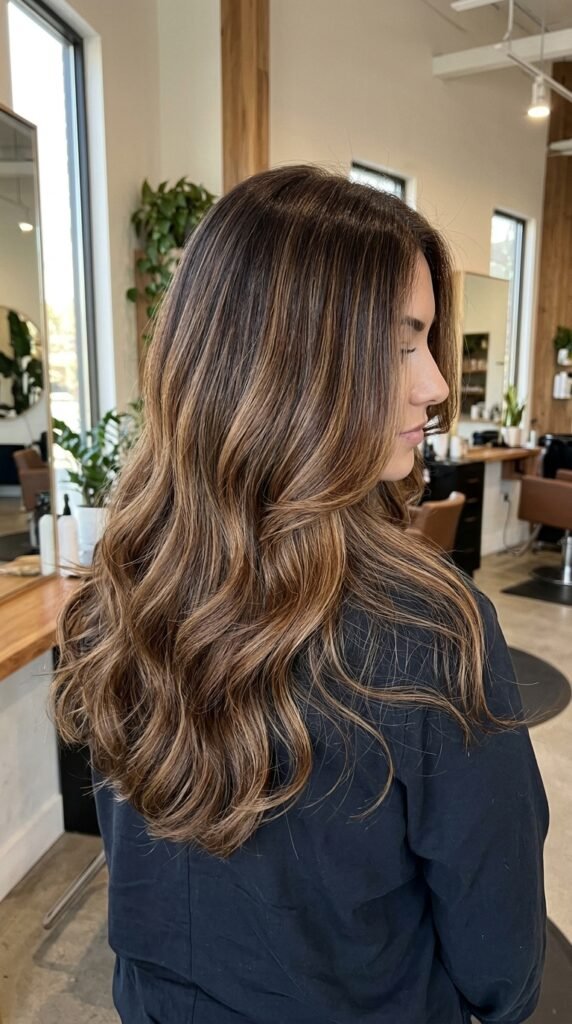
Color and shine are best friends. The right placement makes your layers catch light in all the right places.
Ask for babylights or a soft money piece around the face. These add brightness where it matters without touching your roots.
Stay away from heavy highlights all over, since bleach roughens the cuticle. Fewer, finer, softer is the move.
- Babylights for subtle dimension
- Money piece for face-framing glow
- Skip full-head bleach if shine is the goal
Sleep Habits That Protect Your Layers

You spend a third of your life asleep. That is a lot of time for cotton to rough up your hair.
Switch to a silk or satin pillowcase. It creates less friction, which means less frizz and fewer split ends over time.
Loose braids or a silk scrunchie pineapple also help. And never sleep on wet hair if you can avoid it.
- Silk or satin pillowcase
- Loose braid or silk scrunchie
- Dry hair before bed when possible
Food and Water: Boring but Real
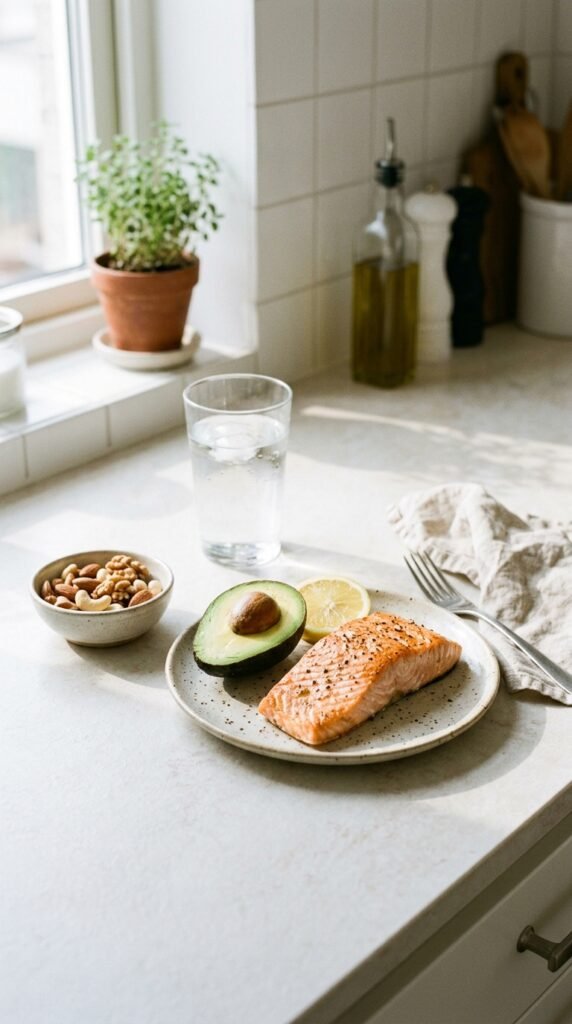
I know, I know. Nobody wants to hear this one. But healthy hair really does start from inside.
Protein, omega-3s, iron, and vitamin D all support hair strength. So does plain old water.
You do not need a fancy supplement stack. Just eat real food, drink your water, and give it three months before you judge the results.
- Protein for strength
- Omega-3s for natural oils
- Iron and vitamin D for growth
- Water, water, water
Updos That Still Show Off Your Layers
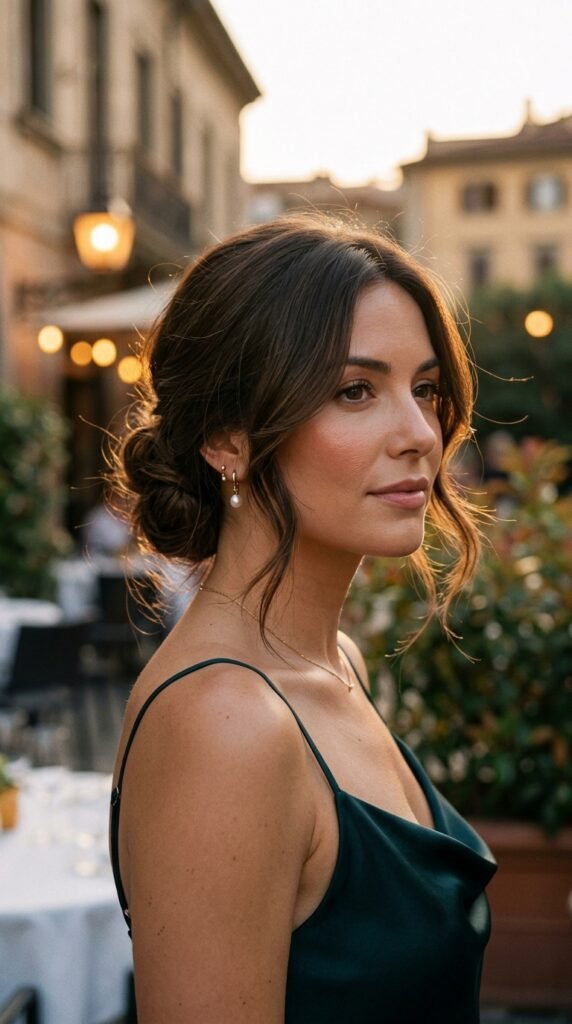
Layers are not just for wearing your hair down. They make updos look better too.
Because you have shorter pieces around the face, your updos get softness and movement instead of that slicked-back look.
Try a low chignon, a claw clip twist, or a loose half-up. Leave a few face-framing pieces out and you are done.
- Low chignon with loose face pieces
- Claw clip twist for casual days
- Half-up with a soft pull-through
Quick Daily Routine for Polished Long Layers
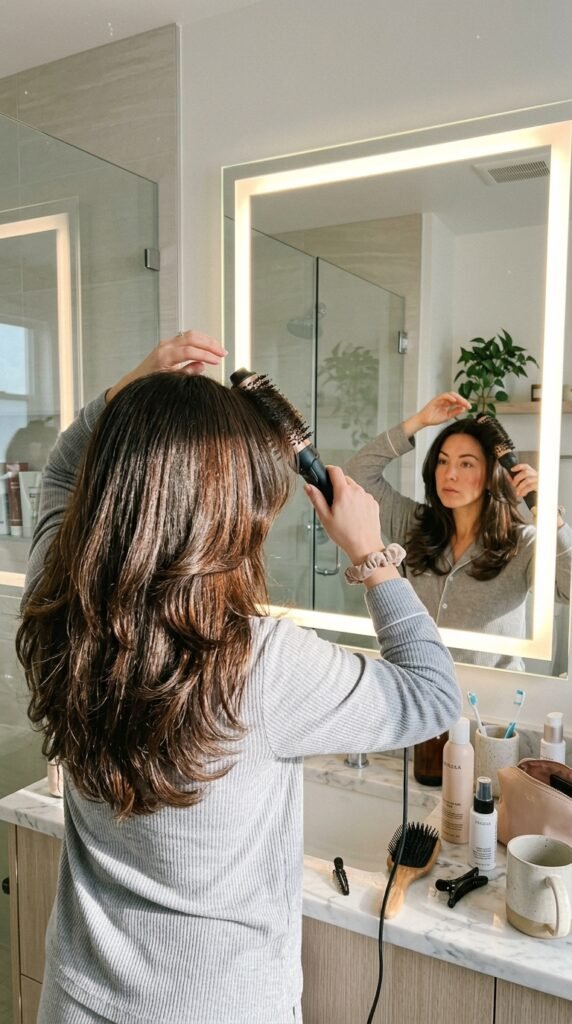
Here is my actual five-minute routine, no fluff.
Spray heat protectant, rough dry the roots, then hit the face-framing pieces with a round brush. Add one drop of oil to the ends. Done.
On lazy days, a little dry shampoo at the roots and a smooth ponytail looks expensive with barely any effort.
- Heat protectant on damp hair
- Rough dry the roots
- Round brush the frame pieces
- One drop of oil on the ends
A Few Last Thoughts, Friend
Great long layers are not about chasing every trend. They are about choosing a shape that lets your healthy hair do the shining.
Pick one cut from this list that fits your texture and your schedule. Then focus on the boring stuff: trims, gloss, heat protection, and a little oil.
That combination beats any complicated styling routine every single time. You have got this.
Save this post to Pinterest so you have it handy at your next salon appointment, and tell me in the comments which cut you are trying first. I read every single one.