27 Polished Long Haircut Layers Emphasizing Healthy Reflective Hair Shine
I spent years growing my hair out only to hide it in a claw clip because the ends looked dull and the shape felt heavy. Sound familiar? Long hair is a commitment, and without the right layers, all that length just hangs there instead of catching the light.
Here is the good news: polished long layers are having a serious moment in 2026, and they are easier to get than you think. You do not need a dramatic chop or a salon budget that makes you wince.
I put together 27 long haircut layers that emphasize healthy, reflective shine, plus exactly how to ask for them and keep them glossy between appointments.
Grab a coffee. This is the scrollable, practical guide I wish I had five years ago.
Why Polished Long Layers Rule 2026 Hairstyles
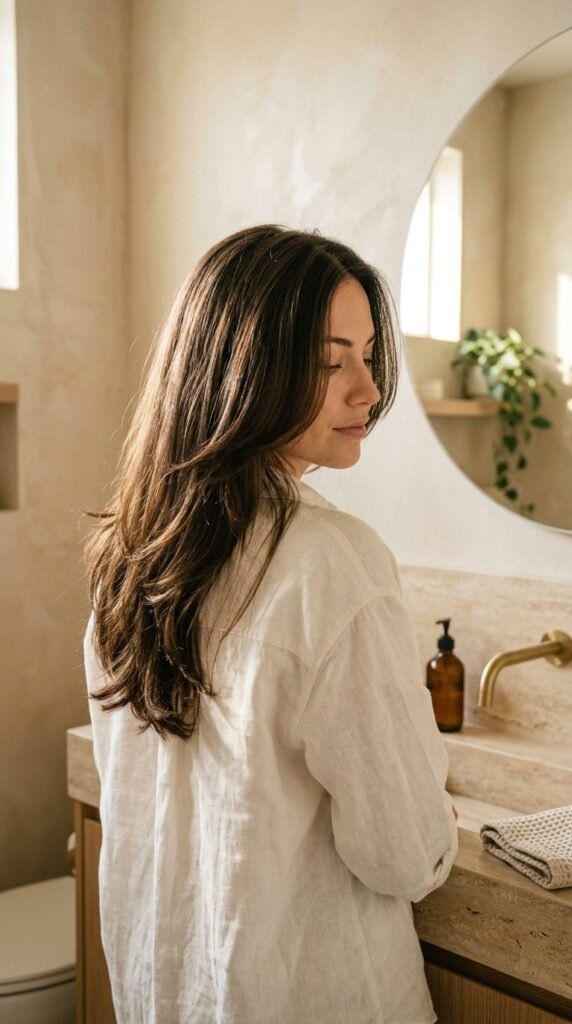
2026 hairstyles are less about big transformations and more about looking quietly expensive. Long layers fit that mood perfectly because they add movement without looking like you tried.
The trick is polish. Messy layers read casual. Smooth, connected layers with a soft bend read intentional, and that is what makes the shine visible from across the room.
- Layers start lower for a cleaner surface
- Ends stay blunt-ish so light reflects
- Face framing stays soft, not choppy
Ask for “long layers with integrity at the ends” and you are already ahead of most people in the chair.
What Healthy Reflective Shine Actually Means
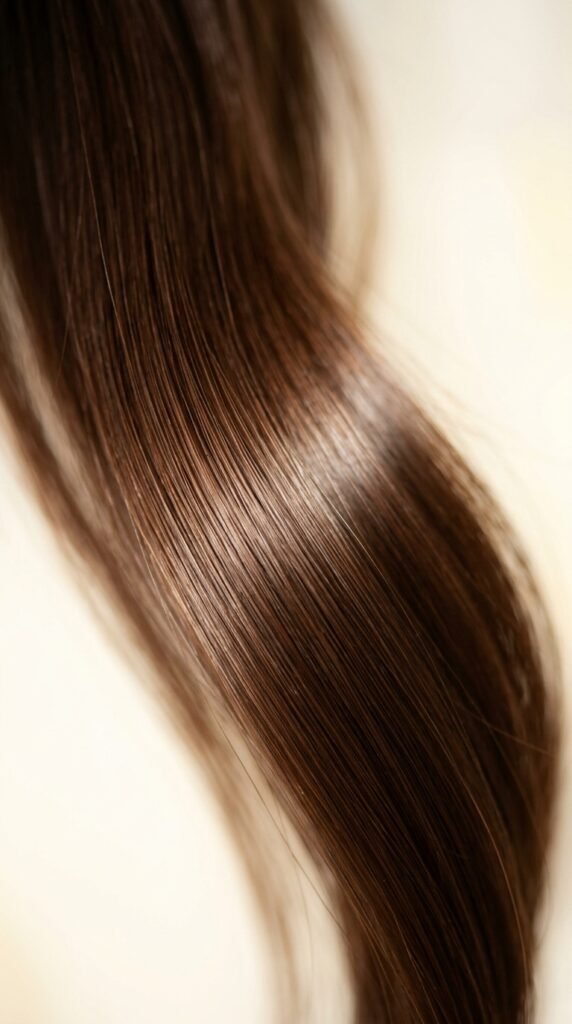
Shine is not a product. It is a surface. When the cuticle lies flat and the hair strand is smooth, light bounces off in one clean line instead of scattering.
That is why damaged hair looks dusty no matter how much oil you layer on. The cuticle is lifted, so light goes everywhere.
- Smooth cuticle equals mirror-like reflection
- Rough cuticle equals flat, gray-looking ends
- Blunt-ish ends reflect more than thin, pointed ones
So the goal with long layers is a cut that removes weight but keeps enough density at the ends to bounce light back.
The Old Money Hair Approach to Long Layers

Old money hair has one rule: nothing looks new. The color is dimensional, the cut is soft, and the finish is smooth but never stiff.
For long hair, that means long, gradient layers that blend from mid-length down. No short face-framing pieces that scream trendy. No hard steps.
- Ask for a soft face frame starting at the cheekbone
- Keep the perimeter mostly solid
- Finish with a light gloss, not heavy serum
Pair it with a middle part and a slight bend at the ends and you have the whole aesthetic in one cut.
Face-Framing Layers That Flatter Every Shape

Face framing is where long layers either work or go sideways. Too short and it looks dated. Too long and it does nothing.
The sweet spot is a piece that starts around the cheekbone or jaw and curves gently outward, blending into the rest of your length.
- Round faces: start framing at the jaw to elongate
- Square faces: softer, curved pieces starting lower
- Heart faces: weight near the chin, lighter at the top
- Oval faces: you can go shorter if you want
Ask your stylist to cut them dry. You will see exactly where they fall before the final trim.
The Quiet Luxury Bob Grows Into This Cut

If you got the quiet luxury bob last year and now you are growing it out, you are in the perfect spot for polished long layers.
The blunt perimeter you already have is a gift. Instead of cutting new layers everywhere, your stylist can soften the middle and keep that solid baseline intact.
- Keep the back perimeter blunt as long as possible
- Add light layers only around the face
- Trim every eight weeks to hold the shape
This is the most low-effort grow-out path, and it keeps the ends looking fresh the entire time.
Asymmetrical Lob to Long Layers Transition
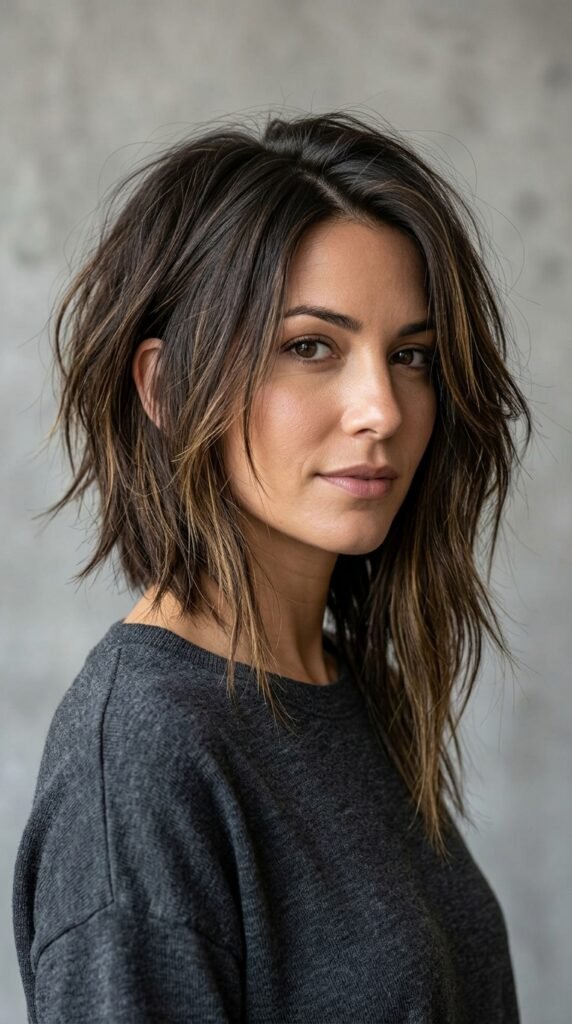
The asymmetrical lob is fun, but growing one out can look accidental for months. The fix is a slow, deliberate transition.
Keep the shorter side as your face-frame guide and let the longer side carry the length. Each trim, even out the connection points gradually.
- Do not chop the long side to match
- Blend the two sides through the back
- Style with a slight bend to blur the angle
Done right, you end up with a soft angled layer that looks intentional and gives the ends a natural reflective curve.
Romantic Goth Hairstyles With Long Layers

Romantic goth hairstyles live and die by texture, and long layers give you the canvas. Think soft, brushed-out waves instead of crisp curls.
Dark hair is naturally the best reflector, so this style looks almost wet-shiny when the cut is right.
- Layer starting at the collarbone for volume
- Keep ends full, not thinned out
- Finish with a shine spray and a fine-tooth comb
Add a black velvet ribbon or a single braid at the crown and the whole look upgrades without a single drop of heat.
Glitchy Glam Hair on Long Lengths
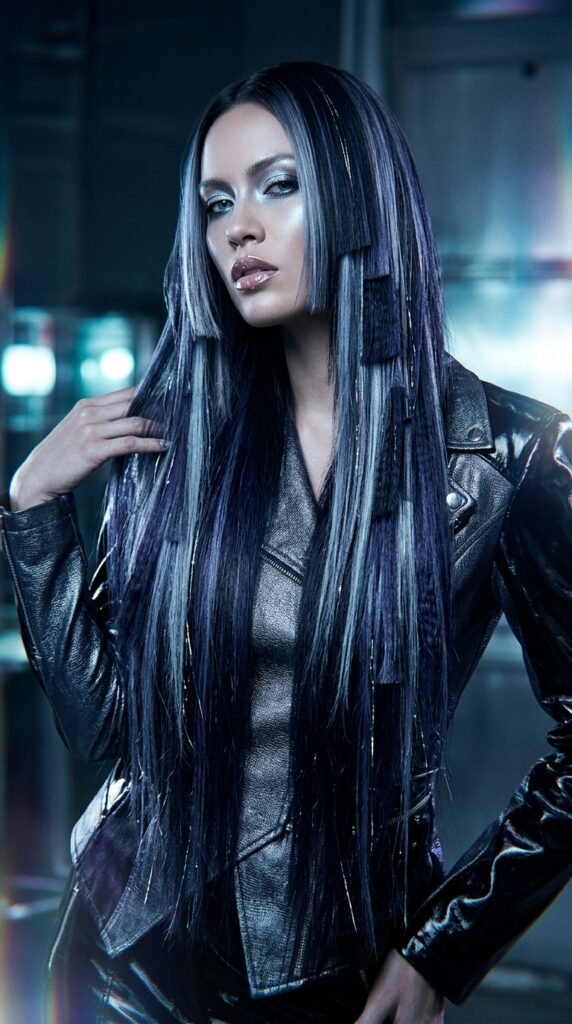
Glitchy glam hair is the fun, slightly chaotic cousin of polished layers. The idea is clean shine with one unexpected, deliberate disruption.
On long hair, that usually means a sharper, more visible layer somewhere in the mix, or a super straight section against a soft wave.
- Keep 90 percent of the cut smooth
- Add one sharper internal layer for contrast
- Play with a cool-toned gloss for that glassy finish
It reads editorial in photos and surprisingly wearable in real life, especially on straight, dark hair.
The Vampire Haircut, Grown Out

The vampire haircut is all about drama: deep side parts, sharp face framing, and a glossy finish that looks a little supernatural.
On long hair, the trick is keeping the layers sharp near the face while the rest of the length stays smooth and heavy.
- Deep side part for instant lift
- Sharp, pointed face-frame pieces
- High-shine finish, minimal texture
Straighten just the front sections and let the back keep its natural bend. That contrast is what makes it look expensive and a little eerie in the best way.
The Hime Cut for Bold Long Hair
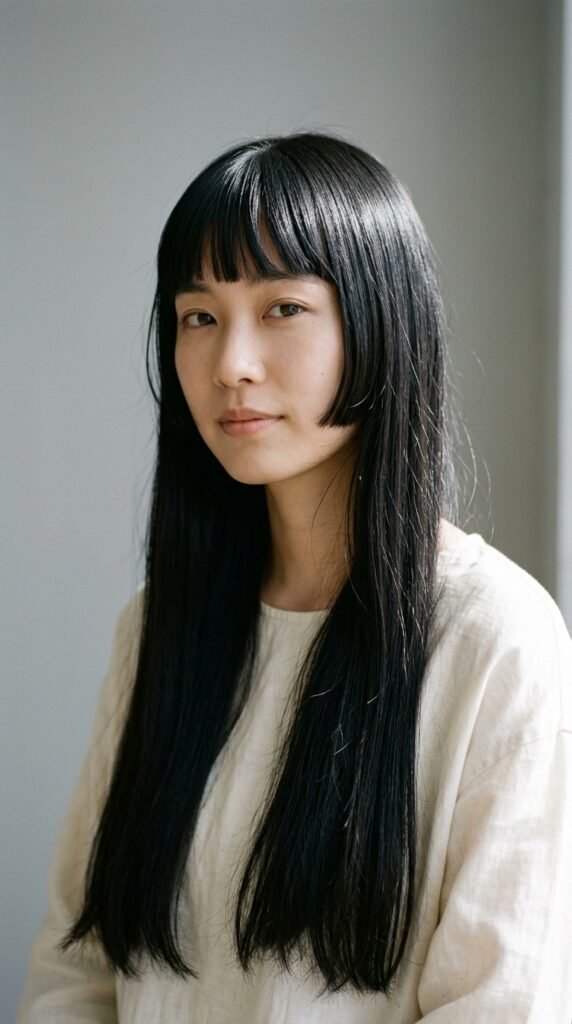
The hime cut is the most decisive long haircut on this list. Blunt cheek-length side pieces, sometimes a fringe, and a long straight back.
It is not for everyone, but if you want a cut that reads instantly and reflects light like glass, it delivers.
- Side pieces sit between cheek and jaw
- Back stays long and blunt
- Needs regular trims to stay crisp
It loves straight, dark, healthy hair. On wavy hair it still works, but the sides need smoothing to keep the contrast clean.
How to Ask Your Stylist for Reflective Layers
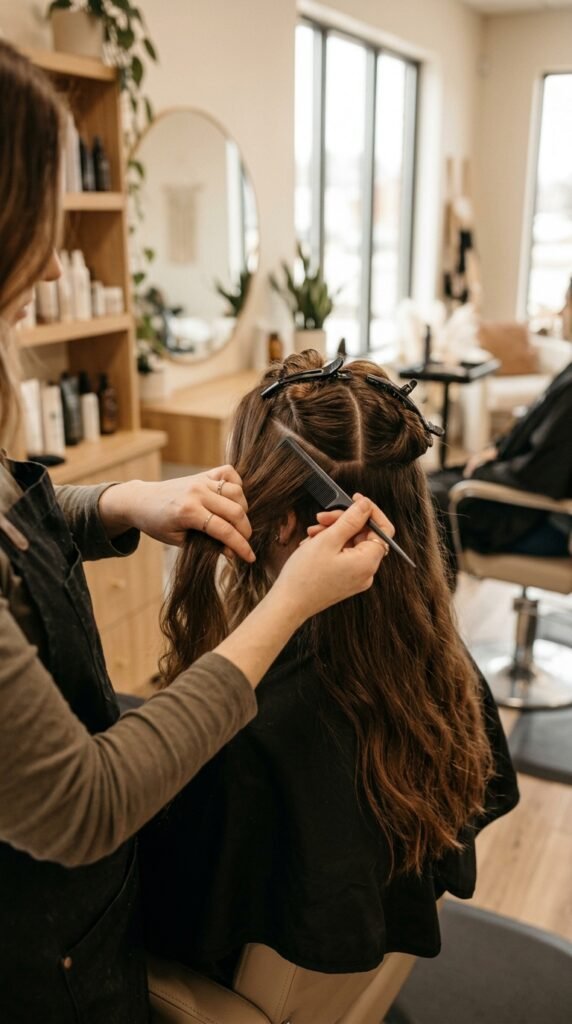
Bring photos, but also bring words. Stylists hear “just some layers” a hundred times a week, and it means something different to everyone.
Here is a script that works.
- “I want to keep my length and density at the ends.”
- “Long layers starting below the collarbone, blended.”
- “Soft face framing from the cheekbone down.”
- “Please cut it dry so we can see the shape.”
Then ask for a gloss. It is the fastest way to see what your shine potential actually looks like.
Matching Layers to Your Hair Density
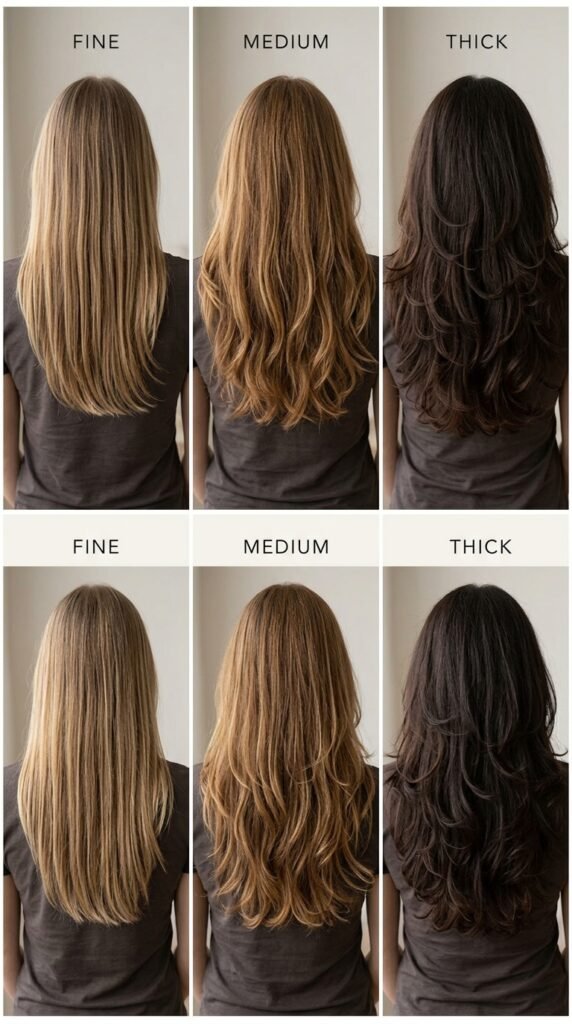
Density changes everything. The same layer placement that makes thick hair sing can make fine hair look stringy.
Think of layers as weight removal. The more hair you have, the more you can take out.
- Fine hair: minimal layers, kept long and connected
- Medium hair: standard long layers from collarbone down
- Thick hair: deeper layering and internal texturizing
If you are not sure, ask your stylist to cut conservatively. You can always remove more next visit, but you cannot add it back the same day.
Layering Curly and Wavy Long Hair

Curly hair needs layers, but not the kind that leave gaps. The goal is a shape, not a staircase.
Ask for layers cut dry, curl by curl, so each piece sits where it actually lives.
- Cut dry, never wet
- Keep layers long and blended
- Avoid heavy thinning shears
For waves, a few long layers around the face plus a light gloss give you that soft, reflective swoosh without losing body. Refresh with water and a tiny bit of cream, and you are done.
Fine Hair: Layers That Add Bounce, Not Bulk

Fine hair is about protecting density. Every layer you add removes weight, and too much removal leaves thin, see-through ends.
Stay conservative. One or two long layers around the face and a mostly solid perimeter is usually enough.
- Skip razors and heavy texturizing
- Keep the ends blunt and full
- Use a volumizing mousse at the root only
Shine comes from smoothness here, so a lightweight gloss and a cool-shot blow-dry do more than any heavy oil ever will.
Thick Hair: Layers That Remove Weight
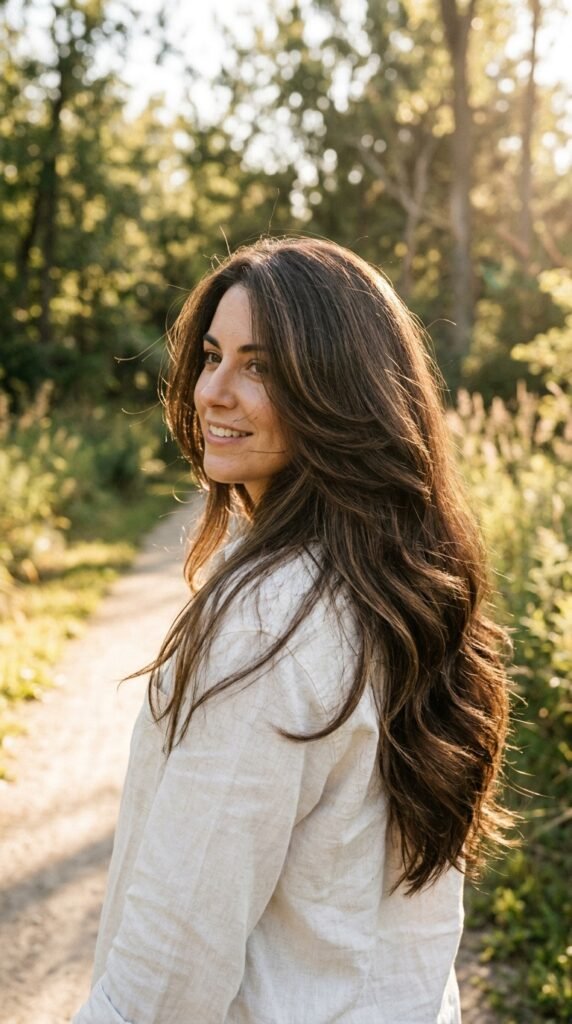
Thick hair is the opposite problem. Without layers, it turns into a triangle and the shine gets lost in bulk.
This is where deeper layering pays off. You want visible movement through the mid-lengths and ends that taper just slightly.
- Layer starting higher, around the chin
- Use point cutting for softness
- Keep a strong face frame
Style with a round brush to smooth the cuticle, then finish with a shine serum on the ends only. That is where the reflection shows up in photos.
The Blow-Dry Routine That Creates Shine
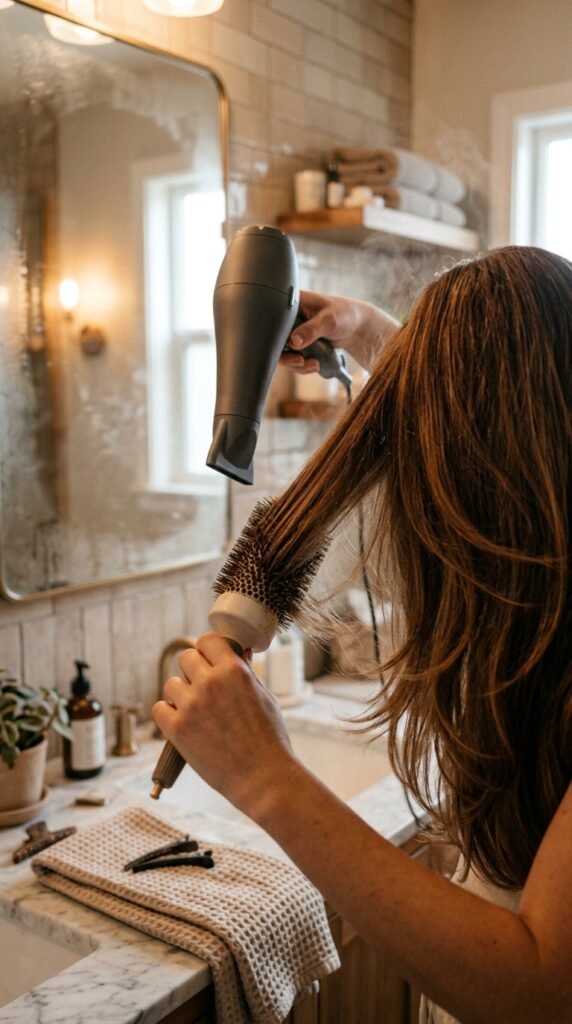
You do not need a salon blowout. You need direction. Drying hair downward smooths the cuticle, and that is where the shine comes from.
- Rough dry to 80 percent, nozzle pointing down
- Section into four parts
- Round brush each section from root to end
- Finish with a cool shot to seal the cuticle
That cool shot is the most skipped step and the one that makes the biggest difference. Thirty seconds per section and your hair looks like glass.
Gloss Treatments and Shine Rituals
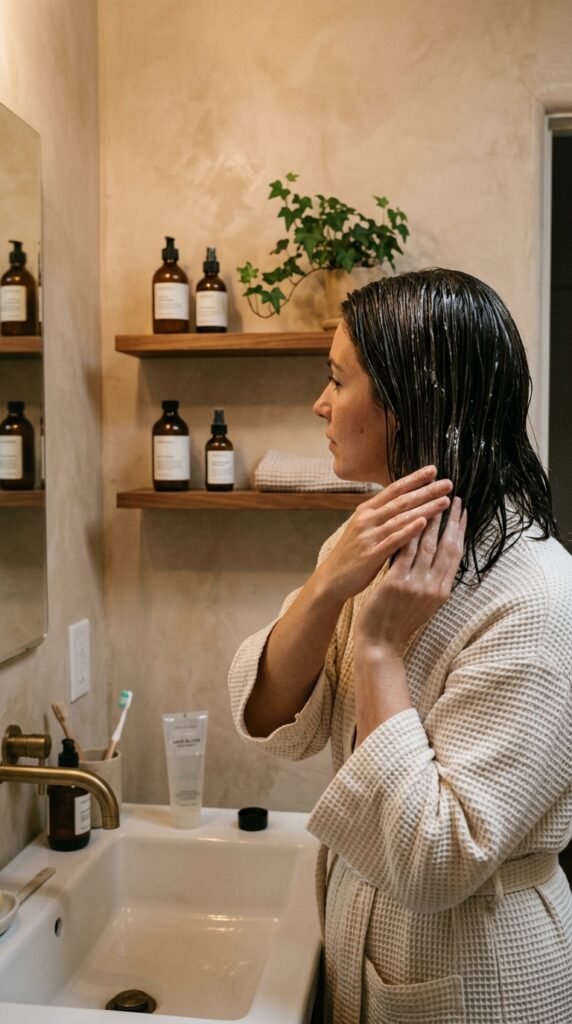
A gloss is the closest thing to a filter for your hair. It smooths the cuticle, evens tone, and adds a reflective layer that lasts a few weeks.
You can get one in a salon or use a drugstore clear glaze at home between appointments.
- Salon gloss every six to eight weeks
- At-home glaze once a month
- Always follow with a light conditioner
Pair it with a weekly deep conditioning mask and cool water rinses on wash day. Simple habits, visible results.
Heat Tools Without Frying Your Ends
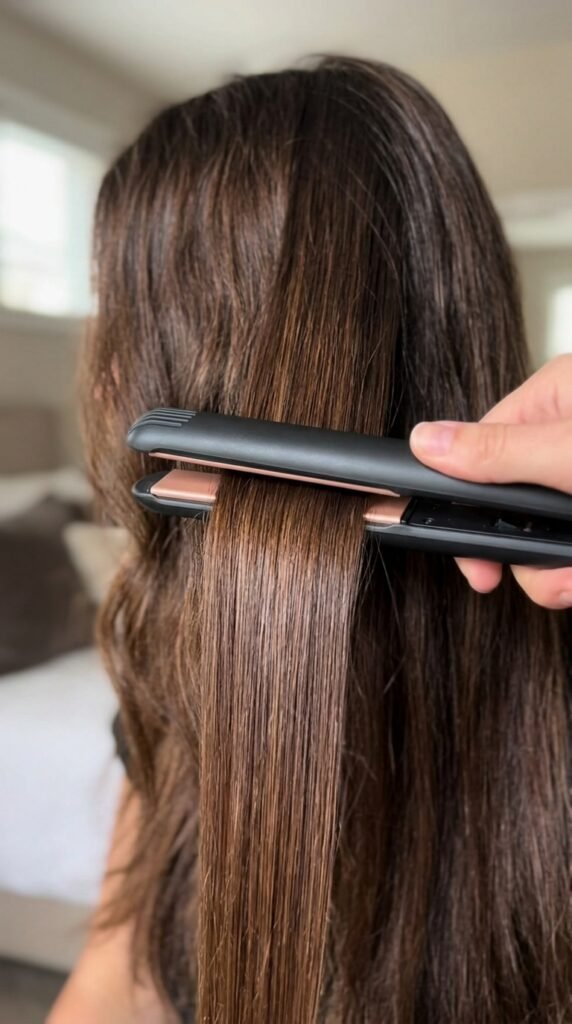
Heat is fine. Reckless heat is not. Long layers show damage faster because the ends are older and thinner.
Keep it simple and consistent.
- Always use a heat protectant
- Keep irons under 350 degrees
- Never flat iron damp hair
- One pass per section, not three
If your ends feel crunchy after styling, that is your cue to trim, not to add more product. Healthy ends reflect; fried ends absorb.
Products That Actually Boost Reflection

You need three products, not thirty. A lightweight oil for the ends, a shine spray for finishing, and a leave-in for damp hair.
Heavy products weigh down layers and make them look greasy by noon. Light layers win.
- Oil on ends only, never roots
- Shine spray from ten inches away
- Leave-in on damp hair before drying
Apply oil to your hands first, then press it into the ends. That gives you control and keeps the mid-lengths from looking slick.
Trims and the Maintenance Schedule
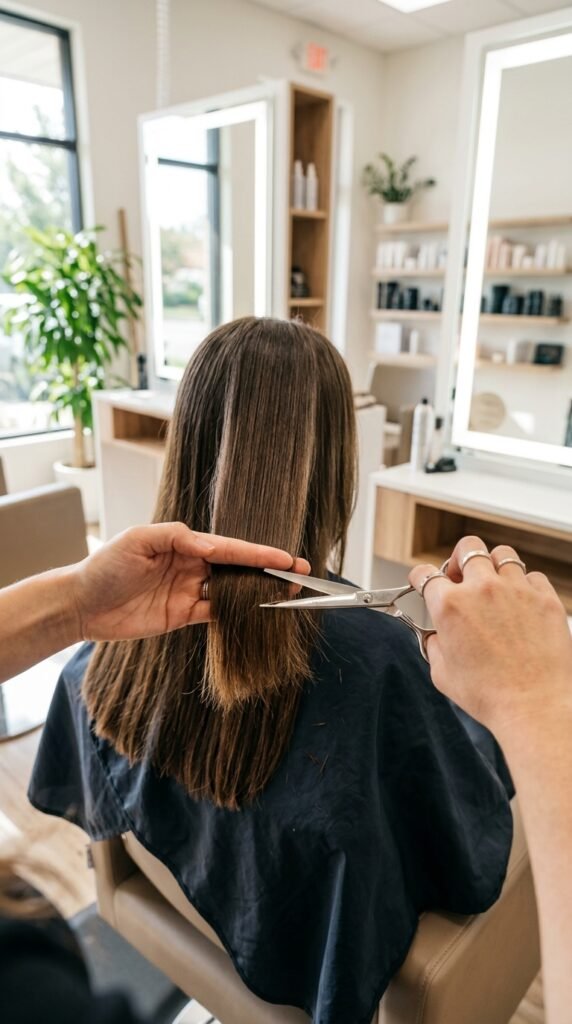
Long layers only look polished when the ends are fresh. Split ends scatter light and make everything look duller than it is.
Eight to twelve weeks is the sweet spot for most people. Very fine or colored hair might need six to eight.
- Dusting trim between full cuts
- Trim before color, not after
- Take off a quarter inch, not inches
Consistent small trims are how people end up with hair past their shoulders that still looks shiny in photos.
Color That Makes Your Layers Pop
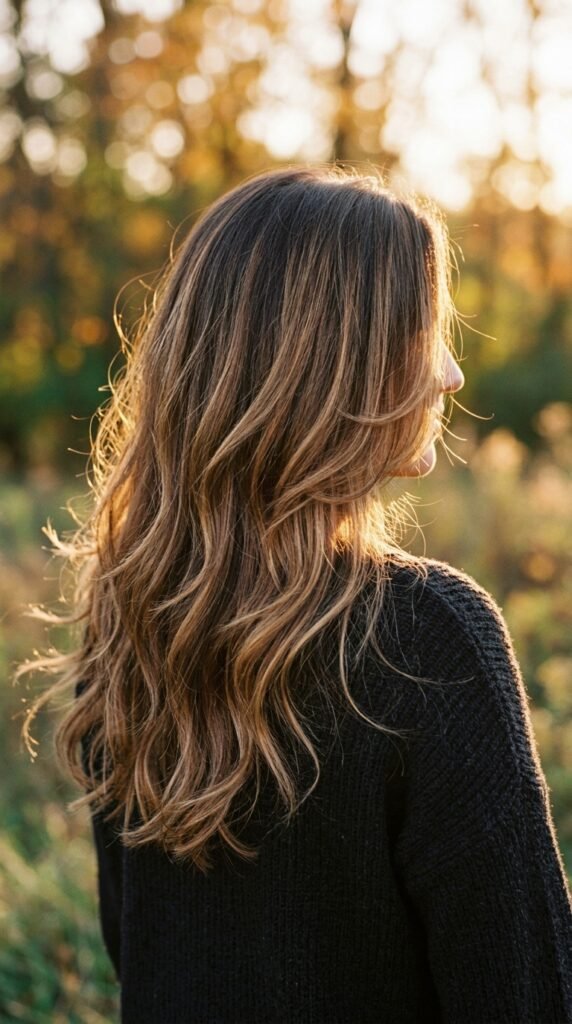
Color is a layer multiplier. A little dimension makes the cut visible, because light hits different tones at different angles.
You do not need a dramatic change. A subtle balayage or a few face-framing highlights do the work.
- Keep the roots natural and soft
- Concentrate lightness around the face
- Stay within two shades of your base
Ask for a gloss on top. It blends everything together and gives that expensive, seamless finish old money hair is known for.
Styling Long Layers for Work

Work hair needs to survive a commute and eight hours under office lighting. Smooth and simple wins every time.
Blow-dry the front sections with a round brush, then pull the rest back with a claw clip or a low ponytail.
- Sleek low ponytail with a face frame out
- Half-up style with a soft bend at the ends
- Claw clip twist for day-three hair
Keep a mini shine spray in your bag. One spritz before a meeting and the layers look freshly done.
Styling Long Layers for Date Night
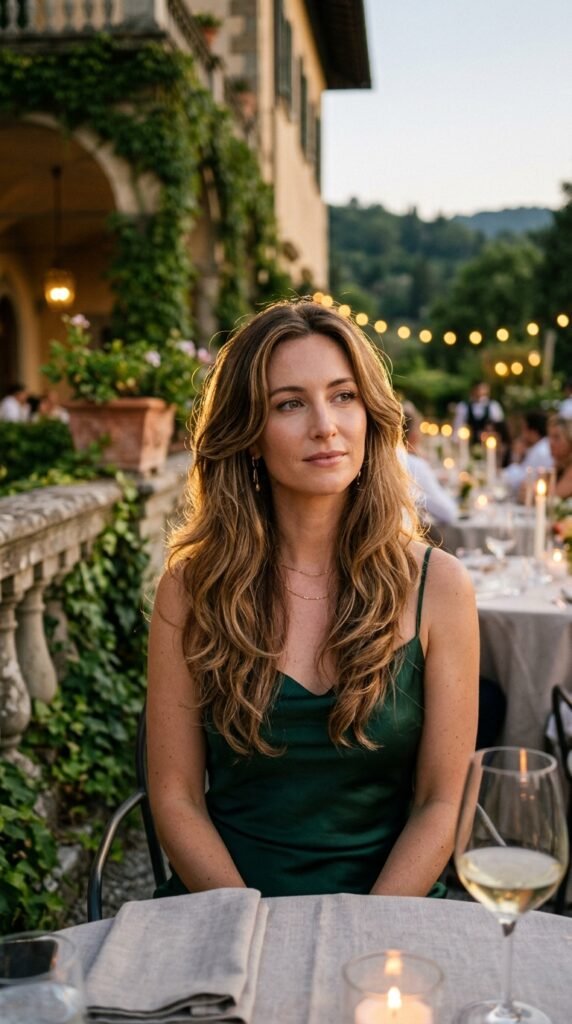
Date night is when long layers get to show off. Loose waves and a bit of shine do more than any complicated updo.
Wrap sections around a one-inch iron away from your face, then brush everything out with your fingers.
- Waves only from cheekbone down
- Pin the front pieces back on one side
- Finish with shine spray, not hairspray
That soft, brushed-out finish is the romantic goth look without the commitment. It photographs beautifully too.
Sleep and Shower Habits That Protect Shine
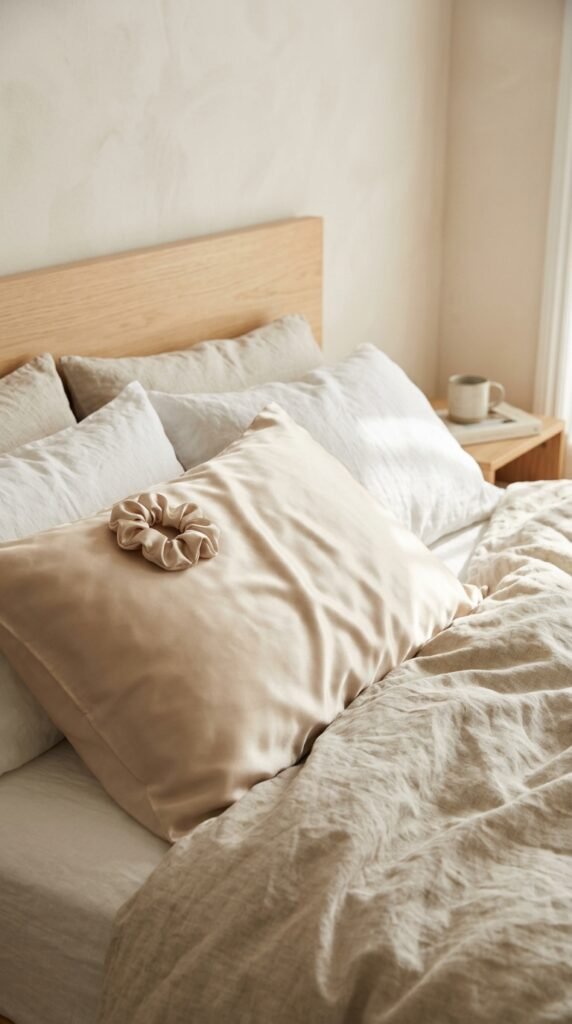
Half your shine is decided before you style anything. Cotton pillowcases rough up the cuticle all night long.
Small swaps make a real difference over months.
- Silk or satin pillowcase
- Silk scrunchie instead of a tight elastic
- Cool or lukewarm water on wash day
- Pat, do not rub, with a microfiber towel
None of these cost much, and together they keep your ends healthier between trims, which is exactly what reflective layers need.
Quick Shine Fixes for Busy Mornings
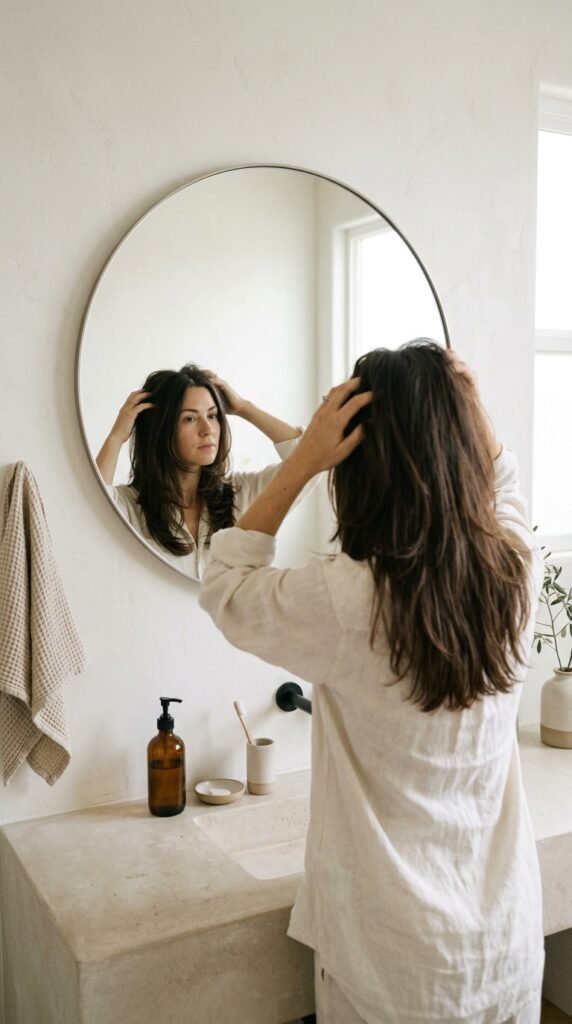
Some mornings you have five minutes. That is enough. You just need the right order of operations.
- Spritz the ends with water
- Add one drop of oil to your hands
- Smooth from mid-length to ends
- Blast the front with cool air
That is it. The water reactivates the shape, the oil adds reflection, and the cool air seals it. Nobody at the office needs to know you woke up ten minutes ago.
A Few Last Things to Keep in Mind

Polished long layers are not about following every trend on the list. Pick two or three ideas that fit your hair and your routine, then let the rest go.
The cut matters, but the upkeep is what makes it look expensive. Small trims, light products, and gentle habits will beat any trendy technique every time.
And if a stylist suggests something that feels wrong for your density, you are allowed to say no. You know your hair better than anyone.
Wrapping It Up, Friend
Long layers in 2026 are about looking healthy first and stylish second. Get the shape right, keep the ends fresh, and the shine follows almost on its own.
Start with one change this month. A trim, a gloss, or a better pillowcase. That is how hair goes from fine to genuinely reflective.
Save this post to Pinterest so you have the exact wording ready for your next salon visit, and drop a comment below with the layer style you are trying first. I read every single one.