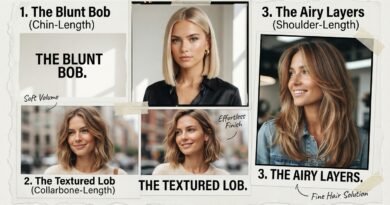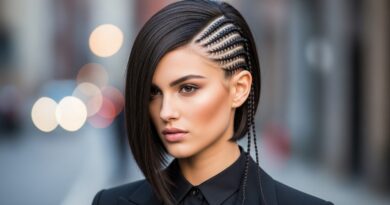
27 Polished Long Haircut Layers Emphasizing Healthy Reflective Hair Shine
Long hair can look expensive or it can look tired, and honestly, the difference is almost never the length. It is the cut and the shine. Every time someone sits in my chair and says “I want it to look healthier,” what they actually mean is “I want it to reflect light.”
So this post is about 27 polished long haircut layers that emphasize shine and health. No gimmicks. Just cuts that move, catch light, and hold their shape between salon visits.
I will walk you through the exact styles trending for 2026 hairstyles, how to ask your stylist for them, and the simple habits that make long layers look glassy instead of dull. Skim it, save it, bring it to your appointment.
Why Polished Long Layers Are Everywhere in 2026
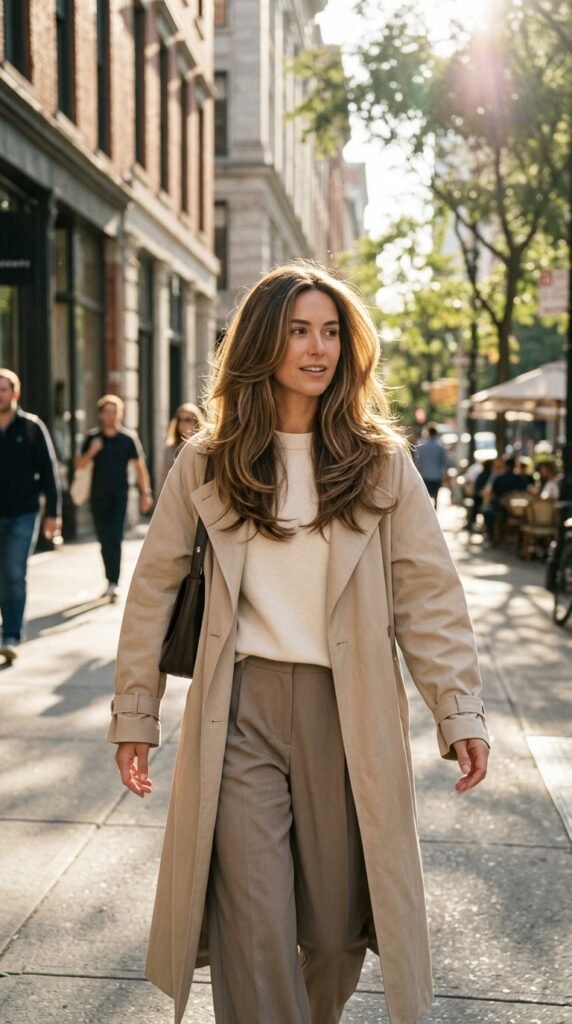
Everywhere I look right now, long hair has layers again, but softer than the choppy cuts we did years ago. The 2026 hairstyles trend is about movement you cannot really see, just feel.
The trick is that the layers sit close together near the face and blend into one length in the back. That blend is what makes hair look lit from within.
- Layers start around the cheekbone, not the ear
- Ends stay thick, never feathery
- Shine reads as “healthy,” not “oily”
This is why old money hair and quiet luxury looks rely on this cut. It looks maintained without looking worked on.
Shine Starts With Health, Not Product
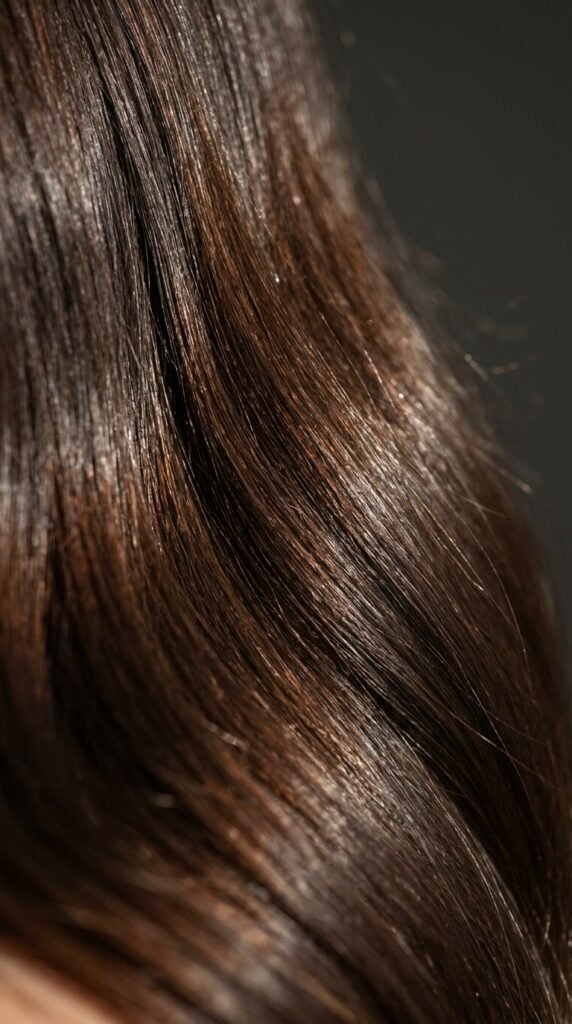
Here is the honest thing: no gloss spray can save damaged hair. Light bounces off a smooth surface. If the cuticle is roughed up, your hair absorbs light instead of reflecting it.
So before we talk about any specific cut, let me say this. Healthy hair is the whole trick behind reflective shine.
- Trim every 8 to 12 weeks, even when growing it out
- Wash less often, condition more
- Use a heat protectant every single time
- Sleep on silk, or at least a smoother pillowcase
Do those four things for two months and your layers will look a whole level more expensive. I promise.
Face-Framing Layers: The Universal Upgrade

If you only do one thing to long hair, do this. Face-framing layers are the pieces that start at your cheekbone or jaw and blend back into the length.
They soften your features, add shine right where the camera hits, and make a plain ponytail look intentional.
Ask for your stylist to point-cut or slide-cut the pieces so the ends stay soft, not blunt.
- Ask for cheekbone length, not ear length
- Keep the front pieces long enough to tuck
- Avoid cutting them too wide or you get heavy curtain chunks
Works on straight, wavy, curly, fine, thick. Genuinely universal.
The Old Money Long Layer

Old money hair is really just long layers with discipline. It is smooth, it is one length from the shoulder down, and it never looks freshly cut.
The layers are minimal. Maybe two subtle levels around the jaw and collarbone. Nothing choppy.
- Ask for long, blended layers starting at the jaw
- Keep the perimeter one length and blunt
- Finish with a light oil on the ends only
Pair it with a middle part, a low ponytail, or a simple bend at the ends. The shine does the talking. This is the cut that makes people ask if you just got back from somewhere nice.
Growing Out a Quiet Luxury Bob Into Long Layers

The quiet luxury bob was a big commitment, and now half my readers want their length back. Good news: the grow-out is easy if you layer as you go.
Instead of one blunt line that gets heavier every month, add soft layers at the collarbone so the shape stays flattering while it drops.
- Trim the back every 10 weeks, let the front catch up
- Add collarbone layers so it does not go triangle
- Use a round brush on the ends for bend, not curl
In about six months you will have a proper long cut without ever having an awkward phase. That is the whole goal.
The Asymmetrical Lob as Your In-Between Step
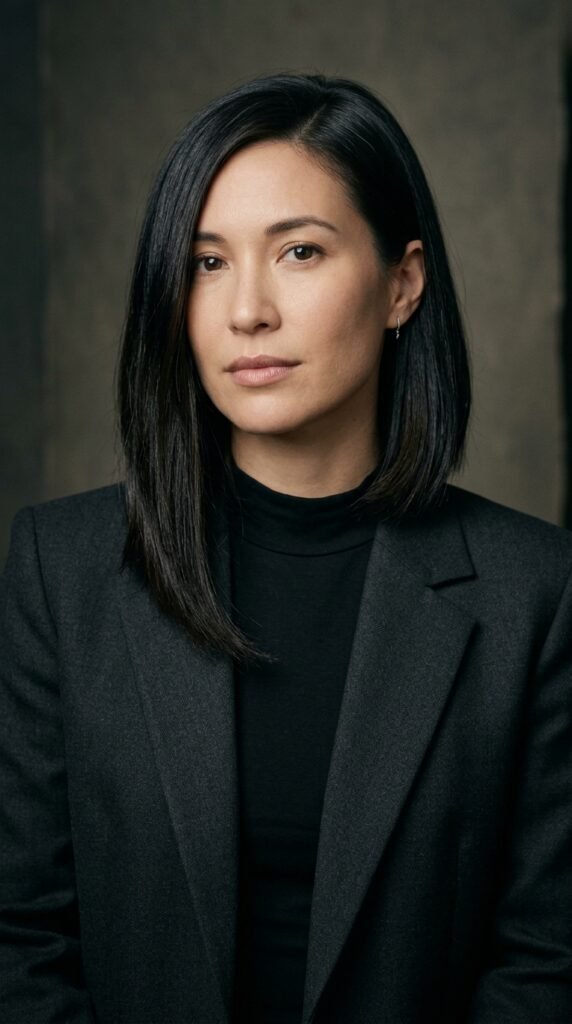
The asymmetrical lob is my favorite bridge between short and long. One side sits slightly longer, which honestly makes fine hair look thicker and gives thick hair movement.
It is also incredibly flattering because the eye follows the longer side down and out, elongating the face.
- Ask for a one to two inch difference, not more
- Keep the cut angle subtle so it grows out hidden
- Blow-dry with the longer side sweeping away from the face
Style it with a slight bend and a shine serum. It photographs beautifully and works for almost every hair texture.
The Vampire Haircut, Softened With Long Layers
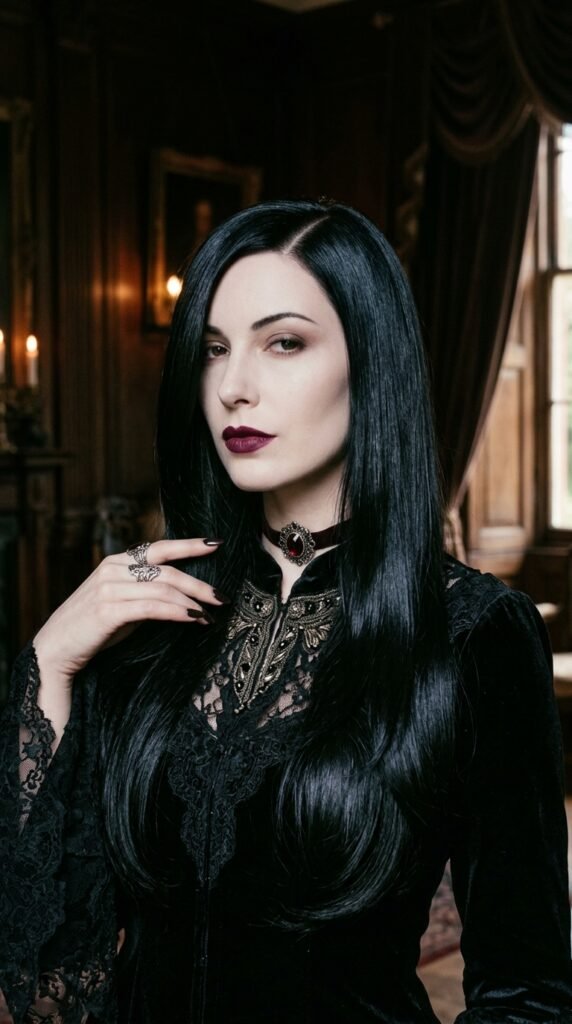
The vampire haircut is very 2026: long, dark, moody, and heavy with shine. Think deep side part, sleek finish, and pieces that graze the cheekbone.
But a pure blunt vampire cut can feel costume-y. Long blended layers keep it wearable while holding that mood.
- Keep the length past the collarbone
- Add three or four soft layers only at the front
- Finish with gloss or a tinted shine spray, not hairspray
The look is expensive, slightly dramatic, and weirdly easy to maintain. If you love dark hair, this is the move.
Romantic Goth Hairstyles With Long Layers

Romantic goth hairstyles are softer than the name suggests. Think long layered hair, gentle waves, and a lot of shine, rather than anything spiked or stiff.
Layers make this work, because they let the hair move and catch candlelight instead of sitting flat.
- Ask for long layers with a soft perimeter
- Curl with a 1.25-inch iron, leaving the ends straight
- Brush out with a wide-tooth comb for that undone wave
Add a dark gloss or a semi-permanent tone every eight weeks to keep the color rich. Matte hair kills this look. Shine keeps it dreamy.
The Hime Cut, Modernized

The hime cut is blunt cheek pieces with the rest left long. Traditionally it is very sharp, and in 2026 it is getting softened with long layers in the back.
It looks incredible on straight, healthy hair because the shine really shows. Fine hair especially benefits, since the blunt sides read as thickness.
- Keep the side pieces around cheek or jaw length
- Blend the back into long layers so it is not two haircuts
- Commit to glossing, because blunt lines show dullness
It is a statement, but a quiet one. Ask your stylist for a photo, not just words.
Glitchy Glam Hair: Long Layers With a Little Edge

Glitchy glam hair is the fun one. It is long layers with a slightly sharper front piece, high shine, and a finish that looks almost digital. Very sleep-then-styled.
The key is balance. If the front is sharp, the back stays soft. Otherwise the whole thing turns into a choppy mullet.
- Ask for a sharp cheekbone piece with blended back layers
- Use a gloss spray for that wet-look reflection
- Leave some texture, do not flat-iron everything
It pairs great with a middle part and a tucked-behind ear. Very editor-off-duty.
Curtain Bangs Plus Long Layers

Curtain bangs are still the most requested thing in my DMs, and they work best with long layers behind them. The layers give the bangs somewhere to blend.
Without layers, curtain bangs can look like a separate haircut hanging in front of your face.
- Bangs should hit the cheekbone or just below
- Ask for the outer pieces to blend into the first layer
- Blow-dry bangs around a round brush, then cool shot
Refresh them between washes with a dry shampoo and a quick brush. Simple, but it makes all the difference.
Fine Hair? Layers That Do Not Fall Flat

Fine hair needs layers, but too many will make it look stringy. The rule is fewer, longer layers placed higher up.
You want to remove weight from the bottom so the top can lift, without thinning out your ends.
- Ask for long layers starting at the chin
- Keep the ends blunt and full
- Skip razoring, it makes fine hair fuzzy
- Use a lightweight shine mist, not heavy oil
Round-brush just the roots for two minutes and your hair will look twice as thick. Fine hair rewards effort more than any other texture.
Thick Hair? Layers That Remove Bulk Without Going Thin

Thick hair is a blessing until it becomes a triangle. The fix is layering through the mid-lengths so the weight gets distributed.
The mistake is going too short with the layers, which creates a shelf. Keep them long and blended.
- Ask for internal layers through the mid-lengths
- Keep the shortest layer at collarbone or below
- Have your stylist thin the ends, not the roots
Finish with a light oil and a smoothing brush. Thick hair with good layers looks like a shampoo commercial, and that shine really holds.
Curly and Wavy Long Layers

Curly hair should be cut dry, and layered while it curls, so your stylist sees the real shape. Layers here are about removing the pyramid, not the volume.
For waves, the goal is a smoother transition so the ends do not look thin and stringy.
- Curly: layers cut dry, blended into your curl pattern
- Wavy: longer layers starting below the chin
- Diffuse, do not scrunch, for a shinier finish
Use a curl cream plus a light gel, then break the cast with a drop of oil. That is where the reflection comes from.
The 2026 Shine Checklist: Products That Actually Work
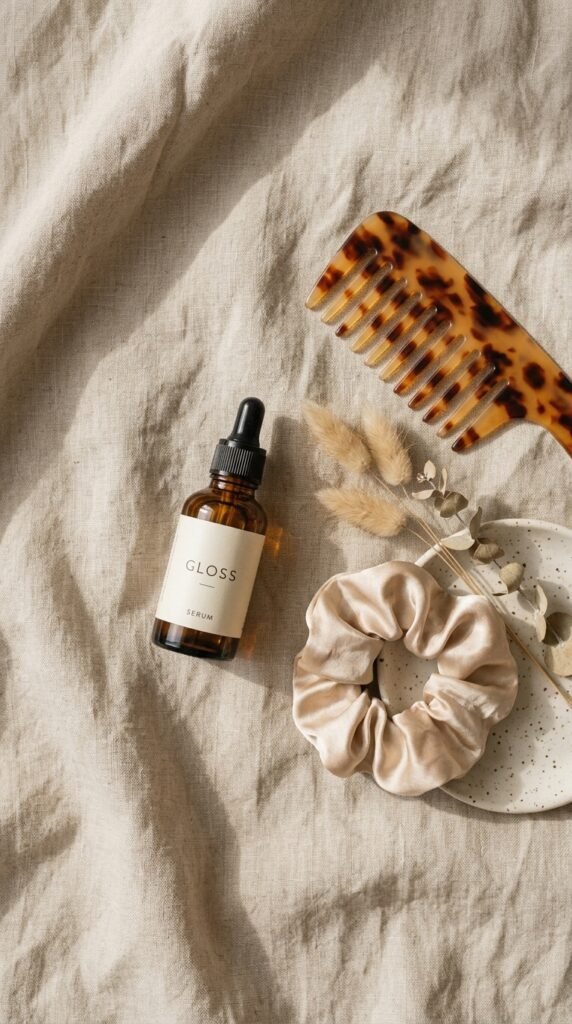
You do not need twelve products. You need four that do their job. This is my short list for reflective hair on long layers.
- A sulfate-free shampoo, used mostly on the scalp
- A conditioner or mask on the mid-lengths and ends
- A heat protectant spray, every time
- A lightweight shine serum or gloss oil for the ends
- Dry shampoo for roots between washes
Notice there is no shine spray alone on this list. Shine comes from smooth hair, and these products smooth the hair. Everything else is a bonus.
How to Ask Your Stylist for These Layers

Bring two photos, not ten. One for the cut, one for the finish. Then use real words.
- “Long blended layers starting at the cheekbone”
- “Keep my ends thick, do not thin them out”
- “I want it to grow out gracefully for six months”
- “Show me where the shortest layer will land”
Also tell them your routine. If you air-dry and never touch a round brush, say so. A stylist will cut differently for real life than for a blowout.
And if you want to keep shine, ask for a gloss while you are in the chair.
The Blowout Routine Behind Reflective Hair
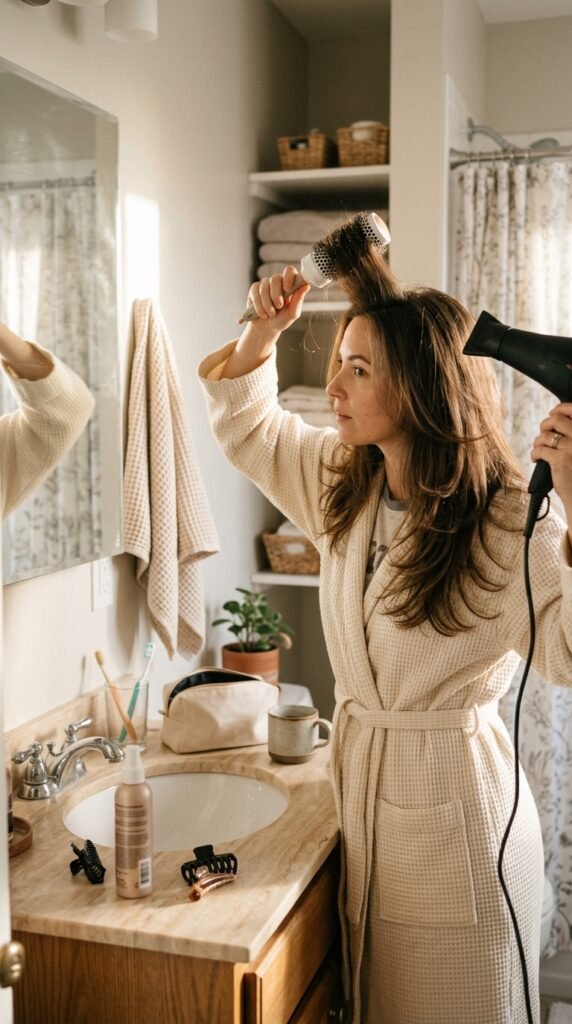
You do not need a salon blowout. You need the right order of steps. Here is the routine I actually use on my own long layers.
- Apply heat protectant to damp hair
- Rough-dry to 80 percent, brushing downward
- Section, then pull each section smooth with a round brush
- Finish each section with a cool shot to close the cuticle
- Add one drop of oil to the ends only
The downward brush direction is the shine secret. It smooths the cuticle like a comb-over for your hair. Takes about fifteen minutes and lasts two days.
Gloss and Glaze: Your 15-Minute Shine Cheat
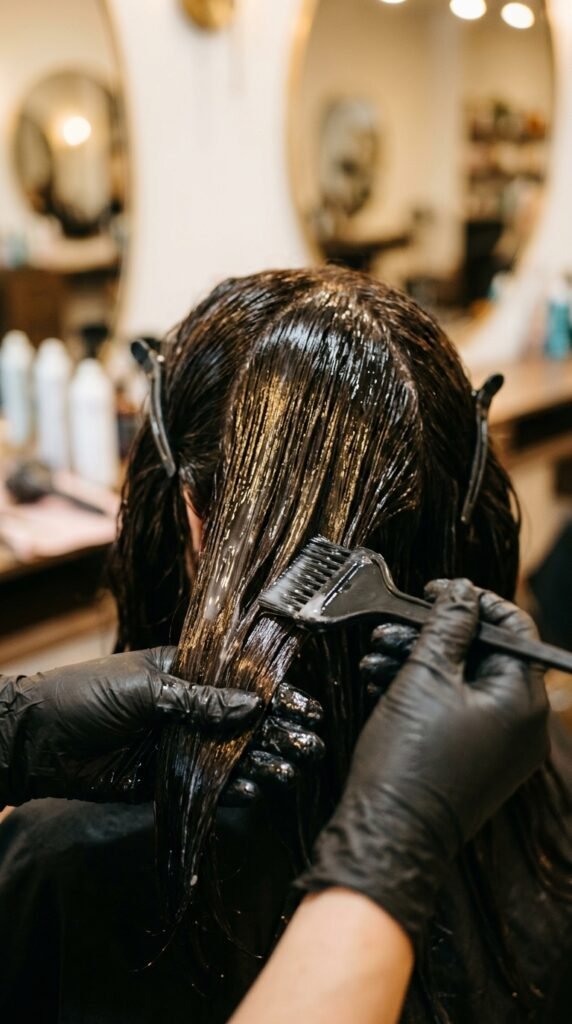
If you want instant shine, a gloss is the fastest route. It is a semi-permanent treatment that smooths the cuticle and boosts tone.
Think of it like a top coat for your hair. It does not change your color, it just makes it look lit.
- In-salon gloss: lasts about four to six weeks
- At-home glaze: lasts one to two washes
- Best for dull ends and warm or brassy tones
Book one before a big event, or the week before a photo-heavy vacation. It is the single best shine-per-dollar thing you can do.
Heat Styling Without Dulling the Shine
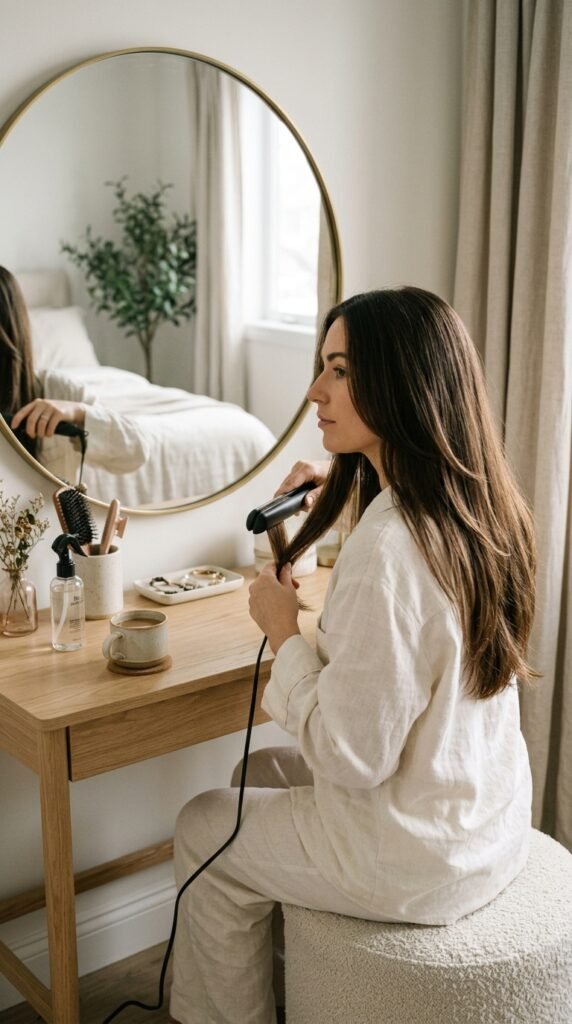
Heat is fine. Heat without protection is what kills reflection. Every pass without a protectant roughens the cuticle a little more.
Keep tools at medium heat, and never go over one section twice on the same setting.
- Always use a heat protectant on damp or dry hair
- Keep irons around 350 degrees, not 450
- One slow pass beats three fast ones
- Cool shot at the end to lock the smoothness in
Also, give your hair a break day each week. No heat, no pulling, just air-dry and a little oil.
The Boring Stuff That Shows Up in Your Hair
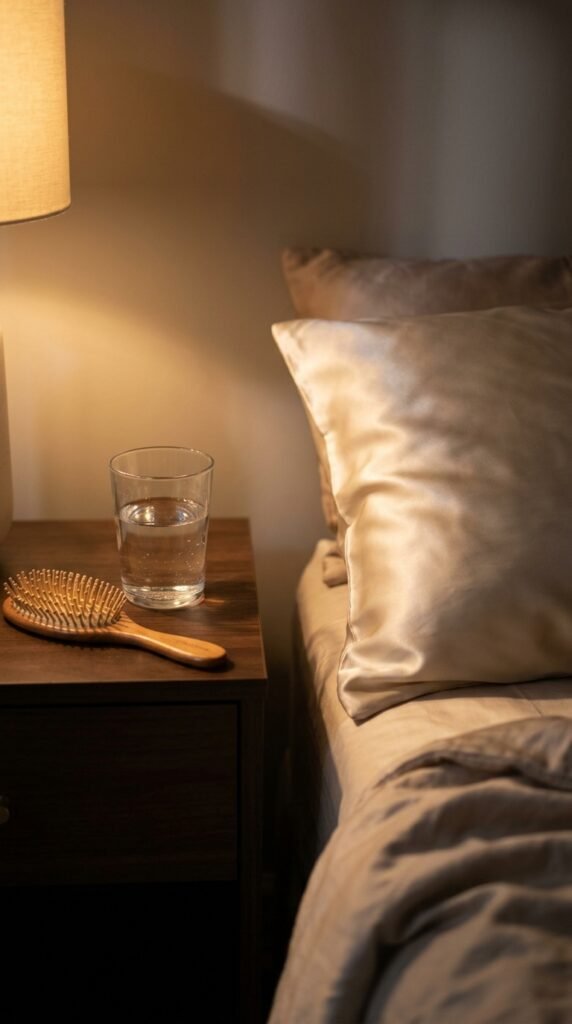
I know. Nobody wants to hear this part. But your hair is the first place your habits show.
Sleep, water, and protein are not glamorous, and they are absolutely part of your shine.
- Silk pillowcase so hair does not snag overnight
- A loose braid or silk scrunchie instead of a tight topknot
- Water and protein, because hair is literally protein
- Wash your brushes monthly, oily brushes make dull hair
Nothing here costs much. All of it shows up in photos.
Trims and Dusting: The 8 to 12 Week Rule
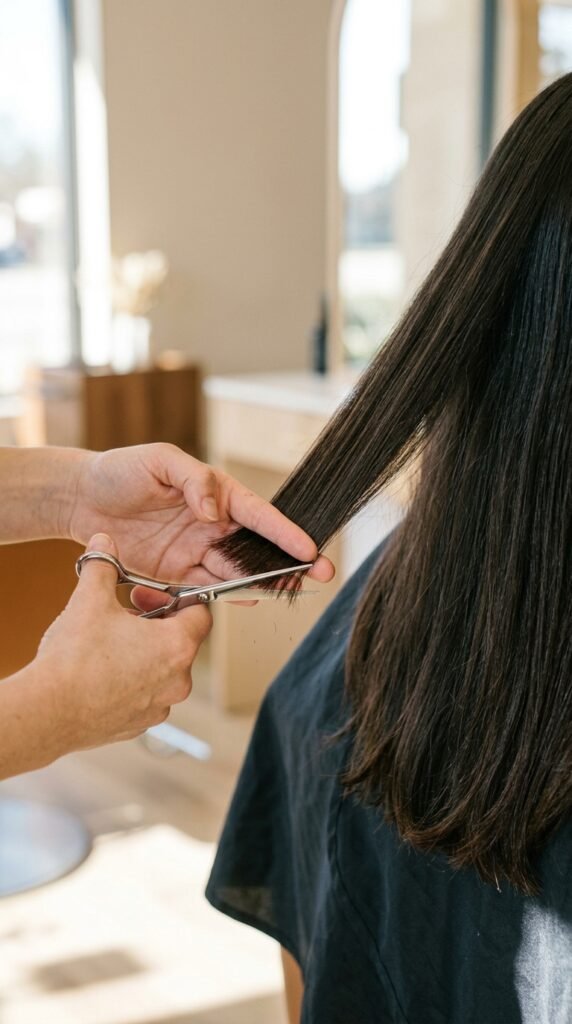
Long layers only look polished when the ends are clean. Split ends travel up, and once they do, the whole section looks dull.
You do not need to lose length. You need dusting, which is a tiny trim of the very ends.
- Every 8 weeks if you heat style often
- Every 12 weeks if your hair is healthy and low-maintenance
- Ask for a dusting, not a cut, when growing it out
Skip the trim for six months and your layers will start looking wispy and cheap, no matter what you spend on products.
Color That Makes Layers Look Lit
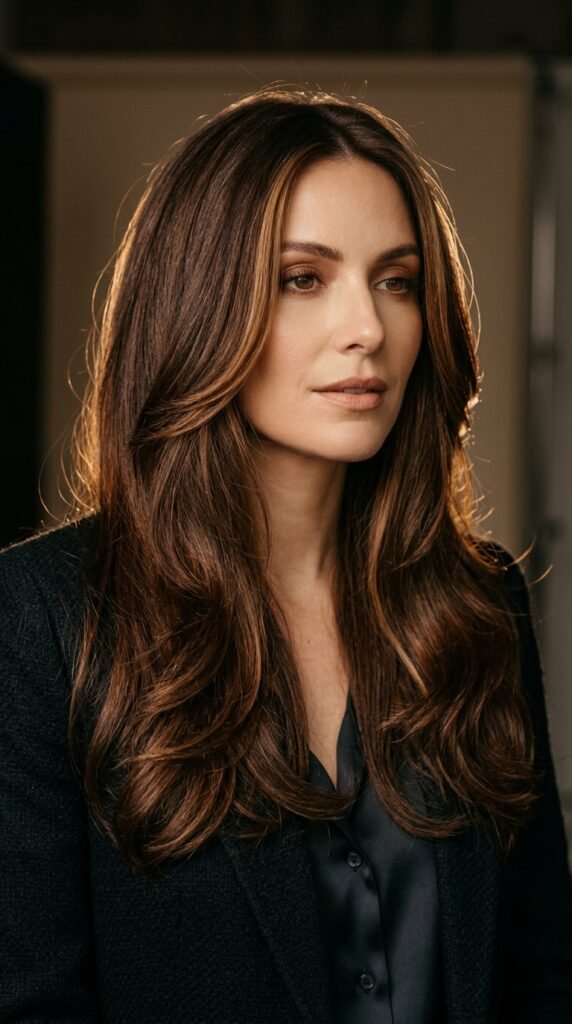
Layers need light to work. The right color makes the cut visible, and the wrong one flattens it.
A few subtle highlights around the face do more than a full head of them.
- Face-framing money pieces to light the front layers
- A single-tone gloss for old money hair vibes
- Cool brunette tones look exceptionally shiny
- Avoid heavy bleach on fine hair, it kills reflection
Keep the color a step or two away from your natural tone and grow it out gracefully. Low maintenance always looks more expensive.
Five-Minute Polished Styles for Long Layers

Polished does not mean styled for an hour. Long layers honestly make fast styles look intentional. Here are my go-tos on a busy morning.
- Low ponytail with two face-framing pieces left out
- Half-up with a clip, backcombed slightly at the crown
- Loose braid, pulled wide for volume, ends oiled
- Claw clip twist with the front layers swept back
Run a shine serum through the ends first. It takes ten seconds and makes even a messy-pulled-together look feel finished.
Layer Mistakes I See All the Time
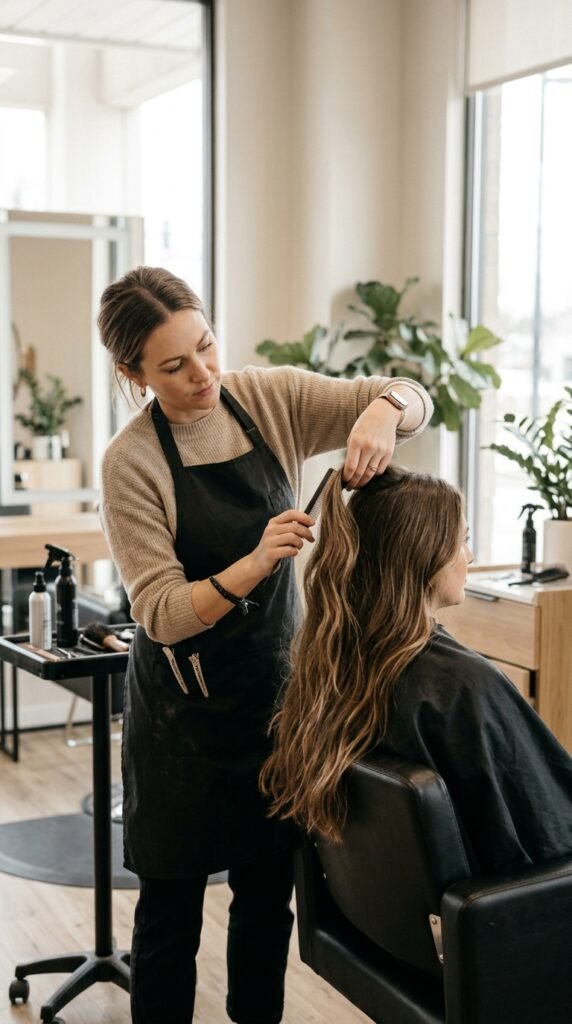
These are the ones that cost you shine and shape. I have seen every single one, and most are easy to avoid.
- Layers cut too short, creating a shelf
- Razoring fine hair until it fuzzes
- Too many layers, so ends go thin and stringy
- Cutting layers into damaged ends instead of trimming first
- Layers that do not match how you actually style it
If your hair already looks wispy at the bottom, tell your stylist to trim before layering. Order matters, and it changes everything about the finished shine.
Your Simple Long Layer Maintenance Plan
Here is the whole thing on one page. Print it, screenshot it, bring it to your next appointment.
- Daily: heat protectant, oil on ends
- Weekly: deep conditioning mask, wash brushes
- Every 4 to 6 weeks: gloss or glaze
- Every 8 to 12 weeks: dusting or trim
- Every 6 months: reassess your layer placement
That is it. Consistency beats intensity, every single time.
So look, if you take one thing from all of this, let it be that healthy hair is the shine. The cut just shows it off. Pick a layer style that matches how you actually live, keep your ends dusted, and stop skipping heat protectant. That is genuinely the whole formula.
Start with face-framing layers if you are nervous, or go bold with the vampire haircut or a modern hime cut if you want a change. Either way, bring a photo and be honest about your routine. Your stylist can work magic with the truth.
And when people ask what you did, you can just say you got a trim. Let the shine do the talking.
Save this post to Pinterest so you have your layer notes ready for your next appointment, and tell me in the comments: which cut are you trying first? I read every single one.