Weave 26 Celtic Knot Braids Interlacing Symbolically Complex Patterns
Okay, let’s be real. When you hear “26 Celtic knot braids,” your first thought might be, “That sounds impossible and like it would take all day.” I totally get it. But what if I told you this isn’t about painstakingly recreating a museum piece?
This is about the feeling it gives you. It’s intricate, it’s meaningful, and it whispers quiet luxury in a world of loud trends. It’s the ultimate “old money hair” with a soulful twist.
Think of this as your symbolic armor—a beautiful, personal ritual. We’re breaking it down into totally doable steps. You’ll learn the core patterns, how to adapt them, and how to make this ancient art work for your modern life. Let’s weave some magic into your everyday.
Why Celtic Braids Are Having a Moment
In a sea of quick trends like the glitchy glam hair or vampire haircut, Celtic braids stand out. They’re the opposite of fast fashion for your hair. They represent connection, heritage, and craftsmanship.
This trend aligns perfectly with the desire for depth and meaning in our style. It’s not just a hairstyle; it’s a wearable story. It fits the quiet luxury bob mindset but with a rich, historical narrative.
Gathering Your Simple Toolkit
You don’t need much! The right tools just make the process smoother. Here’s my go-to kit for any complex braiding session.
- Fine Mist Spray Bottle: For dampening hair slightly to control flyaways.
- Rat-Tail Comb: Essential for creating clean, sharp parts.
- Strong, Thin Hair Elastics: Clear or matching your hair color.
- Lightweight Styling Cream or Gel: A pea-sized amount to tame strands.
- Clips: To section off hair you’re not working on.

Start with a Super Clean Base
This style looks best on day-old hair or hair with a bit of texture. If your hair is freshly washed and slippery, add a light texturizing spray. The goal is hair that listens but isn’t stiff.
Brush through thoroughly to remove any tangles. Starting with a smooth canvas is non-negotiable for clean braids. Part your hair as you normally would before you begin any sectioning.

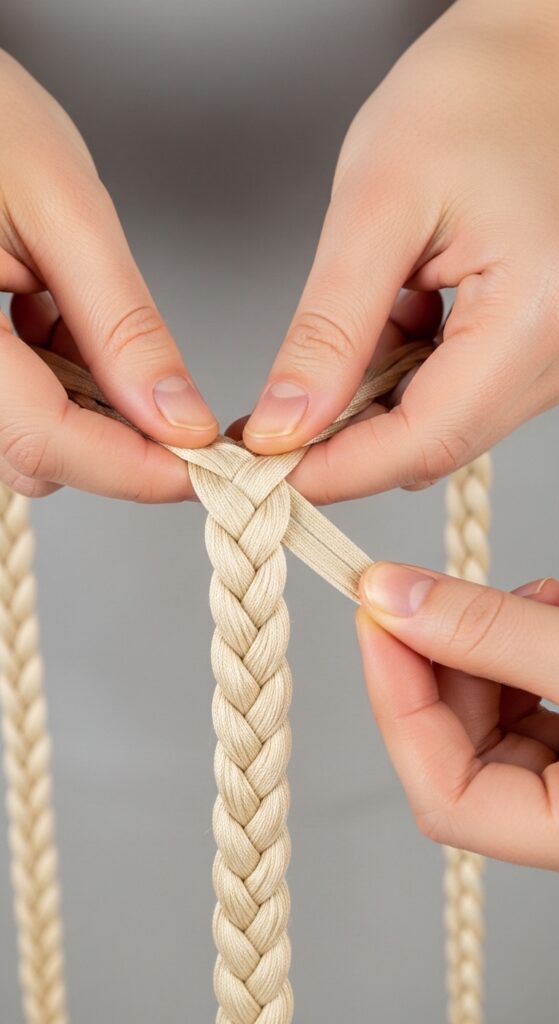
Mastering the Basic 3-Strand Braid
This is your foundation. Before knots, you need a perfect, tight, even braid. Practice on a small section until the motion is muscle memory. Keep consistent tension.
Pull firmly but gently. A loose braid will unravel and won’t hold the knot patterns well. This step is what makes the advanced patterns possible later on.
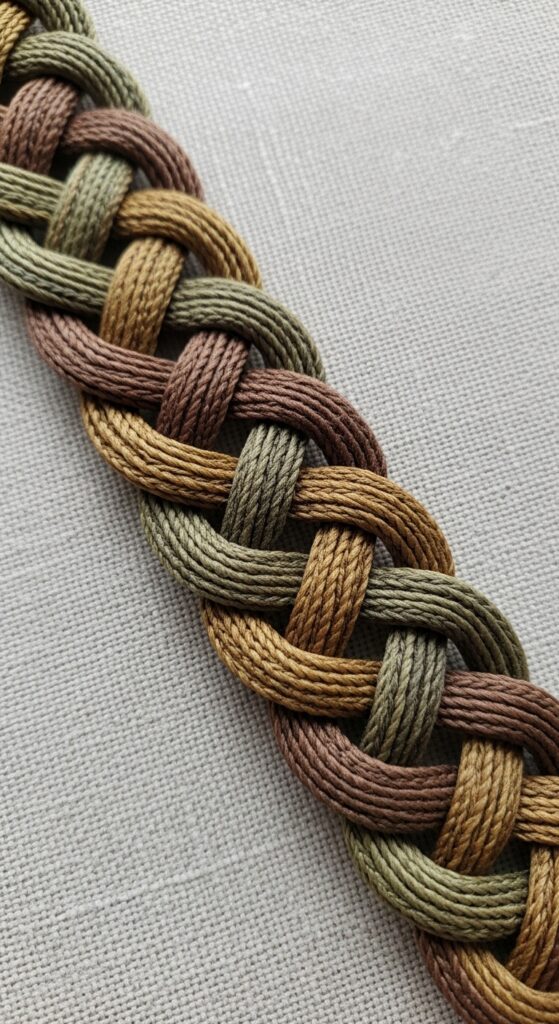
Learning the Core 4-Strand Braid
This is where the “weave” begins. A 4-strand braid creates a flatter, more ribbon-like effect that’s perfect for interlacing. Think of it as left-over, right-under.
- Label strands 1, 2, 3, 4 from left to right.
- Take strand 4 (far right) and go over 3, then under 2.
- Take strand 1 (far left) and go over 2, then under 3.
- Repeat, always taking the outermost strand to the center.
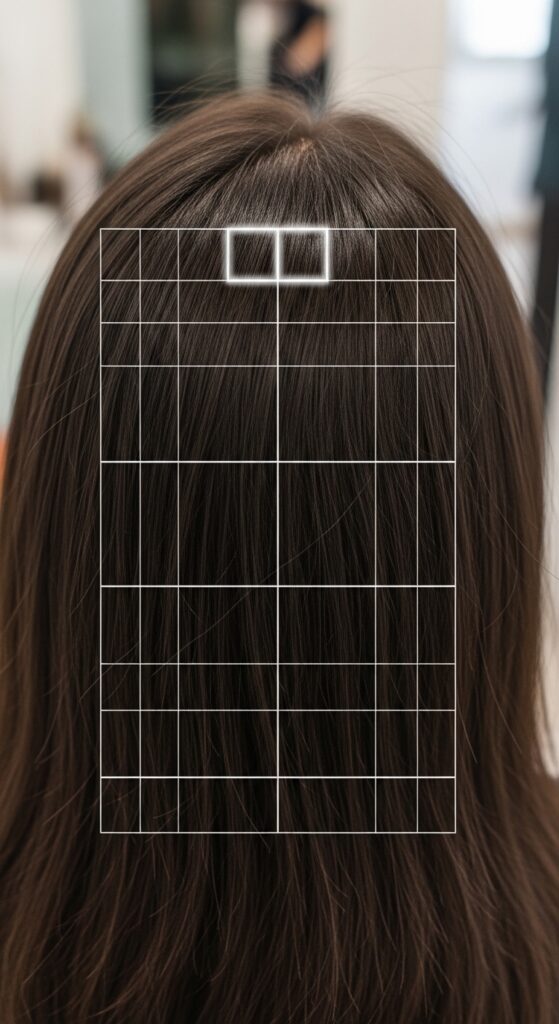
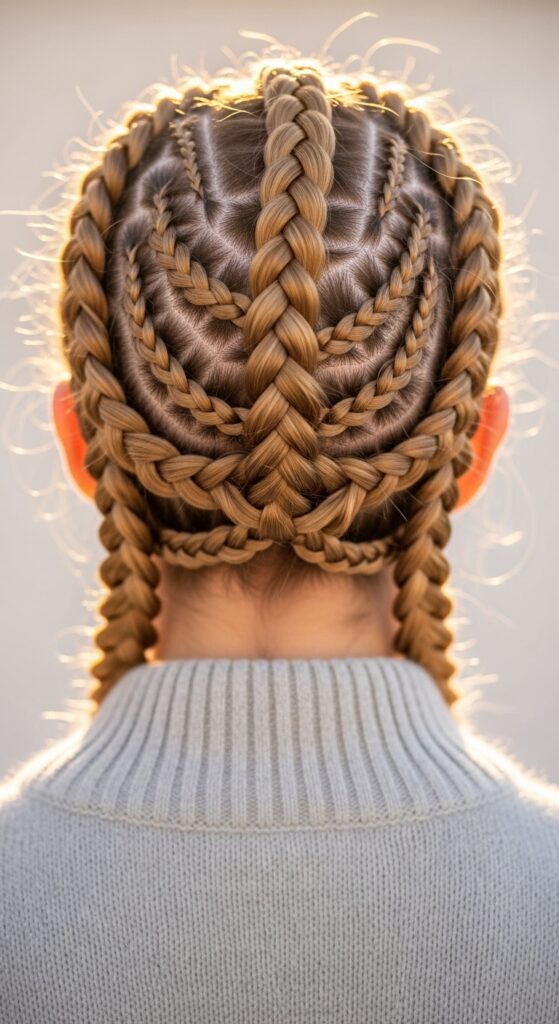
Sectioning Your Hair for 26 Braids
Don’t panic at the number! We’re creating a tapestry. Start by parting your hair down the middle. On each side, create a grid: three horizontal sections (top, middle, nape) and about four vertical sections within each.
Clip everything out of the way except the first section. This modular approach makes a huge project feel manageable and organized.
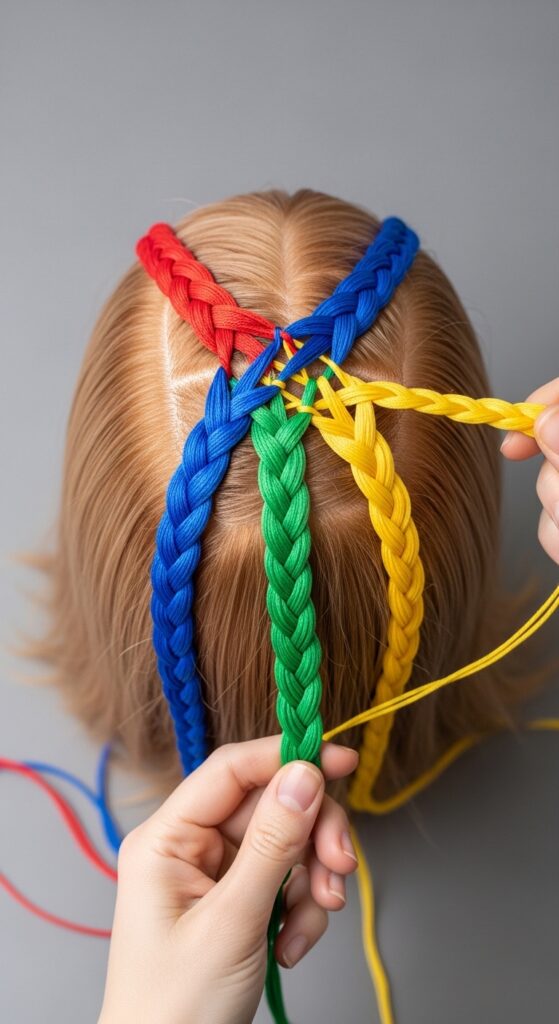
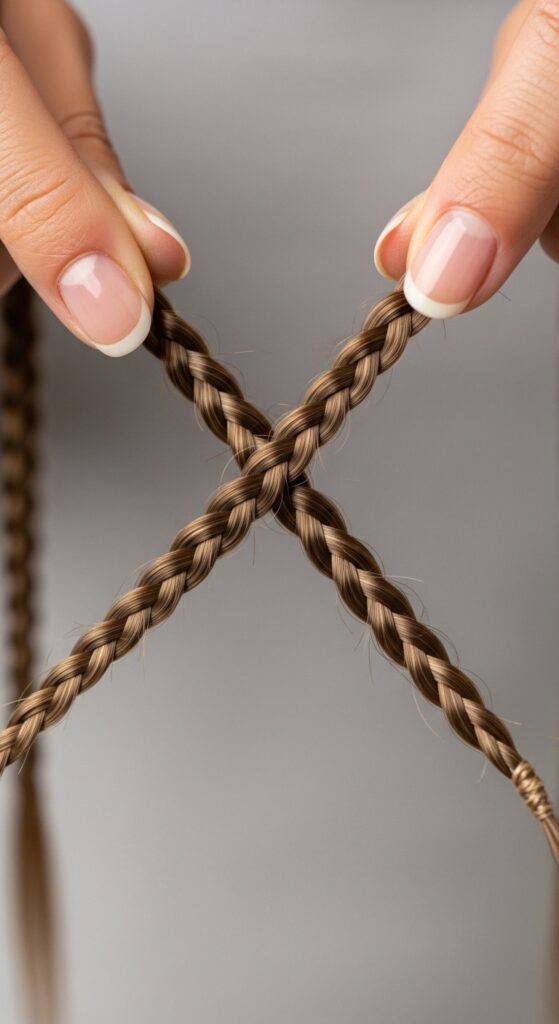
The First Knot: A Simple Interlace
Start with two small braids (either 3 or 4-strand) near your nape. Keep them loose and long. Cross them over each other, forming a simple “X.” Secure the ends together temporarily.
This is your practice knot. See how they interact? This is the fundamental principle you’ll repeat and build upon. It’s easier than it looks!
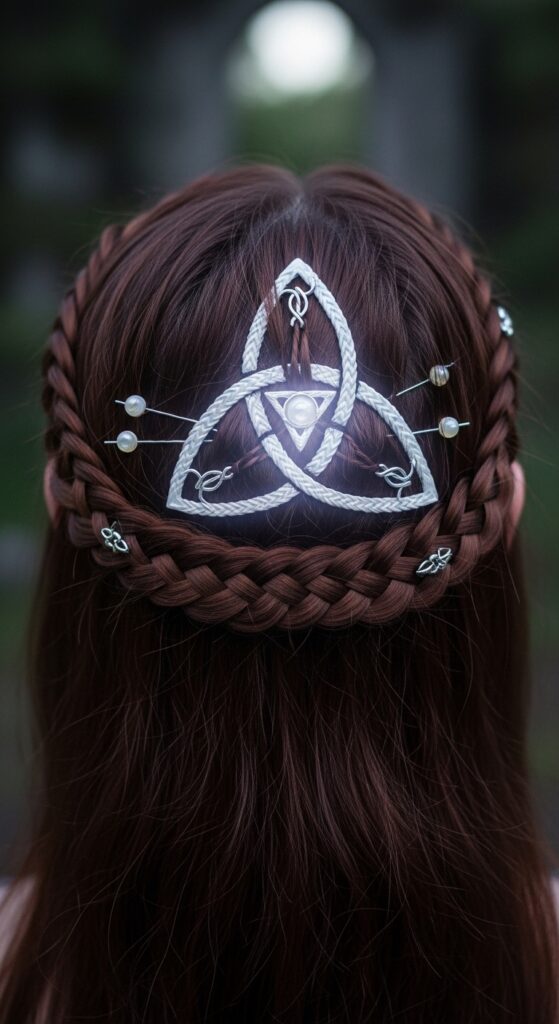
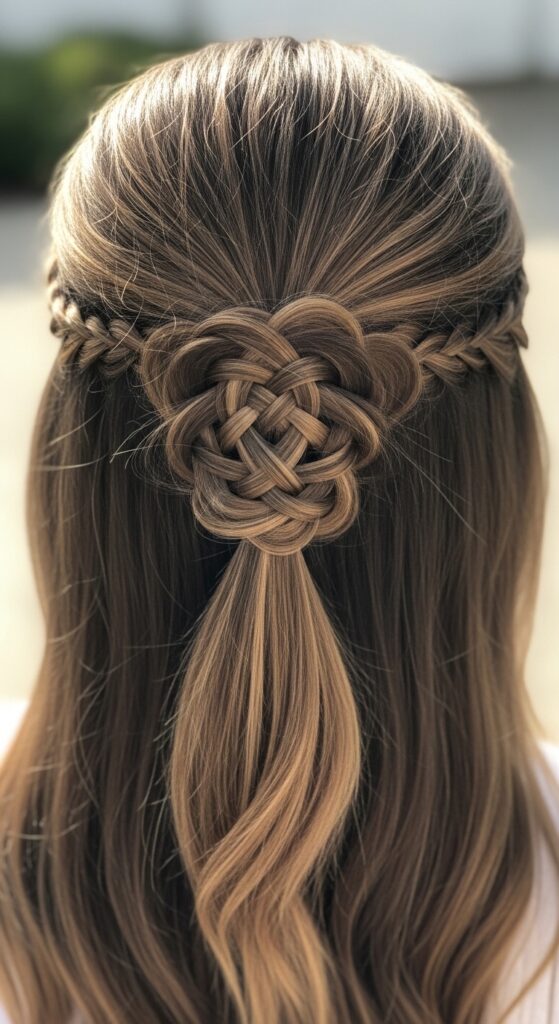
Building the Triquetra Symbol
The triquetra (three-cornered knot) is a classic. Create three small braids. Arrange them in a loose triangle. Weave the ends of each braid under and over to form the interconnected loops.
Use tiny, clear elastics to secure the joints. This symbol is beautiful at the crown or as a focal point amidst simpler braids.
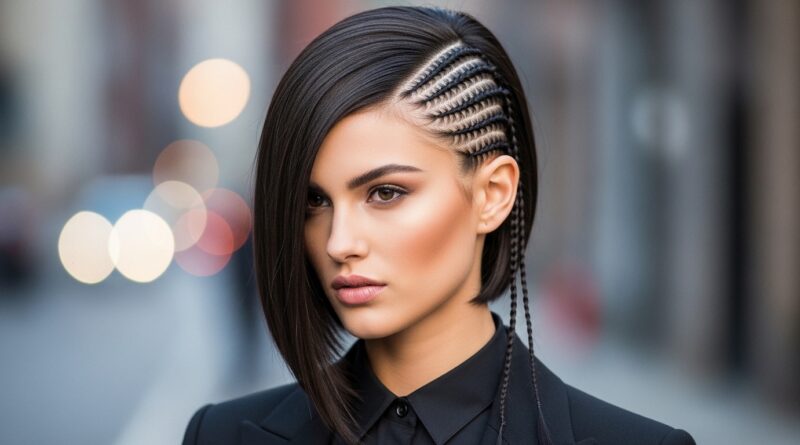
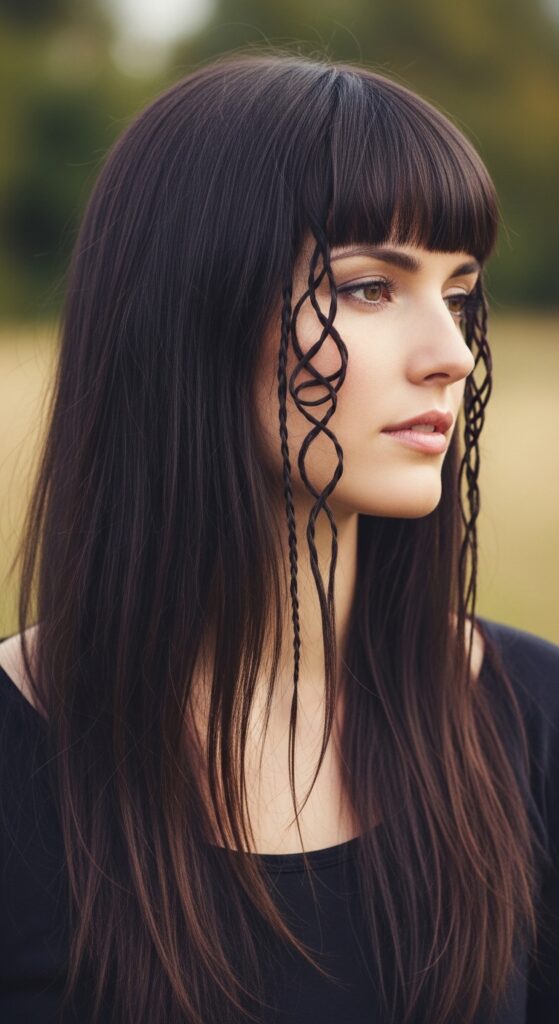
Incorporating a “Hime Cut” Framing Piece
If you have face-framing layers or a hime cut, use them! Leave out two front sections. Later, you can braid these separately into finer, delicate knots that frame your face.
This blends a modern, edgy cut with ancient braiding for a stunning contrast. It’s a perfect mix of romantic and structured.
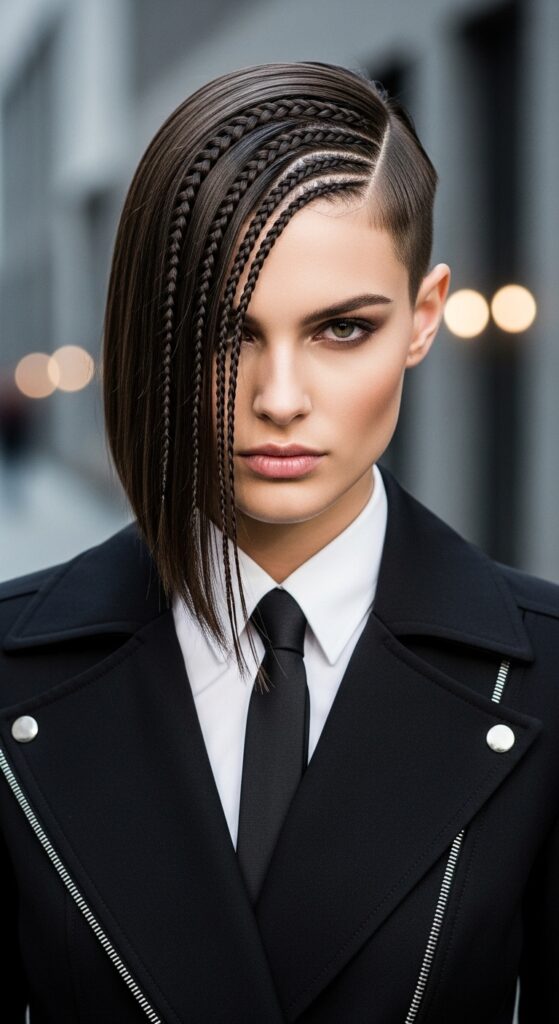
Adapting for an Asymmetrical Lob
Short hair can play too! On an asymmetrical lob, focus the knotwork on the heavier, longer side. Create a cascade of 4-5 small knotted braids that follow the line of your jaw.
Keep the braids tiny and the knots simple. This adds incredible texture and symbolic detail to a chic, modern cut.
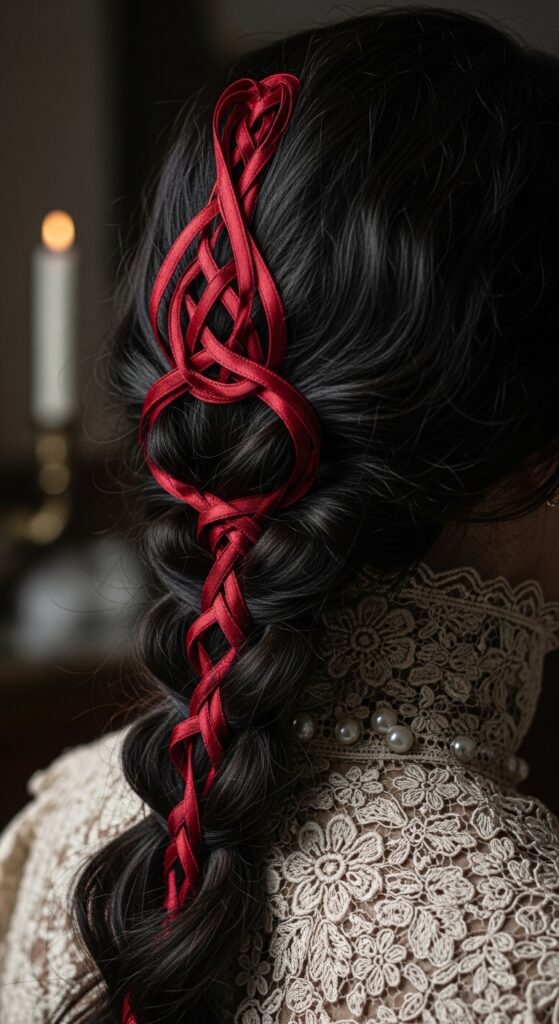
Creating a “Romantic Goth” Vibe
For a romantic goth hairstyles twist, weave in dark ribbon or velvet cord. Use deeper, more dramatic knots like the shield knot. Keep the style looser, with intentional tendrils.
Pair it with deep makeup and you have a look that’s both ethereal and powerful. It’s history with a dark academia edge.
The Quiet Luxury Approach
This is the essence of old money hair. Keep it ultra-neat, secured with matte-finish products. Use your natural hair color only. The beauty is in the flawless, understated technique.
Imagine this with a crisp white shirt and pearls. It’s confidence that doesn’t need to shout. It’s art for you, not just for show.
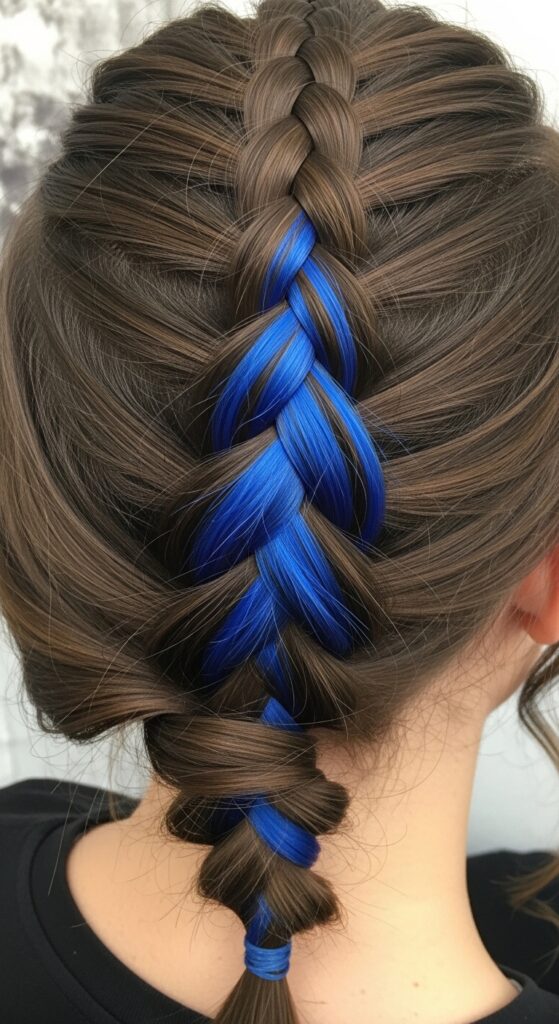
Adding a “Glitchy Glam” Element
See a few face-framing pieces? Perfect. Leave them straight and add a single, temporary color streak or a sparkling hair pin near a knot.
This “glitch” in the expected pattern is so cool. It shows you respect the tradition but aren’t bound by it. It’s a 2026 hairstyles mindset.
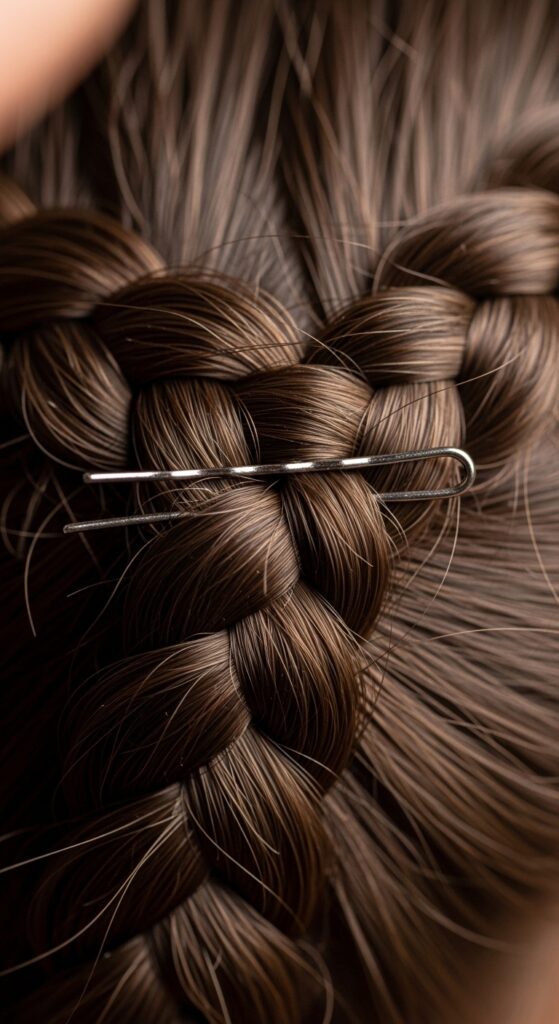
Securing Knots Discreetly
As you create each knot, use the tiniest clear elastic to bind the intersecting point. You can also use a bobby pin, weaving it through the braid underside so it’s invisible.
The goal is for the hair itself to look like it’s magically holding together. Take your time here—it’s the secret to a polished look.
When to Ask a Friend for Help
The back sections are tricky! There’s no shame in calling your bestie. Make an afternoon of it. Put on a movie, pour some tea, and braid together.
This is how these styles were historically created—in community. It makes the process part of the joy and meaning.

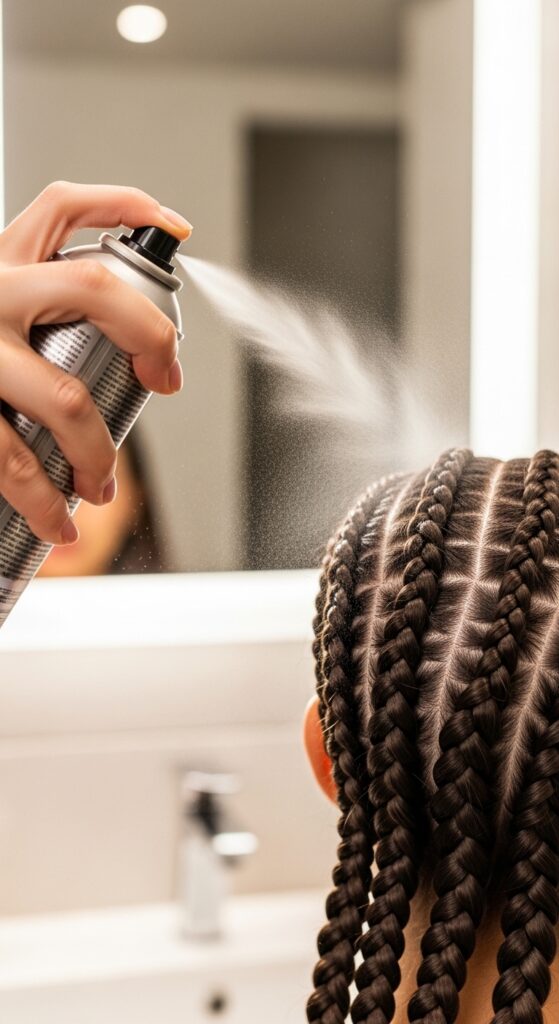
Making It Last All Day & Night
A light-hold hairspray is your final seal. Hold it at a distance and mist over the entire style. For extra hold on specific knots, use a tiny dot of strong-hold gel on your fingertip and dab it underneath.
Carry a few extra elastics and pins in your bag. A quick touch-up after work can take you straight to dinner.
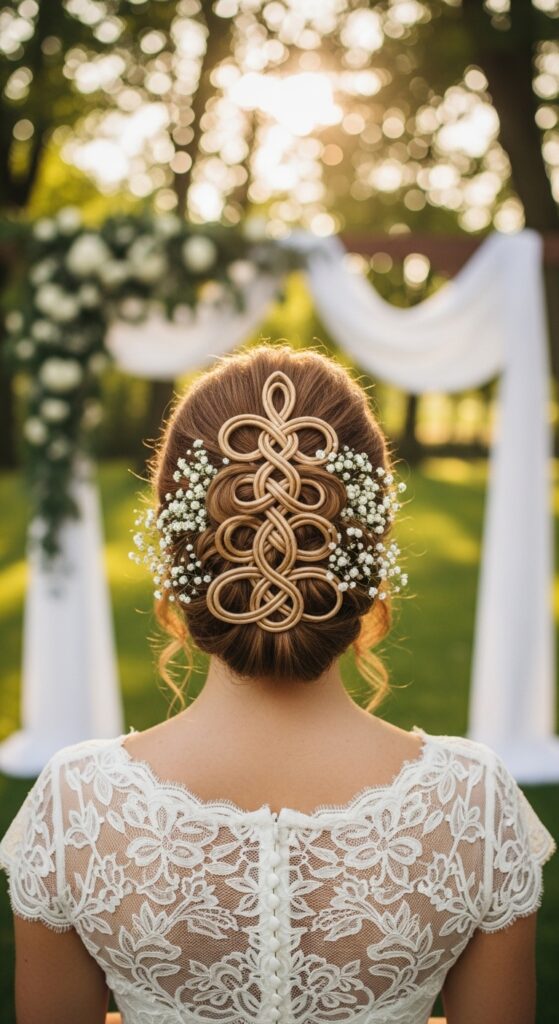
Styling for a Wedding or Event
This is a stunning event hairstyle. Add delicate, gold-threaded pins or fresh flowers tucked into the knots. Keep the overall silhouette elegant and up.
Practice at least once before the big day. You’ll feel like a goddess wearing a crown of your own making, full of intention.
The Next-Day Hair Refresh
Sleep with your hair in a loose silk scarf or on a silk pillowcase. In the morning, any frizz can be smoothed with a bit of pomade on your fingertips.
You might find you love the slightly softer, lived-in version even more. The patterns will still be beautifully visible.
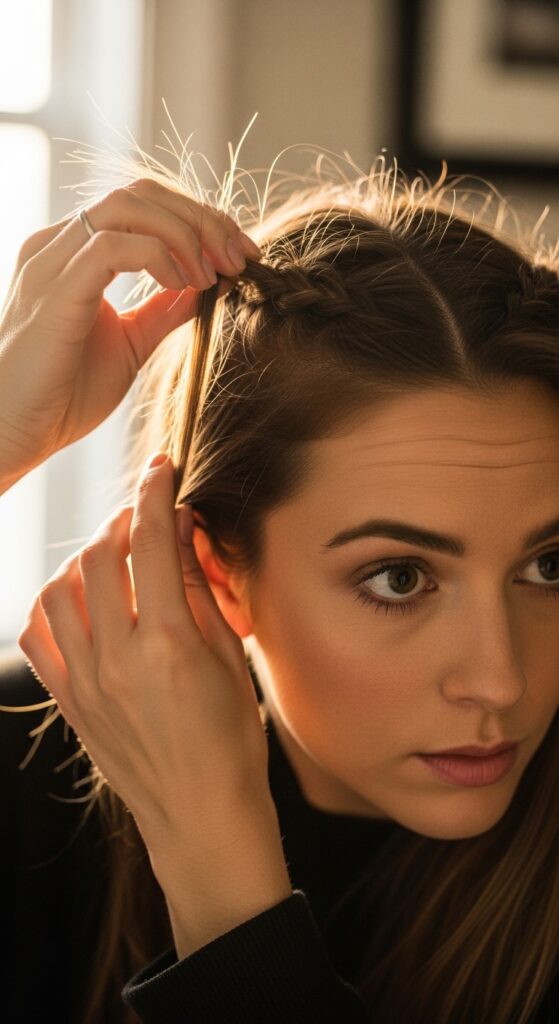
Simplifying for Everyday Wear
You don’t need 26 braids daily! Start with one. A single, perfect Celtic knot braid running down your part or along your hairline is a powerful statement.
It’s a touch of that symbolic complexity without the time commitment. This is how you make the trend truly yours.
Mixing with Modern Cuts Like the Vampire Cut
The sharp layers of a vampire haircut create amazing texture for braids. Weave small knots into the longer top layers, while letting the shorter back pieces stay loose.
The contrast between the precise knots and the raw, textured ends is absolutely magnetic and full of attitude.

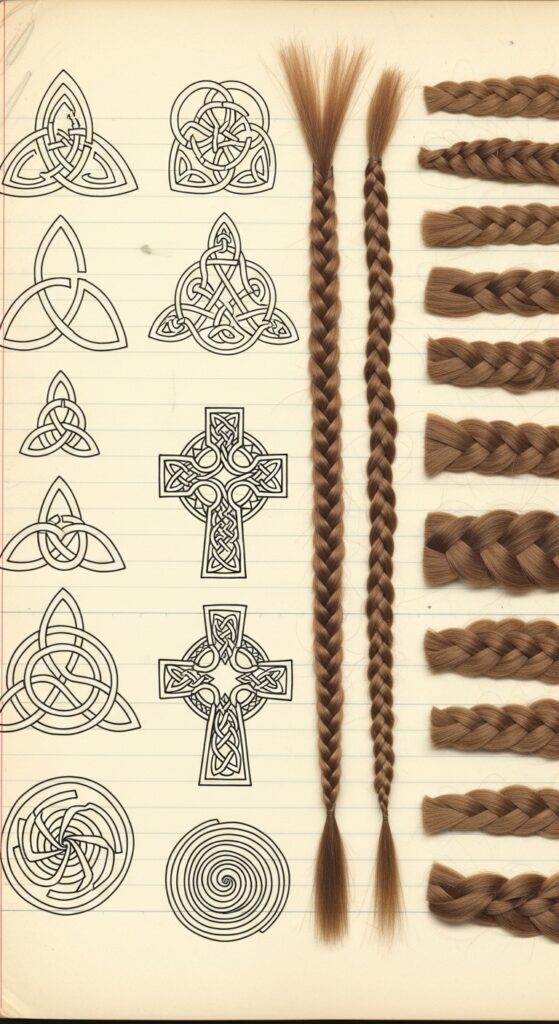
Finding Your Own Symbolism
Research Celtic knots! The lover’s knot, the shield knot, the spiral. Choose ones that resonate with you. What do you want to invite in? Protection? Eternal love? Growth?
This personal connection transforms the style from a mere look into a meaningful practice. It’s your story on your head.
Your Hair, Your Story
At the end of the day, this is about expression. Whether you do two braids or twenty-six, you’re participating in an art form. There’s no wrong way.
Your hands created something beautiful and complex. That’s a win. Wear it with the confidence that comes from making something with patience and care.
So, there you have it. What seemed like an impossible, ancient art is really just a series of small, simple steps. It’s about starting with one braid, one knot, and building from there.
The real magic isn’t just in the final look—though that’s stunning. It’s in the quiet time you take for yourself, the focus of your hands, and the connection to something timeless. It’s a reminder that the most beautiful things are often woven slowly, with intention.
I’d love to hear from you! Which knot are you excited to try first? Did you find a way to make it your own? Tell me everything in the comments below. And if you found this guide helpful, save this post to Pinterest so you can always come back to it when you’re ready to weave your own story.