Wave 18 Underlayer Crimps Adding Secret Volume Beneath Layers
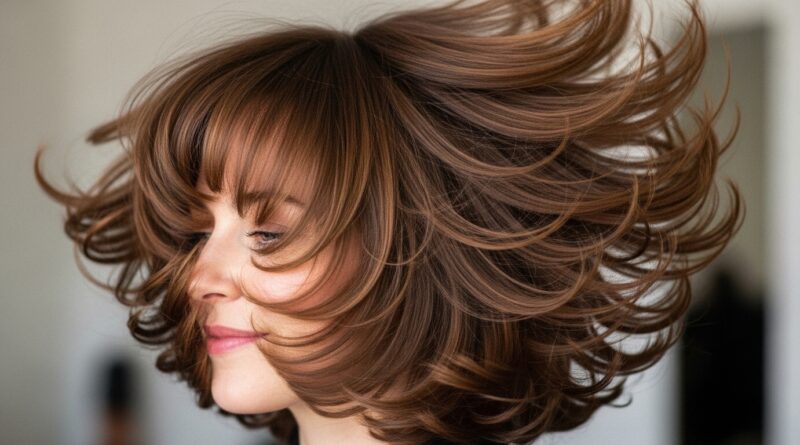
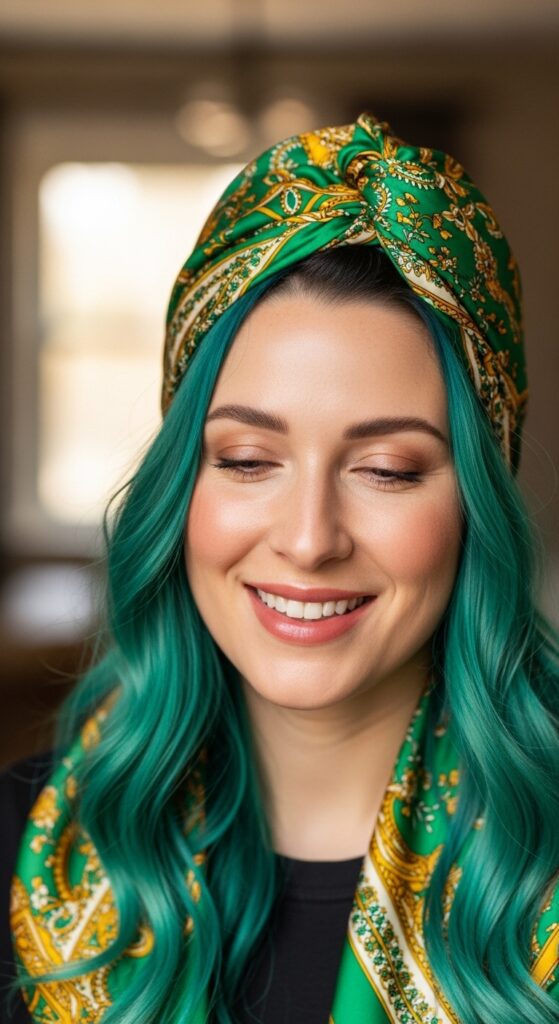
Okay, let’s talk about a little hair secret I’ve been loving. You know that feeling when your layered cut looks great fresh from the salon, but a few hours later, it just falls flat? The top layer gets all the attention, while the underlayers just… lie there. I was so over it.
That’s why I got obsessed with the idea of adding secret volume right at the roots, underneath it all. It’s not about big, dramatic 80s curls. It’s something much softer and sneakier.
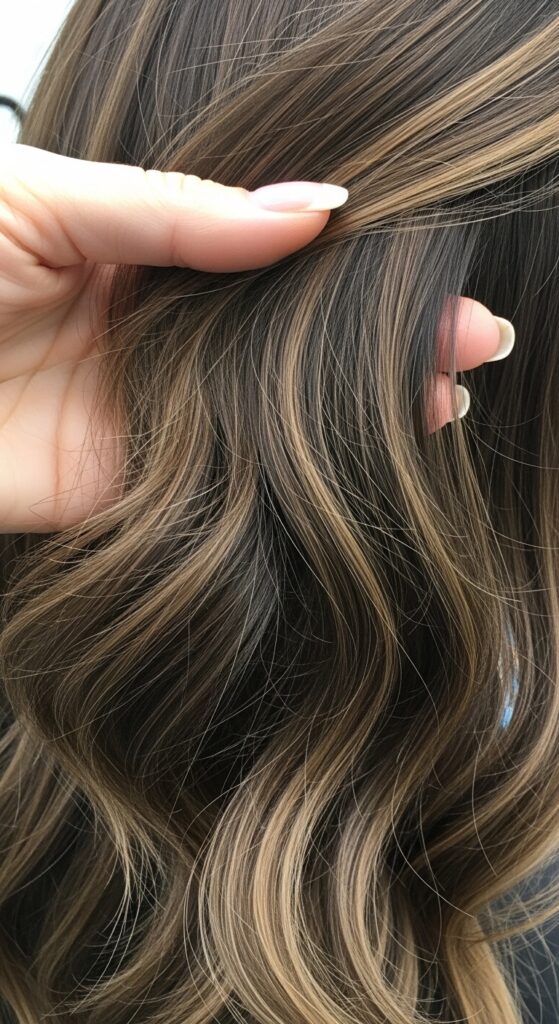
I’m talking about tiny, delicate crimps just on the underlayer of your hair. We’re calling them “Wave 18” crimps, and they are the ultimate hack. This is the kind of insider trick that makes your everyday 2026 hairstyles look expensive and lived-in, whether you have a quiet luxury bob or long, romantic layers.
It’s volume without the effort, texture without the tease, and it works for almost every cut. Ready to learn how? It’s easier than you think.
What Are Wave 18 Underlayer Crimps?
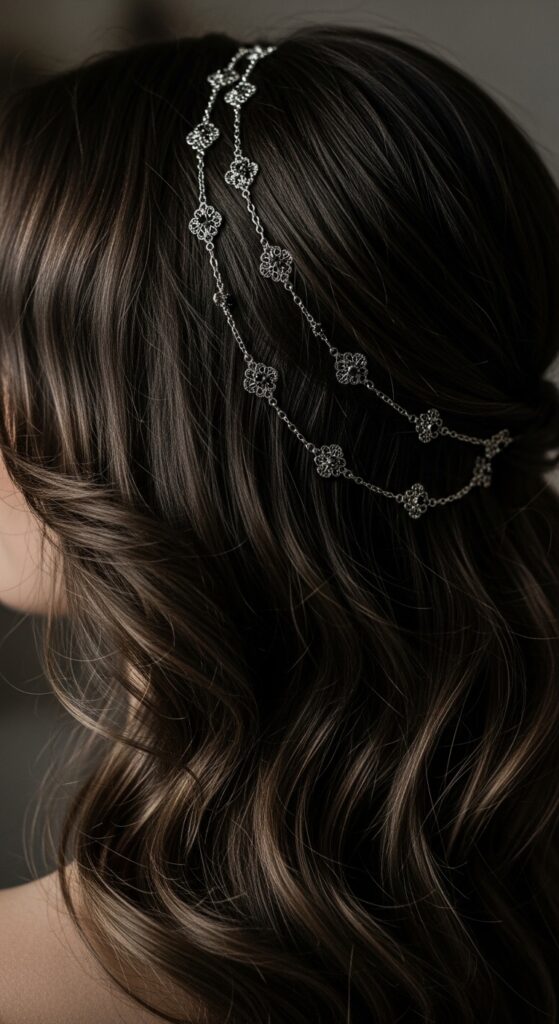
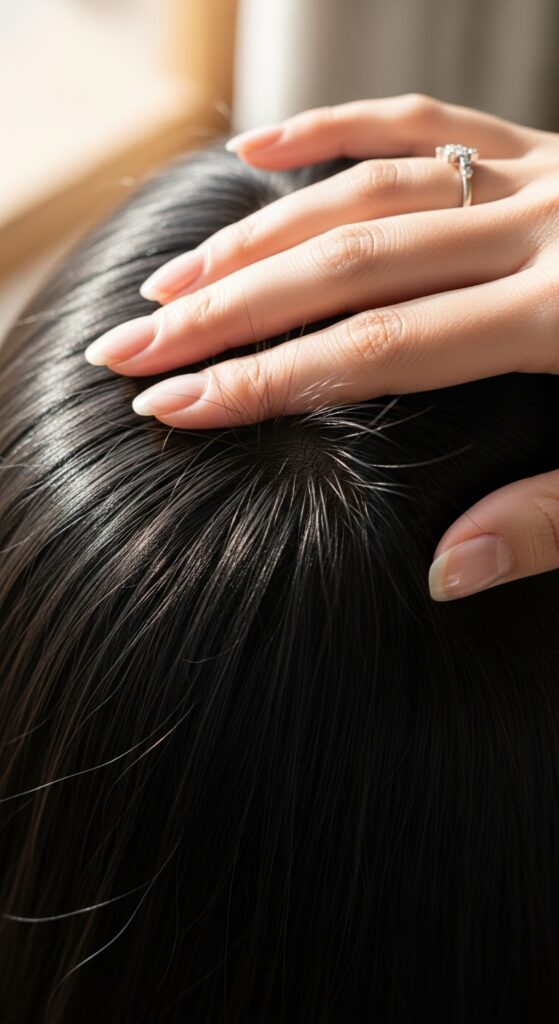
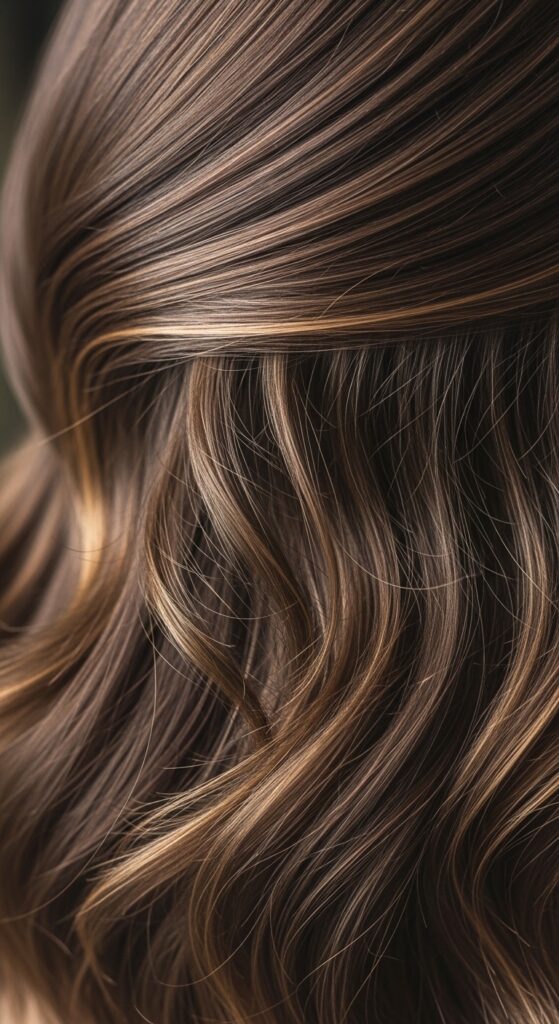
Let’s break down the name. “Wave 18” refers to the specific, narrow crimping iron plate size—18mm. This creates a very soft, wave-like crimp instead of a harsh, zig-zag pattern. It’s subtle and mimics natural, textured waves.
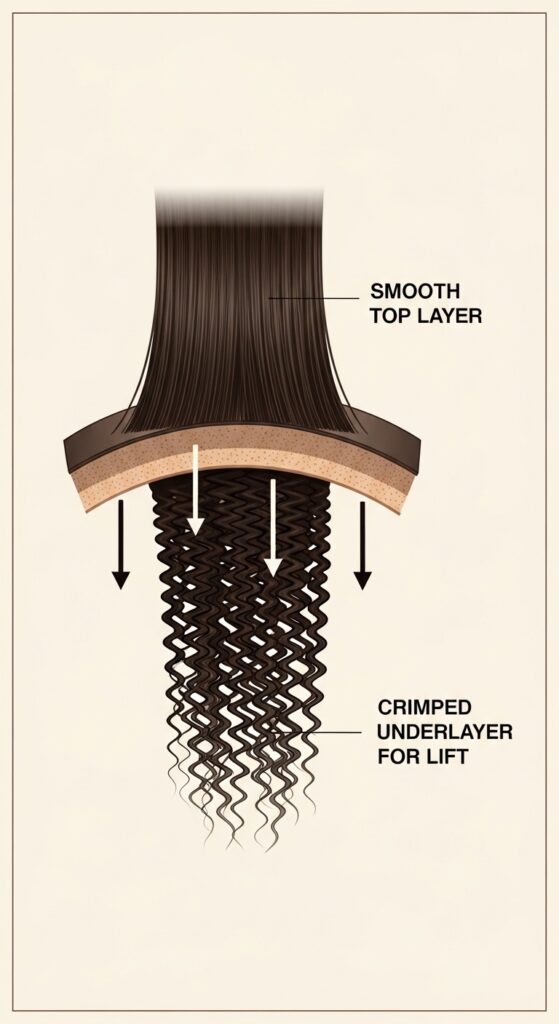
The “underlayer” part is key. You only crimp the bottom section of your hair, the hair closest to your neck. When you let your top layers fall back over it, they’re lifted and supported by this hidden, textured base. It’s the ultimate volume illusion.
This technique is a game-changer for adding body to fine or flat hair. It gives that “I woke up like this” texture, but better. It’s the perfect base for so many looks, from old money hair to more romantic goth hairstyles.
Why This Secret Volume Trick Actually Works
Think of your hair like a building. The underlayer is the foundation. If the foundation is flat, everything on top will eventually sag. By adding texture and grip to that base, you create a supportive structure.
The crimps create tiny bends and waves that push against the overlying hair. This lifts it at the root, creating instant fullness and movement. It also helps your style hold its shape longer because there’s more for the top layers to “sit” on.
Unlike backcombing, which can damage hair, this method just reshapes it with heat. And because it’s hidden, you get all the benefit with none of the crunchy, teased look. It’s pure magic for thin hair.
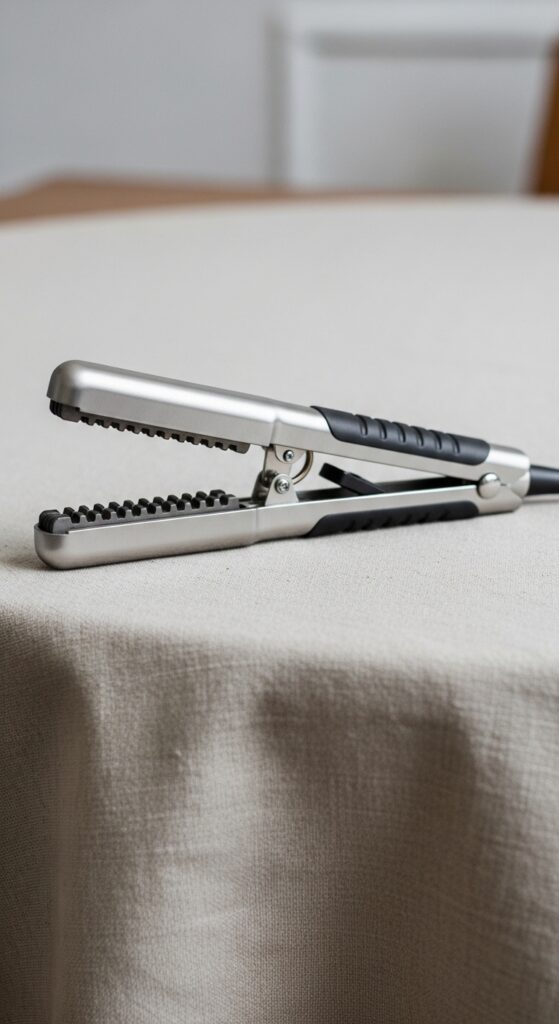
The Perfect Crimping Iron for the Job
Not all crimpers are created equal. You want one with narrow, 18mm plates. This size creates the perfect wave-like pattern that blends seamlessly. Wider plates will give you a more dramatic 80s vibe, which isn’t the goal here.
Look for a tool with adjustable heat settings. Fine hair needs lower heat (around 300°F), while thicker hair can handle more (up to 350°F). A ceramic or tourmaline barrel is best to protect your hair and reduce frizz.
My personal favorite is a mini crimper. It’s easier to maneuver in small sections under your hair. It doesn’t have to be expensive—just reliable with consistent plates.
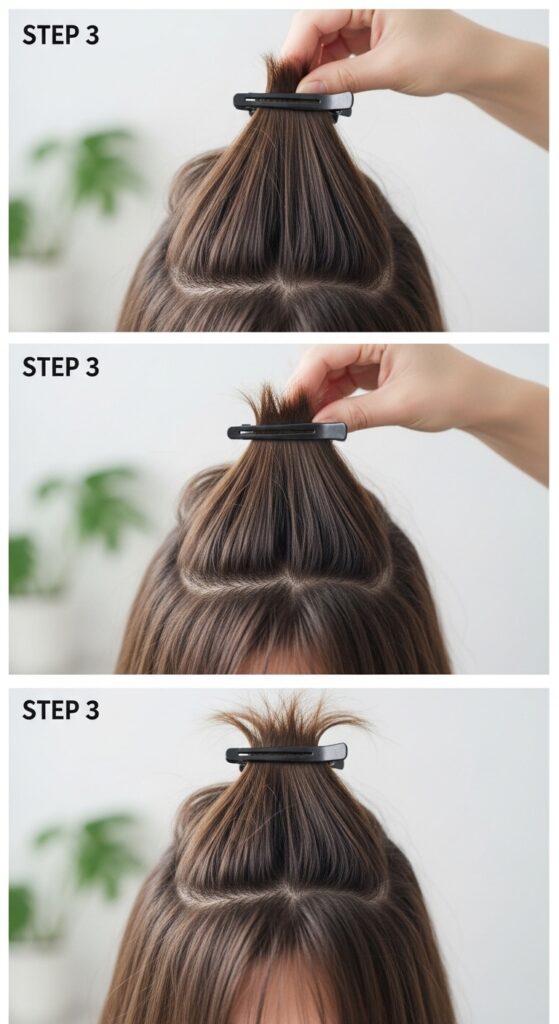
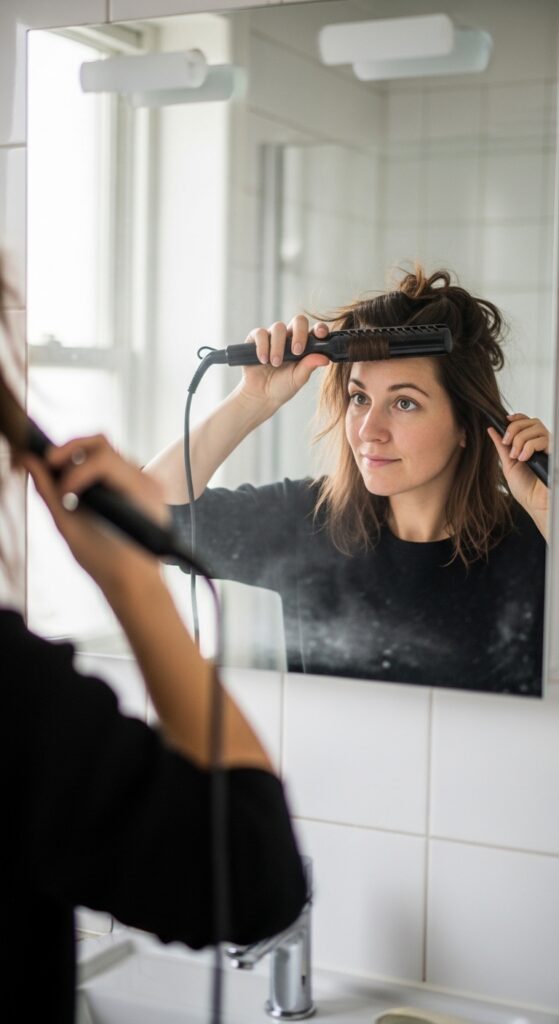
Step-by-Step: How to Crimp Your Underlayer
- Start with completely dry, styled hair. You can even do this on second-day hair for extra grip.
- Part your hair as you normally wear it. Then, take a horizontal section about one inch above your nape. Clip the top 90% of your hair completely out of the way.
- Working with the bottom section, take small vertical subsections. Clamp the crimper at the root and hold for 5-8 seconds, then glide down just an inch or two and clamp again. You don’t need to crimp the entire length—just the root area.
- Continue until all the hair in that hidden bottom section is lightly crimped. Let the top hair down and shake your head gently. Watch the volume appear!
Blending for a Totally Natural Look
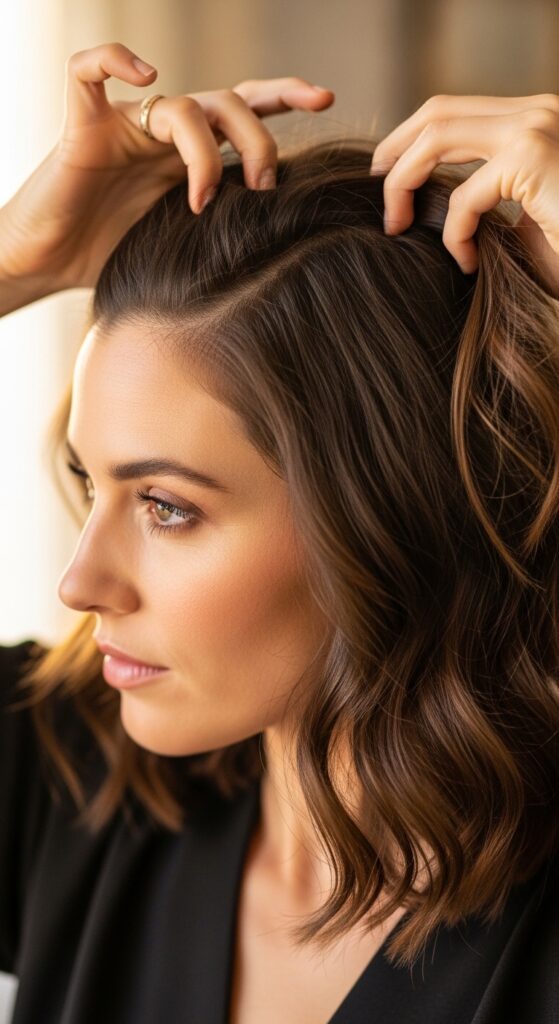
The biggest fear? That it will look crimped. The secret is in the blending. Once your top hair is down, run your fingers through the roots to gently separate and blend the top layer with the textured underlayer.
You can also use a tiny bit of texturizing spray or dry shampoo on your fingertips and lightly tap at the roots. This helps marry the two textures together and adds even more hold.
Don’t brush it out! The goal is to keep the volume and texture. A wide-tooth comb used very lightly just on the surface is okay if you have tangles, but fingers are your best tool here.
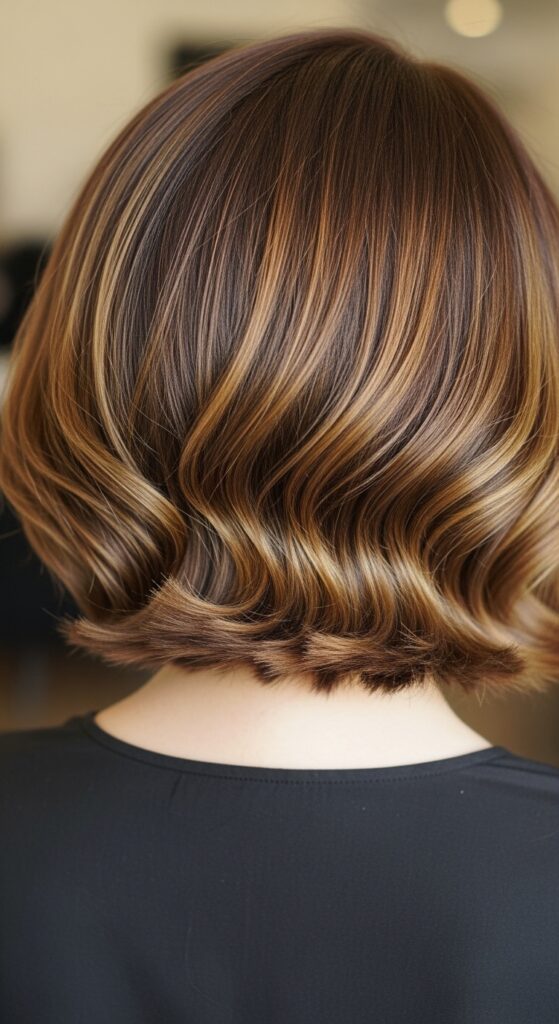
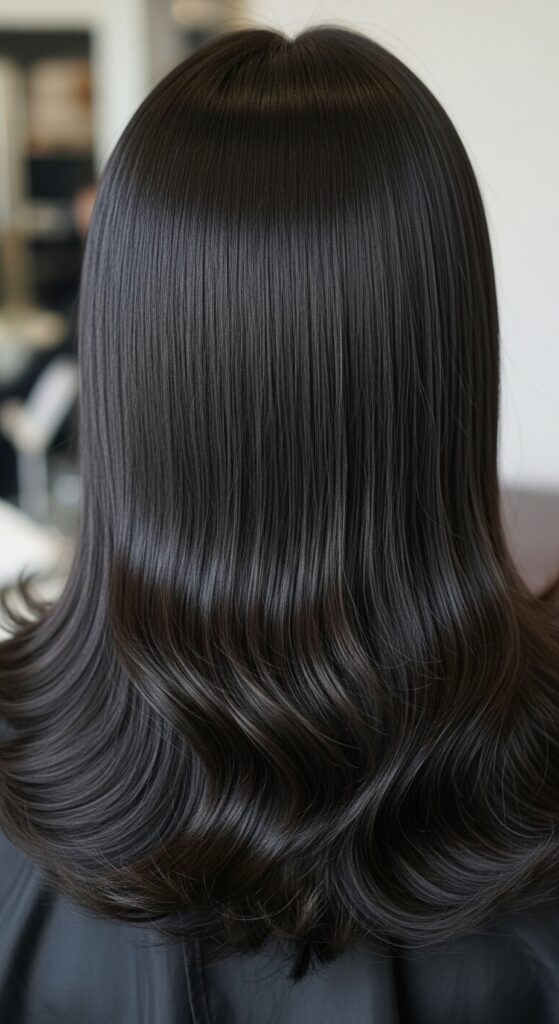
Styling with a Quiet Luxury Bob
This technique was made for the quiet luxury bob. That sleek, expensive-looking bob often relies on perfect internal structure. Wave 18 crimps provide exactly that.
They give a blunt bob that coveted “swing” and prevent it from looking helmet-like. On a chin-length bob, the crimps add just enough oomph to make the ends flip out perfectly. It looks polished but not overdone.
For a straighter bob, the crimps add invisible fullness. For a wavy bob, they enhance the texture and make it look more intentional. It’s the ultimate old money hair hack for a reason.
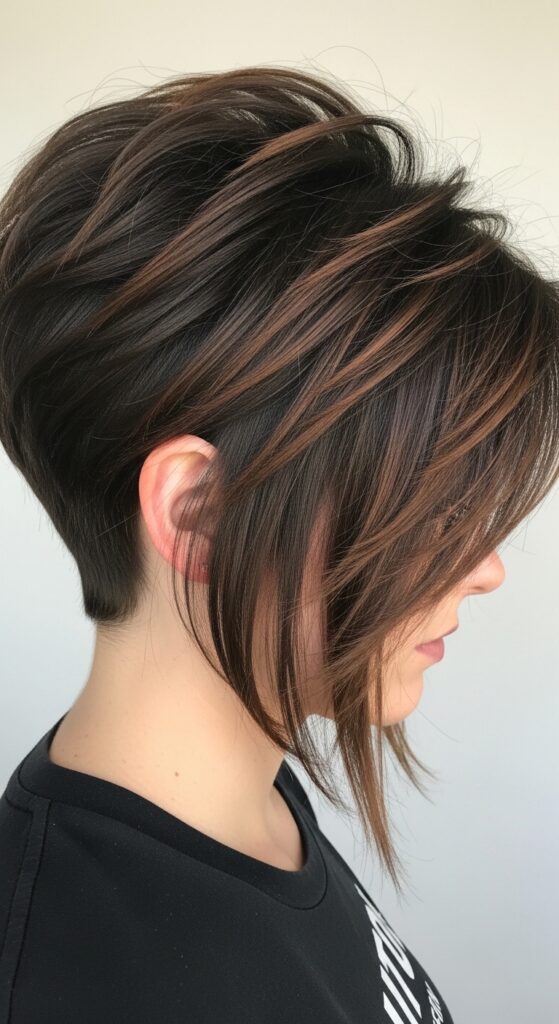
Elevating the Asymmetrical Lob
An asymmetrical lob is all about dynamic shape and angles. Hidden underlayer crimps take that to the next level. They ensure the shorter side has plenty of lift and doesn’t cling to your cheek.
They also help the longer side have a beautiful, weighted swing. The texture gives the cut a more artistic, lived-in feel, moving it away from being too geometric and into that cool-girl territory.
This is a great way to add a touch of glitchy glam hair energy—something polished but with an unexpected textural twist. It makes the cut feel modern and fresh.
Adding Drama to Romantic Goth Styles
For my friends loving the romantic goth hairstyles or the vampire haircut aesthetic, this is your volume bestie. Those styles often feature lots of layers, curtain bangs, and a generally undone texture.
Wave 18 crimps underneath give you that iconic, dramatic volume at the crown without needing a ton of product or backcombing. It supports those long, face-framing layers and makes your curtain bangs stand out.
It creates that “just stepped out of a misty forest” fullness—big, but still soft and romantic, not stiff or retro. It’s the perfect base for braids or ornate hair accessories too.
Supporting the Delicate Hime Cut
The hime cut is striking, with its straight, blunt front strands and often shorter layers in the back. That back section can sometimes fall flat.
Applying the Wave 18 technique just to the underlayers in the back creates a subtle fullness that makes the entire geometric shape pop. It gives the cut a more modern, 3D effect.
It ensures the dramatic front pieces are the star, while the back has its own interesting support system. It keeps the style looking sharp and intentional all day.
Making Fine Hair Look Twice as Thick
If you have fine hair, you know the struggle of volume that disappears by lunch. This method is a lifeline. The crimps create permanent (until you wash it) texture and friction that fine hair lacks.
It gives your strands something to “hold onto” each other, creating the illusion of a much thicker mane. Because it’s at the root, it gives you that coveted lift right where you need it most.
Combine this with a light-hold root spray, and you have a foolproof system for all-day body. It’s more effective and less damaging than constant dry shampoo buildup.
Reviving Second or Third-Day Hair
This is maybe my favorite use. On day-two hair, your natural oils can weigh things down. Instead of piling on dry shampoo, try adding underlayer crimps.
The texture instantly soaks up a bit of oil and gives your style a fresh boost. It’s a reset button for your volume. Just crimp the underlayer, shake it out, and maybe add a touch of texturizer at the crown.
It turns limp, second-day hair into a perfectly textured, voluminous style in under five minutes. It’s the ultimate lazy-girl hack for good hair days.
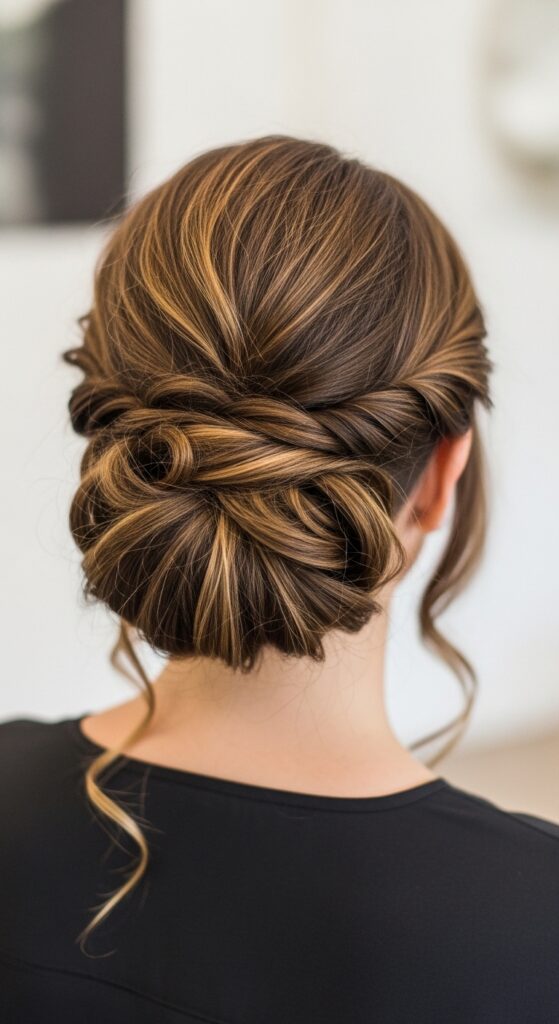
Creating Lasting Updo Volume
Planning a fancy updo? Do your underlayer crimps *before* you start styling. It gives your hair so much more grip and body to work with.
Whether you’re doing a messy bun, a chic chignon, or a bridal style, that hidden texture will make the updo look fuller, more secure, and last longer. Pins and elastics have more to hold onto.
It also creates beautiful, tiny tendrils if you want a soft, romantic updo. The texture makes everything look more effortless and expensive.
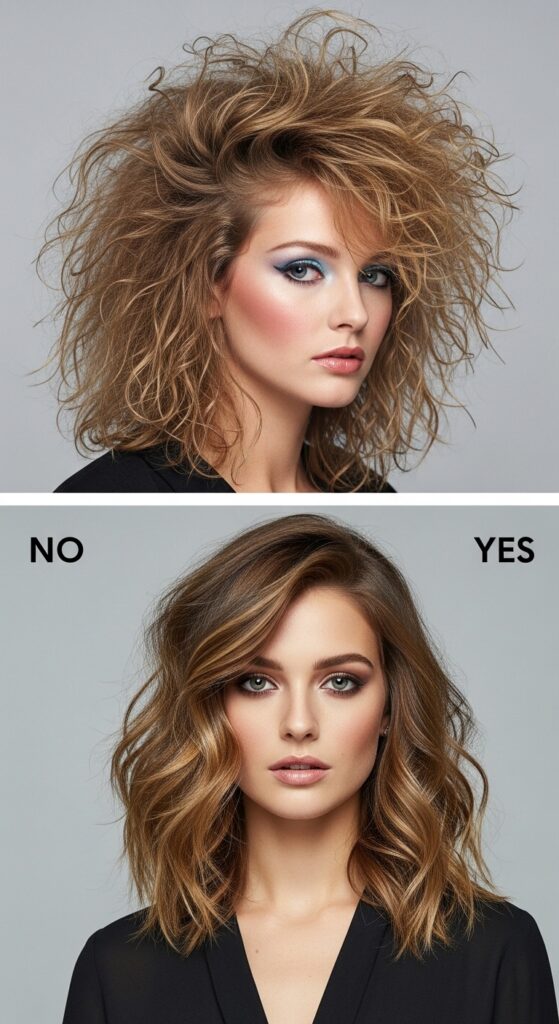
Avoiding the “80s Crimp” Mistake
The goal is waves, not zig-zags. To avoid a dated look, remember: only crimp the underlayer, use the 18mm plates, and don’t crimp all the way to the ends.
Stop the crimping about midway down the hair shaft for the most natural effect. You want to create lift, not a full-head pattern. The heat setting matters too—too hot can make the pattern too sharp and harsh.
When in doubt, less is more. You can always go back and add a few more crimps, but it’s hard to take them away. Start with a very small bottom section.
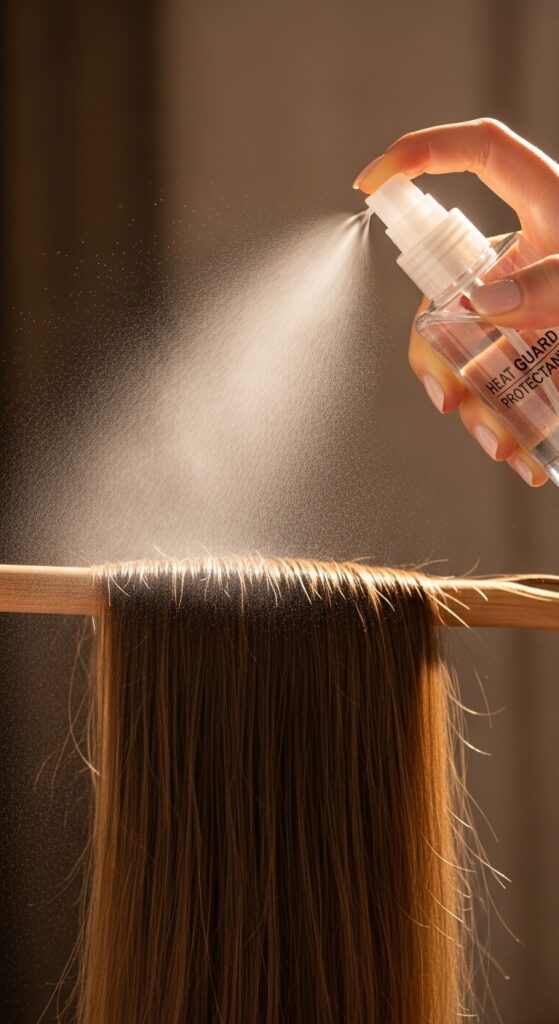
Heat Protection is Non-Negotiable
Since you’re applying heat to your hair, protection is key. Always use a heat protectant spray or cream on dry hair before you crimp. Focus it on the sections you’ll be working with.
This creates a barrier that minimizes damage, reduces frizz, and helps the style last. Think of it as skincare, but for your hair. It’s the one step you should never skip, no matter how rushed you are.
A good protectant will also often have conditioning benefits, leaving your hair feeling soft, not crispy, after styling.
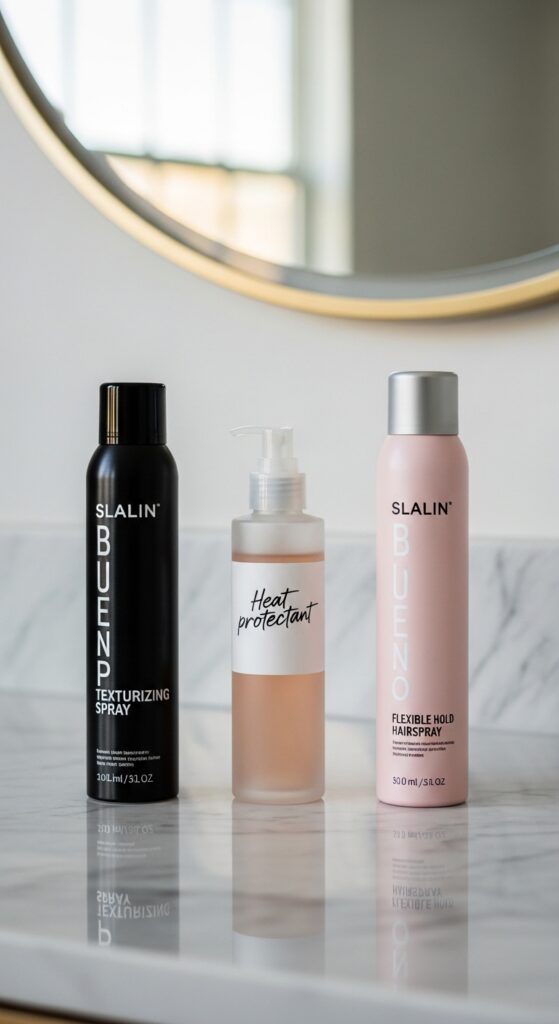
The Best Products to Lock It In
To make your secret volume last all day, a few products are heroes. A light-hold texturizing spray is perfect for blending and adding grit.
A strong-hold hairspray is great, but use it strategically. Lift the top layer at your crown and give a quick, light spray *only* to the crimped underlayer before letting the top hair fall. This locks the volume in place invisibly.
Dry shampoo can also be used beforehand on roots for extra grip, or afterwards at the crown for added fullness and freshness.
How Often Can You Do This?
With proper heat protection, this is a safe technique to do every time you style your hair. It’s less damaging than curling or flat-ironing your entire head because you’re only targeting a small section.
That said, giving your hair breaks is always good. On lazy days or weekends, embrace your natural texture. The crimps will wash out completely with your next shampoo, so it’s a commitment-free style.
Listen to your hair. If it feels dry, take a few days off and lean on deep conditioning treatments. It’s a tool, not an everyday must.
Troubleshooting: Flat Spots & Frizz
If you still have a flat spot, you probably missed a section. Isolate the flat area, clip up the hair above it, and add a few more crimps to the underlayer right beneath that spot.
If you get frizz, it’s often from clamping the crimper too many times on one section or using too high heat. Try a lower temp. A tiny drop of hair serum or oil rubbed just on your palms and smoothed *very lightly* over the top layer can tame flyaways.
Remember, some texture is good! We’re going for effortless, not perfectly sleek.
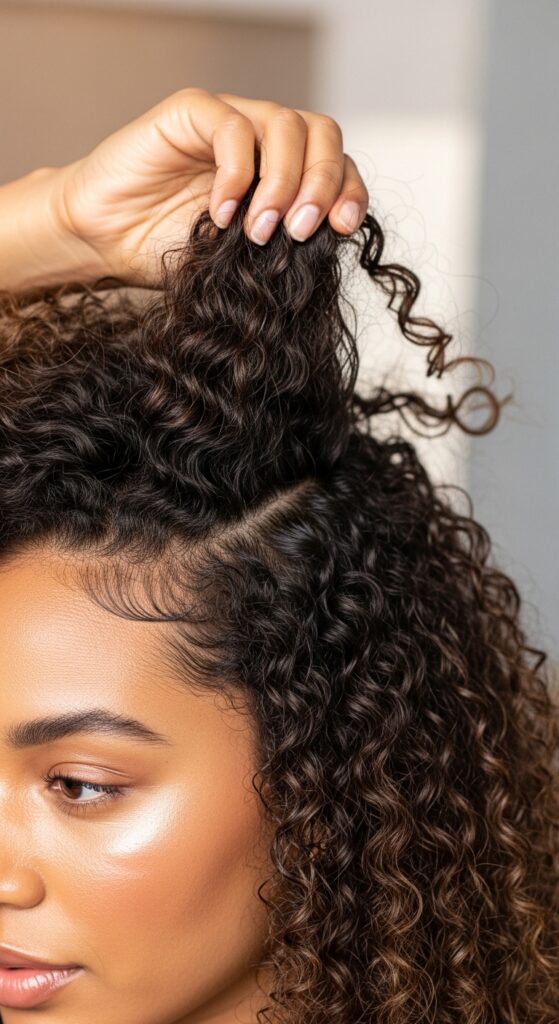
Adapting for Curly or Coily Hair
If you have naturally curly or coily hair, this technique can still work for added root volume and shape support. The key is to use a very low heat setting and be extra gentle.
It can help lift curls at the root for a more voluminous crown, especially on stretched or blown-out styles. Always do a test strand first to see how your hair reacts to the heat and pattern.
For many, the goal with curls is enhancing natural texture, so this might be a special-occasion trick rather than an everyday one. Honor your curl pattern first.
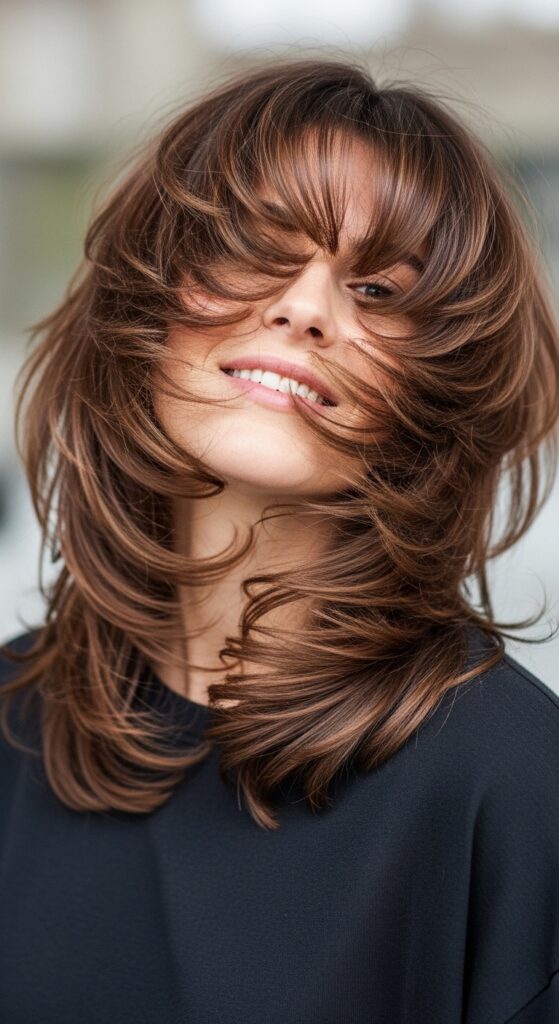
Pairing with Face-Framing Layers
Got gorgeous face-framing layers? Underlayer crimps make them sing. By plumping up the hair behind those front pieces, it makes your layers look more defined and intentional.
It prevents them from blending into the rest of your hair. This is especially beautiful with wispy bangs or curtain bangs, giving them a soft, floating effect away from your face.
It’s a simple trick that makes your entire haircut look more expensive and professionally done. Your layers will finally have the spotlight they deserve.
The Glitchy Glam Hair Connection
Glitchy glam hair is all about imperfect perfection—a style that looks deliberately “off” in a cool way. Hidden underlayer crimps fit right in.
They create a textural contrast that feels unexpected and cool. When you move, the top layer might be smooth while the underlayer has this secret texture—it’s a glitch in the matrix of a perfect blowout.
It’s a low-effort way to tap into that avant-garde, editorial trend without doing anything too drastic to your haircut or color.
Is This a 2026 Hairstyle Trend?
Absolutely. While the technique is timeless, the way we’re using it—subtly, secretly, for structure—feels very now and next. 2026 hairstyles are leaning into intelligent styling hacks over obvious trends.
It’s about healthy-looking hair with cleverly engineered volume. It’s practical, beautiful, and works with your hair’s natural behavior. This isn’t a passing fad; it’s a legit styling tool that will stay in our kits for years.
It complements all