Zero Heat Air Drying Secrets For Enhancing Natural Wavy Textures
Ever air dried your hair and ended up with a frizzy, shapeless mess instead of soft waves? Girl, same. For years I thought my natural texture was broken. Turns out my routine was the problem, not my hair.
Here is the good news. Air drying is having a moment in 2026 hairstyles. From old money hair to the quiet luxury bob to glitchy glam hair, everyone wants that effortless, unbothered texture that only comes from letting your hair do its thing.
So today I am sharing my zero heat air drying secrets. No diffusers, no flat irons, no fancy tools. Just simple tricks that enhance your natural waves, whether you are rocking an asymmetrical lob, a hime cut, or romantic goth hairstyles.
Ready? Let’s get those waves looking good.
Why Zero Heat Is Having a Moment

Heat tools are not evil, but they are not doing your waves any favors. Constant heat flattens your pattern, dries out your ends, and creates that crunchy, damaged look nobody wants.
In 2026, the beauty world is all about healthy texture. The quiet luxury vibe rewards soft, touchable hair, not stiff, over-styled strands. Air drying gives you exactly that.
- Less damage means longer, healthier hair over time
- Your natural pattern finally shows up
- Zero cost, zero tools, zero fuss
It is the easiest glow-up you will ever do.
Know Your Wave Pattern First
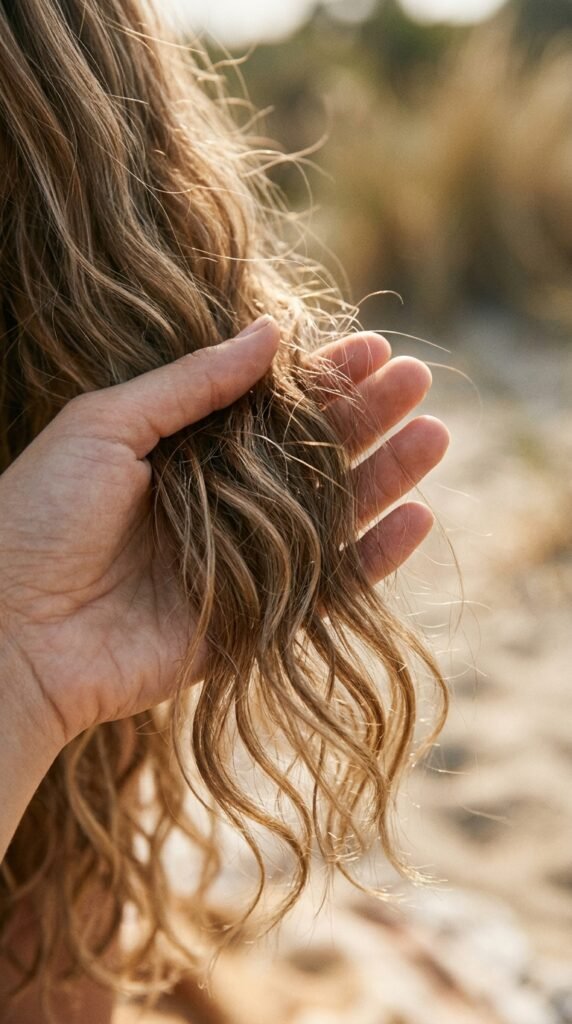
Before you change anything, figure out what you are actually working with. Waves are not one-size-fits-all, and your routine should match your pattern.
- Type 2A: loose, barely-there waves
- Type 2B: classic S-waves with some volume
- Type 2C: strong waves that border on curls
Wash your hair, skip all products, and let it air dry completely. What you see is your true pattern. That is your starting point.
This matters because a hime cut with 2A waves behaves nothing like a vampire haircut on 2C hair. Work with your pattern, not against it.
The Shower Routine That Sets You Up
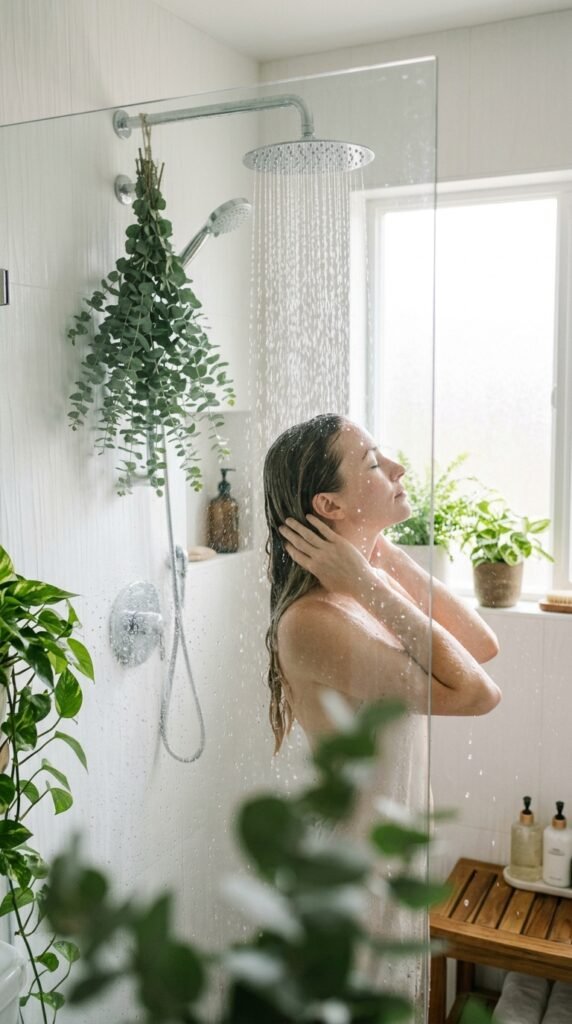
Great air dried waves start in the shower. If your wash routine roughs up your hair, no styling trick will save it.
- Wash your scalp only, letting suds rinse through the ends
- Condition from mid-length to tips
- Detangle gently with a wide-tooth comb while conditioner sits
- Finish with a cool rinse to seal the cuticle
Hot water feels amazing but it strips moisture and invites frizz. Lukewarm to cool is your friend.
Skip the rough towel rub when you step out. That single habit breaks up wave clumps faster than anything else.
Skip the Terry Cloth Towel
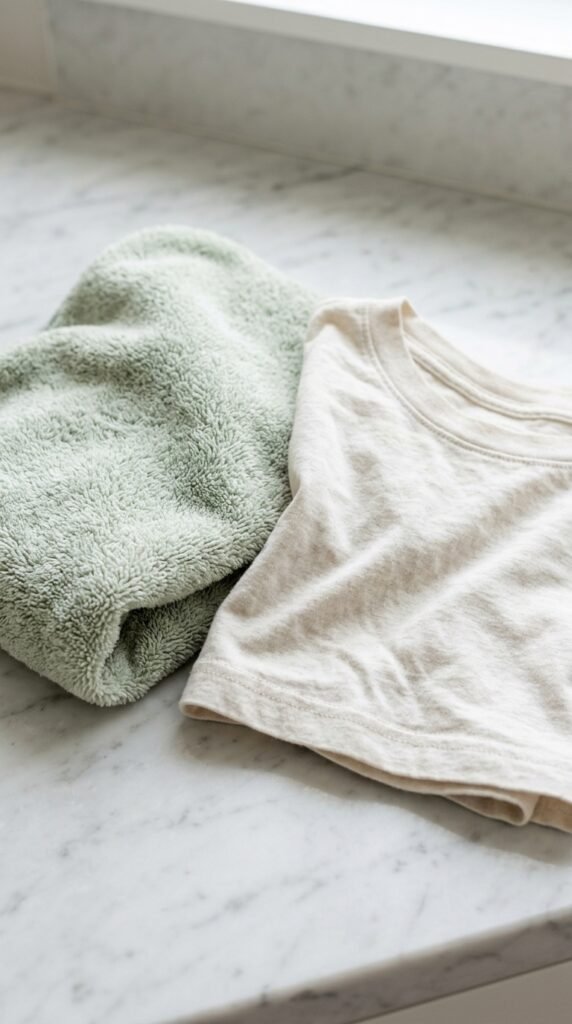
Regular bath towels are wave killers. The rough fibers create friction, and friction means frizz. This is one of the biggest mistakes I see.
Swap to one of these instead.
- A microfiber towel
- A clean cotton t-shirt
- A soft flour sack cloth
Gently squeeze water out from root to tip. No rubbing, no twisting, no wringing. Just blot and squeeze.
Your waves will stay clumped and defined instead of separating into a fuzzy halo. This one swap changed my hair completely.
Master the Plopping Method

Plopping sounds fancy but it is basically wrapping your wet hair in a t-shirt and letting it sit. It is a game changer for wavy hair.
- Lay a cotton t-shirt flat on your bed
- Flip your head down and lower your hair onto the shirt
- Wrap the shirt around your head and secure the sleeves
- Leave it for 10 to 20 minutes
Plopping removes excess water without disturbing your wave pattern. It also boosts volume at the roots.
Do not leave it on for hours though. Ten to twenty minutes is the sweet spot. Any longer and your hair starts to dry in weird shapes.
The Right Way to Apply Leave-In
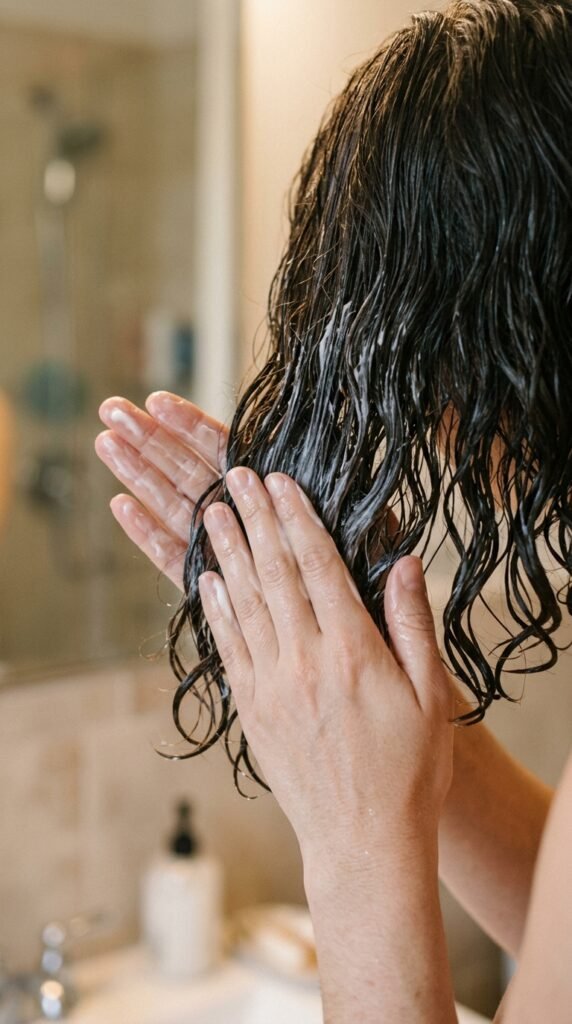
Timing matters more than the product itself. Leave-in goes on while your hair is still dripping wet, right after plopping.
Here is how I do it.
- Flip hair upside down
- Apply a coin-sized amount through the lengths
- Use praying hands, then scrunch upward
- Never touch the roots with heavy product
Scrunching upward is key. It encourages your waves to coil instead of hanging limp. This motion teaches your pattern where to go.
If you have fine hair, start with less product than you think you need. You can always add more, but you cannot take it back.
Layer Products From Light to Heavy
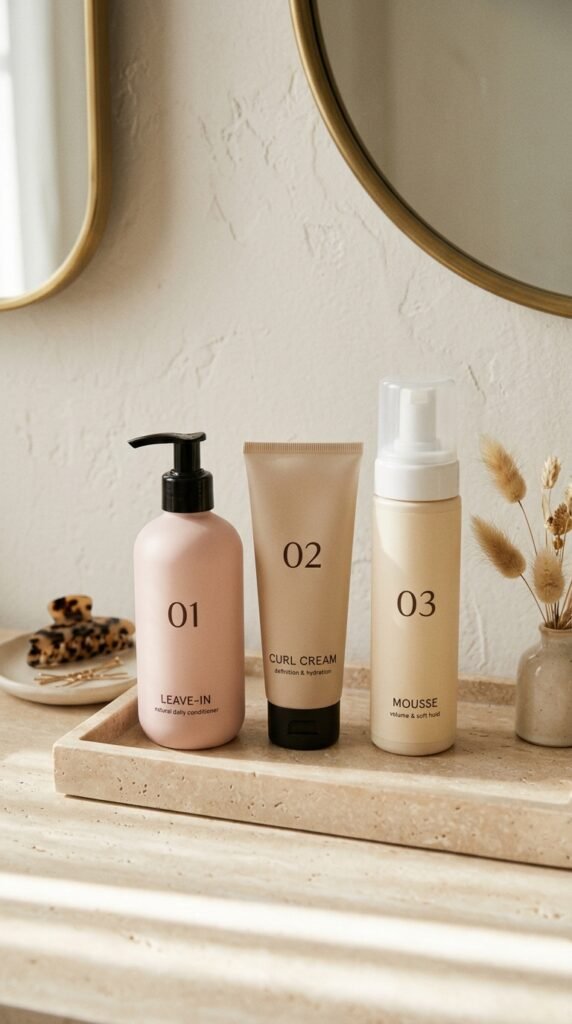
Order matters when you layer products. Get it wrong and your waves end up either greasy or crunchy. Get it right and they look effortless.
- Leave-in conditioner first for moisture
- Curl cream second for shape and softness
- Light mousse or gel last for hold
Use less of each than you think. Wavy hair gets weighed down fast, especially medium and fine textures.
In 2026, the goal is soft, touchable waves, not a cast that crunches. Skip heavy gels unless your hair is thick and thirsty. Light hold wins every time.
Scrunch, Don’t Fuss
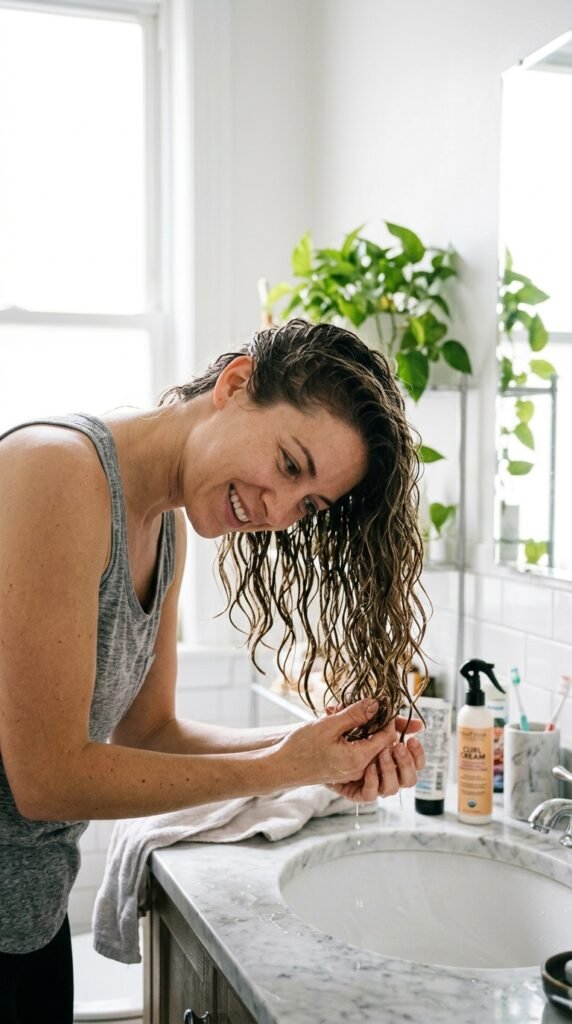
Scrunching is the heartbeat of wavy hair styling. It is simple, free, and wildly effective.
Cup your hair in your hands and pulse upward toward your scalp. Squeeze, release, move, repeat. Work your way around your whole head.
- Scrunch while hair is soaking wet
- Scrunch again after products go in
- Scrunch once more with the t-shirt to remove water
Each round builds more definition. Be gentle but confident. Hesitant hands create hesitant waves.
This is also the moment to spot stray pieces. Twist them gently around your finger to blend them into the pattern.
Let It Dry Without Touching

This is the hardest part for me, honestly. Once your hair is styled, keep your hands off it until it is completely dry.
Touching wet waves breaks the clumps and creates frizz. Every poke and twirl interrupts the drying pattern. I know it is tempting. Resist.
- Find a distraction: read, cook, work
- Avoid windy rooms and car rides with windows down
- Do not flip your hair around checking progress
Drying time depends on your density. Fine hair might take an hour. Thick hair can take three or more. Patience is the secret ingredient nobody talks about.
Air Dry With Confidence in Public

Sometimes you cannot wait at home for your hair to dry. Life happens, and that is totally fine. Damp hair is actually a vibe in 2026.
Style it intentionally instead of hiding it.
- Slick the front for a wet-look finish
- Clip the sides back for a soft, romantic feel
- Add a claw clip for an instant elegant twist
This is where trendy cuts shine. An asymmetrical lob dries fast and looks chic even when damp. A hime cut with blunt sides holds its shape beautifully as it dries.
Lean into it. Half-dry hair styled well looks better than fully dry hair styled badly.
How 2026 Cuts Help Your Waves
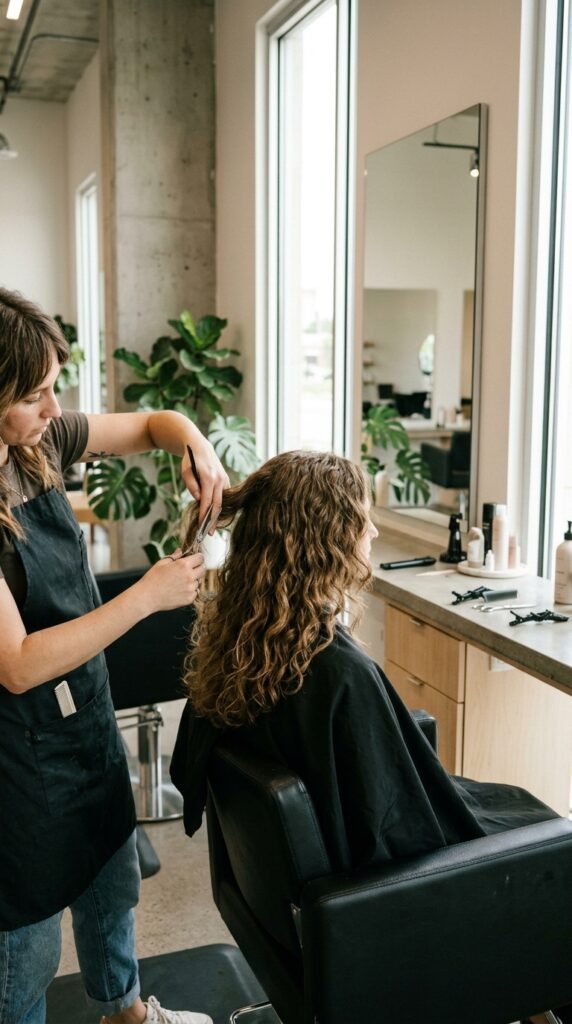
Here is something people forget. Your haircut does half the work for you. A great cut air dries beautifully. A bad one fights you every day.
In 2026, texture-friendly cuts are everywhere.
- The quiet luxury bob: soft, blunt, zero effort
- The asymmetrical lob: modern and light
- The vampire haircut: layered and dramatic
- The hime cut: structured and striking
Tell your stylist you air dry and never use heat. They will cut to work with your natural pattern, not against it.
Get Old Money Hair Without Heat

Old money hair is everywhere right now, and the secret is simpler than you think. It is not about perfection. It is about health, shine, and softness.
The formula for that polished, expensive look:
- Healthy, moisturized strands
- Soft, brushed-out waves
- Zero visible crunch or stiffness
Air drying gets you most of the way there. Once your hair is fully dry, gently smooth a tiny drop of lightweight oil over the surface to tame frizz and add gloss.
Then brush your waves out softly with a wide-tooth comb. That fluffy, refined finish is old money hair in a nutshell.
Romantic Goth and Glitchy Glam Waves

Wavy hair is not just for the soft aesthetic. Two of the biggest 2026 hairstyles, romantic goth and glitchy glam hair, are made for natural texture.
For romantic goth vibes, lean into definition. Use a little more curl cream and let your waves dry with sharp, intentional shape. Add a deep side part for drama.
For glitchy glam hair, play with asymmetry. Tuck one side, pin random sections, and mix textures. Messy is the point.
Both looks work best on healthy, heat-free hair. Damaged strands cannot hold either vibe. So your zero heat routine is basically your backstage pass.
Sleep Without Ruining Your Waves

You spent all day drying those waves. Do not let your pillow destroy them overnight. A little prep before bed goes a long way.
My night routine:
- Sleep on a satin or silk pillowcase
- Gather hair into a loose pineapple on top of your head
- Or use a loose braid for softer morning waves
- Never sleep on wet hair if you can avoid it
Satin reduces friction, which means less frizz and fewer broken strands. Cotton pillowcases are basically sandpaper for wavy hair.
This small change protects your pattern while you sleep. You will wake up with waves that actually survived the night.
Refresh Waves on Non-Wash Days
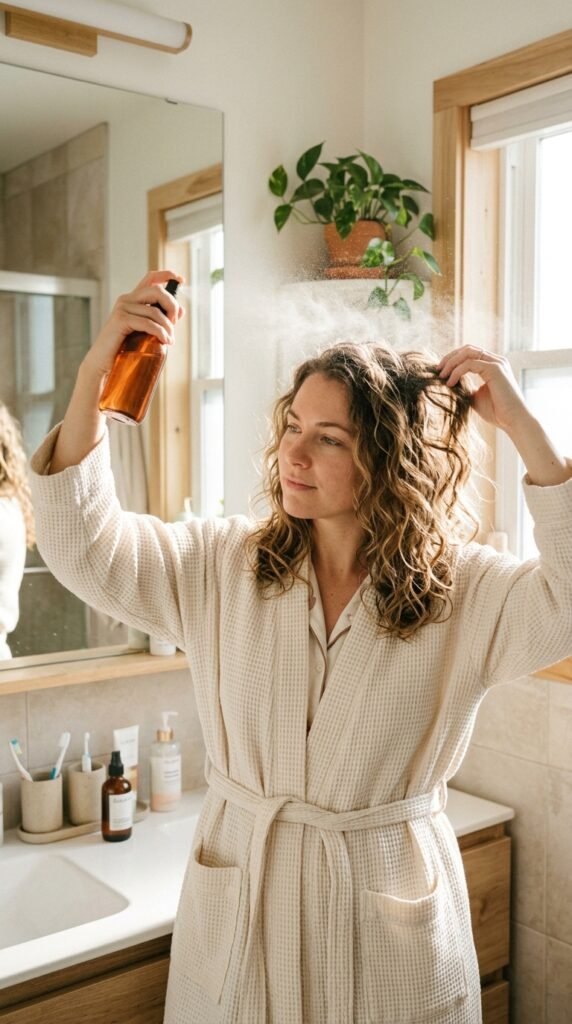
Day two and three hair does not have to mean limp, sad waves. Refreshing takes about two minutes once you know the drill.
- Fill a spray bottle with water
- Add a tiny drop of leave-in or curl cream
- Mist the sections that need help
- Scrunch and let air dry again
Focus on the ends and any flattened spots. You do not need to soak your whole head.
For extra oomph, cup your hands over your hair and breathe warm air onto it, or hover over a sink of hot water for a quick steam boost. Zero heat tools, maximum payoff.
Common Air Drying Mistakes to Avoid
I made every one of these mistakes for years. Learn from my pain and skip straight to great waves.
- Towel rubbing instead of squeezing
- Applying products to damp instead of soaking wet hair
- Touching your hair while it dries
- Using too much heavy product
- Brushing dry waves with a regular brush
Each one of these breaks up your wave clumps and invites frizz. The fix is usually doing less, not more.
Brushing is the big one. If you must detangle, do it in the shower with conditioner. Once you are dry, hands and combs only.
Make It Work for Your Hair Type

Every wave pattern needs slightly different care. Here is the quick cheat sheet I wish I had years ago.
- Fine waves: light products only, mousse over cream, shorter dry time
- Medium waves: the classic routine of leave-in, cream, and light gel
- Thick waves: layer more moisture, expect longer dry times, embrace layers
- Low porosity hair: use lighter products and warm water rinses
- High porosity hair: seal with creams and oils to lock in moisture
Experiment for two weeks before judging anything. Your hair needs time to adjust to the no heat life.
Keep a note on your phone about what worked. Your future self will thank you.
Quick Fixes for Frizzy Air Dried Hair
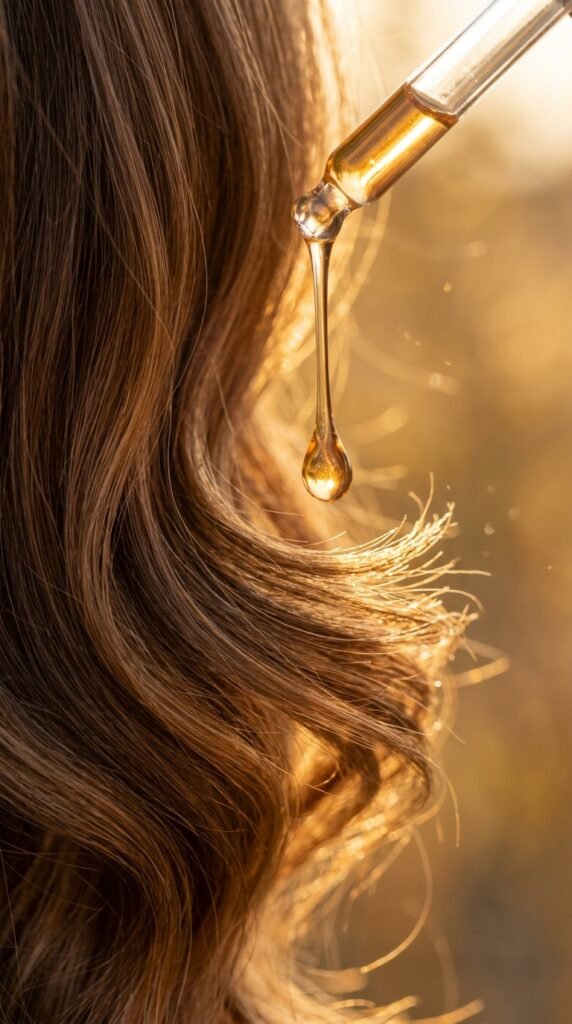
Sometimes frizz happens anyway. Humidity, weather, life. Here is how to rescue your waves fast without heat.
- Rub two drops of lightweight oil between your palms
- Glide over the frizzy surface only
- Twist individual flyaways around your finger
- Mist with water and scrunch to reactivate clumps
Do not overdo the oil. Too much turns soft waves greasy and flat. Start with less and build up.
A little frizz is honestly fine. Even the glossy old money hair you see online has some texture. Perfectly smooth hair is not the goal. Healthy, happy hair is.
Brushes and Combs That Play Nice
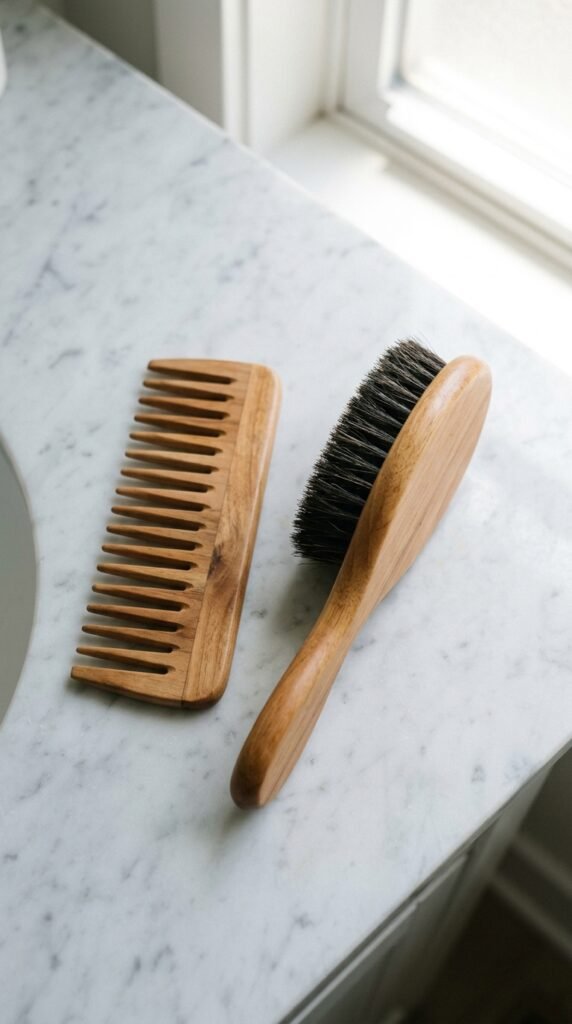
The tools you use between washes can make or break your waves. Choose wisely and your pattern stays intact.
- Wide-tooth comb: your everyday detangler
- Wet brush: for shower detangling only
- Boar bristle brush: for smoothing dry, styled waves
- Your fingers: the most underrated tool of all
Never rip through knots. Start at the ends and work your way up, gently.
And here is the golden rule: no dry brushing your waves unless you are going for that brushed-out, fluffy old money look on purpose.
Products Worth Your Money in 2026
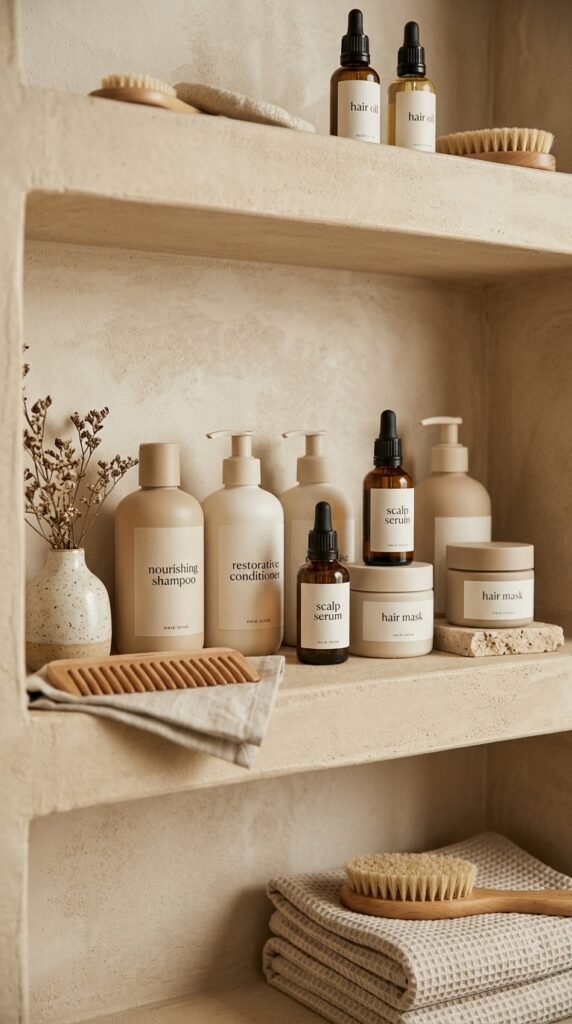
You do not need a cabinet full of products. You need four good ones. That is it.
- A moisturizing conditioner
- A lightweight leave-in
- A curl cream or wave lotion
- A light hold gel or mousse
Look for words like lightweight, moisturizing, and flexible hold on the label. Skip anything that promises extreme hold. That usually means crunch.
Drugstore options work just as well as luxury ones. Your technique matters way more than the price tag. Spend your money on a good haircut instead.
Build the Habit, See the Change

Zero heat air drying is not a one-day trick. It is a habit, and the payoff builds over weeks.
Week one, your hair might feel weird. Week three, your waves start showing up more. By week six, people will ask what you changed.
- Stick with it for at least a month
- Take progress photos in the same lighting
- Adjust one thing at a time
Your natural pattern has been there all along. It just needed you to stop frying it and start listening to it.
Final Thoughts on Going Heat-Free
Your waves were never the problem. They just needed the right routine and a little patience. Zero heat air drying is not about doing more. It is about doing less, better.
Start with one change this week. Maybe it is the t-shirt towel swap. Maybe it is keeping your hands off your hair while it dries. Small wins stack up fast.
Whether you are chasing old money hair, a quiet luxury bob, or bold romantic goth hairstyles, healthy texture is the foundation of every look in 2026. And you already have it. You just have to let it show.
Now go let those waves breathe. I am cheering you on.
Save this post to Pinterest so you can find these air drying secrets next wash day. And tell me in the comments: what is your biggest wavy hair struggle? I read every single one, and I would love to help you troubleshoot.