27 Polished Long Haircut Layers Emphasizing Healthy Reflective Hair Shine
There’s something about long hair with layers that just looks expensive. Not the choppy, over-thinned kind we all asked for in 2013 — I mean soft, polished layers that catch the light and make your hair look genuinely healthy.
I’ve spent the last year collecting photos, bugging stylists with questions, and testing routines on my own fine, wavy hair. The takeaway? Shine is not luck. It’s the cut, the prep, and about four minutes of daily effort.
So I put together 27 polished long haircut ideas for 2026 hairstyles, all built around reflective, healthy-looking hair. Think old money hair, a grown-out quiet luxury bob, even a softer take on the vampire haircut.
Scroll through, save whatever fits your face shape and texture, and bring the photos to your stylist. Let’s make your next appointment a really good one.
What Makes Long Layers Look Polished (Not Choppy)

Polished layers are about movement, not thinning. The difference between “expensive” and “choppy” comes down to three small things.
- The shortest layer sits below the chin
- Ends are point cut or slide cut, never razored all over
- You keep at least two solid inches of length at the very bottom
Keep those three in place and your hair reads expensive, even on a no-styling day. That’s really the whole game with 2026 hairstyles — soft layers, full ends, and shine you can see.
The Old Money Hair Secret: Blunt Ends, Soft Layers

Old money hair isn’t complicated. It’s long, healthy, and gently layered near the face only. Think soft waves, no visible steps, and a bottom hem that stays full and thick.
Here’s what to ask for:
- “I want to keep my length and density at the bottom.”
- “Face-framing only, starting at my cheekbone.”
- “Blunt hem with soft interior layers.”
Skip heavy texturizing. Shine comes from an unbroken surface, and too many short pieces scatter light instead of reflecting it back. Simple as that.
The Quiet Luxury Bob, Grown Out Into Long Layers

If you loved your quiet luxury bob but want length back, this is your in-between stage. The trick is keeping the bob shape at the front while letting the back grow out. It looks intentional instead of awkward.
Ask for:
- Chin-to-jaw framing pieces in the front
- The back length left completely alone
- A soft blend connecting the two zones
Style it with a middle part and a slight bend at the ends. Calm, expensive, and very 2026.
Asymmetrical Lob to Long Layers: The Transition Cut

The asymmetrical lob is the easiest bridge to long hair. One side stays shorter to keep the shape interesting while the rest grows out underneath it.
What to request:
- A long side-swept front piece
- Interior layers starting past the shoulders
- A clean hem so the asymmetry looks sharp, not messy
Once your hair reaches your chest, keep the asymmetry in the front layers and drop it at the back. You get the edge without losing shine.
Hime Cut Layers for Glassy, Reflective Shine
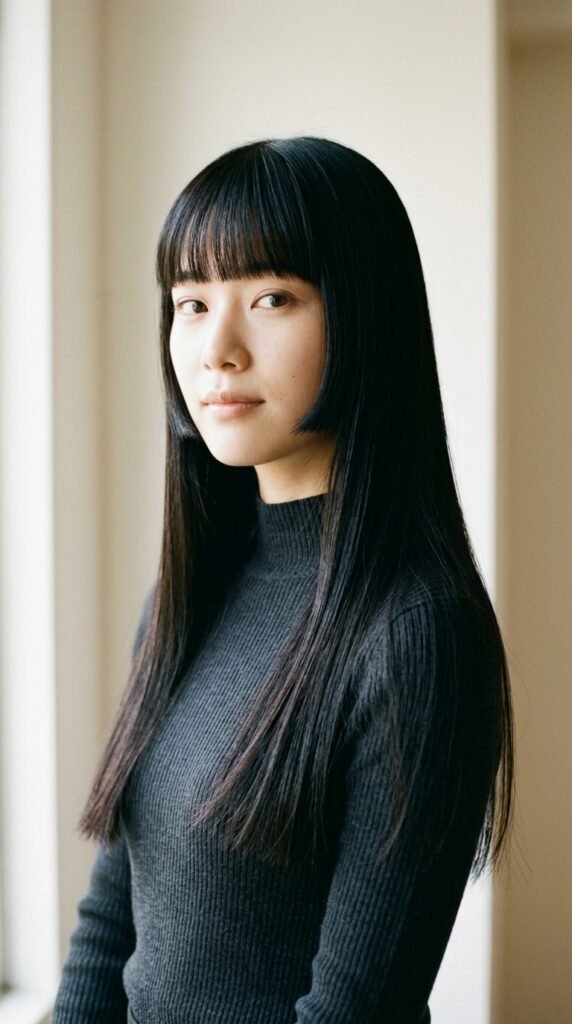
The hime cut is that Japanese style with blunt cheek and jaw pieces plus long straight hair. It looks incredibly glossy because the surfaces stay flat and intact — nothing breaks up the reflection.
It works best on straight or lightly wavy hair. Ask for blunt side pieces at the cheekbone and jaw, then keep the back long with almost no layering.
At home:
- Flat iron on low heat
- One drop of shine serum on the ends only
- Middle part, always
Honestly, it’s the highest-shine option on this entire list.
A Softer Vampire Haircut With Long Face Layers

The vampire haircut gets a bad rep for being harsh. Done softly, it’s stunning — long, dark, and a little dramatic, with face layers that frame instead of slice.
Ask for:
- Long tapered face layers starting at the jaw
- A slight V or U hem at the back
- Minimal thinning, please
Iron the front pieces away from your face for lift, keep the rest smooth, and add a gloss if you want that wet, mirror finish. Drama, but polished.
Romantic Goth Hairstyles With Polished Long Layers

Romantic goth hairstyles are softer than full goth — flowing length, gentle layers, and shine instead of matte. It’s moody without being costume-y.
Best versions:
- Long layers with a deep side part
- Soft brushed-out waves
- Small face-framing pieces around the cheekbones
Cool-toned glosses — ash brown, blue-black, deep plum — reflect light beautifully. Keep heat low and finish with a light oil so the ends stay smooth, not crunchy.
Glitchy Glam Hair Without the Frizz
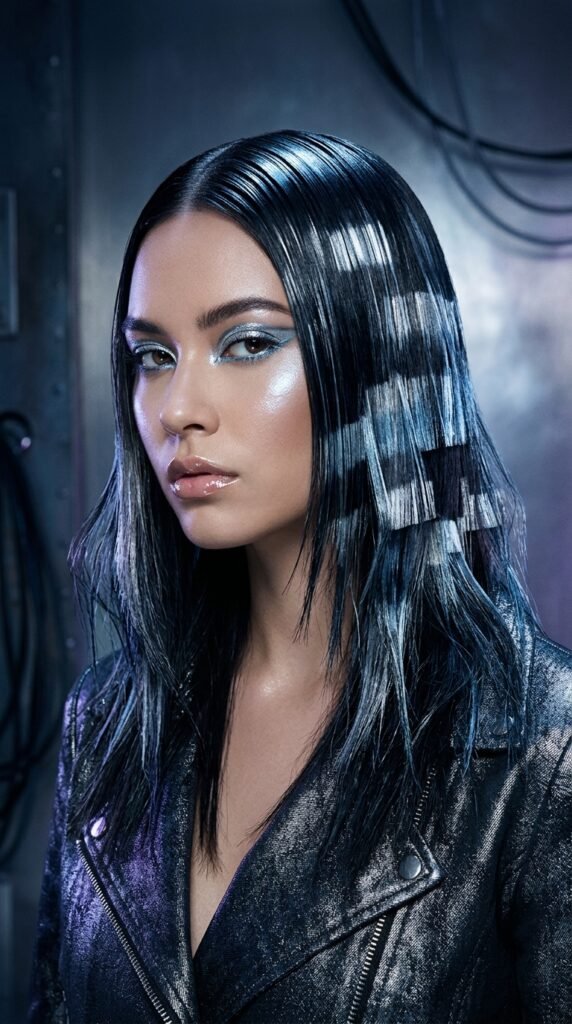
Glitchy glam hair is that slightly undone, high-shine look — glassy on top, lived-in at the ends. The secret is keeping layering minimal so the shine stays smooth.
Try this:
- Blow-dry roots upward for volume
- Smooth mid-lengths with a round brush
- Leave the ends slightly imperfect on purpose
Use a shine spray on top and just a tiny bit of texture paste at the very tips. The contrast is what makes it look cool instead of messy.
Face-Framing Layers for Round Faces

Round faces shine with layers that start below the chin and travel downward. Anything stopping right at the cheek adds width you don’t want.
Ask for:
- Long face-framing pieces starting at the jawline
- A long, deep side part for angles
- Curtain bangs only, never short straight-across fringe
Style with a round brush, pulling pieces away from your face. Height at the crown plus long, sleek front layers creates real balance.
Long Layers That Flatter Square and Angular Jaws

Softer curves are your friend here. Long layers that start at the cheekbone and gently sweep past the jaw soften strong angles beautifully.
Request:
- Curved face-framing pieces, not blunt ones
- Layers that fall past the jawline
- A soft U-shaped hem
Add a little bend with a large curling iron or a blowout brush. Skip straight-across blunt ends right at the jaw — that’s the one move that makes strong angles look harder.
Curtain Layers for Oval and Heart Shapes

Oval and heart faces can handle almost anything, so use that freedom for shine. Curtain layers are the most flattering and the glossiest option.
Ask for:
- Face layers starting at the cheekbone
- A gentle curtain shape parted in the middle
- Long interior layers for movement
Heart shapes: keep the shortest layer below the chin. Oval shapes: you’re free — even a hime cut works. Keep the ends smooth and watch the light bounce.
The 1-2-3 Layer Rule
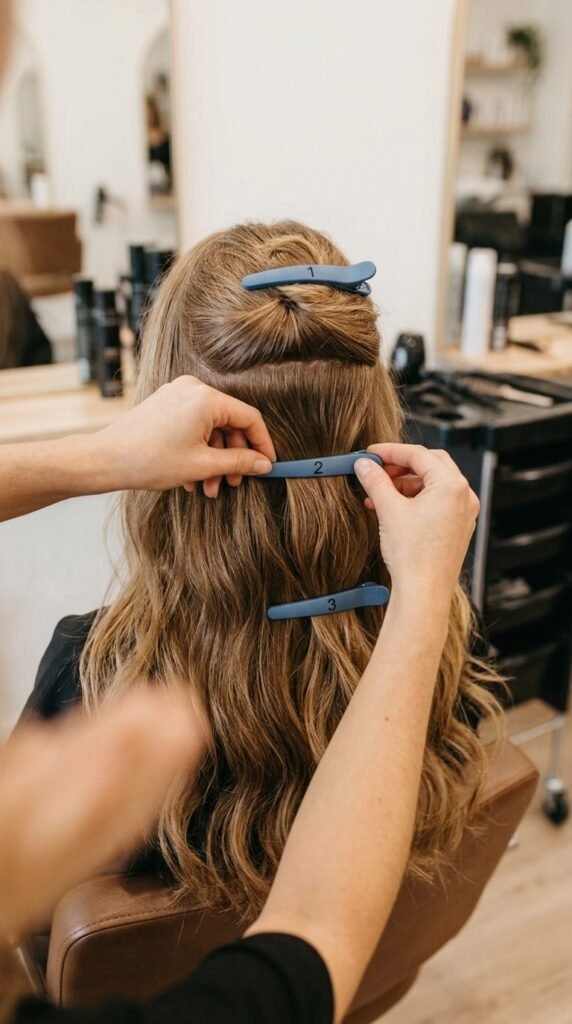
Here’s a simple rule to bring to the salon. Three layers, three spots:
- Layer 1: cheekbone (face-framing only)
- Layer 2: collarbone
- Layer 3: three inches above the hem
Anything shorter gets choppy fast. Anything longer and you lose movement entirely. And if your hair is fine, skip layer one completely.
This spacing keeps the surface smooth so light reflects evenly. That’s what healthy shine actually looks like in real life.
Fine Hair? Ask for Invisible Layers

Fine hair needs density, not volume-by-thinning. Invisible layers get cut into the last two or three inches only, so the surface stays smooth and full.
Say this:
- “Please keep my ends dense.”
- “Only blend the last few inches.”
- “No razors.”
Style with a light mousse at the roots and a shine serum on the ends. Skip heavy oils — they drag fine hair down and flatten the reflection you worked for.
Thick Hair? Ask for Weight Removal, Not Thinning

Thick hair with too much thinning turns frizzy fast. You want weight removed internally while the outer shape stays completely intact.
Request:
- Slide cutting through the interior only
- Long layers starting at the collarbone
- A blunt or softly U-shaped hem
Finish with a smooth blowout and a light oil on the ends. Less bulk, more shine, still full. That’s the balance.
Curly Long Layers That Still Clump

Curly hair needs layers that follow the curl pattern. Ask for layers cut dry, curl by curl, so every piece keeps its shape and definition.
Rules to remember:
- Cut dry, never wet
- Space the layers far apart
- Ends trimmed clean, not thinned
Style with a leave-in and gel, then diffuse. Try not to touch your hair while it dries — that’s what creates frizz and dulls the shine.
Wavy Long Layers With a Soft Bend

Wavy hair looks expensive when the layers follow your natural S-wave. Ask for long layers that start past the collarbone so the wave has room to move.
Your routine:
- Air dry about 70 percent, then add a light cream
- Twist sections around your finger
- Finish with a shine mist
Never brush dry. It breaks up the wave and kills the reflection instantly.
Straight Long Layers With Mirror Shine
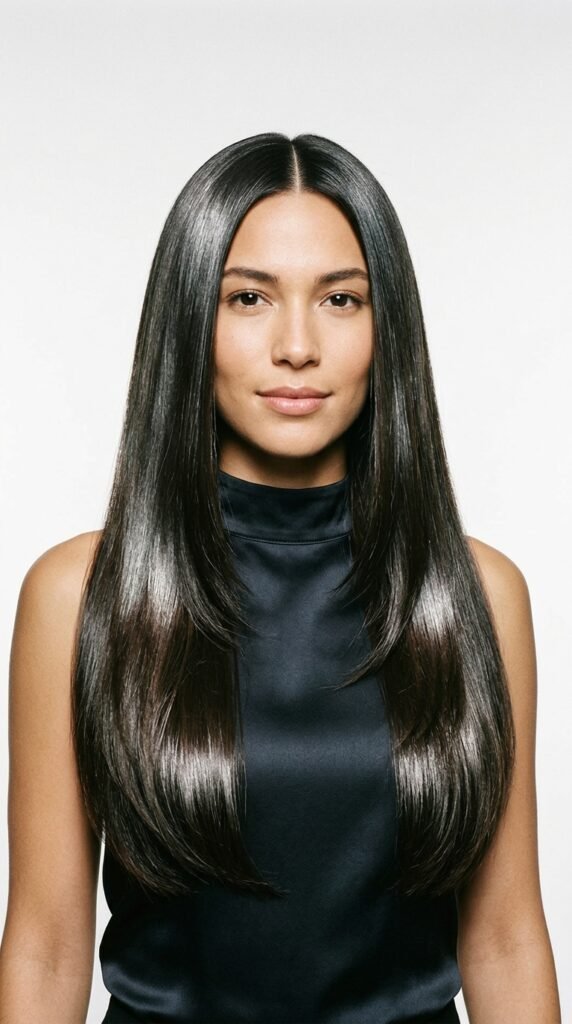
Straight hair shows every frizz and every layer cut. That’s actually great news — it’s the most rewarding texture to work with.
Do this:
- Ask for smooth blended layers with no visible steps
- Book a gloss every four to six weeks
- Blow dry with the nozzle pointing down the hair shaft
Cold shot at the end is not optional. That’s literally where the mirror finish comes from. Skip it and you’ll lose half the shine.
Point Cut vs Slide Cut: What Protects Shine
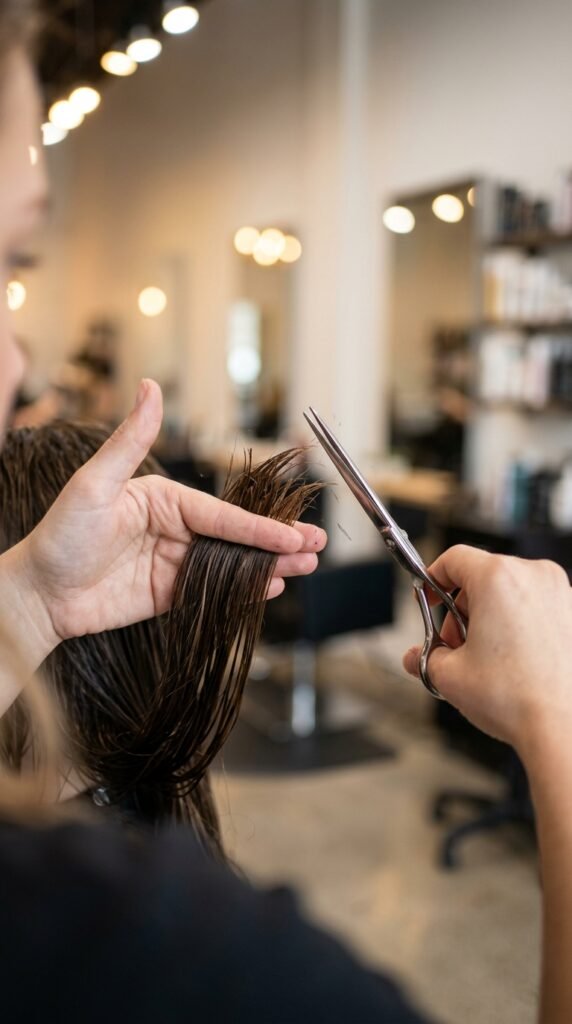
Two cutting techniques, two different results. Worth knowing before you sit down.
- Point cutting: snips into the ends for softness. Great on thick hair.
- Slide cutting: the shear glides down the hair for seamless layers. Great for fine and medium hair.
Ask which one your stylist plans to use. Both protect shine when done well. Razors, on the other hand, can rough up the cuticle and create fuzzy ends that never quite gloss up.
What to Say at the Salon (Exact Script)

Bring photos, then say this out loud:
“I want to keep my length. Please keep density at the bottom, add face-framing starting at my jaw, and only blend the last few inches. No razors and no aggressive thinning.”
Then add context — how you style it, how often you heat style, your last color service. Stylists make much better decisions with that info. And ask for a maintenance window: six to eight weeks for most, ten for fine hair.
Prep Your Hair Before Your Appointment
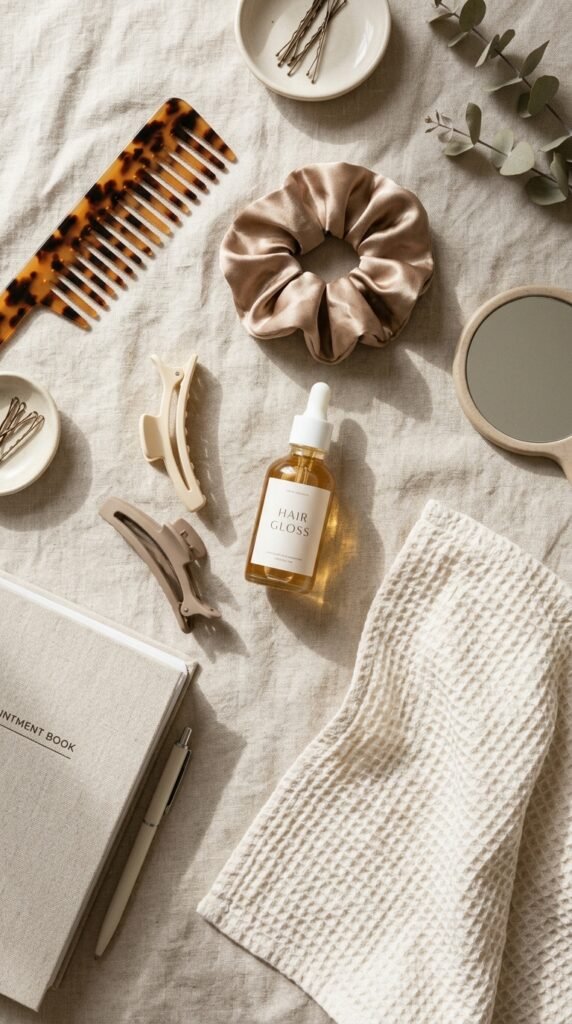
Small things that make your cut better:
- Arrive with dry hair if you want a dry cut
- Wash the night before, not the morning of
- Bring your own products if your scalp is sensitive
- Skip flat ironing the day of a color appointment
Also, tell your stylist about any recent box dye or at-home gloss. It changes how your hair behaves and how it reflects light.
The Shine Wash Routine
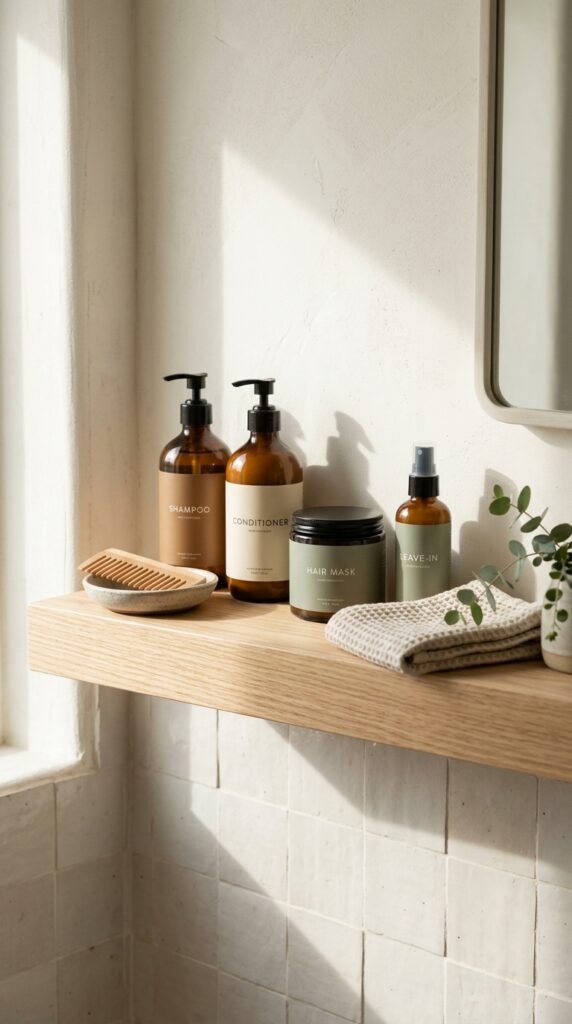
Shine starts in the shower, not at the styling step.
- Shampoo the scalp only, about twice a week
- Condition mid-lengths and ends every wash
- Do a hair mask once a week
- Rinse with cool water for the last 20 seconds
Skip the hot water. It swells the cuticle and dulls the finish. Finish with a leave-in on damp hair, then a light oil on dry ends. Simple, repeatable, real.
Brush and Comb Choices That Keep Layers Reflective
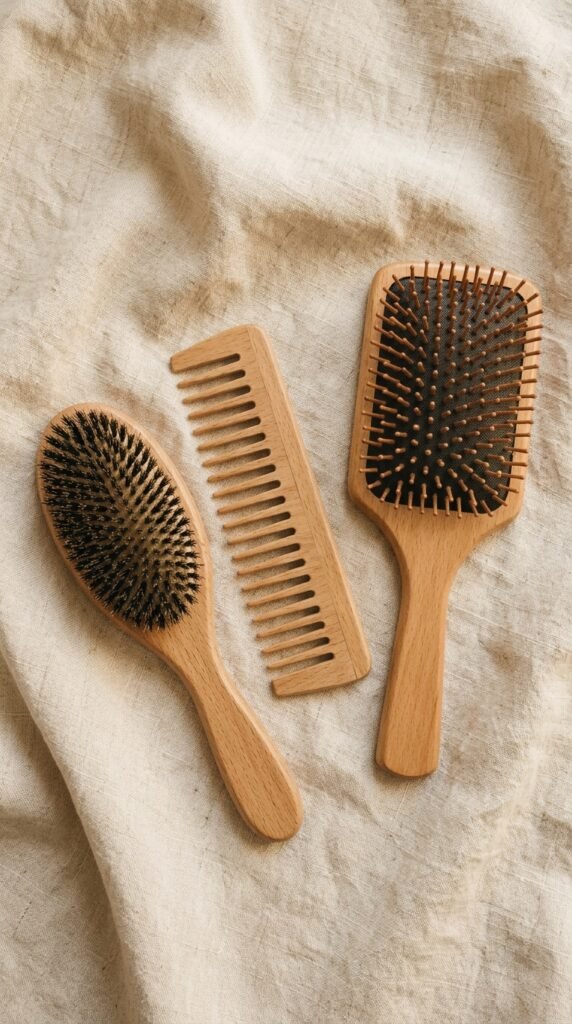
The wrong brush makes polished hair look fuzzy in seconds.
- Wide-tooth comb in the shower for conditioner
- Boar-bristle brush for smooth blowouts
- Paddle brush for detangling damp hair
Skip cheap plastic bristles that create static. And never brush wet hair from the roots down — start at the ends and work your way up.
Heat Styling That Doesn’t Dull Your Gloss
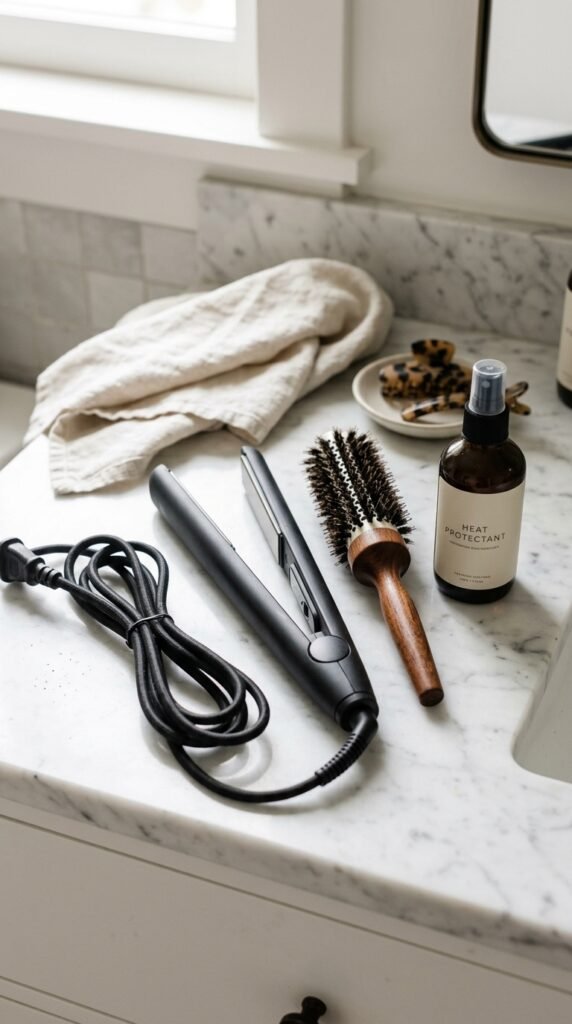
Heat is fine. Heat without protection is not.
- Use a heat protectant every single time
- Keep tools under 350°F for fine hair, 400°F max for thick
- One pass per section, not five
- Finish with a cold shot to seal the cuticle
Iron on clean, dry hair. Product buildup plus heat equals dull — and that’s the fastest way to lose the reflective finish you just paid for.
The 5-Minute Blowout for Long Layers
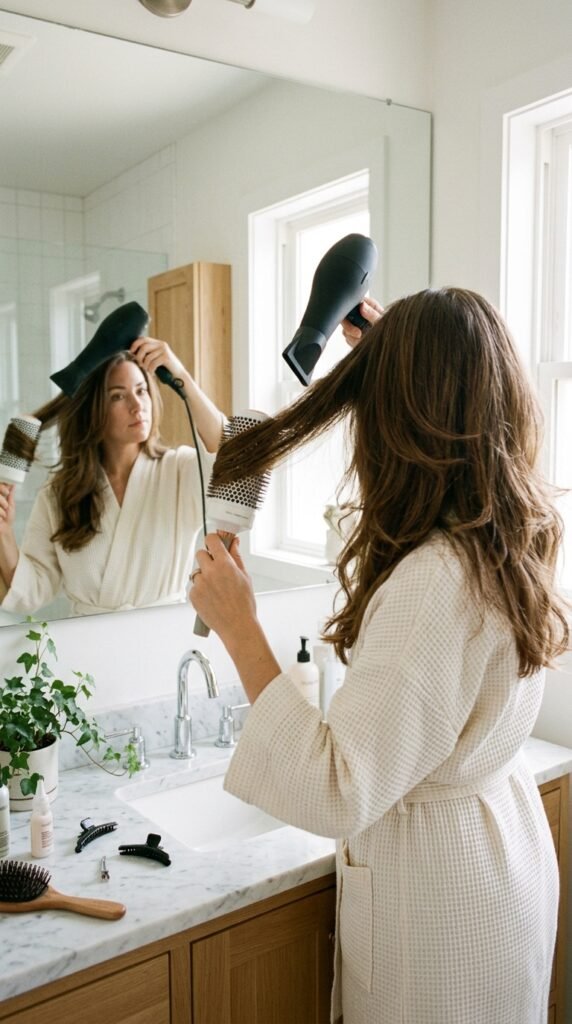
Weekday version, no salon needed:
- Rough dry roots until 80 percent dry
- Section into four parts
- Round-brush each section downward, following the layer
- Roll the ends under for two seconds
- Cold shot, then a drop of oil on the ends
Five minutes, real shine. This is genuinely the routine I use most weekdays.
Gloss Treatments and Shine Toners
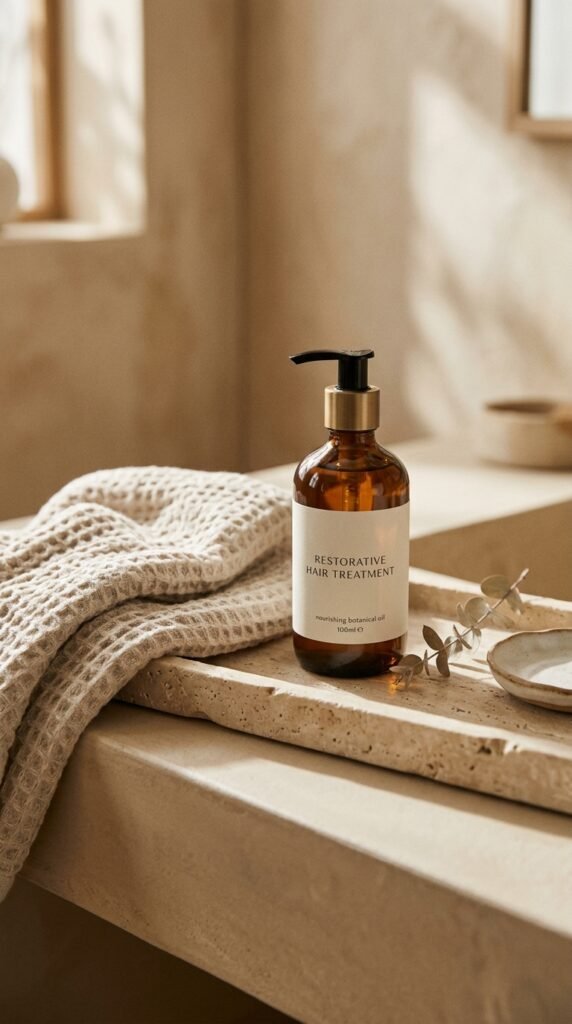
Gloss is the cheat code. It smooths the cuticle, adds tone, and makes long layers look lit from within.
- Salon gloss: every four to six weeks, lasts about three
- At-home gloss: monthly, cheap, easy
- Shine toner: resets brassiness and adds reflection
Book it before a big event, not the day of. Give it a week to settle in.
Trim Schedule and Overnight Habits
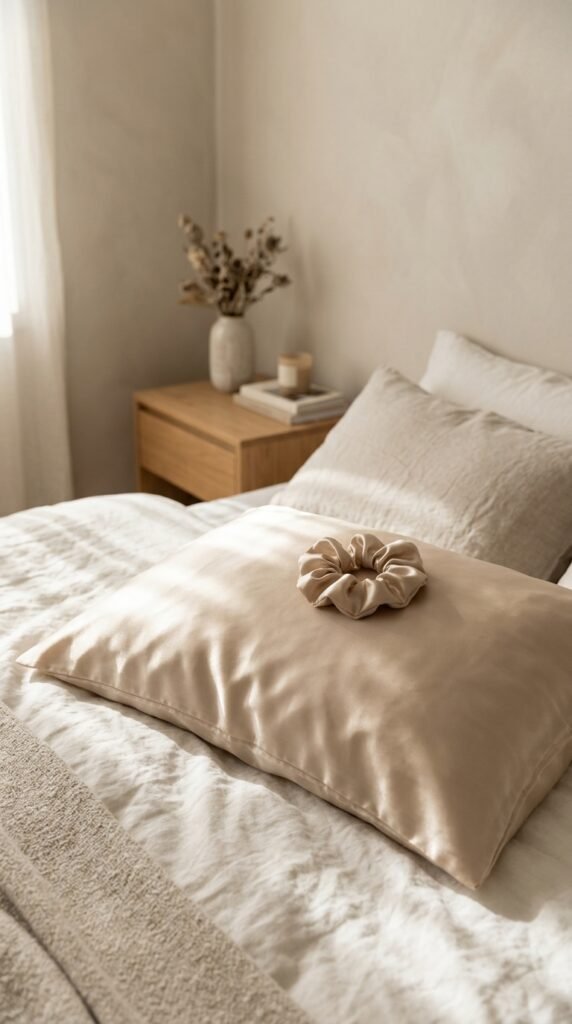
Healthy ends are non-negotiable if you want shine.
- Trim every 8 to 10 weeks
- Sleep on silk or satin
- Loosely braid or use a silk scrunchie
- Never sleep on wet hair if you can help it
Split ends travel upward. A tiny trim now saves two inches later — and it’s the most boring, most effective shine habit I know.
Five Ways to Style Polished Long Layers This Week
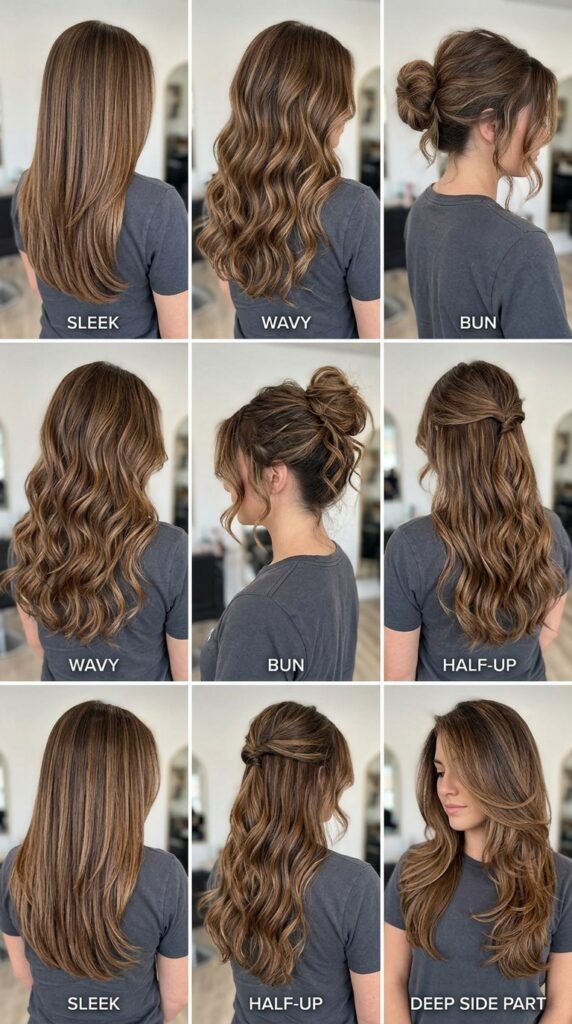
Quick rotation so you never get bored:
- Middle part, sleek, tucked behind the ears — full old money hair
- Soft waves with a 1.25-inch iron
- Low sleek bun with face layers left out
- Half-up with a claw clip
- Blowout with a deep side part
Same cut, five looks. That’s the whole point of good layers — you don’t need a new haircut, just a new part.
A Little Nudge Before Your Next Appointment
Here’s what I want you to take away: polished long layers are not about cutting more. They’re about cutting smarter. Keep density at the bottom, keep the surface smooth, and let the light do the rest.
Pick two or three sections from this list that match your texture, screenshot the image prompts, and hand them to your stylist. That’s it. You don’t need a full hair overhaul — just a clear request and a trim schedule you actually keep.
And be patient with yourself. Shine builds over weeks, not one wash. A gloss, a good brush, and a silk pillowcase will get you most of the way there.
Save this post to Pinterest so you have the photos and the exact salon script ready when you book. Then tell me in the comments: are you team soft face layers or full hime cut? I read every single one.