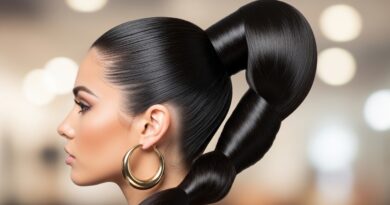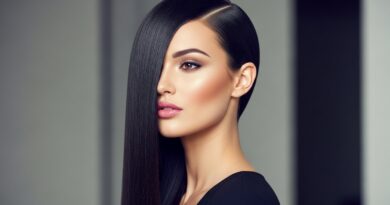
How to Make sleek look Hair Look Expensive on a Budget
There’s a certain kind of magic in a perfectly sleek hairstyle. It whispers of red carpets, high-powered boardrooms, and an effortless, put-together elegance. That mirror-like shine, the smooth-as-silk texture—it looks expensive. But what if your budget doesn’t quite match your aesthetic aspirations? The good news is that achieving that coveted, high-end sleek look doesn’t require a celebrity stylist on retainer or a bathroom cabinet filled with hundred-dollar serums.
The secret lies not in the price tag, but in the technique and a few clever, budget-conscious swaps. It’s about understanding what truly makes hair look “expensive” and mastering the methods to get there with the tools and products you have. Get ready to transform your hair routine and unlock a world of glossy, sophisticated styles that will have everyone asking, “Who is your stylist?”
The Foundation: A Healthy Scalp and Hair
Let’s be clear: no amount of styling product can truly compensate for hair that is damaged, dry, or neglected. Expensive-looking hair is, first and foremost, healthy hair. The journey to a flawless sleek look begins long before you plug in your flat iron. It starts at the scalp and is built on good habits.
Focus on a gentle, yet effective cleansing routine. Harsh sulfates can strip your hair of its natural oils, leading to a dry, frizzy texture that fights against sleekness. Look for sulfate-free formulas that clean without compromising your hair’s moisture barrier. Furthermore, never underestimate the power of a good conditioner. Concentrate it on your mid-lengths and ends to detangle, hydrate, and create a smooth base. Incorporating a weekly deep conditioning treatment or a hair mask—even a DIY one with coconut or argan oil—can work wonders to repair damage and add incredible shine.
Pro Tip: When washing, finish with a cool water rinse. This helps to seal the hair cuticle, the outer layer of your hair strand. A sealed cuticle reflects light better, resulting in instant, noticeable shine—the hallmark of expensive hair.

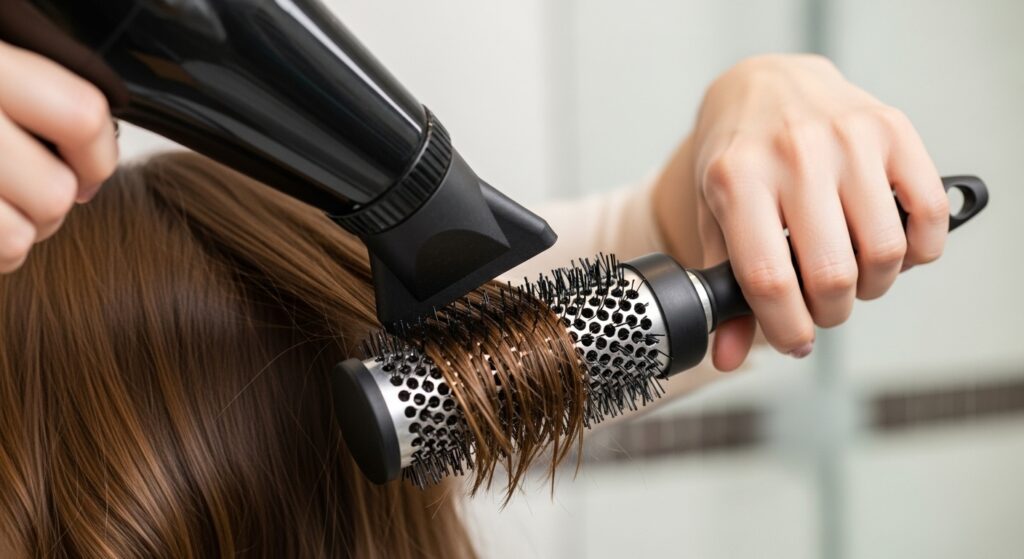
Master the Art of the Perfect Blow-Dry
Your flat iron is not the starting point; your blow-dryer is. A strategic blow-dry is the most crucial step in achieving long-lasting sleekness with minimal heat damage. The goal is to smooth the hair cuticle as much as possible before any flat iron touches it.
Start by gently towel-drying your hair to remove excess moisture. Then, apply a heat protectant spray religiously. This is non-negotiable. It forms a protective shield around your hair, preventing the high heat from causing breakage and dullness. Next, work in sections. Using a medium-sized round brush, pull each section taut away from your scalp. Direct the nozzle of your dryer down the hair shaft, following the path of your brush. This simple technique—blowing the air in the direction of hair growth—is what flattens the cuticle and creates that initial smoothness and shine.
Don’t have a fancy ionic dryer? No problem. You can achieve a fantastic blow-dry with a basic model by focusing on technique and ensuring your hair is about 90% dry before you start using the brush for tension and smoothing.
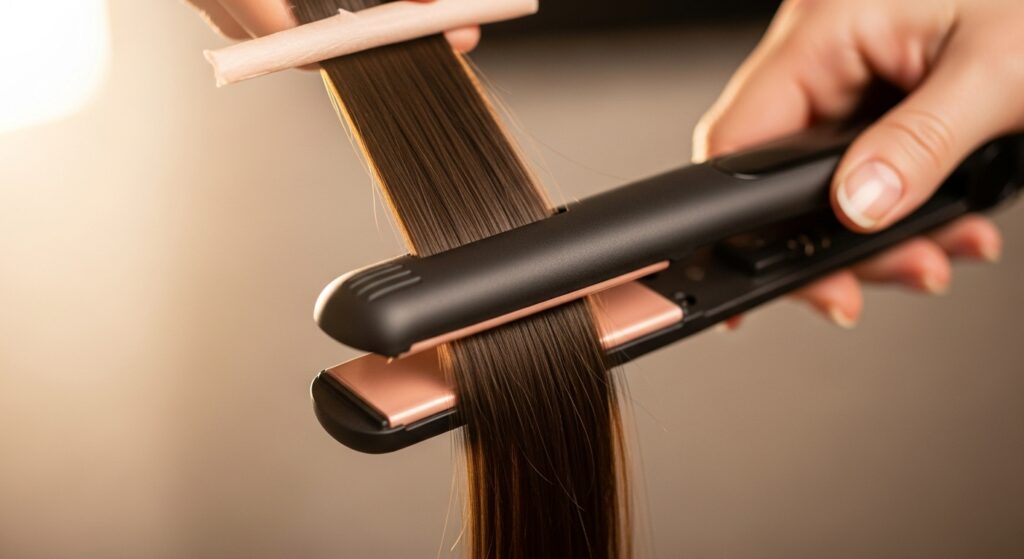
Your Flat Iron: Technique Over Technology
While a high-quality flat iron can be an investment, your technique is far more important than the brand name on the tool. You can get stellar results with a mid-range iron if you use it correctly. The key principles are low heat and slow, steady passes.
Contrary to popular belief, cranking your iron to the highest temperature does not lead to a better style; it leads to fried hair. Start with a lower temperature (around 300-350°F for most hair types) and only increase if necessary. Work on small, thin sections—no wider than the iron itself. Clamp the iron at the root and, in one fluid, slow motion, glide it down the length of the hair. Do not go back and forth or clamp repeatedly on the same section. This “sawing” motion creates friction and frizz.
For an extra dose of salon-level sleekness, after you flat iron a section, gently clamp the iron around the ends and give a slight, subtle turn under. This seals the ends and prevents them from flipping out, maintaining that clean, sharp line.
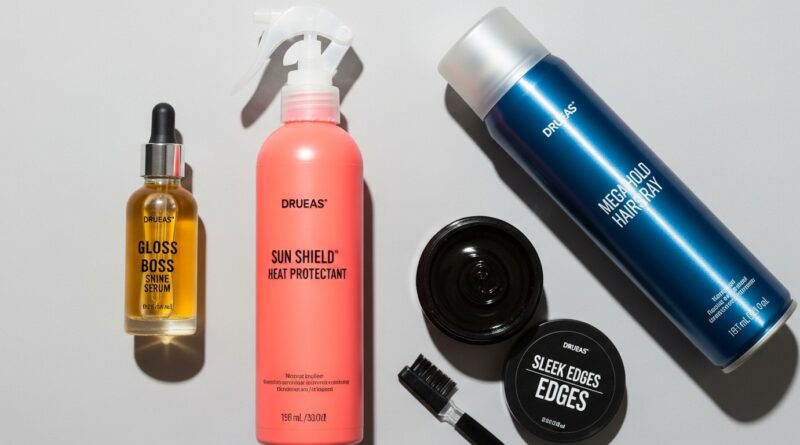
Budget-Friendly Product Heroes
You don’t need to break the bank to find products that perform. The drugstore and many affordable brands are filled with hidden gems that can deliver high-end results.
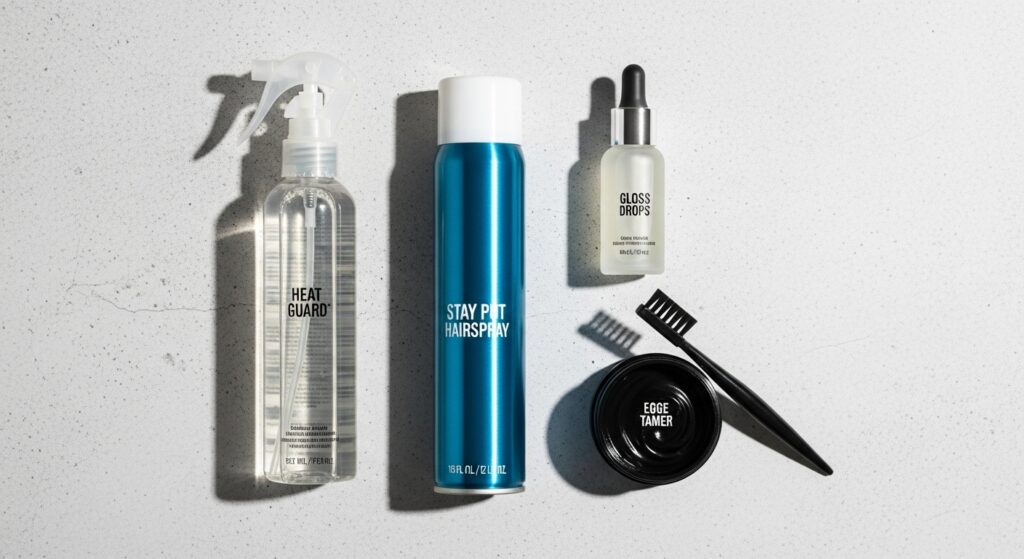
- Heat Protectant: This is your holy grail. Brands like Tresemmé, L’Oréal, and Garnier Fructis offer excellent, affordable options that prevent heat damage.
- Shine Serums & Lightweight Oils: A single drop of a silicone-based serum or a lightweight oil like argan oil can be a game-changer. Run a tiny amount over your palms and gently smooth it over the surface of your hair after styling, focusing on the mid-lengths and ends. This tames flyaways and creates an incredible, reflective shine. Look for options from OGX or John Frieda.
- Strong-Hold Hairspray: A fine-mist, strong-hold hairspray is essential for locking in your style without creating stiffness or stickiness. A light mist held about 10 inches away from the head will set everything in place.
- Edge Control & Boar Bristle Brush: For those baby hairs and edges, a small pot of affordable edge control and a tiny boar bristle brush can create a polished, laid look that elevates the entire style.
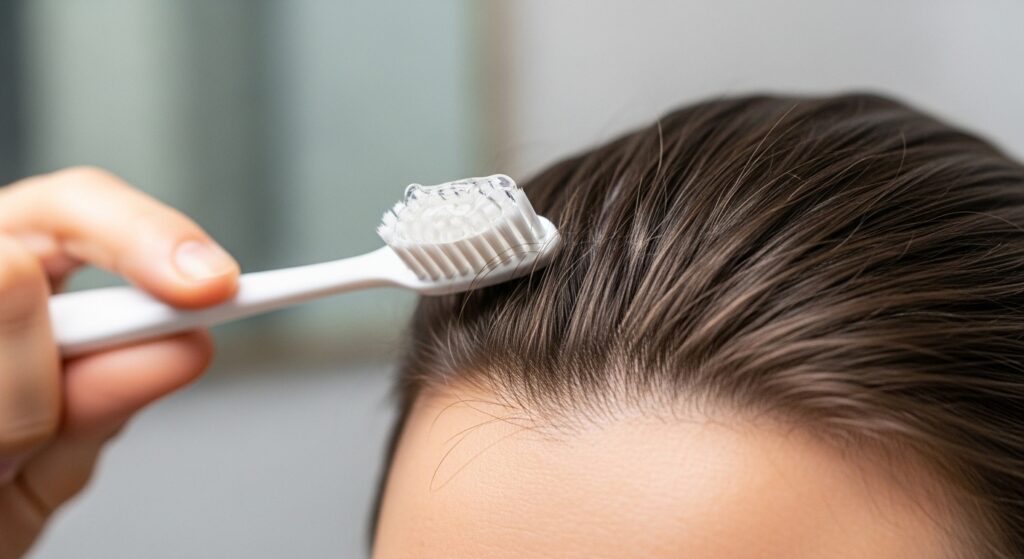
The Final Touch: Taming Flyaways for a Polished Finish
Even with the most meticulous styling, a few flyaways can appear and instantly cheapen the look. Here’s a professional secret: a toothbrush and a tiny bit of hairspray or clear brow gel.
Spray a clean, disposable toothbrush with a light mist of hairspray or apply a small dab of clear brow gel to the bristles. Then, gently brush down any stray hairs along your part and hairline. The small, dense bristles offer unparalleled control for taming even the most stubborn flyaways, giving you a razor-sharp, immaculate finish that looks like it was done in a salon.
For a completely natural alternative, you can also run a dryer sheet over the surface of your hair. The anti-static properties work surprisingly well to calm flyaways and add a subtle fresh scent.
Protecting Your Sleek Style Overnight and Beyond
You’ve put in the work, so make it last! Protecting your hair while you sleep is a simple yet effective way to extend the life of your sleek style, meaning you can get multiple days out of one styling session.
Swap your standard cotton pillowcase for a satin or silk one. Cotton is abrasive and creates friction, which leads to frizz, breakage, and flattened volume. Satin and silk, however, allow your hair to glide smoothly as you sleep, preserving your style and reducing tangles. Alternatively, you can wrap your hair in a loose, low ponytail or bun on the very top of your head (a “pineapple”) and secure it with a satin scrunchie.
On day two and three, you might not need a full restyle. Simply use a light-hold shine spray to refresh the look and a touch of serum on the ends. For any areas that have lost their smoothness, a quick pass with a cool flat iron (with a light spray of heat protectant first) can bring it back to life without excessive heat exposure.

Conclusion: Expensive Hair is an Attainable Art
Achieving that coveted, expensive-looking sleek hair is not about magic potions or unattainable luxuries. It’s a skill built on a foundation of hair health, mastered technique, and smart, budget-friendly product choices. By focusing on a smooth blow-dry, perfecting your flat iron technique, and utilizing a few final tricks to tame flyaways, you can create a look that radiates confidence and sophistication.
The true secret to expensive-looking hair is the care and intention you put into it. So, embrace these tips, experiment with what works for your unique hair type, and get ready to enjoy the compliments on your stunning, sleek, and brilliantly budget-friendly hair.