Curly Hair Hacks in Straight Styles Seamlessly Blended
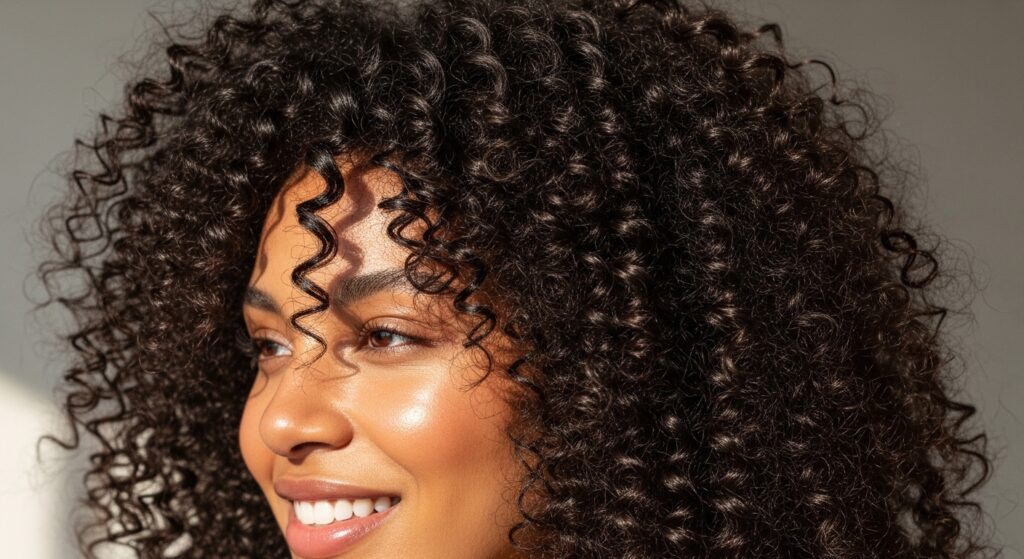
Hey friend. Let’s talk about the curly hair dilemma we all know: you love your curls, but sometimes you just want that sleek, straight look. But the transition? It can feel like two different hair personalities fighting it out on your head.
The good news is, blending your natural texture into a straight style doesn’t have to be a battle. It’s all about technique and a few game-changing products. You can have that smooth, polished finish without hiding your curl pattern forever.
This guide is your new best friend. I’m sharing all my personal hacks, from heat protection to blending tricks, to make your straight styles look seamless, healthy, and totally natural. Let’s get into it.
1. The Foundation: Start with a Super Hydrated Base
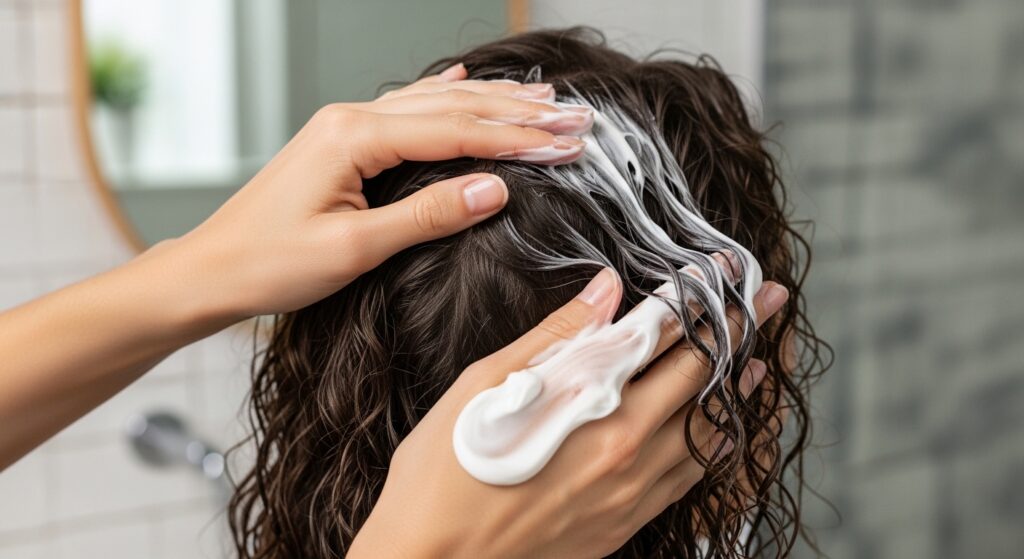
Think of your curls like a sponge. A dry sponge is brittle and breaks easily. A hydrated sponge is flexible and smooth. Straightening dry, thirsty curls is asking for frizz and damage.
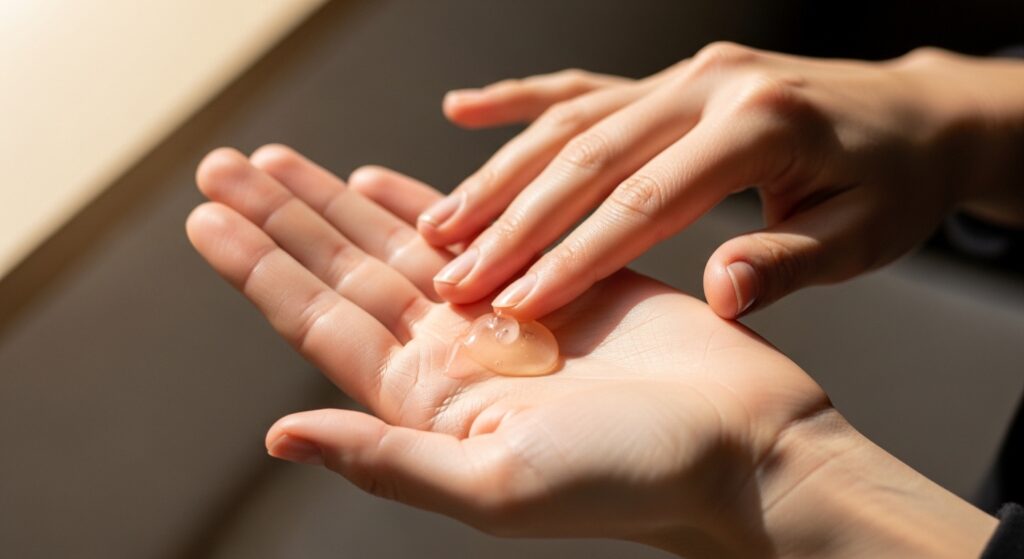
Your wash day is crucial. Use a moisturizing shampoo and a deep conditioner. Then, apply a generous amount of a leave-in conditioner or cream while your hair is soaking wet. This creates a smooth, pliable canvas that will respond to heat much better.
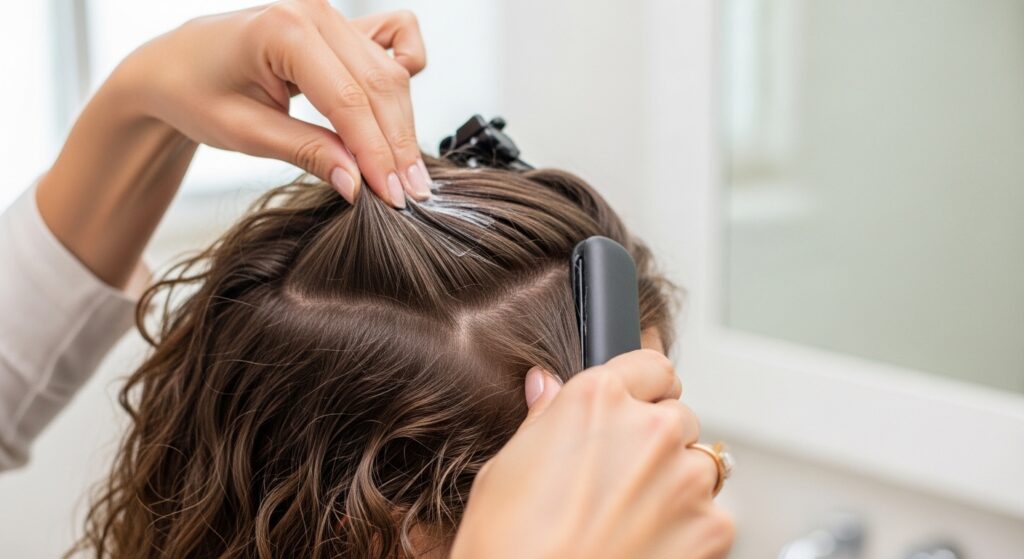
2. The Non-Negotiable: Heat Protectant is Your Shield
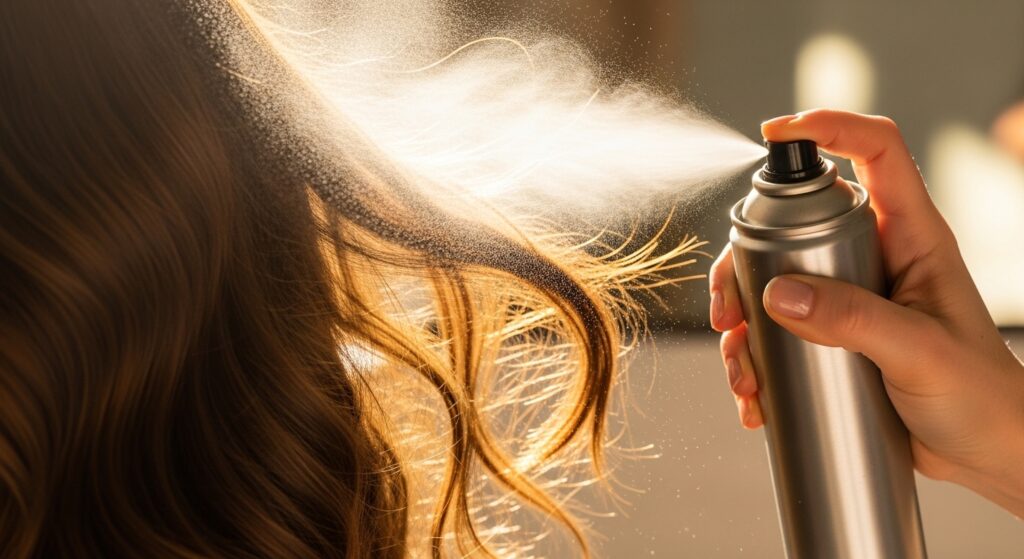
I will say this until I’m blue in the face: never, ever skip heat protectant. It’s not a suggestion; it’s the law for curly girls using hot tools. This single product is what stands between you and fried, broken ends.
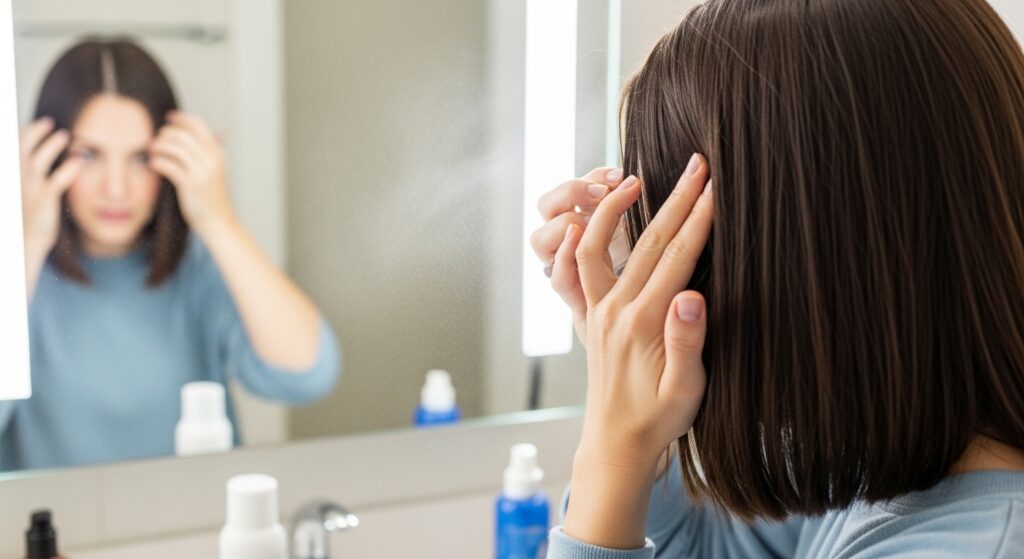
Look for a spray or cream that also has smoothing properties. Apply it section by section to ensure every strand is coated. It creates a barrier that allows the heat to style without destroying your hair’s internal structure.
3. The Game Changer: Blow-Dry with Tension
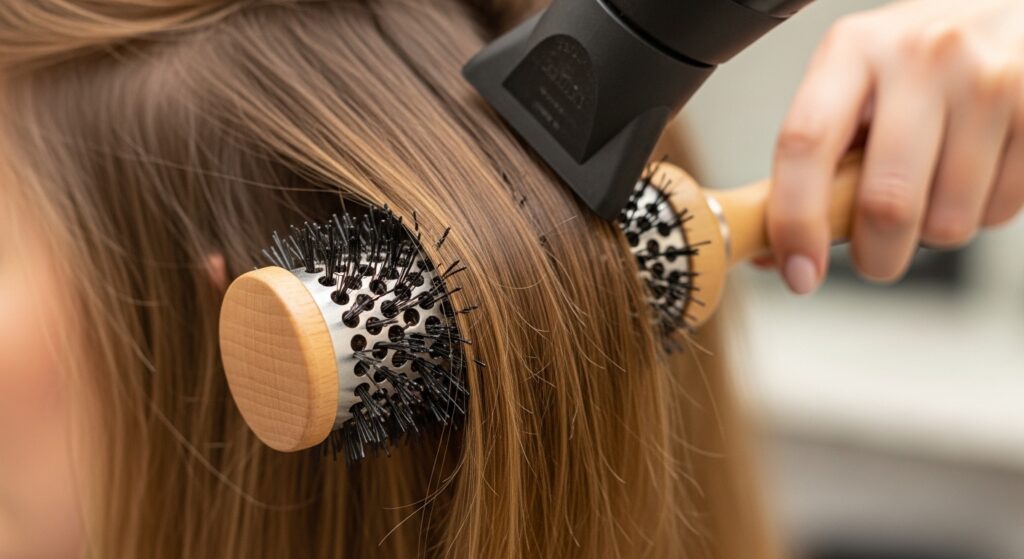
Air drying is great, but for a sleek base, a blow-dry with tension is key. This doesn’t mean yanking your hair. It means using a brush to gently stretch the section as you direct the heat down the hair shaft.
Use a paddle brush for large sections or a round brush for more root lift. Point the nozzle of your dryer down the hair cuticle. This step alone can get your hair 80% straight, making the flat iron’s job so much easier and quicker.
4. The Tool Truth: Your Flat Iron Matters
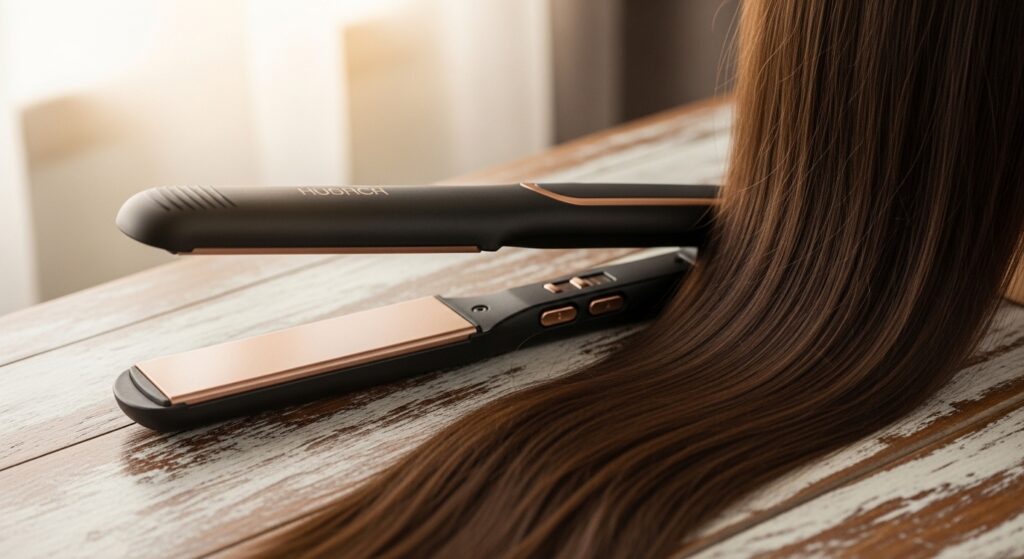
Not all flat irons are created equal. For curly hair, you need consistent, even heat and smooth plates. Ceramic, tourmaline, or titanium plates are best as they distribute heat evenly and reduce snagging.
A good iron means you can use a lower temperature (think 350-380°F) and get better results with fewer passes. More passes equal more damage. Invest in a good tool—it makes all the difference.
5. The Technique: Small, Clean Sections Win
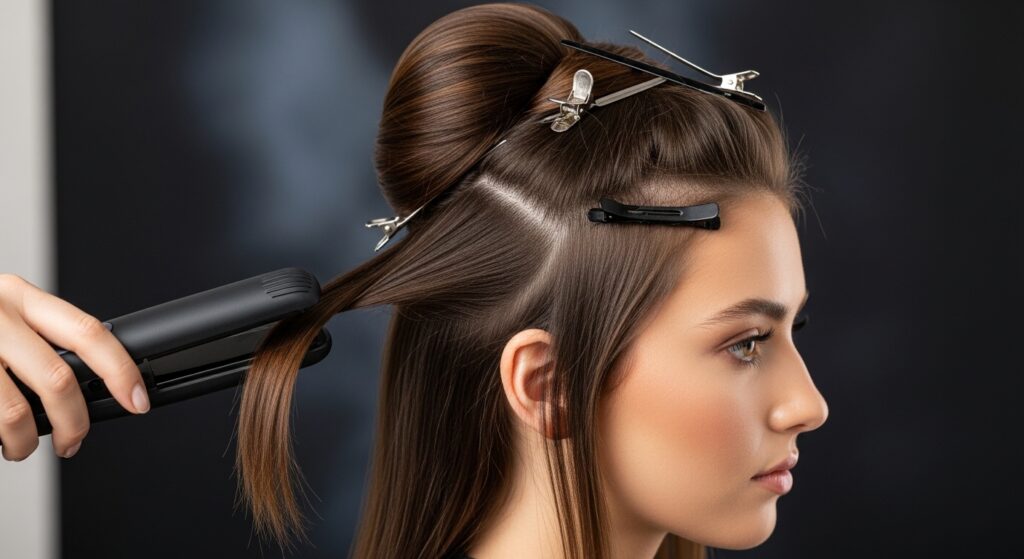
This is where patience pays off. Working with large, messy sections means the inner layers won’t get heat, leading to poufiness later. Take the time to clip your hair up and work from the bottom layers to the top.
Each section should be no wider than your iron. Clean, parted sections ensure every single curl gets smoothed. It feels tedious, but it’s the secret to that salon-smooth, all-day result.
6. The Slow Glide: One Pass is the Goal
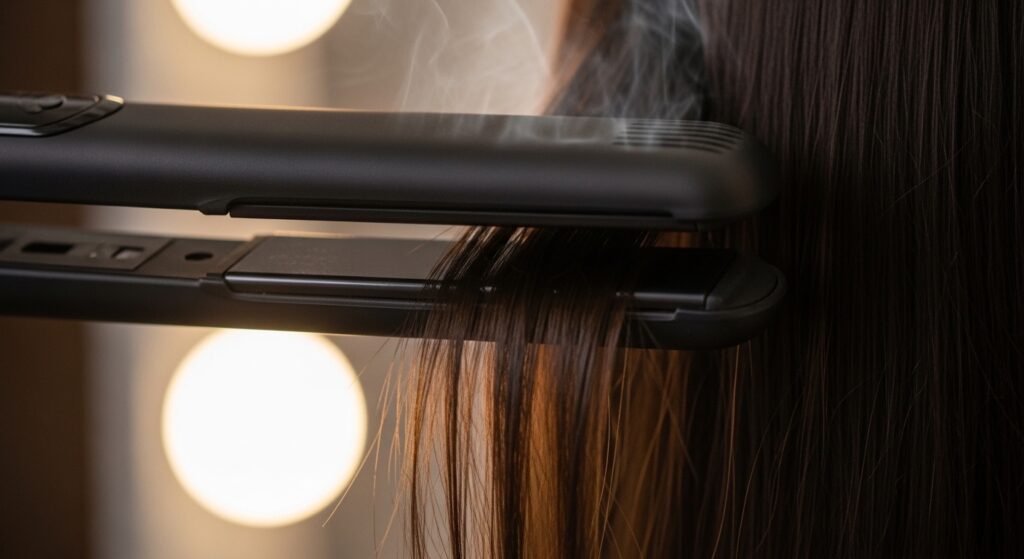
The mantra is “slow and steady.” Clamp the iron at the root, wait a half-second, and then glide down the section in one smooth, continuous motion. Do not go back and forth like you’re ironing a shirt.
Aim for one perfect pass per section. If you need a second, keep the temperature low. Multiple fast passes on high heat are what cause the most damage and create that crispy, unnatural look.
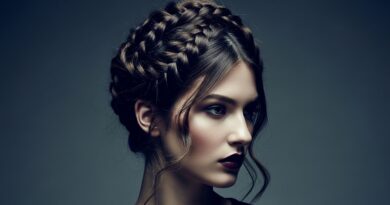
7. Taming the Crown: Conquering Root Volume
Our curly roots love to rebel. For a seamless blend, you need to direct them. When you clamp the iron at the root on your final sections, gently curve the iron under or in the direction you want the hair to lie.
This gives you smooth volume instead of puffy volume. You can also use a light-hold hairspray on a toothbrush to gently slick down any baby hairs or flyaways right at the part after you’re done.
8. The Final Seal: Cool Shot is Magic
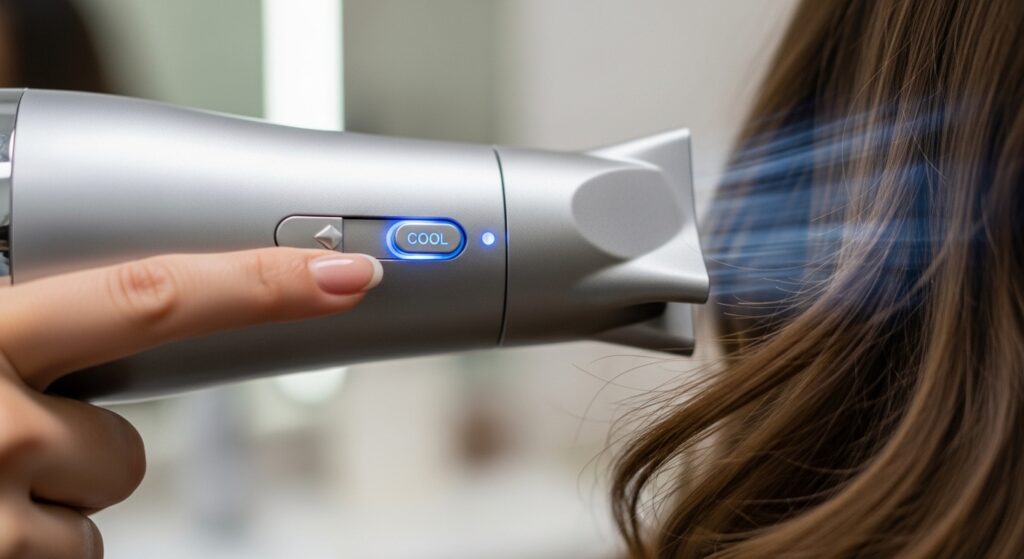
After you glide the iron down a section, don’t let it go just yet. Run the iron down the section again, but this time with the cool shot function on (or just don’t heat it). If your iron doesn’t have that, simply clamp the cooled iron on the section.
This cool shock seals the hair cuticle shut. It locks in the straight style, adds incredible shine, and helps your look last longer by fighting humidity and preventing immediate frizz.
9. The Silky Finish: A Lightweight Oil is Key
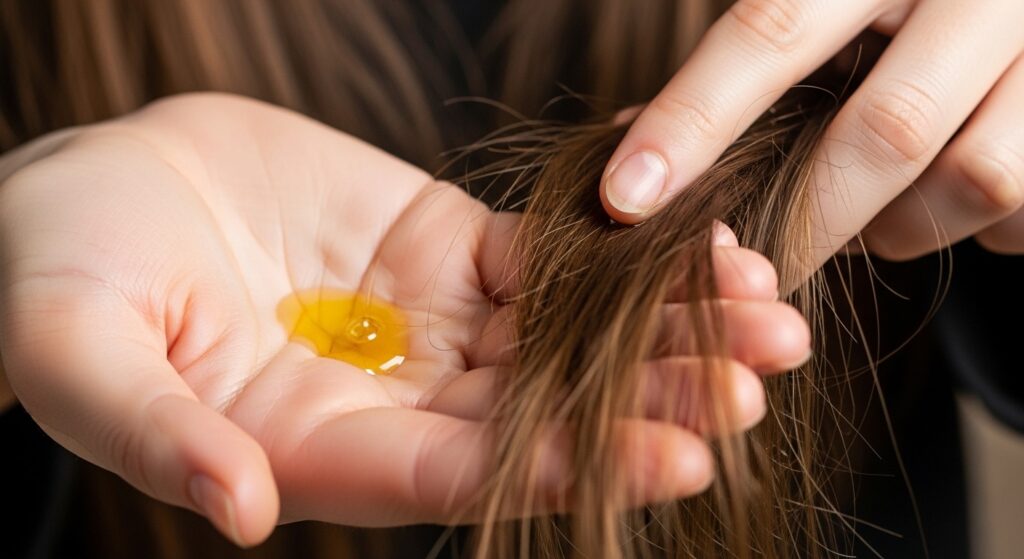
Once your whole head is done and cooled, it’s time for the finishing touch. Take one drop—literally, one drop—of a lightweight hair oil like argan or marula. Rub it between your palms and gently smooth it over your mid-lengths and ends.
This step erases any final traces of frizz, adds a gorgeous, healthy sheen, and makes your hair feel silky. Avoid the roots to prevent greasiness. This is the quiet luxury bob secret.
10. Style It Up: The Sleek Ponytail
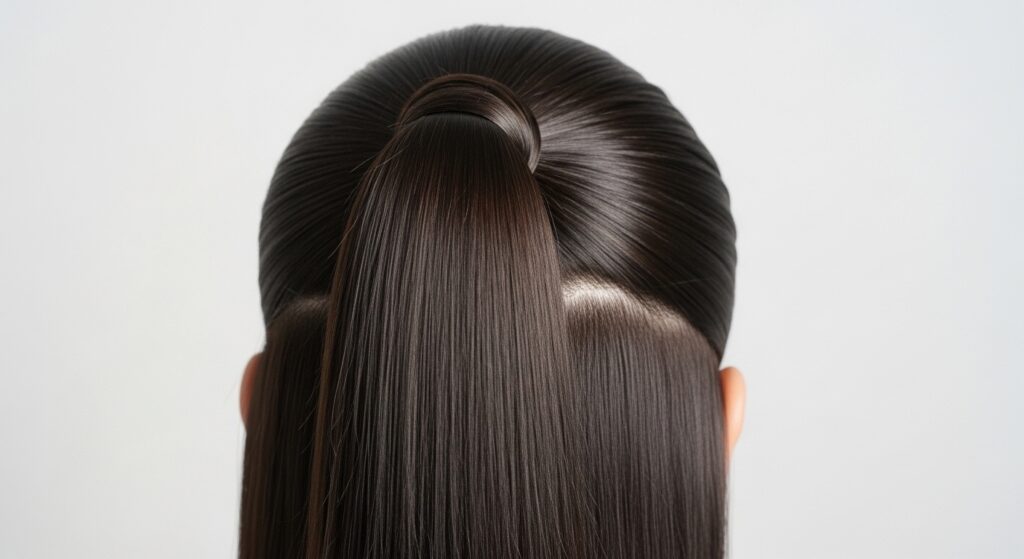
Your seamlessly blended hair is the perfect base for any sleek style. For a flawless ponytail, brush all hair back and secure with a coil-free hair tie. For no bumps, lightly wrap a section of hair around the base to hide the tie.
Spray a light-hold shine spray on a soft bristle brush and gently brush over the surface to perfect the look. This is a timeless, old money hair move that always looks polished.
11. Style It Up: Soft, Face-Framing Waves
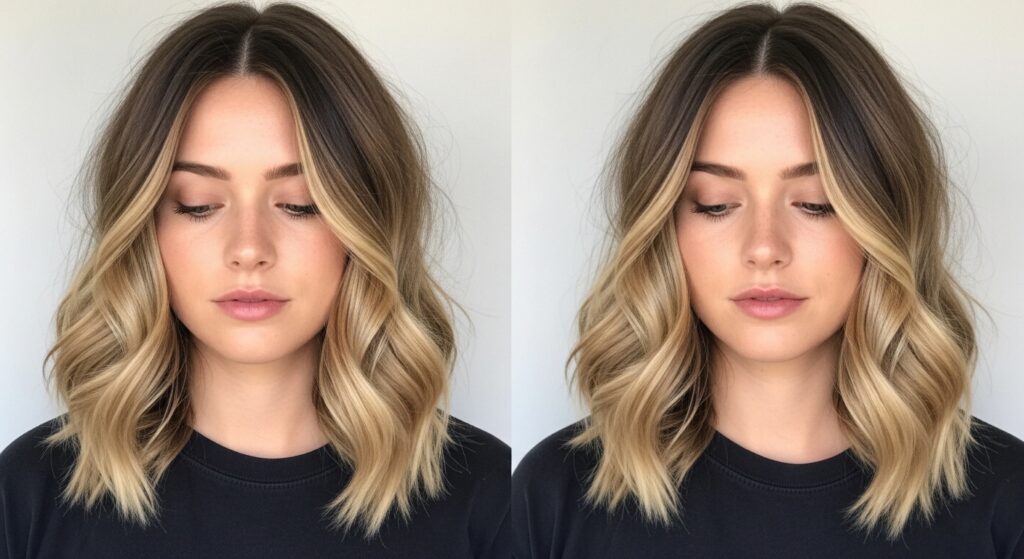
Who says straight has to be pin-straight? Add some soft, romantic movement. Take 1-2 inch sections and wrap them around a large-barrel curling iron away from your face, leaving the roots straight.
Brush through the waves with your fingers for a soft, blended, lived-in look. This adds a touch of romance to your sleek base and is perfect for those romantic goth hairstyles or just everyday softness.
12. Style It Up: The Asymmetrical Lob
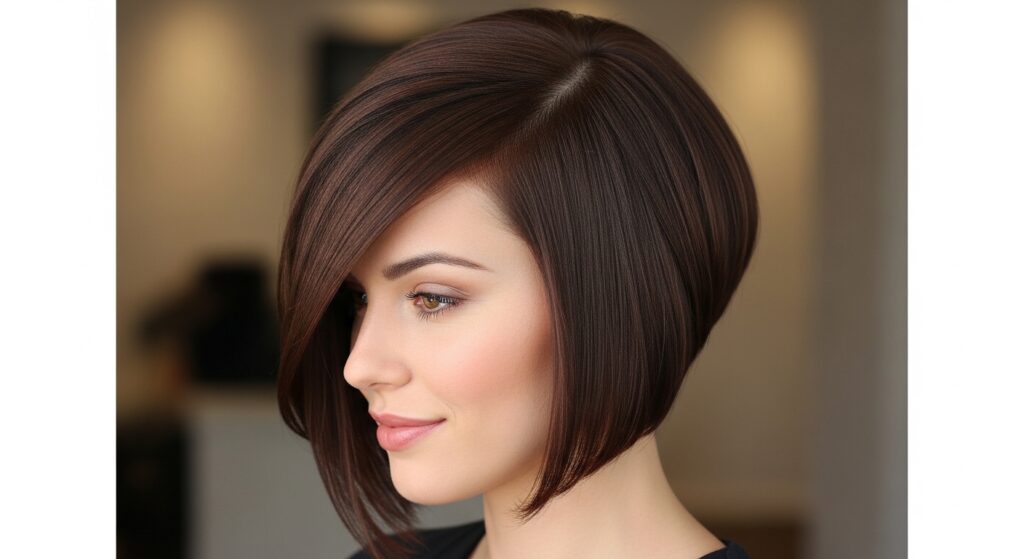
If you’re considering a cut, a straightened curly texture is amazing for an asymmetrical lob. The weight of the straightened hair shows off the sharp, angled line beautifully.
When styled straight, this cut has serious modern edge. When you wear it curly, you get a whole different, voluminous shape. It’s like having two haircuts in one, perfect for 2026 hairstyles that play with contrast.
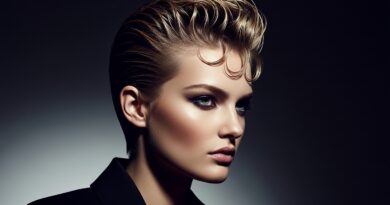
13. Style It Up: The Vampire Haircut Vibe
To channel the vampire haircut trend, your seamless straight base is essential. It’s all about extreme shine and sharp lines. Create a deep side part or a razor-sharp middle part.
Focus on making the hair look almost “wet” with shine serum or a stronger hold product. Keep the lengths blunt and heavy. This look is all about that glitchy glam hair aesthetic—polished but with a dark, undone heart.
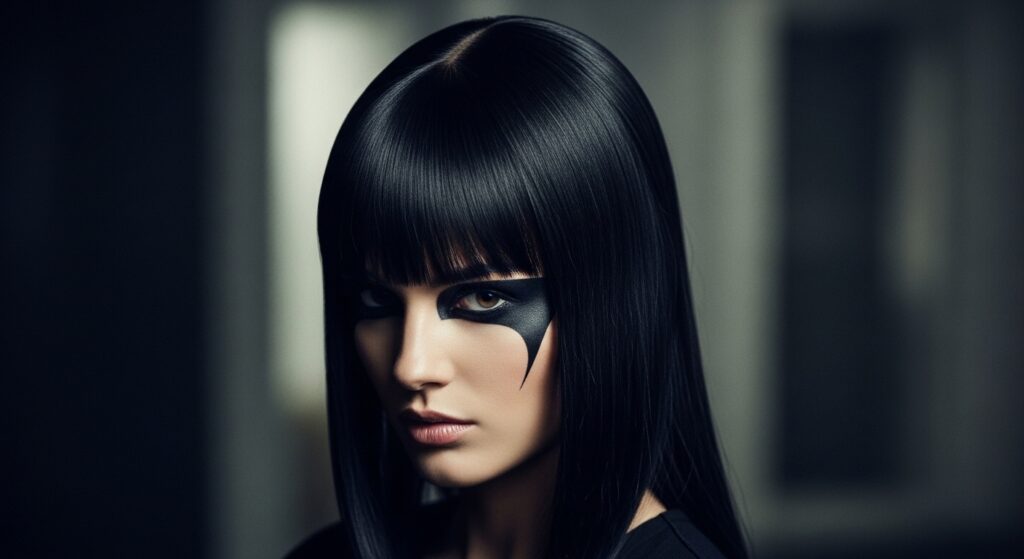
14. Style It Up: Hime Cut Inspiration

The hime cut, with its straight-across bangs and long, straight sides, requires a pin-straight canvas. Your blending work makes this iconic style possible.
Flat iron your bangs with extra care, directing them straight down. The contrast of the severe bangs against the long, sleek lengths is a stunning statement. It’s a beautiful way to play with geometric shapes.
15. The Next-Day Refresh: No Heat Needed
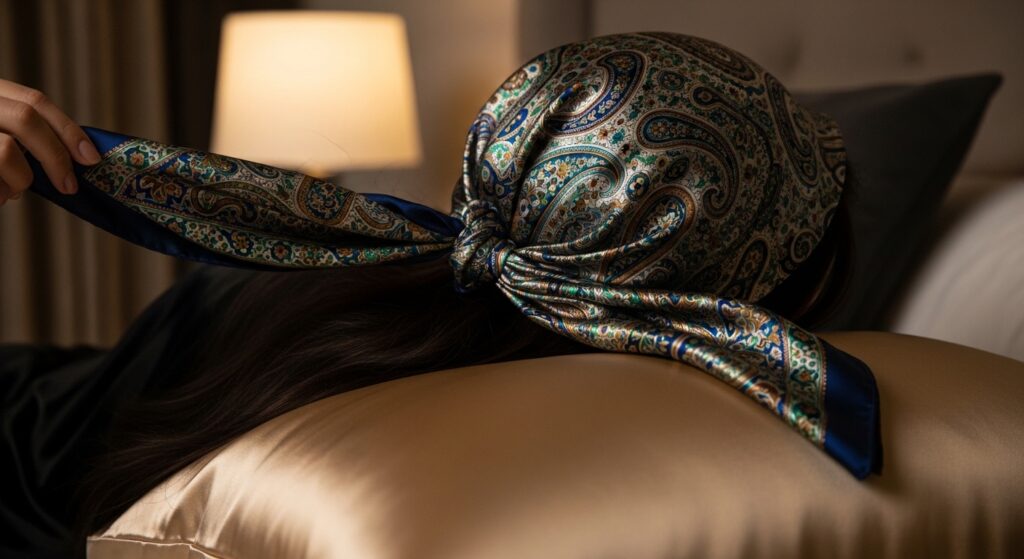
To make your style last, sleep on a silk or satin pillowcase. Even better, loosely wrap your hair in a silk scarf or put it in a very loose, high silk scrunchie bun on top of your head.
This prevents friction that causes frizz and kinks. In the morning, you might just need to hit the roots with a cool blow-dryer for 30 seconds and run a smoothing serum over the ends. Good as new.
16. Fighting Humidity: The Anti-Frizz Serum
Humidity is the arch-nemesis of straightened curls. A strong anti-frizz serum or cream is your shield. After straightening and before the oil, take a tiny amount and glaze it over your hair.
Pay special attention to the hairline and crown. These products form a protective layer that repels moisture in the air, keeping your sleek look intact even on muggy days.
17. The Midweek Save: Dry Shampoo for Texture
By day two or three, your roots might get a bit soft. This is where dry shampoo becomes your best friend. It absorbs oil and adds a bit of grit and texture at the roots.
This texture actually helps your hair hold its straight style better. Spray it at the roots, let it sit for two minutes, then brush through. It refreshes volume and buys you another day of wear.
18. The Wash Day Reset: Clarify Gently
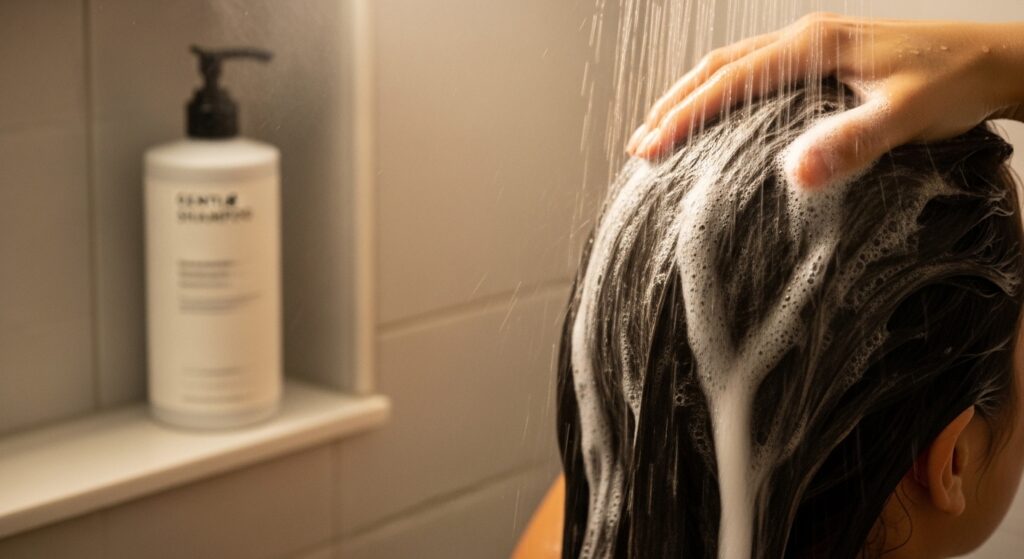
After a week of styling products, your curls need a clean slate. Use a gentle clarifying shampoo on your next wash day. This removes all product buildup, including heat protectant and serum, from your hair and scalp.
Follow it immediately with your most hydrating deep conditioner. This reset allows your curls to spring back to life fully hydrated and free of residue, ready for their next curly cycle or straight style.
19. Listen to Your Hair: Take Breaks
The most important hack of all: give your hair a break. I aim for a straight style to last 4-7 days, then I wash and wear my curls naturally for at least a week. This cycle prevents heat damage over time.
Your hair will tell you when it’s tired. If it feels straw-like, won’t hold curl, or looks dull, it’s time for a long, product-free, heat-free rest. Healthy hair is the ultimate goal, no matter the style.
20. Your Quick-Start Checklist
Let’s simplify. Here’s your go-to list every time you straighten:
- Wash & deeply condition.
- Apply leave-in and heat protectant.
- Blow-dry with tension until 80% dry.
- Flat iron in small sections, one slow pass.
- Use cool shot to seal each section.
- Finish with one drop of oil.
Stick to this, and you’ll get a flawless, blended result every single time. It’s your formula for success.
And there you have it, my complete playbook. It might seem like a lot of steps at first, but once you get the routine down, it becomes second nature. The goal isn’t to fight your curls, but to give them a gorgeous, temporary vacation in a straight style.
Remember, the health of your curls comes first. When you prep, protect, and style with care, you get the best of both worlds: amazing curls and stunning, seamless straight hair whenever you want it. That’s true hair freedom.