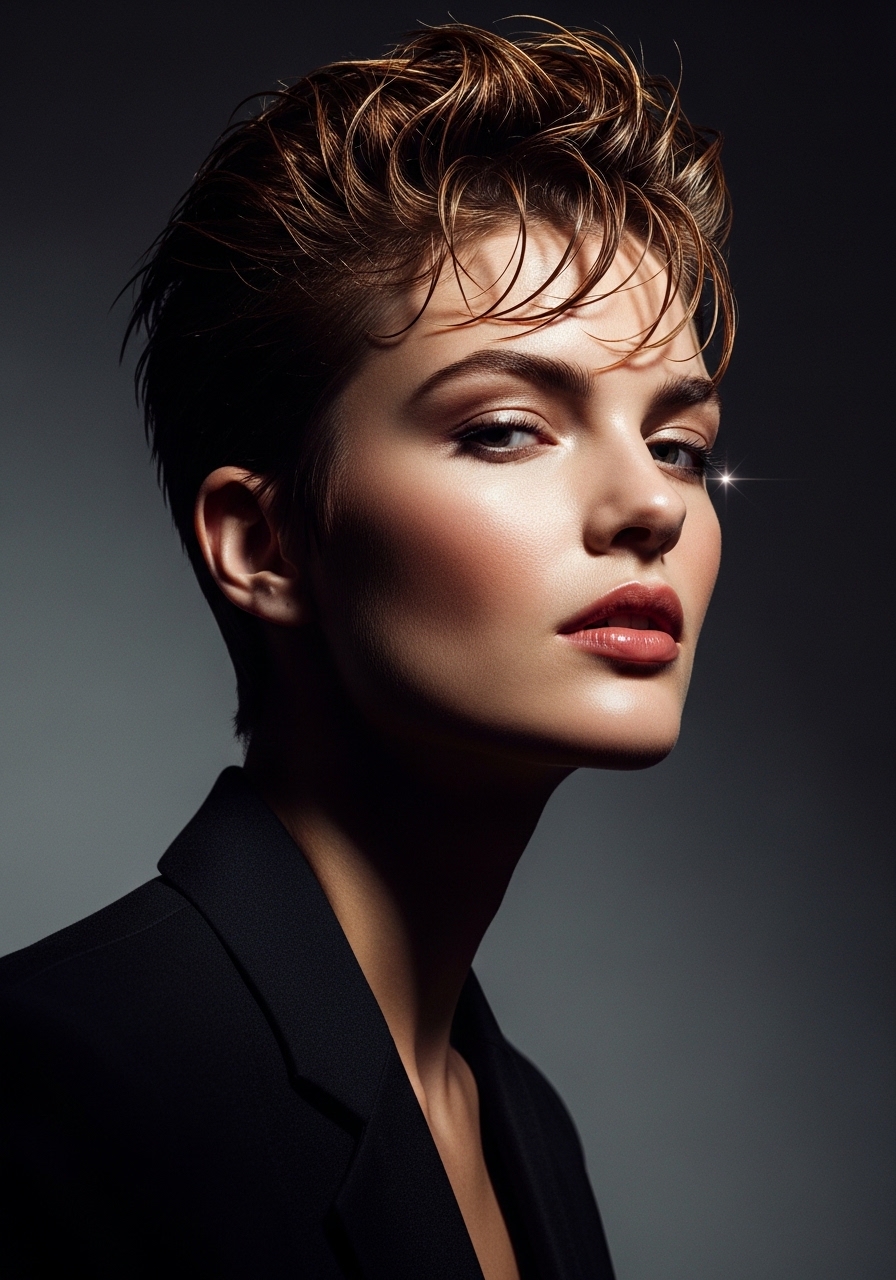
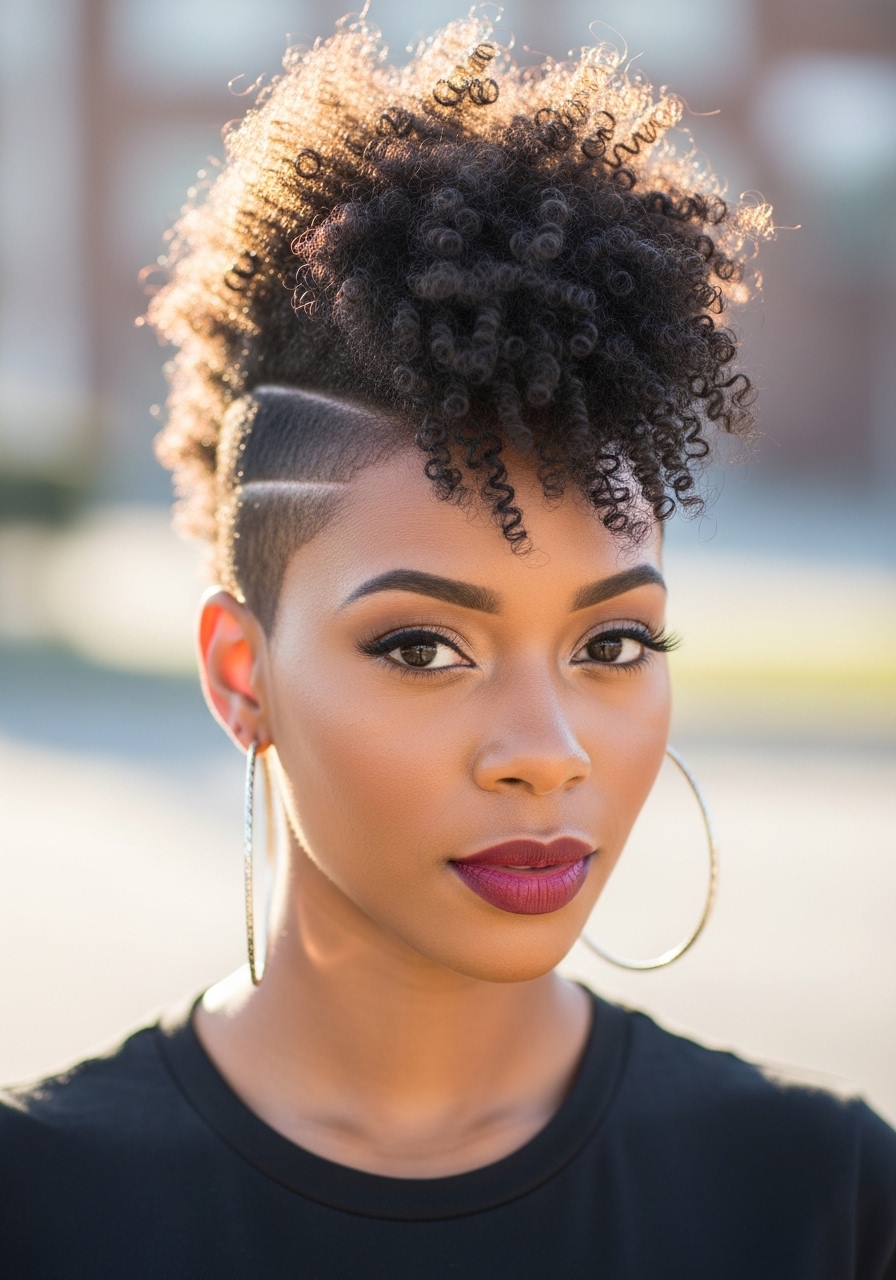
50 Easy pixie Ideas for textured Hair You Can Do at Home
Thinking about a pixie cut but worried your gorgeous curls, coils, or waves won’t cooperate? Think again. A pixie cut on textured hair isn’t just a haircut; it’s a statement. It’s a celebration of volume, shape, and the unique personality of your natural hair. It’s bold, it’s beautiful, and it screams confidence.
But the real magic happens when you realize how versatile and low-maintenance a textured pixie can be. You don’t need a salon appointment every week to keep it looking fresh. With a few simple techniques and the right products, you can create a stunning array of looks right from your bathroom. This guide is your ultimate resource for unlocking the potential of your short, textured hair. Get ready to discover 13 easy pixie ideas you can master at home.
Why a Pixie Cut is a Game-Changer for Textured Hair
If you’ve ever fought a daily battle with detangling, length management, or just the sheer volume of your hair, a pixie cut can feel like liberation. Textured hair, with its natural volume and bounce, is the perfect candidate for a short crop. The curls and coils naturally create shape and dimension that can be harder to achieve on straighter hair types. A pixie cut allows your hair’s natural texture to be the star of the show, reducing styling time and product use while maximizing impact. It’s a cut that works with your hair, not against it.
Prep Work: Setting the Stage for a Perfect Pixie
Before we dive into the styles, let’s talk foundation. The key to any great hairstyle is healthy, well-prepared hair. For textured pixies, this is non-negotiable.
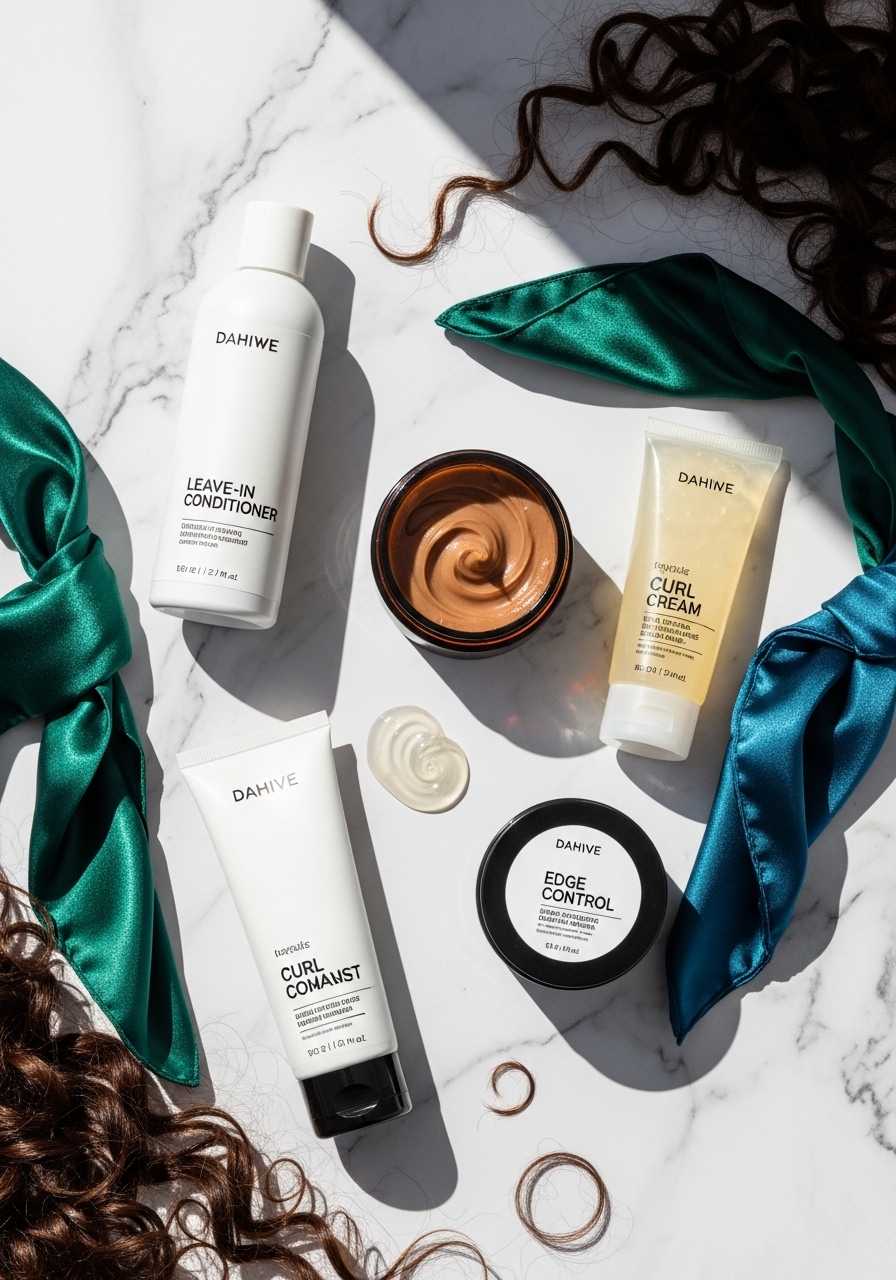
Essential Products for Your Toolkit
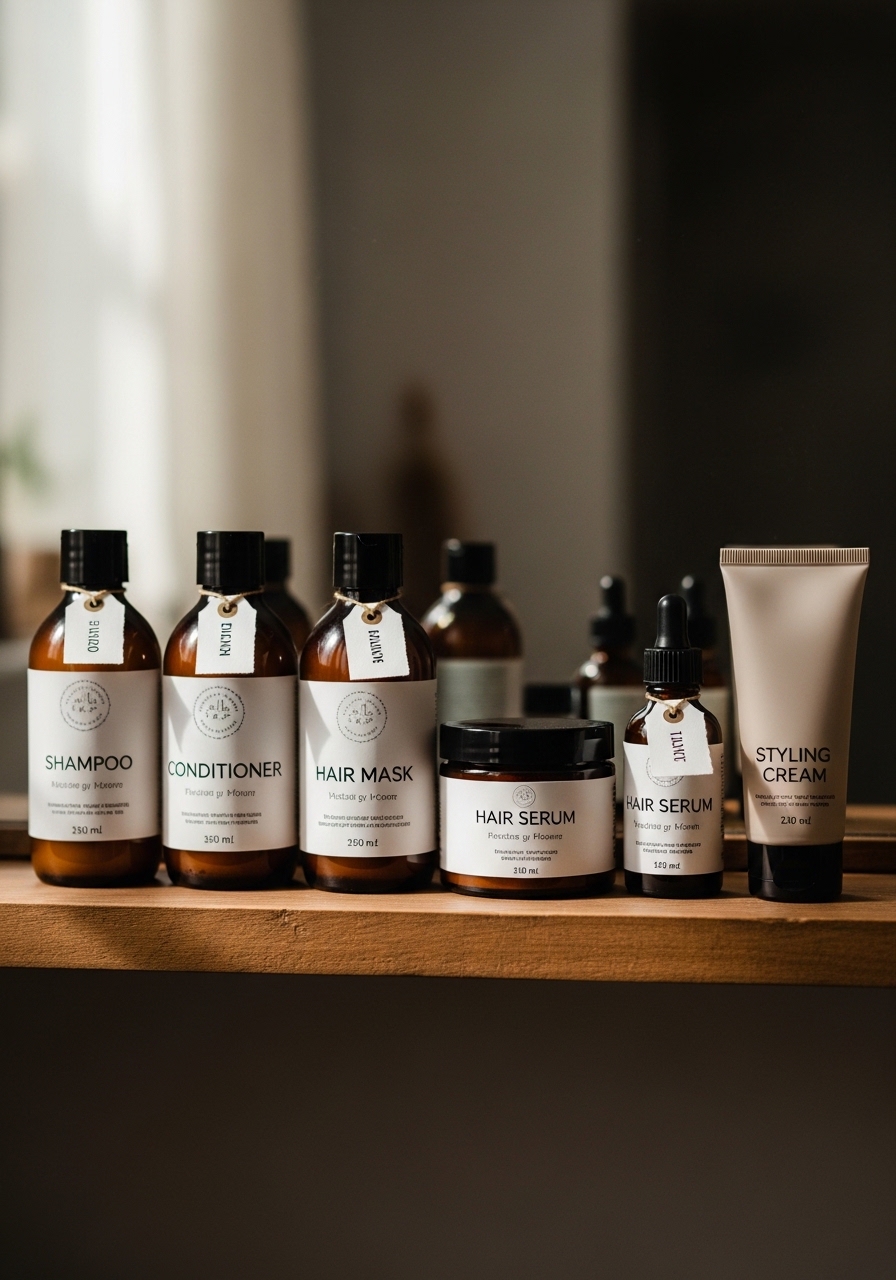
- Leave-In Conditioner: Your best friend for hydration and curl definition.
- Curl Cream or Defining Cream: This will help clump your curls and reduce frizz.
- Lightweight Gel or Mousse: Essential for hold and shape, especially for slicked-back or defined looks.
- Edge Control: For sharp, sleek edges to polish any style.
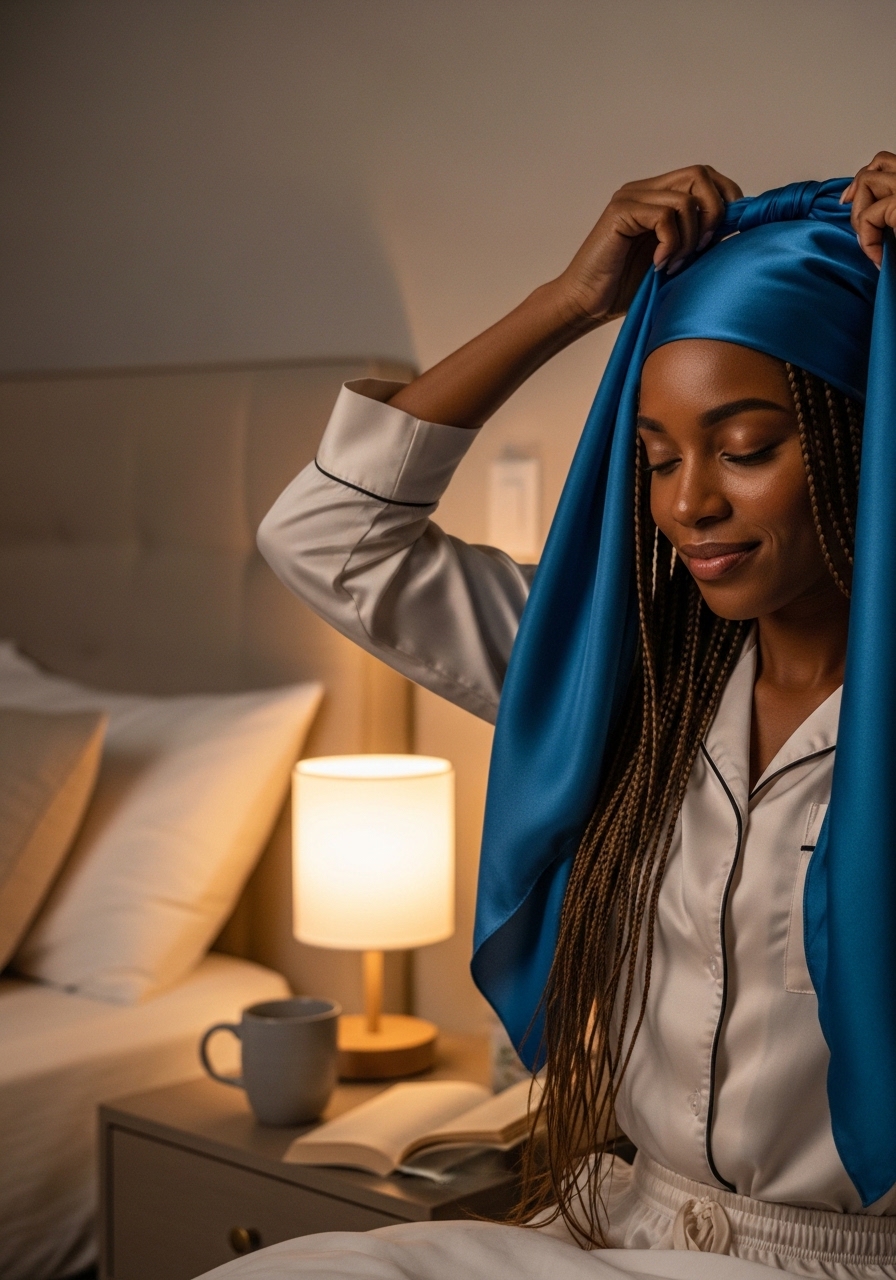
- Satin or Silk Scarf/Bonnet: Protect your style overnight to minimize frizz and preserve definition.
The 13 Easy At-Home Textured Pixie Styles
Now for the main event! Here are 13 simple yet stunning ways to style your textured pixie cut — plus 37 more expert tips to keep your look fresh every single day.
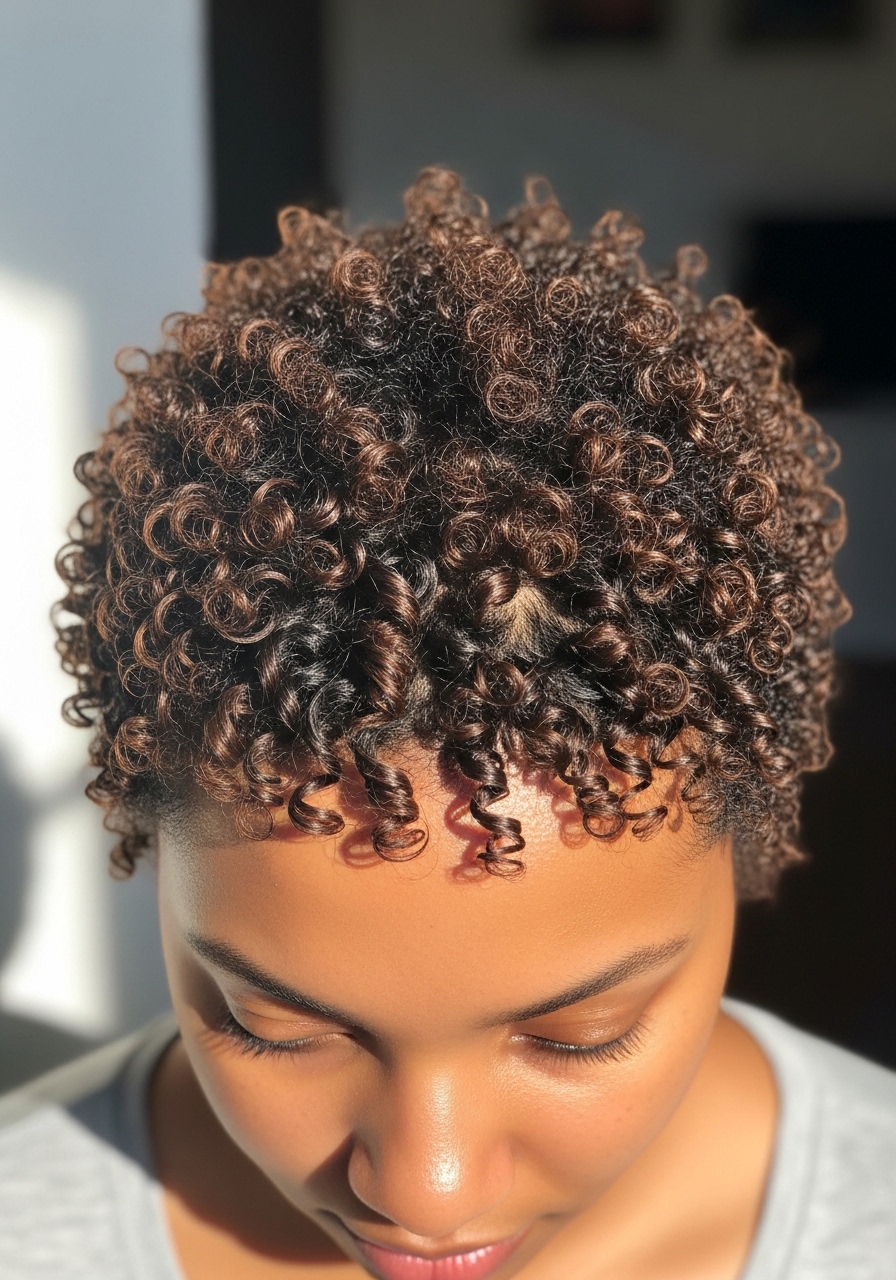
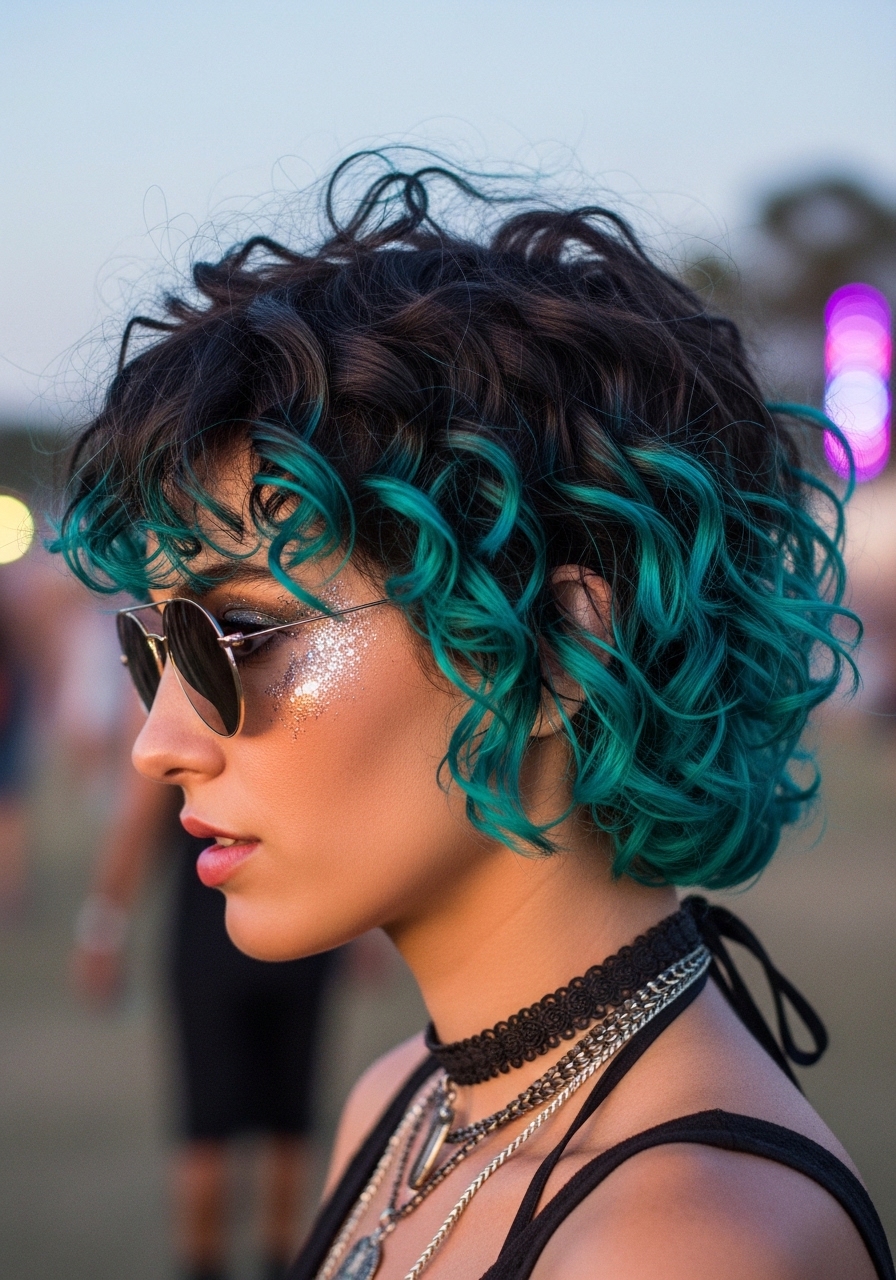
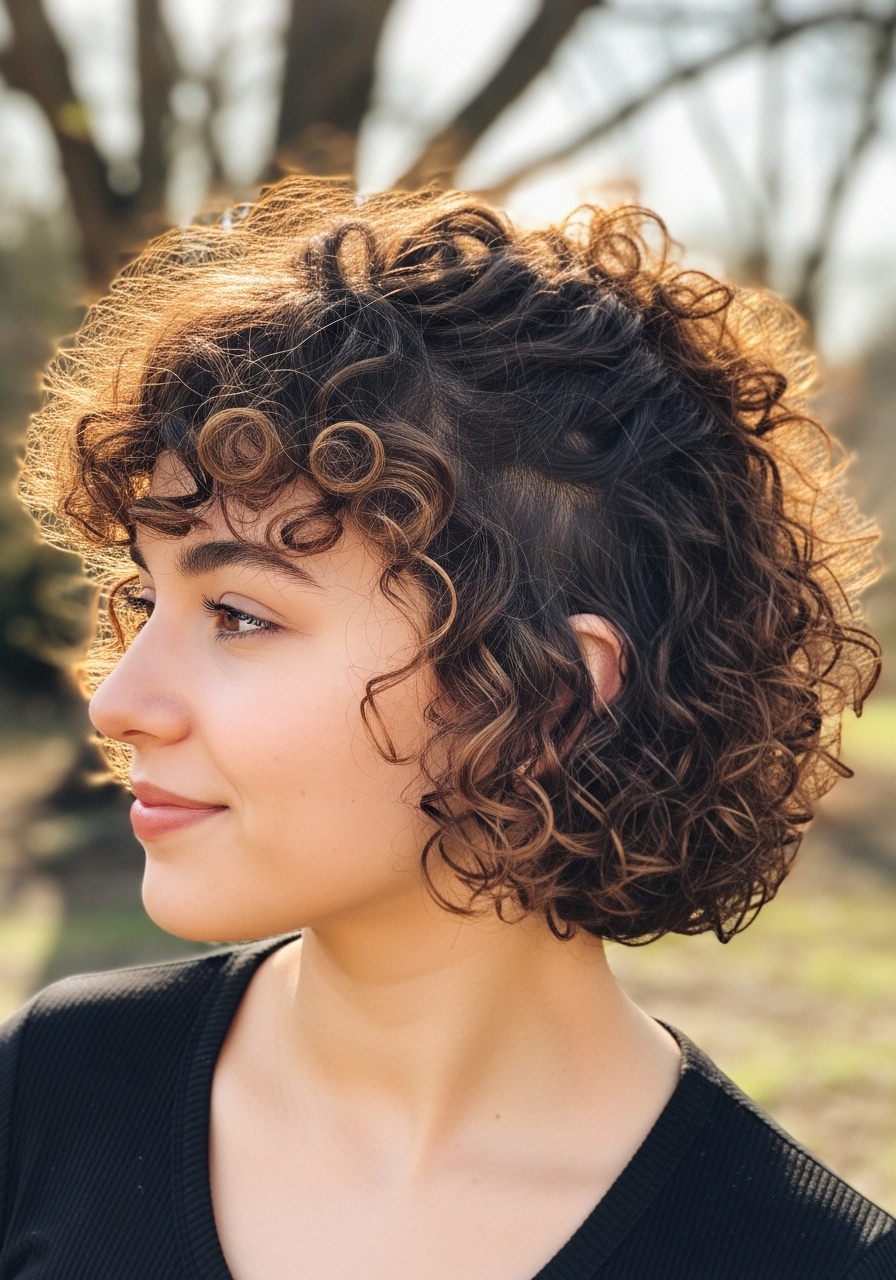
1. The Wash-and-Go Wonder
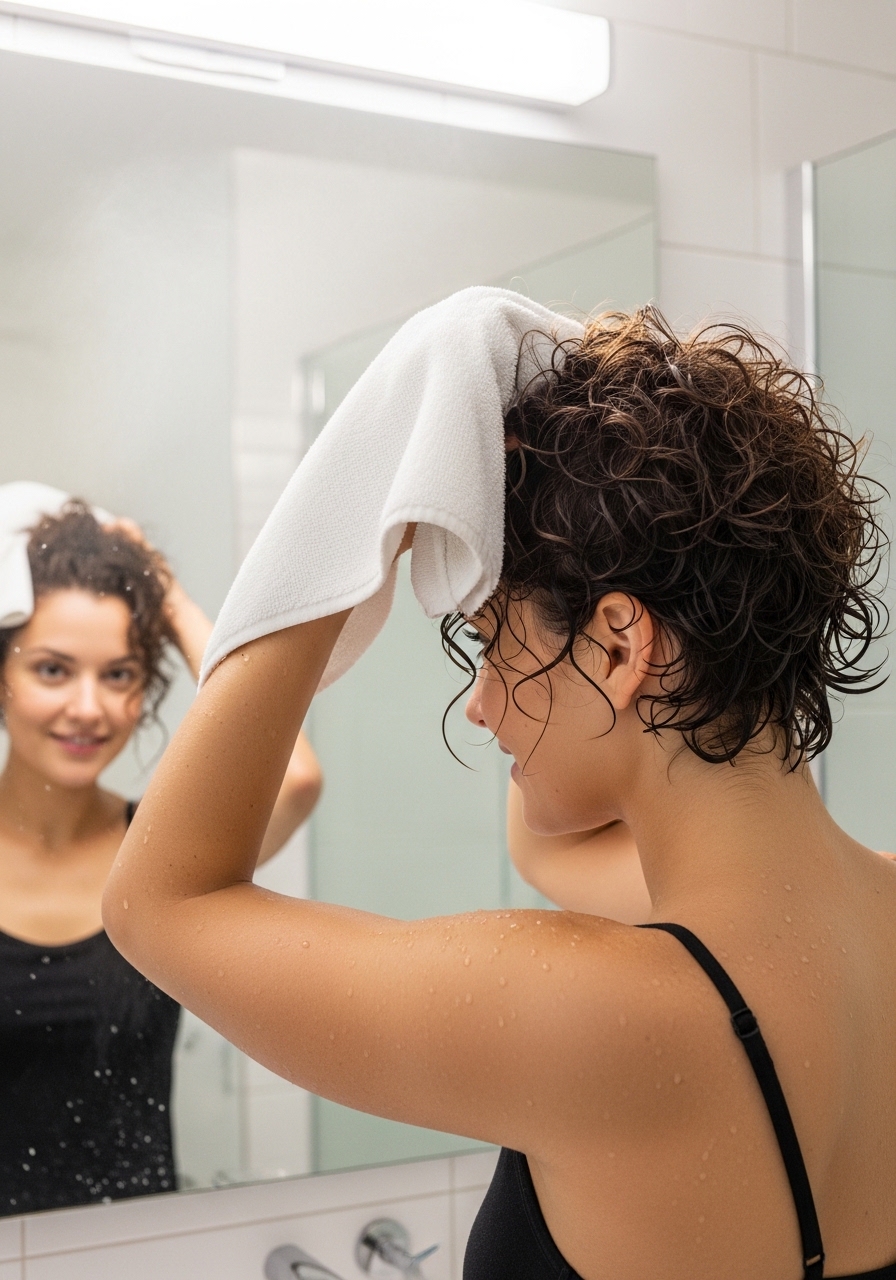
This is the ultimate low-effort, high-reward style. After washing your hair, apply your leave-in conditioner and a generous amount of curl defining cream. Scrunch your hair gently with your hands to encourage your natural curl pattern. Then, simply let it air dry! Avoid touching it too much as it dries to prevent frizz. The result is a soft, touchable, and perfectly imperfect halo of curls.
2. The Defined & Sculpted Curl
Take your wash-and-go to the next level. After applying your cream, take a small amount of gel, rub it between your palms, and gently glaze it over your curls. You can even use your fingers to twist a few front pieces for extra definition. This method enhances each curl, giving you a more polished and intentional look that lasts for days.
3. The Tousled & Textured Look
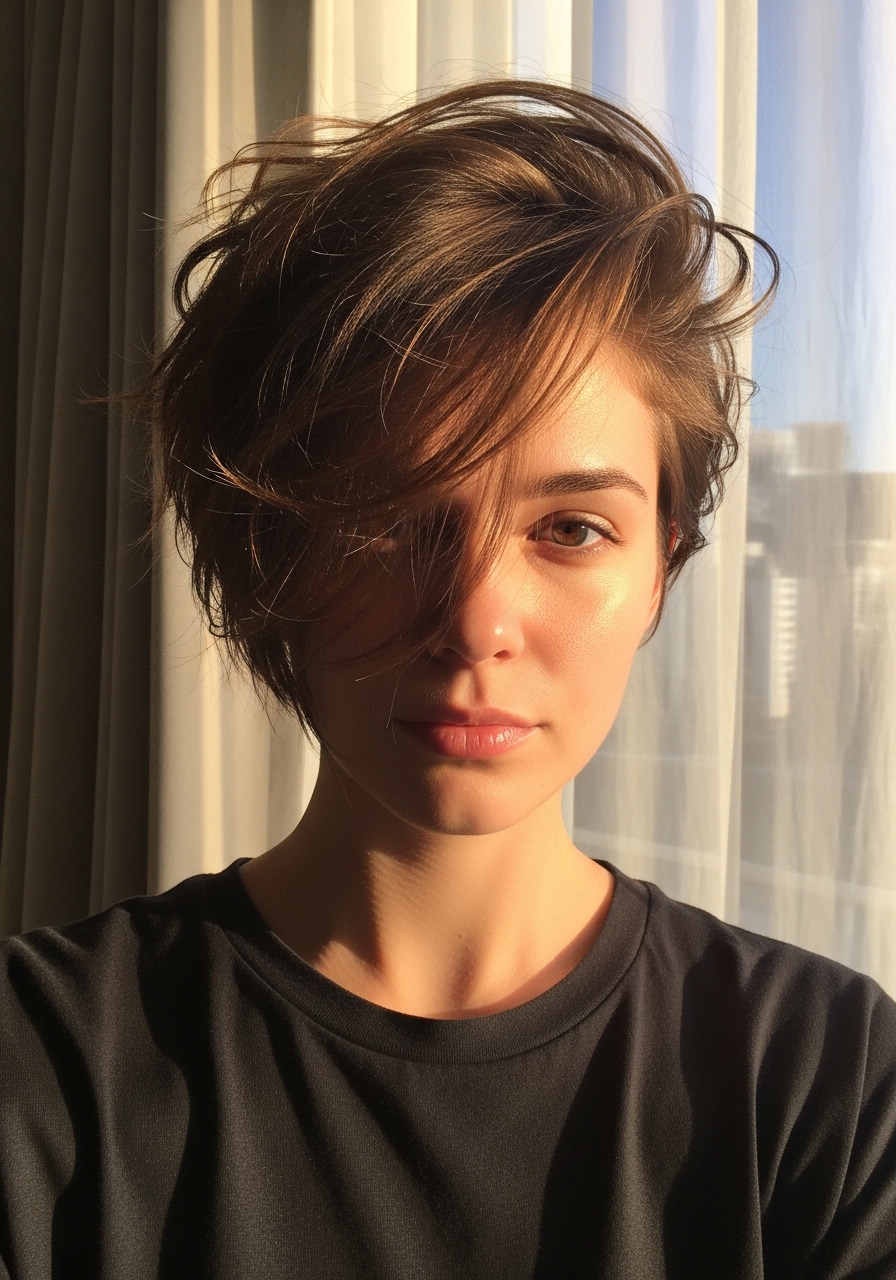
For a sexy, bedhead vibe, this is your go-to. Once your hair is completely dry, rub a tiny bit of pomade or wax between your fingertips. Gently rake your fingers through your hair, focusing on the ends to break up the curl clumps slightly. Pull a few pieces forward around your face. The goal is effortless, piece-y texture.
4. The Slicked-Back Edge Show
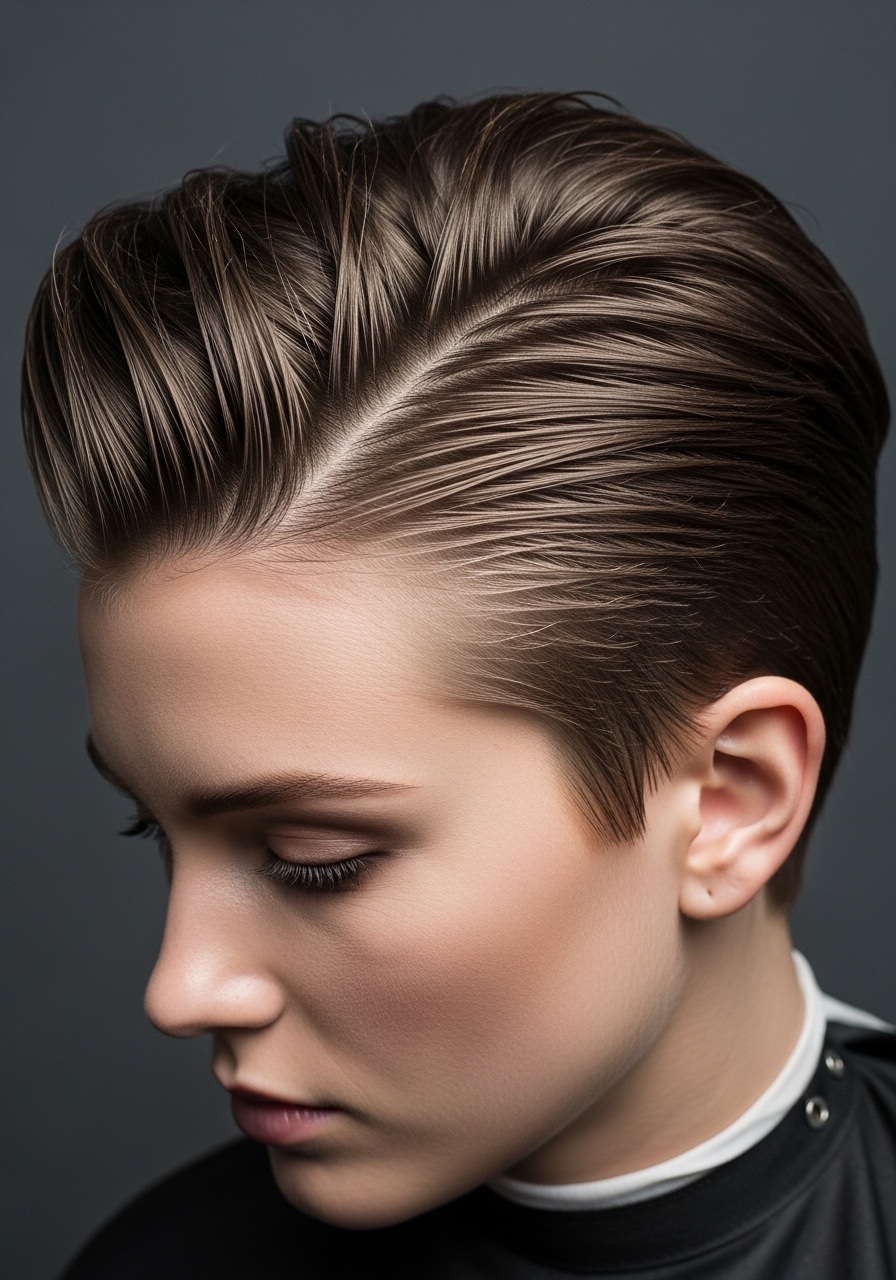
This style is all about the drama. Apply a strong-hold gel or edge control to your edges and the front section of your hair. Use a soft-bristle brush (or a toothbrush for precision) to smooth your hair back from your forehead. You can leave the rest of your hair in its natural state for a beautiful contrast between sleek and wild.
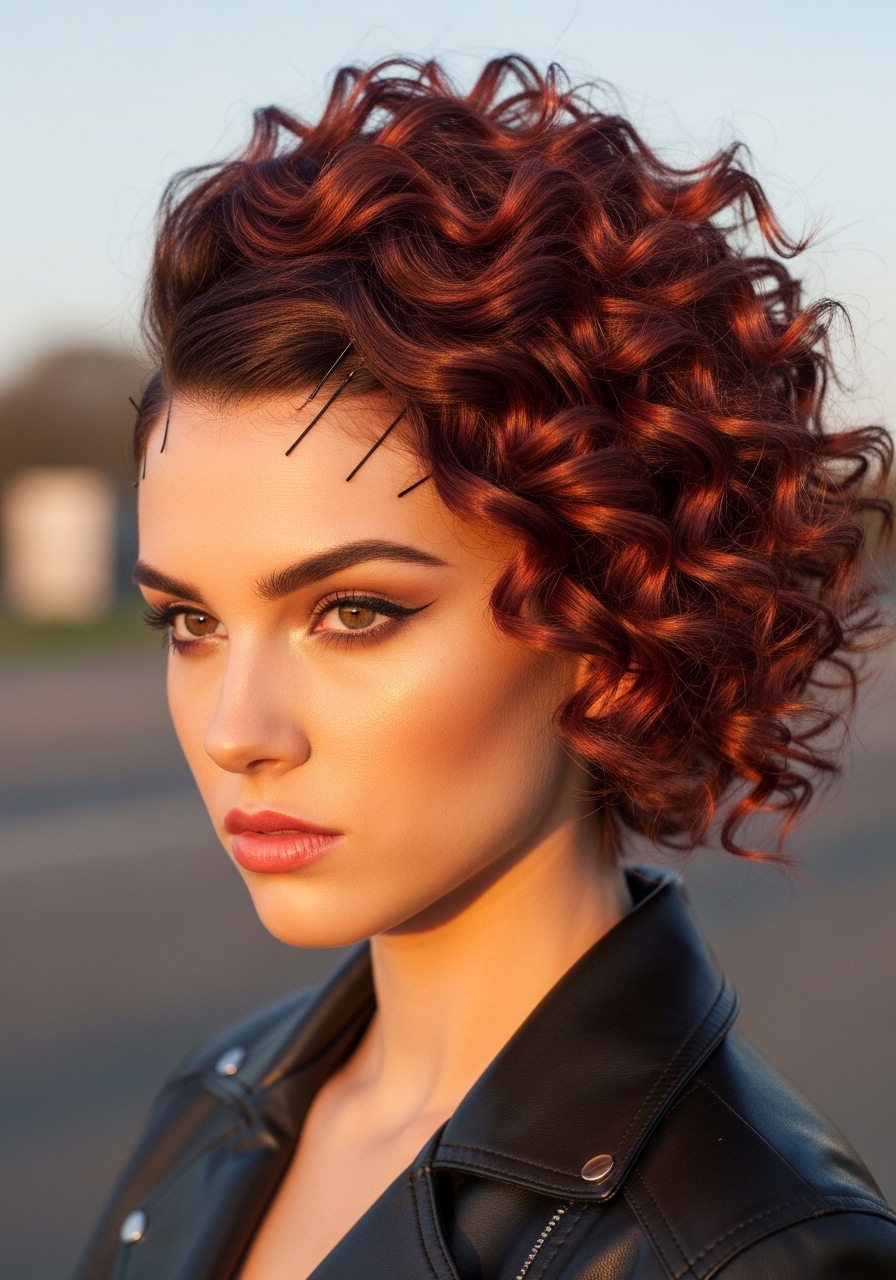
5. The Pinned-Back Pixie
Add a touch of glamour in seconds. After styling your hair, take a decorative pin or two and sweep a section of hair from the front to the side, securing it in place. This works beautifully to keep hair out of your face and adds an instant feminine and chic element to your look.
6. The Faux Hawk Moment
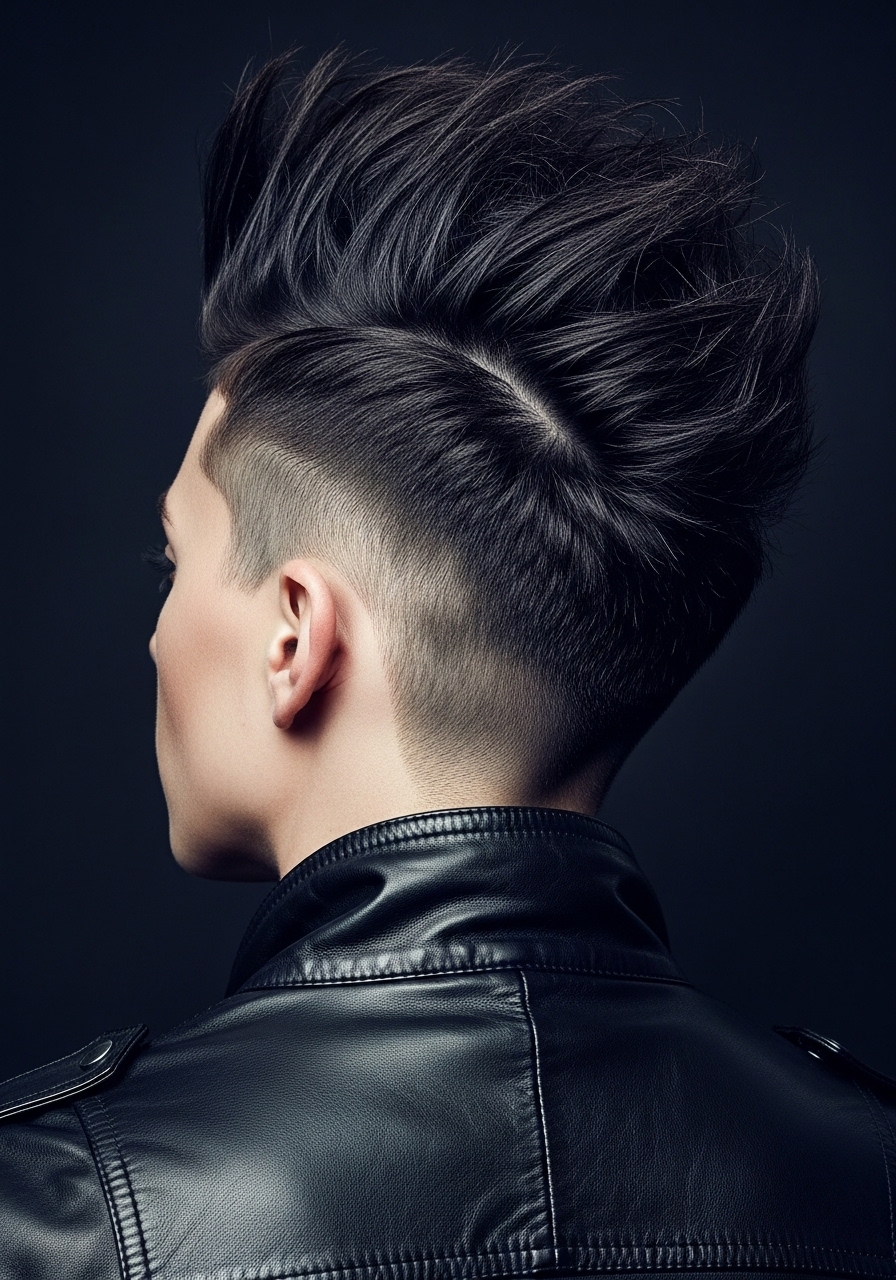
Feel like a rockstar for a day. Create a section of hair from the front to the back of your head, about two inches wide. Apply gel to this section and use your fingers to pull the hair upward, creating a raised ridge. You can secure the sides down with gel for a more dramatic look or leave them loose for a softer interpretation.
7. The Headband Hero
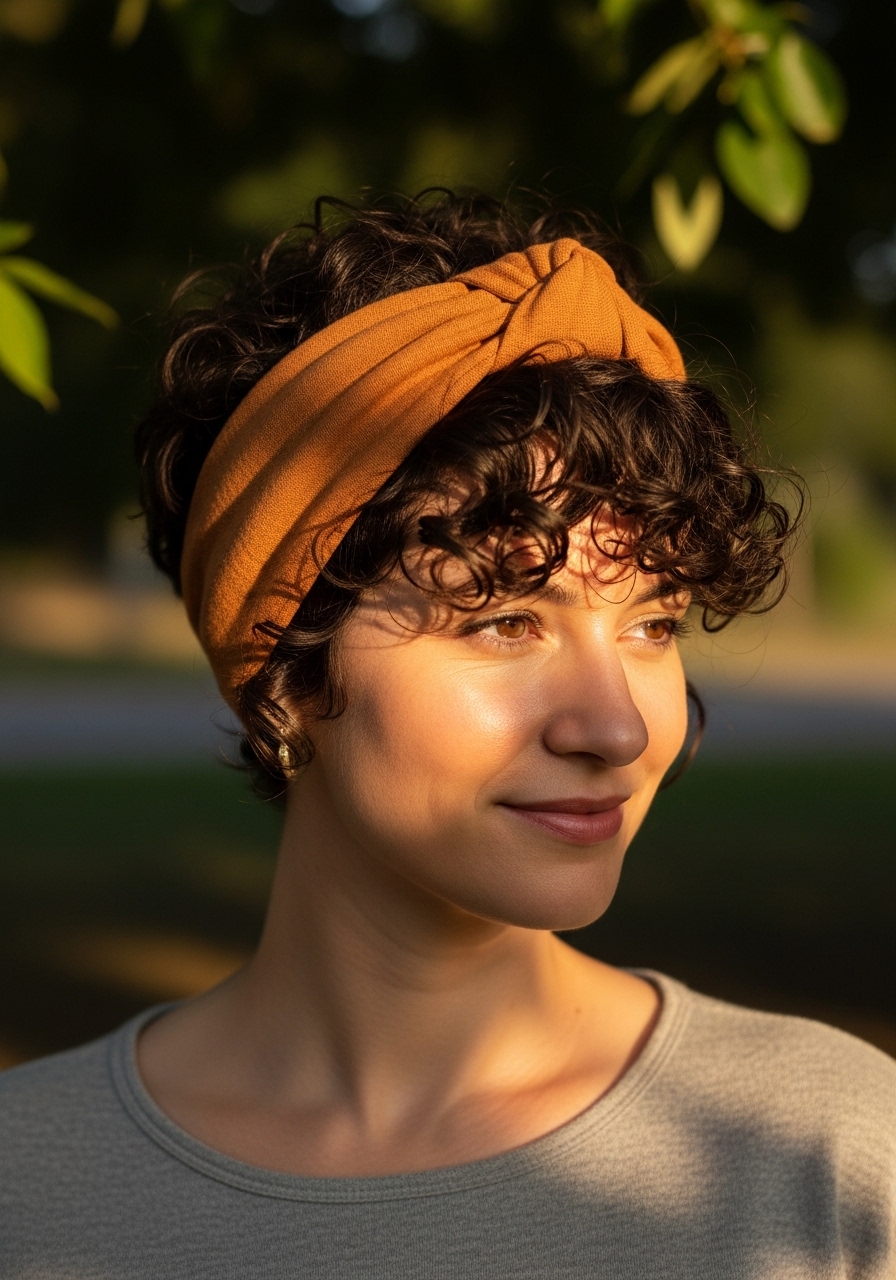
Perhaps the easiest style of all. Slip on a stylish headband—whether it’s fabric, twisted, or beaded—over your hair. You can push it right to your hairline or wear it slightly back to allow your curls to pop out in the front. It’s a perfect solution for second or third-day hair.
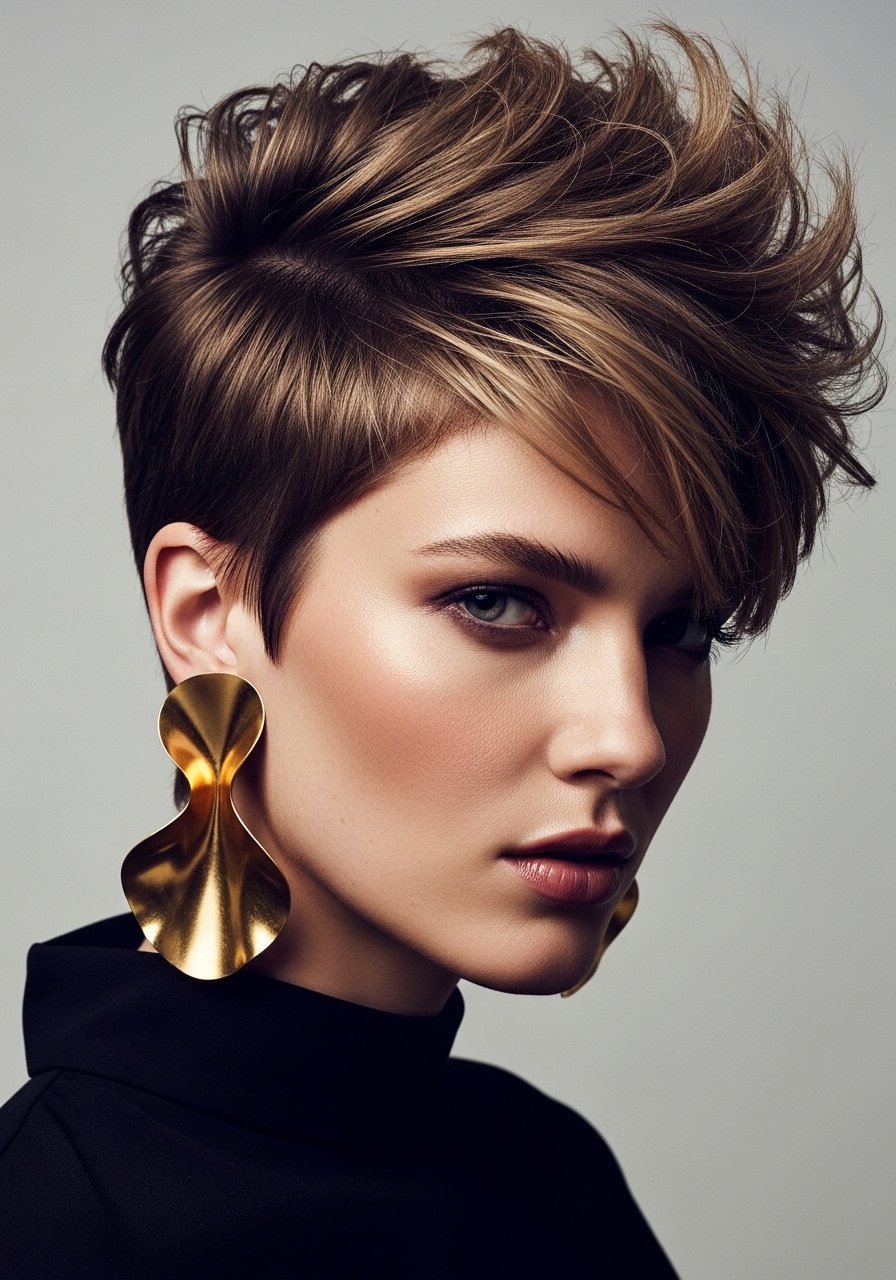
8. The Side-Swept Stunner
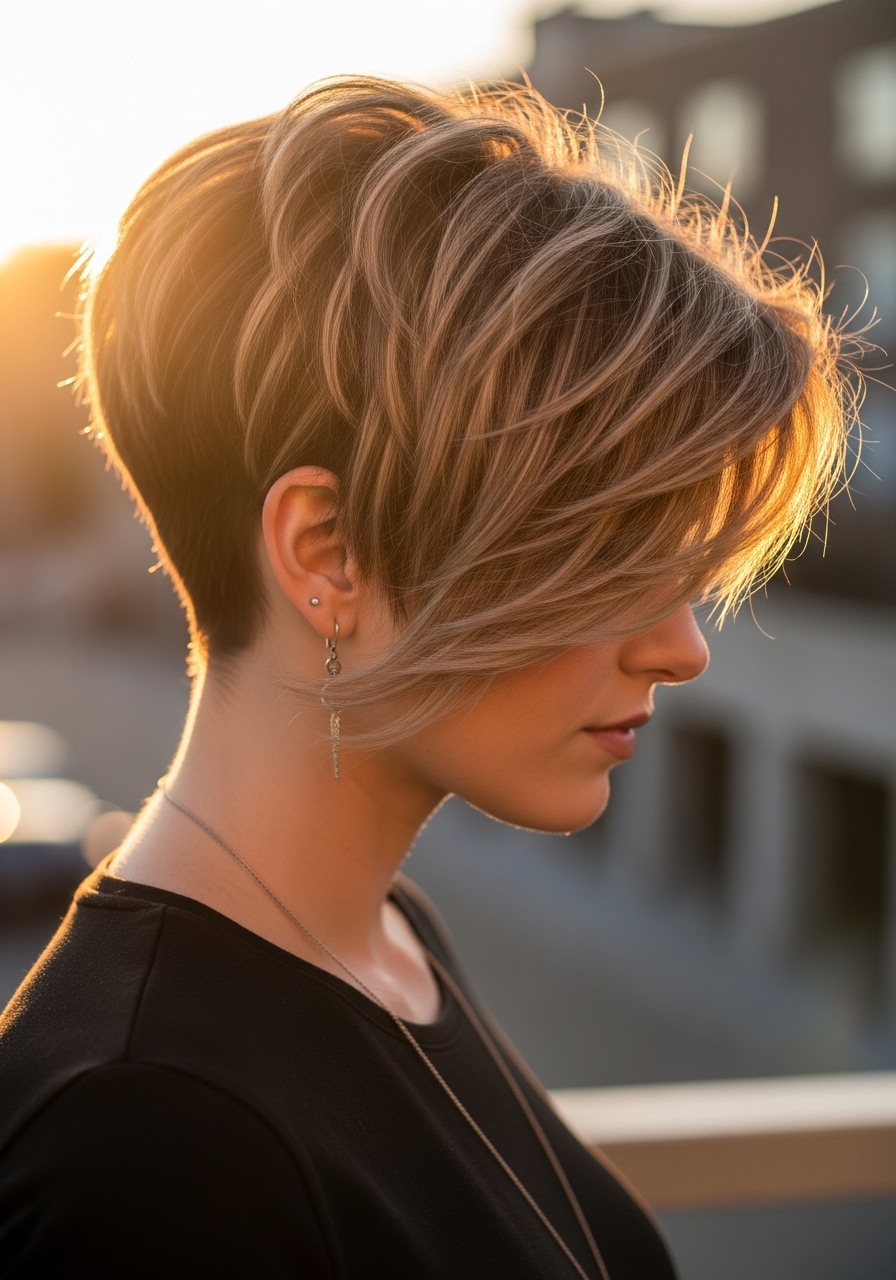
Create instant elegance. Using a comb or your fingers, direct the majority of your hair to one side. You can use a bit of pomade to help the hair stay in place. This style creates beautiful asymmetry and highlights your facial features. Let the curls on the heavier side cascade freely.
9. The Half-Up, Half-Down Puff
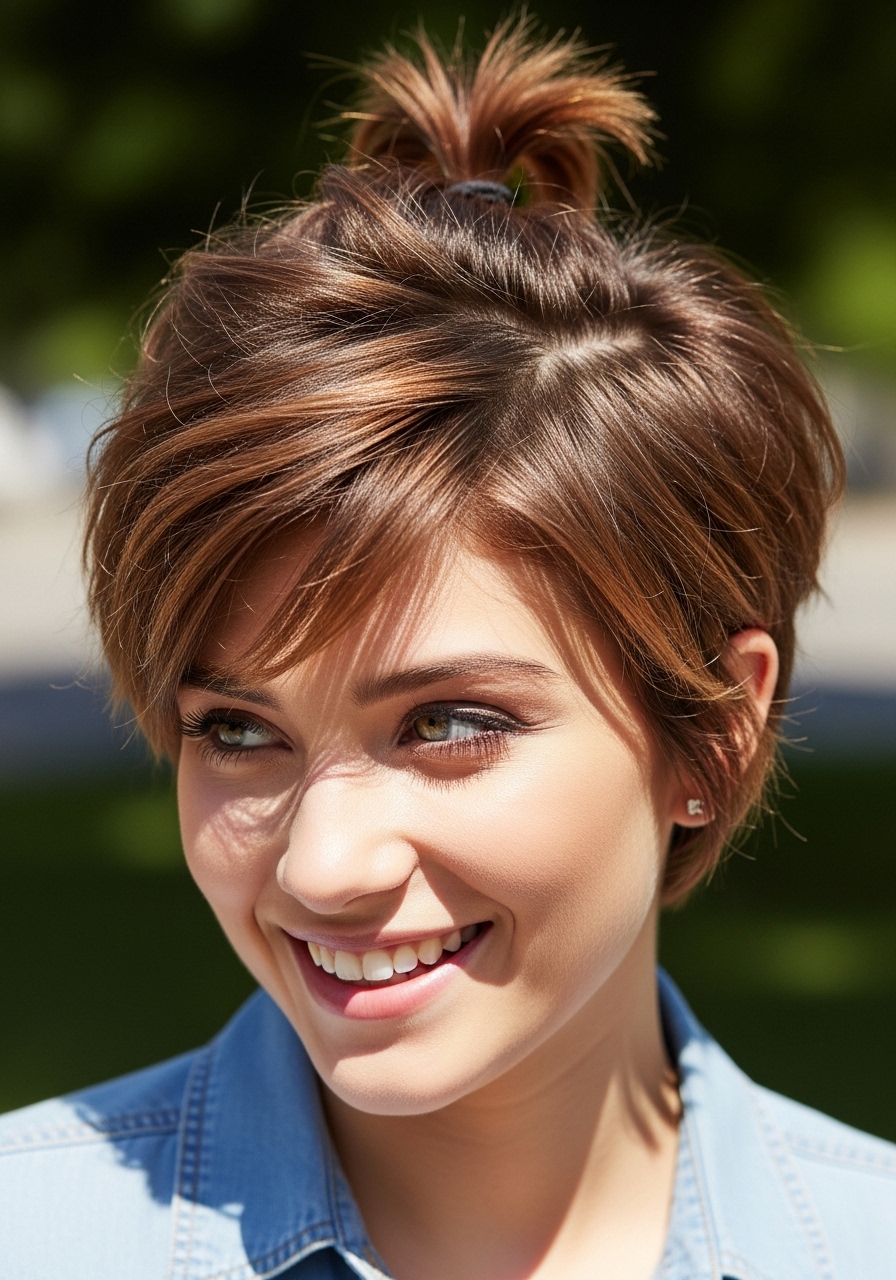
Yes, you can still get a puff with a pixie! Gather the topmost section of your hair, as if you were making a tiny ponytail on the crown of your head. Secure it loosely with a small coil-friendly hair tie. Gently pull the puff forward to create a little more height and volume. It’s adorable and playful.
10. The Accessorized Crown
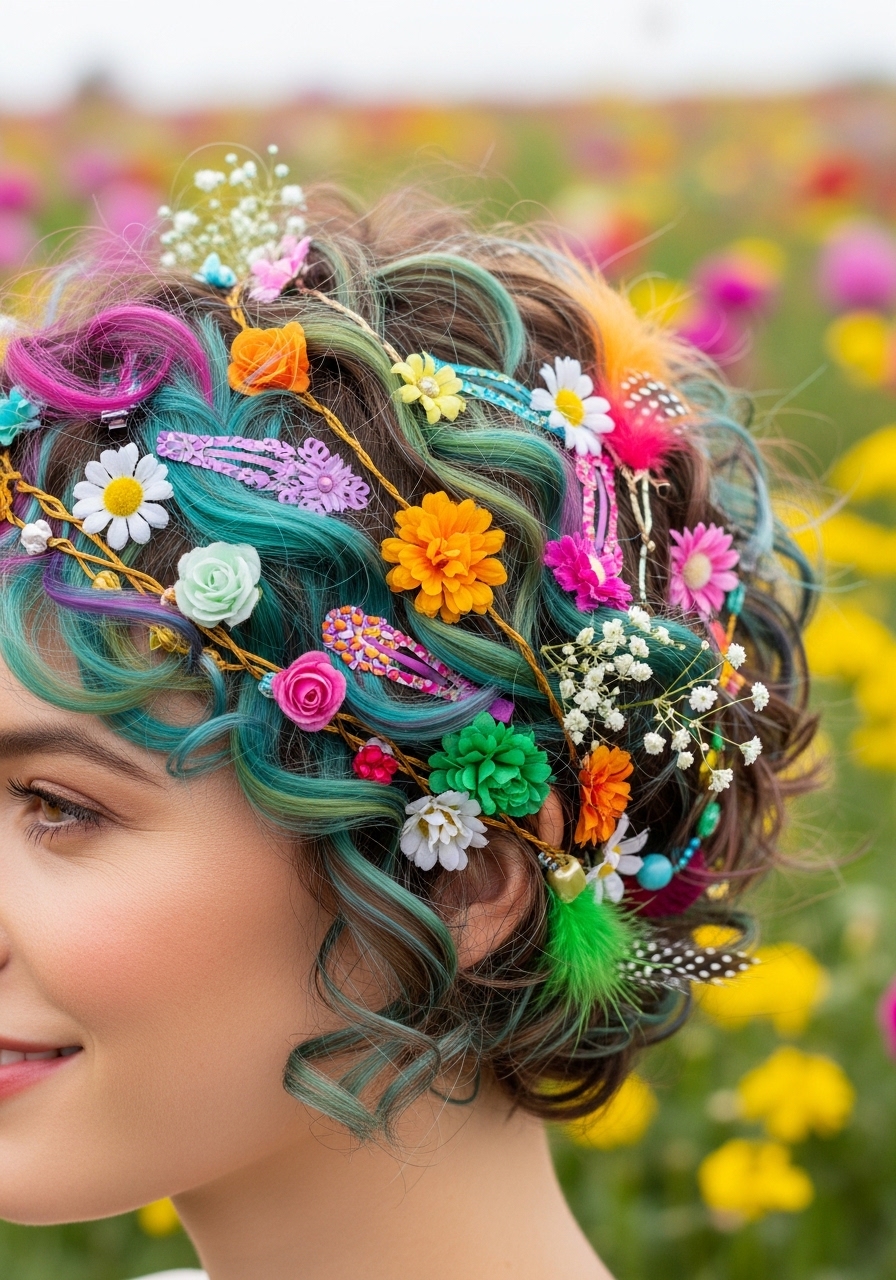
Don’t underestimate the power of accessories. We’re not just talking headbands. Think about colorful scarves tied as a headwrap, pretty hair vines woven through your curls, or even statement clips. An accessory can completely transform your look in under a minute.
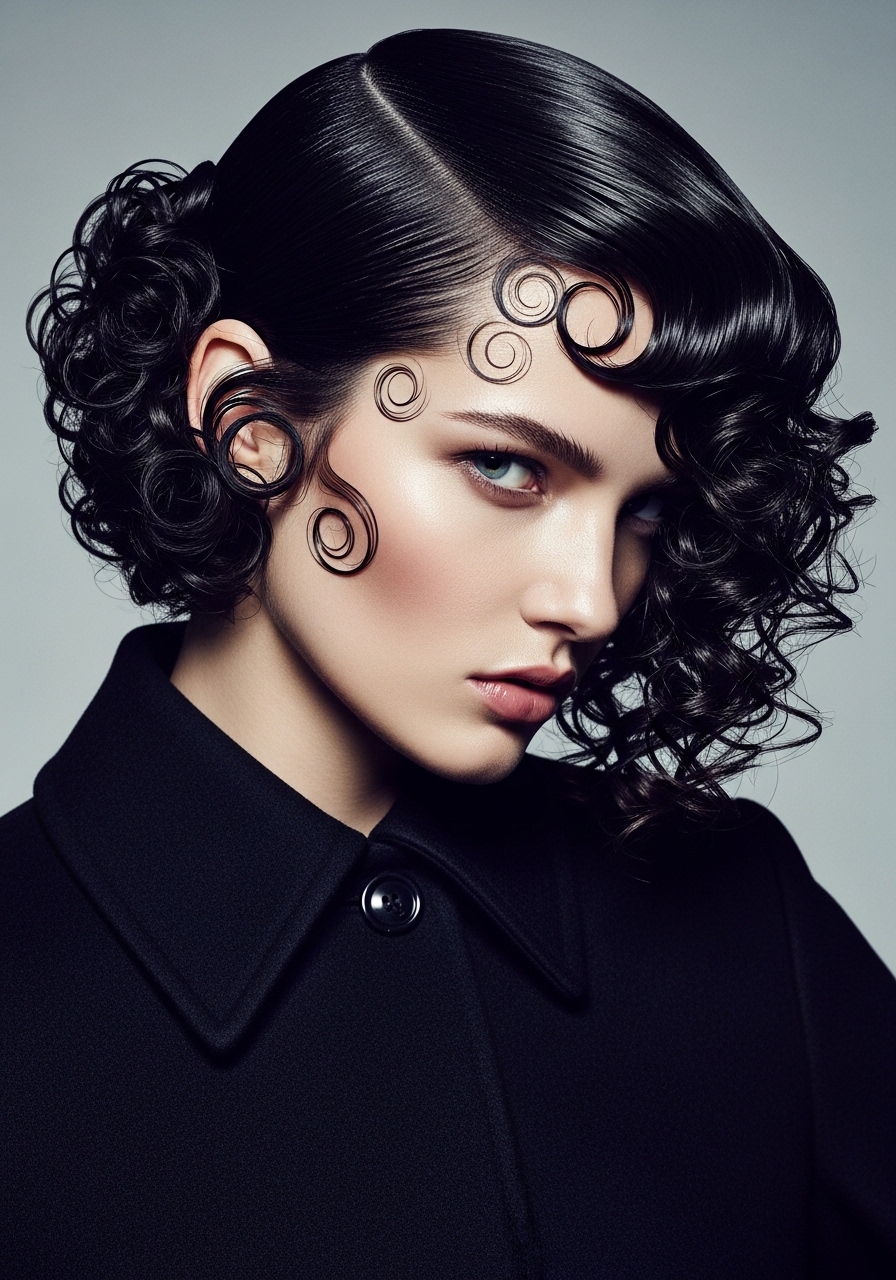
11. The Wet Look
Channel some 90s supermodel energy. After applying your leave-in conditioner, coat your hair with a strong-hold, high-shine gel. Use your hands to sculpt your curls against your head, creating a sleek, wet appearance. This look is incredibly chic and perfect for a night out.
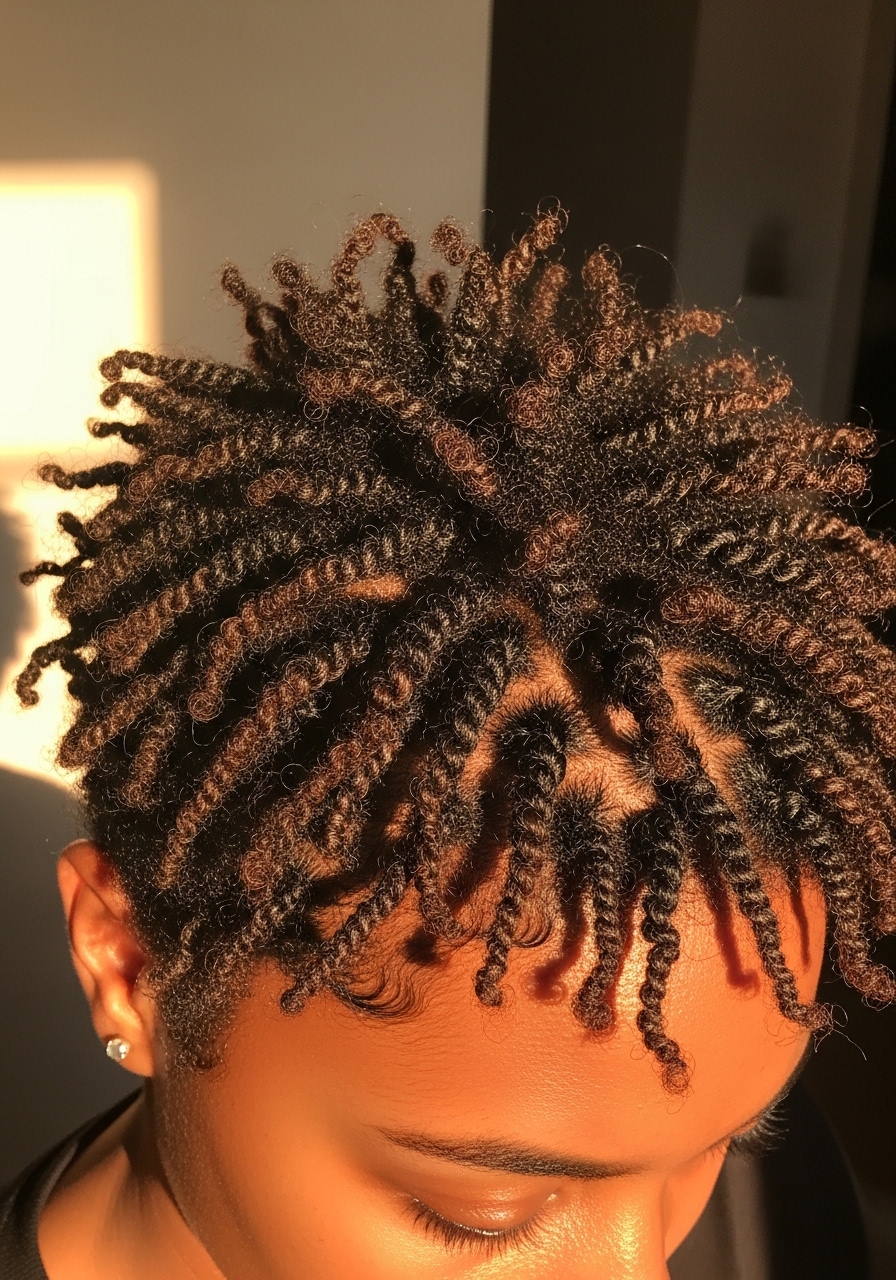
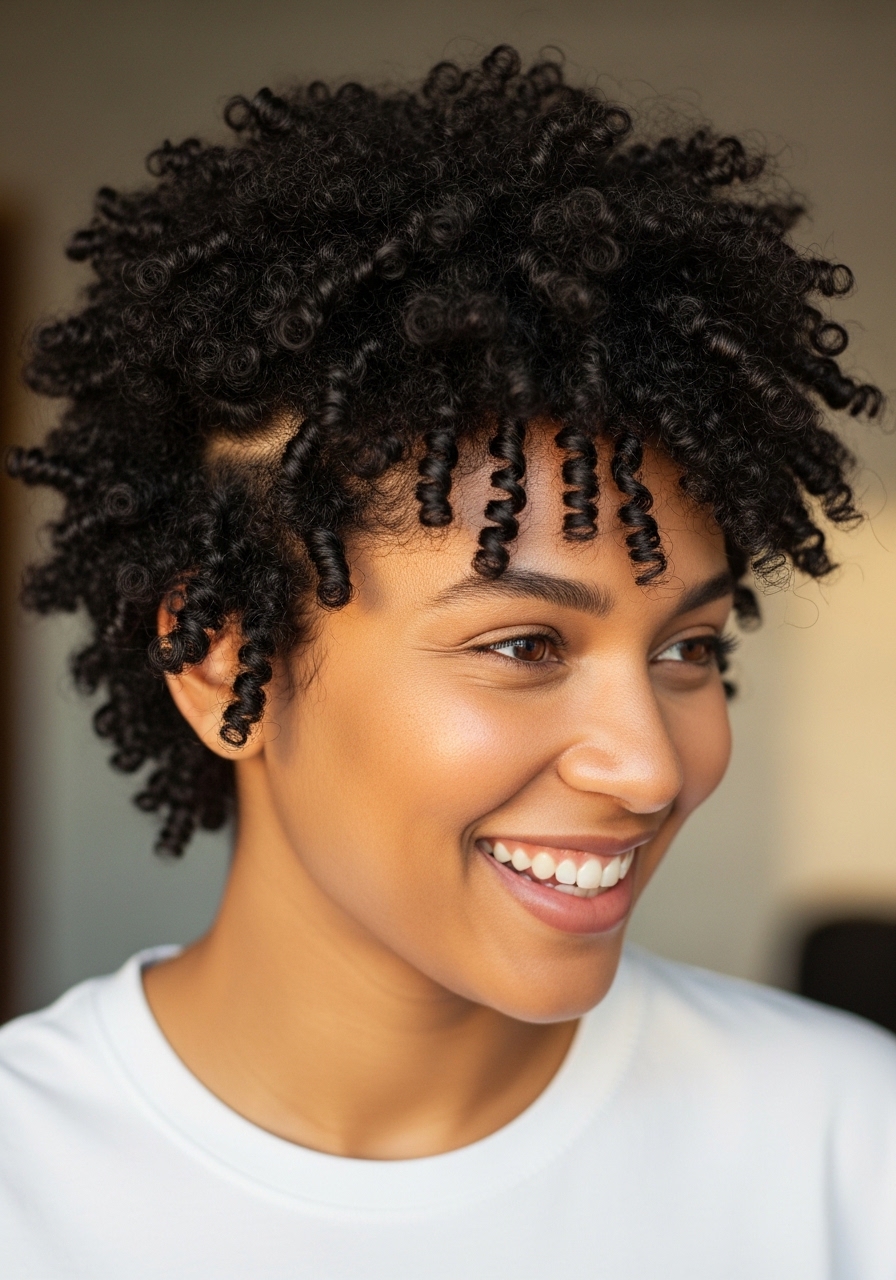
12. The Finger Coil Revival
If your curls are looking a little loose or undefined, finger coiling is a fantastic rescue technique. Take small sections of damp hair, apply a curl cream, and twist them around your finger from root to tip. Allow to air dry or diffuse. Once dry, gently separate the coils for incredible, uniform definition.
13. The Pineapple Puff (For Growing-Out Pixies)
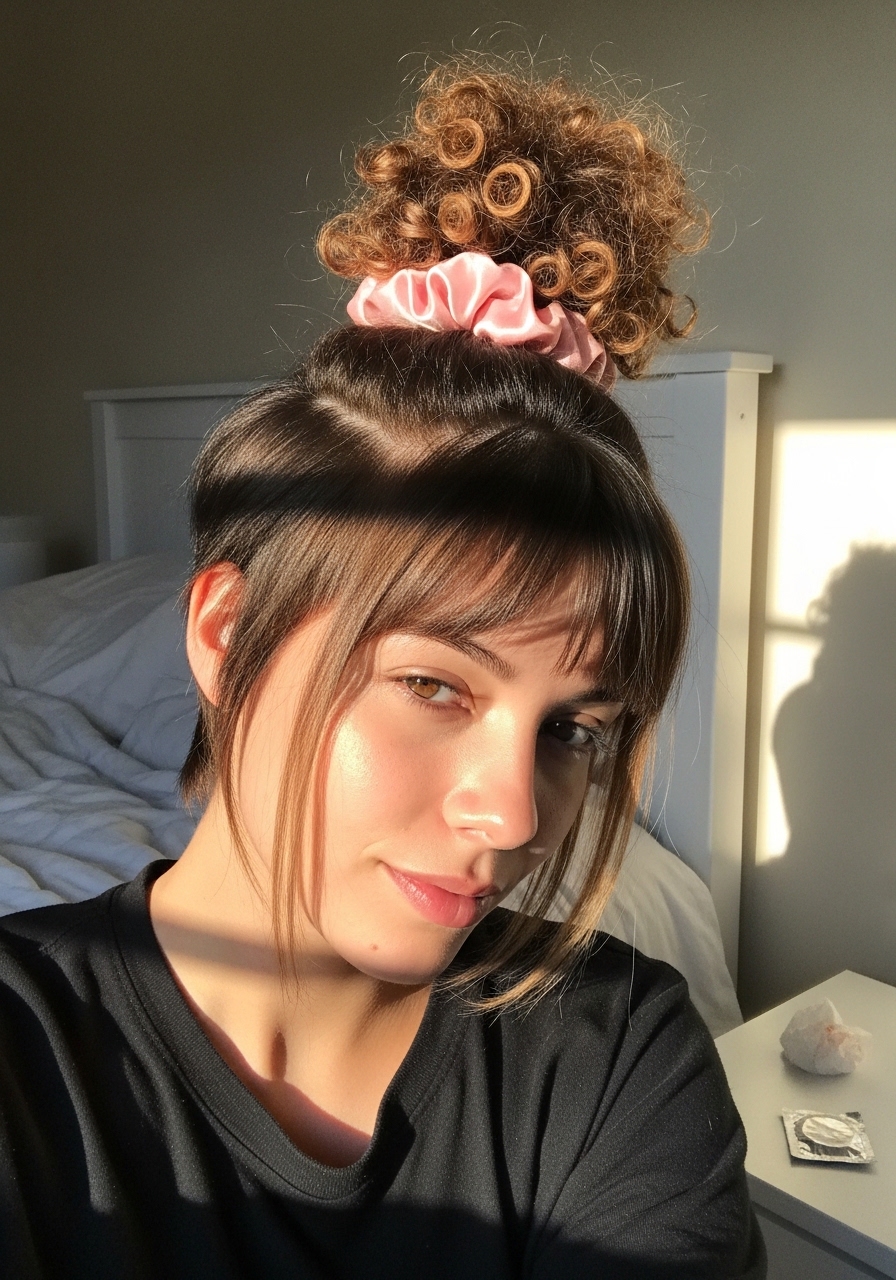
As your pixie grows out, you’ll hit an awkward stage. The pineapple is your savior. Lean forward and gather all your hair into a high puff on the very top of your head, securing it with a loose hair tie. This preserves your curl pattern overnight and gives you a cute, purposeful style during the day.
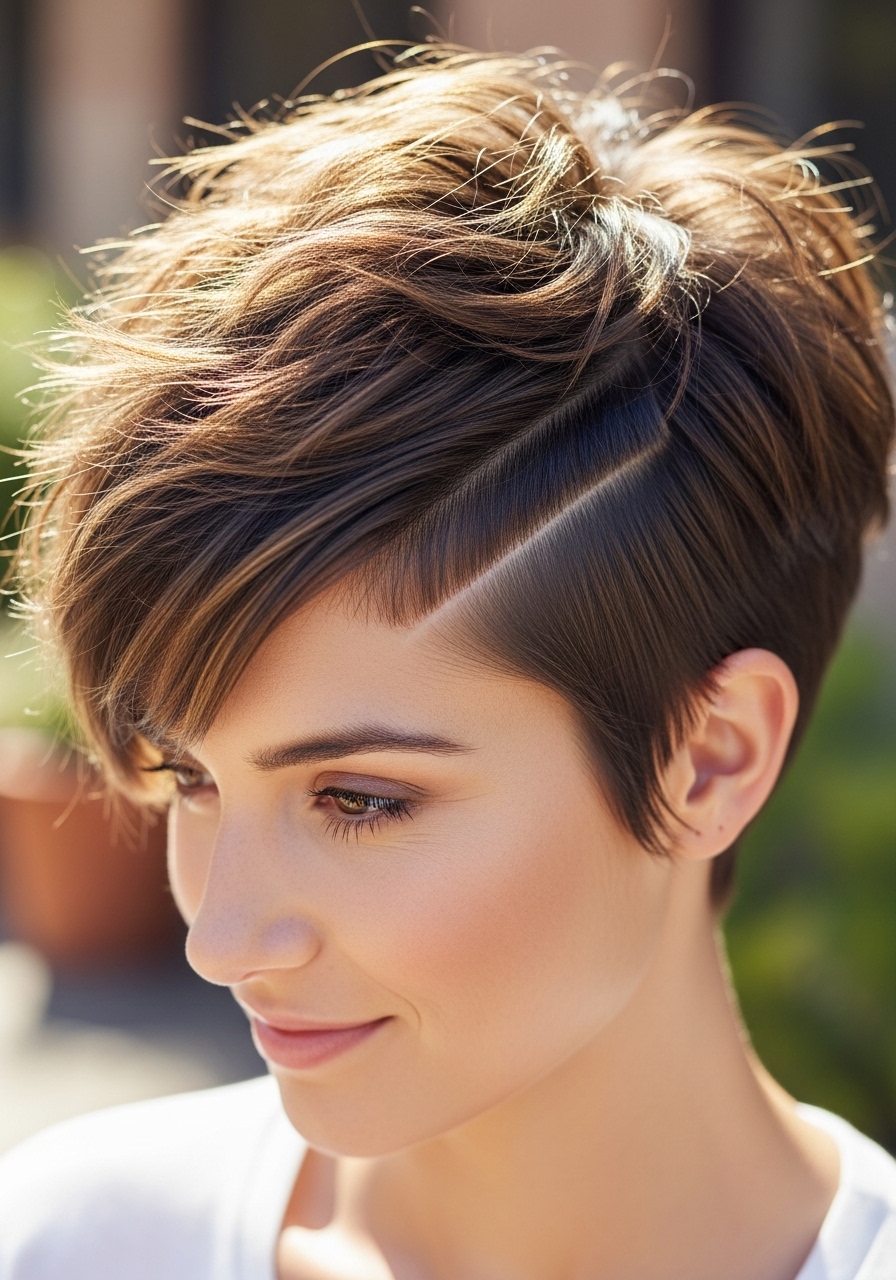
14. The Deep Side Part Transformation
Simply changing your part can feel like a brand new haircut. Use a tail comb to create a sharp deep part, then fluff the larger side for instant drama. Works beautifully on day-old hair.
15. The Mini Twist-Out on Short Hair
Section damp hair into 10–15 small twists with a twisting butter. Let dry overnight, then unravel. You’ll get defined, bouncy curls that last 3–4 days with minimal refreshing.
16. The Barrette Stack
Line up two or three small barrettes along your hairline. This takes 10 seconds but looks like you planned a whole accessory moment. Mix metals or keep them matching.
17. The Water Wave Finger Rake

Apply gel generously to soaking wet hair, then rake through with your fingers in a zigzag motion. Let air dry without touching. The result is a mermaid-meets-pixie hybrid.
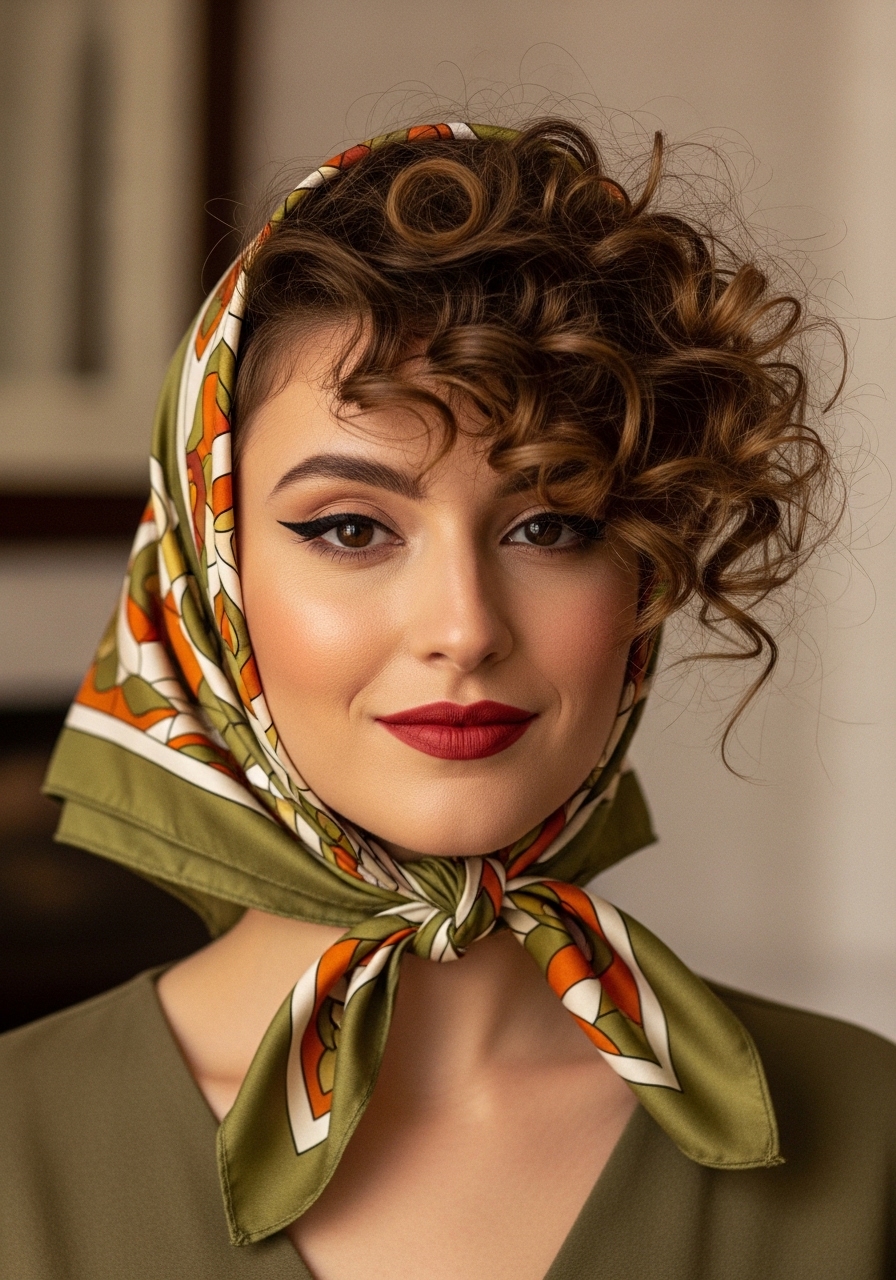
18. The Scarf Wrap Base (With Curls Peeking)
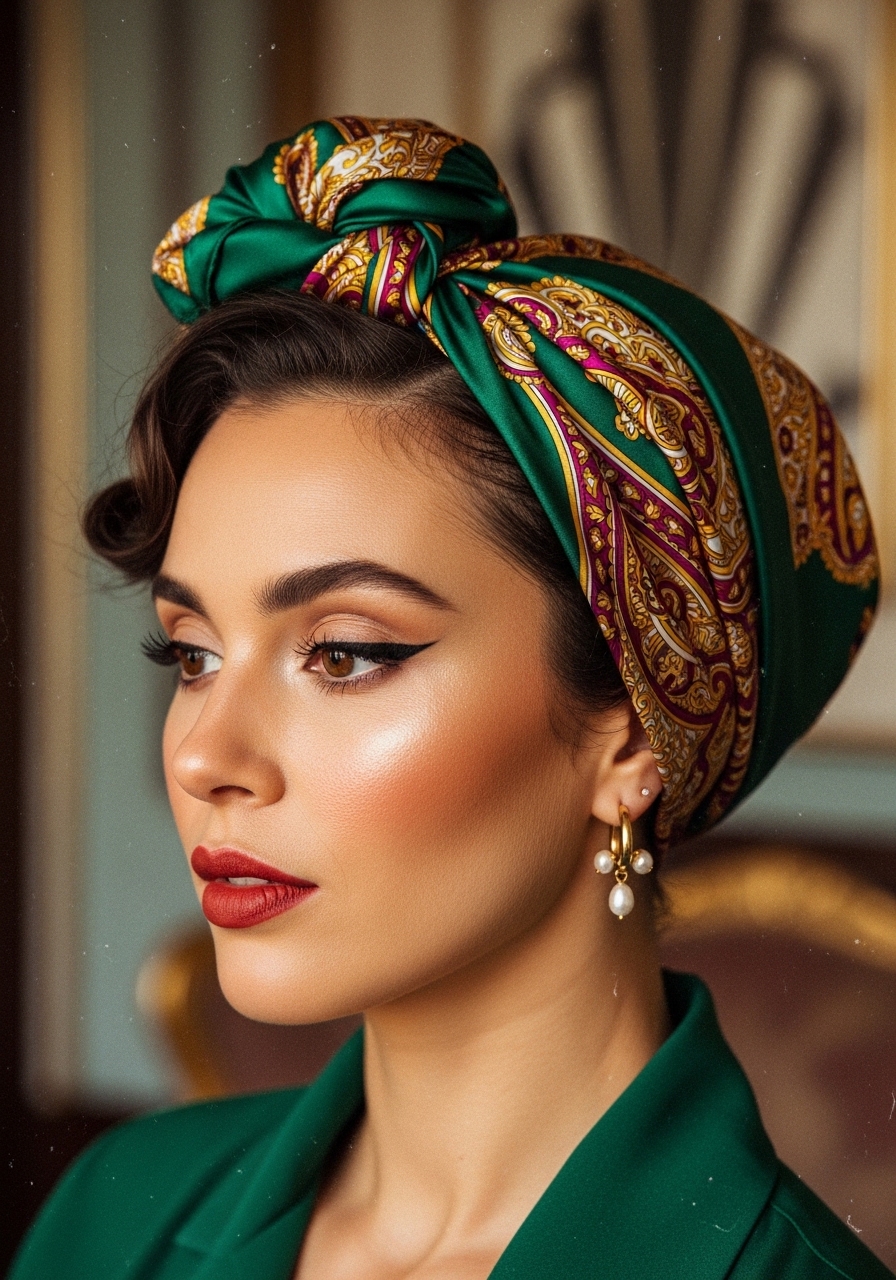
Fold a square scarf into a triangle, tie at the nape, and let your front curls frame your face. This protects your length while looking incredibly put-together.
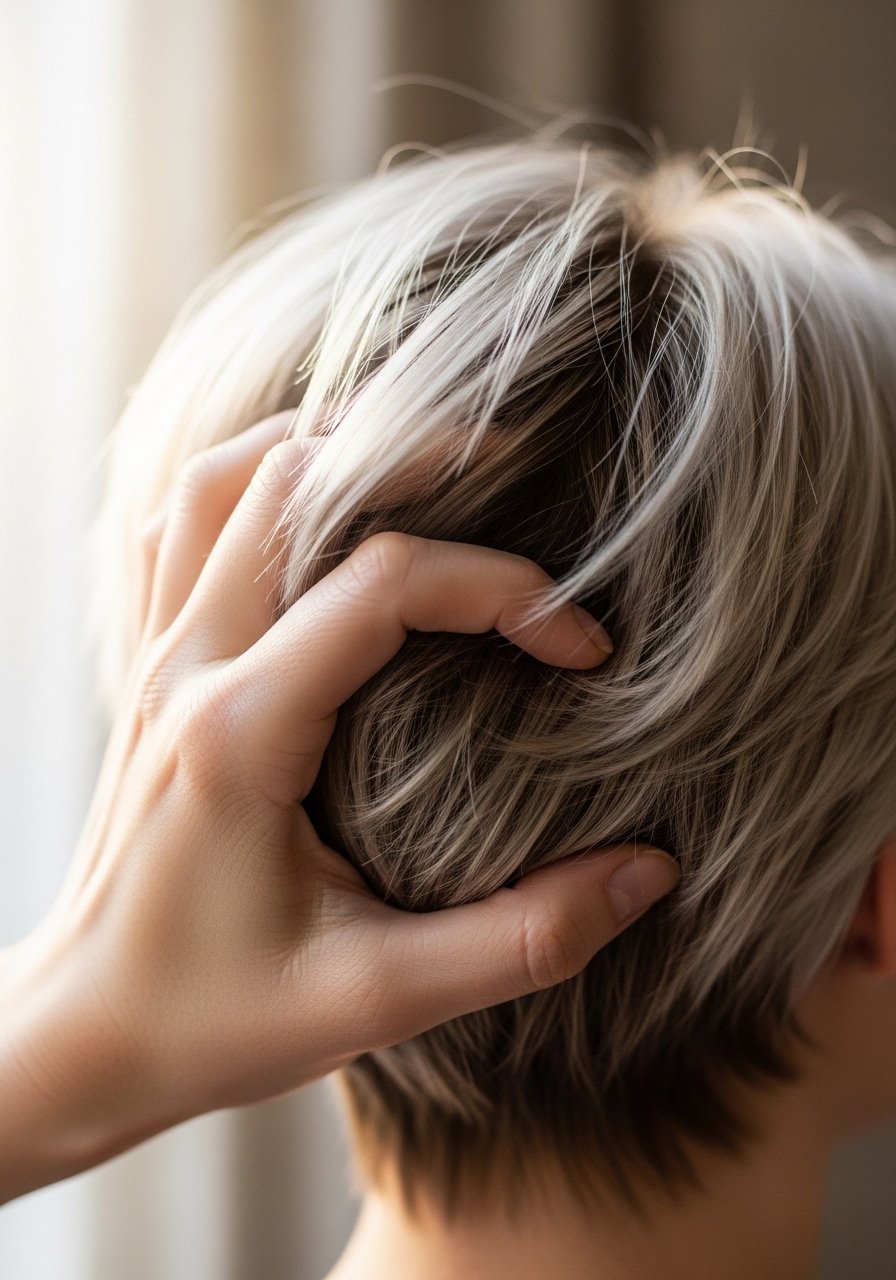
19. The Messy Finger Rake (No Product Needed)
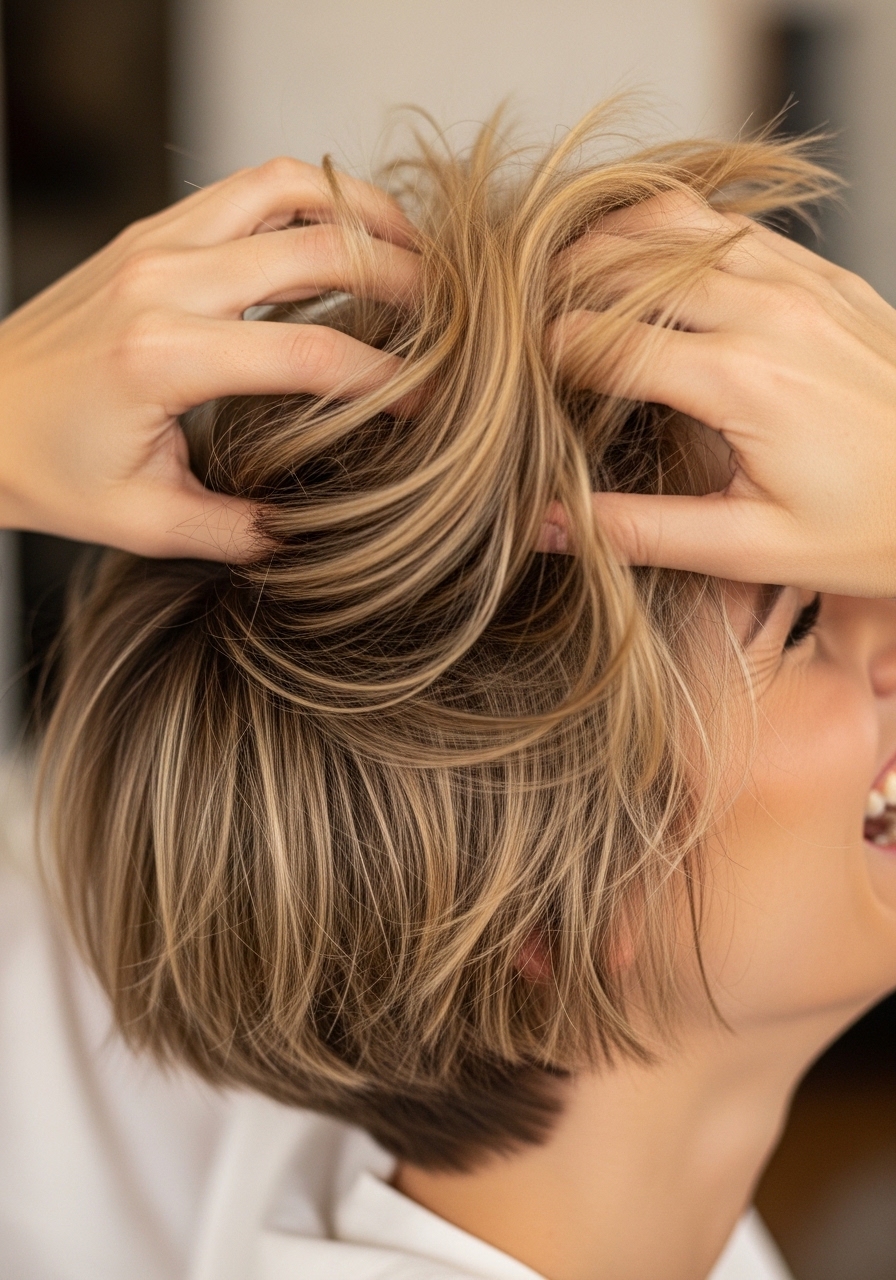
On no-product days, simply flip your head upside down and rake your fingers vigorously through your roots. Flip back and shape with your palms. Instant volume without water or gel.
20. The Single Statement Clip
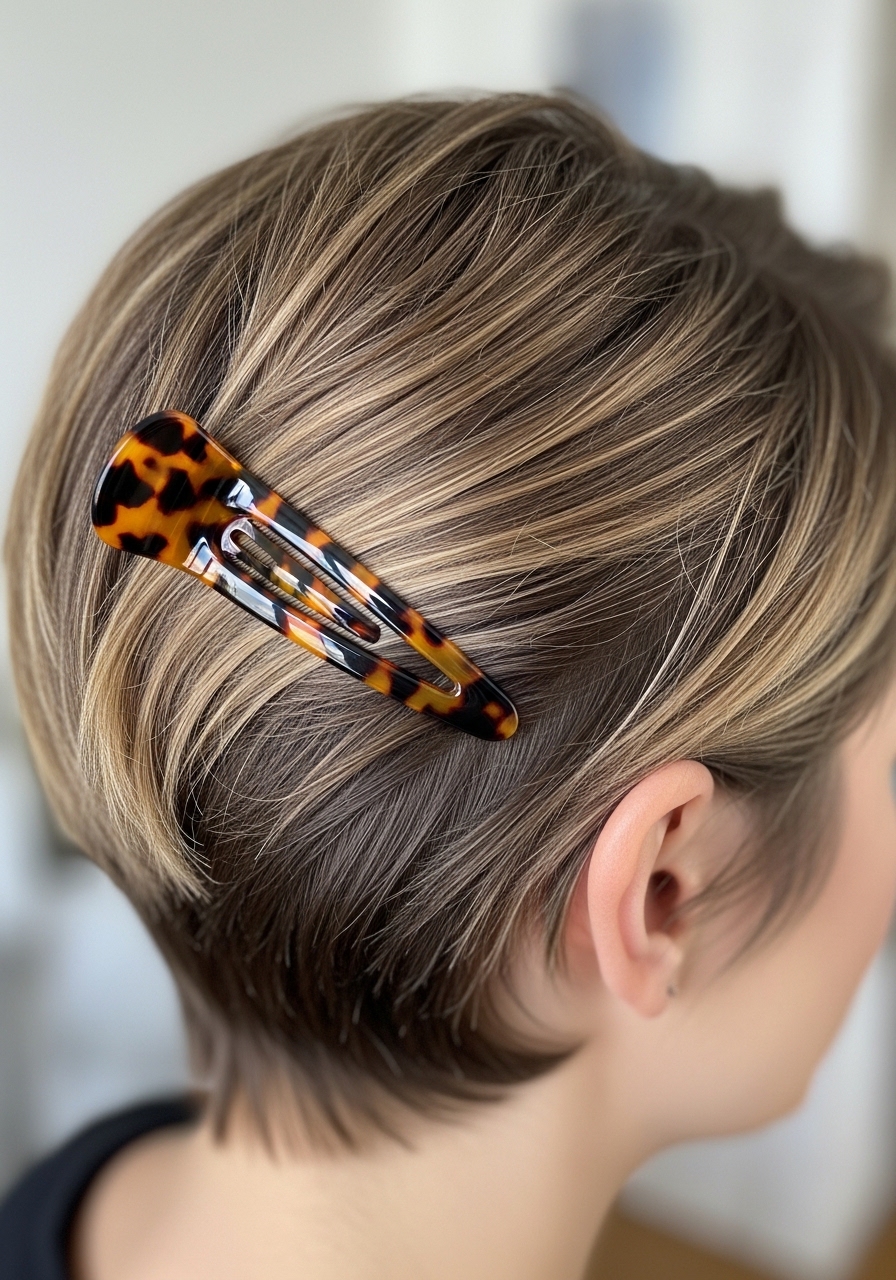
One dramatic clip placed diagonally above your ear transforms a basic pixie into an evening look. Choose pearl, gold, or shell textures for maximum luxury feel.
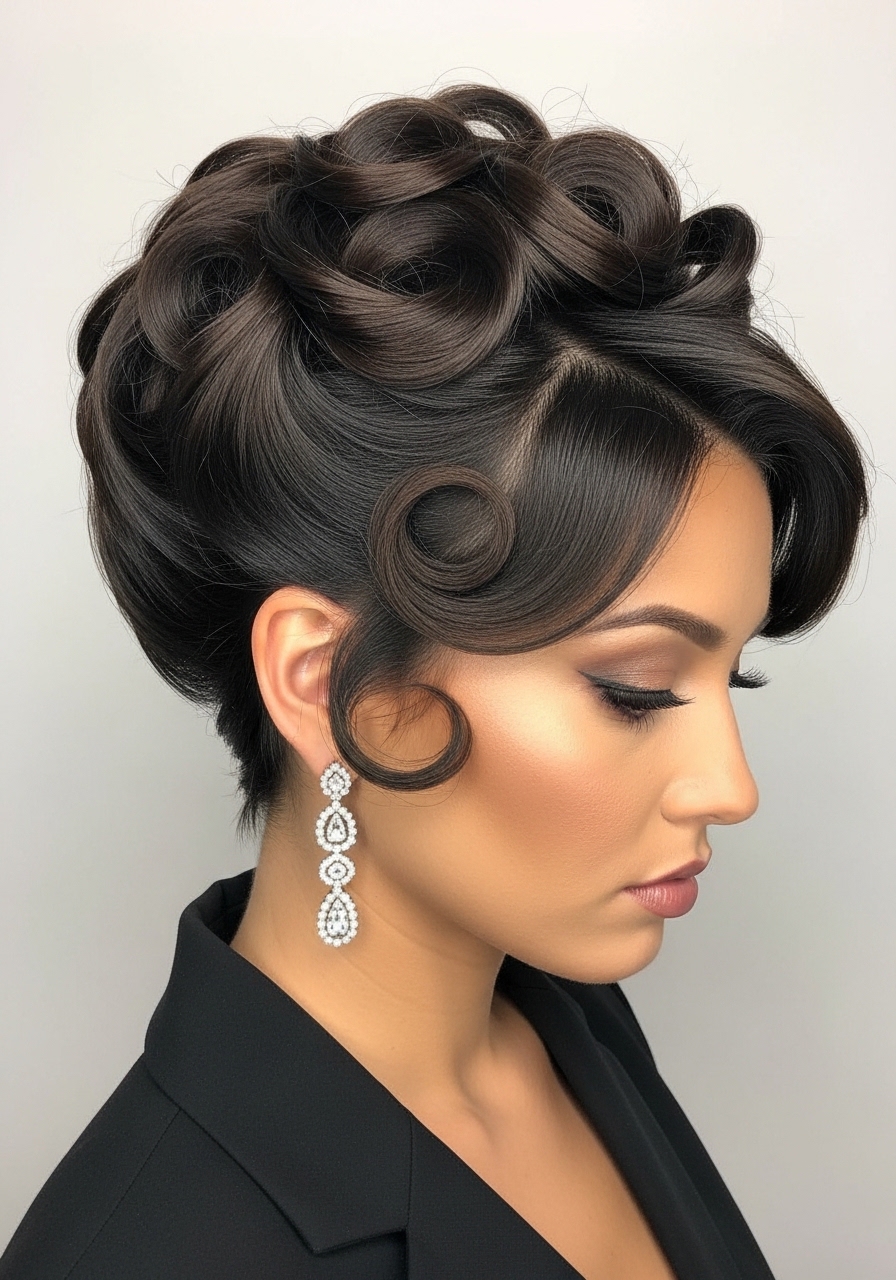
21. The Satin Roller Set (Vintage Volume)
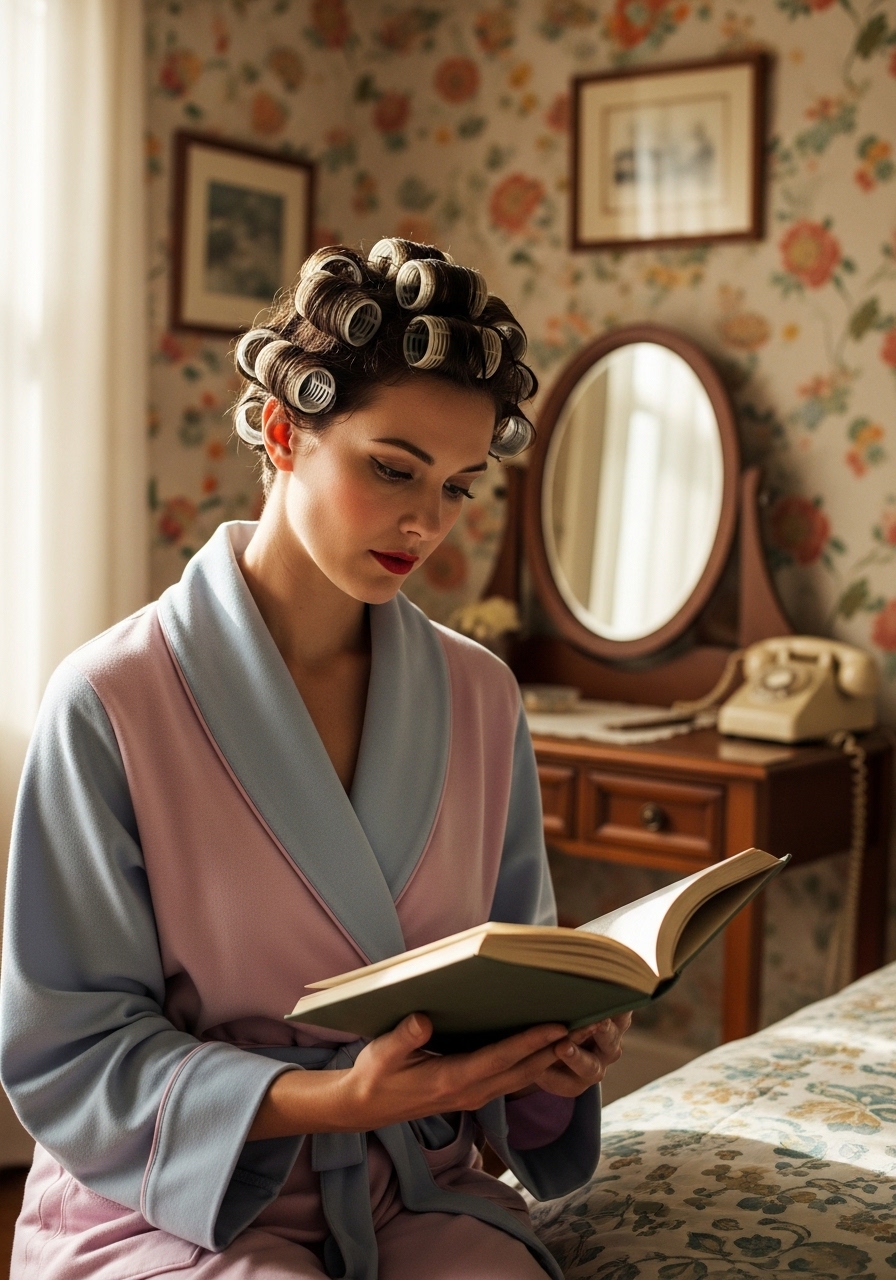
Use 4–6 small satin rollers on damp hair. Let dry completely (or sit under a dryer). Remove for bouncy, voluminous curls that feel like old Hollywood.
22. The Edge Control Swoop (No Gel Everywhere)
Apply edge control only to your edges and sideburns, brushing them into elegant swoops. Keep the crown curly. This hybrid style is office-appropriate and edgy.
23. The Colored Chalk Pop
Rub temporary hair chalk onto just the tips of your curls. It washes out in one shampoo but gives you a weekend of bold, creative energy without commitment.
24. The Crown Twist (Single Rope Twist)
Take a 2-inch section from your crown, twist it tightly, and pin it in a coil. This adds height and an architectural element to any curly pixie.
25. The Overnight Pineapple Plus
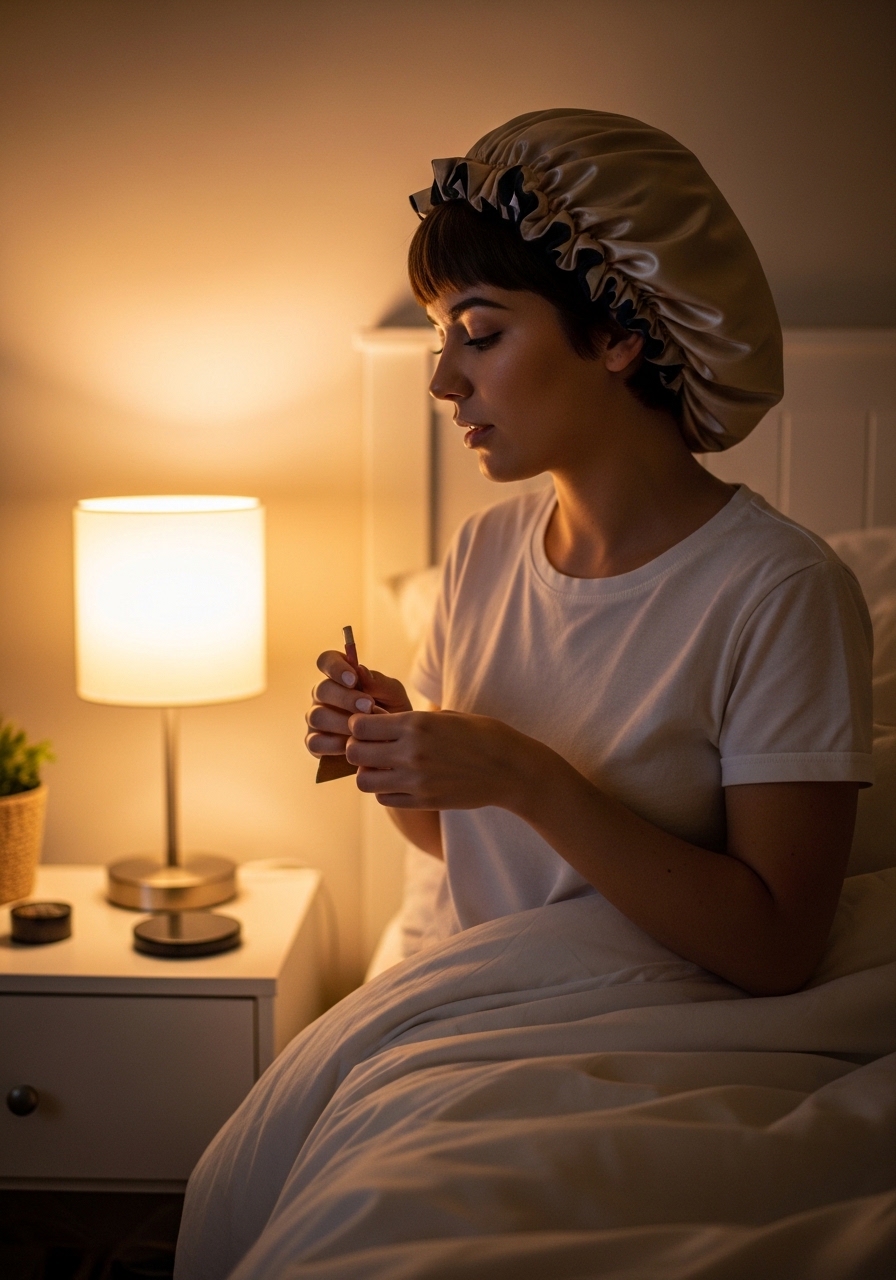
After pineappling, add a satin bonnet. In the morning, shake out and spritz with water + conditioner mix. Your curls will look day-one fresh for up to 5 days.
26. The Zigzag Part for Visual Interest
Instead of a straight part, use the tail of a comb to draw a zigzag pattern. This hides any scalp showing and adds a fun, unexpected detail to your style.
27. The Mousse-Only Fluff
On refresh days, spray water lightly, then scrunch in a golf-ball-sized amount of mousse. Diffuse for 3 minutes or air dry. You’ll get lightweight, airy volume.
28. The Bobby Pin Criss-Cross Detail
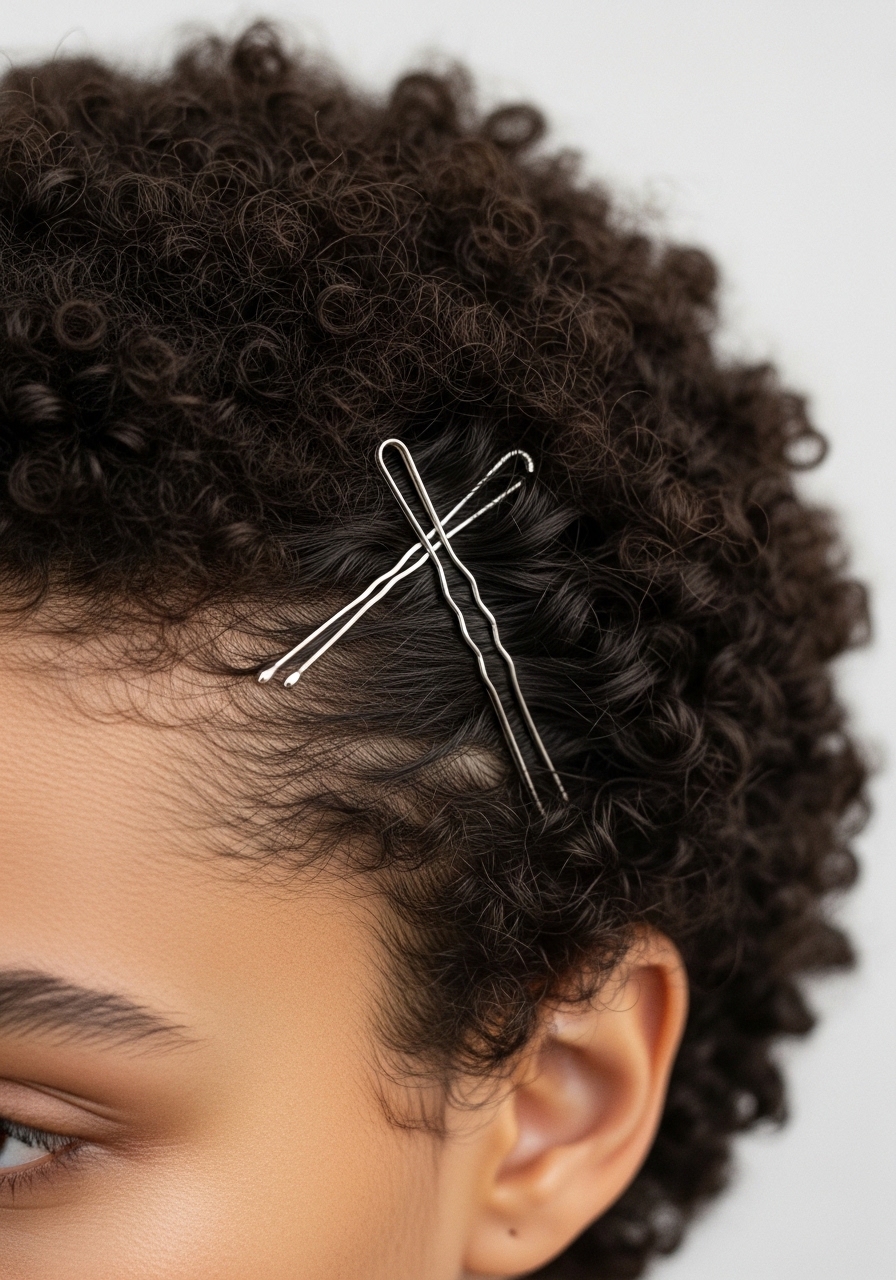
Use two bobby pins to create an X shape right above your ear. It’s a tiny detail that catches the eye and makes your style feel intentional and designed.
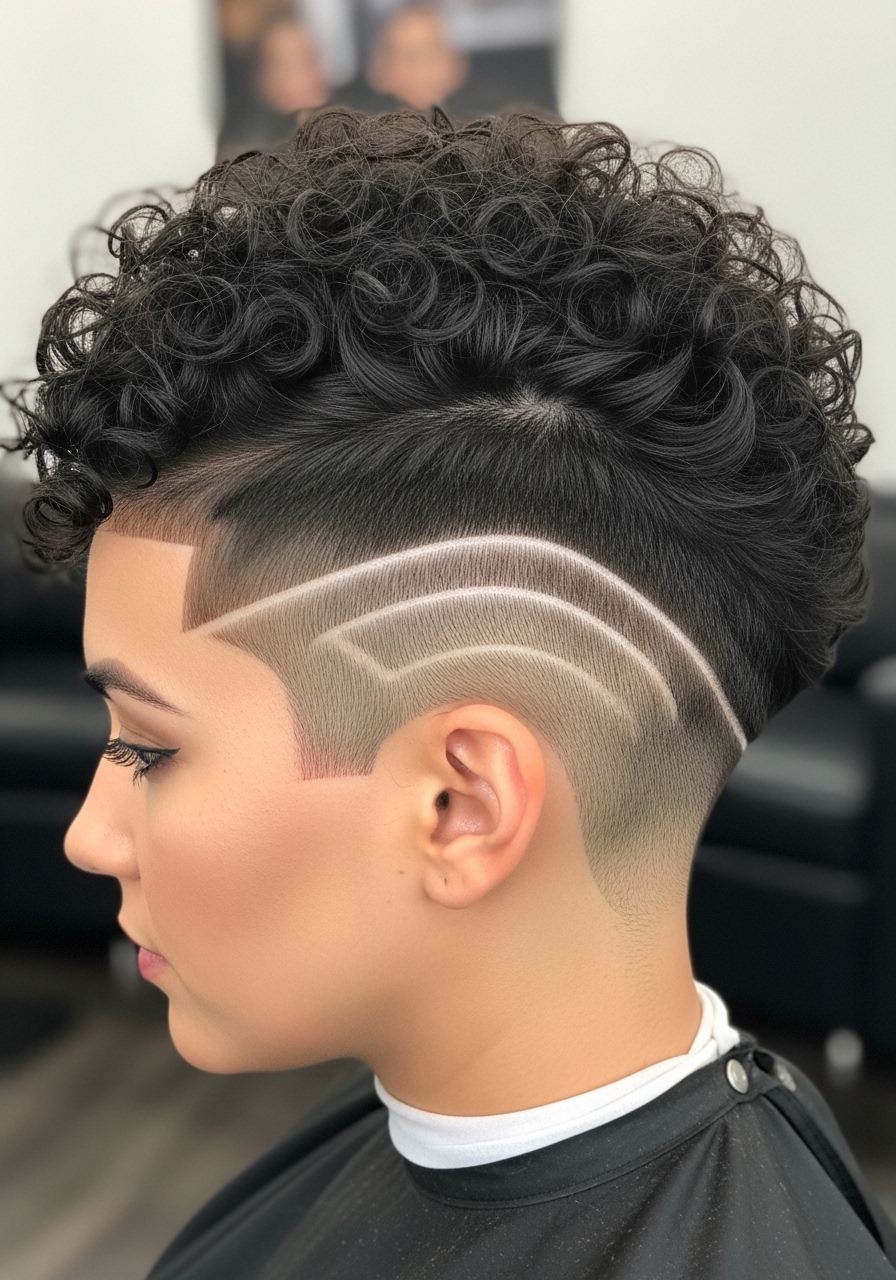
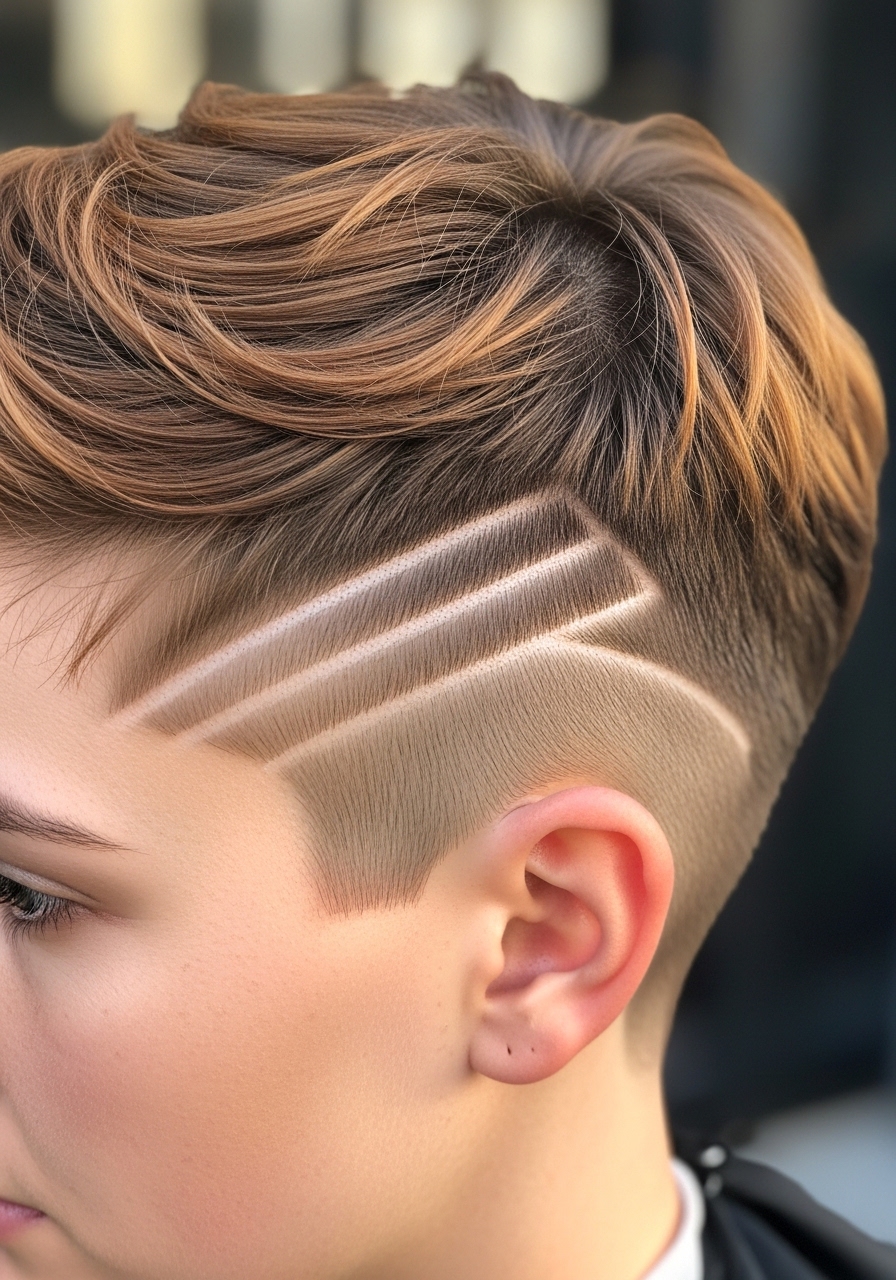
29. The Tapered Fade Accent (If You Have a Fade)
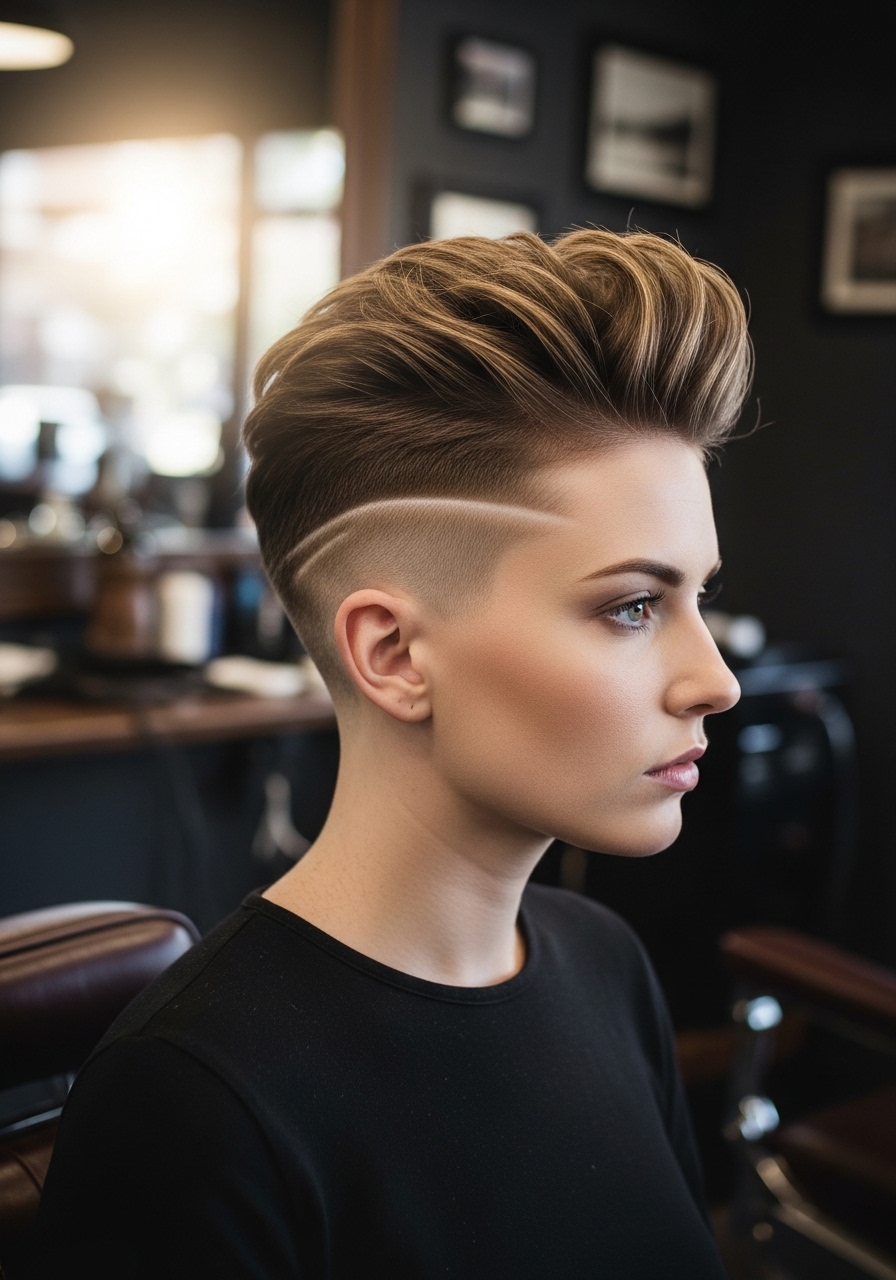
If your pixie includes a fade, keep the sides super sharp and let the top be wild. The contrast between structured fade and free curls is pure luxury.
30. The Dry Shampoo Root Boost

For flat roots, spray dry shampoo directly at the scalp, let sit 30 seconds, then massage vigorously. Your roots will lift and the texture will feel freshly washed.
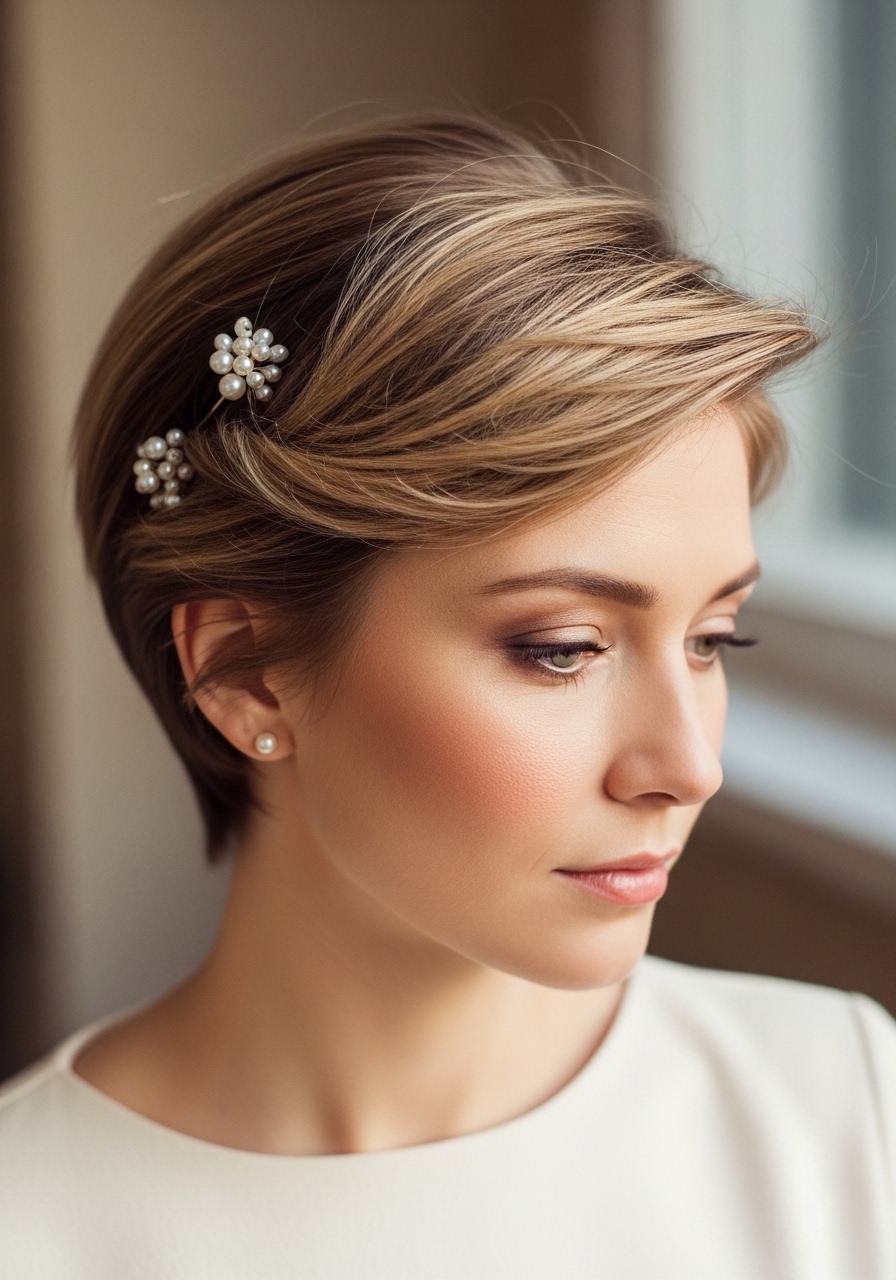
31. The Pearl Pin Cascade
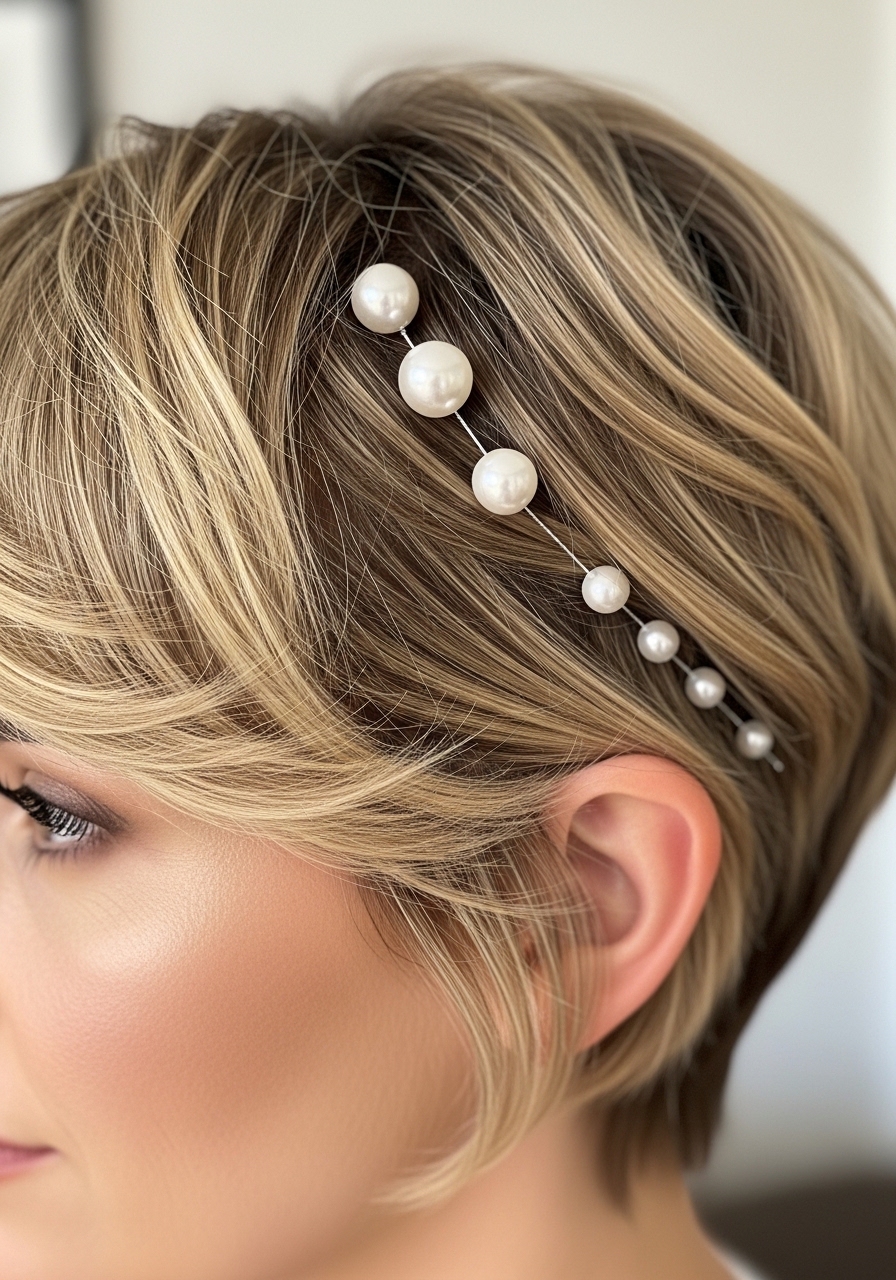
Insert pearl pins in a gentle arc from your temple to behind your ear. This takes 30 seconds but photographs like a professional bridal style.
32. The Steamy Refresh (No Water Needed)
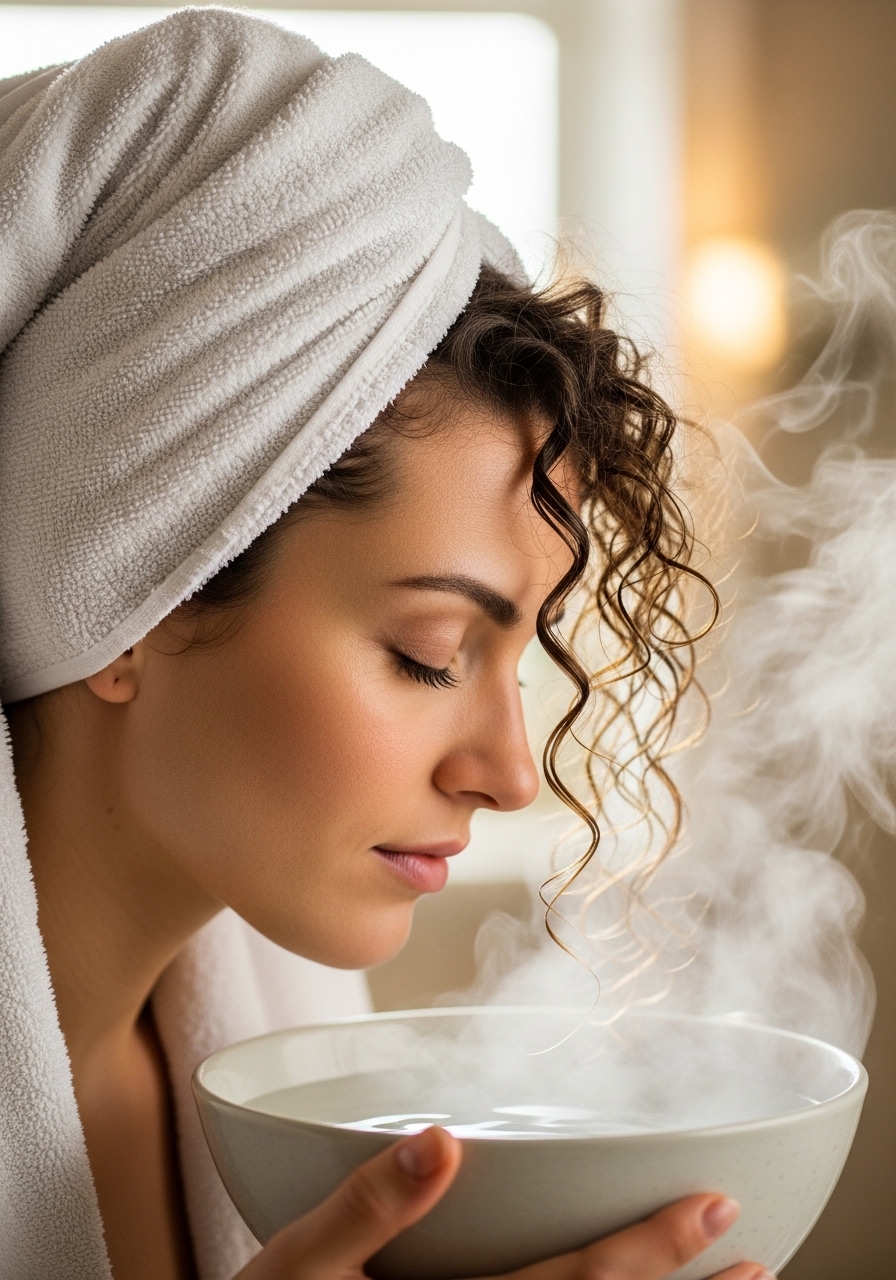
Run a hot shower or boil water, then lean your head over the steam for 2 minutes (not under water). The steam re-activates your products and re-sets curls instantly.
33. The Mini Bantu Knot-Out
Section damp hair into 8–10 small sections, twist each into a tight bantu knot. Let dry overnight. Unravel for a curly, voluminous afro-pixie hybrid.
34. The Textured Faux Bangs
Take the front section of your pixie and pull it forward over your forehead. Pin the rest back. You’ve created instant bangs without cutting any hair.
35. The Silk Press Hybrid (Straight Top, Curly Sides)
Flat iron only the top 2 inches of your crown, leaving the sides and back curly. The mix of straight and curly is unexpected, modern, and very chic.
36. The Feather Clip Accent
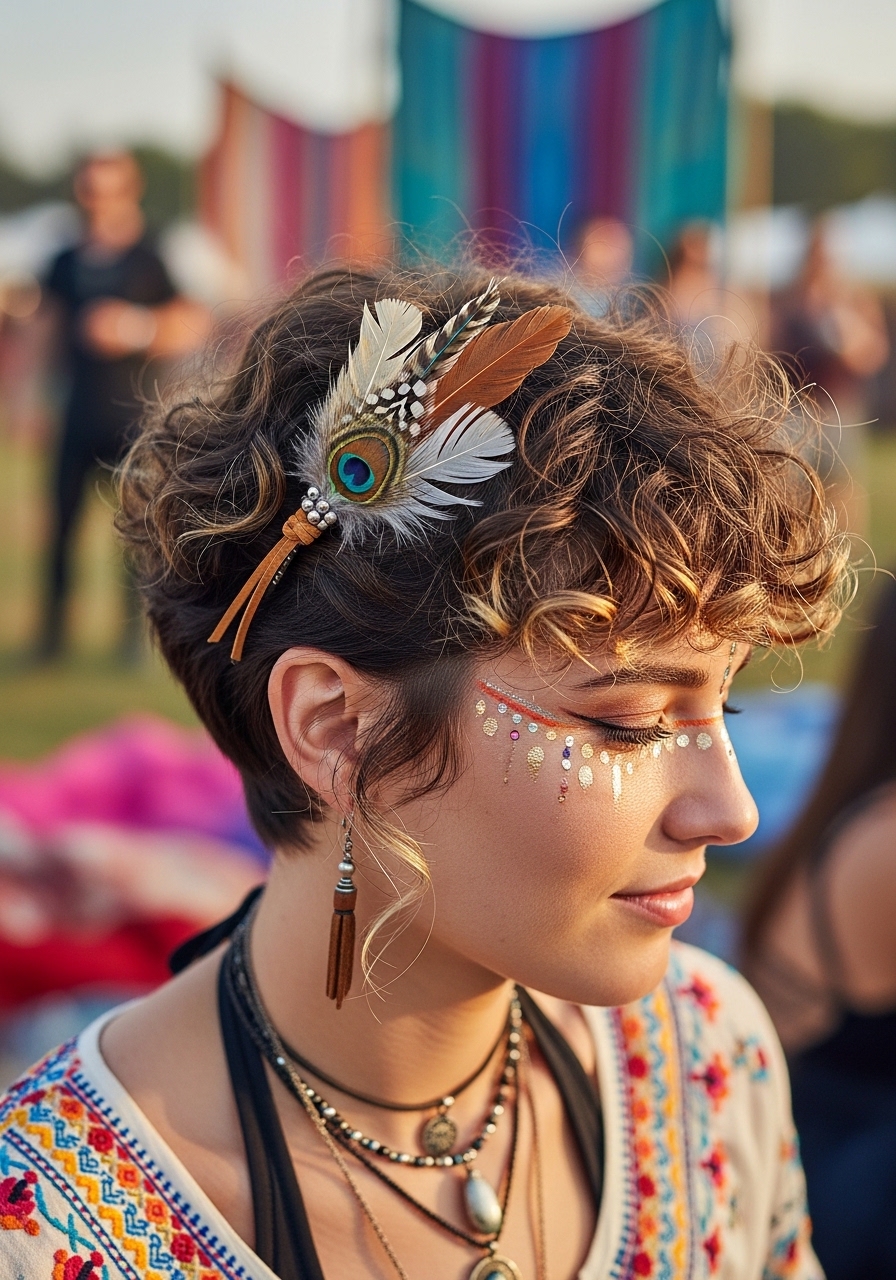
Slide a single feather clip or a small flower clip into your curls near the ear. It adds a whimsical, romantic touch that feels fresh and creative.
37. The Overnight Flexi-Rod Set
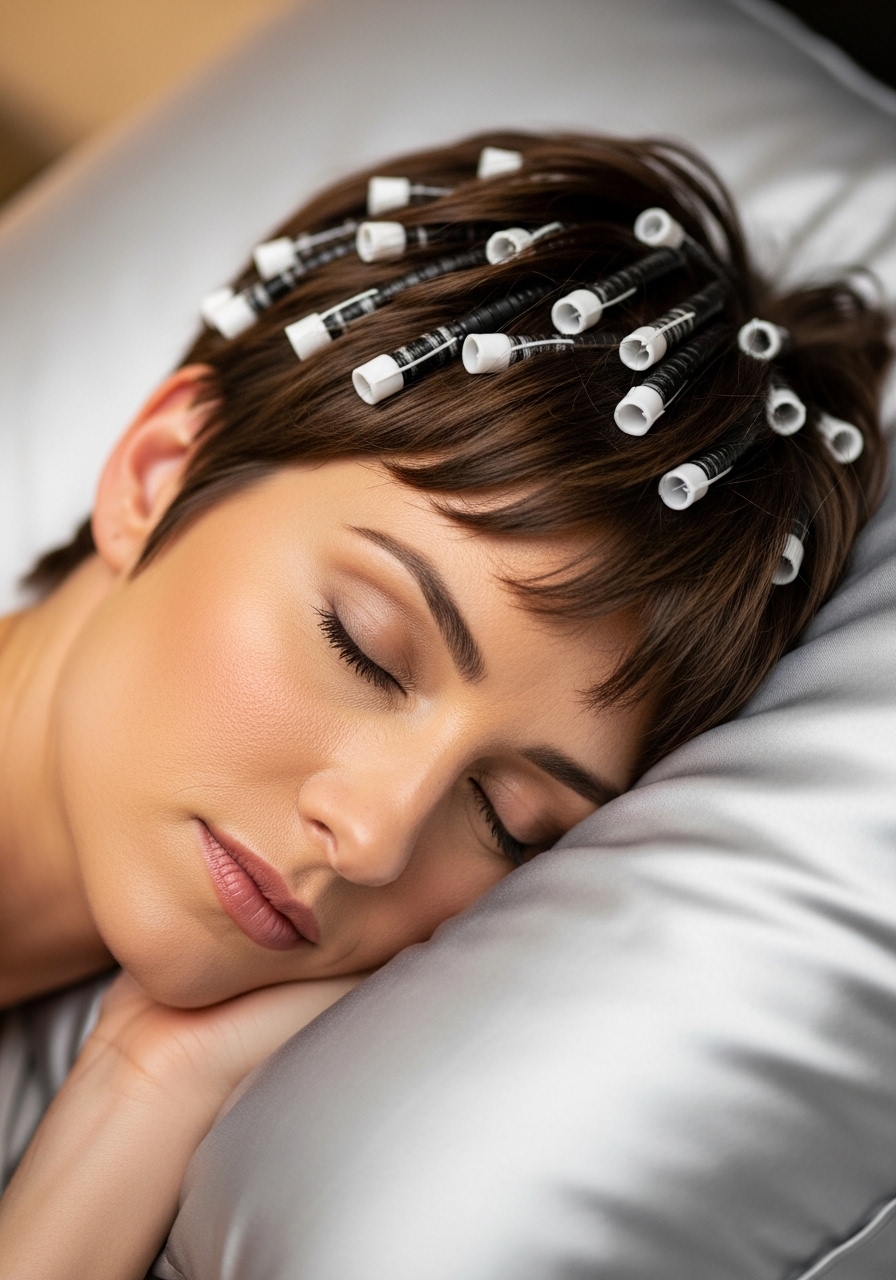
Wrap damp hair around small flexi-rods (about 10–15 rods). Sleep in them. Remove in the morning for tight, bouncy ringlets that last all week.
38. The One-Sided Pin Tuck
Use bobby pins to flatten the hair on one side of your head, leaving the other side full and curly. It’s a subtle but powerful asymmetry that feels editorial.
39. The Clear Elastic Mini Pony (If You Have Length on Top)
If your pixie has length at the crown, gather a small section into a mini ponytail. Use a clear elastic so it looks invisible. The rest stays curly. Adorable and trendy.
40. The Sponge Brush Coil
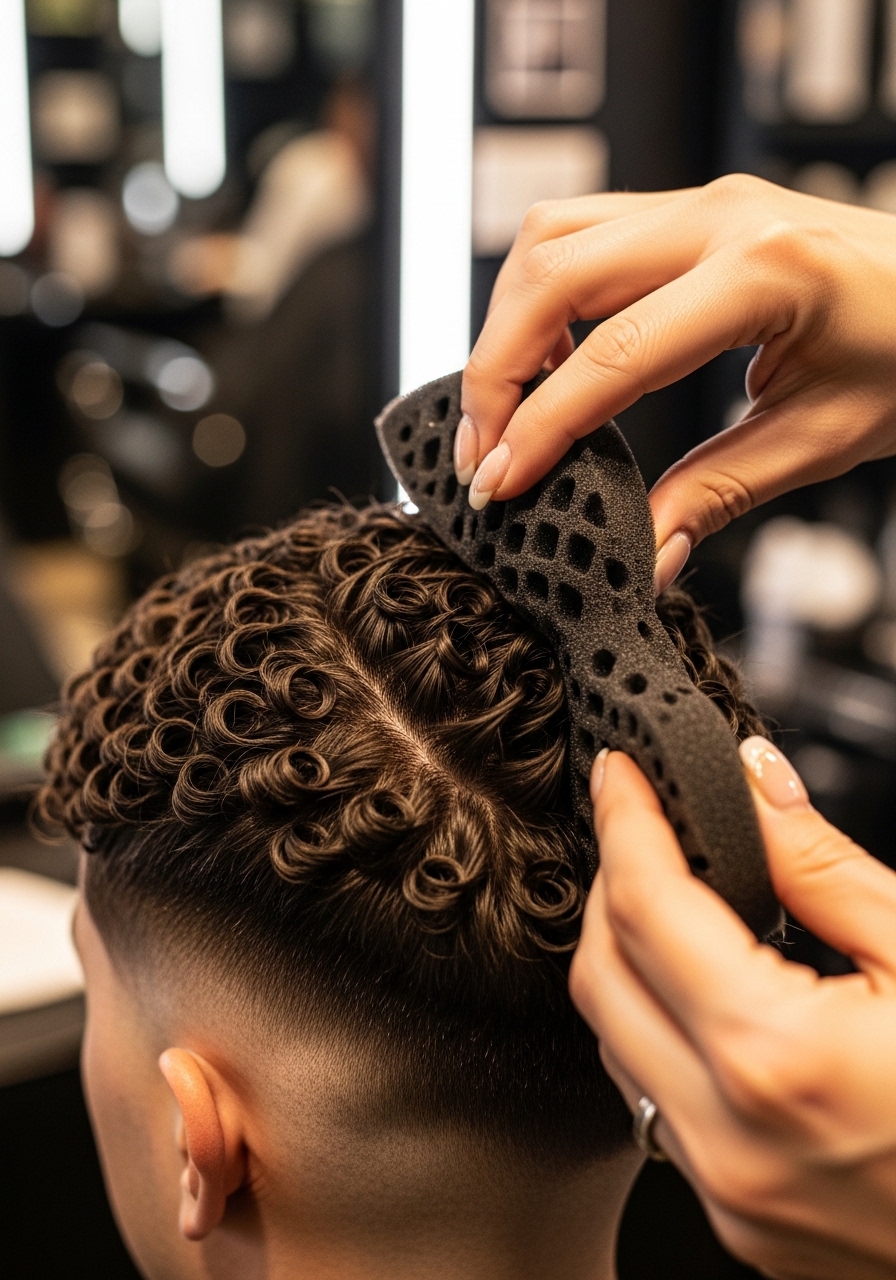
Use a curl sponge on dry, product-free hair. Twist in circular motions. Within 2 minutes, you’ll have perfect, uniform small coils that look like a professional style.
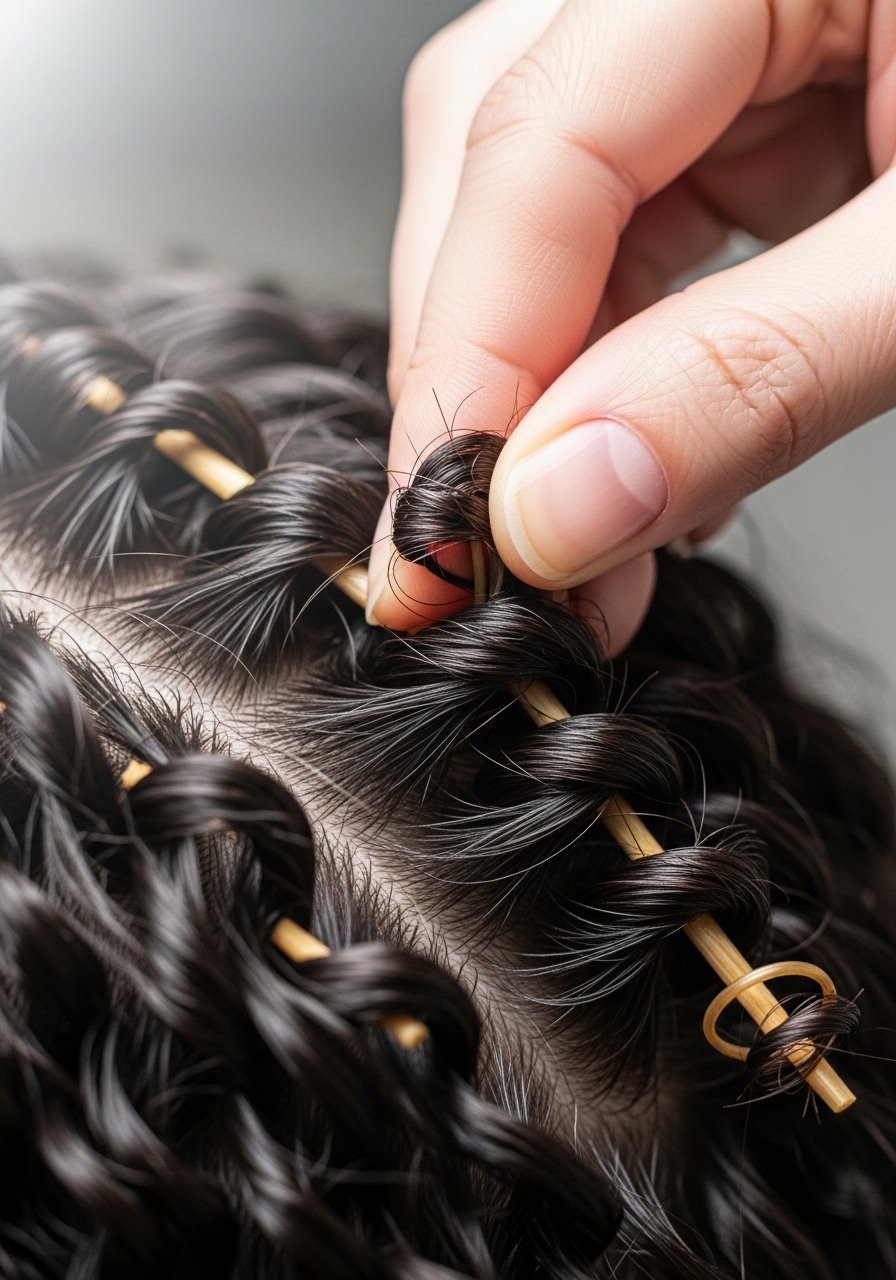
41. The Metallic Hair Tinsel Strands

Knot a few strands of hair tinsel into small sections of your pixie. The tinsel catches light and adds a subtle sparkle that elevates even the simplest wash-and-go.
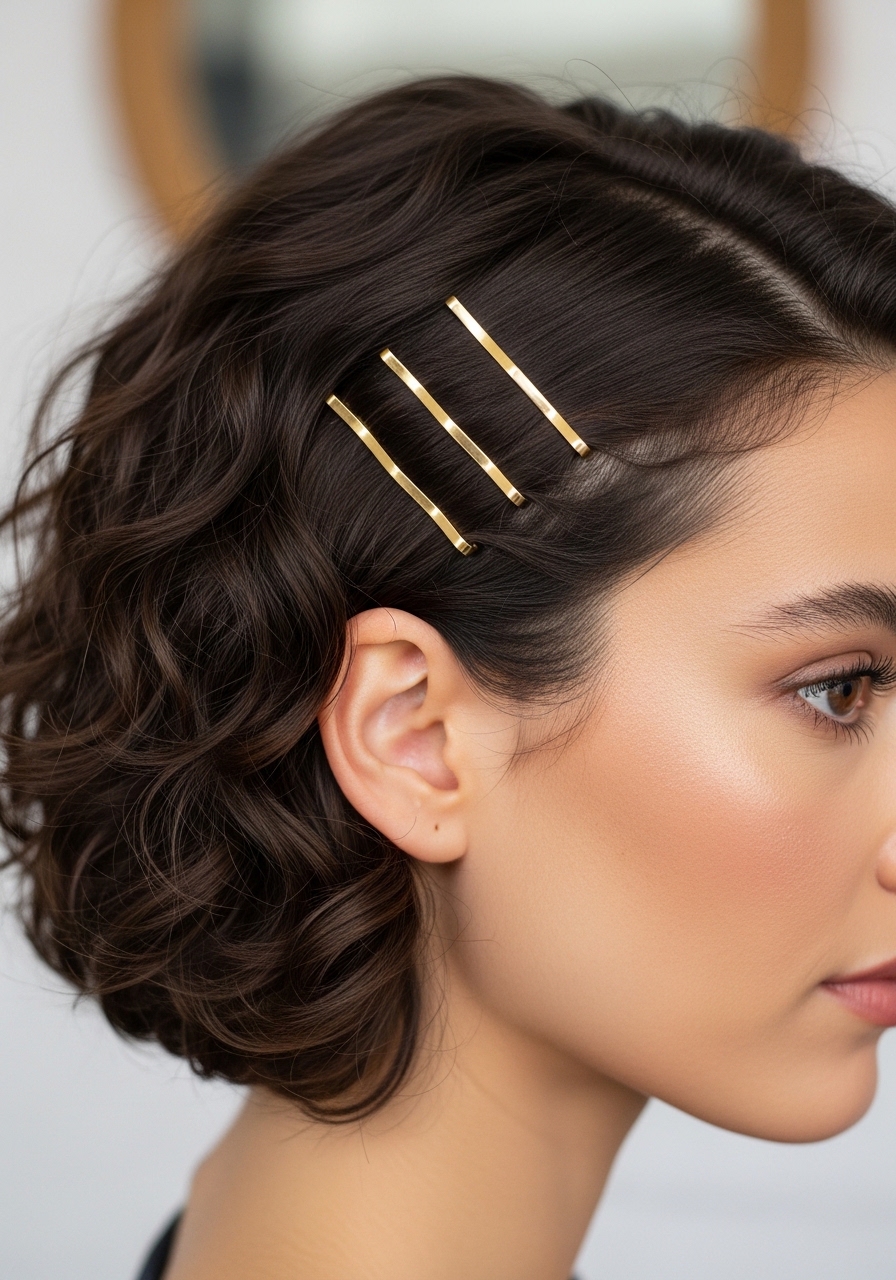
42. The Triple Part (Three Parallel Lines)
Use a comb to create three tiny parallel parts on one side of your head. This micro-detail looks incredibly intricate but takes only 30 seconds.
43. The Headscarf Knot with Curls on Top
Place a square scarf over your head like a bandana, but push all your curls forward over the front edge. The scarf becomes a backdrop that makes your curls pop.
44. The Pomade Finger Comb for Piece-y Texture

Rub a pea-sized amount of pomade between your palms, then finger-comb through dry hair. Focus on the ends. This creates a 1950s greaser texture that’s cool and undone.
45. The Velvet Bow Clip (Miniature)
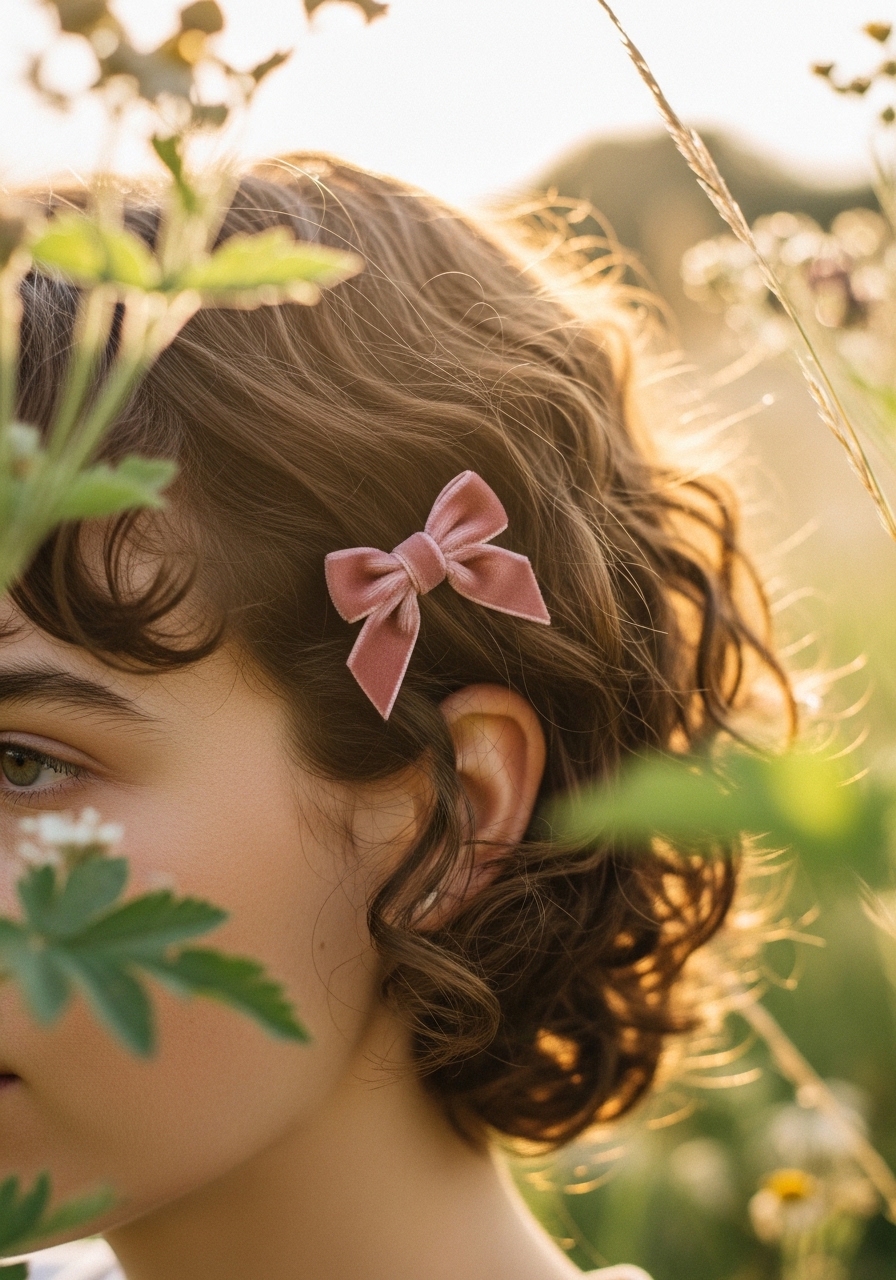
A miniature velvet bow (about 1 inch wide) clipped near your ear adds instant femininity and charm. Choose burgundy, forest green, or dusty rose for a luxe feel.
46. The Braided Edge (Mini Cornrow Along Hairline)
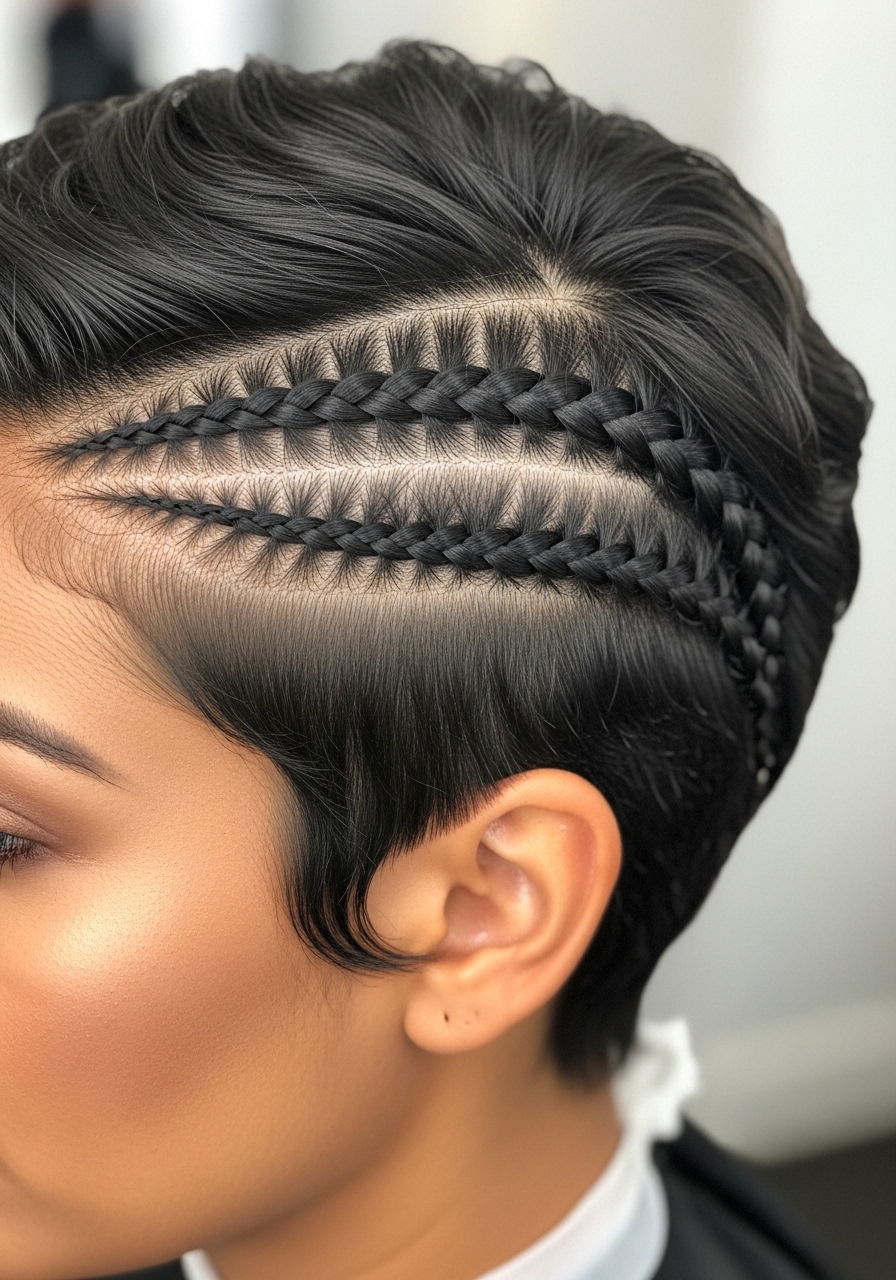
Braid a tiny cornrow starting at your temple and ending behind your ear. Leave the rest of your hair curly. This one braid makes your whole look feel crafted.
47. The Frohawk (Natural Texture, Raised Center)
Similar to a faux hawk, but using only your natural texture. Flatten the sides with gel or pins, then fluff the center strip into a curly, voluminous ridge.
48. The Satin Scarf Pineapple (Double Protection)
After pineappling, wrap a satin scarf around your entire head. In the morning, remove both. Your curls will have zero frizz and maximum definition.
49. The Color Wax Temporary Streak
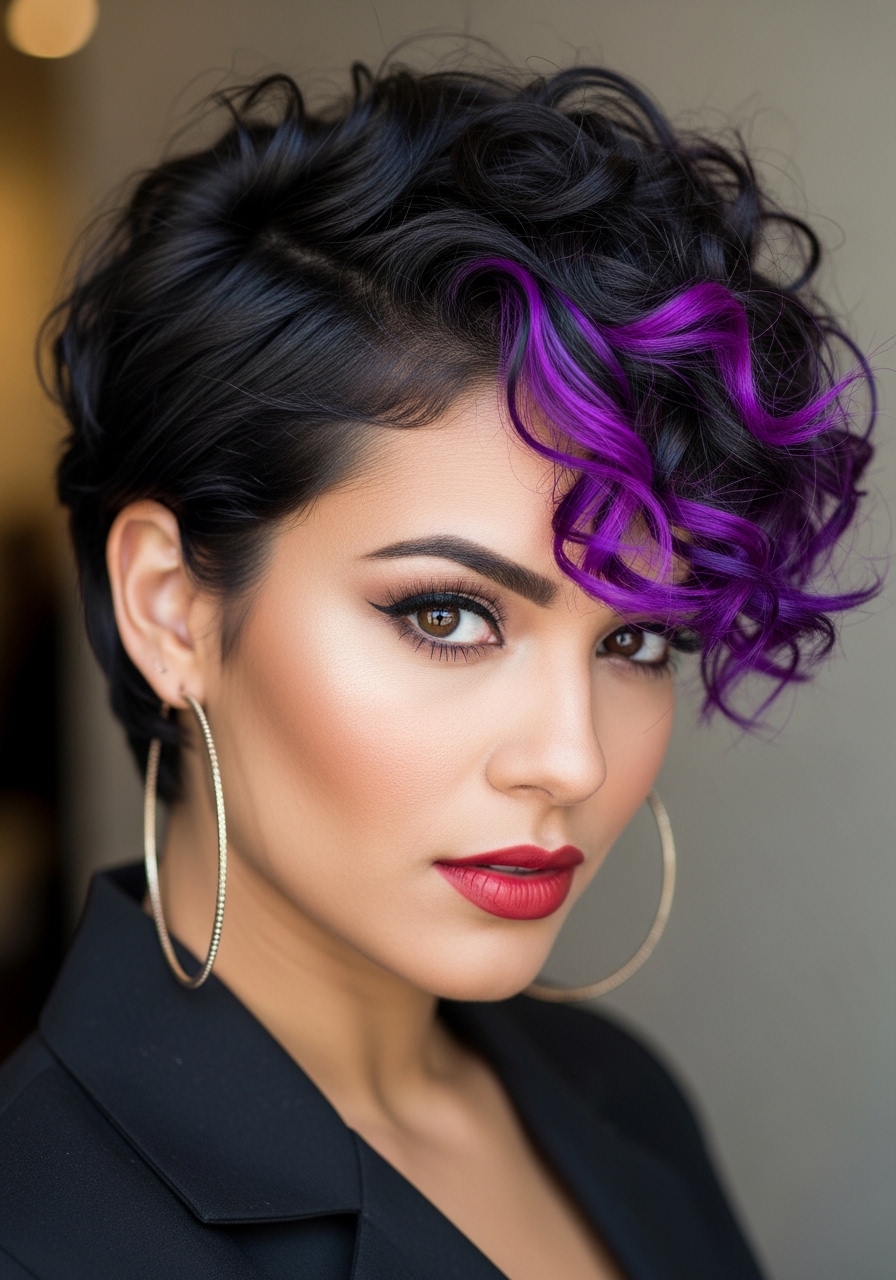
Use temporary color wax (available in tubes) to paint a single streak through your pixie. It washes out in one shampoo but gives you a fearless, creative edge.
50. The Confidence Crown (Your Best Accessory)

After all the products, tools, and techniques, the most important element is how you carry yourself. A textured pixie is a bold choice. Wear it with pride, experiment fearlessly, and remember: your hair is an expression of your unique, fabulous self. The confidence you bring is the ultimate finishing touch.
Maintaining Your Textured Pixie Between Cuts
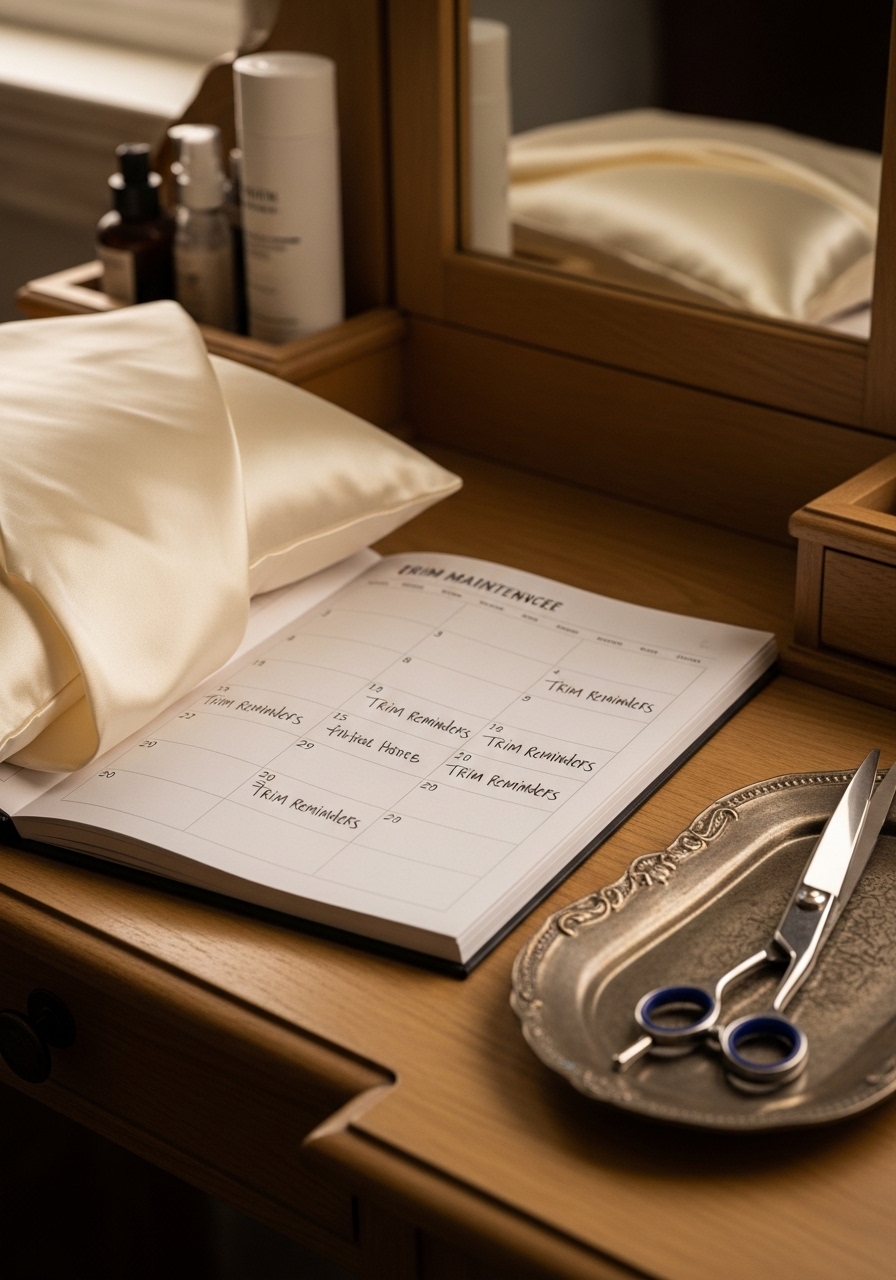
To keep your pixie looking sharp, a few maintenance tips are crucial. Regular trims are essential—every 6-8 weeks—to maintain the shape and prevent your hair from becoming a round bob. Invest in a good satin pillowcase to minimize friction and frizz while you sleep. Don’t overwash your hair; co-washing (washing with conditioner) can be a great way to refresh your curls without stripping them of natural oils.
Embrace the Boldness of Your Textured Pixie

A pixie cut on textured hair is more than a hairstyle; it’s an act of self-love. It’s about embracing the beautiful, unique pattern that grows from your head and having the confidence to wear it short and proud. With these 50 ideas (the original 13 plus 37 fresh twists), you have a full arsenal of styles to choose from, ensuring you never have a boring hair day again. So go ahead, play, experiment, and let your textured pixie be the ultimate expression of your fabulous self.
Your Textured Pixie Journey Starts Now
The beauty of short textured hair is that it changes with your mood. One day sleek, the next day wild. One day accessorized, the next day free. These 50 ideas are here to inspire you, but your creativity is the real limit. Grab your products, stand in front of the mirror, and have fun. Your perfect pixie moment is just a few finger coils away.