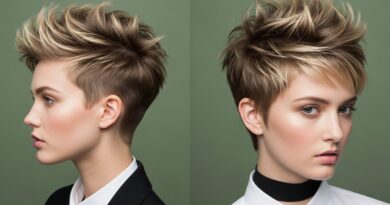
Sock 23 Bun Ring Alternatives Flexible for Oval Shapes
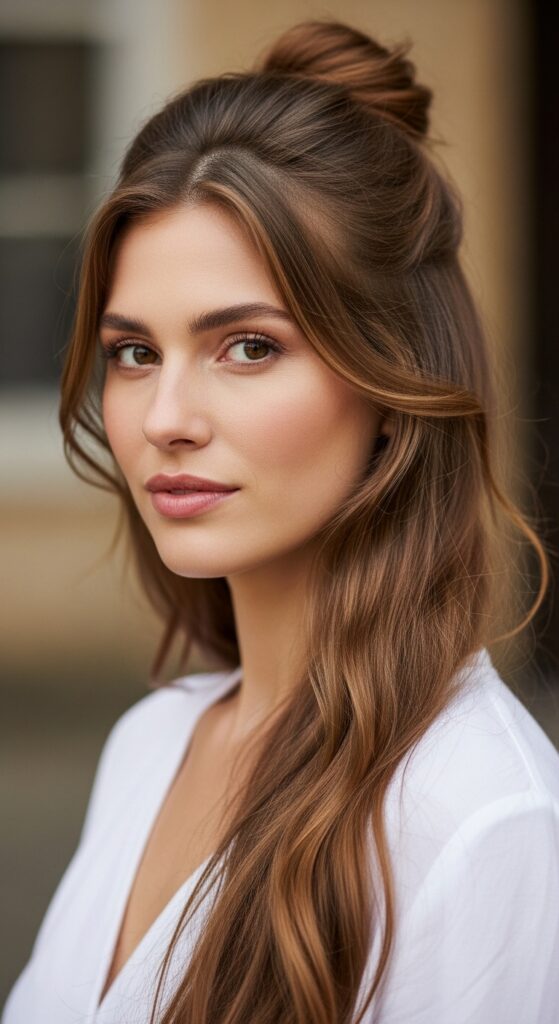
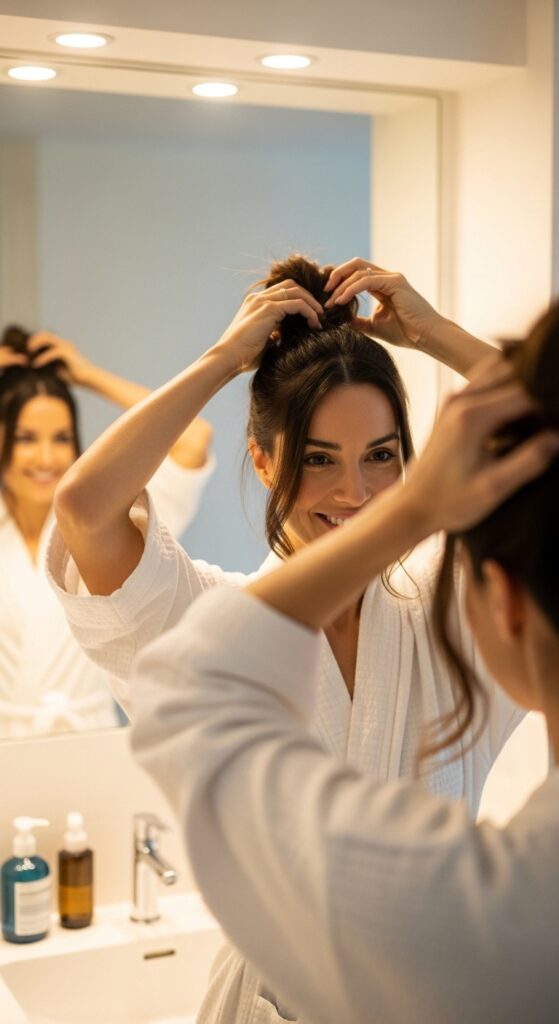
Okay, let’s be real. We’ve all been there. You see a gorgeous, voluminous sock bun tutorial, grab your trusty sock ring… and it just doesn’t work. For my fellow oval-shaped face friends, getting that perfect, rounded shape can feel impossible. The classic donut gives us a weird, elongated look instead of that soft, romantic ballerina vibe.
But I’m here to tell you to ditch the frustration, not the style. You can absolutely get that beautiful, full bun. We just need to get a little creative with our tools.
This is your ultimate guide to flexible, oval-friendly bun makers. We’re moving beyond the basic sock ring to find alternatives that give you control, volume, and that “effortlessly chic” look. Let’s dive in and finally solve this hair puzzle together.
Why the Classic Bun Ring Fails Oval Faces
It’s all about geometry. A standard bun ring is a perfect circle. When you place it on an oval head shape, which is longer than it is wide, it can accentuate that length. Instead of creating width and balance, it pulls the eye up and down, making the face appear even longer.
We need tools that add width and softness around the temples and sides. The goal is to create the illusion of a more rounded shape, which is super flattering for oval faces. The right tool helps you place volume strategically.
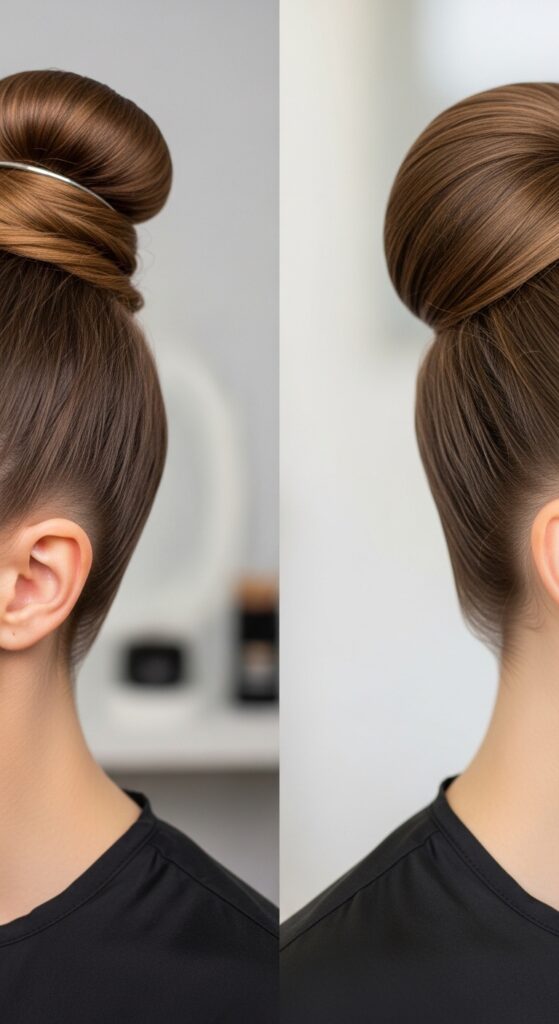
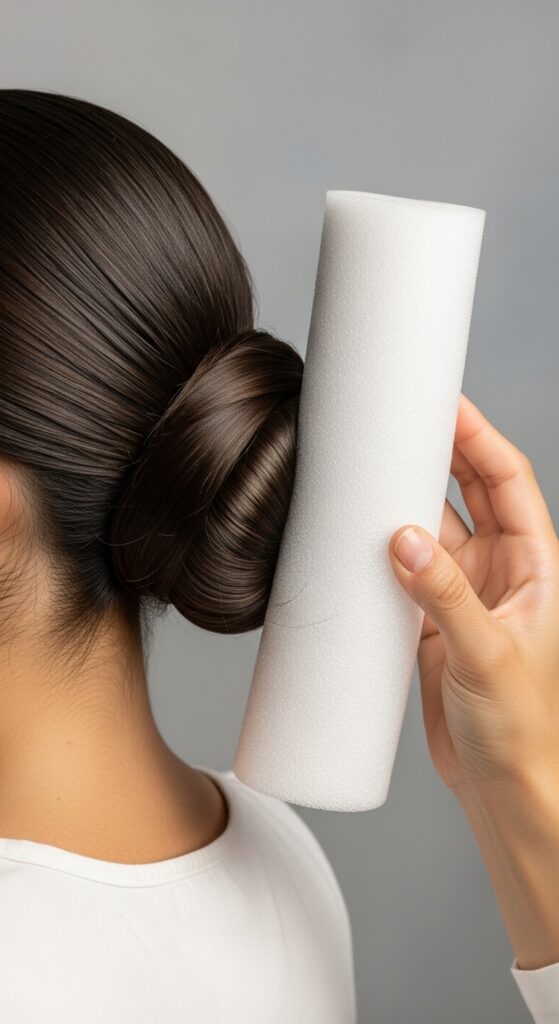
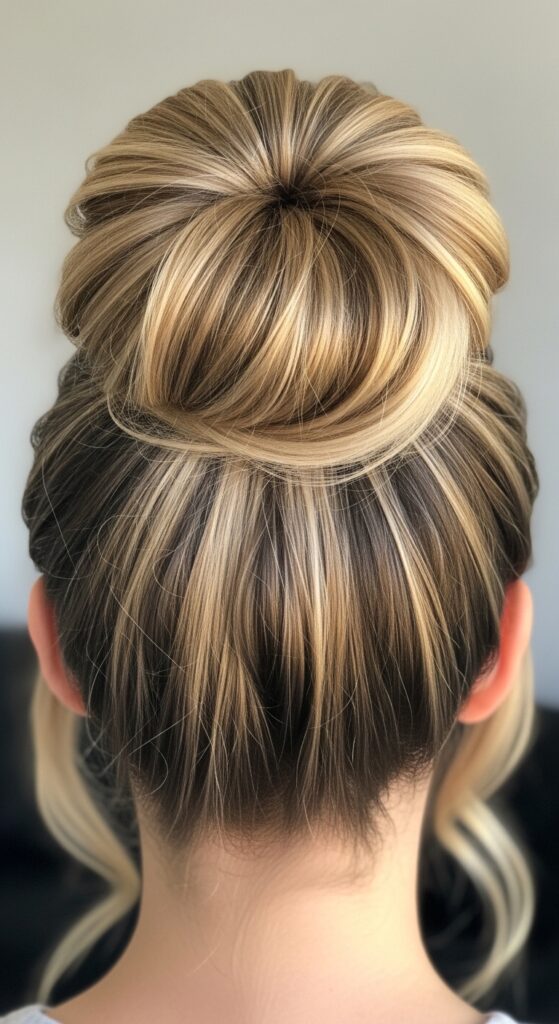
Your #1 Alternative: The Flexi-Rod Bun
This is my holy-grail method. Take a large, flexible foam roller (the kind you’d use for curls). Don’t roll your hair into it. Instead, pull your ponytail through the center, just like a donut, but then distribute your hair around the rod’s length.
Because it’s long and flexible, you can shape it. Bend it into a slightly wider, more oval shape that complements your face. Wrap your hair around it and secure. The result is a bun with beautiful, soft width.
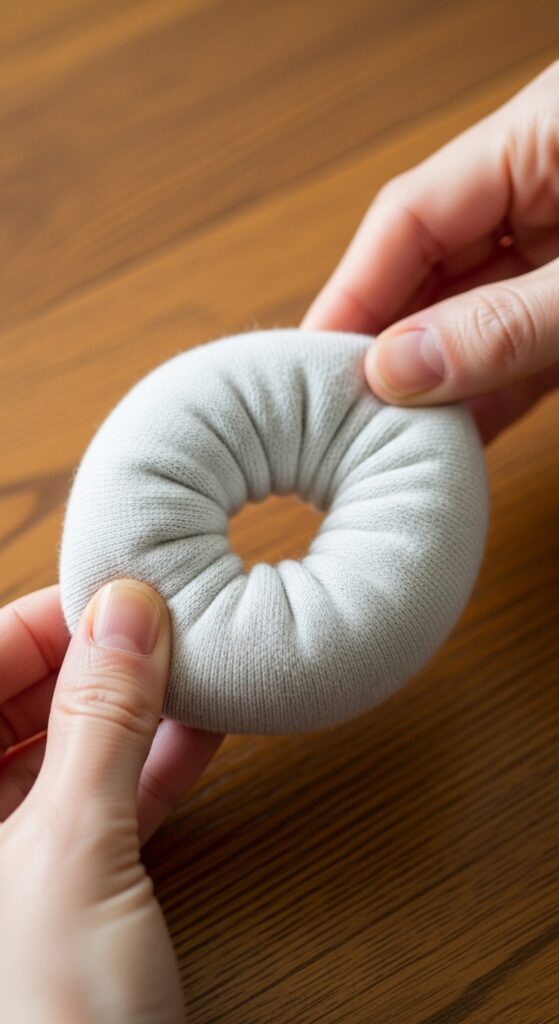
The Sock Trick… But Better
Don’t throw out your socks just yet! The key is to not use the sock as a tight ring. Cut the toe off a knee-high sock and roll it into a soft, pliable donut. Before you put your ponytail through, gently pull and shape the sock into a wider, flatter oval.
This gives you a malleable base. When you wrap your hair, focus on spreading it side-to-side across the sock’s width, not packing it into a tight ball. Secure with pins through the sock’s material for hold.
Hair Ties & The “Twist” Base
For a truly custom shape, skip the insert altogether. Create a low ponytail and twist it tightly. Then, wrap it around the base, but as you coil, use your fingers to press and shape the twist into a wider, flatter coil against your head.
Secure with bobby pins as you go. This method gives you complete control. You can make the bun as wide or as narrow as you want, perfectly tailoring it to balance your features. It’s a great technique for an old money hair look—polished but not perfect.
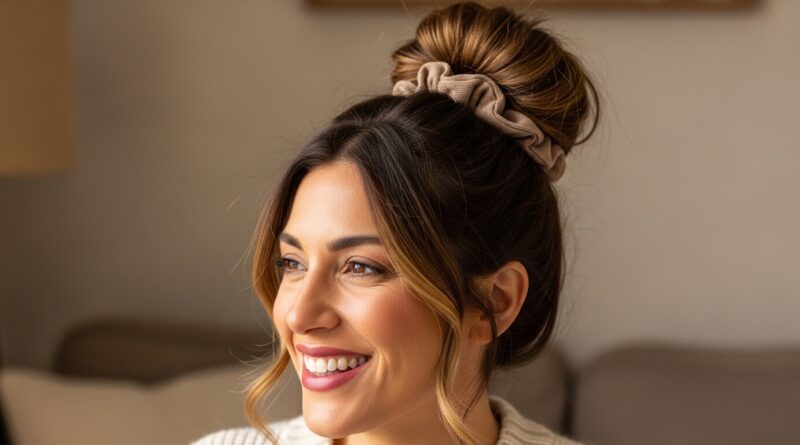
Using a Scrunchy as a Bun Form
A large, fabric scrunchie is a fantastic hidden helper. Pull your hair through a scrunchie like you’re making a half-ponytail, but only pull it halfway through, so the scrunchie is hidden at the base. Then, fan your hair out around the scrunchie and use it as a padded base to wrap the ends around.
The scrunchie adds instant, soft volume and, because it’s not a rigid circle, it conforms to your head’s shape. This is the quickest, easiest alternative for a messy, chic bun.
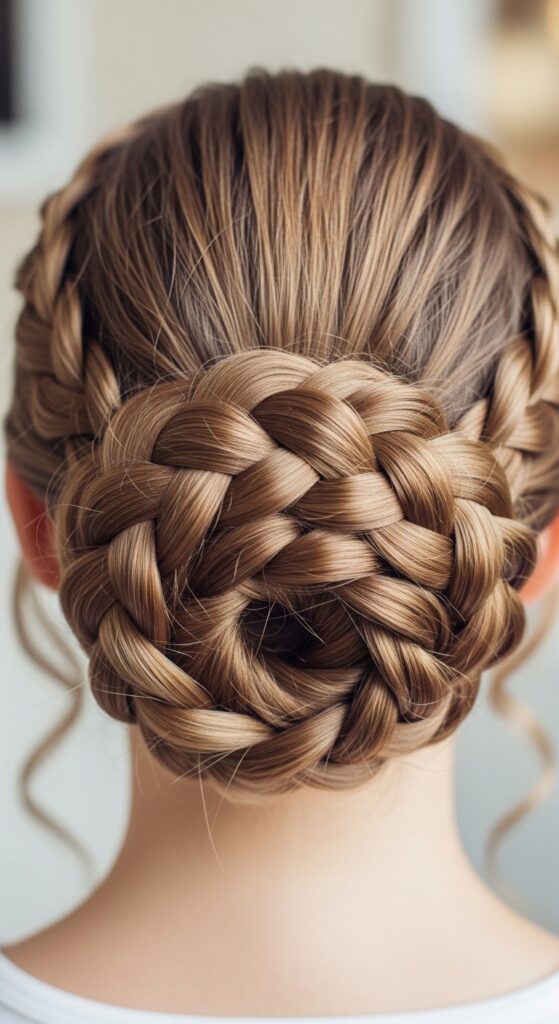
Braided Bun for Built-In Width
Start with a simple braid—a classic three-strand or a loose fishtail. Then, instead of wrapping a ponytail, wrap the braid. The texture and structure of the braid naturally creates a wider, more interesting bun shape.
Pin it in place, tucking the end under. You can pancake (gently pull) the braid sections to make it even wider. This adds beautiful detail and is a perfect transition into 2026 hairstyles that focus on texture.
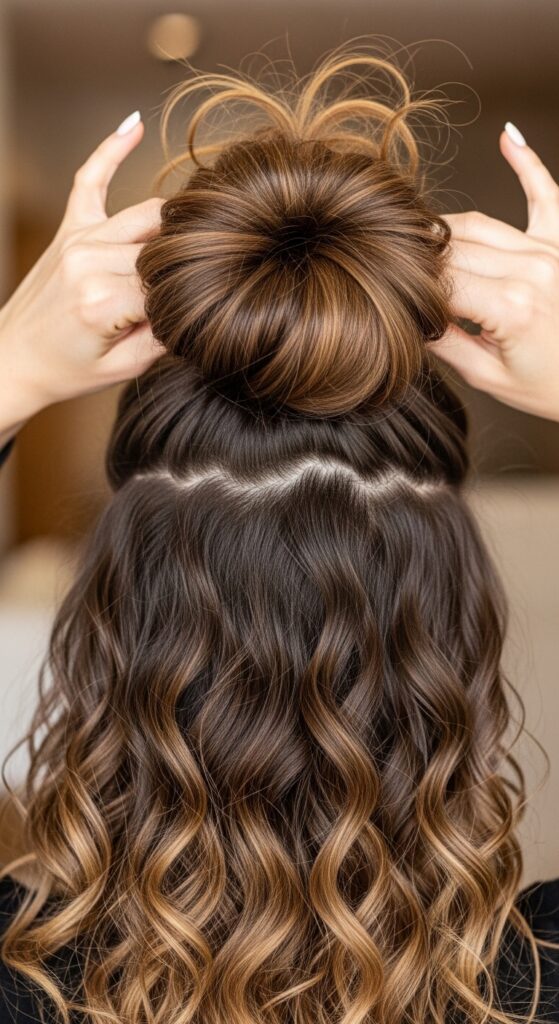
The “Puff” or Bubble Bun Method
This is playful and super flattering. Make a high ponytail and secure it with a clear elastic every few inches down the length, creating “bubbles.” Gently pull on each section to puff it out.
Then, take the last bubble and tuck it under the base of the ponytail, forming a wide, rounded bun. Pin securely. The multiple elastics give you a structured yet voluminous shape that’s naturally wider than it is long.
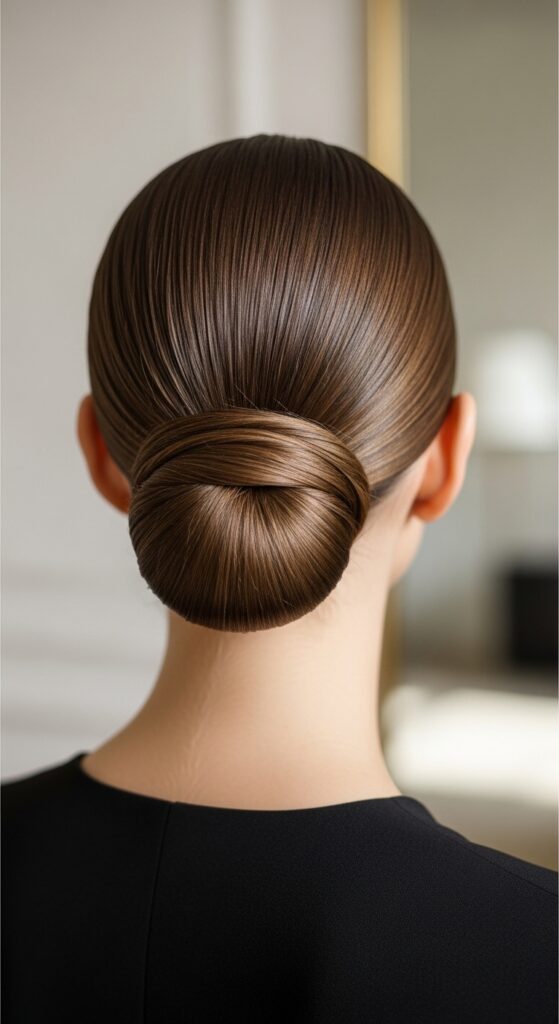
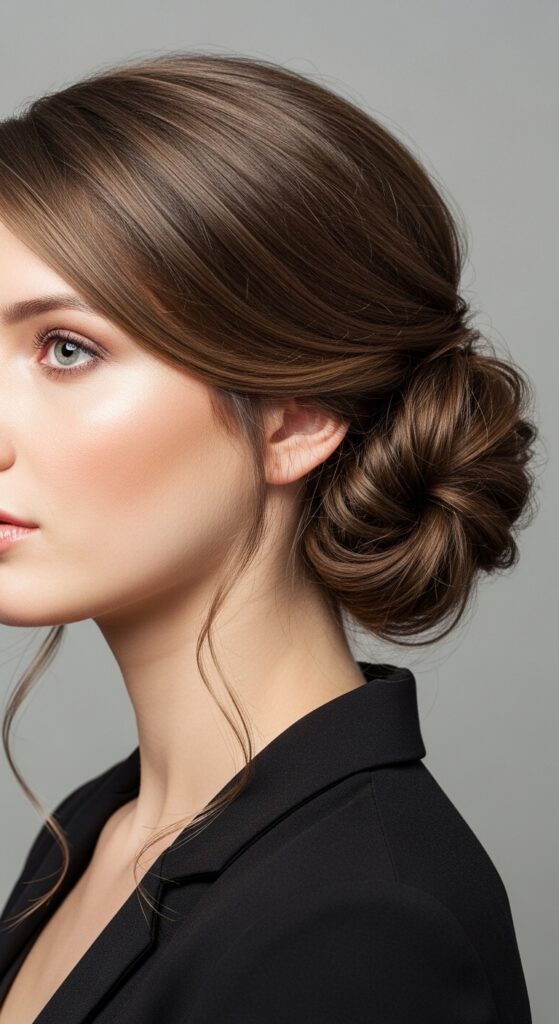
Low, Wrapped Bun for Quiet Luxury
The quiet luxury bob has its cousin in the bun world. For a low, elegant style, use the twist method but keep it very sleek. After twisting, wrap the hair flat against your head, focusing the volume at the sides, near your ears.
Use a boar bristle brush and a light-hold gel to smooth every flyaway. The goal is a silent, polished statement. It’s the perfect bun for a board meeting or a fancy dinner.
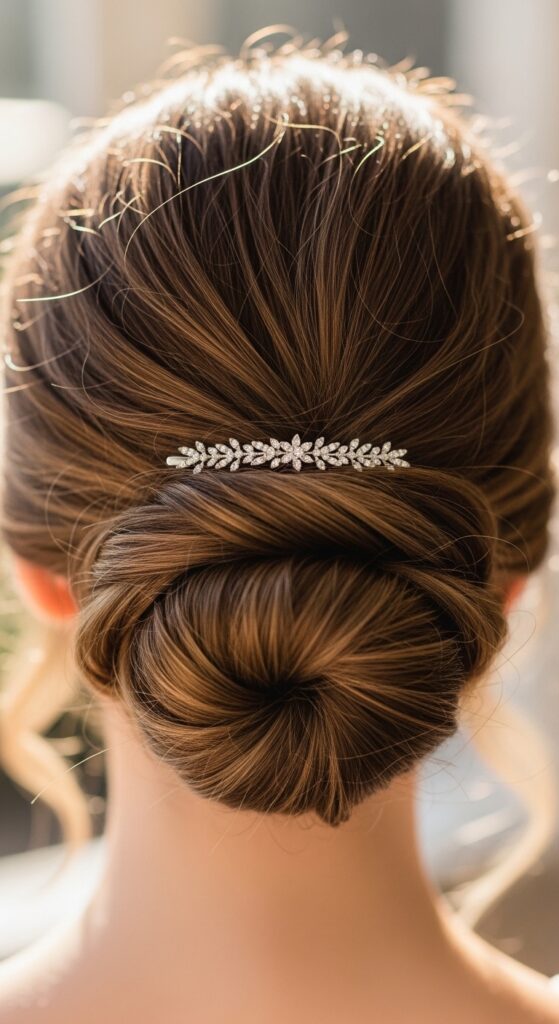
Incorporating Hair Accessories
Use accessories to draw the eye horizontally. After creating your bun, slide a delicate, embellished clip or a thin, sparkly headband horizontally along the side of the bun. This breaks up the vertical line and adds a touch of glitchy glam hair energy.
Choose accessories with details that sit wide. A wide-barreled clip or a headband with a side detail can visually “push” the style out, creating the balance we want.
Half-Up Bun for Balance
Sometimes the solution is to not put all your hair up. A half-up, half-down bun instantly creates width with the hair left out. Take a section from the crown, twist it loosely, and wrap it into a small bun using one of the oval-friendly methods above.
Let the rest of your hair flow down. This frames your face beautifully and the smaller bun is easier to shape. It’s a romantic, easy style that works for any hair length.
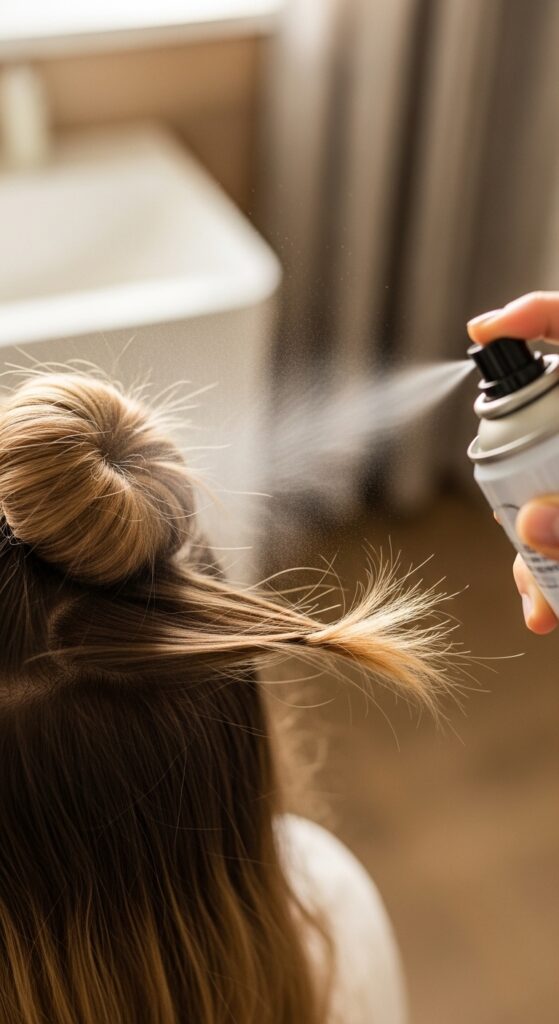
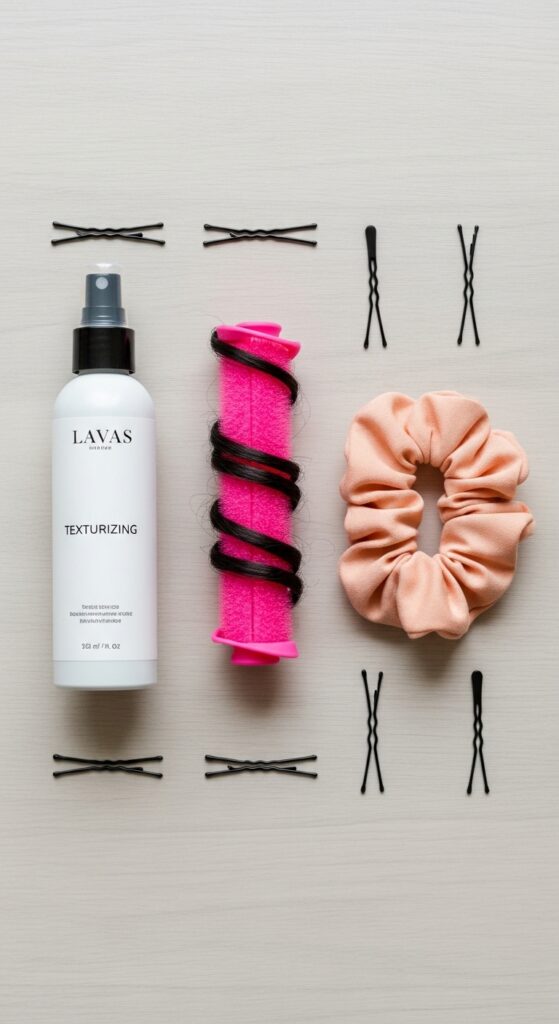
Texturizing Spray is Your Best Friend
Volume at the roots and texture in the lengths are crucial. Before making your bun, spritz a texturizing or volumizing spray at your roots and through your mids. This gives your hair more grip and body.
Hair with texture wraps easier and holds a wider shape better than slippery, freshly-washed hair. It also helps hide any pins or the base of your bun maker for a seamless look.
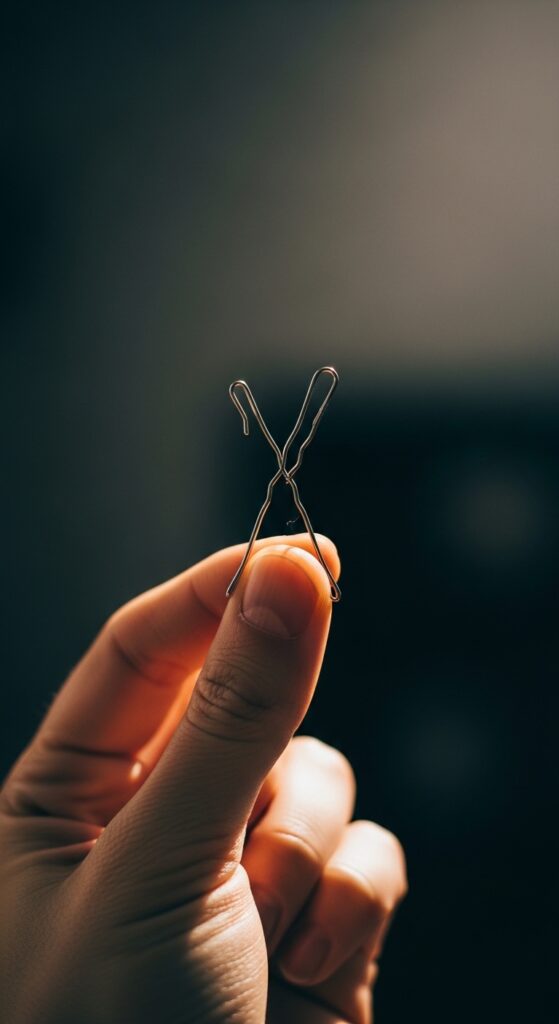
Mastering the Bobby Pin Cross
Pinning is everything. For a secure, wide bun, use the “cross” method. Instead of sliding a pin straight in, cross two pins into an “X” over a section of hair. This locks the hair in place far more securely than a single pin.
Place these crossed pins at the widest points of your bun, near the left and right edges. This anchors the width you’ve created and prevents sagging throughout the day.
Learning from the Asymmetrical Lob
Take inspiration from the asymmetrical lob. You can apply this principle to your bun! Create a side-parted bun, or wrap your bun so it sits slightly off-center. A little asymmetry naturally breaks up the long lines of an oval face.
It feels modern and cool. Try a low bun that rests on the side of your neck, or a high bun placed slightly back from the hairline. It’s an instant update.
Embracing Romantic Goth Vibes
For a romantic goth hairstyles twist, add some dark, delicate accessories. Think a black velvet ribbon woven through the base of your bun, or small, silver claw clips shaped like moons or crosses placed at the sides.
Keep the bun shape soft and wide—think romantic, not severe. The contrast of a soft shape with dark, intricate details is absolutely stunning and perfect for oval faces.
The Modern Hime Cut Influence
The hime cut is all about strong, straight lines around the face. While we’re doing an updo, we can borrow that idea. When you make your bun, leave out two distinct, long front pieces.
Blunt-cut these pieces (or fake it with a straightener) and let them frame your jawline. This creates a beautiful horizontal line that balances the length of your face and the height of the bun.
Vampire Haircut Texture
The vampire haircut is all about shaggy, lived-in layers. If you have layers, use them! When wrapping your bun, don’t try to tame every wisp. Let your shorter layers and pieces fall out naturally around your face and the nape of your neck.
This creates a soft, ethereal halo that widens the silhouette. It makes the style look effortless and cool, not overly done.
Heatless Curls for Bun Volume
Starting with day-old heatless curls is a game-changer. The natural wave gives your hair incredible body and grip. When you wrap it into a bun, the texture automatically creates a fuller, wider shape with lots of dimension.
It also means you can use fewer pins. The hair kind of locks onto itself. This is a great trick for achieving those soft, romantic styles you see everywhere.
Choosing the Right Hair Color Dimension
Balayage or face-framing highlights aren’t just for down-dos. Lighter pieces around your face, when pulled up into a bun, create a visual widening effect. The eye is drawn to the light, which can make your face appear broader at the temples.
Talk to your stylist about placing color strategically to enhance your updo styles, not just your waves.
Practice Makes Permanent
Don’t get discouraged if it’s not perfect on the first try. Hair is a skill. Set aside 10 minutes before your next shower (when you’re about to wash it anyway) to practice one of these methods.
Try different placements—high, low, side. See what feels most comfortable and looks best in your mirror. Muscle memory is real, and soon you’ll be able to do it in seconds.
Your Quick-Start Action Plan
- Grab a large flexi-rod or a scrunchie from your stash.
- Add texturizing spray to day-old hair.
- Make a mid-height ponytail (not too high or low).
- Use your chosen tool to wrap a bun, focusing on spreading hair side-to-side.
- Secure with crossed bobby pins at the sides.
- Pull out a few face-framing pieces and mist with hairspray.
Final Touches & Hairspray Tips
Always finish with a light-hold, flexible hairspray. Hold the can about 10 inches away and mist all over. Then, use your hands to gently press and shape the bun one last time.
This removes any “helmet head” stiffness and lets the shape settle naturally. For extra flyaway control, spray a tiny bit on a toothbrush and gently smooth down any wispies.
So there you have it! A whole new world beyond the sock bun ring. The trick isn’t finding one magic tool, but understanding that you have the power to shape your hair to flatter you perfectly. It’s about technique, not just the gadget.
With these flexible alternatives, you can create everything from a sleek, quiet luxury look to a textured, romantic updo. Your oval face is your canvas, and now you have the right brushes.
I’d love to hear which method you try first! Did the flexi-rod trick work for you, or are you a scrunchie bun convert? Tell me all about your hair wins in the comments below!
Save this post to Pinterest so you can always come back to these tips when you need a quick, flattering updo. Trust me, your future self on a busy morning will thank you.