Routines 27 Chronometer Timed Steps Optimizing Morning Efficiency Max
Okay, let’s be real. The morning struggle is universal. You hit snooze one too many times, and suddenly you’re choosing between doing your hair or being on time. I’ve been there more times than I’d like to admit.
But what if you could have both—a gorgeous, intentional hairstyle and an extra 20 minutes back in your day? That’s the dream, right?
I got obsessed with timing my routine to find the fluff. The result? A 27-step, chronometer-timed system that gets me from bed to out the door in record time, with a salon-worthy look. It’s not about rushing. It’s about smart, efficient steps.
This is my exact blueprint for optimizing morning efficiency to the max. Let’s get those minutes back.
1. The Night-Before Reset (5 Minutes Max)
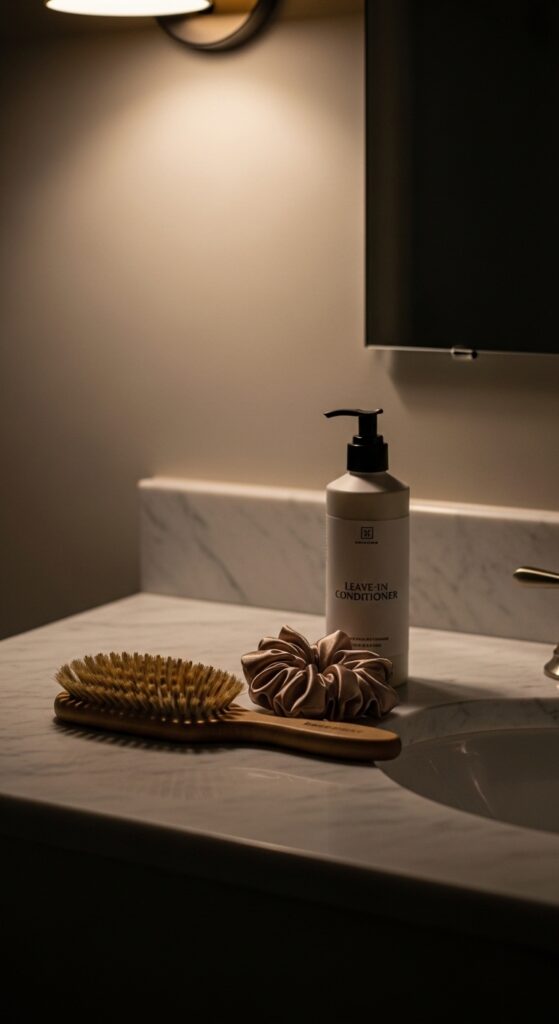
Your morning actually starts the night before. This five-minute reset is non-negotiable. It sets the stage for a smooth, tangle-free canvas, saving you a major fight later.
I do three things without fail. First, a quick brush-through with a detangling brush. Second, I apply a leave-in conditioner to my ends if they’re feeling dry. Third, and most importantly, I put my hair up in a loose, high ponytail with a silk scrunchie.
- This prevents overnight knots and frizz.
- It also preserves any wave or volume you have.
- You wake up with hair that’s already halfway managed.
2. The 60-Second Scalp Wake-Up

Before you even touch a product, wake up your scalp. This boosts circulation, which promotes healthier hair and adds natural volume at the roots. It feels amazing and takes literally one minute.
I do this while my face wash is on or as the coffee brews. Use the pads of your fingers (not nails) and make small, firm circles all over your head. Start at the hairline, work to the crown, then down to the nape of your neck.
This simple step creates a foundation of lift. It makes styling any look, from an old money hair smooth style to a voluminous vampire haircut, infinitely easier because you’re starting with body.
3. Strategic Shower Timing & Product Application
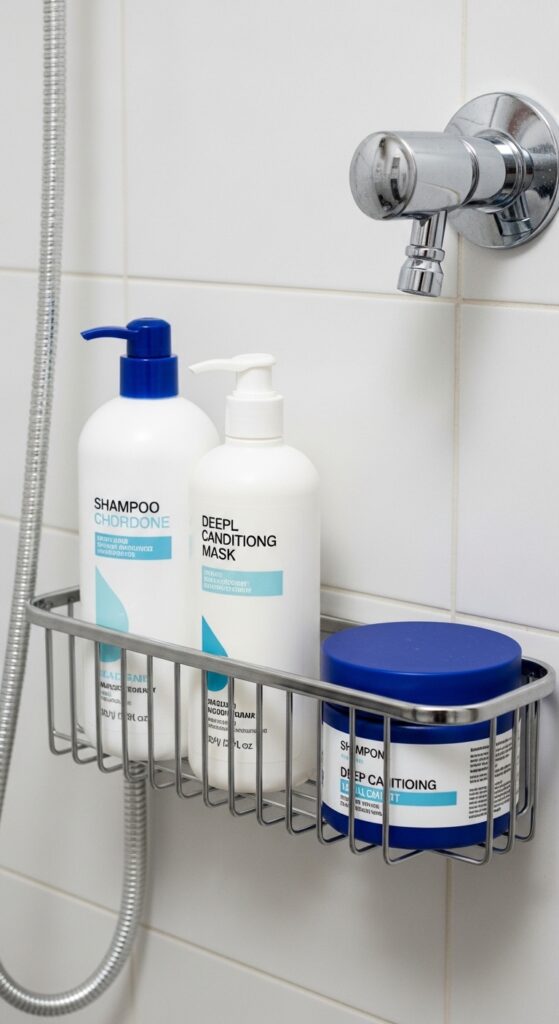
If you wash your hair in the morning, strategy is key. I follow a strict “apply and wait” method. I hop in, shampoo, and then apply conditioner or a mask immediately.
While the conditioner soaks in for its recommended 3-5 minutes, I wash my body and shave. This is parallel processing at its finest. You’re not just standing there; you’re being productive.
Rinse with cool water for the last 10 seconds to seal the hair cuticle. This adds shine, a key element for that quiet luxury bob glass-like finish, and reduces frizz before you even start styling.
4. The Perfect Towel Blot (Not Rub!)

This is a tiny step with huge impact. Never, ever rub your hair with a towel. It causes breakage and insane frizz. The goal is to remove excess water without disturbing the hair cuticle.
I use a microfiber towel or an old, soft cotton t-shirt. I lean forward, gather my hair, and gently squeeze from the ends up towards the scalp. I repeat this a few times until it’s not dripping.
For longer hair, I’ll then loosely twist it up into the towel turban-style while I do my skincare. This gets it out of the way and continues the blotting process passively.
5. The Heat Protectant Mandate

Do not skip this. Ever. Applying heat protectant to damp hair is the single best thing you can do to prevent long-term damage. It creates a barrier, allowing you to style with less guilt and better results.
I spray it section by section to ensure even coverage, focusing on the mid-lengths and ends where hair is most fragile. I then use a wide-tooth comb to distribute it evenly from root to tip.
This is the base for every heat-styled look. Whether you’re going for sleek 2026 hairstyles trends or textured romantic goth hairstyles, this step ensures your hair stays healthy-looking.
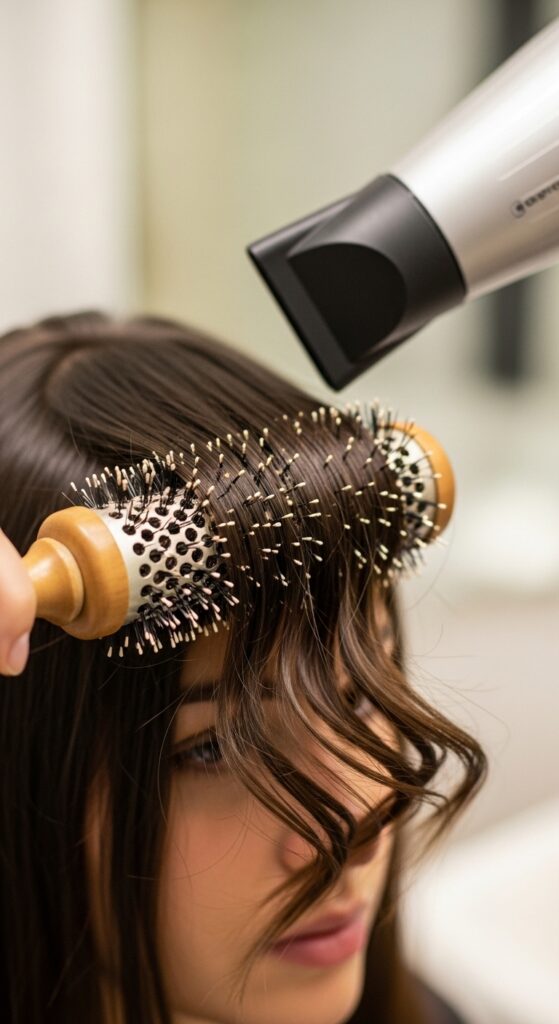
6. The Targeted Rough-Dry
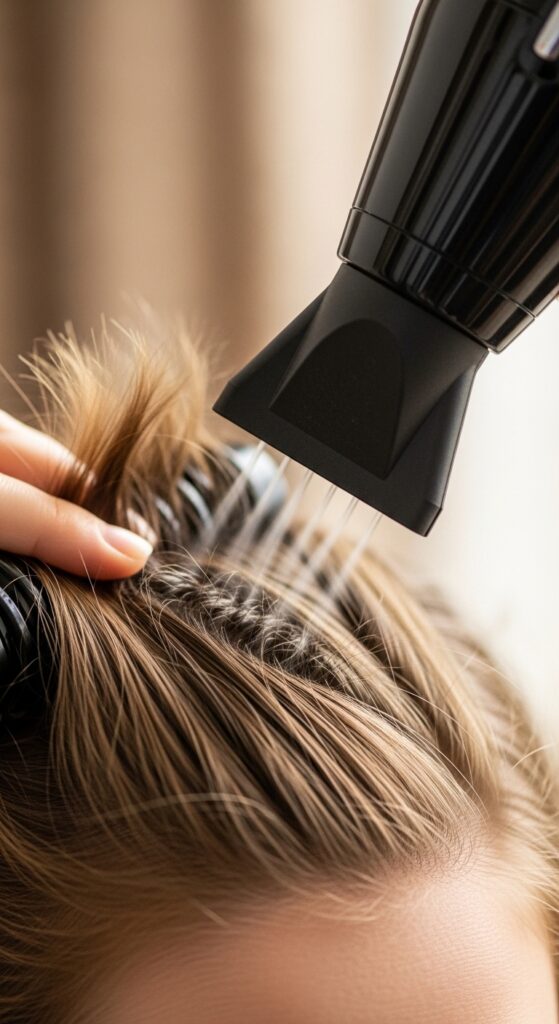
You don’t need to fully blow-dry your hair to perfection. The goal here is to get it about 80% dry, focusing on the roots. Dry roots are the secret to lasting volume and faster overall styling.
I use a dryer with a concentrator nozzle. I flip my head upside down and dry the roots at the nape and crown first. I use my fingers to lift the hair at the root as I dry.
I then flip back and part my hair where I want it, drying the roots along that part. I leave the ends slightly damp. This method saves at least 5-7 minutes of full blow-drying time.
7. Quick-Cool Set for Volume

This takes 15 seconds and locks in the volume you just created. After you’ve dried a section of roots with heat, hit the “cool shot” button on your dryer. Blast the cool air directly at the roots for a few seconds.
The cool air sets the hair’s shape. It’s like using hairspray at the root level but without any product buildup. It makes the volume last all day long.
I do this all along my part and at the crown. It’s a game-changer for fine hair and essential for any style that needs lift, like a modern hime cut with its bold, full fringe.
8. Pre-Styling Product Application
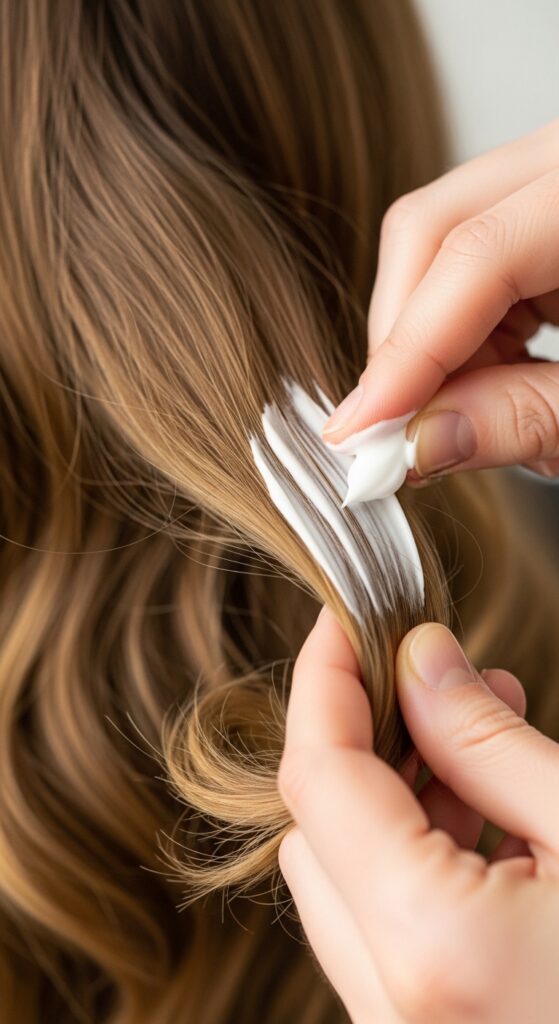
Now, with hair 80% dry, apply your pre-styling product. This depends on your goal. For waves, I use a texturizing mousse. For sleek looks, a smoothing cream. For texture, a sea salt spray.
The key is to apply it to the mid-lengths and ends only—avoid the roots you just volumized. I rub the product between my palms and then scrunch or smooth it through.
This is where you decide the day’s direction. Is it a sleek asymmetrical lob day or a piecey, glitchy glam hair day? The product choice here sets the stage.
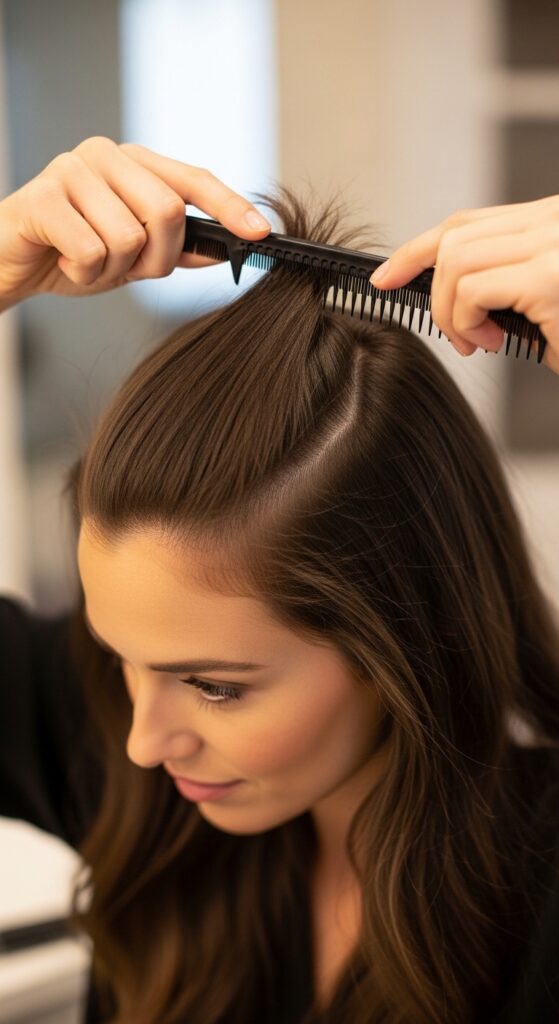
9. The Sectioning Strategy
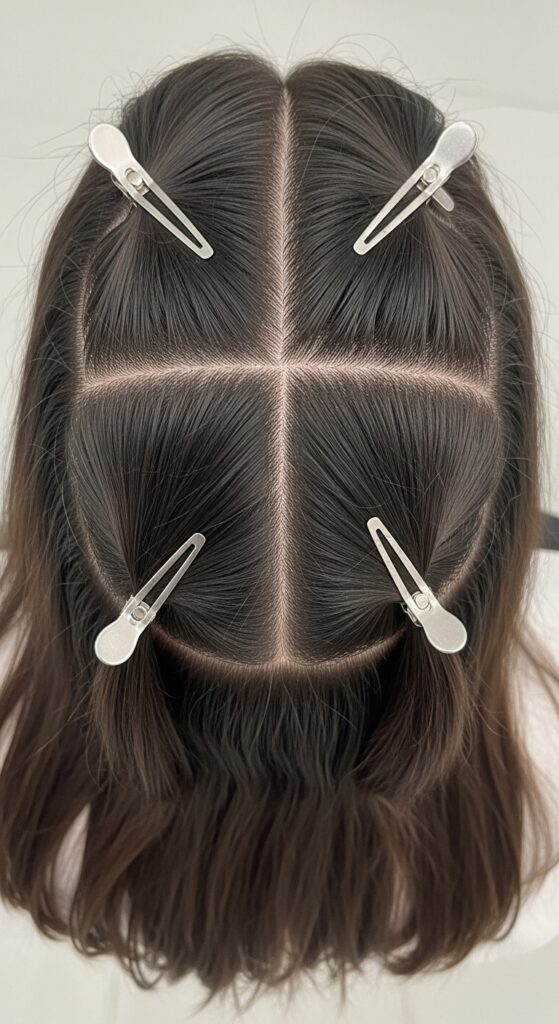
Don’t try to style all your hair at once. It’s messy and inefficient. Sectioning is what the pros do, and it actually speeds everything up. I use four basic clips.
I create a part from ear to ear across the crown. I clip the top section up. Then I split the back bottom section into two (left and right). I leave the front/side sections down.
Working in these controlled, smaller sections means your styling tool makes perfect contact with every strand. You get a more polished result in half the time, with fewer missed pieces.
10. The Fast Flat-Iron Flip
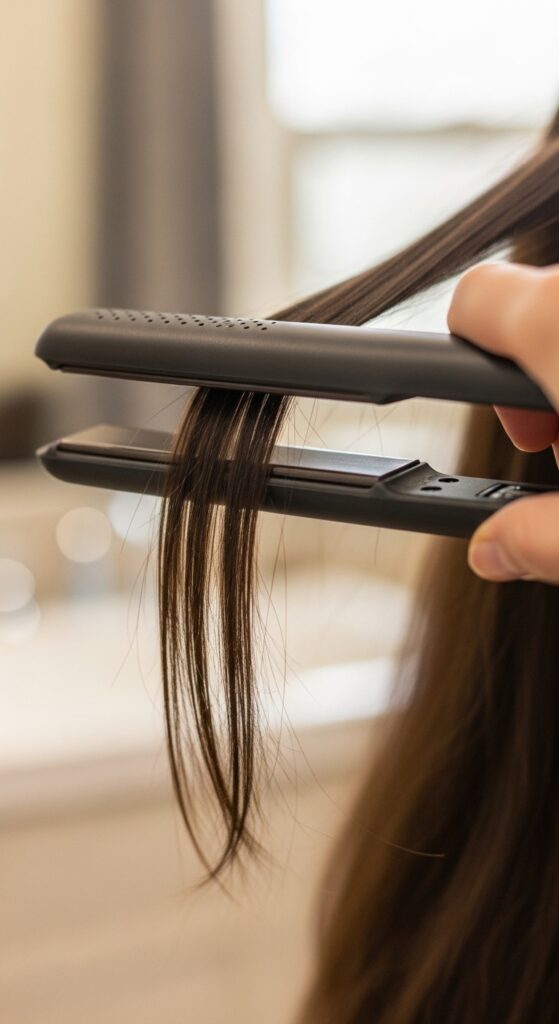
For a sleek look, this is your fastest tool. Take a small, thin section from your clipped-up area. Clamp the iron near the root and glide it down in one smooth motion.
Don’t go over the same section multiple times. One confident pass is enough, especially with a good heat protectant. This creates that Instagram-smooth finish in minutes.
This technique is perfect for nailing the iconic quiet luxury bob or adding sharp, clean lines to an asymmetrical lob. It’s all about precision and speed.
11. The 90-Second Curling Wand Wave
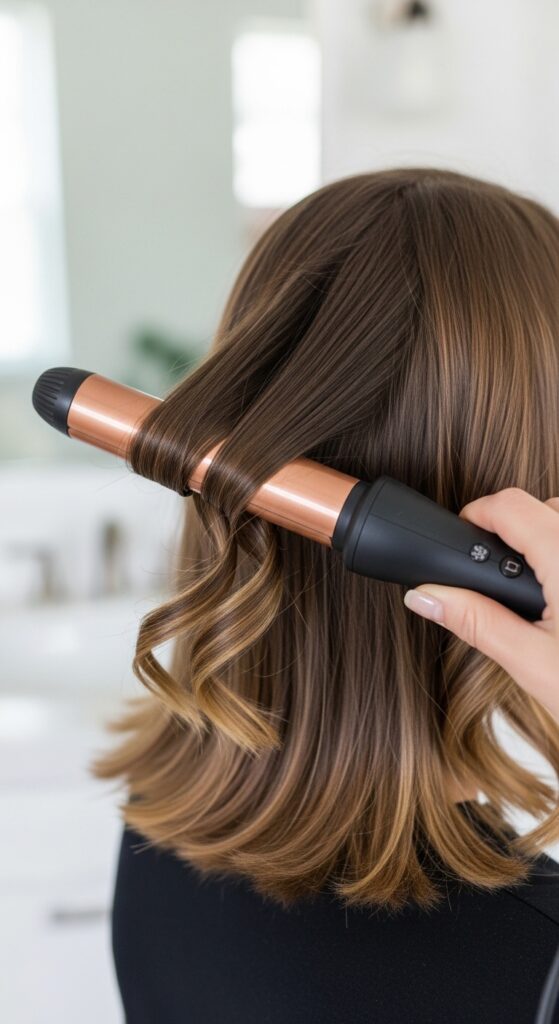
For loose waves, a large-barrel curling wand is faster than a traditional iron. I take a slightly larger section. I clamp the wand about halfway down the hair shaft, wrap the hair around it, and hold for 8-10 seconds.
I release the curl and don’t touch it! Let it cool. This “set” creates a longer-lasting wave. I alternate the direction I wrap each section for a more natural, lived-in look.
This gives you that “I woke up like this” wave perfect for old money hair aesthetics or soft romantic goth hairstyles. It’s deliberately imperfect and chic.
12. The “Pencil Curl” for Texture
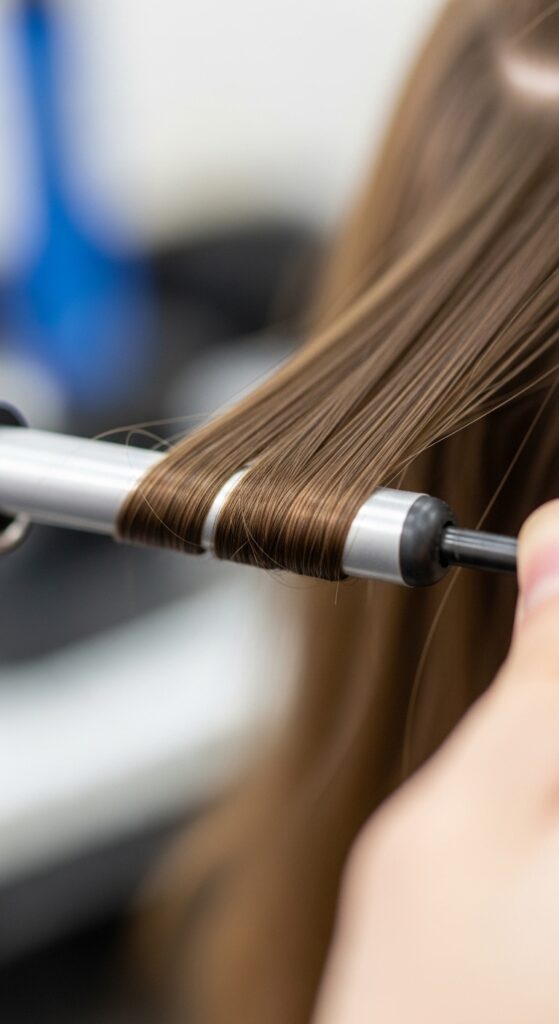
Want more defined texture or a piecey look? Use a smaller barrel (like a pencil-sized iron). Take tiny, vertical sections. Wrap the hair tightly around the iron and hold for a few seconds.
When you release, you’ll have a tight spiral. Don’t brush it out yet! Let all these cool completely. This technique builds intense texture and is the first step for glitchy glam hair or edgy 2026 hairstyles.
You only need to do this around your face and in the top layers for impact. It’s a strategic texture boost that doesn’t need to be applied to your whole head.
13. The “Run & Go” Round Brush Technique
If you want a bouncy, salon blowout effect, this is your move. Take a section of hair, place a large round brush under it near the roots, and wrap the hair around the brush.
Point the dryer down the hair shaft as you slowly pull the brush through to the ends. The key is slow tension and following with the heat. Do this only on your top and face-framing layers for focus.
It gives a gorgeous, turned-under shape to ends, ideal for a classic bob or adding polish to any look. It feels fancy but gets fast with practice.
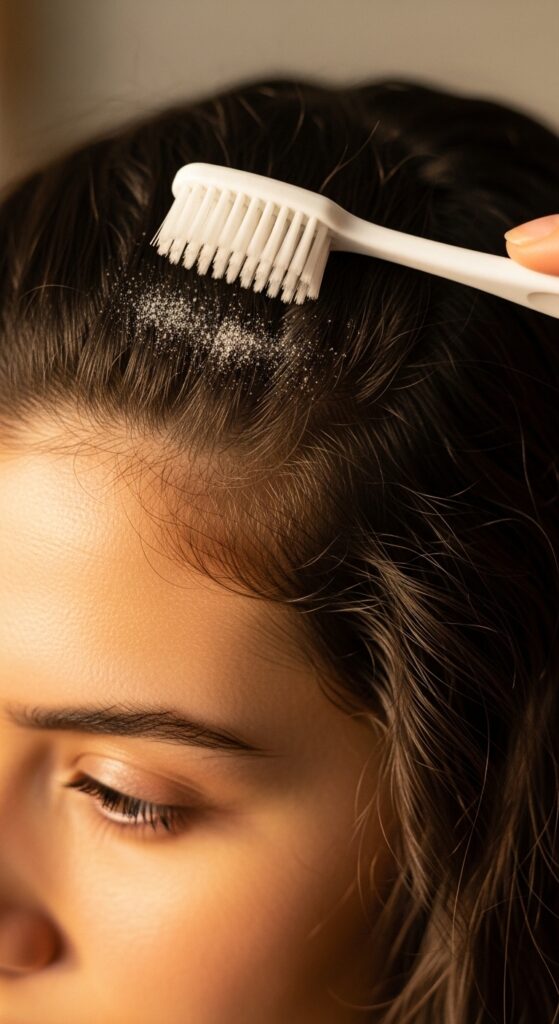
14. The Strategic Tease (30 Seconds)
Need instant volume at the crown? Teasing is not outdated; it’s effective. But be strategic. I only tease the very top layer at my crown, in a section about two inches wide.
I hold that top layer up, take the hair beneath, and backcomb it at the roots with a fine-tooth comb—just two or three strokes. Then I gently smooth the top layer back over it.
This gives you hidden lift without any visible tease. It’s essential for styles like the vampire haircut or hime cut that rely on dramatic silhouette and height.
15. The Cool-Down Command
This is a passive but critical step. After all heat styling, walk away. Let your hair cool down completely before you brush, touch, or style it further. I use this time to do my makeup or get dressed.
As the hair cools, the style sets. If you mess with it while it’s still warm, the shape will fall out faster. Cooling locks in the curl, wave, or smoothness.
Patience here pays off in all-day hold. It’s the difference between your waves lasting until dinner or falling flat by noon.
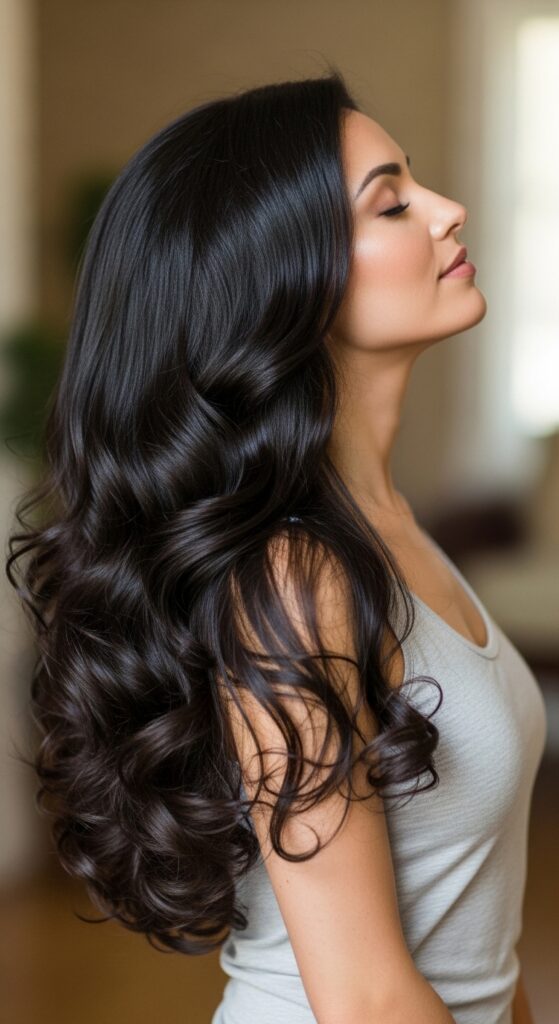
16. The Final Brush-Out & Shape
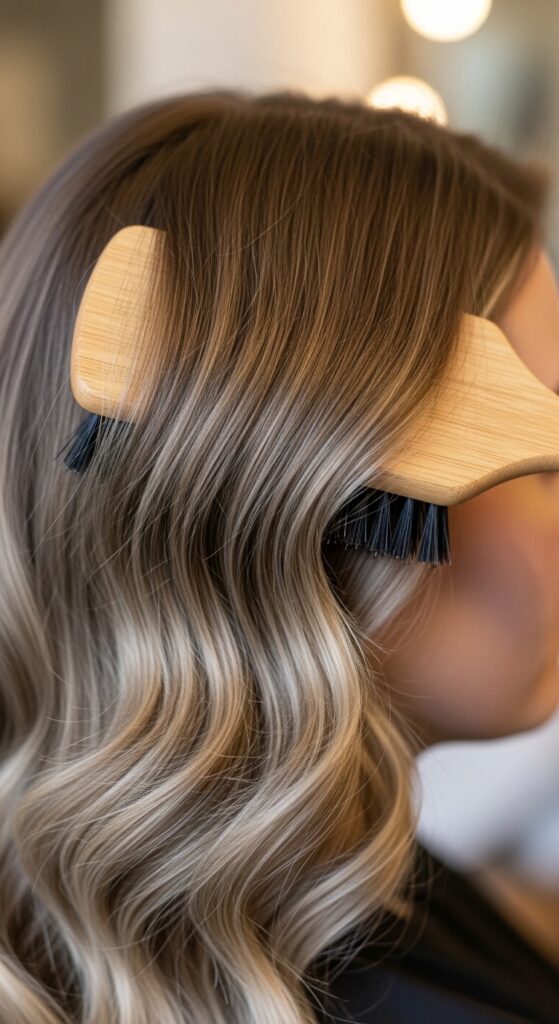
Once your hair is completely cool, it’s time for the final brush-out. I use a flexible, paddle brush or even just my fingers. Gently brush through all the waves or curls you created.
This marries all the sections together, softens any too-tight curls, and creates a unified, effortless shape. For a sleeker look, a light brush-through with a boar bristle brush adds shine.
This is where your glitchy glam hair becomes piecey, or your tight curls become soft romantic goth hairstyles waves. It’s the transformative finish.
17. The Pin-and-Spray Hold Method
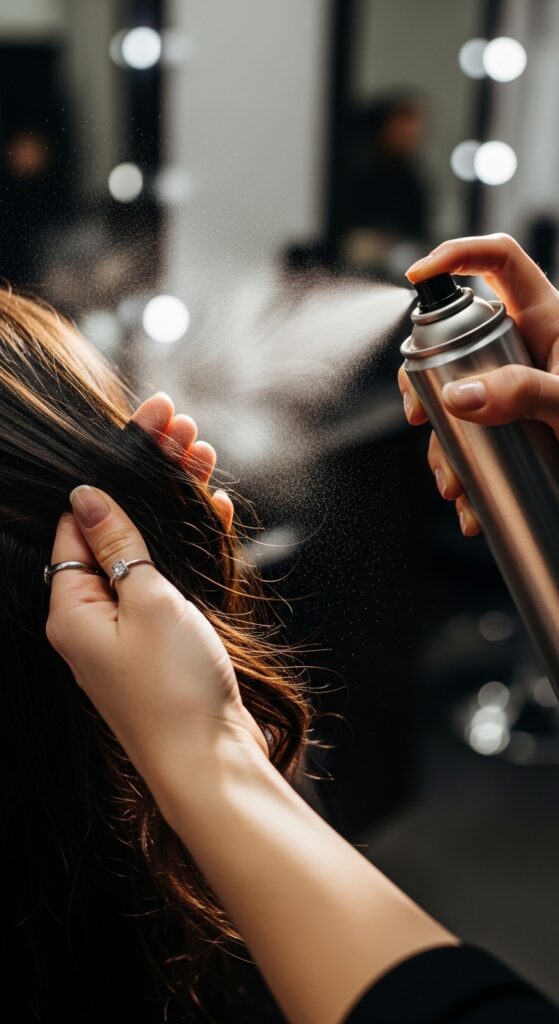
For hold, don’t just spray into a cloud. Be targeted. If I want my side part to stay, I lift the section at the part, spray the *underside* at the root, then place it back.
For curls, I use a “scrunch and spray” method. I lightly scrunch the curls in my hand and mist the hairspray *into* my hand, letting it coat the curls without making them crunchy.
This uses less product, provides better hold, and avoids that stiff, helmet-head feeling. It’s all about strategic application.
18. The Flyaway Tamer Dash
Those little baby hairs and flyaways can ruin a polished look fast. My 30-second fix? A clean, disposable mascara wand or a small toothbrush sprayed with a tiny bit of hairspray.
Gently brush the flyaways flat against your head, following their direction. The light hold from the sprayed brush tames them without globbing on product.
This is the final polish that makes any style—from a sharp asymmetrical lob to a fluffy vampire haircut—look intentionally perfect, not messy.
19. The Accessory Grab
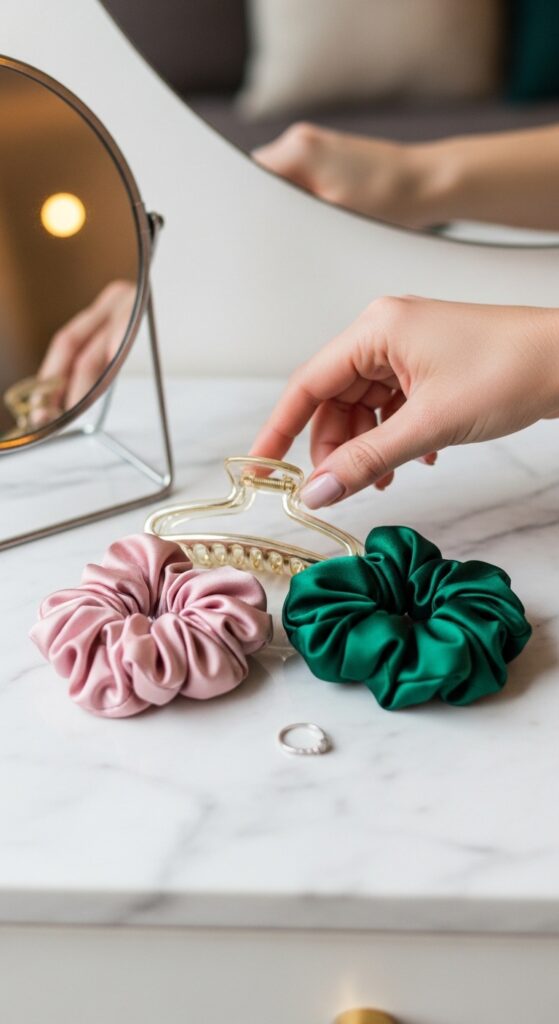
Have your go-to accessories in one easy spot. A claw clip, a silk scrunchie, a couple of elegant pins. If your style isn’t holding or you need a change by midday, you’re prepared.
I often start with my hair down and toss a clip or scrunchie in my bag. By afternoon, I can throw it up into a chic, quick updo without messing up the style I worked on.
This is part of the old money hair practicality—effortless adaptability. It extends the life of your morning effort.
20. The Final Mirror Check & Adjust
Do a final 360 in the mirror. Check the back—is it balanced? Is your part straight? This is your chance to fix one last stray piece or adjust the volume.
I keep a hand mirror by my big mirror to see the back easily. This 30-second check ensures you’re walking out the door feeling 100% confident, with no surprises.
It’s the closing ritual. A quick spritz of perfume, a smile, and you’re done. You’ve mastered your morning and your look.
And that’s it, friend. Twenty-seven steps might sound like a lot, but when they’re timed and streamlined, they flow together in a shockingly short routine. The goal was never to add more work, but to work smarter with the time you have.
The real magic is in the consistency. Doing these efficient steps regularly turns them into muscle memory. You stop thinking and just start doing, freeing up mental space for the rest of your day.
You’ll find your own rhythm within this framework. Maybe you perfect the 90-second wave, or maybe the sleek flip becomes your signature. The power is in having a system that gives you back the choice.
Save this post to Pinterest to keep this routine handy for your next rushed morning! Did any of these steps surprise you? What’s your biggest morning hair struggle? Let me know in the comments—let’s troubleshoot together.