
Effortless Beach Braid Tutorial for Vacation Days by the Water
Somewhere between the ocean and my iced coffee, I realized the perfect vacation hairstyle isn’t about effort at all. It’s about looking like you just rolled out of bed, walked ten steps to the water, and somehow still look like a magazine cover. This beach braid tutorial is exactly that vibe.
I’ve tested this style on actual beach days, pool days, and boat days. It holds up through dips, wind, and that one friend who always messes with your hair. And the best part? You only need five minutes and two hands.
Let’s do this together, braid by braid. So grab your hair tie and that slightly sandy hair from yesterday. By the time you finish reading, your braid will look like you spent an hour perfecting it at a seaside salon. No heat tools. No panic. Just easy, pretty hair that matches your tan and your slow vacation pace.
Why This Braid Wins the Day

Beach braids are having a real moment in 2026 hairstyles, and honestly? I get it. This one style keeps every strand off your sunscreen-covered shoulders while still looking like you planned it.
It works on wet hair, dry hair, yesterday hair, and even baby-fine hair. Once you get the hang of it, you can do it in five minutes with your eyes half closed.
That is the kind of low-effort, high-payoff hair we all need on vacation.
What You Need (It’s Short)
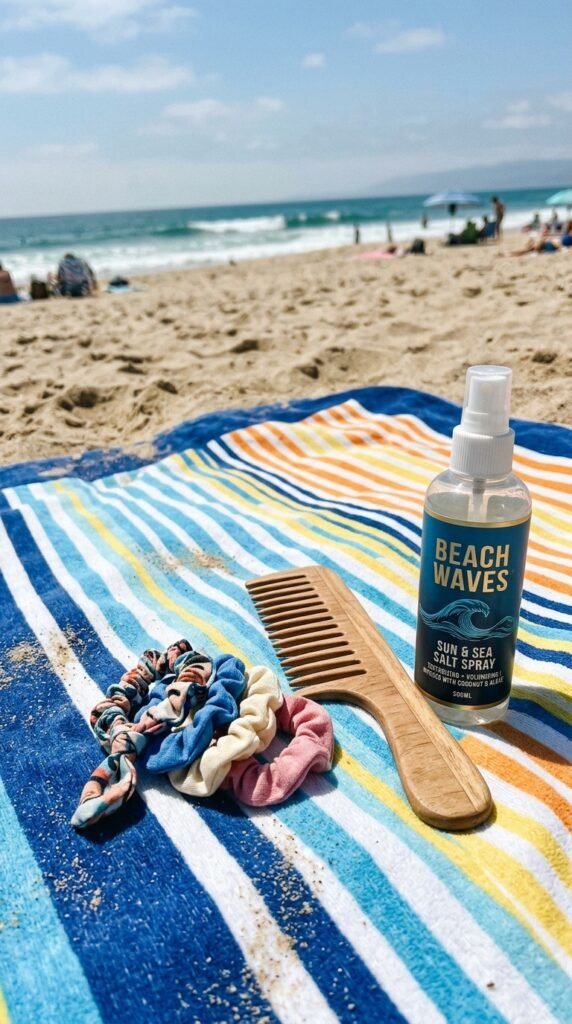
Most hair tutorials want you to buy an armful of gadgets. This one doesn’t. Before you start, find these three things:
- One soft hair elastic that won’t snag
- A wide-tooth comb, or honestly, your fingers
- Sea salt spray or plain water in a spray bottle
If you want a little extra shine, grab a drop of hair oil too. That’s the whole kit. You probably have it all in your beach bag right now, which is exactly the point.
How to Prep Hair for Salt Water

Vacation hair is already doing the most, so start gentle. If your hair is dry, mist it with fresh water before you hit the ocean. Wet hair soaks up less salt water than thirsty, dry hair.
- Lightly spray, then scrunch
- Add one dab of leave-in conditioner to the ends
- Skip the hot tools. The salt water will create all the texture you need.
This little prep step keeps your braid soft instead of straw-like by the end of the day.
Step One: Finger-Comb Through
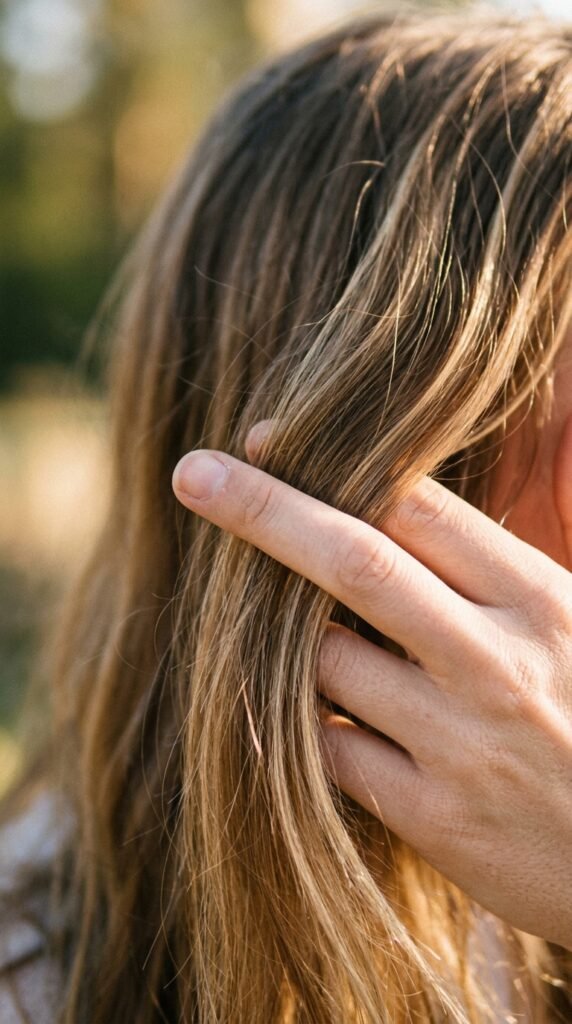
I don’t want you to touch a brush. Brushing sand or salt-roughened hair just creates frizz and breakage. Instead, run your fingers from your scalp to your ends, loosening knots gently.
Starting with slightly damp, day-old hair gives the braid the grip it needs. If your hair is freshly washed and too silky, dampen it a touch or spray in some sea salt.
That tiny bit of grit is what makes the braid hold without feeling stiff.
Step Two: Pick Your Part
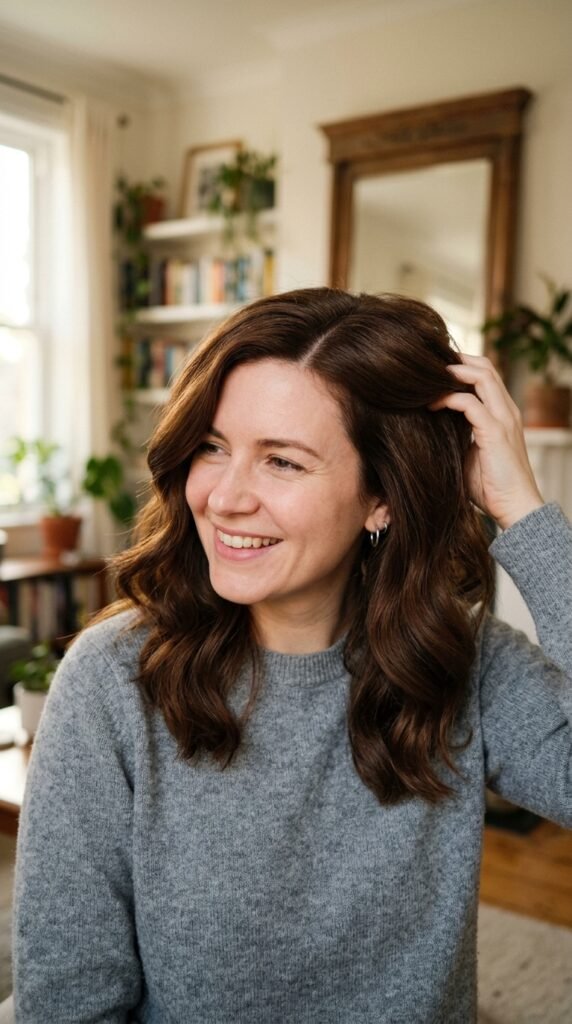
Decide where you want the braid to sit. A deep side part gives that old-school, windblown movie moment.
Sweep your hair to one side, whichever side you usually part, then run your fingers down from the front to keep the line soft.
Don’t obsess over it being straight. A slightly uneven part makes the whole style look more lived-in.
Step Three: Split and Braid
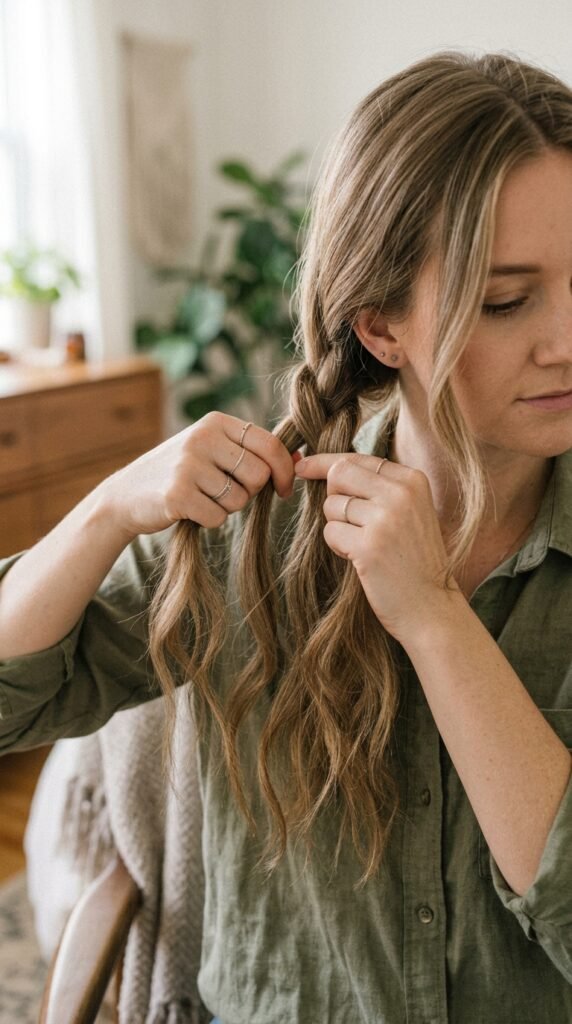
Here is the actual braid, and it’s simpler than you think:
- Pull all your hair to your preferred side.
- Divide it into three even sections at the base of your neck.
- Cross the right section under the middle, then the left section under the new middle.
- Keep braiding until you reach the ends.
Braid underhand instead of overhand. It gives you more volume when you loosen it later. And don’t tighten as you go. Leave a little air in each loop so the braid stays soft.
Step Four: Secure and Relax
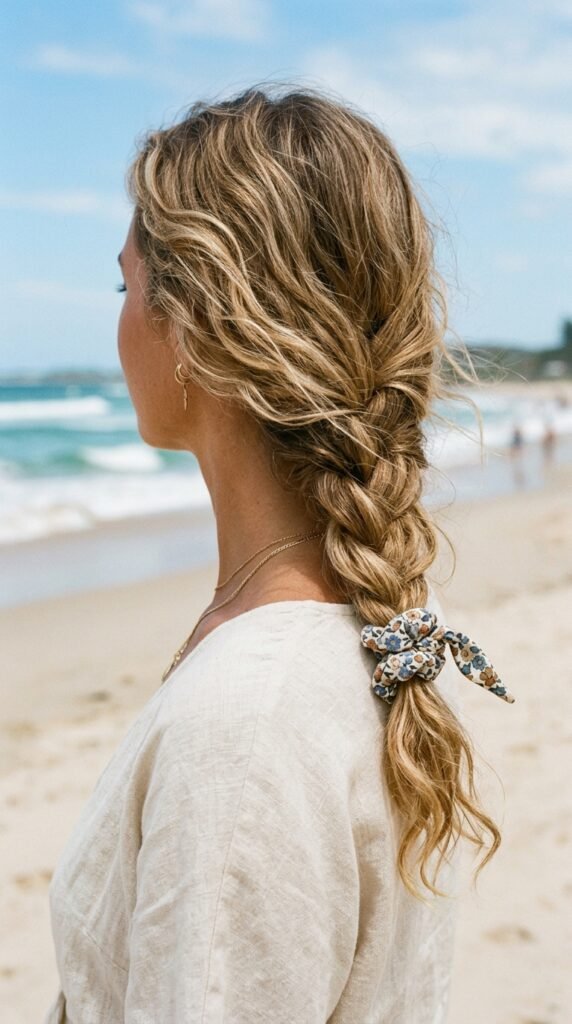
Secure the braid with your soft elastic. Do not tighten it until it pinches. Two or three gentle wraps is plenty.
Most people braid too tight against the head, which makes the whole thing look stiff. Instead, slide the elastic down to the last inch of hair rather than right at the base.
Then wiggle the braid side to side so it settles naturally away from your neck. We’ll loosen the loops in the next step.
Step Five: Loosen the Whole Braid
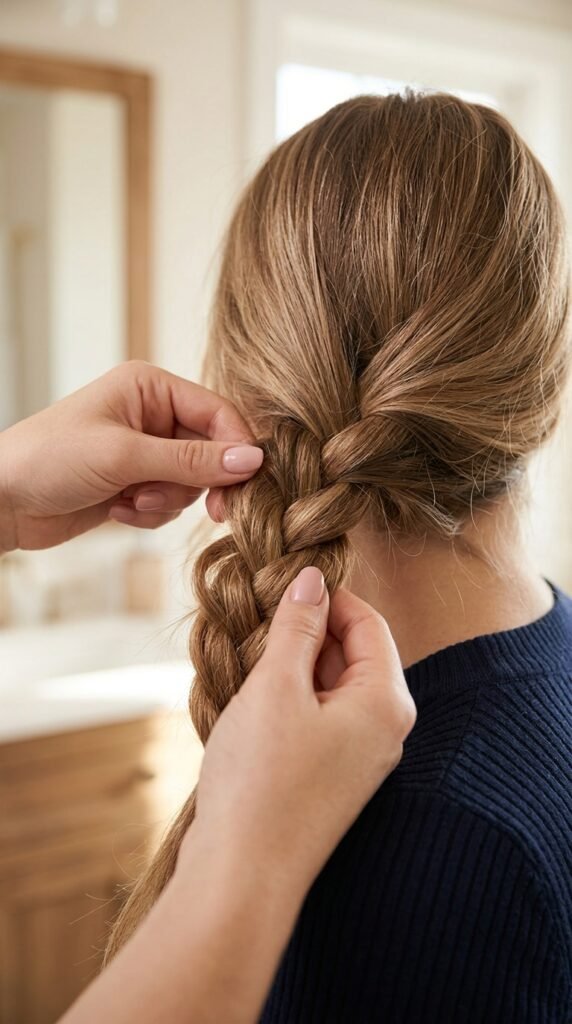
This is where the magic happens. Hold the braid near the bottom with one hand, then work with the other:
- Pinch the outer edge of each braid stitch and pull it away from the center
- Start in the middle and work your way down
- Pull out a few face-framing strands near your temple
- Stop before it starts looking messy
The result is a soft, piecey braid that somehow looks both polished and effortless at the same time.
The Old Money Hair Finishing Touch

The old money hair trend is all about quiet polish, and this braid fits right in. Finish by smoothing down the top with a little water or hair oil.
Run the oil on the back of your hands and press it over flyaways so everything looks intentional.
Then leave a soft section loose around the ear. That little detail is the difference between beach messy and expensive-casual.
If You Have a Quiet Luxury Bob

You can still do this tutorial with a quiet luxury bob. Your braid will just be shorter, and that is adorable.
If you can’t gather enough length to braid past your ear, try a mini side braid along the hairline. Secure it with a tiny clear elastic right at the ear.
Keep the rest of your bob sleek and tucked behind the ear. It looks like a salon detail without the salon appointment.
The Asymmetrical Lob Hack

For my asymmetrical lob girlies, focus on the longer side of your cut. A lob tends to sit right at the collarbone, which makes a full braid tricky.
Instead of forcing all your hair into one braid, braid just the front pieces that frame your face and let the rest fall naturally.
This styled compromise keeps your cut visible while still giving you that beachy, braided feel.
A Hime Cut-Friendly Version

The hime cut has those straight, blunt pieces around the face, and honestly, they deserve to stay out. When you pull your hair to the side, leave the face-framing sections down.
Braid only the back portion and let those hime pieces fall forward, hitting exactly above your jaw.
- Section off the front panels first
- Braid the back portion loosely
- Release the front pieces once you’re done
It feels editorial but still beachy and light.
Romantic Goth Beach Braid Twist
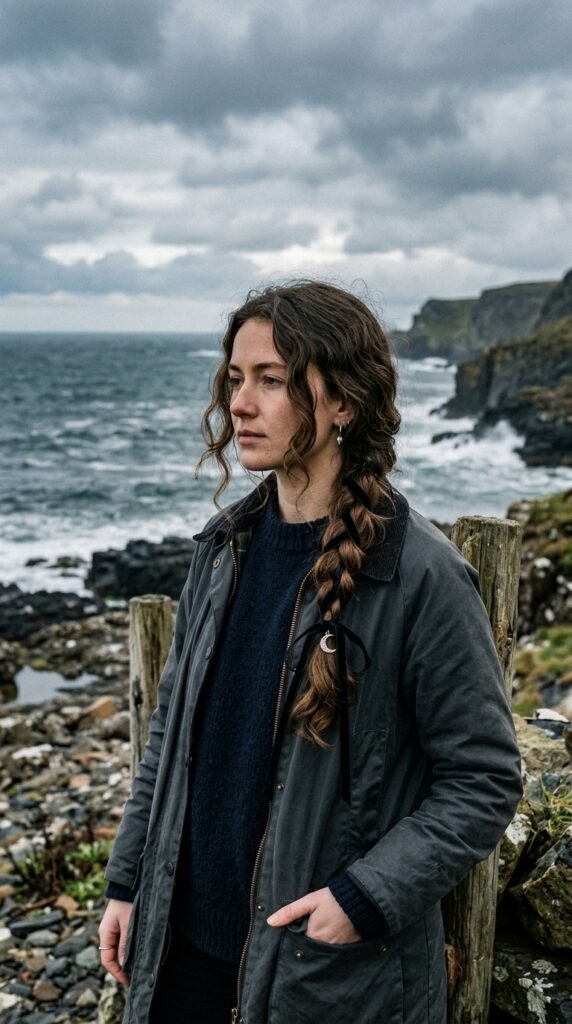
Romantic goth hairstyles are creeping into beach day feed, and I am completely here for it. This same beach braid can go moody in about twenty seconds.
Weave a thin black ribbon through the braid as you go. Add a small silver chain or vintage charm at the elastic.
Spritz with a little texture spray and pull out a few wispy pieces near the face. The undone texture plus dark detail gives it that romantic, slightly mysterious edge.
Keeping It Messy (Not Sloppy)
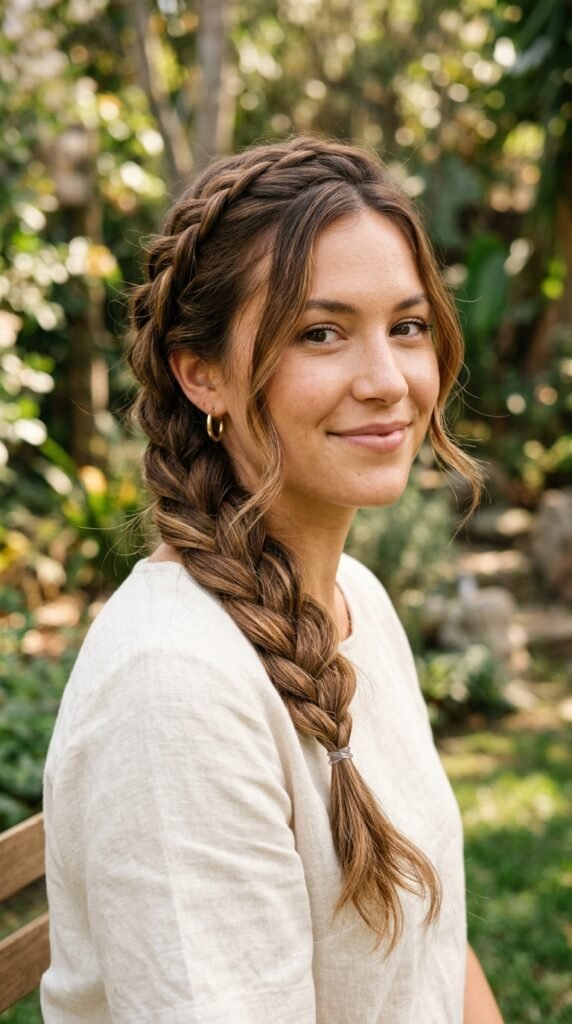
Effortless is a fine line, and I want to help you stay on the right side of it.
- Pull out only two or three strands around the face. Less is more.
- Loosen the braid in sections, not all at once
- Don’t separate one strand into five tiny baby strands
- Look in the mirror once, then stop
This is the exact line between beach babe and just unkempt.
Glitchy Glam Details to Play With
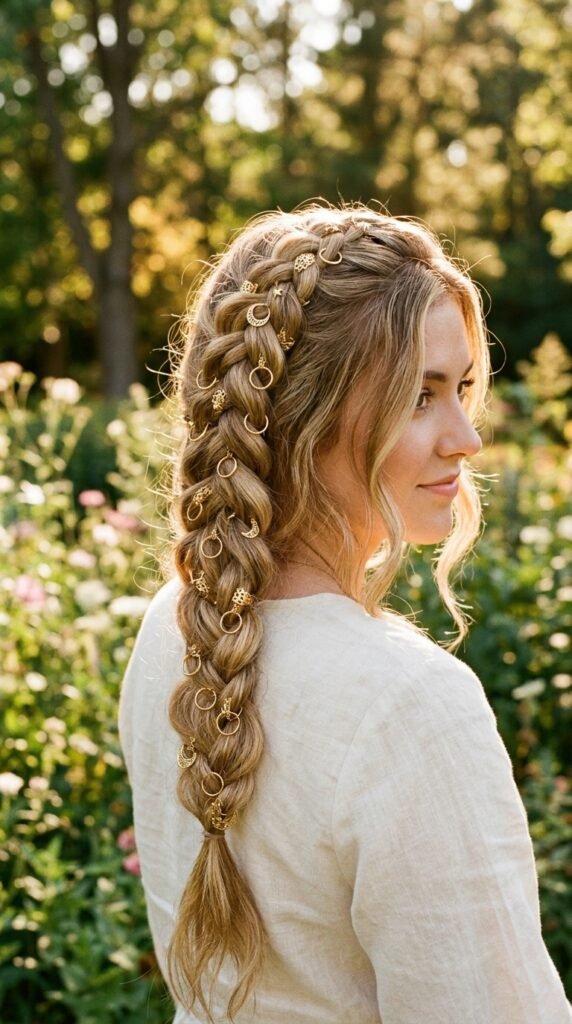
Glitchy glam hair is another 2026 hairstyle trend, and it works beautifully with braids. Use small metallic beads or gold rings threaded onto the end of your braid before you tie it.
The contrast between a soft, sun-bleached braid and hard, shiny accessories is what catches your eye at an evening beach bar.
You only need one or two pieces. Think of them as little sparks of light around your face.
The Vampire Haircut Approach

The vampire haircut is defined by wispy layers and sharp curtain bangs. A heavy braid can get lost in all that layering, so treat this as a chunkier, looser braid.
Start around ear height instead of the neck so you have enough length to hold together.
Smooth the crown down with a touch of pomade to keep the vampire silhouette visible around the braid. Let the longest pieces fall forward to frame your face.
Water-Proofing Your Style

So what happens when you actually want to swim? Let’s plan ahead.
- Add a little sea salt spray and leave-in oil before you braid
- For a deep dip, coil the braid into a low bun and pin it
- After you get to shore, unpin, shake, and pull the loops apart
The braid dries wavy, textured, and even prettier than before.
The Evening Braid-to-Bun Upgrade
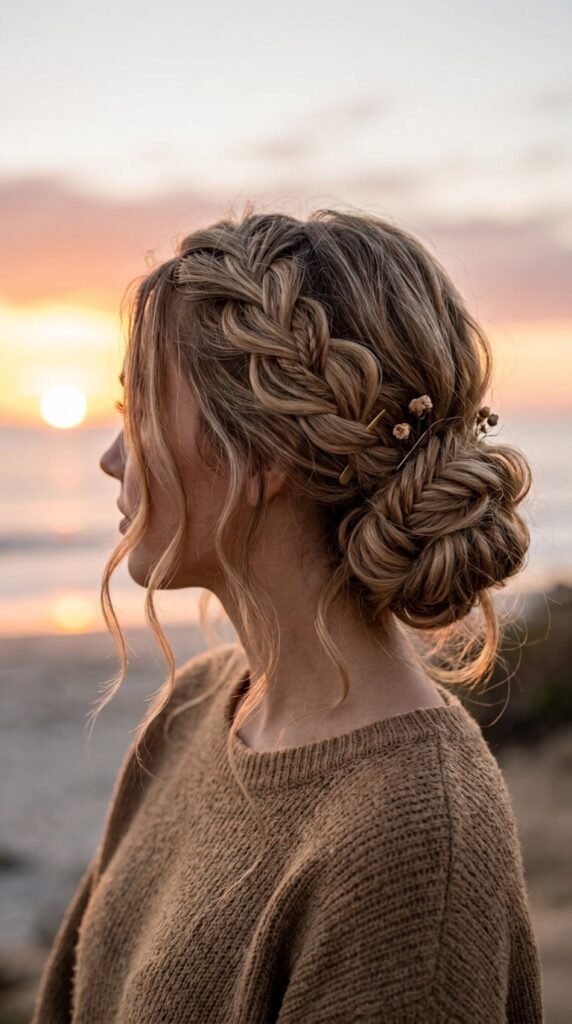
Sunset is calling, and that daytime braid can turn into an elegant bun in under a minute.
- Remove the elastic at the bottom but keep the braid intact
- Twist the whole braid into a loose coil at your nape
- Secure with two or three pins
- Pull out a few face wisps
Now you’re ready for dinner by the water without a full redo.
Refreshing Day Two (Braid Edition)
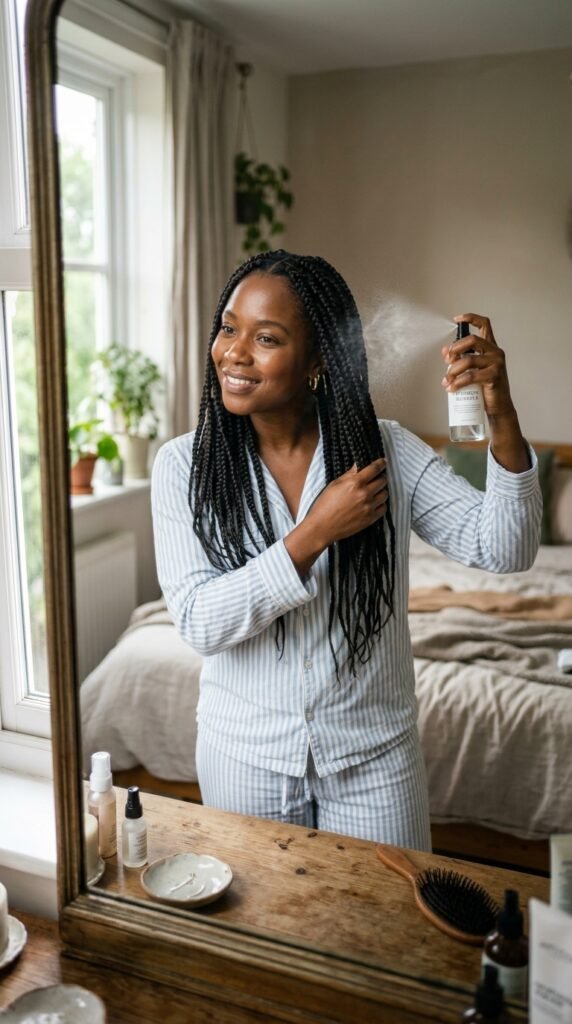
I always love a beach braid best on day two. In the morning, spray a little water or sea salt mixture onto your braid.
Gently pull the braid apart for volume. If the ends look frizzy, rub a drop of oil between your palms and press it over them.
And when night comes, sleep in it. You will wake up with soft, beachy waves for day three. That’s the gift that keeps giving.
Common Blunders to Skip

I’ve seen a few braid fails in my day, and they all follow the same patterns:
- Tight braids that pull at the temples
- Over-loosening until the braid looks like a rope
- Starting with knotted, tangled strands
- Too much product making everything crunchy
Keep it gentle, keep it loose, and keep it simple. If it starts feeling like work, you’re doing too much.
The 2026 Hairstyles Connection

2026 hairstyles are moving away from stiff, over-styled hair. Everything is softer now, with old money polish, quiet luxury texture, and optional glitchy glam details.
This beach braid fits perfectly into that conversation. It’s personal, low-maintenance, and still feels intentional.
You don’t need a salon chair to look like you stepped out of a fashion spread. Sometimes all you need is a braid, the ocean, and a little confidence.
A Little Note Before You Go
One thing I love about this braid is that it doesn’t need perfection. It’s meant to be loose, slightly uneven, and relaxed. Which is basically how I want to feel on every vacation.
I hope you try it on your next trip by the water, whether you’re swimming, sightseeing, or just napping under an umbrella with a good book.
Save this post to Pinterest so it’s waiting for you when you pack. And before you go, tell me in the comments: are you a side braid person or a top bun person? I’m genuinely curious.