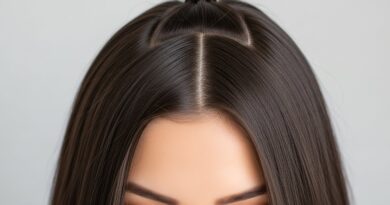
How to Style Layered Hair Without Over-Using Heat Tools
Layered hair has a reputation. Gorgeous in photos, a little high-maintenance in real life. And if you’ve ever stood in front of the mirror at 7 a.m. with a curling iron in one hand and a coffee in the other, you know exactly what I mean.
Here’s the good news. You don’t need heat tools every single day to make layers look expensive. You need the right cut, the right products, and a few tricks that do the work while you sleep, eat breakfast, or answer emails.
I’ve tested all of these on my own very average, very opinionated hair. Some are two-minute fixes, some are overnight, and every single one saves your ends from that crispy, tired feeling.
Let’s get your layers looking soft, bouncy, and effortless without frying them in the process.
Why Layered Hair Feels Like More Work Than It Is

Layers are designed to move, which is exactly why they can also fall flat, flip out, or frizz the second the air gets humid.
So we reach for the flat iron. Then the curling wand. Then a second round because one side looked better than the other.
That cycle is what kills your ends. Not the layers themselves.
Here’s the shift: treat heat tools as a once-a-week finishing touch, not a daily requirement. Layers styled at 70 percent effort still look great when you build the rest with air drying, braids, and good products.
Start With a Cut That Works With You
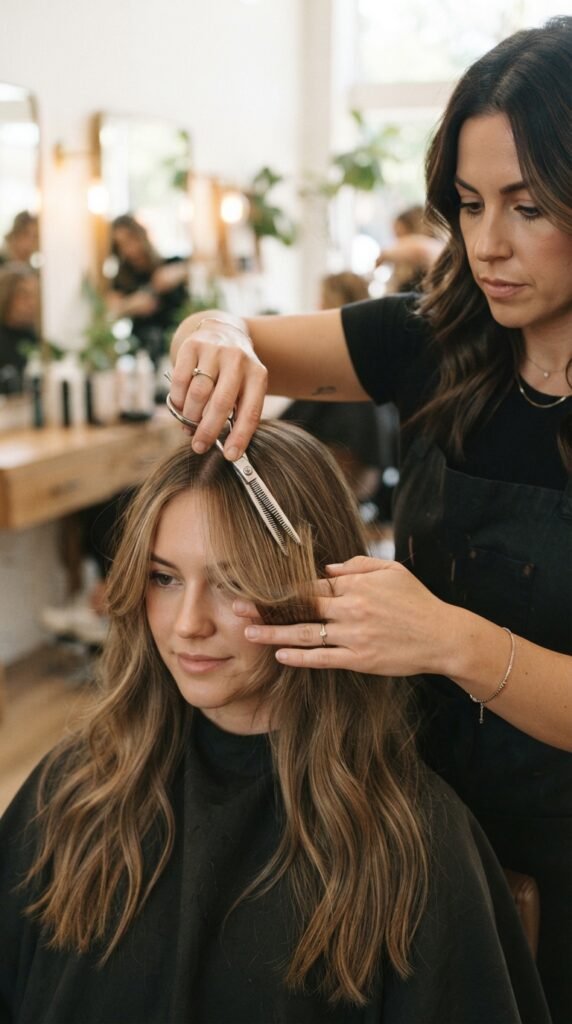
If your layers collapse into a triangle shape or look stringy on day one, no styling trick will fix it. The cut has to do its share.
In 2026, the best cuts have invisible blending and fewer, softer layers. Ask for:
- Long face-framing pieces instead of choppy short layers
- Point cutting on the ends for softness
- Layers that start below the chin unless you want volume up top
The asymmetrical lob and quiet luxury bob both air-dry beautifully because the shape is already built in. You’re polishing, not constructing.
The 80/20 Rule of Heat Styling
Eighty percent of your styling should be heat-free. Twenty percent can be whatever your hair loves, whether that’s a wand, a dryer, or a straightener.
That ratio keeps your strands strong enough to actually handle the heat when you do use it.
Practically, it looks like this:
- Air dry or heatless style Monday through Thursday
- One blowout or curl session on the weekend
- Touch-ups with water, pins, and product only
That’s one heat day for every four rest days. Your ends will feel the difference in about three weeks.
Always Start With Wet Hair, Not Damp Guesswork
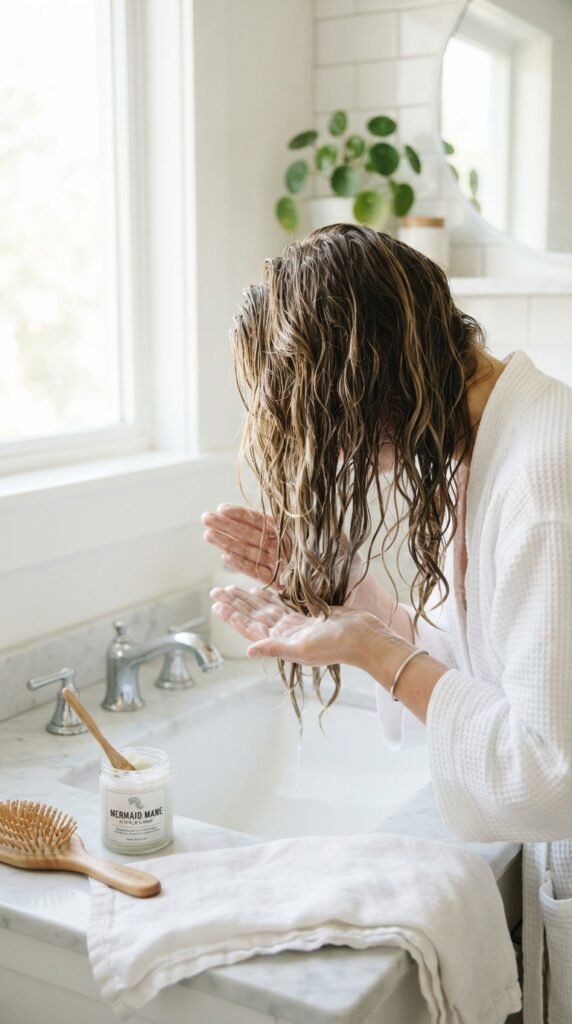
Product goes on when your hair is genuinely wet, not half-dried and unpredictable. This is the step most of us rush.
Here’s the order that works:
- Step out of the shower and gently squeeze out excess water
- Apply a leave-in or light cream from mid-length to ends
- Comb through with a wide-tooth comb so everything is even
Never scrub your hair with a regular terry towel. That rough texture creates frizz before you’ve even started styling. Use a soft cotton t-shirt or a microfiber towel and press, don’t rub.
The T-Shirt Plop Method
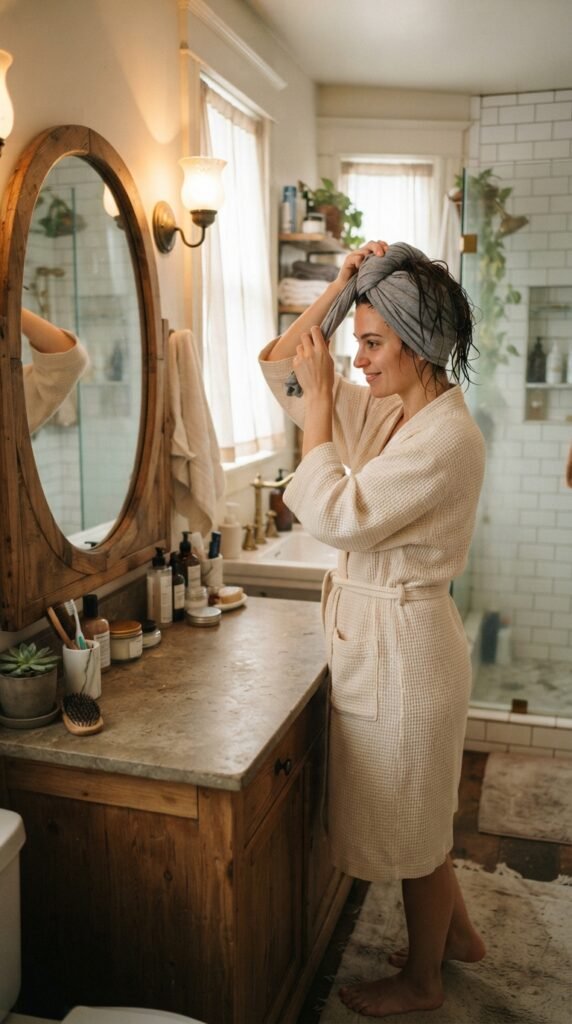
This is the laziest great hair trick I know. You literally let a t-shirt do the work while you get dressed.
How to do it:
- Lay a cotton t-shirt flat and bend forward so your hair falls into the middle
- Twist the shirt and secure it on top of your head
- Leave it for 15 to 30 minutes, then take it down and finger-comb
You get soft, defined layers with zero heat and zero effort. It’s especially good for wavy hair that frizzes easily.
Heatless Curls That Actually Hold

Heatless curls fail for one reason: they go in too dry. Damp hair is what holds the shape.
My routine:
- Start with hair that’s about 70 percent dry
- Mist with a light setting spray or a mix of water and leave-in
- Wrap, roll, or braid, then sleep on it
- Take it down in the morning and shake, don’t brush
Brushing is the enemy. Finger-comb, flip your head over, and let the layers settle. You’ll get that soft bend instead of tight, dated ringlets.
The Sock Bun Overnight Trick
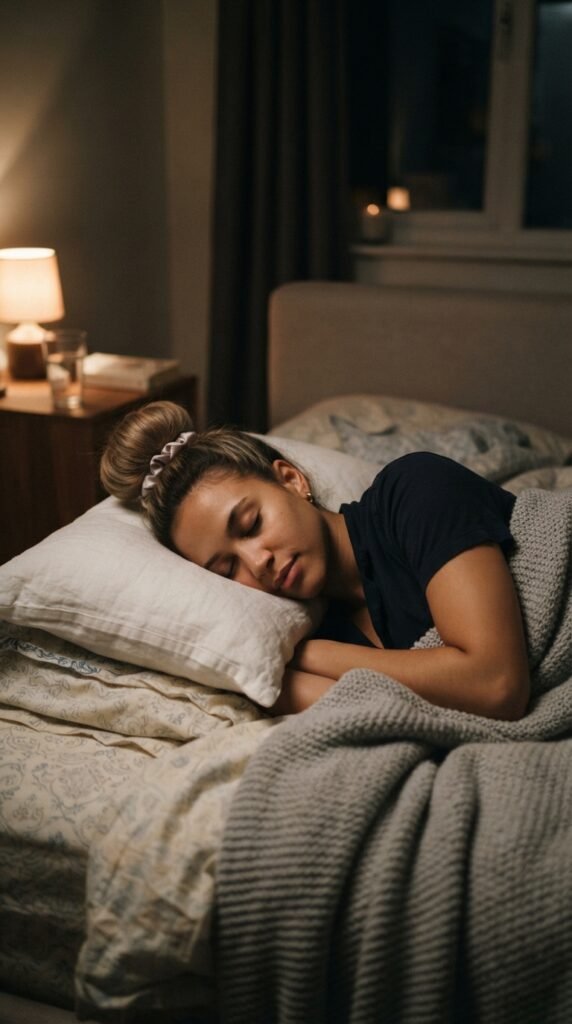
One sock. That’s the whole tool list. It gives you big, smooth, bouncy layers by morning.
Here’s how:
- Pull damp hair into a high ponytail and secure with a soft scrunchie
- Slide a rolled sock over the ponytail and roll your hair around it
- Sleep on it and unwrap gently in the morning
This works best on medium to long layers. If your hair is short, use a smaller sock and keep the ponytail lower so the ends still wrap around.
Flexi Rods for Big, Bouncy Layers
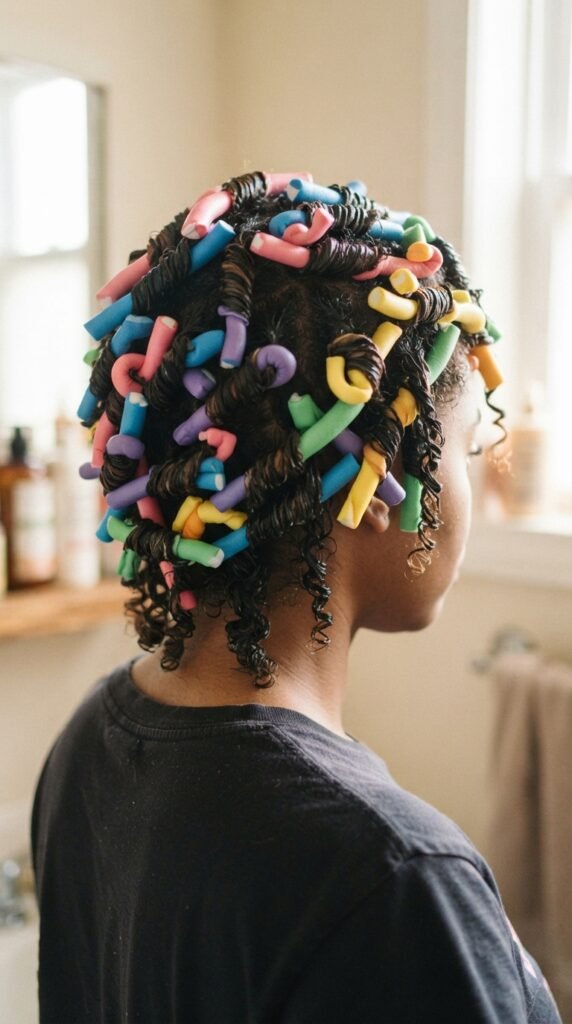
Flexi rods are criminally underrated for layered hair. They give you that smooth, salon-style bend instead of a crunchy curl.
Use them like this:
- Section hair into two-inch pieces
- Wrap from the ends upward, never overlapping the hair on itself
- Let them air dry fully, or hit them with cool air only
- Unroll downward and separate with your fingers
Larger rods mean looser waves. Smaller rods mean tighter curls. Buy one pack of each and you’ve got four different looks at home.
The Once-a-Week Quiet Luxury Blowout

If you’re going to use heat, make it count. One great blowout beats five rushed ones.
My weekend routine:
- Wash and apply heat protectant to damp hair
- Rough dry until 80 percent dry
- Section into four parts and finish with a round brush
- Blast each section with cold air to seal the cuticle
Done right, that blowout can carry you three or four days with just dry shampoo and pinning. That’s the quiet luxury bob and old money hair look in one sitting, basically.
Old Money Hair Without the Frizz

Old money hair isn’t complicated. It’s shiny, smooth, and slightly undone, like you didn’t try too hard because you didn’t have to.
To get there without heat:
- Use a smoothing cream on damp hair and comb it through evenly
- Air dry with hair pushed back off your face
- Finish with a tiny drop of lightweight oil on the ends only
Resist touching your hair while it dries. Every hand through it adds frizz and breaks up the smooth finish you’re building.
Air-Drying a Quiet Luxury Bob or Asymmetrical Lob

Blunt, structured shapes dry beautifully on their own. You just have to help them along.
Here’s the trick for short layered cuts:
- Comb everything straight down while wet
- Use a clip at the root on the side you want lifted
- Let it dry fully, then remove the clip and shake once
For the asymmetrical lob, always dry the longer side last so it doesn’t get pushed around. A little texture spray at the roots keeps everything from going flat by lunch.
Braid Waves for Soft, Beachy Layers
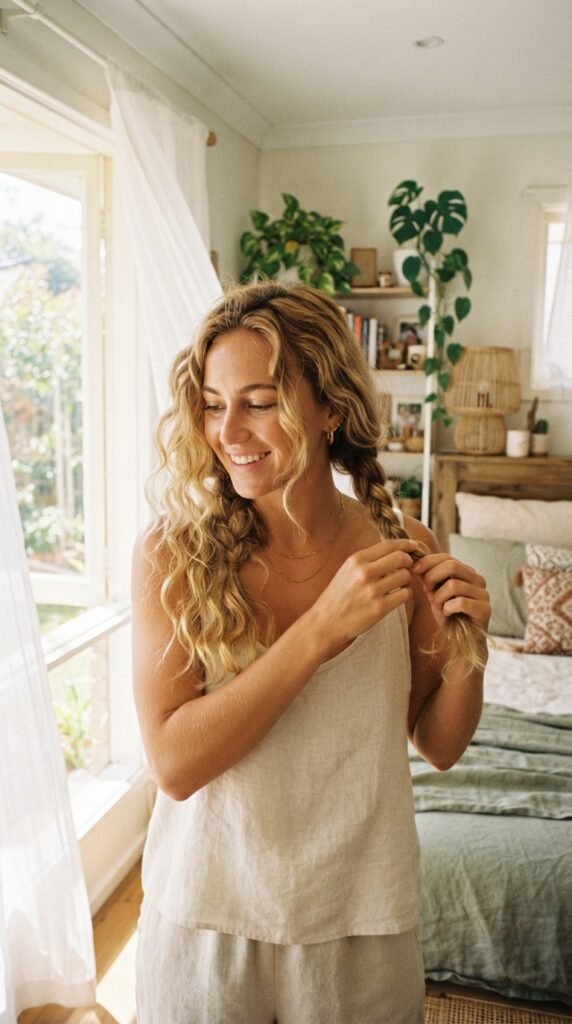
Braids are the easiest way to get soft bends that look natural, not styled.
Two French or Dutch braids on damp hair, slept on overnight, give you loose waves with great root volume. For a softer effect, do two regular three-strand braids instead.
Three rules that matter:
- Braid loosely, tighter braids mean tighter waves
- Only braid to about 80 percent dry
- Take them out with your fingers, never a brush
Add a light mist of sea salt spray after for that undone, textured finish.
Romantic Goth Hairstyles Without Heat

Romantic goth hairstyles are actually built for low heat. Think soft waves, loose braids, and a little drama around the face.
Three looks that work with no tools:
- Loose braid waves with two tiny face-framing braids
- Half-up style with a velvet ribbon or lace trim
- Low, soft bun with pieces pulled out around the cheeks
Keep the products light and matte. Heavy gels read as crunchy instead of moody, and they’re hard to brush out the next day.
Glitchy Glam Hair With Zero Irons
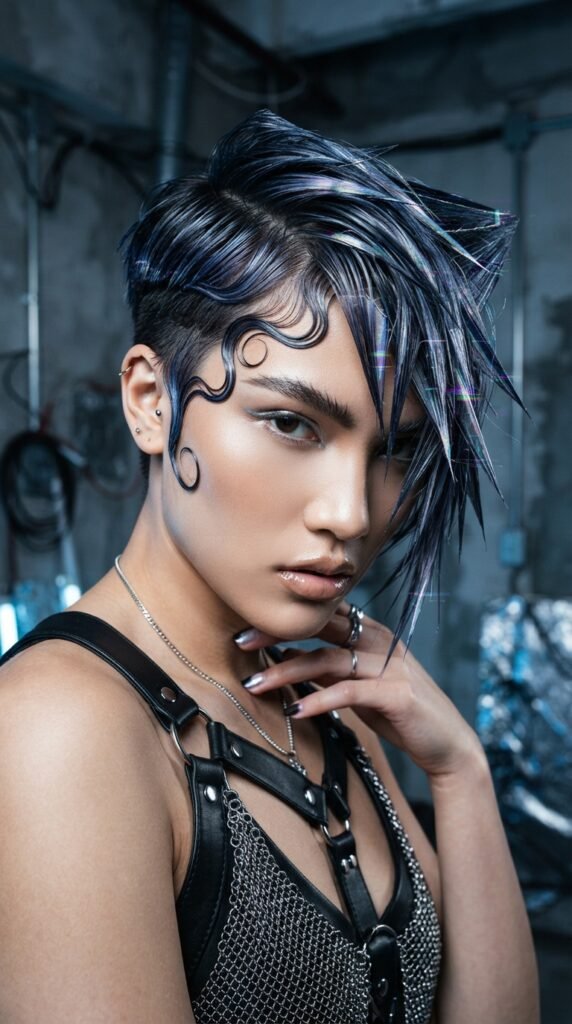
Glitchy glam hair is all about contrast: sleek on one side, textured on the other. And you can build it without a single hot tool.
Try this:
- Air dry your hair flat with a little smoothing cream
- Gel down one side and slick it behind your ear
- Crunch a texture spray into the opposite side
- Add two tiny accent braids or a sharp middle part
The unevenness is the point. Perfect symmetry actually ruins this look.
Styling a Vampire Haircut or Hime Cut Gently

These two cuts are statement shapes, and they hold up beautifully with minimal heat.
A vampire haircut usually means a sharp, layered shape with a bit of length kept at the sides. The hime cut is blunt side pieces with longer hair behind. Both look best smooth and glossy.
What to do:
- Comb straight while wet and let it dry flat
- Use a shine serum on the blunt edges only
- Pin the side pieces back for a softer daytime version
Keep the shape sharp and the products minimal.
Diffusing Wavy and Curly Layers the Right Way
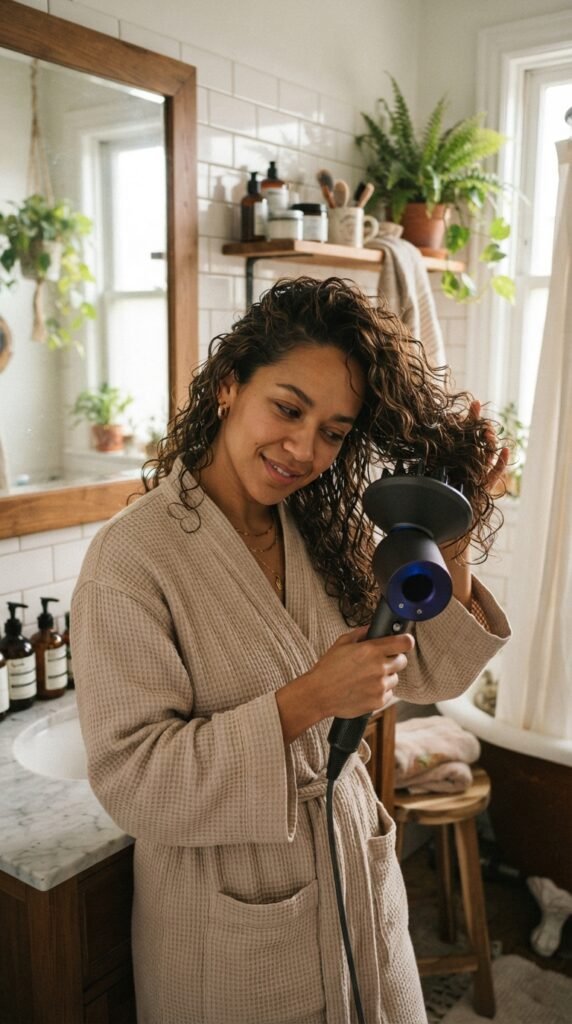
If you have waves or curls, a diffuser is your friend, not your enemy. The trick is temperature and patience.
How to diffuse without damage:
- Apply a curl cream or mousse to soaking wet hair
- Scrunch upward with a t-shirt to remove extra water
- Diffuse on low speed and low heat, hovering near the roots first
- Finish with a cool shot to set the pattern
Stop when it’s 90 percent dry and let the rest air dry. That last bit keeps curls from getting stiff.
The Cold Shot Trick Nobody Uses Enough
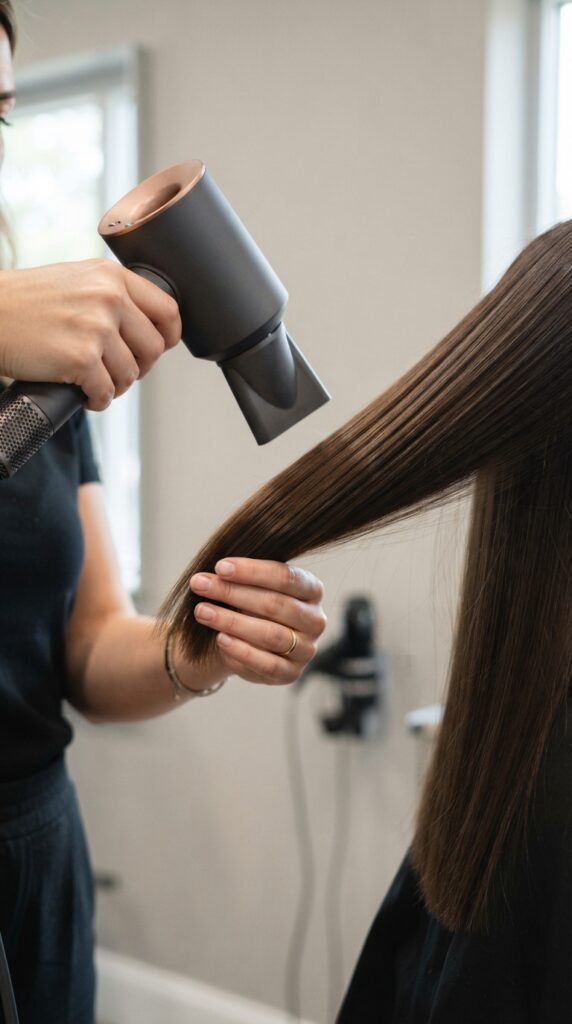
Cold air is the most underrated button on your dryer. It sets whatever shape you just created.
Every time you finish a section, hit it with cool air for five seconds. That closes the cuticle, adds shine, and makes the style last longer.
You can use it on:
- Blowouts, to lock in smoothness
- Curls, to stop them from dropping
- Roots, to set volume before you move on
It takes seconds and costs nothing.
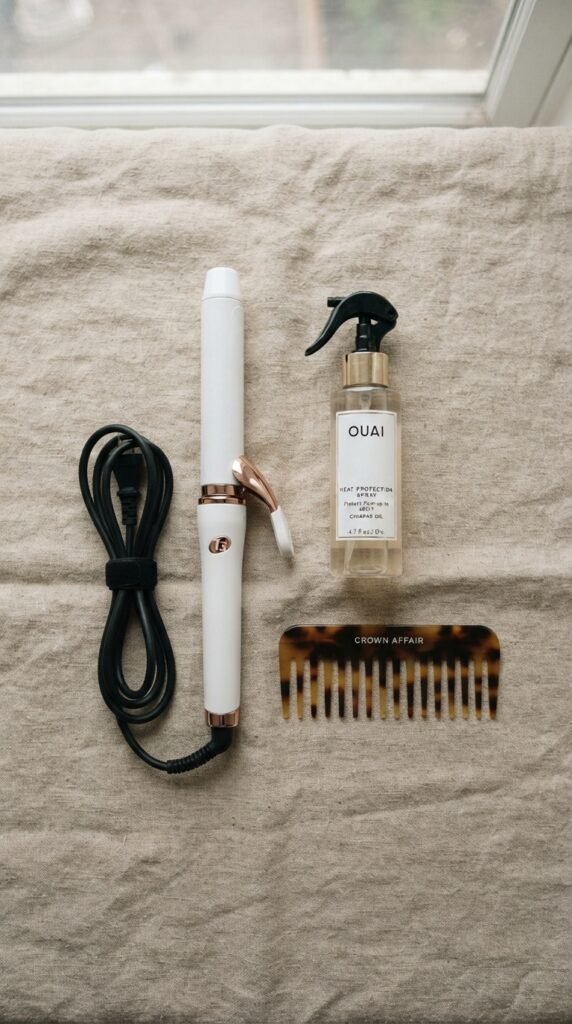
Heat Protectant: The Step You Can’t Skip
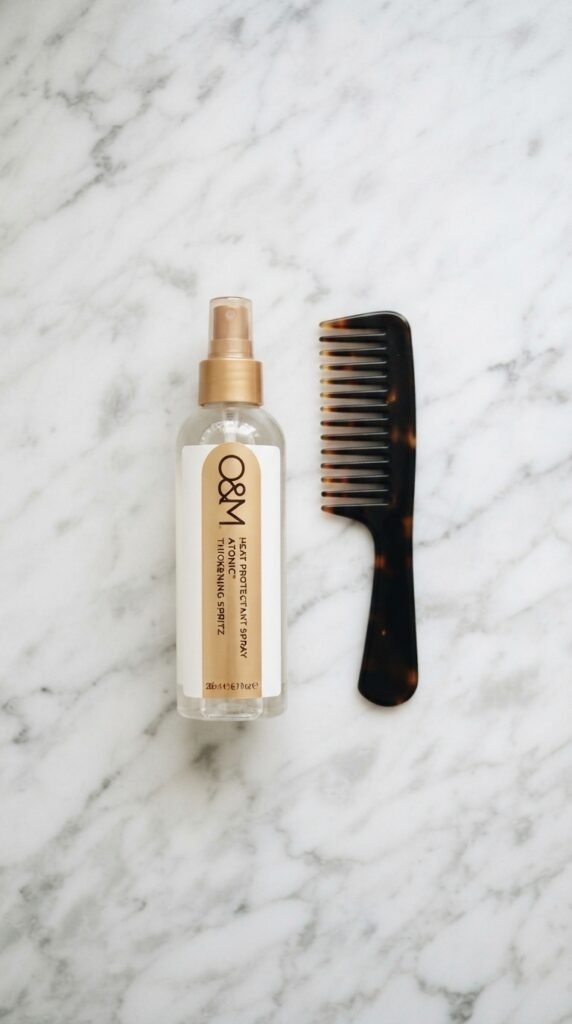
If you only take one thing from this post, take this one. Always use heat protectant. Every single time.
It doesn’t make heat harmless, but it does buy your strands real protection. Spray it on damp hair before blow drying and on dry hair before any iron.
Quick rules:
- Spray six inches away and work in sections
- Never spray directly onto a hot tool or hot hair
- Choose a formula made for your hair type
It’s the cheapest insurance you’ll ever buy for your hair.
Dry Shampoo, Texture Spray, and Sea Salt Mist
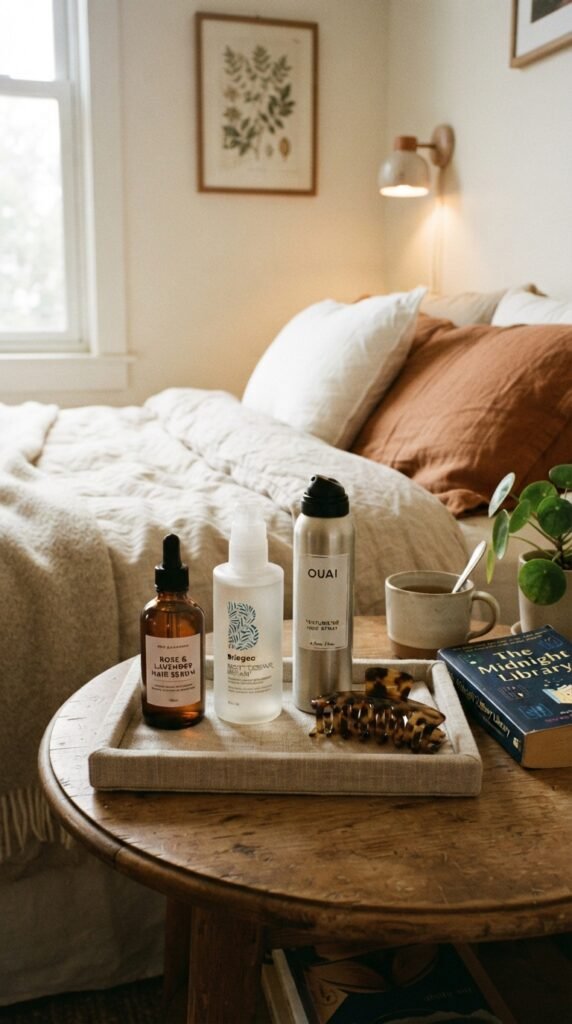
These three products replace 90 percent of the touch-ups that used to require an iron.
Here’s the breakdown:
- Dry shampoo soaks up oil at the roots and buys you a day or two
- Texture spray adds grip and body to flat layers
- Sea salt mist gives that undone, beachy bend
Spray dry shampoo at night, not in the morning. It has hours to absorb oil while you sleep, and you wake up with fresh-looking roots. That one tip changed my whole routine.
Day Two and Day Three Hair Without an Iron
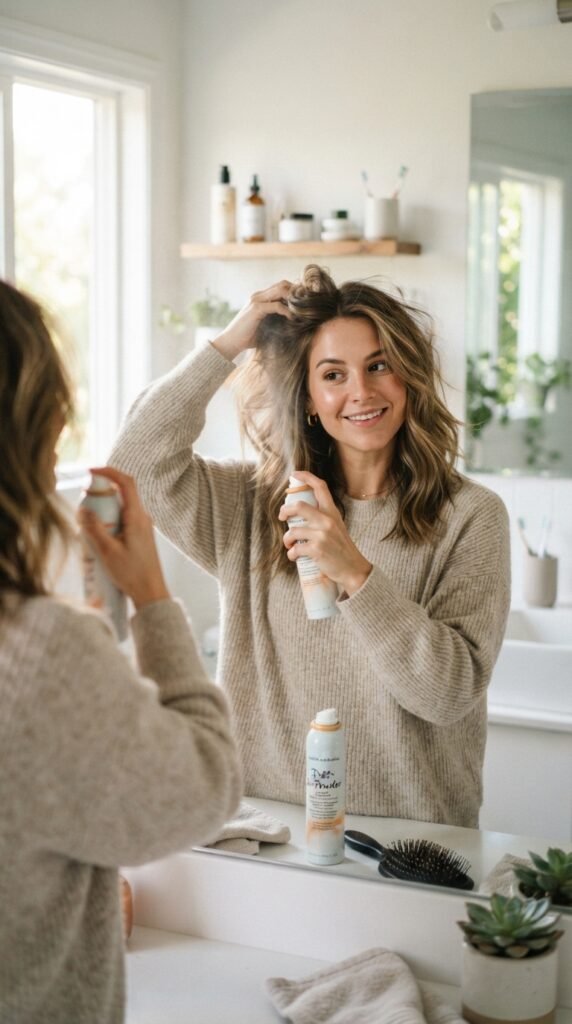
Day two hair is usually better than day one. It just needs a little help waking up.
My refresh routine:
- Spray dry shampoo at the roots and let it sit for a minute
- Flip your head upside down and massage your scalp
- Mist the ends with water and scrunch to bring back shape
- Pin any flat pieces up for a few minutes, then release
The water-and-scrunch step is the secret. It reactivates the product already in your hair, so you’re not adding more buildup.
Claw Clips and the 30-Second Updo
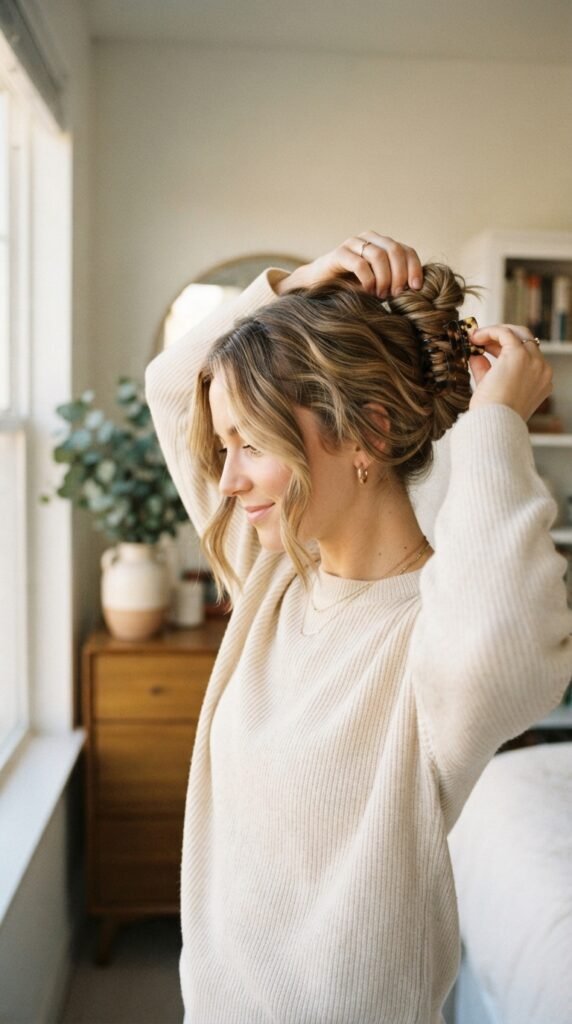
Some days you just don’t want to deal. A claw clip is the answer, and it actually looks good.
Three variations:
- Twist everything up and clip at the crown for a French twist feel
- Clip half up and leave the rest down for face-framing layers
- Low and loose at the nape for a soft, romantic shape
Leave a few pieces out around the face. It looks intentional instead of like you gave up. Keep a claw clip in your bag and you’ll never have a bad hair day again.
Sleep Habits That Protect Your Layers
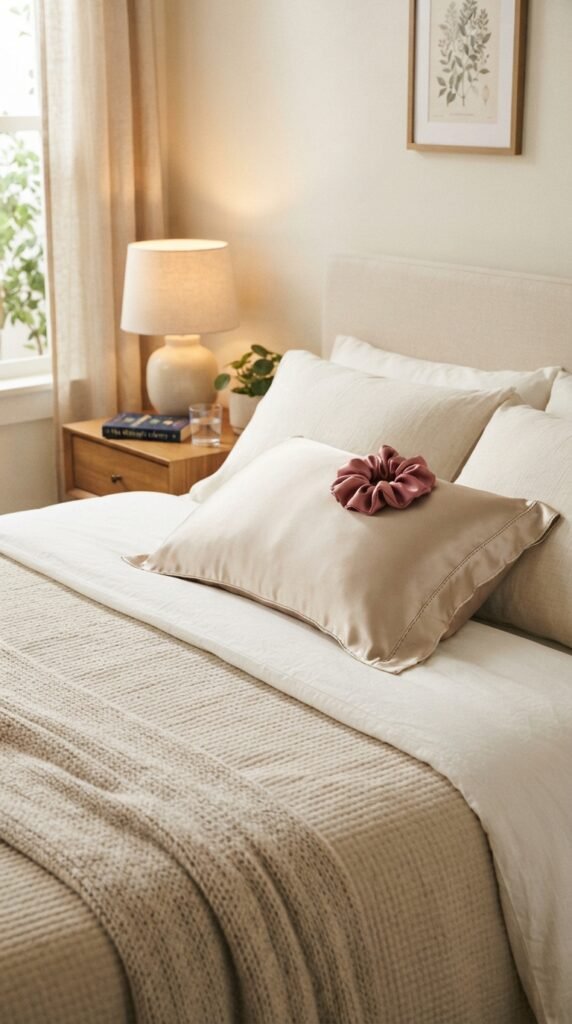
You spend a third of your life asleep, and your hair is grinding against a pillow the whole time.
A few easy upgrades:
- Switch to a silk or satin pillowcase to reduce friction
- Loosely braid or pineapple your hair before bed
- Never sleep with tight elastics or wet hair twisted up
These small changes mean less frizz, fewer split ends, and less heat needed in the morning. It’s basically free styling while you sleep.
Wash Day Habits That Make Styling Easier
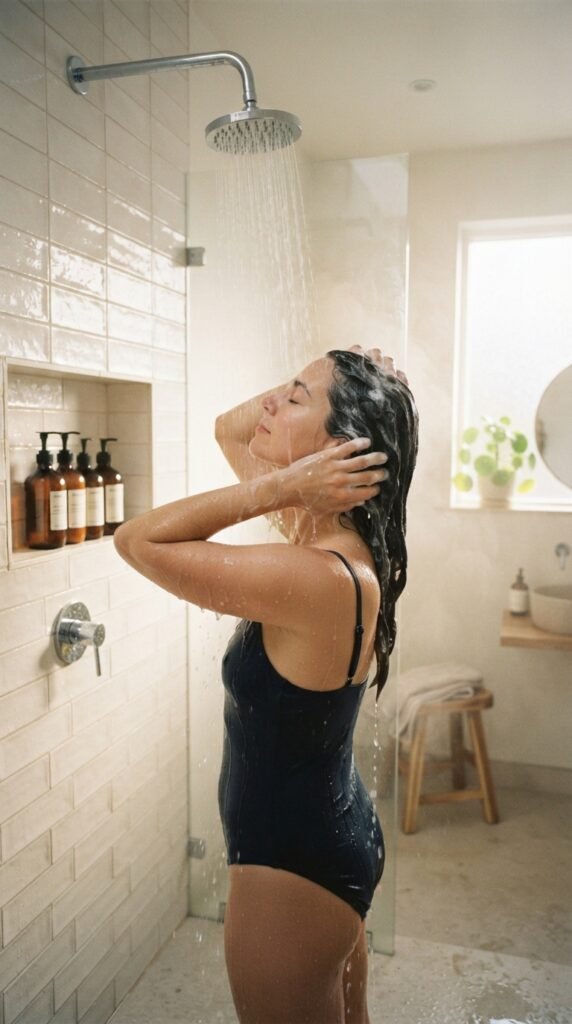
How you wash matters as much as how you style. Great wash days make everything after them easier.
Try this:
- Shampoo only your scalp, not your ends
- Condition from mid-length down and leave it for two minutes
- Rinse with cool water to smooth the cuticle
- Squeeze, don’t twist, the water out
Skip the hot water. It feels nice, but it strips moisture and leaves you reaching for the iron later. Warm is plenty.
Build a Heat-Free Styling Kit
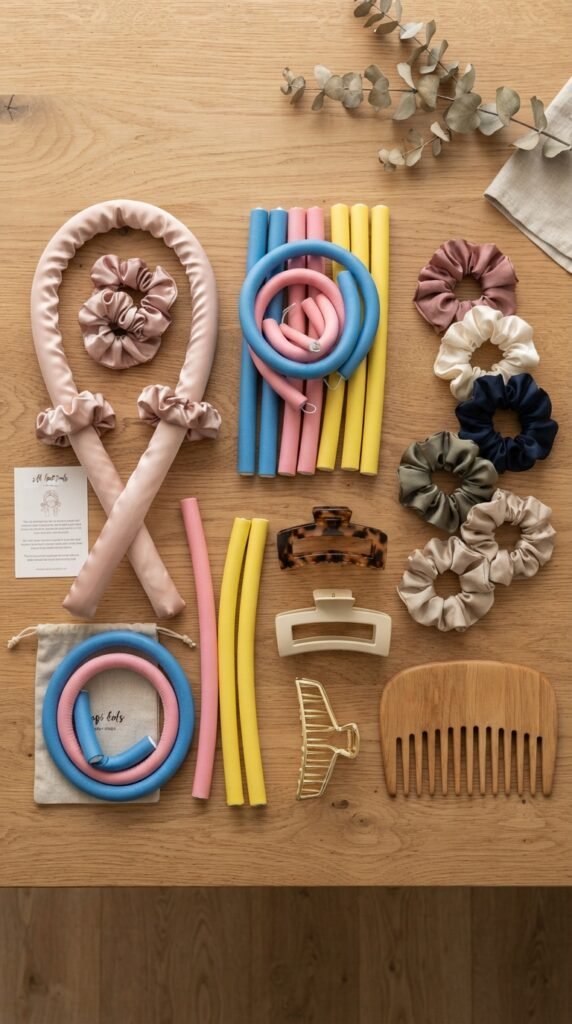
You don’t need much, and almost none of it is expensive. Here’s what actually earns its spot on the shelf.
- A wide-tooth comb and a fine comb
- Cotton t-shirts or a microfiber towel
- Flexi rods and soft foam rollers
- Silk scrunchies and claw clips
- Dry shampoo, texture spray, and a light oil
Build this kit once and you’ll reach for the heat tools way less, almost by accident.
How Often Should You Really Use Heat?
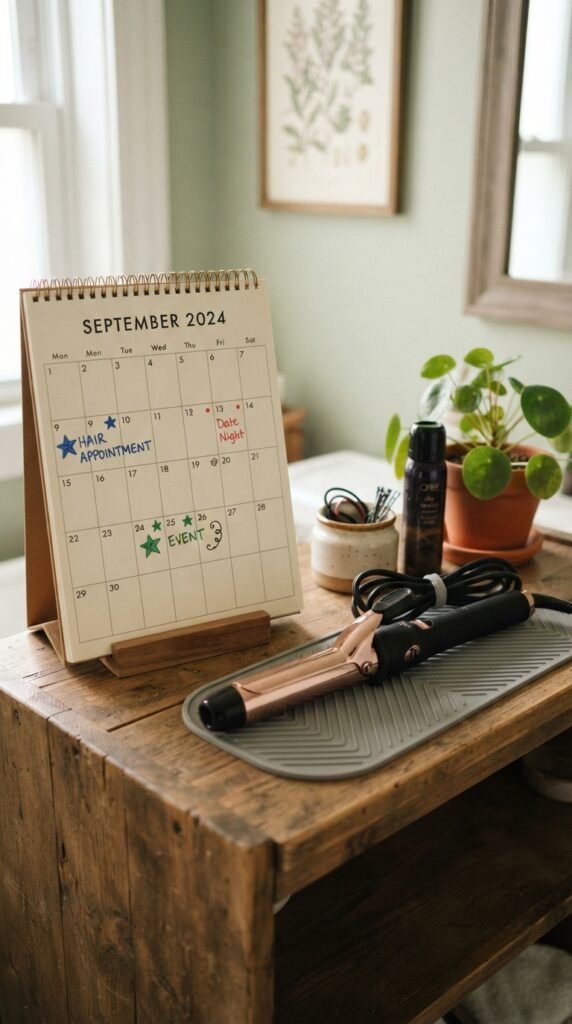
Once a week is the sweet spot for most people. Twice is fine if you use protectant and keep the temperature moderate.
Signs it’s time to slow down:
- Ends feel dry or crunchy right after styling
- You’re seeing more split ends than usual
- Your hair takes longer to dry and feels lighter overall
Your hair will tell you. Listen to it, and you’ll get years out of it instead of months.
Five-Minute Morning Routines That Actually Work
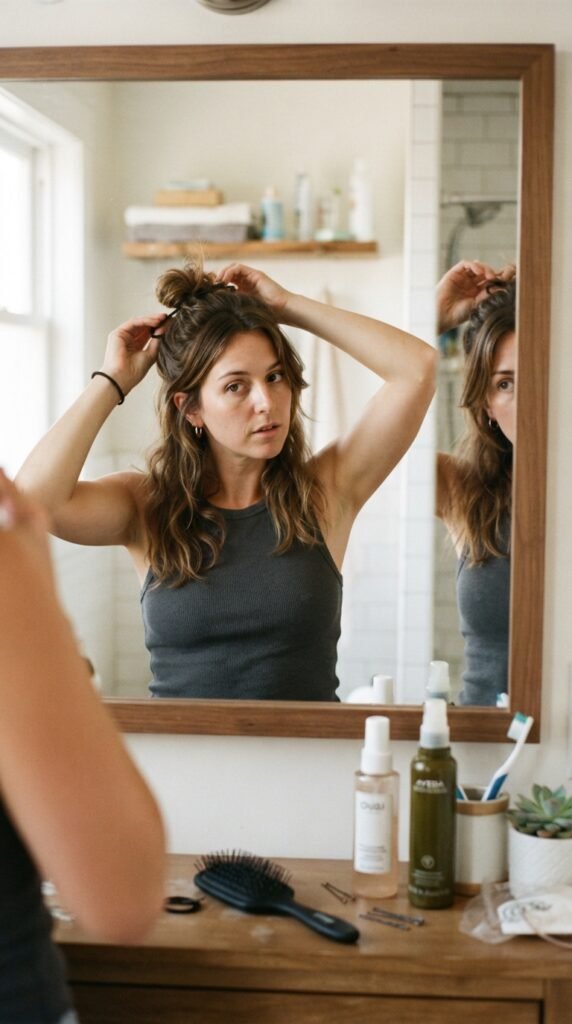
Real mornings don’t have room for a full styling session. Here are three quick plans depending on what you’re working with.
- Smooth layers: dry shampoo, brush, tiny oil on the ends
- Wavy layers: mist with water, scrunch, walk away
- Messy layers: texture spray, claw clip, two pieces out front
Pick one, commit, and don’t redo it five times. The fastest version usually looks the most natural anyway.
Little Things I Learned the Hard Way
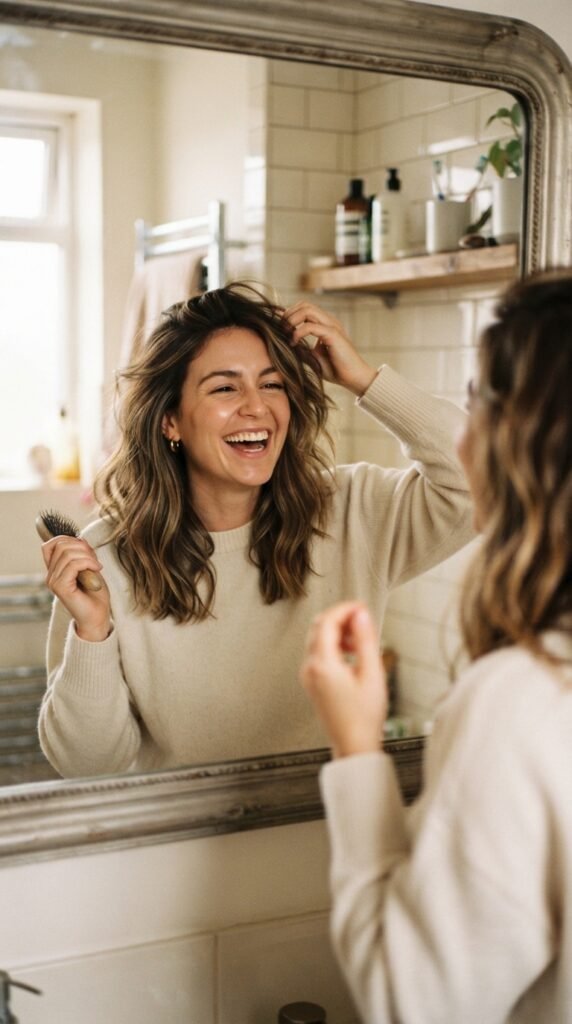
Learning this stuff took me embarrassingly long, so let me save you the time.
- Heat damage is cumulative, and you won’t notice it for months
- Brushing curly or wavy layers dry breaks up the pattern
- The best hair days usually start the night before
- You don’t need a full arsenal, you need three things you actually use
Start with one new habit this week, not five. Small changes stick, and your layered hair will thank you for it.
One Last Little Pep Talk Before You Go
Your layers don’t need to be perfect every single day. They need to be healthy, and healthy hair looks expensive all on its own.
Start with the 80/20 rule and one heatless trick that fits your routine. That’s it. Give it three weeks and you’ll see softer ends, more shine, and way less time spent in front of the mirror.
And honestly? That morning time back is the real win.
Save this post to Pinterest so you can find it on your next wash day, and drop a comment telling me which heatless trick you’re trying first. I read every single one, and I’m always hunting for new ideas from you guys.