
Simple Curling Iron Technique for Loose Voluminous Beach Waves
Hey friend, I’m Hailey. If you have ever wanted loose, voluminous beach waves that look effortless but not undone, this is for you.
I used to think I needed a fancy wand, a salon appointment, or perfect hair. Nope. A basic curling iron and one simple wrap technique can do it in minutes.
Today I’m sharing the exact method my team and I use. It works on fresh hair, day-two hair, short bobs, long layers, and even 2026 hairstyles like old money hair or a quiet luxury bob.
You’ll get soft movement, real volume, and that easy coastal feel without frying your ends. Let’s make it simple.
What This Beach Wave Look Really Is
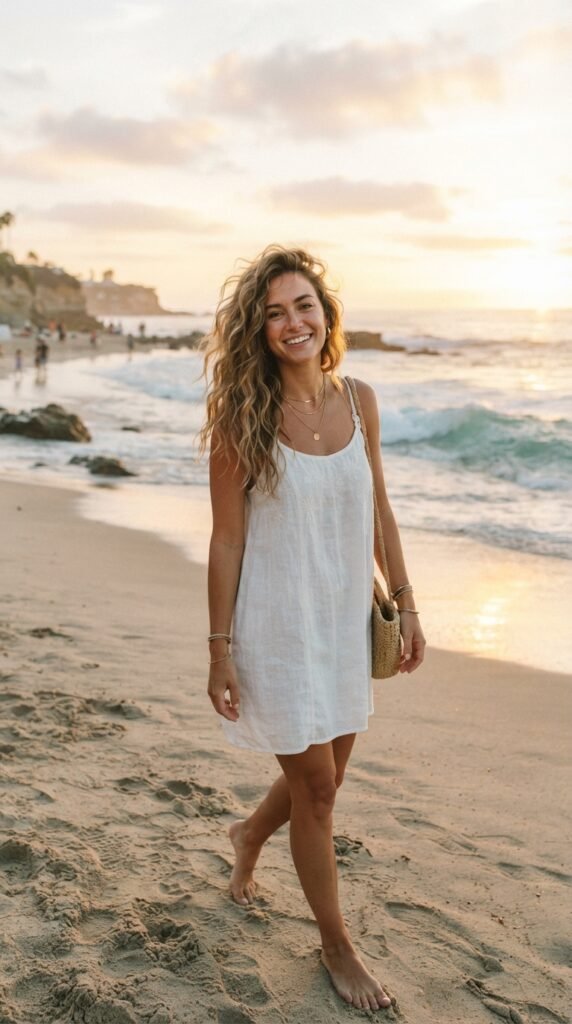
Loose beach waves are not perfect curls. They are soft bends, a little volume, and a relaxed shape that moves when you do.
Think less beauty pageant, more wind-blown weekend. The goal is texture that looks almost accidental.
- Soft S-shaped bends
- Root volume, not flat roots
- Straight-ish ends
- Messy but polished finish
This is why it pairs so well with old money hair, a quiet luxury bob, or an asymmetrical lob. It adds life without looking too done.
The Only Tools You Need
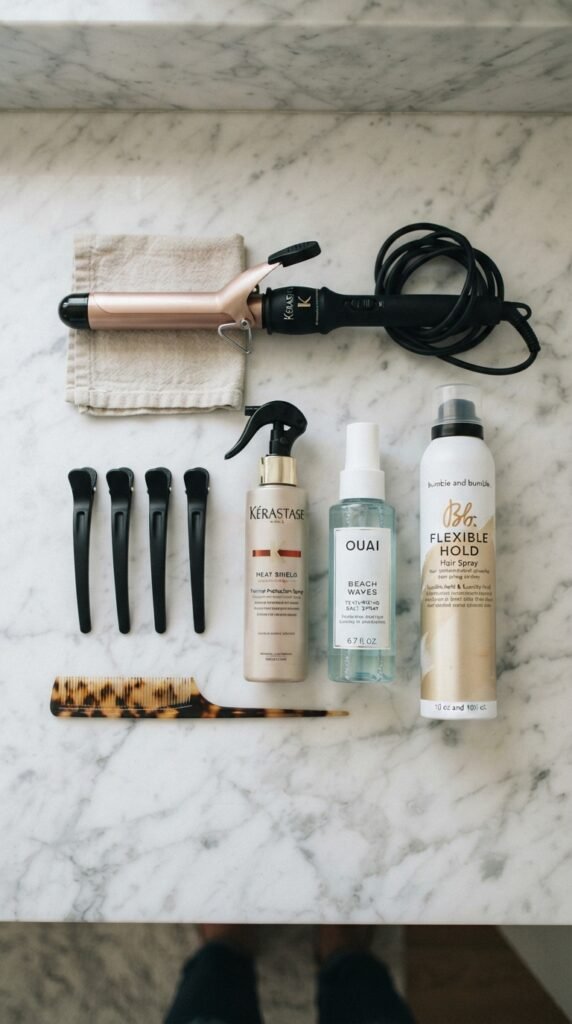
You do not need ten hot tools. You need a few basics that actually work together.
- Curling iron, 1 inch to 1.25 inches
- Heat protectant spray
- Sectioning clips
- Fine-tooth comb or wide-tooth comb
- Texturizing spray or sea salt spray
- Flexible-hold hairspray
That is it. Keep your products light. Beach waves should feel touchable, not crunchy.
Pick the Right Curling Iron Size
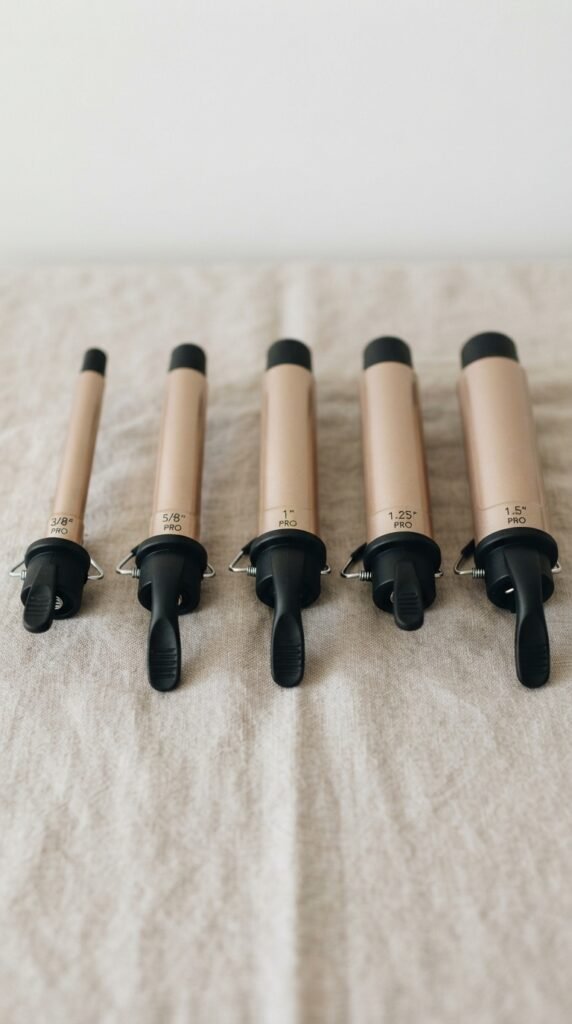
The barrel size changes everything. For loose, voluminous waves, size matters more than technique.
- 1 inch: medium waves, more definition
- 1.25 inches: loose waves, best all-rounder
- 1.5 inches: very loose, soft bend, less hold
- 3/4 inch: short hair or tight romantic goth hairstyles
If you have short hair, a 1-inch iron is usually perfect. For long thick hair, 1.25 inches gives you that airy finish fast.
Best Heat Setting for Loose Waves
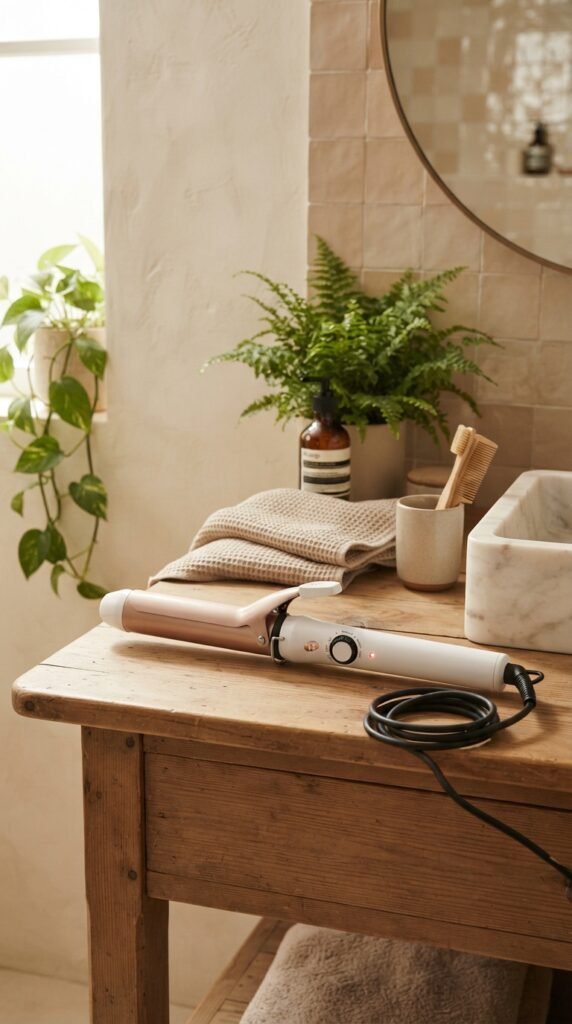
High heat is not the secret. Control is. Start lower and add heat only if your waves fall flat.
- Fine hair: 250°F to 300°F
- Medium hair: 300°F to 350°F
- Thick or coarse hair: 350°F to 400°F
Always use heat protectant. If your hair feels dry or damaged, stay on the lower end. You can always re-curl one piece later.
Always Start With Dry, Smooth Hair
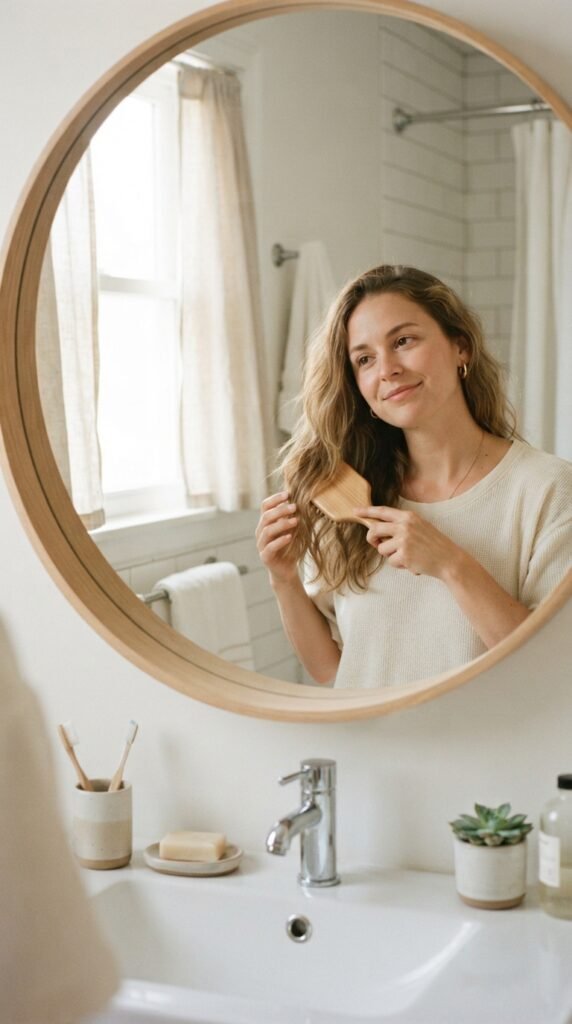
Waves hold best on completely dry hair. If your hair is damp, rough dry it first. Otherwise the curl will drop fast.
Day-two hair is actually ideal. It has a little natural grip. Freshly washed hair can be too slippery.
- Dry hair fully
- Brush out tangles
- Add heat protectant
- Let it sit for one minute
Smooth hair gives you cleaner waves. If you want a messier look, you can rough it up later.
How to Prep for All-Day Volume
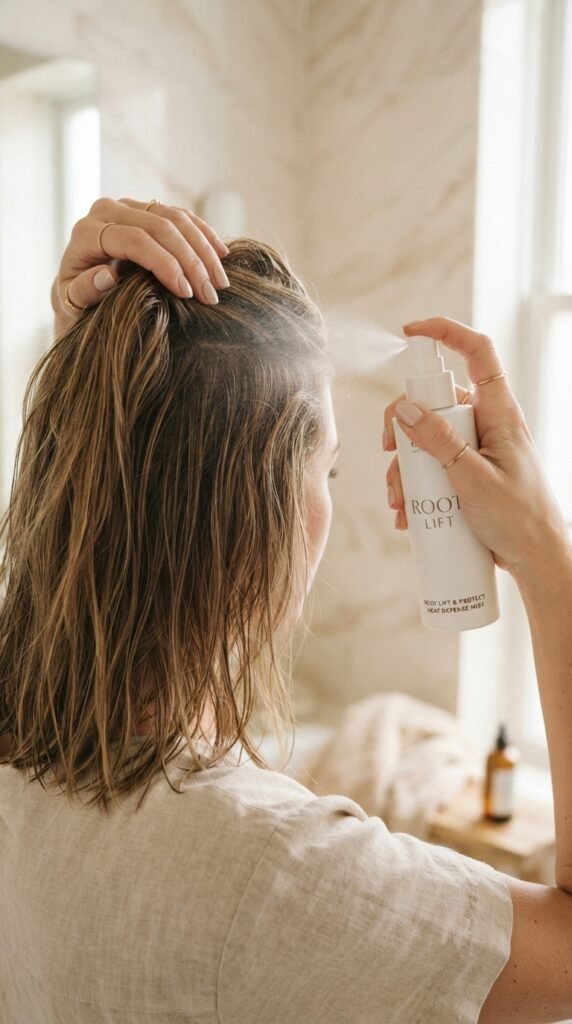
Prep is where volume is won. If you skip this, your waves may look pretty but flat.
Spray heat protectant from mid-lengths to ends. Then add a root lift or dry shampoo at the crown.
- Lift hair in sections
- Spray close to the roots
- Massage with fingertips
- Comb through gently
For old money hair, keep prep smooth and glossy. For a quiet luxury bob, focus volume at the crown and keep ends soft.
Section Your Hair the Easy Way
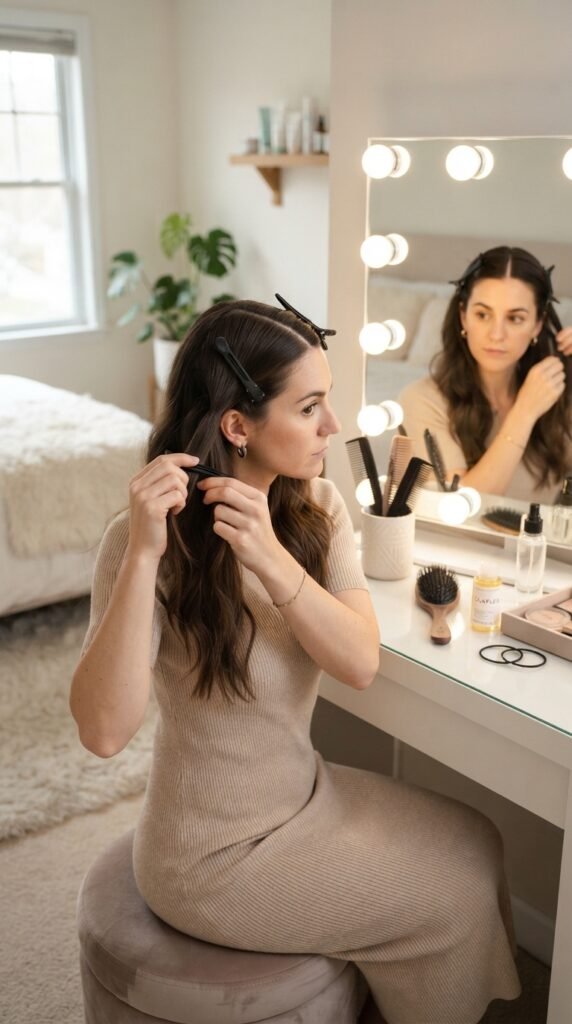
Do not curl random chunks. Sectioning makes the process faster and the result more even.
Split your hair into four main sections: two in front, two in back. Then take smaller pieces as you work.
- 1-inch pieces: more definition
- 2-inch pieces: looser, faster waves
- Keep uncurled hair clipped away
This one step makes a simple curling iron technique feel almost professional. It also helps if you are styling an asymmetrical lob or hime cut.
The Simple Wrap-Away Technique
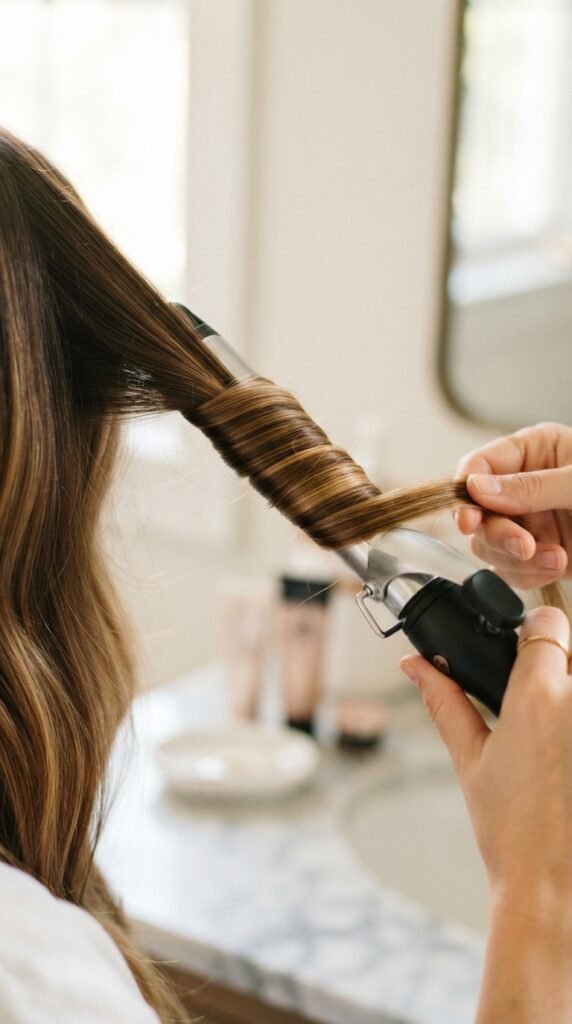
This is the core move. It is easier than it sounds. You are wrapping, not clamping and rolling like a traditional curl.
- Clamp the iron around mid-shaft, leaving the ends out.
- Wrap the hair around the barrel, away from your face.
- Hold for 5 to 8 seconds.
- Release and let the curl fall into your hand.
Do not twist tightly. Keep it loose. That is what gives you beach waves instead of ringlets.
Alternate Directions for Natural Movement

If every curl goes the same way, your hair can look stiff. Alternating directions fixes that instantly.
Curl one piece away from your face. Curl the next piece toward your face. Then repeat.
- Front pieces: mostly away from face
- Back pieces: mix both directions
- Keep it random, not perfect
This trick works for romantic goth hairstyles, glitchy glam hair, and soft 2026 hairstyles. Natural movement always looks more modern.
Leave the Ends Alone
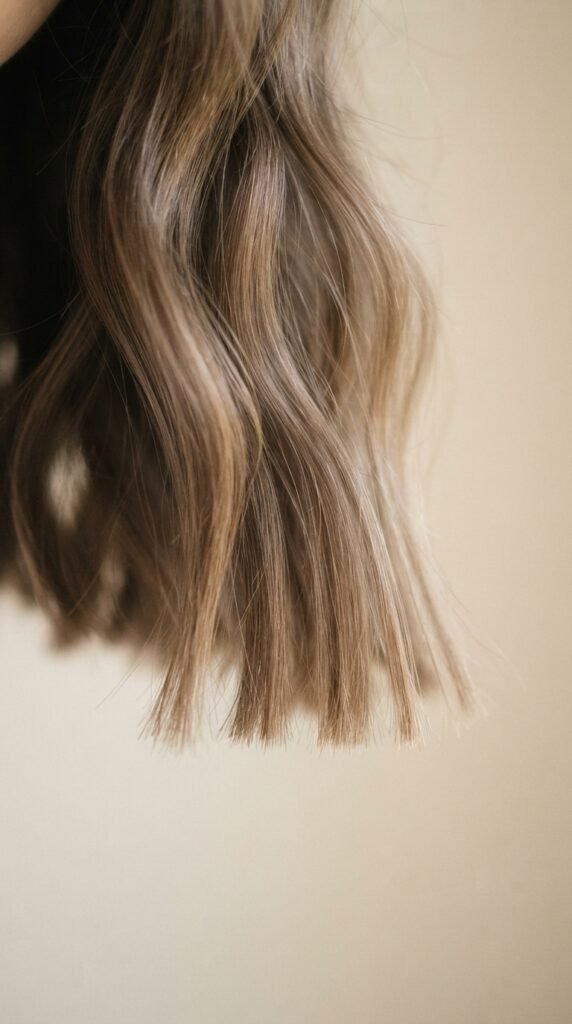
The ends are the difference between beachy and bridal. Skip the last inch or two with your iron.
Let the ends stay straighter. That creates that relaxed, lived-in finish.
- Start curls at mid-length
- Leave ends out of the clamp
- Only curl ends if they look limp
For a vampire haircut, keep the top sleek and let the ends have just a soft bend. For a quiet luxury bob, a tiny bend at the ends is enough.
How Long to Hold Each Curl
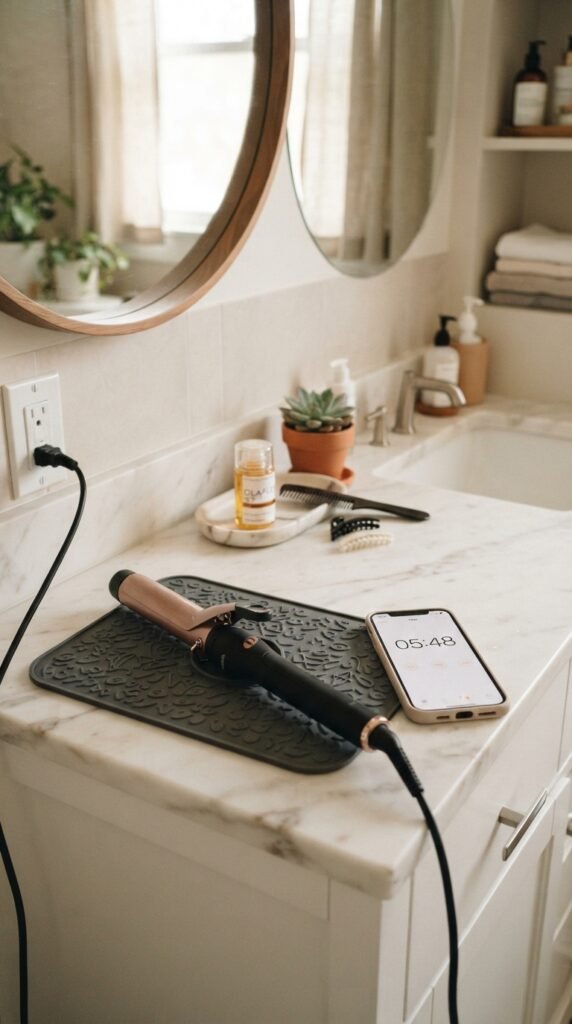
Timing depends on your hair type. More time does not always mean better hold.
- Fine hair: 5 to 6 seconds
- Medium hair: 6 to 8 seconds
- Thick hair: 8 to 10 seconds
If your iron beeps, release. Test one section first. If the wave falls within ten minutes, go slightly hotter or hold a little longer next time.
Never hold until the hair feels hot to the touch. That is too much.
The Cooling Trick That Changes Everything
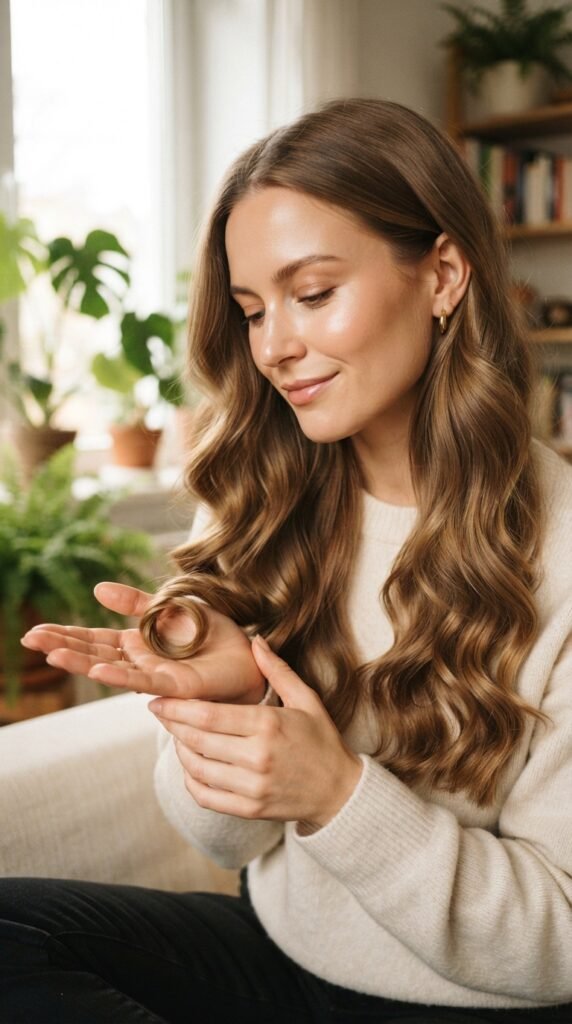
Heat sets the shape. Cooling locks it. If you touch the curl while it is hot, you kill the volume.
Let each curl cool completely before you move on. You can cup it in your hand or pin it gently with a clip.
- Release the curl softly
- Do not tug it
- Let it cool for 10 to 15 seconds
- Move to the next section
This is the secret to waves that last past lunch. It is simple, but most people skip it.
How to Break the Curls Gently

Once all curls are cool, break them up. Do not use a brush. Use your fingers.
Shake your roots gently. Rake through the waves once or twice. Then add a tiny drop of oil to the ends if they look dry.
- Fingers only for a soft look
- Wide-tooth comb for glitchy glam hair
- Light oil on ends only
For a hime cut, keep the front side sections smooth and separate. Only break up the back for contrast.
Add Volume at the Roots
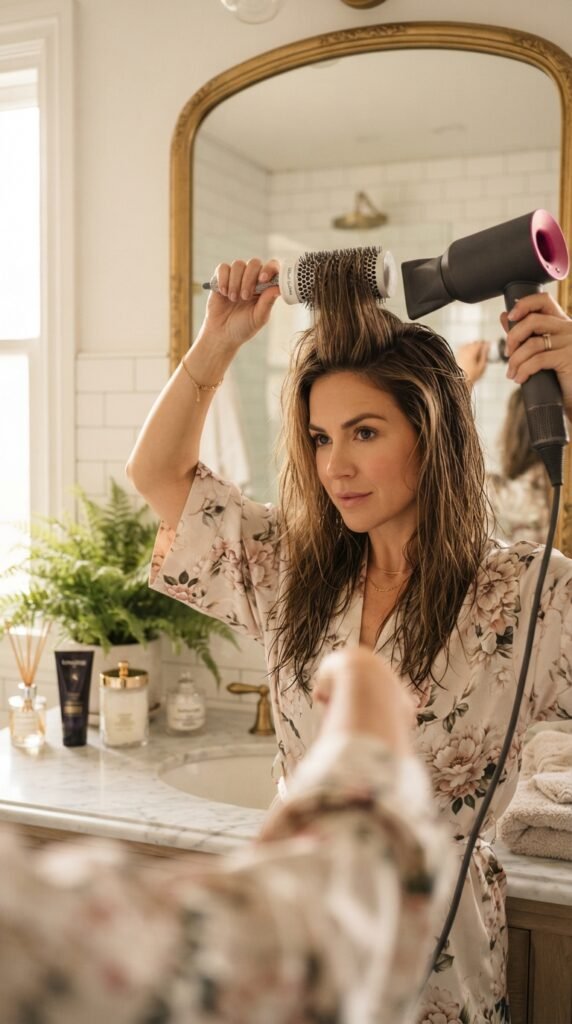
Beach waves need a little height. Flat roots make even pretty waves look tired.
Lift the crown with a round brush while blow drying, or use velcro rollers for five minutes. Dry shampoo at the roots also adds grip.
- Spray root lift at the crown
- Blow dry upward
- Set with cool air
- Flip hair over and shake
For old money hair, keep the volume soft and smooth. For an asymmetrical lob, lift the shorter side for a modern edge.
Texturizing Sprays vs. Sea Salt Spray
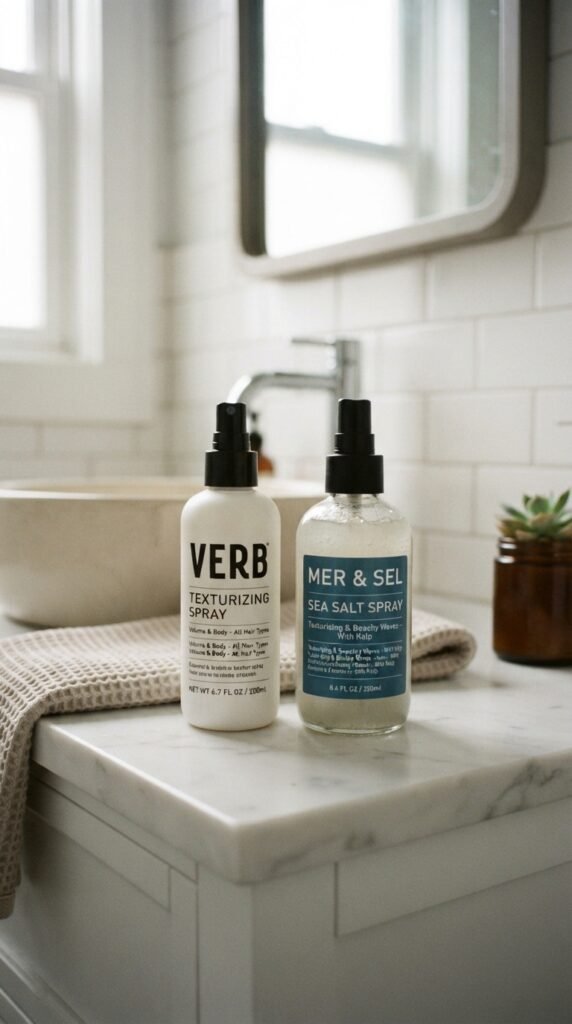
These two are not the same. Use them for different jobs.
- Sea salt spray: beachy grip, messy texture, best on mid-lengths and ends
- Texturizing spray: root volume, light hold, less crunch
- Flexible hairspray: final hold without stiffness
For loose voluminous waves, spray sea salt on mid-lengths. Use texturizing spray at the roots. Finish with a light mist of flexible hairspray.
Less is more. You can always add, but you cannot easily take away.
How to Make Waves Last All Day
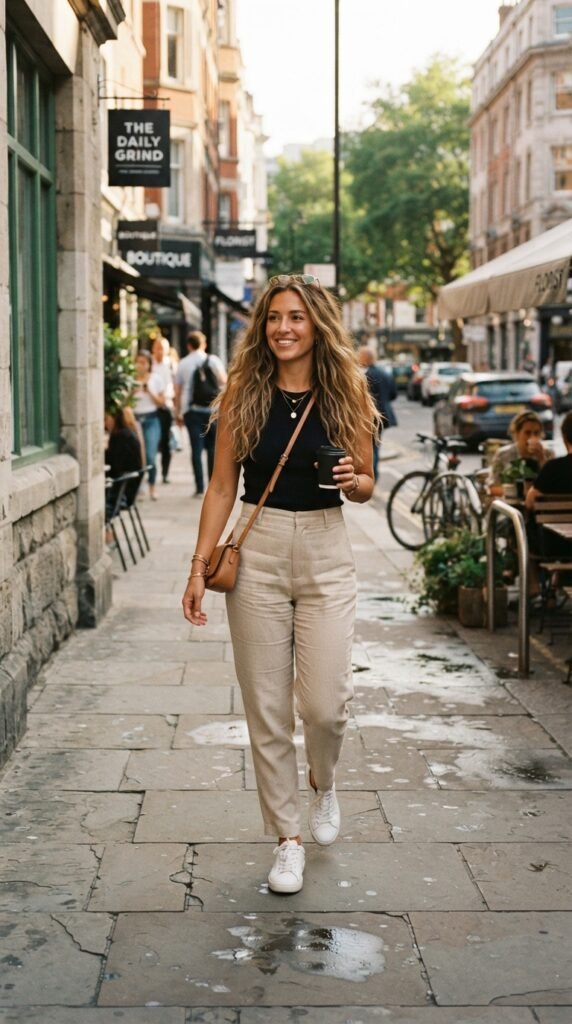
Once your waves are done, stop touching them. Hands add oil and pull out the shape.
- Use a silk pillowcase at night
- Sleep with a loose bun or pin curls
- Refresh with dry shampoo at the roots
- Re-curl just one or two face-framing pieces
Humidity can still win, so keep an anti-humidity spray nearby. If waves fall, a quick root lift brings them back fast.
Beach Waves for Fine Hair

Fine hair can hold beach waves. You just need a lighter hand.
- Use a 1-inch iron
- Keep heat at 250°F to 300°F
- Curl smaller sections
- Use dry shampoo at the roots
- Avoid heavy oils and creams
Spray texturizing mist at the crown for lift. Then use a flexible hairspray at the end. For a quiet luxury bob, keep the finish smooth and bouncy, not messy.
Beach Waves for Thick Hair
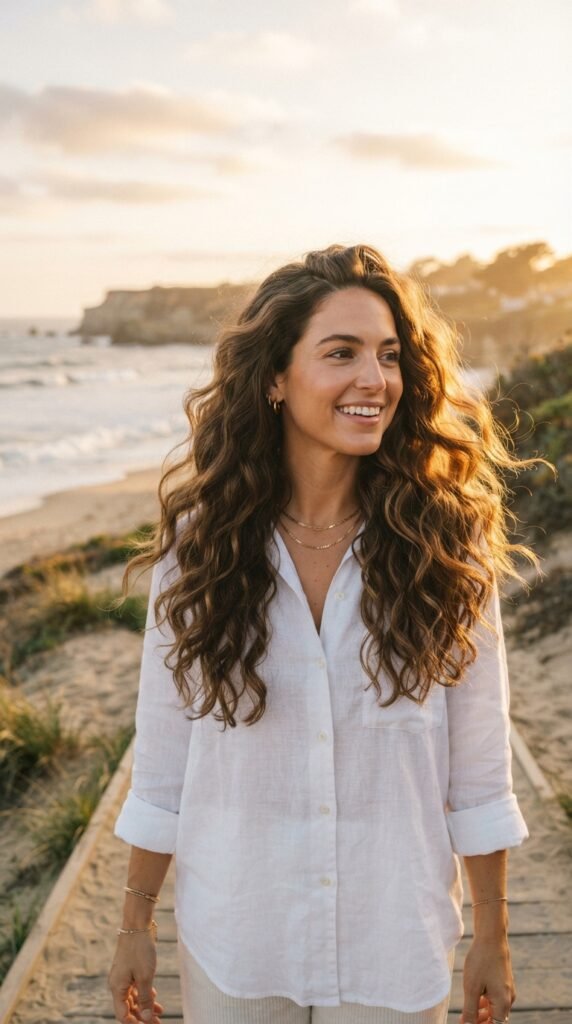
Thick hair needs more heat and bigger sections. Otherwise you will be curling all day.
- Use a 1.25-inch to 1.5-inch iron
- Set heat to 350°F to 400°F
- Work in layers
- Hold each curl 8 to 10 seconds
- Use light cream before styling
Finish with flexible spray. Heavy products can weigh thick hair down and make it feel stiff. For romantic goth hairstyles, use a smaller iron on the top layer for definition.
Beach Waves for Short Hair and Bobs
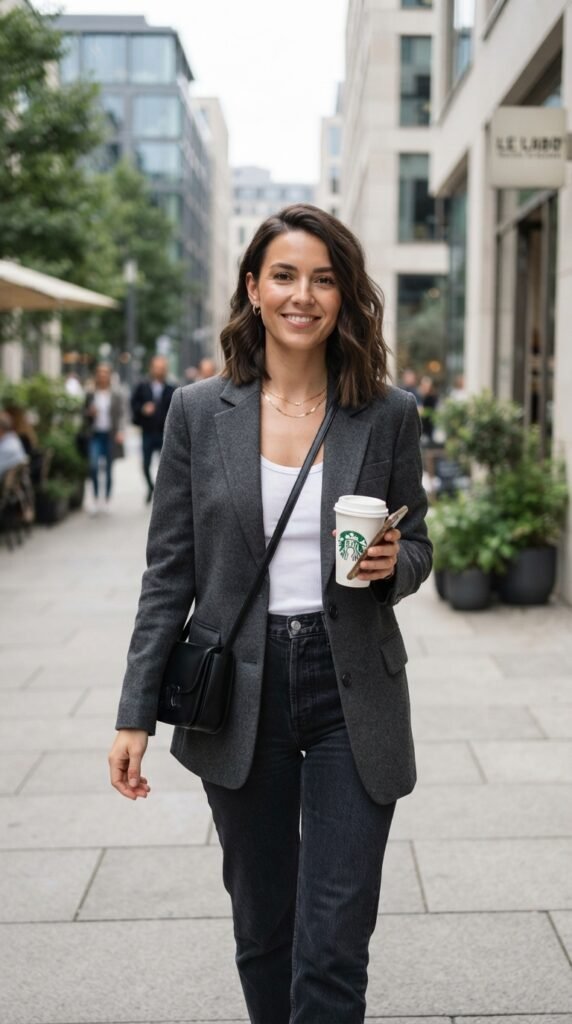
Short hair looks amazing with beach waves. You just curl less hair and leave the roots alone.
- Use a 1-inch or 3/4-inch iron
- Start at mid-length
- Wrap away from face
- Leave ends slightly straight
- Shake with fingers
This works beautifully on a quiet luxury bob, asymmetrical lob, and even a short vampire haircut. Keep the shape soft and not too round.
Beach Waves for Long Hair
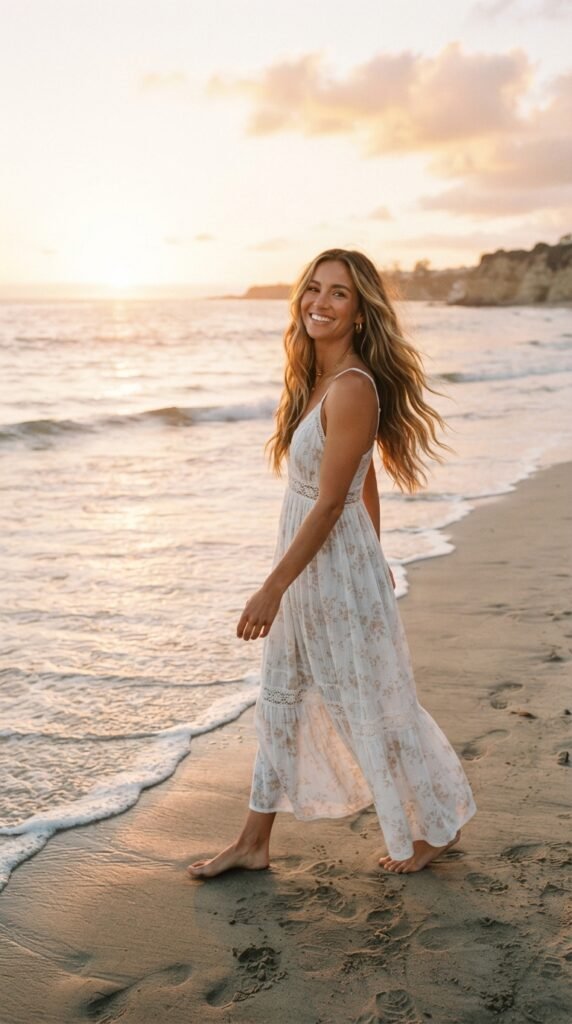
Long hair needs more sections, but the method stays the same. Do not rush it.
- Divide hair into 6 to 8 sections
- Curl from mid-shaft down
- Alternate directions
- Cool each curl before touching
- Use light oil on ends
If your hair is very long, add a few extra curls around the face. That frames the look and keeps it from feeling heavy.
Pair It With 2026 Hairstyles

Beach waves are a great base for 2026 hairstyles. They make polished cuts feel softer and more real.
- Old money hair: glossy waves, neat part, soft volume
- Quiet luxury bob: smooth roots, gentle bends at the ends
- Asymmetrical lob: more volume on the longer side
- Hime cut: straight front pieces, wavy back
Keep the finish healthy and shiny. That is the common thread in all the best 2026 hairstyles.
Romantic Goth and Vampire Hair Twist

Beach waves can go dark and romantic too. You just change the iron size and finish.
- Use a 3/4-inch to 1-inch iron
- Curl smaller sections
- Keep the shape a little more defined
- Add shine serum or hair oil
For a vampire haircut, keep the roots sleek and let the mid-lengths and ends have soft waves. It feels mysterious without trying too hard.
Glitchy Glam and Hime Cut Ideas

Glitchy glam hair loves imperfect texture. The goal is shiny but slightly undone.
- Curl random pieces in different directions
- Leave some sections straighter
- Use a wide-tooth comb to break waves
- Finish with high-shine spray
For a hime cut, keep the side sections straight and crisp. Wave only the back for a cool contrast. This mix of clean and messy feels very 2026.
Quick Fixes for Flat or Frizzy Waves
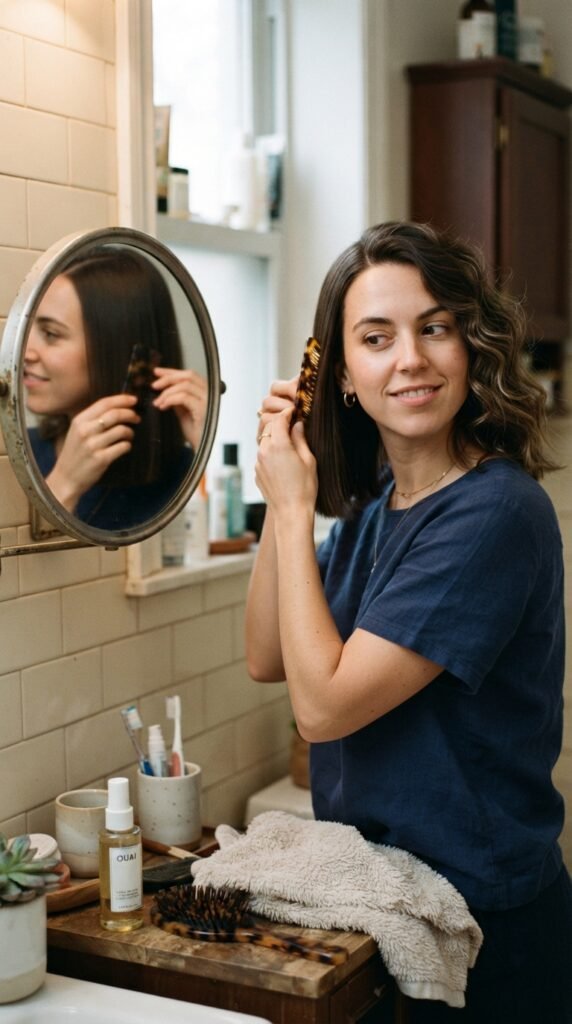
Flat waves usually mean your roots need lift. Frizzy waves usually mean your hair needs smoothing.
- Flat: dry shampoo at roots, lift with fingers, re-curl face frame
- Frizzy: smooth with a tiny drop of oil, use cool shot, do not brush
- Droopy: mist with flexible spray and scrunch
- Humid: use anti-humidity spray before you leave
Fix one section at a time. You do not need to redo your whole head.
Common Mistakes to Avoid
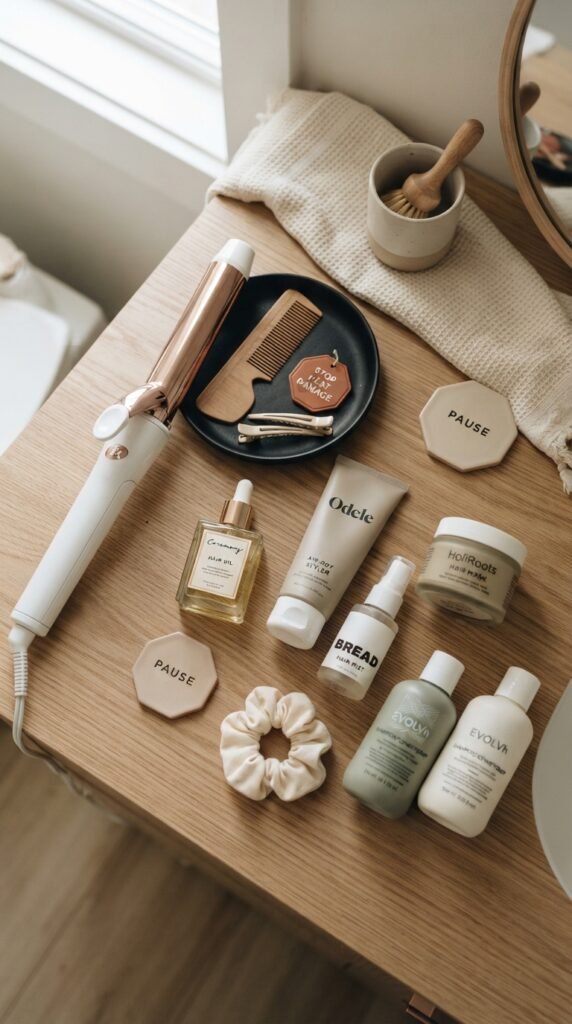
These small mistakes can make beach waves look stiff or fall flat. Avoid them and your hair will thank you.
- Curl too much hair at once
- Clamp the very ends
- Curl every piece the same direction
- Touch hot curls before they cool
- Use too much product
- Skip heat protectant
Simple wins. Loose sections, alternating directions, and a cool set are the three biggest secrets.
A Little Final Love Note
You really can get loose, voluminous beach waves with one simple curling iron technique. Prep, wrap, cool, shake, and keep your products light.
It works for old money hair, a quiet luxury bob, romantic goth hairstyles, glitchy glam hair, an asymmetrical lob, a vampire haircut, and a hime cut. The technique stays the same. Your finish changes with your mood.
Save this post to Pinterest so you have the steps handy next time you style. And tell me in the comments: are you trying soft old money waves or a moody romantic goth twist first? I love hearing from you.
xoxo, Hailey & Team

