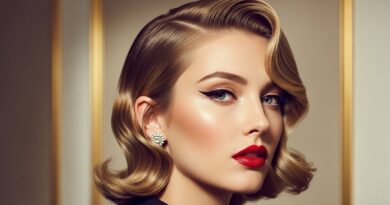
12 Thanksgiving Hairdos That Look Effortless Yet Completely Polished Today
Thanksgiving hair has one job: look polished in every photo while surviving a full day of cooking, hugging, and second helpings. That is a big ask.
So I pulled together 12 hairdos that actually do that. No complicated braiding, no heat tools running all morning, no panic if your roots are a little less fresh than you planned.
Most of these take 10 minutes or less, and a few are literally two steps. You will also find prep tips, quick fixes, and accessory ideas, so you can pick the one that fits your hair length and your outfit.
Ready? Let’s get you photo-ready before the doorbell rings.
Why Thanksgiving Hair Has Its Own Rules
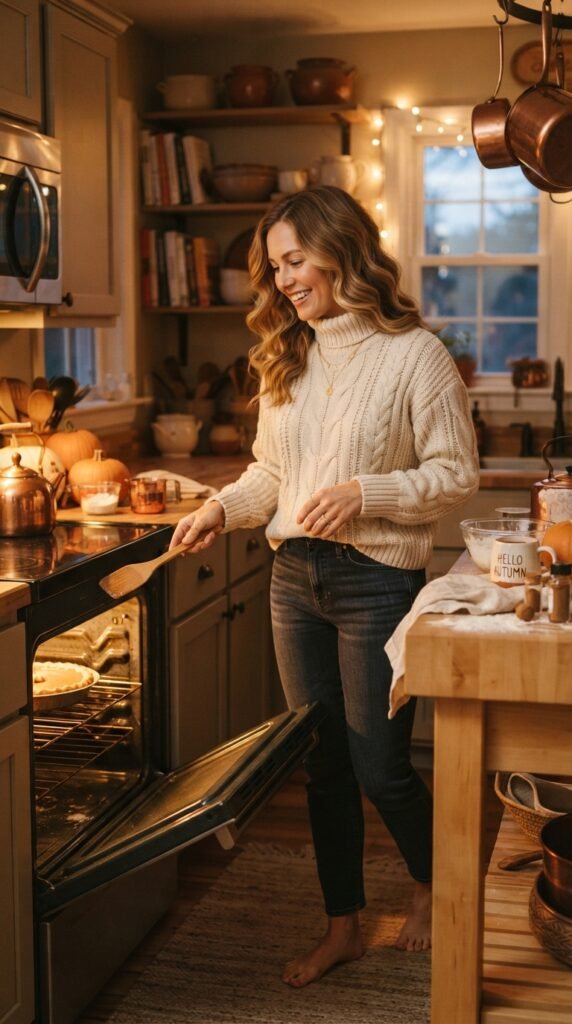
Thanksgiving is not a normal day for your hair. You are over a hot stove, opening the oven every twenty minutes, and hugging relatives who somehow always catch the back of your head.
Then someone pulls out a phone and you want to look good instantly.
So the goal is simple:
- Holds up in heat and steam
- Looks intentional in photos
- Survives a couch nap after pie
- Takes 15 minutes or less
Every style below checks those boxes. Pick one, practice it once, and you are set.
Prep the Night Before and Save Yourself 20 Minutes
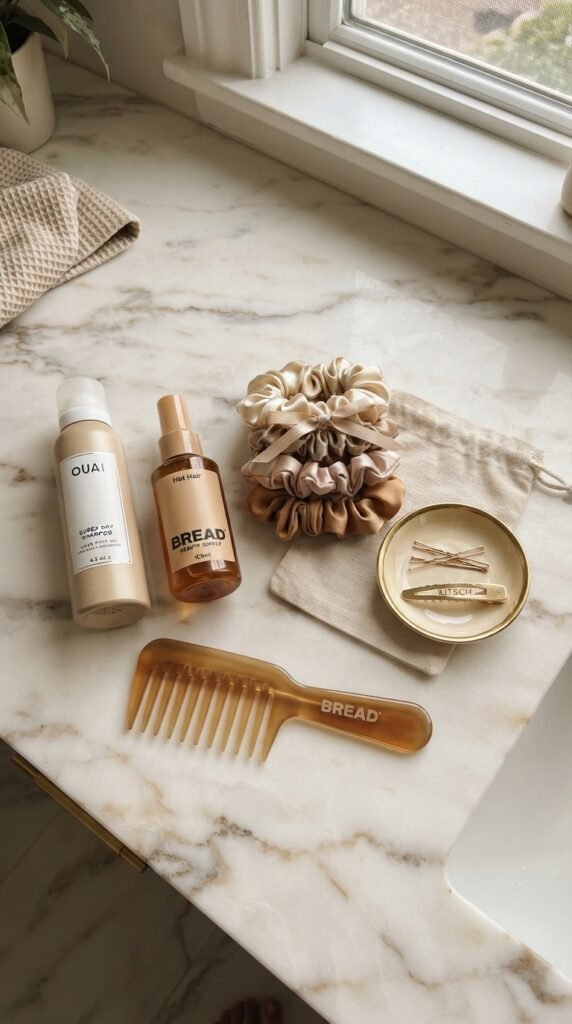
Good hair on Thanksgiving actually starts Wednesday night. Here is my simple routine:
- Wash and condition, then add a leave-in while hair is damp.
- Blow-dry the roots only if you have time. The rest can air dry.
- Twist hair into two loose braids or buns before bed.
- Sleep on a silk pillowcase to cut down frizz.
In the morning you will have soft texture and volume with almost no work. If your roots get oily, spray dry shampoo at night instead of in the morning. It absorbs while you sleep.
The Quiet Luxury Bob, Tucked and Glossy
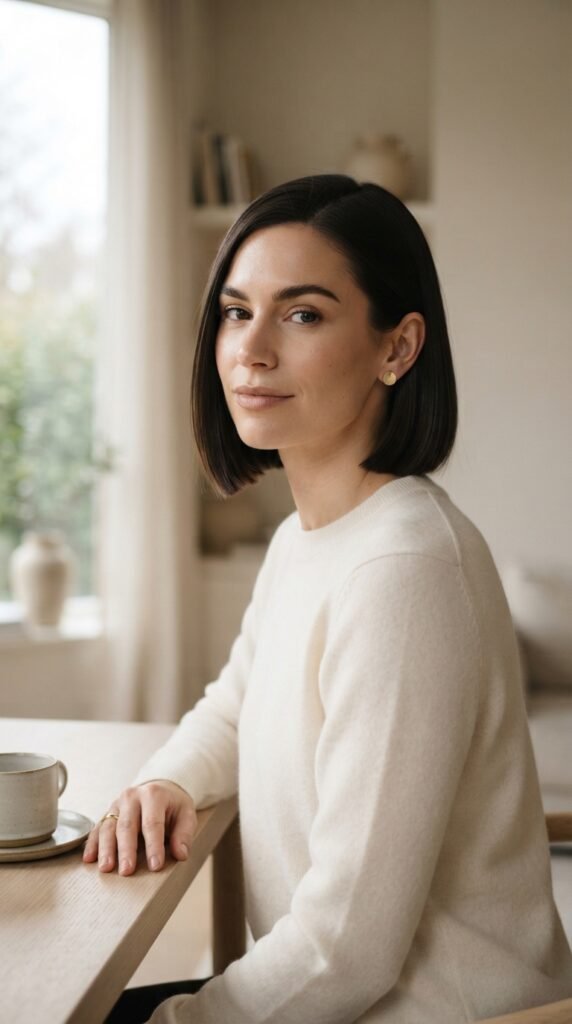
The quiet luxury bob is one of the biggest 2026 hairstyles for a reason. It reads expensive without looking like you tried.
How to style it:
- Blow-dry or smooth with a round brush for shine
- Add a drop of lightweight oil to the ends
- Tuck one side behind your ear
- Leave the other side slightly loose for softness
If your hair is longer, fake the shape by tucking the ends under and pinning them. Pair it with a simple sweater and gold hoops. That is the whole look.
Old Money Hair: The Bouncy Blowout
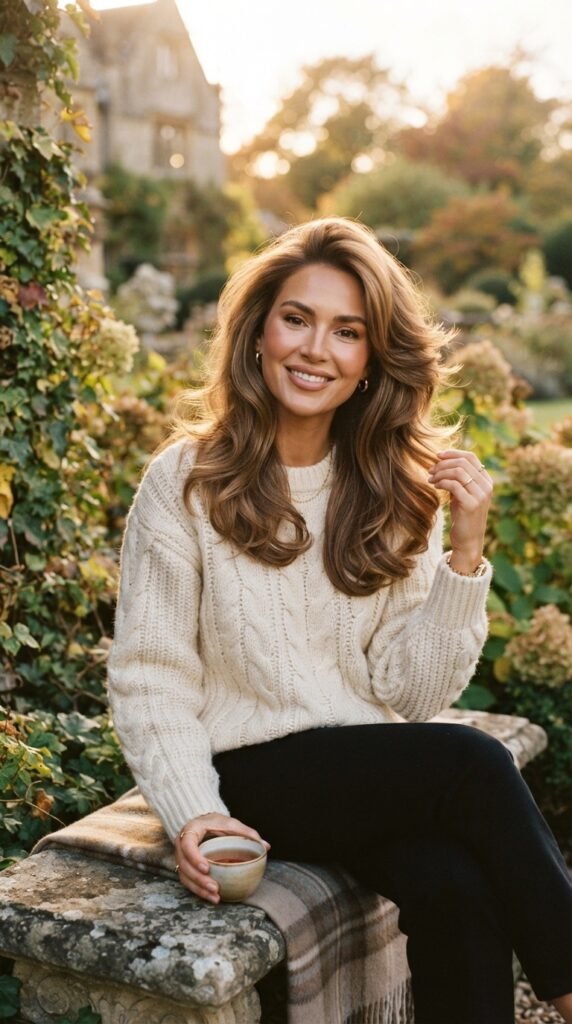
Old money hair never goes out of style. Think smooth, bouncy, and brushed out, like you just came in from a crisp walk.
Steps:
- Start with dry hair and a heat protectant.
- Wrap sections around a large round brush and blast with medium heat.
- Let each section cool before you touch it. This is the secret to volume.
- Brush everything out with a paddle brush and finish with light spray.
No curling iron needed. The cool-down step is what makes it last all day through dinner and dishes.
The Asymmetrical Lob With a Deep Side Part
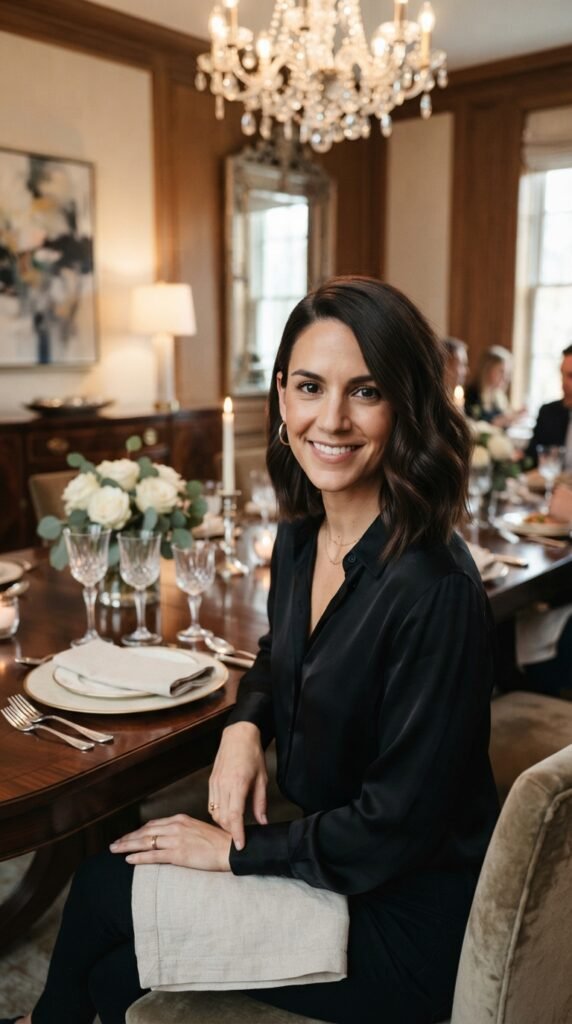
The asymmetrical lob is my favorite pick if you want something modern but still classic. One side is shorter, one side is longer, and it looks intentional even on messy hair days.
Quick how-to:
- Part hair deeply on one side with a comb, not your fingers
- Flat iron the longer side so it curves toward your jaw
- Add a soft bend to the shorter side
- Tuck the shorter side behind your ear
This shape frames your face beautifully in photos. It also works on fine hair because the deep part creates instant volume at the root.
Low Sleek Chignon That Never Fails
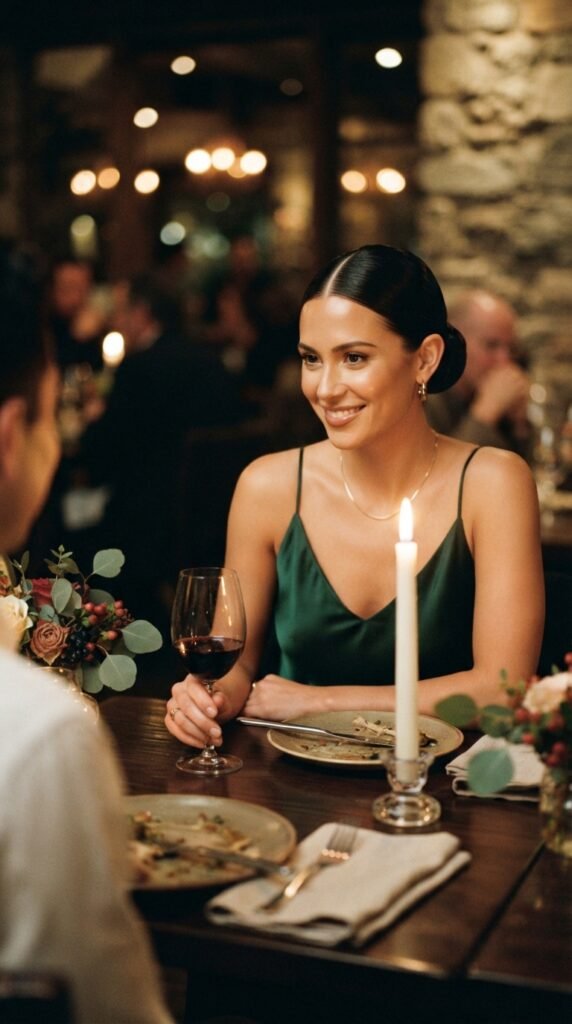
A low chignon is the classic answer to “I need to look put together in five minutes.”
Here is the fastest version:
- Brush hair back into a low ponytail.
- Smooth the top with a little gel or cream on your palm.
- Twist the ponytail and wrap it around the base.
- Pin it with two or three bobby pins and pull tiny pieces loose at the front.
Sleek at the top, soft at the sides. That contrast is what makes it look expensive instead of severe. It also keeps hair completely out of your face while you cook.
Romantic Goth Hairstyles: The Velvet Half-Up
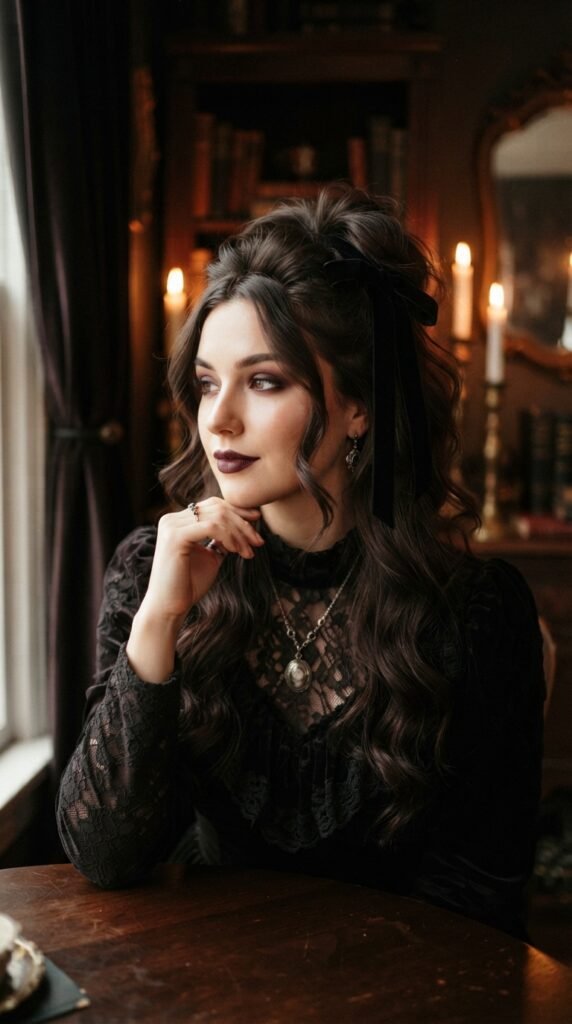
Romantic goth hairstyles are having a moment, and Thanksgiving is the perfect place to try a soft version. You want moody, not costume.
How to get there:
- Start with loose, brushed-out waves
- Pull the top half back and secure with a velvet ribbon
- Leave the rest down and slightly undone
- Add one detail, like a dark hair pin or a single braid
Keep the makeup soft and let the hair carry the drama. A deep burgundy sweater pulls the whole look together.
The Hime Cut, Holiday Edition
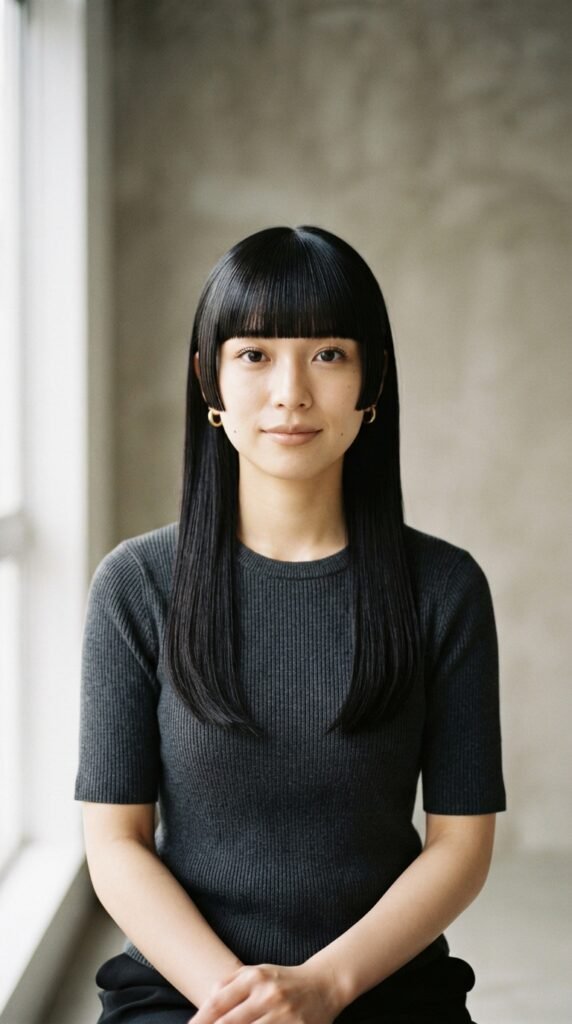
The hime cut is bold: blunt fringe, straight side pieces at cheekbone length, and the rest long and sleek. It looks striking, but the styling is honestly easy.
To wear it for Thanksgiving:
- Flat iron everything smooth, especially the cheekbone pieces.
- Keep the center part clean and straight.
- Tuck the back section behind your shoulders or into a low half-up.
- Add a small gold clip near one temple for a holiday touch.
If you do not want to cut your hair, ask a stylist for clip-in side pieces. Same effect, zero commitment.
The Vampire Haircut, Softened for Family Dinner
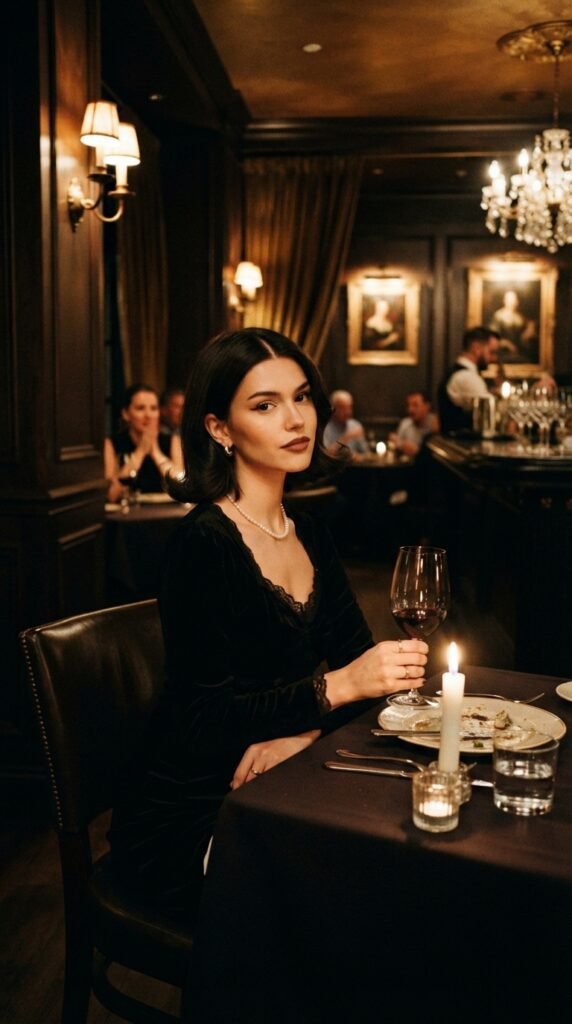
The vampire haircut is a collarbone-length cut with flipped ends and a middle part. It sounds dramatic but it is actually very wearable.
Style it like this:
- Part in the middle and smooth the top flat
- Curl the ends outward, away from your face
- Leave a little texture so it does not look stiff
- Finish with a shine serum on the ends
The flipped ends lift your face and read as polished. It is one of the easiest 2026 hairstyles to pull off at a family table because it looks fancy with very little effort.
Glitchy Glam Hair for the Cool Cousins
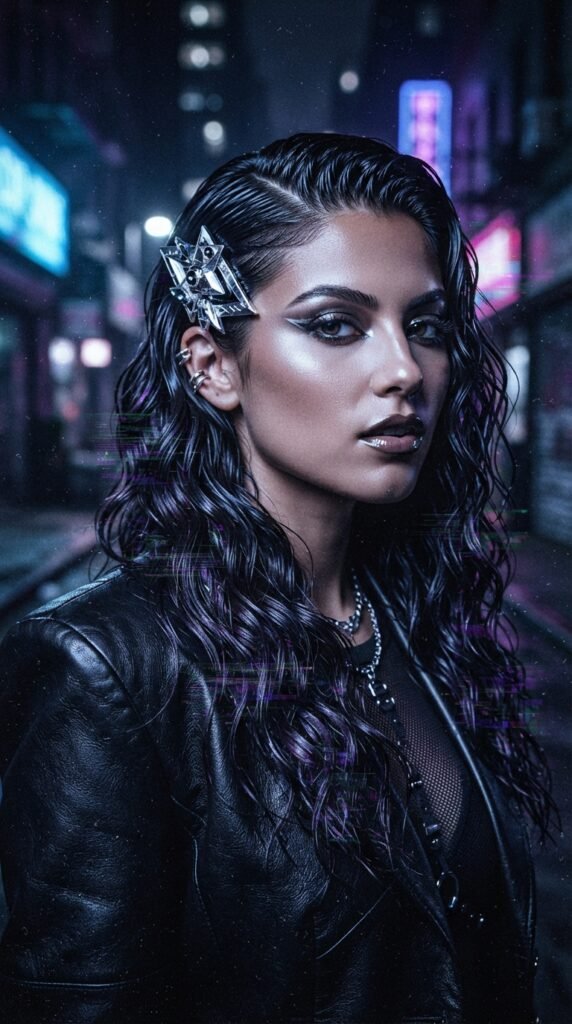
Glitchy glam hair is the fun, slightly futuristic trend that mixes wet-look roots with glossy, uneven waves. It is perfect if you want to stand out without a full updo.
How to do it:
- Slick the roots back with a light gel using a fine brush.
- Leave the mid-lengths and ends wavy and shiny.
- Add one metallic accessory, like a silver clip.
- Touch up the roots with your finger so it looks a little undone.
Keep the rest of your look simple. A plain black top and small earrings let the hair do all the talking.
Braided Crown That Hides Second-Day Hair
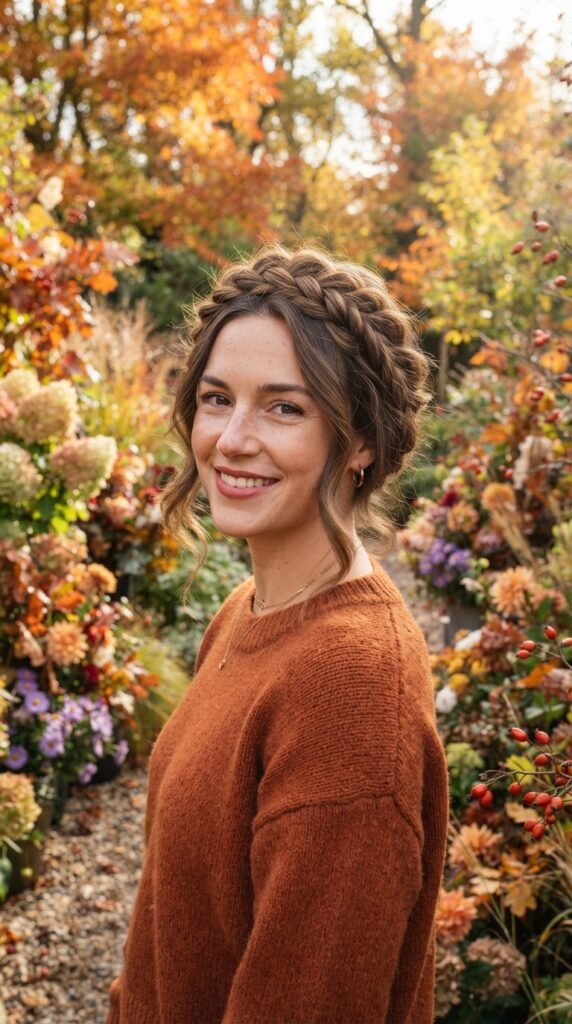
If your hair is not fresh and you have no time to wash it, this is your answer.
Steps:
- Spray dry shampoo at the roots and brush through.
- Part hair down the middle.
- Take a section from each side and braid it loosely toward the back.
- Cross the braids at the back and pin them.
- Gently pull the braid edges apart for a fuller look.
Pulling the braid wider is the trick. Tight braids look severe, soft braids look romantic. Add a few loose pieces around your face and you are done.
The Effortless Top Knot With Face-Framing Pieces

This is the “I woke up like this” style that actually takes three minutes.
How to do it:
- Flip your head upside down and gather hair into a high ponytail.
- Do not brush it. Texture is the point.
- Wrap the ponytail around the base and pin loosely.
- Pull out two small pieces at the front.
Those front pieces are everything. They soften the look and make it feel intentional. If you want more polish, smooth the hairline with a tiny bit of gel and a toothbrush.
Ribbon Ponytail for Instant Polish
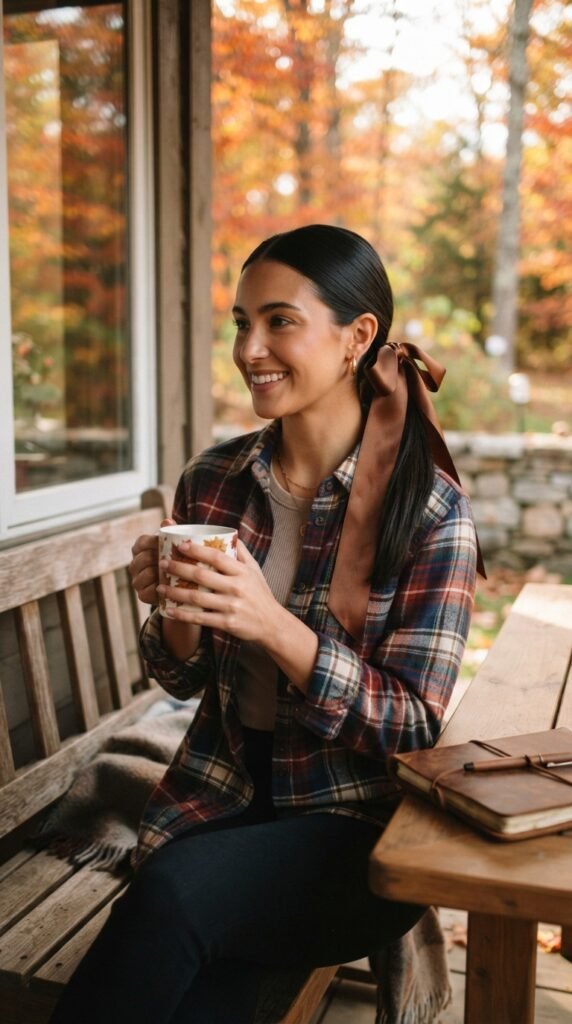
A ribbon is the cheapest way to look like you tried harder than you did.
Here is the move:
- Pull hair into a low or mid ponytail.
- Smooth the top with a brush and a little spray.
- Tie a satin ribbon around the base and make a bow.
- Wrap one strand of hair around the elastic if you want it hidden.
Choose a ribbon color that matches your outfit, not your hair. Burgundy, olive, and cream all look great in fall photos and give a quiet luxury feel without spending anything.
Textured Curly Updo That Holds Its Shape
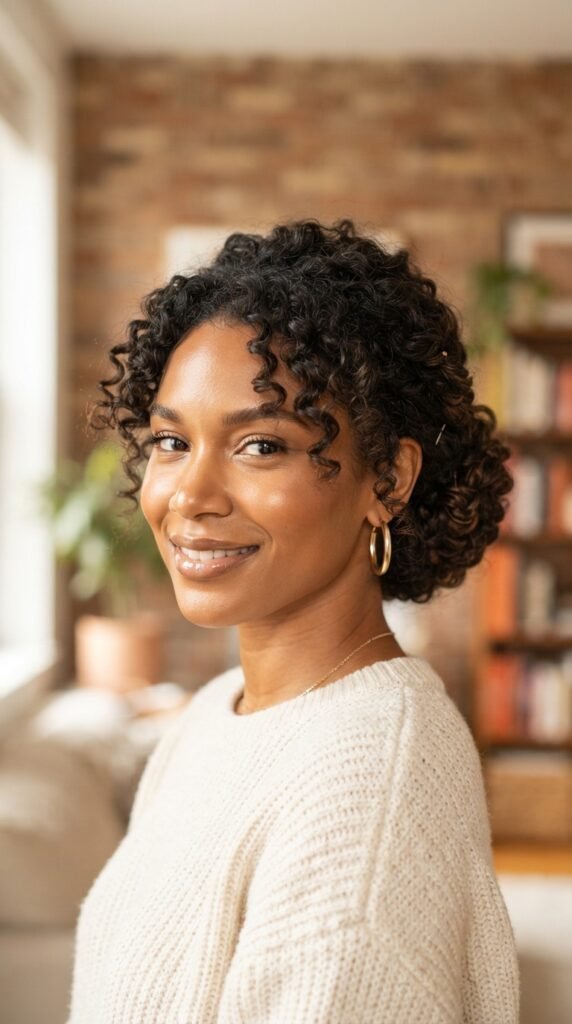
Curly hair does not need to be straightened to look dressed up. A curly updo is one of the most beautiful options on this list.
Try this:
- Refresh curls with water and a little leave-in cream
- Gather hair low at the nape, leaving the front loose
- Pin curls one by one instead of twisting them all together
- Leave volume on top, never flatten it
Pinning curl by curl keeps definition and gives you a full, soft shape. Finish with a light mist of flexible hold spray so nothing gets crunchy before dinner.
Tucked-Back Bob With a Velvet Bow
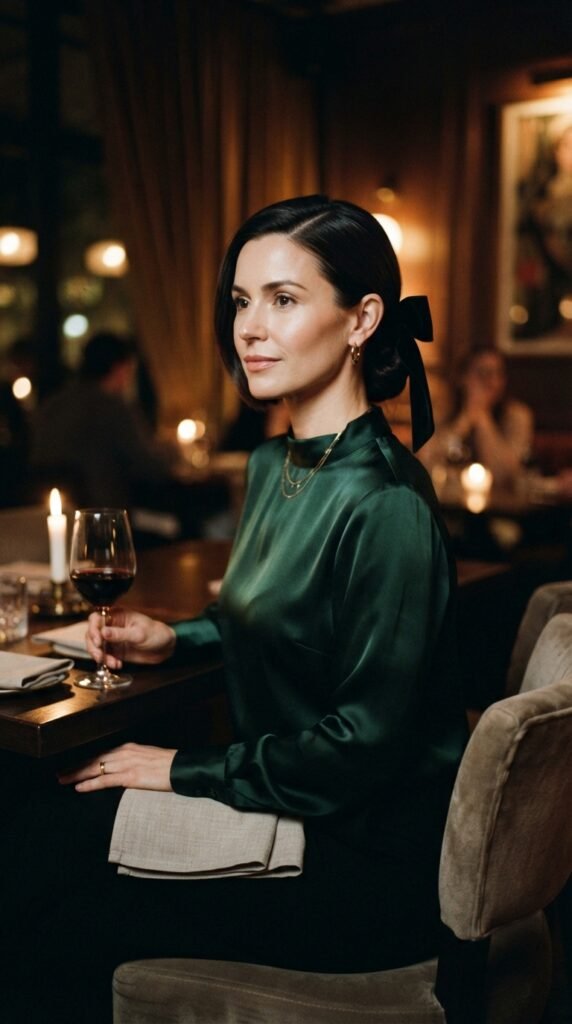
A velvet bow instantly makes any hairstyle feel holiday-ready. It works on short hair too, which a lot of people forget.
How to style it:
- Smooth your bob with a flat iron or round brush.
- Tuck both sides behind your ears.
- Pin a velvet bow at the back of your head, slightly low.
- Pull one small piece loose in front.
This is quiet luxury bob energy at its best. Simple, a little vintage, and completely photo-friendly from every angle.
Middle-Part Bun With Soft Volume
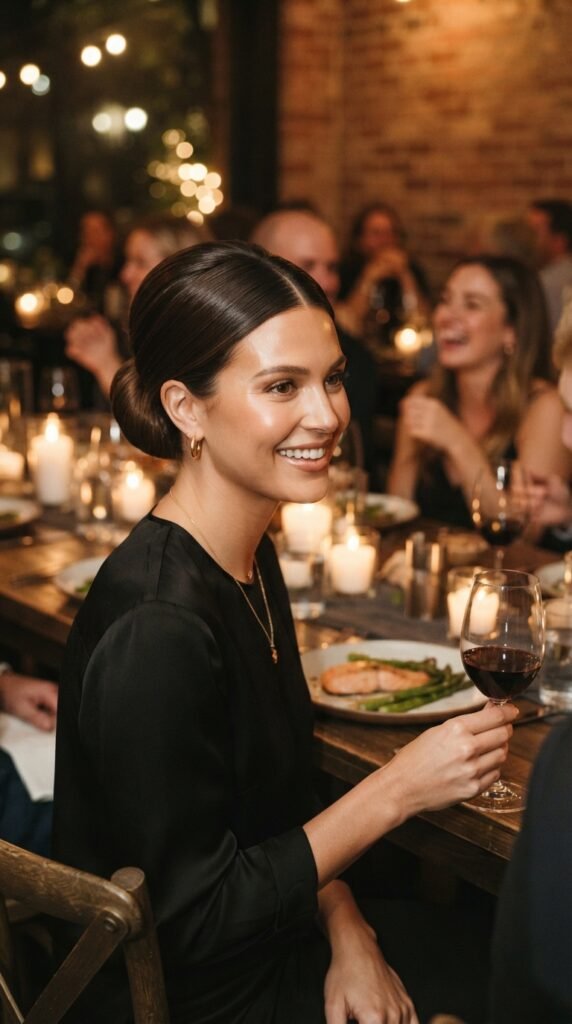
The middle part is back in a big way for 2026 hairstyles, and it looks amazing with a low bun.
Steps:
- Part hair cleanly down the middle with a comb.
- Add volume at the crown using a round brush or your fingers.
- Gather into a low bun and pin it.
- Keep the sides smooth but not flat.
The volume at the top is what keeps this from looking too tight. A tiny bit of texture spray at the roots gives you that lift without teasing your hair.
Sleek Double Braids, Done Grown-Up
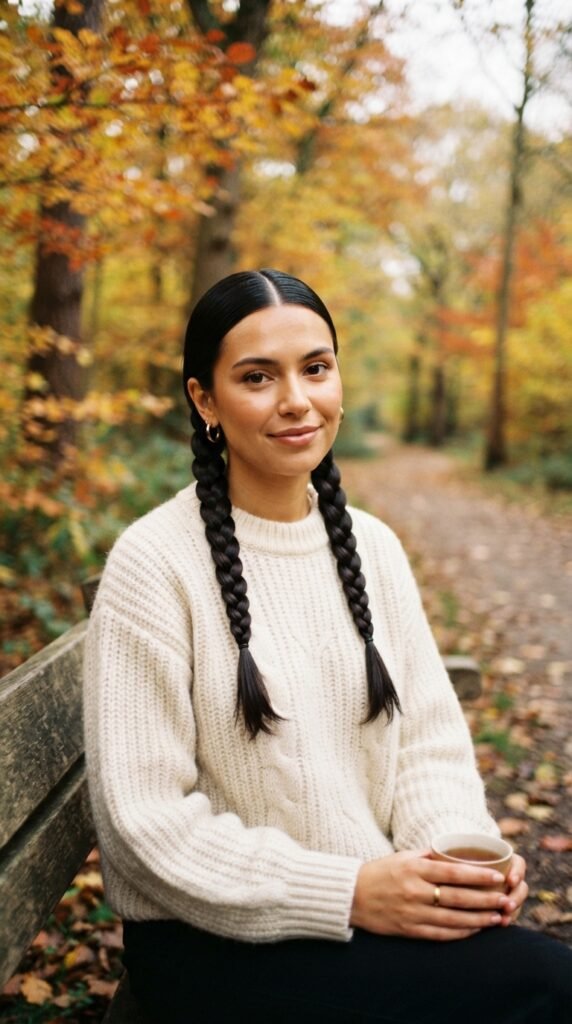
Two braids can look childish or chic, and the difference is all in the finish.
For the grown-up version:
- Part in the middle and smooth the top with gel or cream
- Braid each side low and tight
- Pin the tail of each braid under so it looks neat
- Skip the ribbon for sleek, add one for sweet
This is a great pick if you are planning to be in the kitchen all day. Nothing falls in your face, and it still looks intentional when you sit down to eat.
Claw Clip Half-Up for Last-Minute Guests
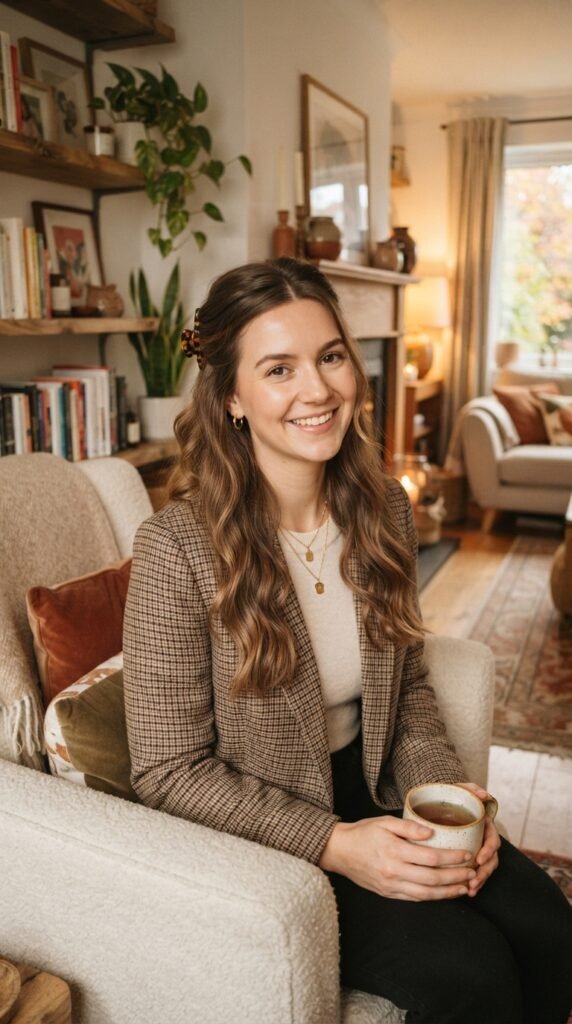
If you have ten minutes and zero patience, grab a claw clip.
How to do it:
- Add a little texture spray or dry shampoo for grip.
- Gather the top half of your hair at the back of your head.
- Twist it once, then clip it.
- Pull small pieces out around your face and ears.
Tortoiseshell reads classic. Metallic reads modern. Either way, it looks like you planned it. This is my go-to when guests show up earlier than expected.
Water Wave Lob With Almost No Heat
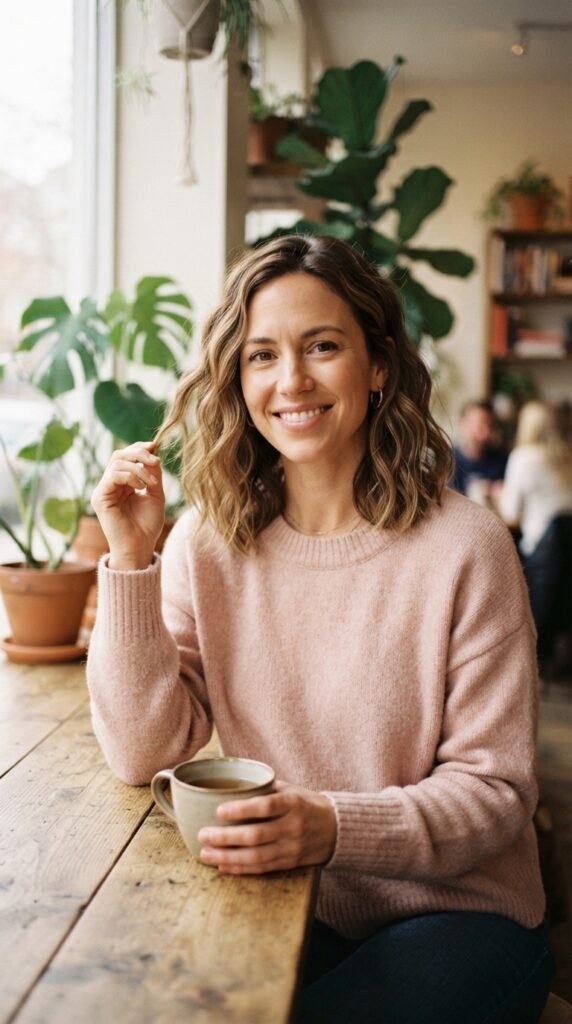
Water waves are soft, romantic, and way easier than they look.
Cheat method that works every time:
- Start with damp hair and apply mousse or wave spray
- Split into four sections and twist each one away from your face
- Let them dry, or hit them with a diffuser on low
- Shake everything out with your fingers and add a little oil
Do this in the morning and leave the twists in while you cook. By the time everyone arrives, you have effortless waves with almost no heat damage.
Twisted Headband Style in Two Minutes
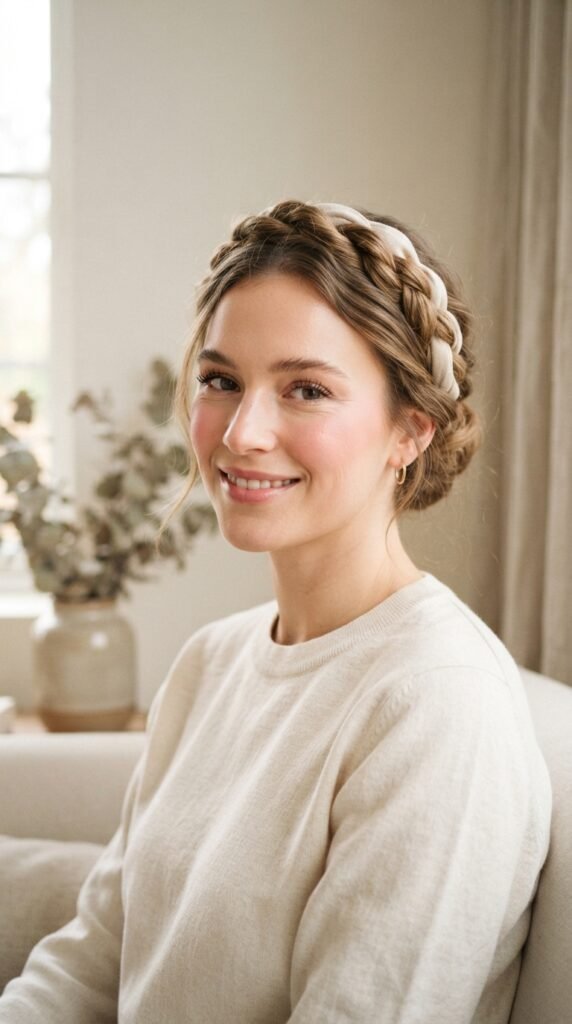
This one looks complicated and takes about two minutes. It is basically a fake crown braid without the braiding.
Steps:
- Place a soft headband or stretchy band over your hair.
- Take small sections and tuck them over and under the band.
- Work your way around your whole head.
- Fluff the back and loosen a few pieces at the front.
It works on almost any length, including short hair. Choose a band that matches your hair color for a seamless look, or go bold with velvet.
Accessories That Do Half the Work for You
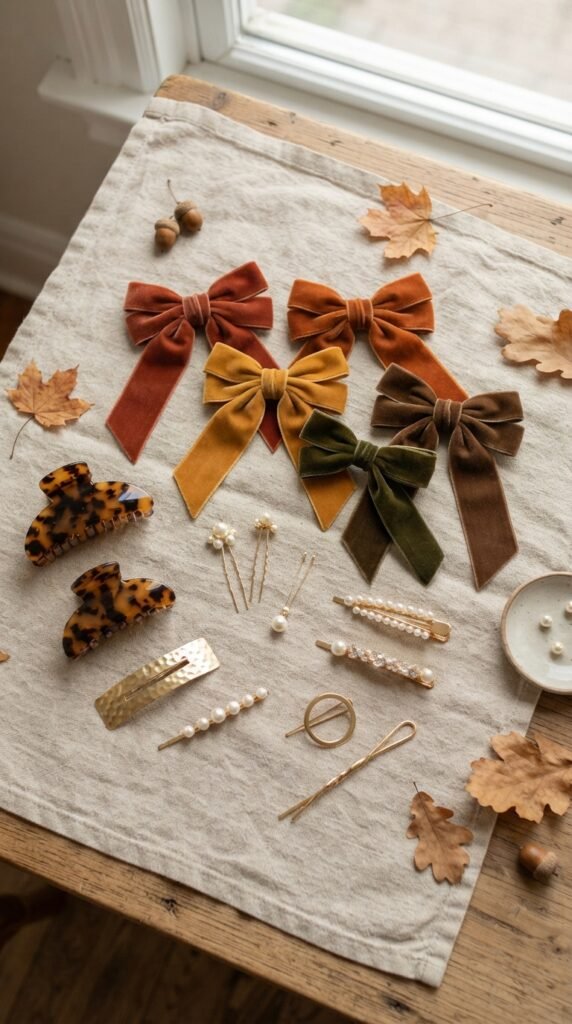
If you are short on time, let an accessory carry the look.
- Velvet bow: instantly holiday
- Pearl pins: soft and a little fancy
- Gold barrettes: modern and clean
- Silk scarf: great on a ponytail or bun
- Tortoiseshell claw clip: works with everything
Rule of thumb: pick one statement piece and keep the rest simple. Two small pins on one side look more expensive than five scattered everywhere.
5-Minute Fixes for Greasy Roots
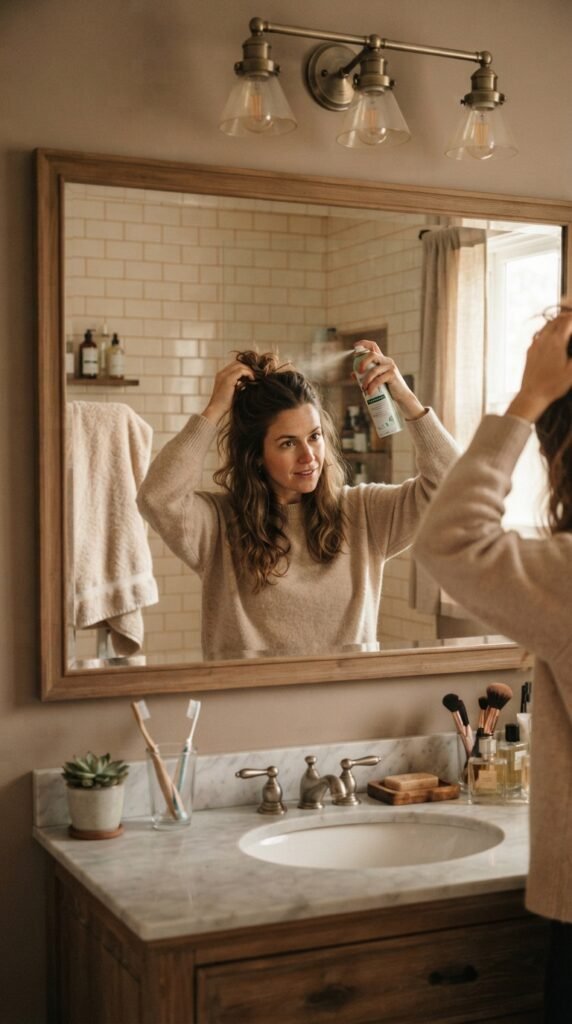
Real talk: sometimes the hair is fine and the roots are not.
Quick fixes that actually work:
- Spray dry shampoo at the roots, wait one minute, then brush through.
- Blow-dry your roots with your head upside down for thirty seconds.
- Switch your part to the other side. It hides the shine instantly.
- Pull hair into a half-up or low bun so the roots are not the focus.
Baby powder works in a pinch, but go light or you will look gray in photos. Trust me on that one.
How to Make Your Hair Last Through Dinner
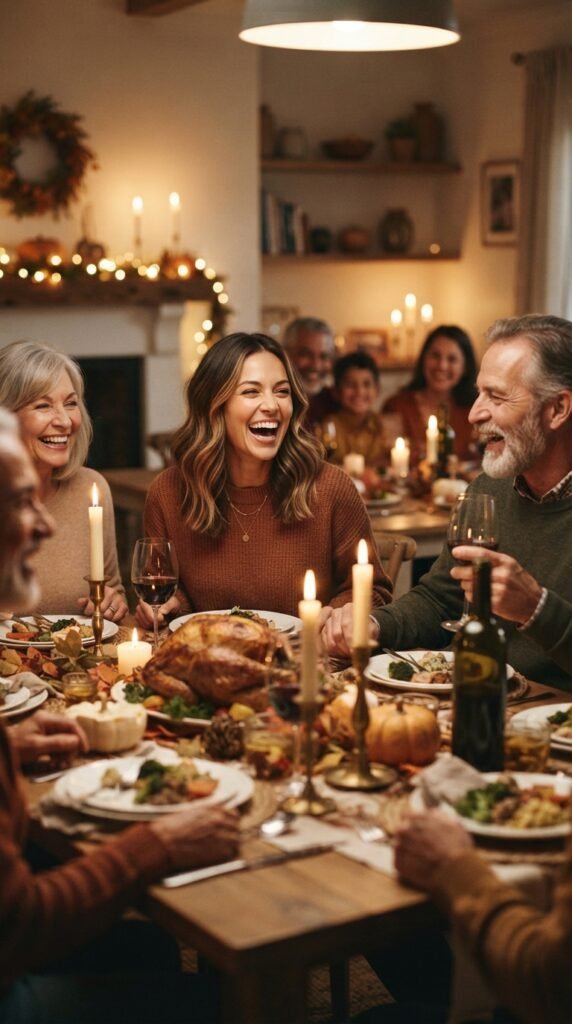
Thanksgiving is long. You want hair that survives cooking, eating, and a nap.
Keep these in mind:
- Finish with flexible hold spray, not heavy hairspray
- Carry two bobby pins and one clear elastic in your bag
- Keep a claw clip in your coat pocket
- Avoid touching your hair with kitchen hands
If you are cooking, start with an updo and let it down later. That way you get two looks in one day with zero extra effort.
Photos, Angles, and Where to Stand
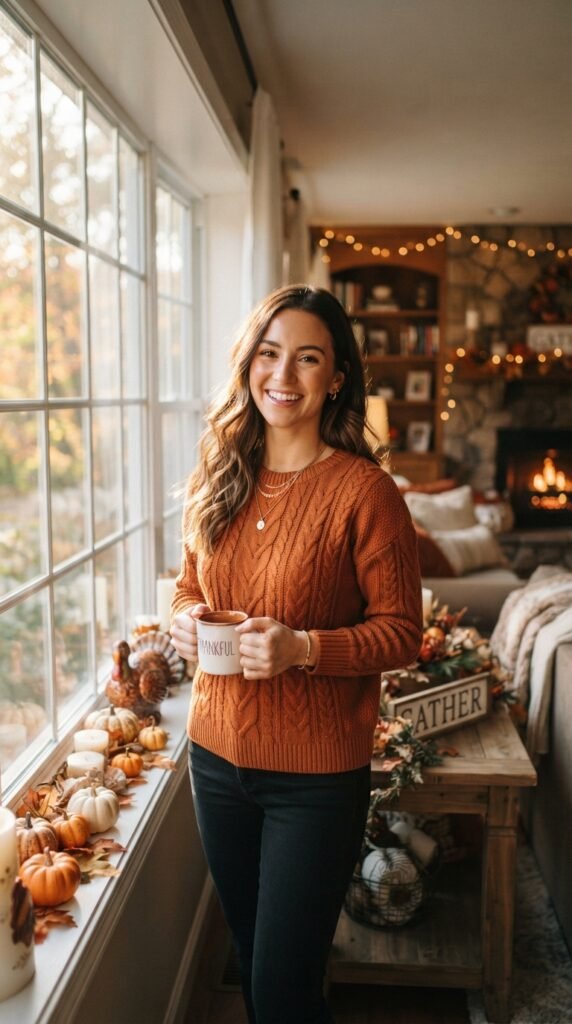
Your hairstyle looks best when the light is on your side.
A few easy tips:
- Stand near a window with light coming from the side, not behind you
- Turn your chin slightly toward the light
- Keep your part facing the camera at a small angle
- Do not fuss with your hair right before the photo
Shine looks best in soft, warm light. And if your hair is doing something weird, own it. Those messy in-between photos usually end up being the ones everyone loves anyway.
Before You Grab Your Brush
Here is the truth: nobody at your Thanksgiving table is grading your hair. They are just happy you are there.
So pick one style from this list, give yourself fifteen minutes, and let it be a little imperfect. Effortless always beats overdone.
You have got this. And if you try one of these, I really want to hear how it went.
Save This Post to Pinterest
Save this post to Pinterest so you can find it again next year, or send it to a friend who always ends up doing her hair in the car.
Drop a comment below and tell me which hairstyle you are trying. I read every single one, and I always answer. Happy Thanksgiving, friend.
Talk soon, Hailey & Team