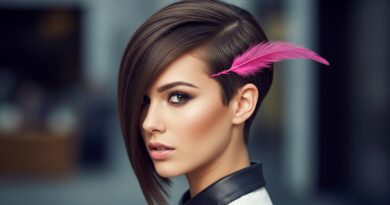
How Face Framing Layers Instantly Soften a Rounder Face Shape
If you have a rounder face, you’ve probably heard the same advice a hundred times: add height, avoid blunt cuts, blah blah. But here’s the thing nobody tells you — the fastest way to soften a rounder face shape isn’t a whole new haircut. It’s face framing layers.
They’re the little pieces of hair that sit around your cheekbones, jaw, and chin. Done right, they break up the softest parts of your face and add just enough angles to make everything look balanced. Not sharp. Not harsh. Just… softer in all the right places.
I’ve spent years testing this on myself and on friends with every face shape. Today I’m sharing the exact cuts, the words to say to your stylist, and how to style them at home in minutes.
Grab a coffee. This one’s quick and genuinely useful.
Why Face Framing Layers Soften a Round Face

A round face has soft curves everywhere — full cheeks, gentle jaw, no hard angles. That’s beautiful. But when your hair is one-length and blunt, it basically frames your face with a straight box, which makes the roundness feel bigger than it is.
Face framing layers fix that by creating visual breaks. Hair that starts around your cheekbone and tapers down draws the eye up and inward instead of straight across.
- Layers add movement, so the eye follows the shape
- Tapered ends narrow the look of your jaw
- Pieces near the cheekbone create lift and angles
- The frame breaks up the width of your face
It’s not about hiding your face. It’s about shaping the way it reads.
The Magic Angle: Where Layers Should Start
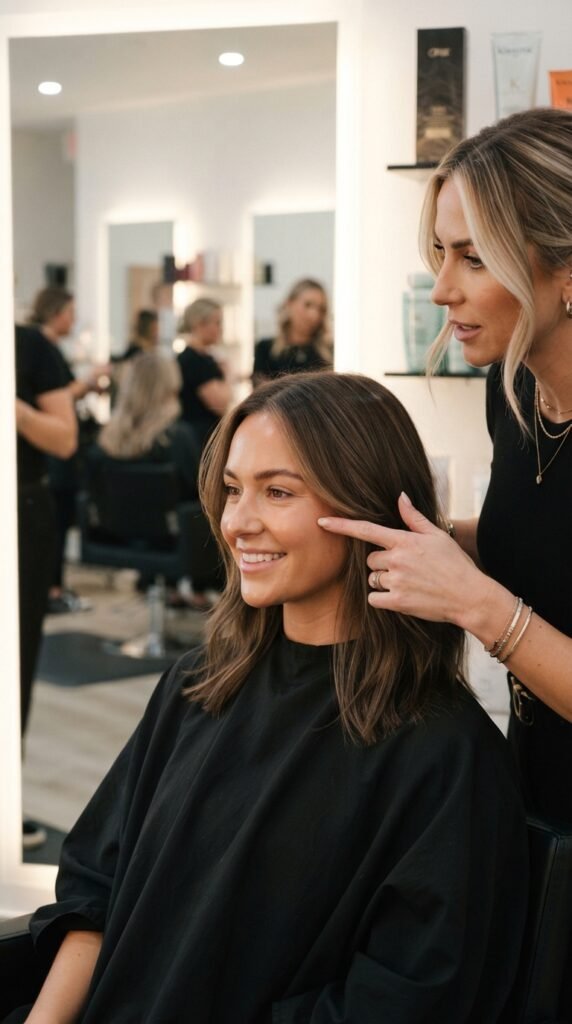
This is the one detail that makes or breaks it. If your layers start at your chin, they’ll drag your face down and wide. If they start at your cheekbone, they lift everything.
Here’s the simple rule:
- Ask for the shortest layer to hit right at your cheekbone or just below it
- The next layer should land near your jaw
- The longest piece should sit at or just past your collarbone
That staircase of lengths is what softens. It also works whether you have a quiet luxury bob or waist-length hair. Same principle, different canvas.
Exactly What to Say to Your Stylist
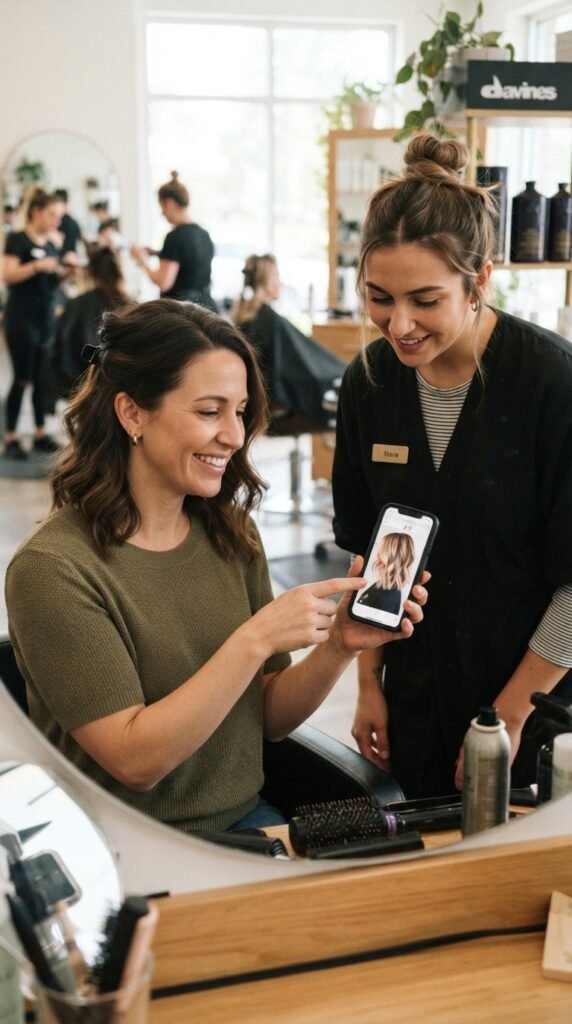
Stylists are not mind readers. Vague requests get you vague results. Here’s what actually works.
Say this:
- “I want face framing layers that start at my cheekbone, not my chin”
- “Keep the perimeter length, just shape the front”
- “Soft, blended ends — I don’t want visible steps”
- “I want it to grow out nicely, so no heavy texturizing”
Then bring two photos: one of the front, one of the side. Side photos are criminally underrated because they show how the layers actually fall.
If you want 2026 hairstyles energy, mention softness over sharpness. That’s the whole vibe right now.
The Quiet Luxury Bob with Face Framing
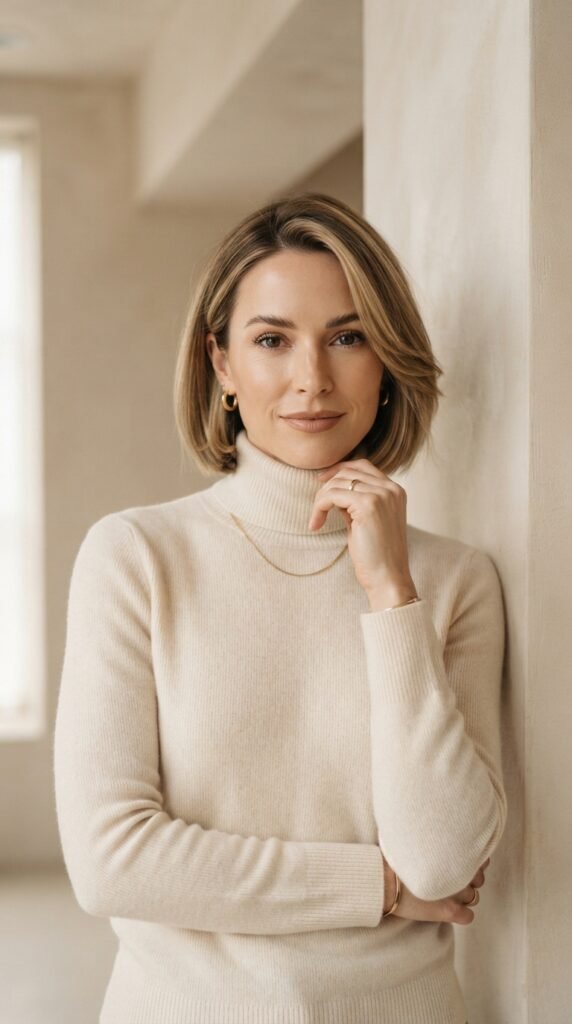
The quiet luxury bob is everywhere for good reason. It’s polished, expensive-looking, and surprisingly forgiving on a round face — as long as it’s cut right.
The trick is length. A blunt bob that ends right at your jaw will make your face look wider. Instead, ask for it to hit just below the jawline or at the collarbone, then add face framing pieces in the front.
- Keep the back slightly shorter than the front
- Ask for soft, not blunt, ends
- Frame starts at the cheekbone
- Skip heavy layers in the back
Pair it with a middle part or a soft side part. Instant old money hair, zero effort.
The Asymmetrical Lob for Instant Angles
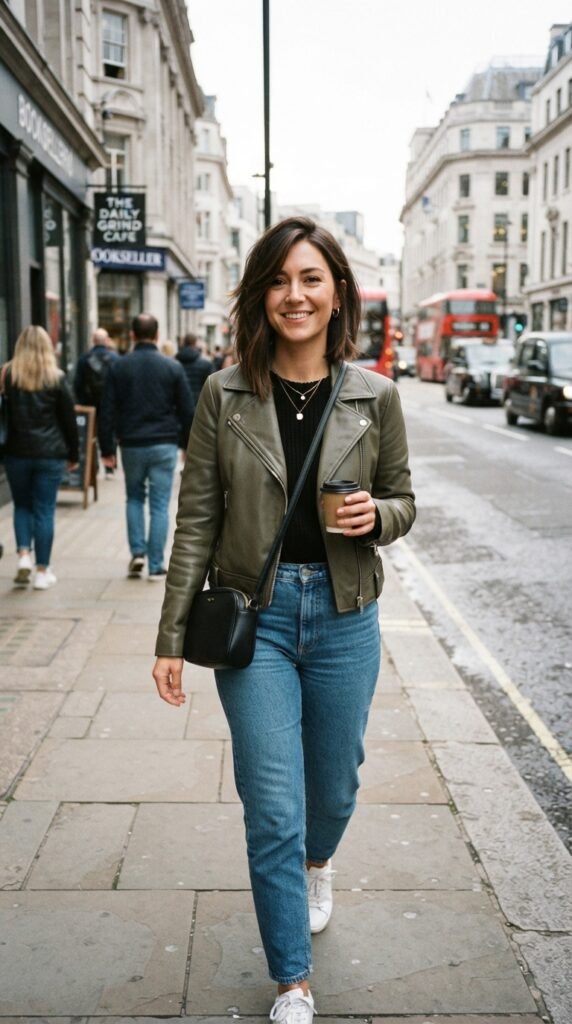
If you want the fastest shortcut to angles, go asymmetrical. An asymmetrical lob is cut longer on one side than the other, and that imbalance does wonders for a round face.
Why? Because asymmetry breaks up symmetry. A round face reads round partly because everything is even. Offsetting the length throws that off in the best way.
- Ask for a one to two inch difference between sides
- Frame the longer side near your cheekbone
- Keep the shorter side tucked or pinned back sometimes
- Soft waves make it look effortless
It’s a little edgy, very wearable, and grows out beautifully. Honestly one of my favorites.
Long Face Framing Layers for 2026 Hairstyles
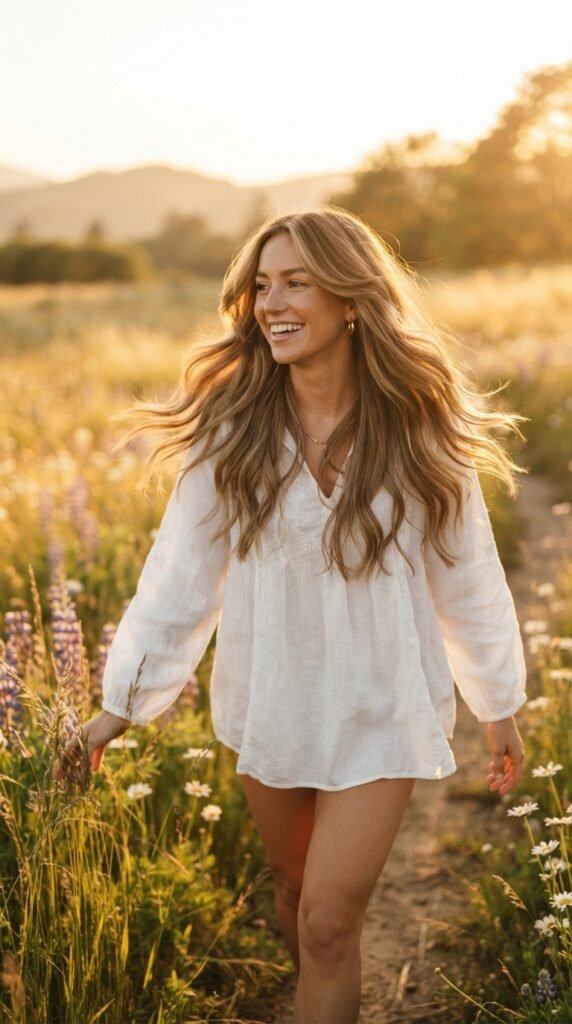
Not ready to cut length? You don’t have to. Long hair with face framing layers is one of the biggest 2026 hairstyles, and it’s perfect for rounder faces.
The key is keeping the perimeter long and only shaping the front. You get movement and softness without losing your length.
- Keep your overall length where it is
- Add layers only in the front two inches of hair
- Blend them so there’s no visible line
- Finish with a soft blowout or loose waves
Bonus: this grows out the easiest of any option. If you’re nervous, start here.
Curtain Bangs Plus Layers: The Softest Combo

Curtain bangs and face framing layers are basically best friends. Together they create one continuous soft frame around your face instead of two separate features.
The bangs part in the middle and sweep outward, meeting the layers right around your cheekbone. That sweep is what makes a round face look narrower.
- Ask for bangs that start at the bridge of your nose
- They should taper into the layers, not sit on top
- Keep them long enough to tuck behind your ears
- Avoid heavy, blunt, straight-across bangs
This combo is soft, romantic, and genuinely low maintenance. It’s the one I recommend most.
The Hime Cut with a Softening Twist
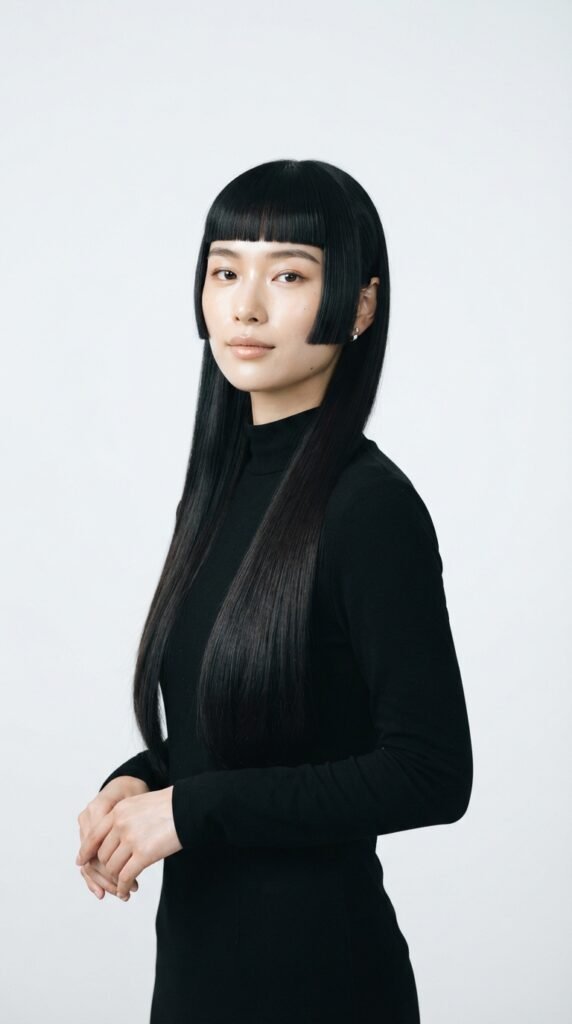
The hime cut is having a moment, and I get it. It’s striking, minimal, and very high fashion. But the classic version — blunt chin-length side pieces — can actually widen a round face if you’re not careful.
So here’s the softened version:
- Ask for the side pieces to be slightly tapered, not blunt
- Have them start at the cheekbone instead of the jaw
- Keep the back long and smooth
- Try a subtle undercut of volume near the crown
You still get that clean, graphic look. But it frames instead of squares off. Best of both worlds, honestly.
Romantic Goth Hairstyles with Face Framing

Romantic goth hairstyles are all about softness and drama at the same time — which is exactly what face framing layers do well.
Think long, dark, slightly undone waves with pieces that fall around your cheeks. The layers add movement, and movement is what keeps goth hair from looking flat or heavy.
- Long layers starting at the cheekbone
- Soft, face framing pieces around the jaw
- Loose waves instead of tight curls
- Deep side part for extra mystery
Add a little shine oil at the ends. That glassy finish is what makes it feel intentional instead of messy.
Glitchy Glam Hair: Edgy Framing That Still Softens

Glitchy glam hair is the fun, futuristic trend that mixes sharp lines with soft movement. It sounds like it wouldn’t work on a round face, but it absolutely can.
The trick is keeping the drama on the ends and the softness near your face.
- Keep the face framing pieces soft and tapered
- Add sharper, graphic strands lower down
- Use a middle part to elongate
- Try a subtle color shift or gloss for that glitch effect
You get edgy without the widening effect. Play with it — it’s a trend worth trying at least once.
The Vampire Haircut, Softened for Round Faces

The vampire haircut is choppy, layered, and a little dramatic — very 90s, very cool. But choppy layers can go wrong fast on a round face if they’re too short around the jaw.
Keep the chaos lower and the frame softer.
- Start the shortest layer at the cheekbone, not the jaw
- Keep the choppiness below your chin
- Add a dramatic side part for asymmetry
- Let the front pieces sweep across instead of hanging straight
You still get that moody, undone vampire energy. Just shaped so it flatters instead of fights your face.
Old Money Hair: Polished Frames Only
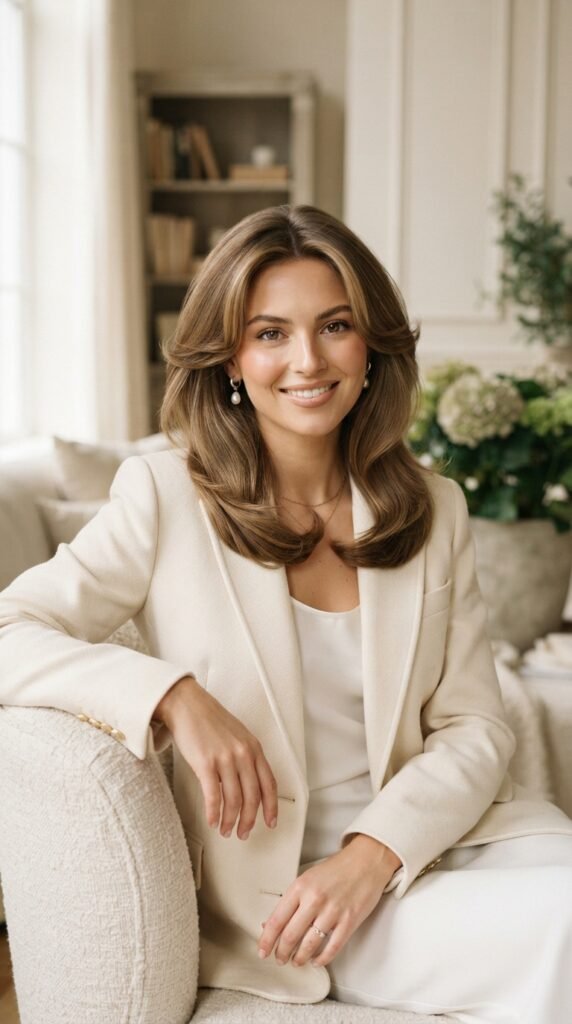
Old money hair is all about looking effortless and expensive. No visible layers, no choppy ends, no obvious styling. Just smooth, healthy, well-shaped hair.
For a round face, the win here is subtle framing. You want layers that are almost invisible — they shape without announcing themselves.
- Ask for a soft, blended face frame
- Keep the perimeter smooth and one length
- Use a round brush blowout for volume at the crown
- A glossy finish matters more than the cut
This is the quietest way to wear face framing layers, and honestly the most timeless.
Where to Part Your Hair Matters More Than You Think
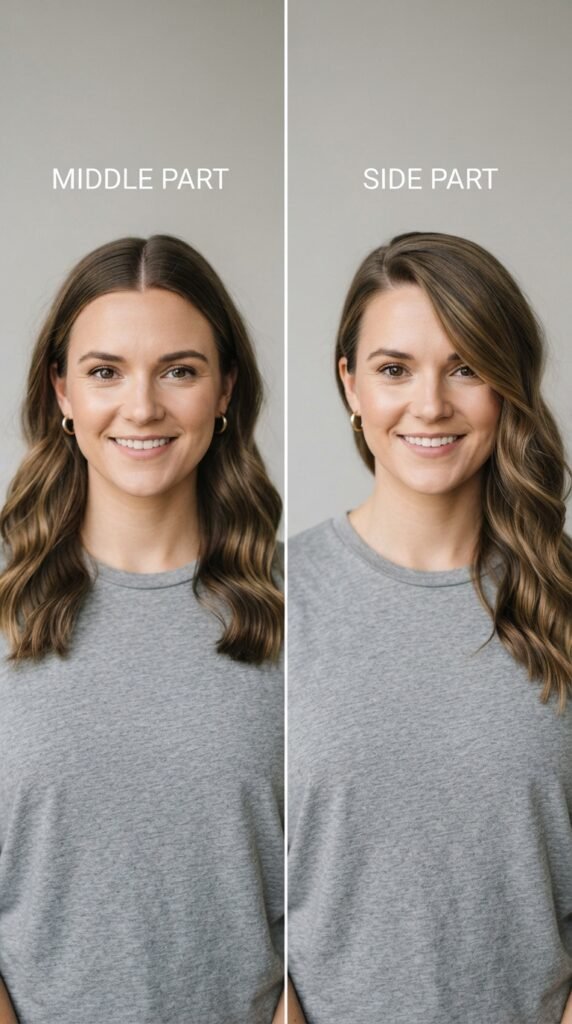
You can have the perfect cut and still feel off if your part is wrong. Part placement changes how your face reads in seconds.
For round faces, a middle part is usually the safest. It creates a vertical line down the center, which visually lengthens everything.
- Middle part: best for softening and elongating
- Deep side part: great for asymmetric angles
- Slight side part: the easy everyday middle ground
Try both in the mirror for one minute. You’ll see the difference instantly — and it’s free.
Short Hair? Face Framing Still Works
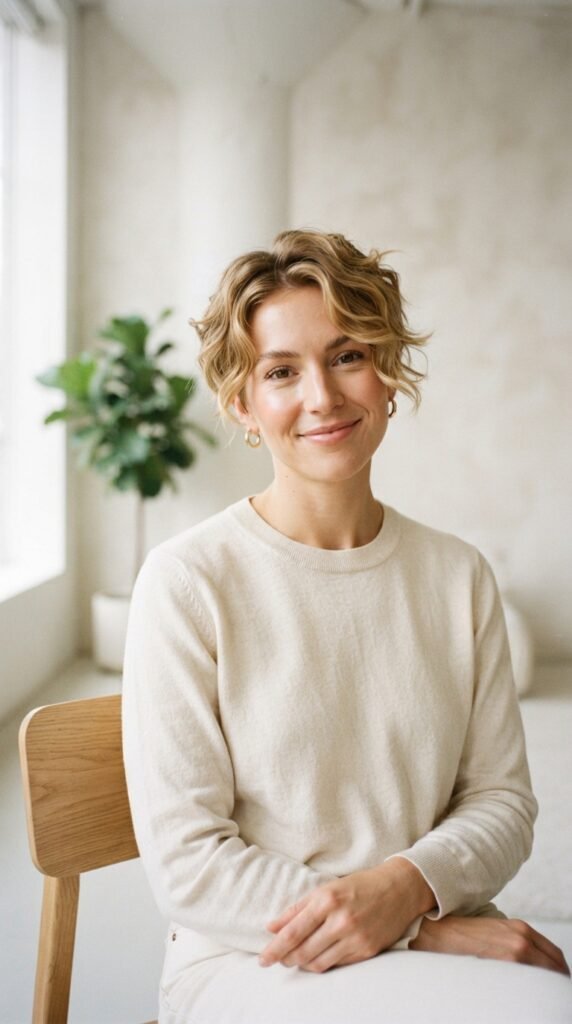
Short hair and round faces can absolutely work together. You just need to be more precise about where the volume sits.
The rule: keep volume on top, keep it close on the sides.
- Ask for height at the crown
- Keep the sides trimmed closer to the head
- Leave soft pieces near the cheekbone
- Avoid wide, bulky shapes at the ears
A short cut with a soft front frame looks modern and clean. Just skip the blunt, helmet-like shapes. They’re the enemy here.
Curly and Wavy Hair Framing Tips
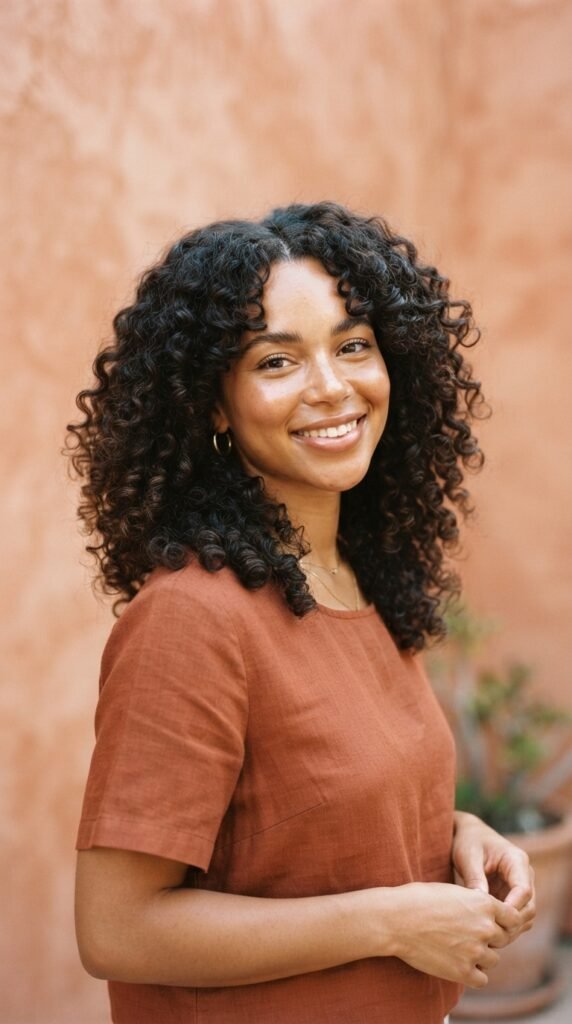
Curly hair shrinks. That’s the whole challenge. A layer cut at your cheekbone when wet might spring up to your eye when dry.
So always ask your stylist to cut your curls dry, or at least to account for shrinkage.
- Ask for layers cut dry or curl by curl
- Keep the frame pieces longer than you think
- Avoid thinning shears — they cause frizz
- Use a curl cream to define the frame
When it’s done right, curly face framing layers look incredible. Soft, bouncy, and full of personality without adding width.
How to Style Face Framing Layers at Home
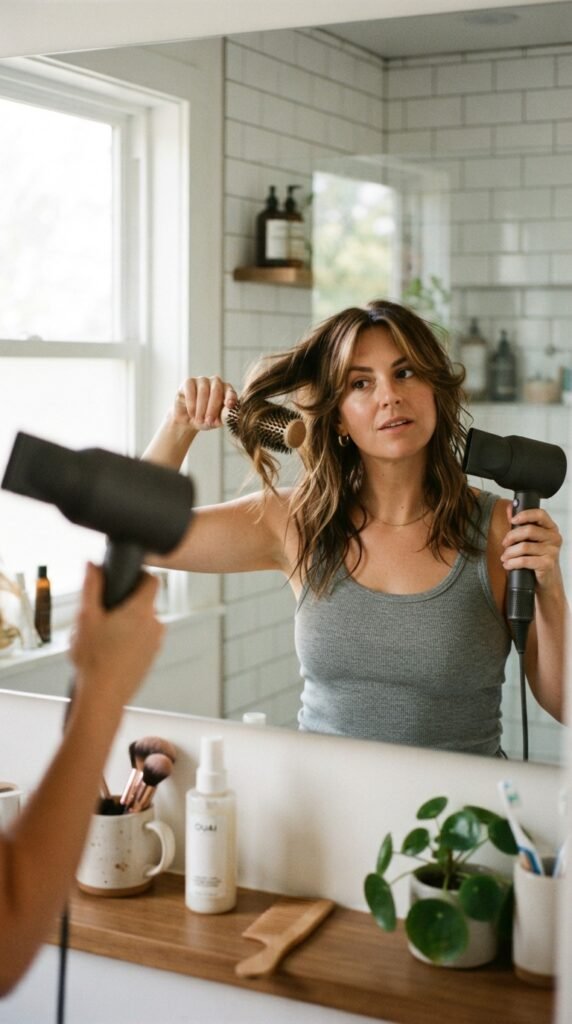
Good news: this takes about three minutes. You don’t need a salon chair to make layers look intentional.
- Start with damp hair and a little heat protectant
- Wrap the front pieces around a round brush, pointing away from your face
- Blast with medium heat for 10 seconds, then cool for 5
- Release and let the piece fall naturally
The “away from your face” direction is the secret. It lifts the frame and keeps it from falling flat against your cheeks.
On lazy days, a quick pass with a curling iron on just the front two pieces is plenty.
Products That Keep Layers Looking Soft

You don’t need ten products. You need three, used right.
- Lightweight oil or serum: smooths ends without weighing layers down
- Texturizing spray: adds grip and movement to the frame
- Flexible hold hairspray: keeps it in place without crunch
Skip heavy creams near your roots. They flatten the frame and undo all the lift you just created.
One more thing: a good dry shampoo at the roots gives instant volume, and volume at the crown always makes a round face look longer. Cheap trick, real results.
The 3 Minute Blow Dryer Trick
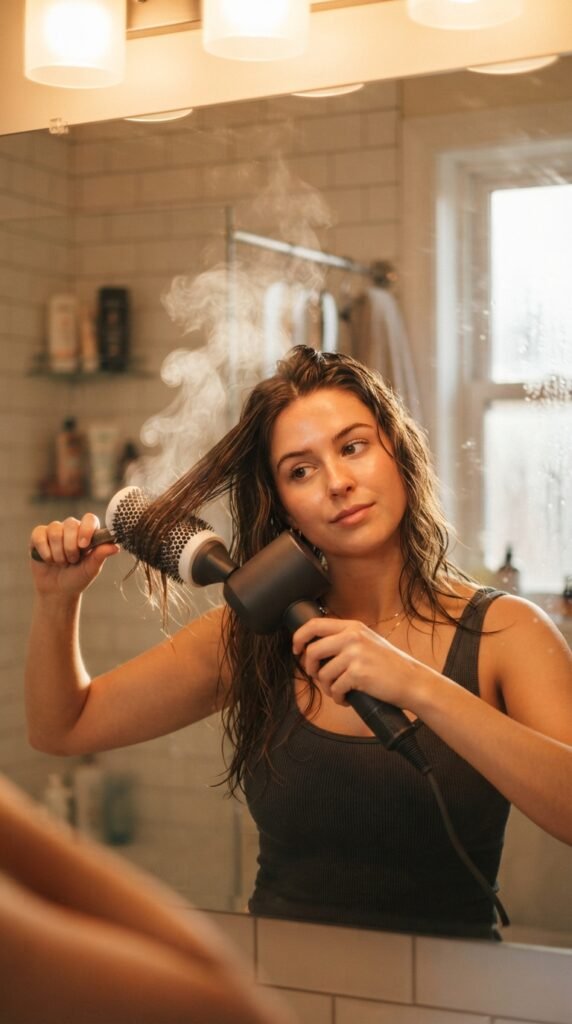
If you only have three minutes, here’s the exact sequence I use.
- 30 seconds: rough dry roots upside down for volume
- 60 seconds: round brush the left front piece outward
- 60 seconds: round brush the right front piece outward
- 30 seconds: cool shot to set everything
That’s it. The front pieces are the only ones that really matter for a round face — those are the ones people see when they look at you.
Everything else can air dry. Nobody will notice, I promise.
Grow-Out Timeline and Maintenance

Face framing layers grow out gracefully, which is one of the reasons I love them so much. Here’s roughly what to expect.
- Weeks 1–4: the shape is sharp and defined
- Weeks 5–8: the frame softens, still looks good
- Weeks 9–12: pieces start blending into your length
- Month 4+: trim to reset the shape
Most people book a trim every 10 to 12 weeks. If you’re growing your hair out, you can stretch it longer — the layers just quietly disappear.
Common Mistakes to Avoid
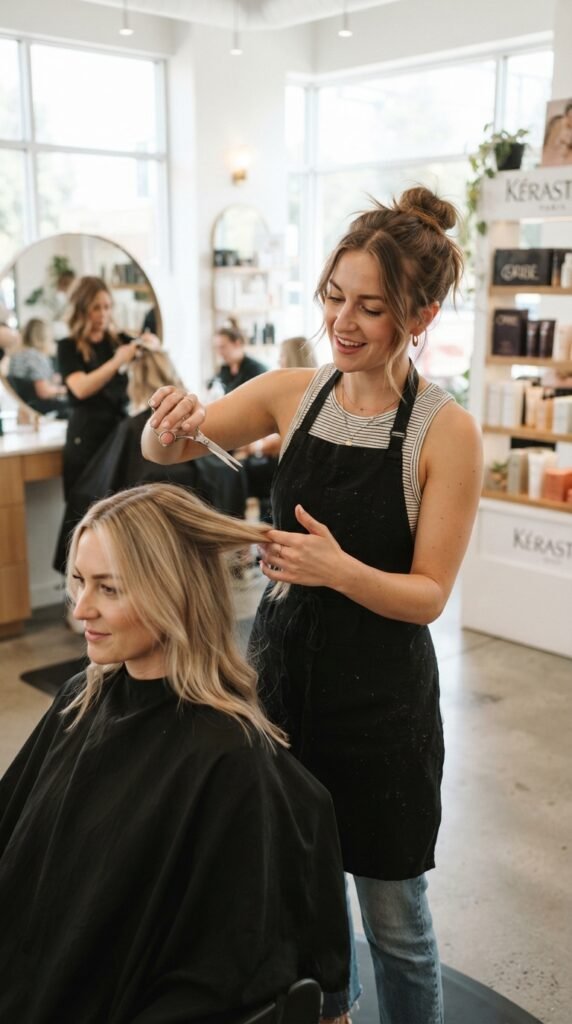
I’ve made basically all of these. Learn from my mistakes.
- Layers that start at the chin: widens the face instead of narrowing it
- Too many layers: makes hair look thin and stringy
- Blunt, heavy bangs: chops your face in half visually
- Volume at the sides: keep it at the crown instead
- Heavy product at the roots: flattens everything
One more: don’t ask for layers and face framing as two separate things. They should be one connected cut.
Face Framing Layers With Bangs vs Without
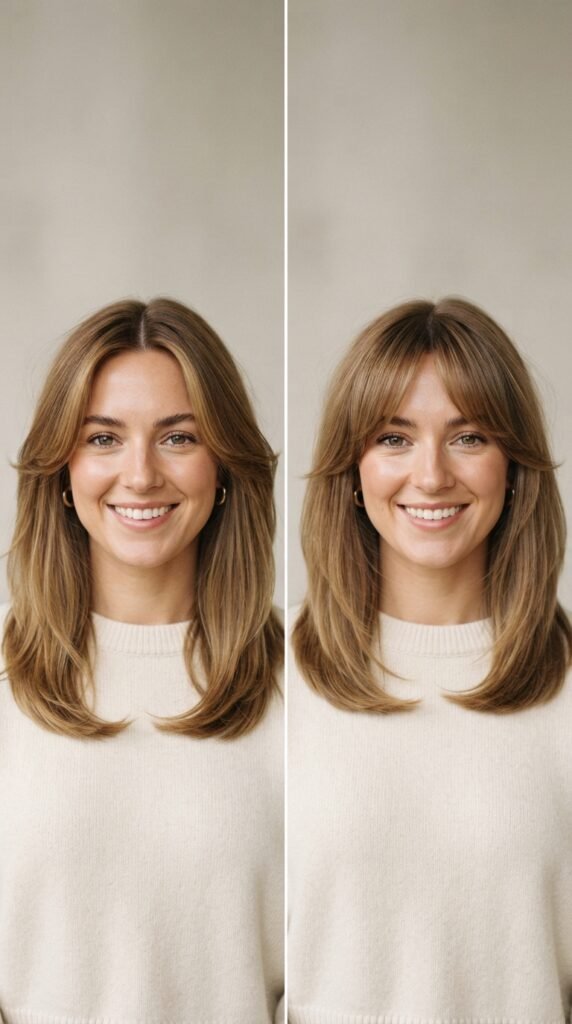
Both work. It depends on how much change you want.
Without bangs: the layers do all the work. This is the lowest maintenance option and grows out fastest. Great if you’re unsure.
With bangs: you get a bolder frame and more impact. Curtain bangs are the safest choice for a round face because they sweep outward instead of straight across.
If you’re nervous, start without bangs. You can always add them later — but going back is much harder.
Photos to Bring to Your Stylist
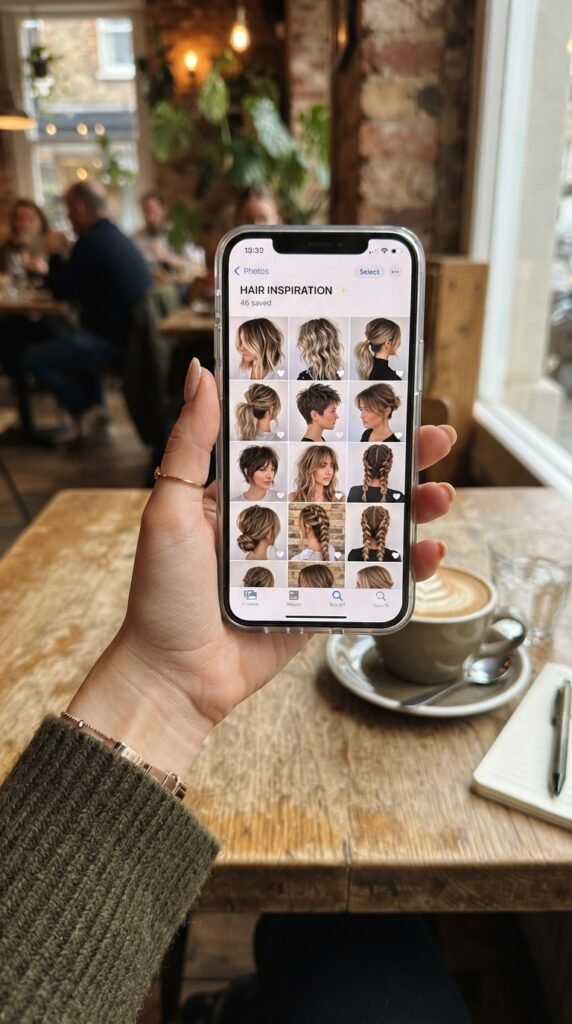
Photos do more than words ever will. Bring four, not twenty. Twenty overwhelms everyone.
- One front-facing photo of the cut you want
- One side profile of the same haircut
- One photo of hair texture similar to yours
- One photo of your current hair, so you both start on the same page
Point to the exact spot where the shortest layer sits. That’s the detail that matters most.
And be honest about your routine. If you never style your hair, say so. Your stylist will cut differently.
Accessories and Updos That Show Off Your Frame
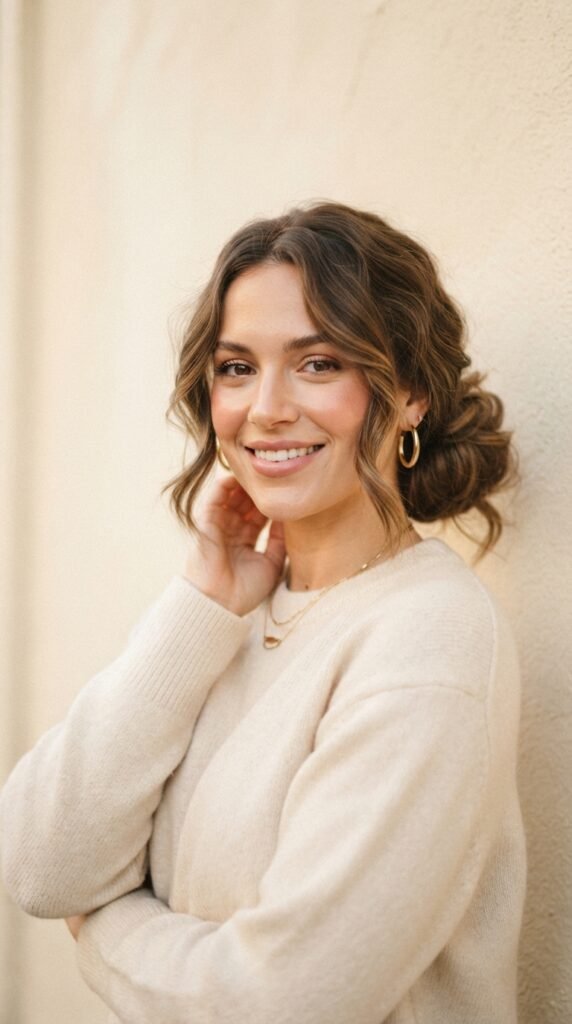
Here’s the bonus of face framing layers: they make every updo look better.
When you pull your hair back, those front pieces stay loose and soft. That’s what turns a plain bun into something that looks styled.
- Leave two pieces out when you tie your hair up
- Use a claw clip for a quick, elegant look
- Add a silk scarf for quiet luxury vibes
- Curl the loose pieces slightly for softness
This is my favorite trick for day-three hair. Takes ten seconds and looks deliberate.
A Few Final Thoughts From Hailey
If your face is round, you don’t need to change it. You just need a frame that works with it instead of against it.
Face framing layers are the simplest, most affordable way to do that. They soften without hiding, add movement without fuss, and fit almost any length or texture you already have. Whether you’re drawn to a quiet luxury bob, an asymmetrical lob, or the moody drama of romantic goth hairstyles, the frame is what makes it all click.
Start with one photo, one honest conversation with your stylist, and three minutes with a round brush. That’s genuinely all it takes.
Save this post to Pinterest so you have it ready for your next salon visit — and drop a comment telling me which cut you’re trying first. I read every single one.