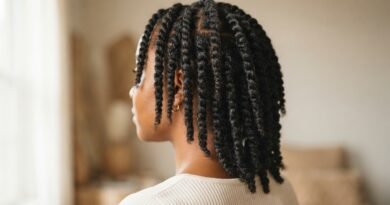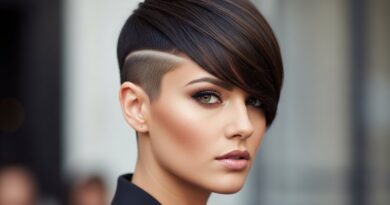
Hairstyles For School Picture Day That Stay Neat For Hours
Picture day sneaks up on you every single year. You spend ten minutes on a style, it looks perfect in the bathroom mirror, and by third period it’s a fuzzy mess. I have been there, and so have my kids.
The good news? Staying neat for hours is not about using a mountain of products. It is about choosing a style that works with the hair you already have and doing two or three small things right.
Below you will find over twenty picture day hairstyles, from a quiet luxury bob to braided crowns and everything between. A lot of these come straight from 2026 hairstyles trends, so they will still look current in the photo years from now.
Every option here takes 10 minutes or less. Let’s find your winner.
Start With Clean, Fully Dry Hair
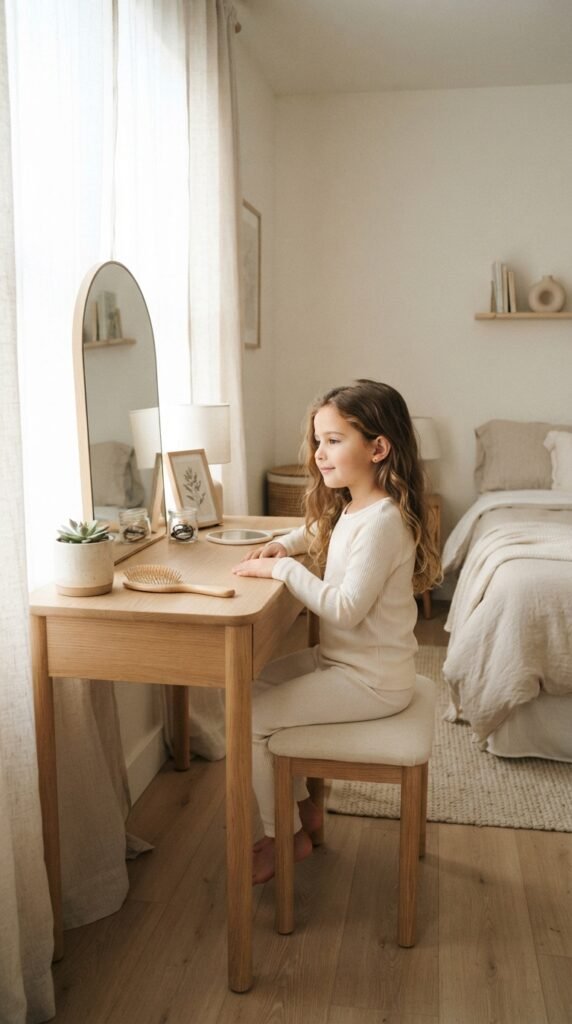
This is the step almost everyone rushes. Wash hair the night before, not the morning of. Freshly washed hair is slippery, and slippery hair drops out of every pin you own.
Then make sure it is fully dry before you style. Damp roots fall flat within an hour, and flat roots show up in photos more than anything else.
- Spray dry shampoo at the roots for grip
- Detangle completely with a wide-tooth comb
- Skip heavy oil near the scalp
The Quiet Luxury Bob That Photographs Flawless
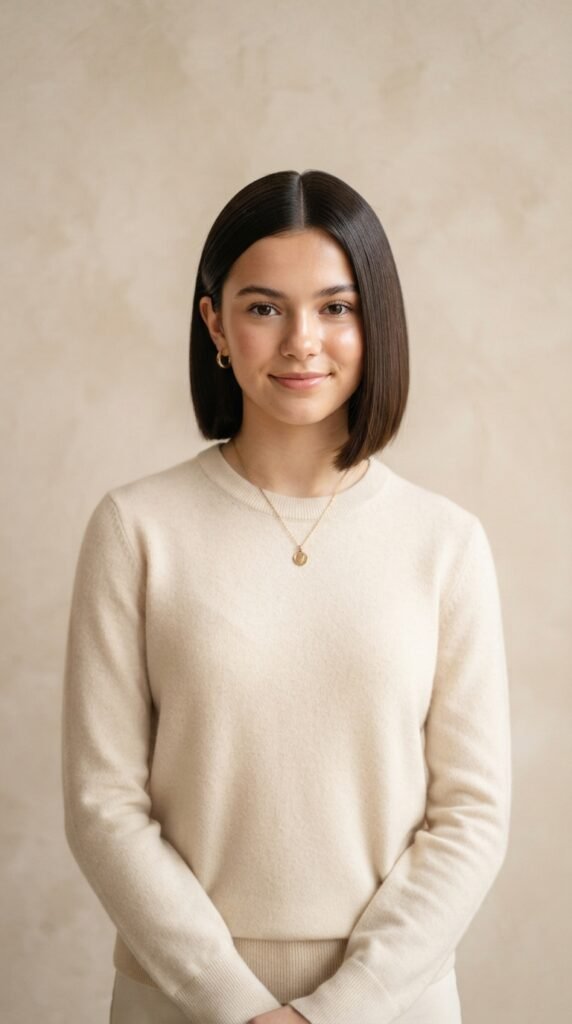
The quiet luxury bob is everywhere right now, and it is genuinely one of the easiest cuts to keep neat. Blunt ends hold their shape, so you are not fighting frizz all day.
If you already have a bob, style it with a round brush and a light shine serum. Then pin the side you want the camera to see.
- Blow dry with the nozzle pointed down
- Two bobby pins behind the ear on your good side
- One light mist of flexible hold spray
Old Money Hair: Sleek, Polished, Timeless
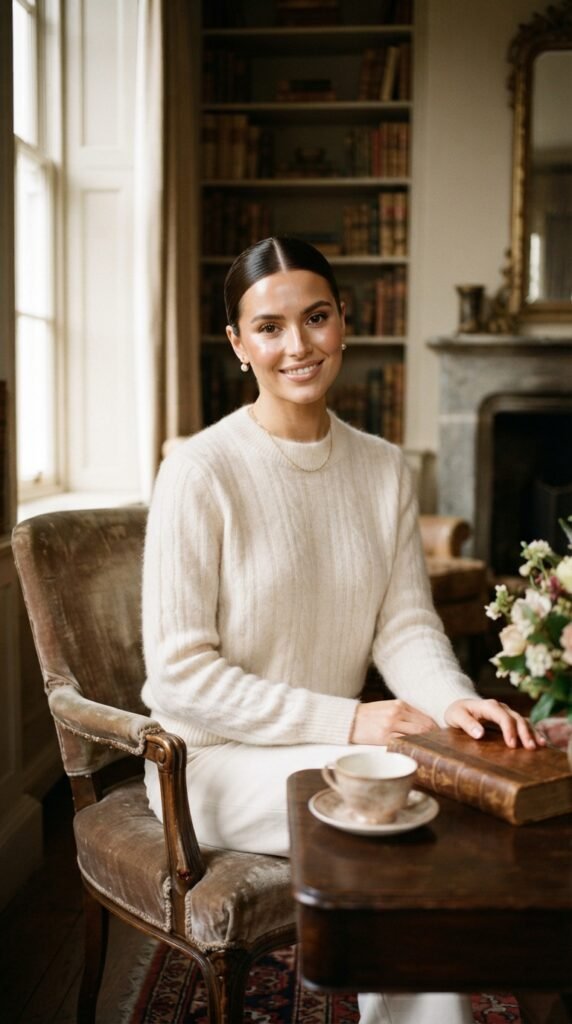
Old money hair never misses on picture day. It is smooth, simple, and expensive-looking without any visible effort.
The trick is a middle or side part with every strand tucked back. Use a soft brush and a little gel on a toothbrush for the edges.
- Brush hair back with a boar bristle brush
- Secure at the nape with a covered elastic
- Wrap the tail into a small bun and pin it
The Asymmetrical Lob for a Little Edge
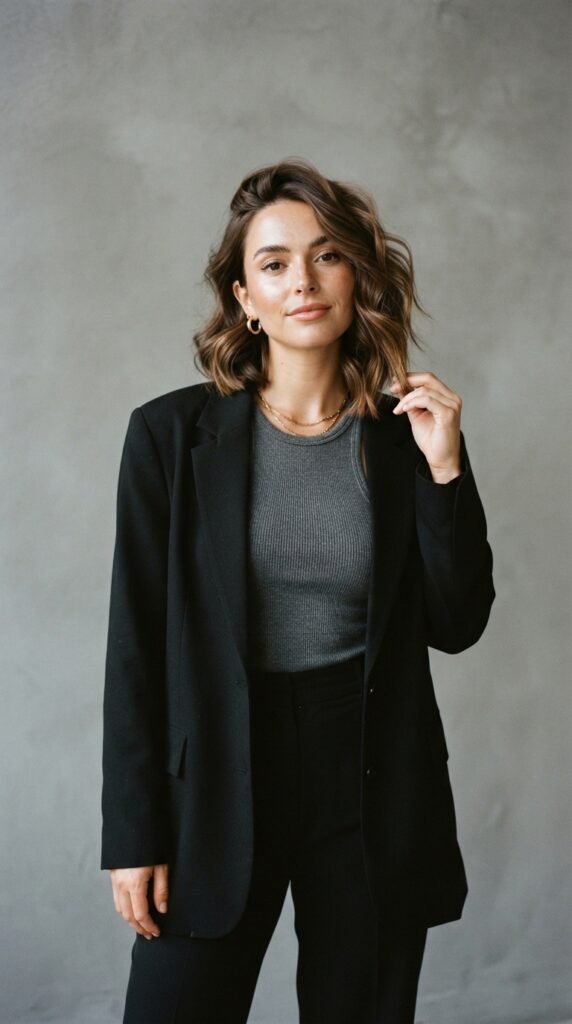
An asymmetrical lob gives you length on one side and a clean line on the other. It photographs beautifully because the angles keep it interesting.
Ask for the longer side to hit just above the collarbone. That length stays put without flipping out.
- Tuck the short side behind your ear
- Add two soft waves on the long side
- Pin the short side once for security
Hime Cut: Sharp Lines That Never Budge
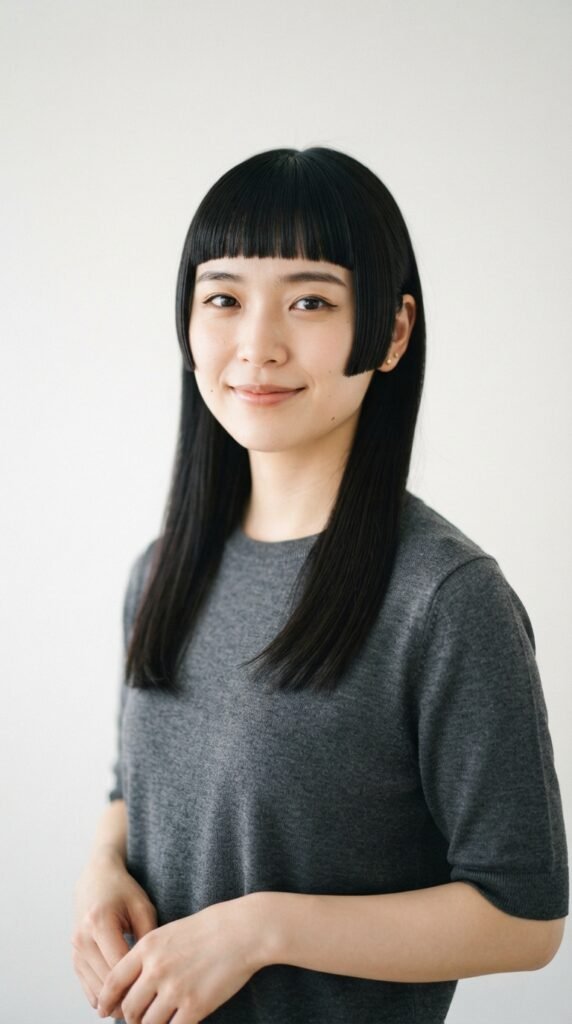
The hime cut is having a big moment, and it is basically built for photos. Straight blunt lines read as intentional and tidy, even after a few hours of class.
The key is a tiny bit of lightweight serum on the side sections. Just enough to stop flyaways, not enough to look wet.
- Flat iron the side pieces straight down
- Run one drop of serum over the top layer
- Keep bangs brushed forward and flat
Romantic Goth Hairstyles for Moody Portraits
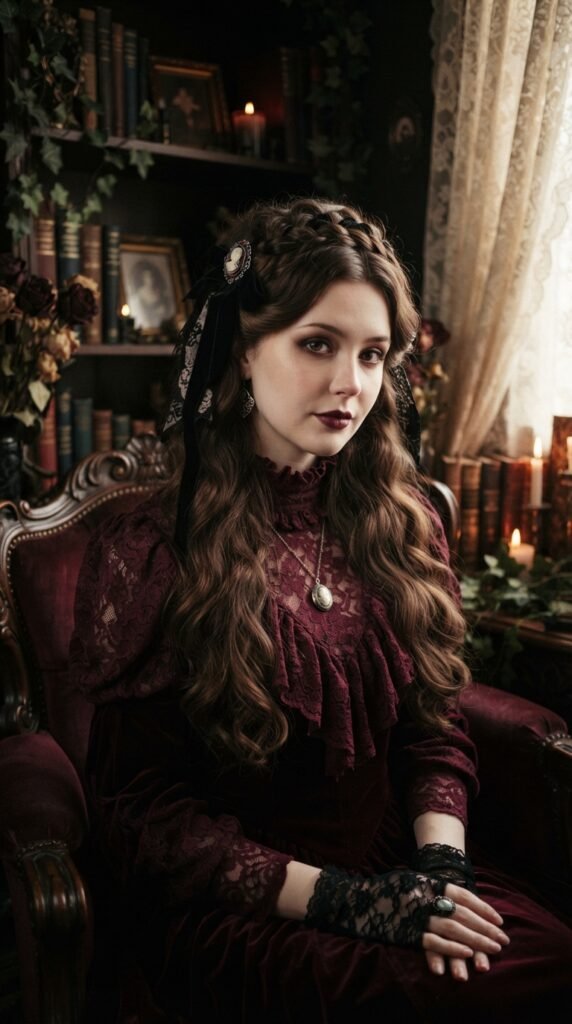
Romantic goth hairstyles are soft, dark, and a little dreamy. Think loose waves, black ribbon, and a few face-framing pieces left out on purpose.
Keep the rest of the hair pulled back so the ribbon actually stays tied. Loose hair plus a loose ribbon equals a ribbon on the floor by lunch.
- Set waves with a curling wand, then cool them
- Tie a thin velvet ribbon at the back
- Pin the ribbon ends underneath
Glitchy Glam Hair for the Bold Kids
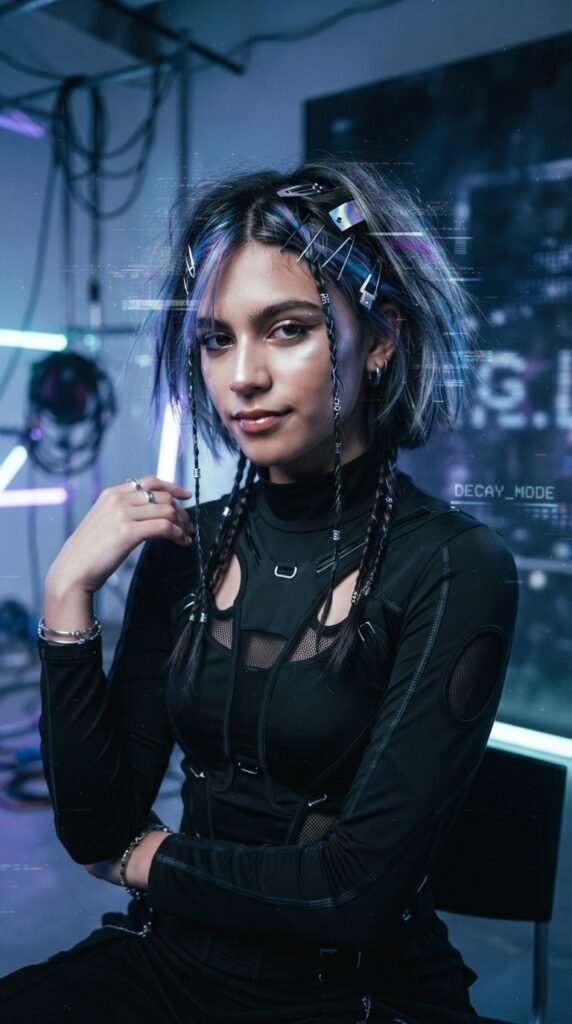
Glitchy glam hair is the fun one. It mixes sleek sections with unexpected details, like tiny metallic clips or baby braids in odd places.
It sounds messy, but it is actually very controlled. Everything is pinned down, so nothing moves.
- Sleek the top half flat with gel
- Add three tiny braids underneath
- Clip in two small metallic pins on one side
The Vampire Haircut Everyone Is Asking For
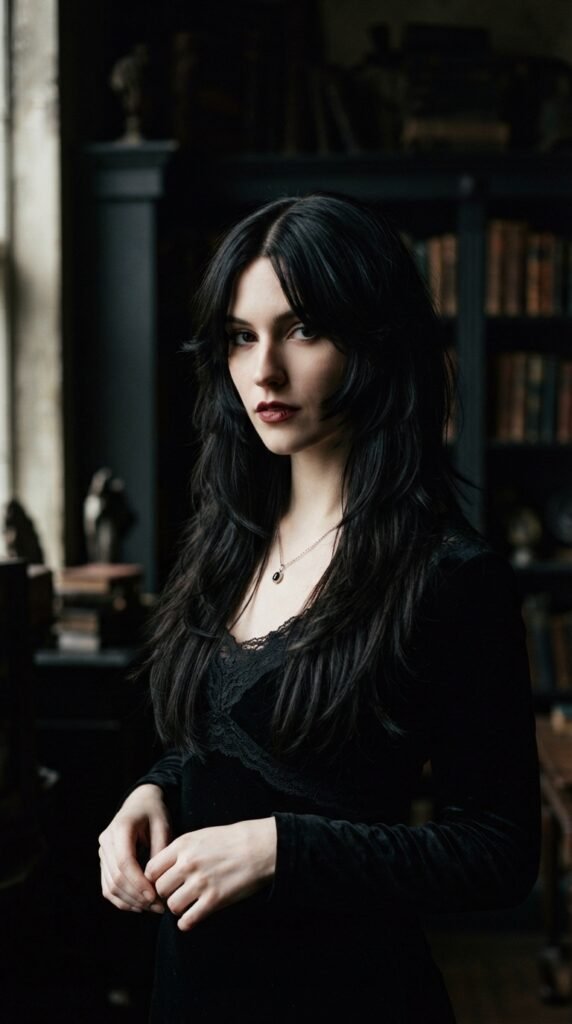
The vampire haircut is long, layered, and a little dramatic. It got huge after a certain show, and it is still going strong.
For picture day, pull the top half back and leave the face-framing layers out. That keeps the drama while the rest stays tidy.
- Section the top half into a loose twist
- Pin it at the crown with two crossed pins
- Leave two face-framing strands out front
Low Sleek Ponytail: The Reliable Winner
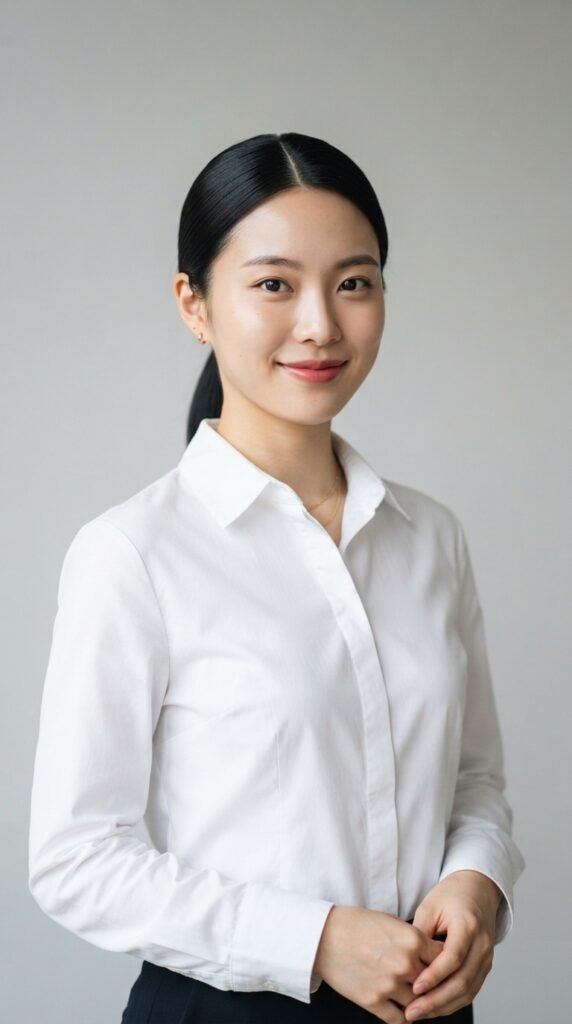
If you only remember one style from this whole list, make it this one. A low sleek ponytail works on almost every hair type and length.
Here is the exact order that keeps it smooth for hours:
- Brush everything back with a soft brush
- Add a pea-sized amount of gel to the front
- Tie at the nape with a strong elastic
- Take a small strand and wrap it over the elastic
- Pin the wrap underneath to hide it
Braided Crown That Survives Recess
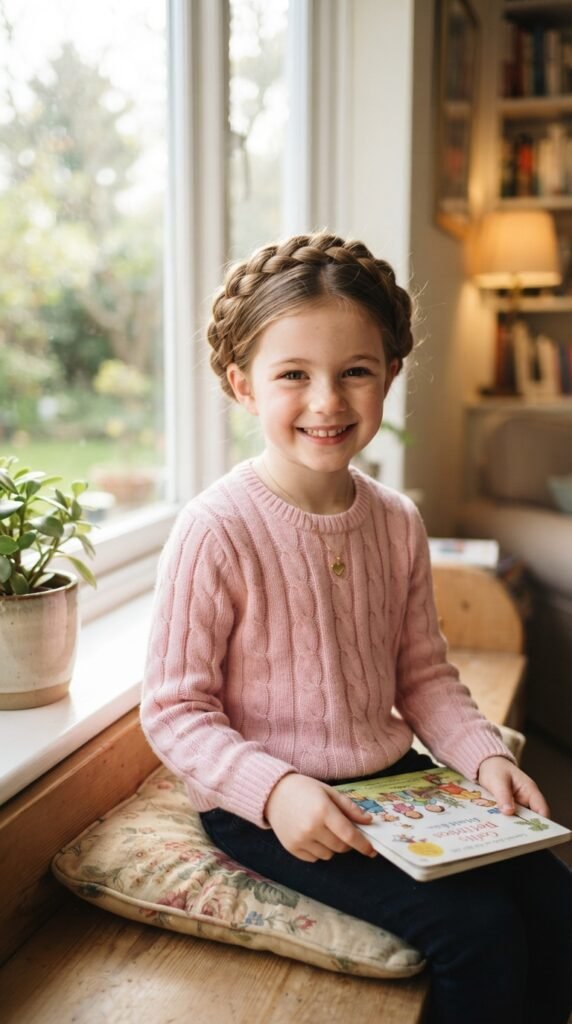
A braided crown is the most durable style on this list. Once it is pinned, it is not going anywhere, not even on the playground.
Start with two braids on each side, then cross them over the top and pin. You do not need them perfect.
- Braid slightly damp hair for grip
- Cross the braids at the crown
- Pin every crossing point
Half-Up Half-Down With Hidden Grips
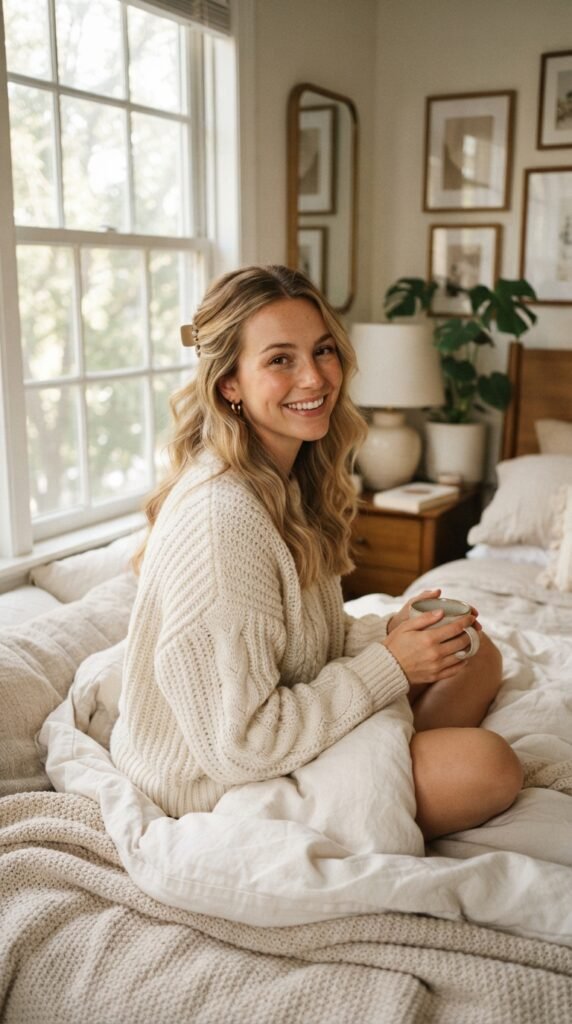
Half-up half-down is the sweet spot between polished and relaxed. It looks like you tried, but not too hard.
The secret is hiding the pins under the top layer. That way the photo shows smooth hair, not hardware.
- Take two sections from above the ears
- Cross them at the back and pin
- Pull one thin strand over the pins
Two Quick Braids for Shorter Hair
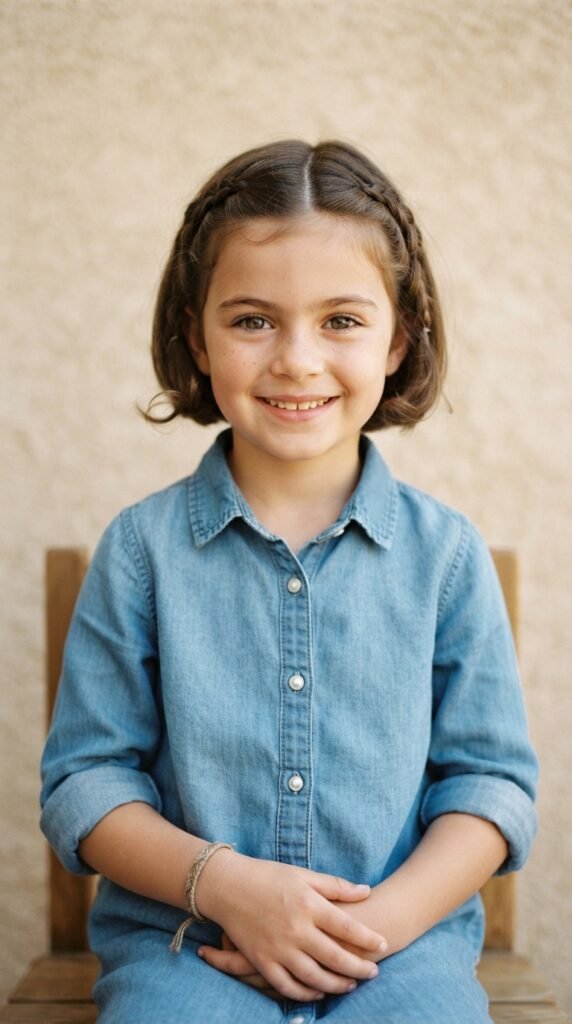
Short hair can braid. You just need to start lower and use smaller sections.
Two low braids keep short hair off the face and out of the way, which is exactly what you want on picture day.
- Part down the middle first
- Start braiding at the jawline
- Secure with small clear elastics
Sleek Straight Hair With Shine Spray
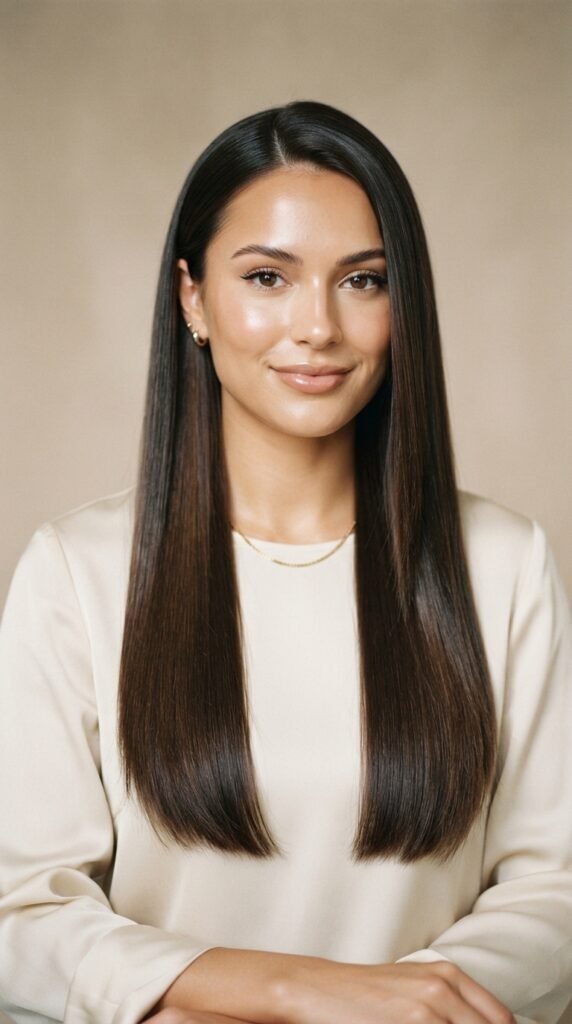
Straight hair is classic, but dull straight hair photographs flat. A little shine spray fixes that in seconds.
Straighten in small sections, then spray from about ten inches away. Close is how you end up with crunchy spots.
- Use heat protectant first
- Straighten in thin sections
- Finish with one light shine mist
Soft Curls That Do Not Fall Flat
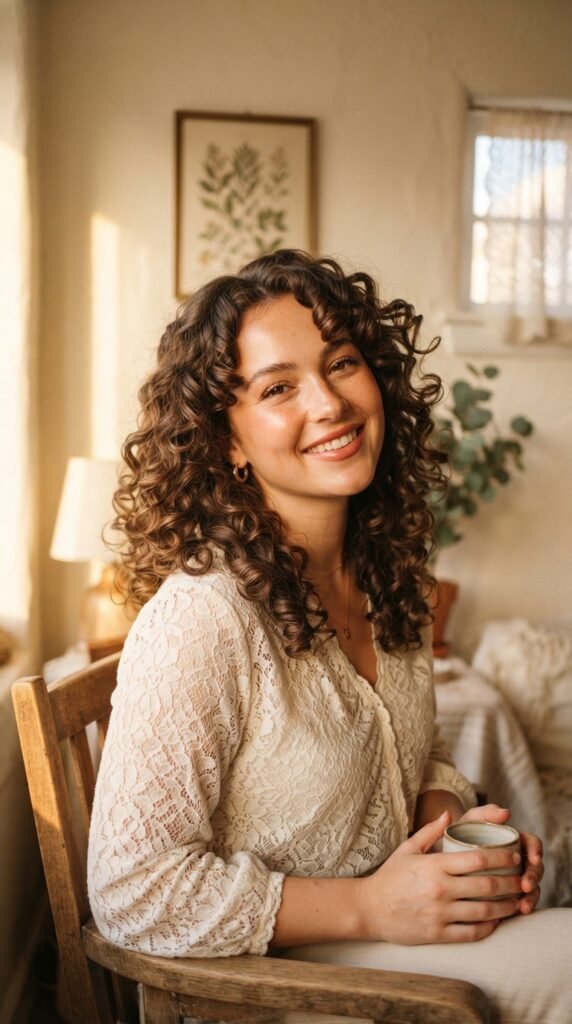
Curls and humidity are enemies. But you can win this fight with the right order of operations.
Curl everything, let it cool completely, then spray. If you spray while it is still warm, the curl relaxes within an hour.
- Curl away from the face
- Let each curl cool in your hand
- Spray with flexible hold after cooling
Top Knot With a Neat Wrap
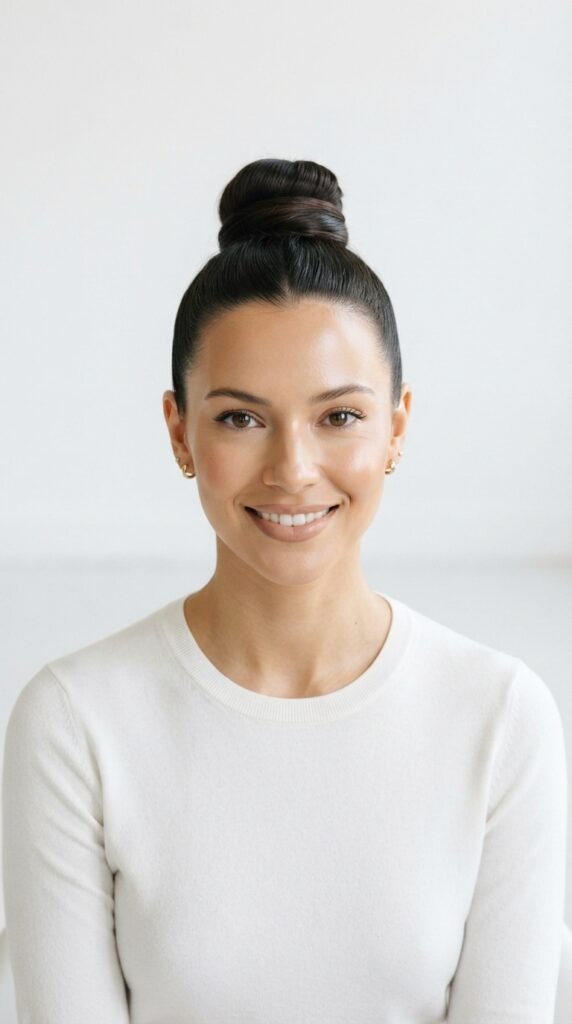
A top knot is fast, tidy, and looks great with any outfit. The wrap is what makes it look finished instead of rushed.
Twist the knot loosely, then cover the elastic with a wrapped strand and pin it down.
- Brush hair up to the crown
- Twist into a loose bun
- Wrap one strand over the elastic
- Pin the wrap with two pins
Bubble Braid for Long Hair
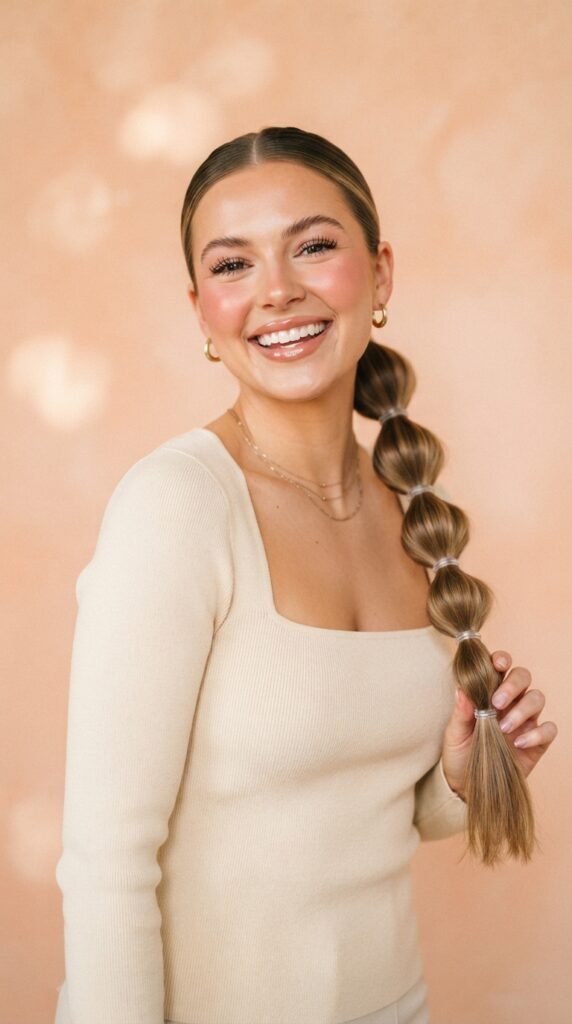
Bubble braids look complicated and take about four minutes. They also hold their shape all day because of the elastics.
Space the elastics evenly and gently pull each section outward for the bubble effect.
- Ponytail first, at the crown or nape
- Add elastics down the length every two inches
- Fluff each section with two fingers
Headband Trick for Short or Growing-Out Hair
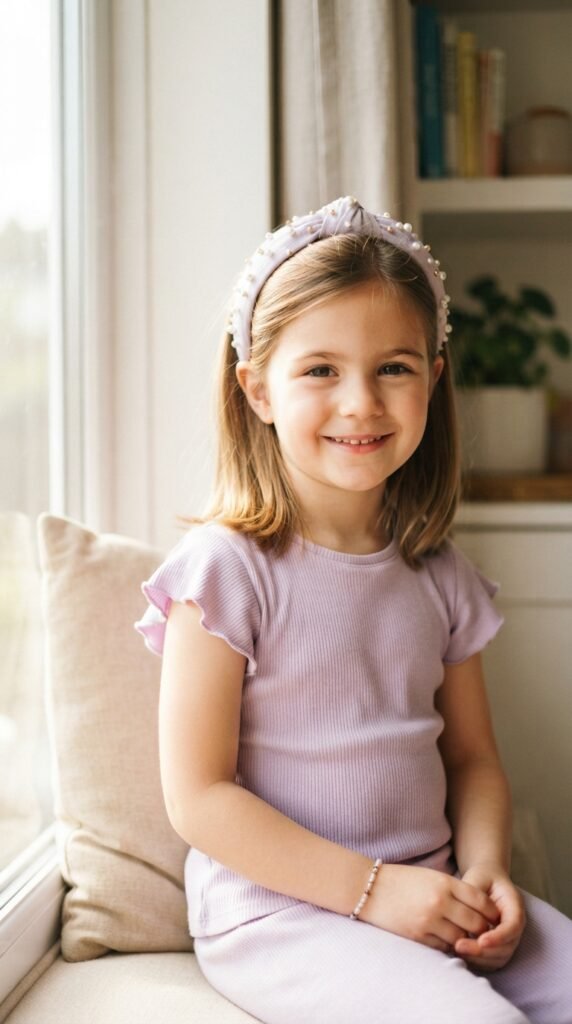
A padded headband is the fastest fix for awkward lengths. It hides the sides and adds instant polish.
Choose a color that matches the hair closely. Matching tones disappear in photos and let your face do the talking.
- Brush hair back behind the ears
- Slide the headband in from the front
- Tuck any loose ends underneath
Middle Part With a Claw Clip
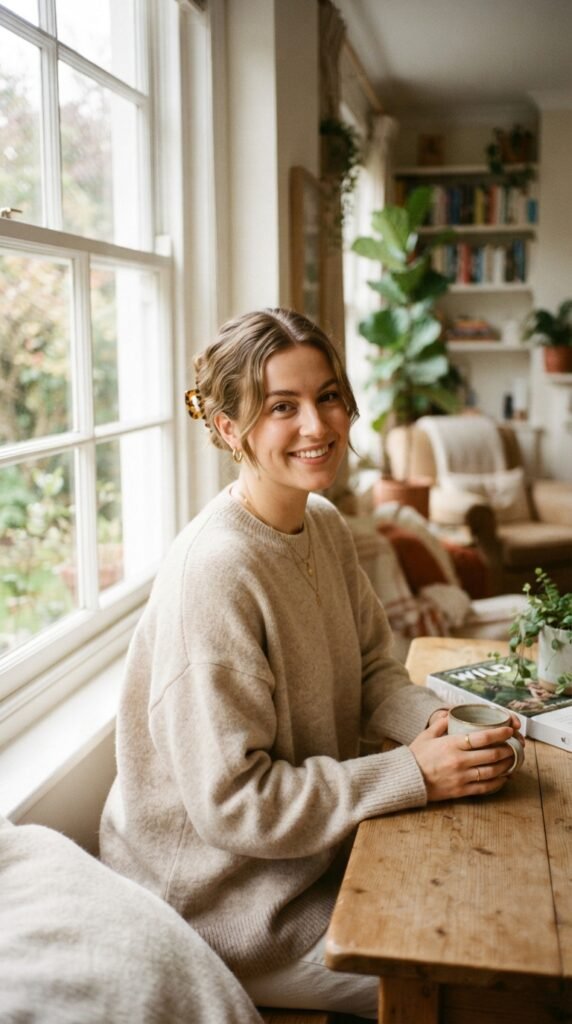
This is the 2026 hairstyles staple for a reason. It takes ninety seconds, and it looks like you actually know what you are doing.
Twist the lower half into a low roll, then clamp it with a medium claw clip. Keep the front smooth.
- Part down the middle with a comb
- Twist the back into a loose roll
- Clamp with a clip that matches your hair tone
Simple Styles for Short Hair and Boys
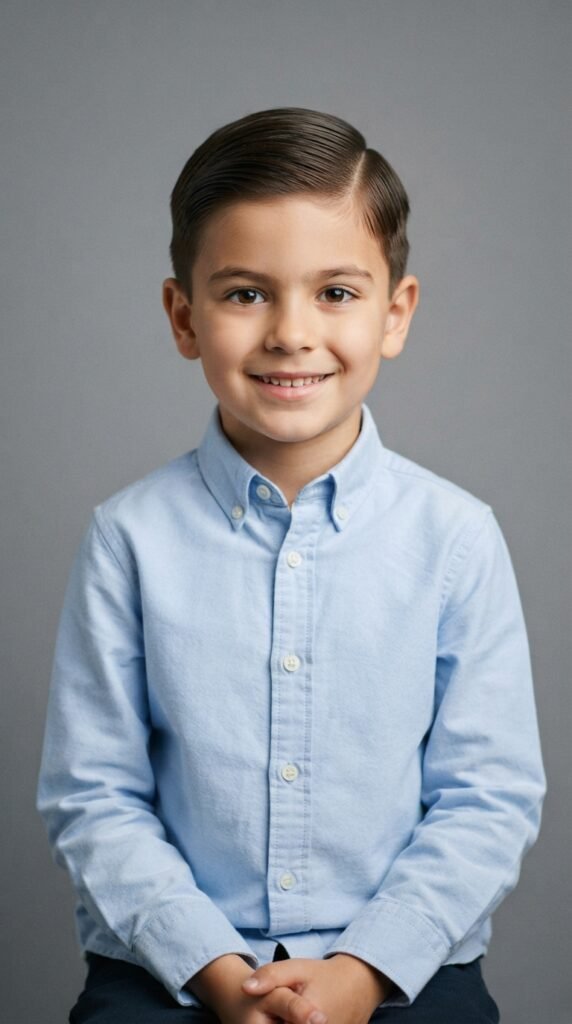
Short hair has an easy advantage: it dries fast and holds shape without much help.
A comb, a little water, and a tiny bit of styling cream is honestly all you need.
- Comb from the part outward
- Use cream, not gel, for a soft finish
- Smooth the edges with damp fingers
Fighting Frizz and Flyaways Before the Camera
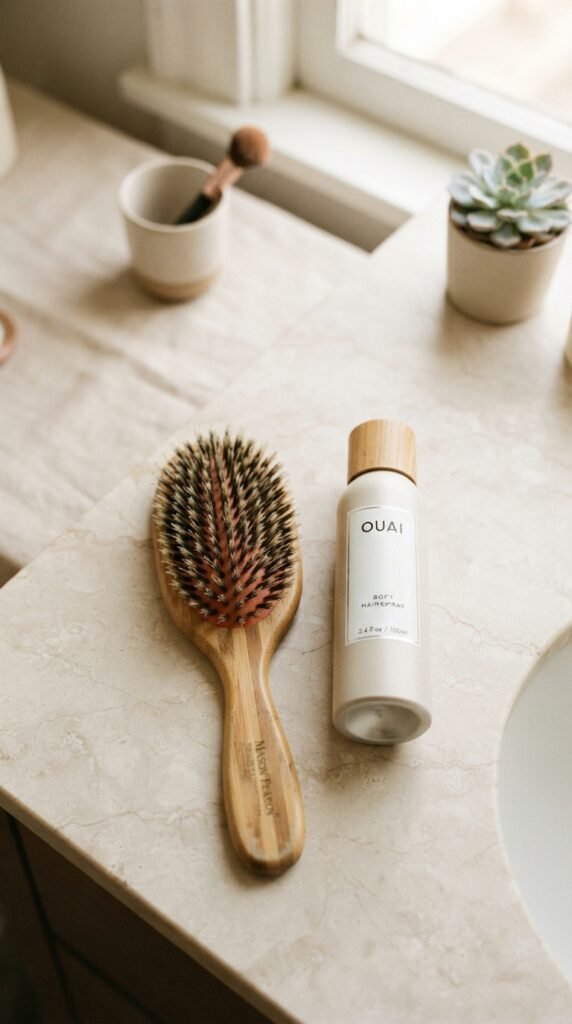
Flyaways are the number one thing that makes a neat style look messy in photos. Good news: you can knock them out in thirty seconds.
Spray a little hairspray on a clean toothbrush and smooth the top layer down. Do not spray directly on your head.
- Toothbrush plus hairspray for edges
- Light serum on the mid lengths only
- Never brush dry curly hair
The 10-Minute Morning Routine That Works
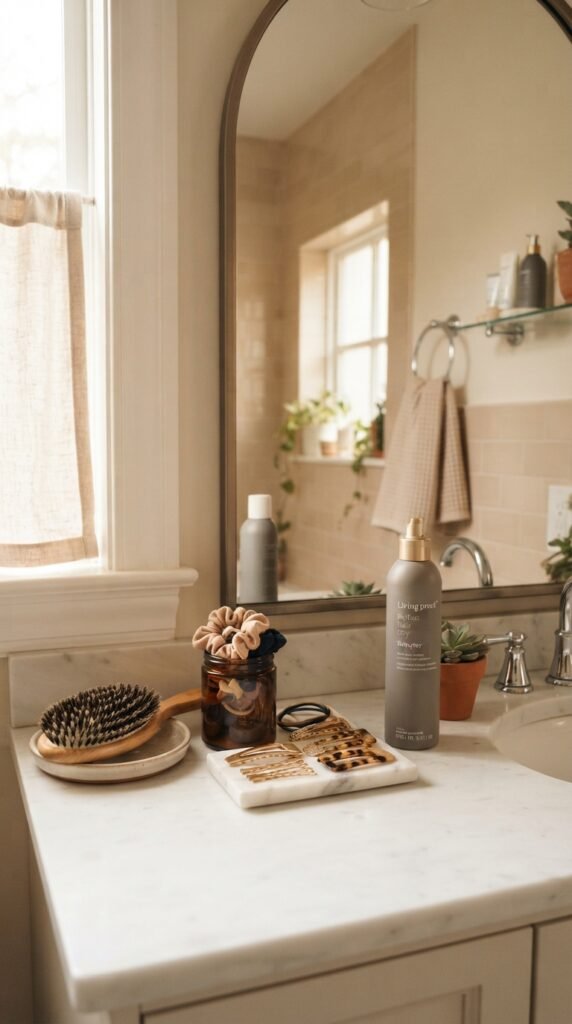
Here is the order I use every single picture day. It takes ten minutes if you have everything ready the night before.
- Dry shampoo at the roots, one minute
- Brush everything smooth, one minute
- Style the front and part, two minutes
- Pin or tie the back, three minutes
- Smooth flyaways, one minute
- Light spray and check in a mirror, two minutes
Backpack-Proof Tips for the Bus Ride
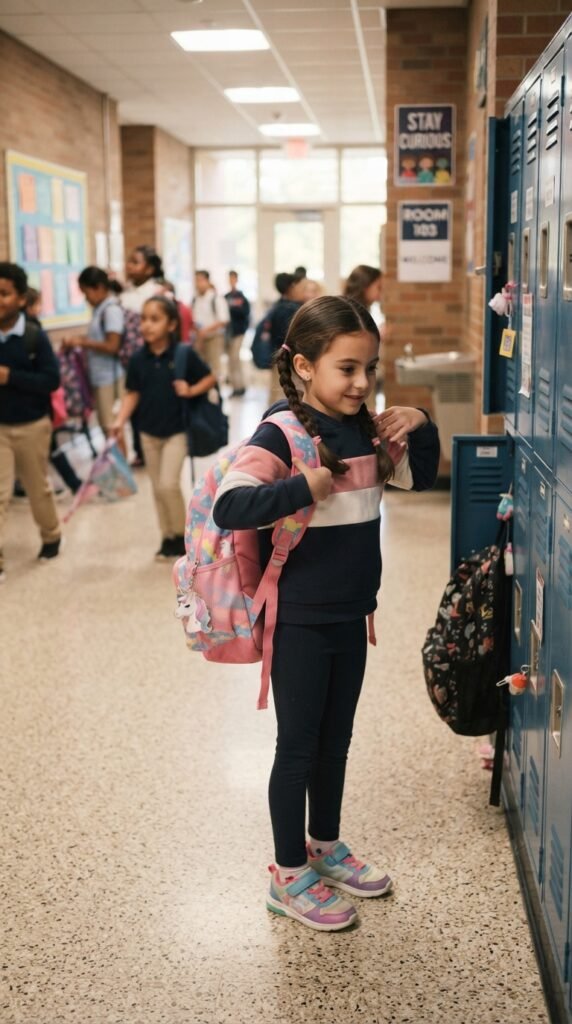
The bus ride and backpack straps are what actually wreck a hairstyle. Plan for them.
Keep the back of your head free of big clips. Backpacks press right there and pop them loose.
- Avoid high buns if you wear a backpack
- Choose low styles for the ride
- Keep one extra elastic in your bag
Quick Fixes If It Falls Apart at School
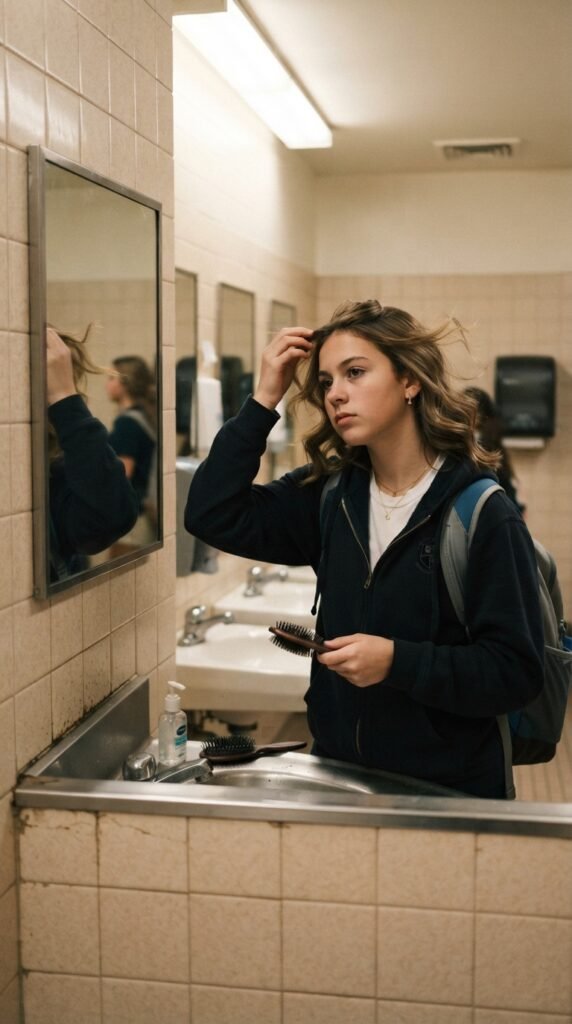
It happens. A ponytail slides, a braid loosens, a clip disappears. Here is how to fix it in under a minute.
- Wet your fingers in the sink and smooth the top
- Re-tie the back with a fresh elastic
- Twist loose pieces and pin them behind your ear
Carry a spare elastic, two bobby pins, and a mini hairspray. That tiny kit has saved me more times than I can count.
A Few Last Words Before the Camera Flashes
Here is the truth: nobody will remember the one strand that flipped up. They will remember whether you looked comfortable and happy in the photo.
Pick one style from this list, practice it once this week, and lay your things out the night before. That is the whole secret.
You have got this. And when that picture comes home in the envelope, you are going to love it.
Save this post to Pinterest so you have it ready the night before picture day. And tell me in the comments: which style are you trying this year, and does your school do fall or spring photos?
Love, Hailey & Team