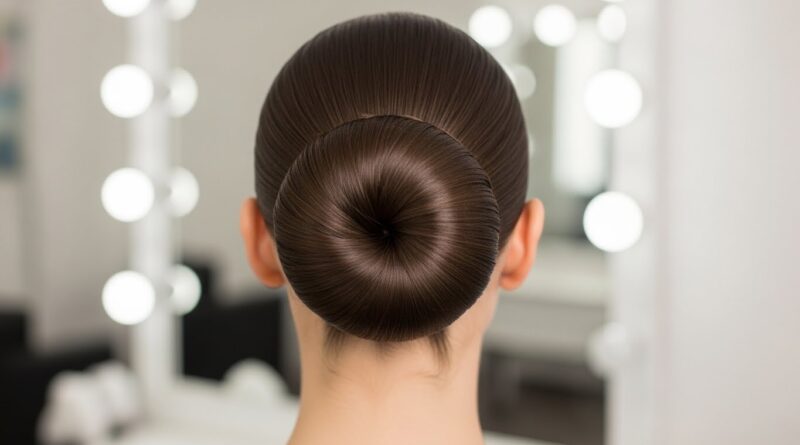
Ballerina Bun: Perfect, Polished, and Professional
In the world of hairstyling, few looks possess the timeless, universal appeal of the ballerina bun. It’s more than just a way to secure your hair; it’s a statement of elegance, efficiency, and effortless sophistication. Synonymous with the grace of dancers, this iconic updo has pirouetted off the stage and into our everyday lives, becoming a cornerstone of professional style and polished beauty. Whether you’re heading into a crucial board meeting, attending a summer wedding, or simply seeking a chic solution for a busy day, the perfect ballerina bun is your ultimate ally.
Why the Ballerina Bun is a Timeless Power Hairstyle
The enduring popularity of the ballerina bun isn’t accidental. It’s rooted in a powerful combination of aesthetics and practicality. Psychologically, an updo like the ballerina bun projects competence and organization. It clears the face and frame, allowing your features and expressions to take center stage, which is a subtle advantage in professional settings. There’s a reason it’s a favorite among news anchors, executives, and, of course, prima ballerinas—it denotes control and focus.
From a practical standpoint, its benefits are unmatched. It keeps hair securely off the neck on hot days or during hectic schedules. It’s a savior for second (or third) day hair, and it works with almost every hair type and length with the right techniques and tools. Perhaps most importantly, it is incredibly versatile. The same foundational style can be adapted to appear severely sleek for the courtroom or softly romantic for a dinner date with just a few tweaks.

The Foundation: Preparing Your Hair for Perfection
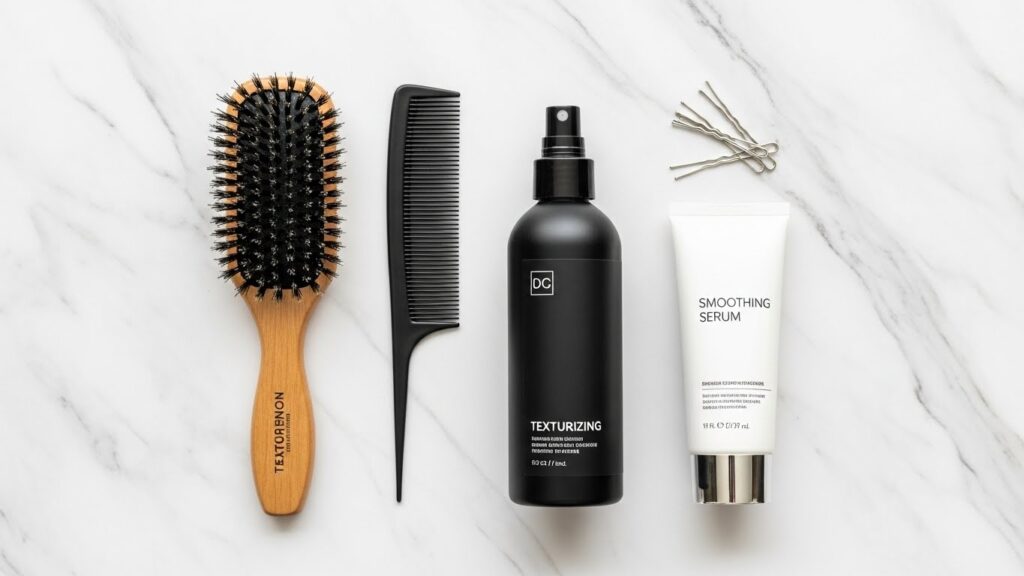
A polished bun starts with the right canvas. The goal is smoothness, hold, and a bit of grip—without making your hair look stiff or greasy. Start with day-old hair if possible, as natural oils provide better texture and manageability than freshly washed, slippery strands. If you must start with clean hair, use a light-hold mousse or texturizing spray at the roots for volume and on the lengths for control.
Brushing is critical. Use a fine-tooth comb or a bristle brush to gather every strand smoothly from your hairline to the crown. For an ultra-sleek look, consider applying a small amount of smoothing serum or a light-hold gel, particularly around the hairline, to tame baby hairs and flyaways. Remember, the key to a professional bun is intentional neatness. Every step in the preparation phase is about creating a controlled base.
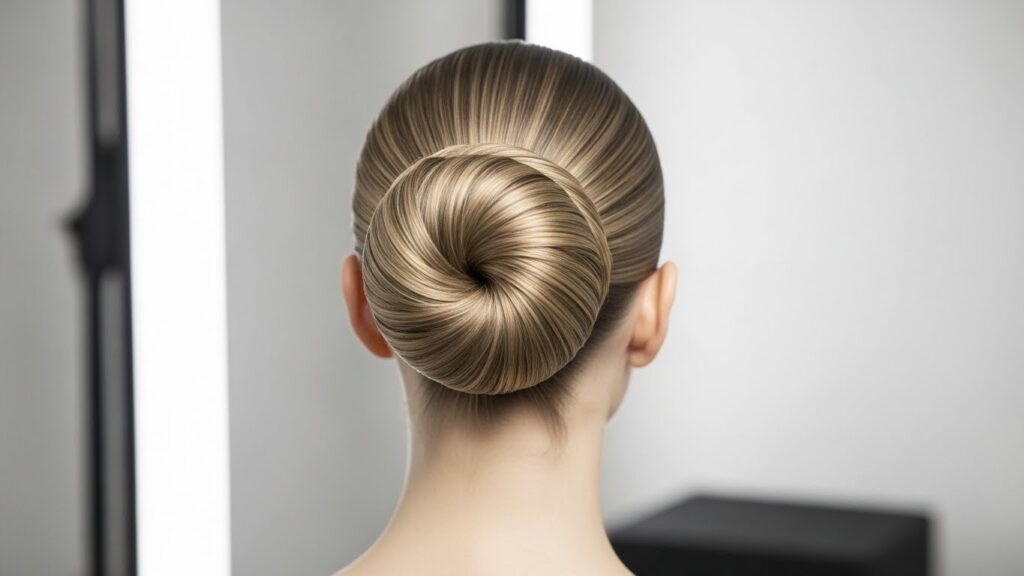
Step-by-Step: Crafting the Classic Sleek Ballerina Bun
Follow these steps for the quintessential polished bun that never fails to impress.
Step 1: The Perfect Ponytail. Gather your hair as if for a high ponytail, but position it where you want the center of your bun to be—typically at the crown of your head. For a true ballerina look, this is often slightly higher than center. Use a brush to smooth hair back, securing it tightly with a hair elastic. Pro Tip: For extra sleekness, wrap a small section of hair around the elastic and pin it underneath to conceal it.
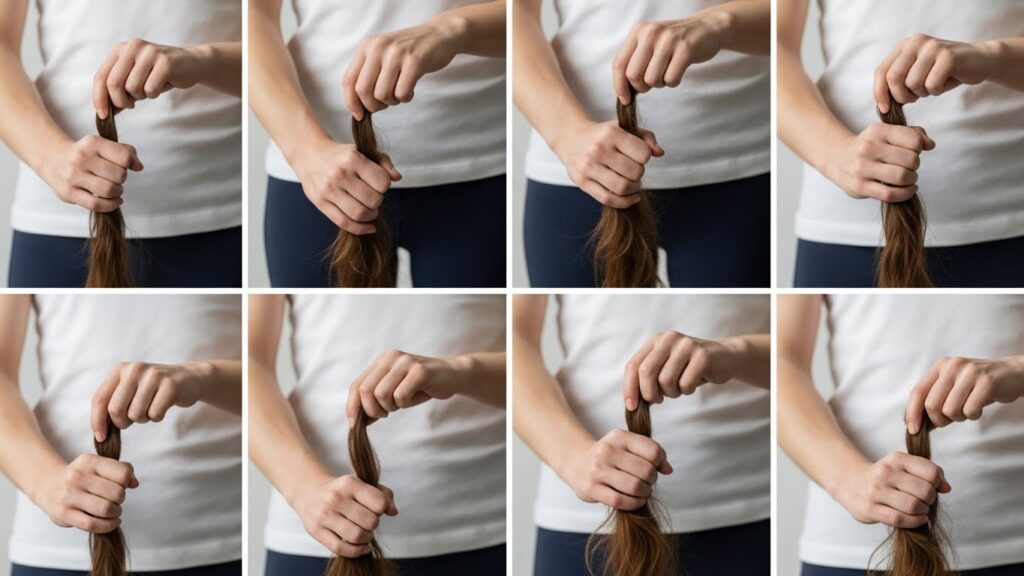
Step 2: Twist and Wrap. Twist the ponytail tightly from ends to roots. As you twist, the hair will naturally coil around its own base. Begin wrapping this twisted rope around the base of the ponytail.
Step 3: Secure and Smooth. As you wrap, use your other hand to hold the coil in place. Once fully wrapped, use U-shaped pins or spin pins for superior hold. Slide them through the outer edge of the bun and into the base, crisscrossing for security. Avoid using too many pins; 4-6 strategically placed ones are often enough. Lightly mist with a strong-hold hairspray.
Variations for Every Vibe: From Office to Evening
The classic bun is just the beginning. By altering texture and placement, you can create a style for any occasion.
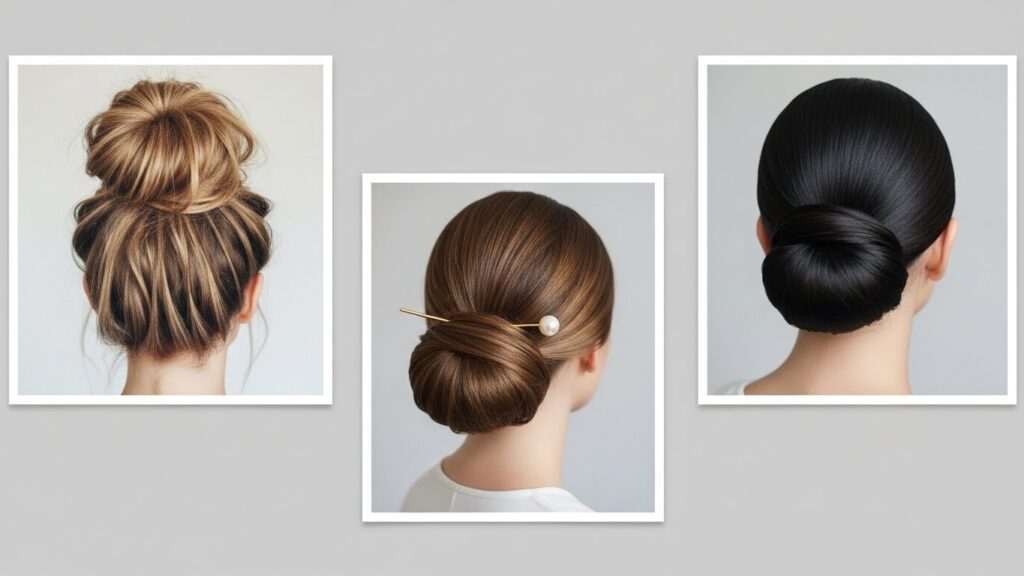
The Textured, Voluminous Bun: Before making your ponytail, add waves with a curling iron or braid your hair overnight and brush it out. Follow the same wrapping steps, but don’t twist as tightly. Gently pull on the edges of the wrapped bun to loosen and create a softer, more romantic volume. This version is perfect for adding a touch of effortless chic to your professional look or for weekend events.
The Low “Knot” Bun: For an even more sophisticated and relaxed professional look, place your ponytail at the nape of your neck. Twist and wrap as before, securing it close to the head. This style is incredibly elegant and pairs beautifully with statement earrings.
The Accessorized Bun: Elevate your bun instantly with minimalist accessories. Slide a delicate pearl-encrusted pin into the side, or wrap a sleek silk scarf around the base before making your ponytail. A thin, metallic cuff over the hair elastic can also add a modern touch.
Pro Tips and Troubleshooting: Ensuring All-Day Polish
Even the best bun can falter without the right finishing touches. Here’s how to ensure yours stays perfectly polished from morning commute to evening unwind.
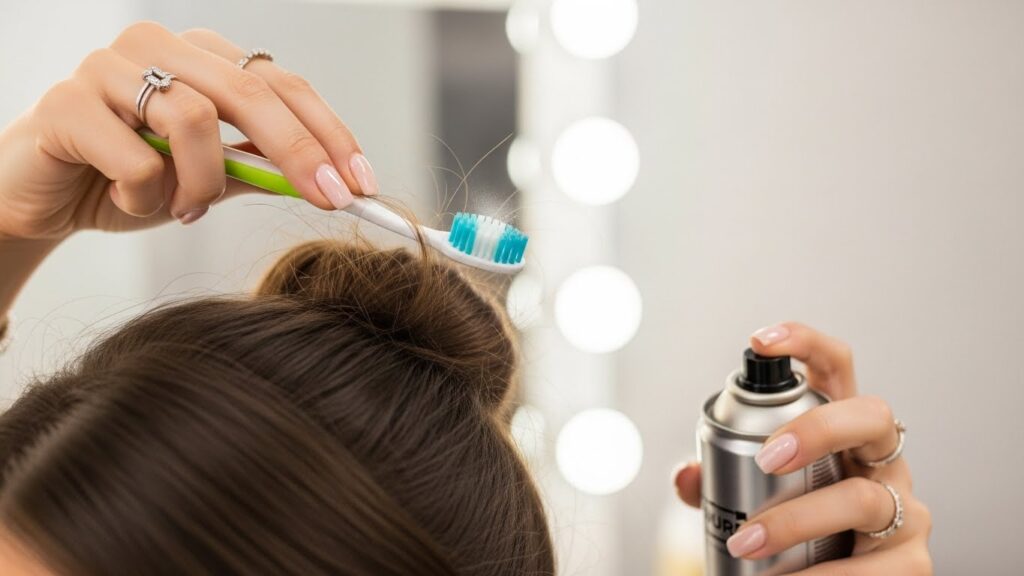
Combating Flyaways: Use a toothbrush or a clean mascara wand sprayed with a light-hold hairspray to gently coax baby hairs and flyaways into place. A tiny dab of clear brow gel or even hand cream (sparingly!) can also work wonders.
Adding Volume at the Crown: For a more flattering silhouette, create subtle height before making your ponytail. Gently backcomb the hair at the crown, or use a volumizing clip while you do your makeup to let the roots cool and set upwards.
For Fine or Slippery Hair: Texture is your best friend. Use a dry shampoo or texturizing powder at the roots for grip. Consider using two hair elastics for your base ponytail. Velcro or rubber-coated rollers can also help create a more secure base for wrapping.
The Final Seal: A light mist of flexible-hold hairspray from about 12 inches away will set the style without creating stiffness or crunch. Carry a few extra bobby pins in your bag for any necessary mid-day reinforcements.
Beyond the Bun: A Style for Every Professional Woman
Embracing the ballerina bun is about embracing a mindset of prepared elegance. It’s a hairstyle that says you’re ready—for the presentation, the interview, the event, the day. Its power lies in its beautiful contradiction: it is both simple and complex, strong and soft, disciplined and creative. By mastering this one style and its variations, you equip yourself with a reliable tool in your beauty arsenal that consistently delivers a polished, professional, and powerful look.
So, the next time you’re searching for a hairstyle that bridges the gap between practicality and high fashion, remember the ballerina bun. With a little practice and the right techniques, you can achieve that perfect, polished, and professional look that turns heads and inspires confidence, one graceful twist at a time.