Braiding 22 Dry Strand Crimping Prepping for Grippy Texture
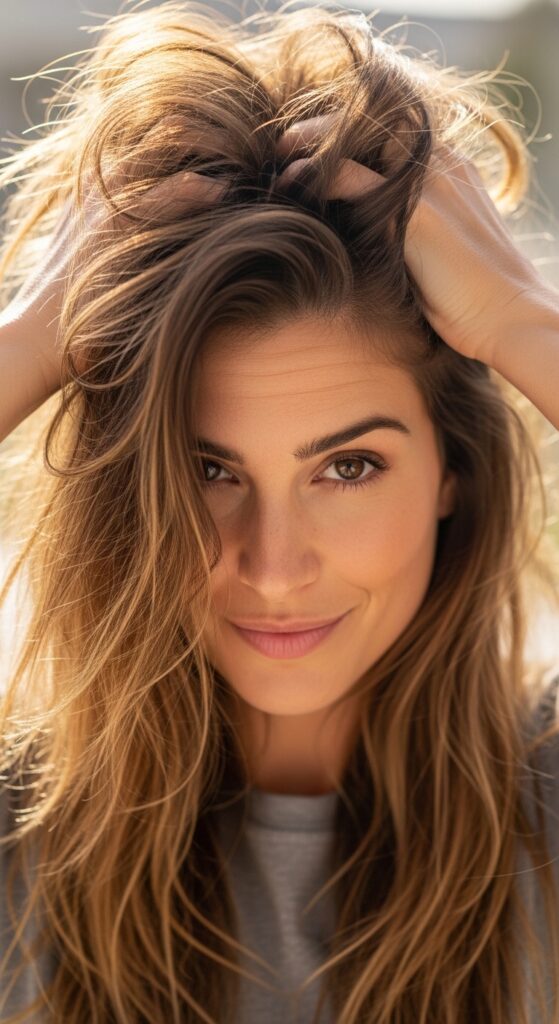
Okay, let’s be real. We’ve all seen those incredible, intricate braids online and thought, “I could never.” The secret isn’t just skilled fingers—it’s all in the prep. Starting with smooth, freshly washed hair often leads to slippery strands and frustration.
That’s where the magic of dry, textured hair comes in. By prepping your hair to be slightly dry and crimped, you create a “grippy” canvas that holds every twist and turn. It’s the ultimate hack for lasting, voluminous braids.
This method is a game-changer for so many of the 2026 hairstyles we’re loving, from romantic goth hairstyles to that coveted quiet luxury bob with a textured edge. It gives you control and longevity. Let’s dive into exactly how to nail this prepping step.
Why Dry, Textured Hair is a Braid’s Best Friend
Think of braiding smooth, silky hair like trying to grip a satin ribbon. It slips and slides. Now, imagine braiding a piece of soft cotton cord. It stays put. That’s the difference texture makes.
When your hair has a bit of grit and body, each section locks into place. This means your braid looks fuller, holds its shape all day, and you lose fewer tiny hairs along the way. It’s the foundation for everything from a simple three-strand to a complex waterfall braid.
The “22 Strand” Mindset: It’s All About Sections
You might see “22 dry strand” and panic. Don’t! This isn’t about counting individual hairs. It’s a mindset. It means taking the time to section your hair properly before you even start.
Smaller, neat, and manageable sections are key. When you prep each one for texture, you ensure every part of your braid has that perfect grip. This meticulous approach is what gives you that polished, professional look, whether you’re going for an old money hair vibe or something more edgy.
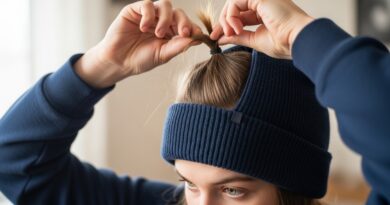
Step 1: Start with Day-Old (Or Dry) Hair
The best base for this technique isn’t freshly washed hair. It’s hair that’s had a day to settle. Your scalp’s natural oils add a tiny bit of grip, and any leftover product helps.
If you must wash, blow-dry completely and let it sit for an hour. The goal is to remove all moisture. Damp hair will not hold the texture we’re about to create and can lead to a frizzy, uneven result.
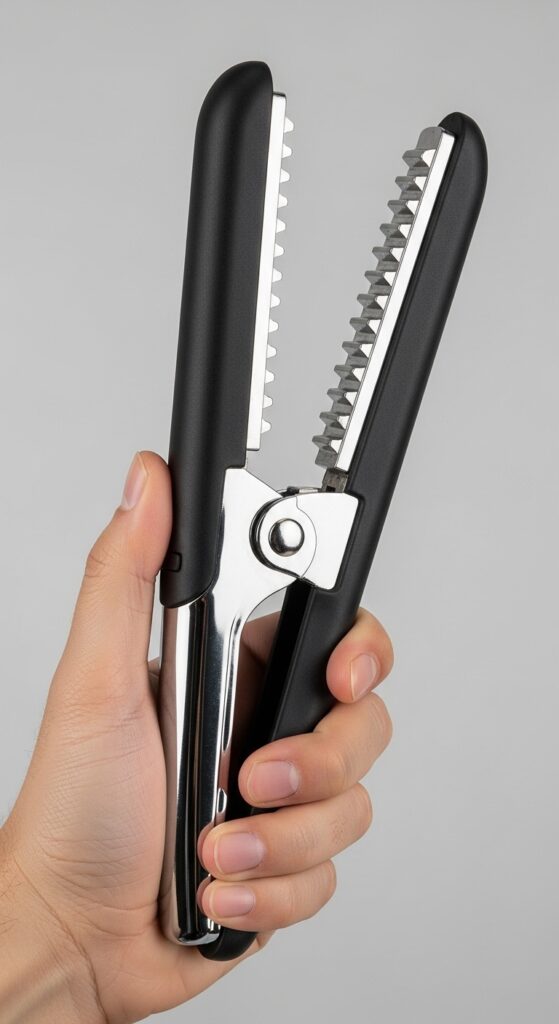
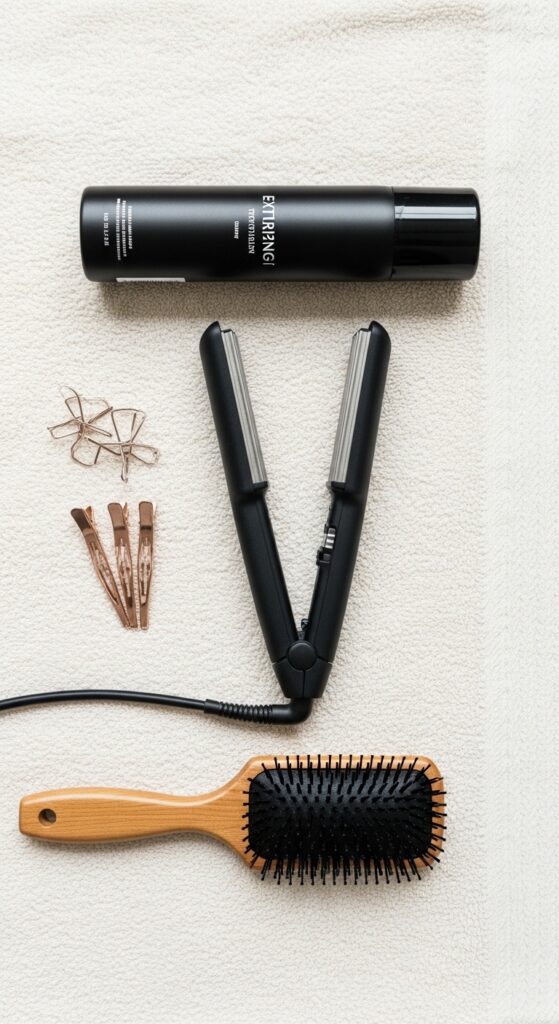
Step 2: The Crimping Tool Lowdown
Don’t fear the crimper! We’re not going for a full 80s vibe. A modern, wide-plate crimping iron is your friend. Look for one with plates about an inch wide.
You can also use a waving or zigzag iron. The goal is to create bends and waves in the hair shaft, not tight zigzags. This breaks up the smooth surface and creates tons of hidden volume and grip.
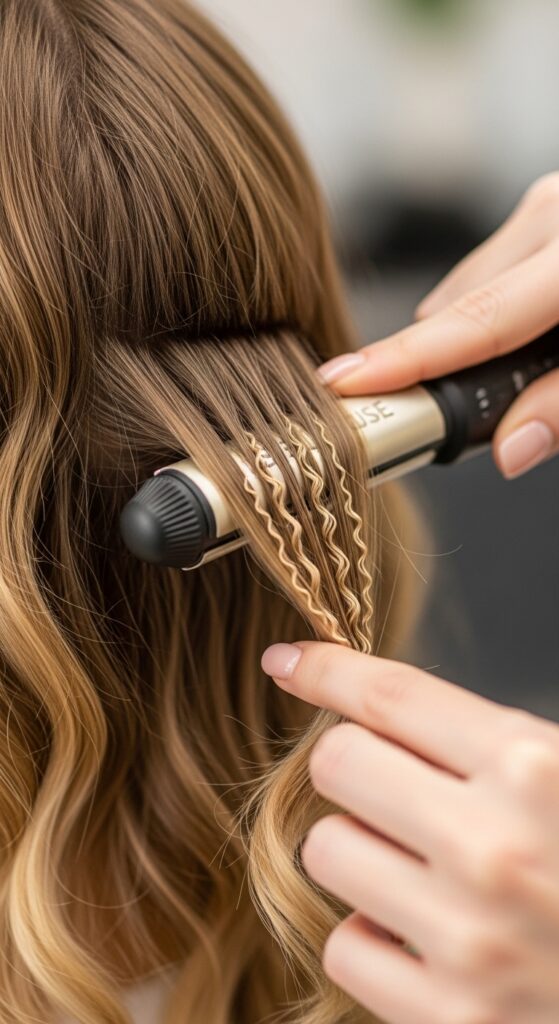
Step 3: How to Crimp for Grip, Not Volume
This is the crucial technique. Take a one-inch section of hair. Clamp the crimper at the mid-lengths, hold for 3-5 seconds, then move down an inch and repeat. Avoid the roots and the very ends.
- Do NOT crimp from root to tip.
- Focus on the mid-shaft and lower.
- This gives you hidden texture without massive 80s volume.
Step 4: The “Pancaking” Secret for Invisible Texture
Once a section is crimped, gently pull it apart sideways with your fingers. We call this “pancaking.” It widens the crimped pattern, softening it from a sharp zigzag into a gentle, wavy texture.
This step is what makes the texture work for you invisibly. From the outside, your hair will look wavy and full. But inside, every strand has that perfect, grippy surface for braiding.

Prepping Fine, Slippery Hair
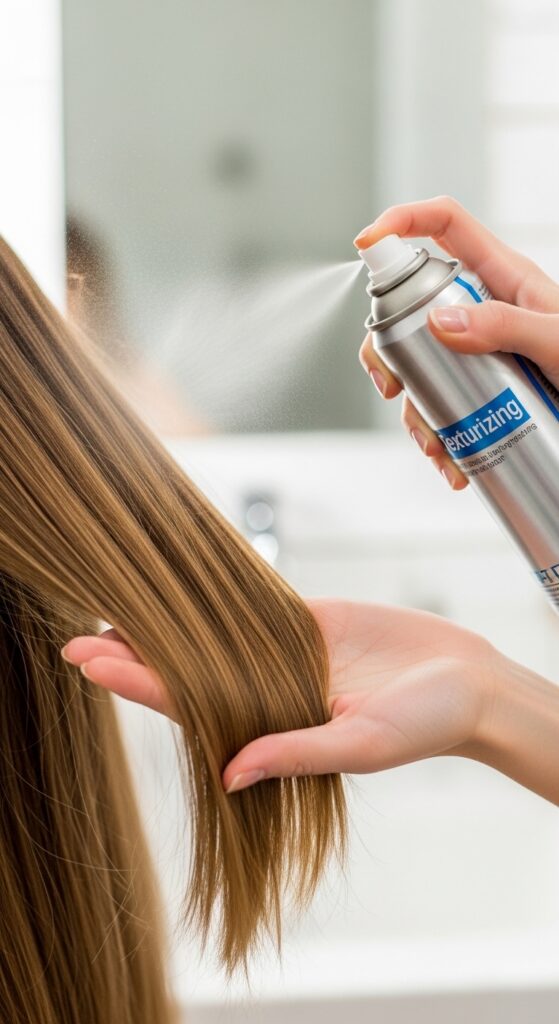
If your hair is fine and silky, you need extra help. Before crimping, spray a light texturizing or dry shampoo spray at the mid-lengths. Let it dry for a minute.
Then, crimp as described. The combination of product and texture will give your hair the hold it desperately needs. This is a lifesaver for keeping an asymmetrical lob perfectly piecey.
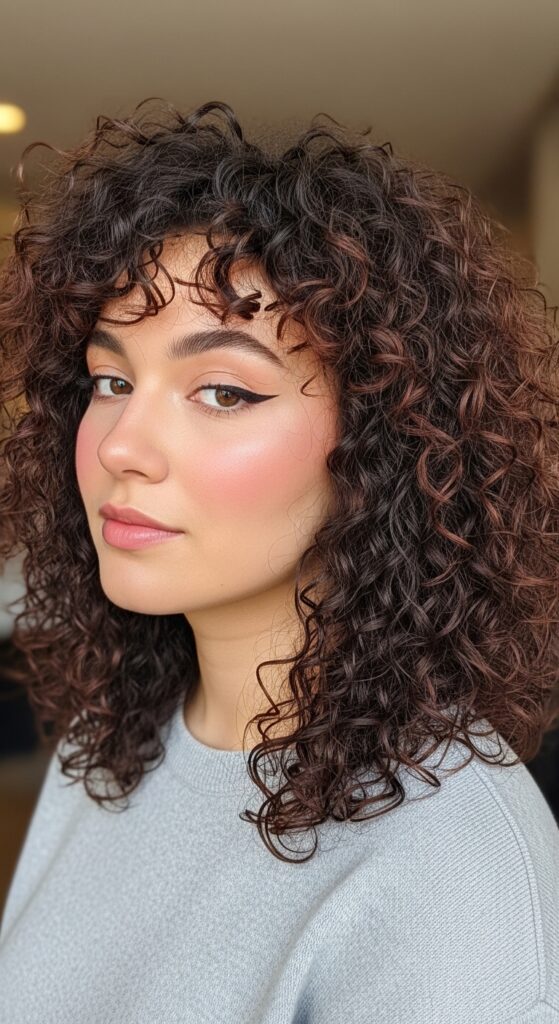
Prepping Thick or Curly Hair
Your hair may already have natural grip! The goal here is uniformity. Use your crimper on the mid-lengths to tame any frizz and create a consistent wave pattern that will braid smoothly.
You might not need to crimp every section. Focus on the top layers that are most visible. This technique helps blend any texture differences for a seamless braid in romantic goth hairstyles.
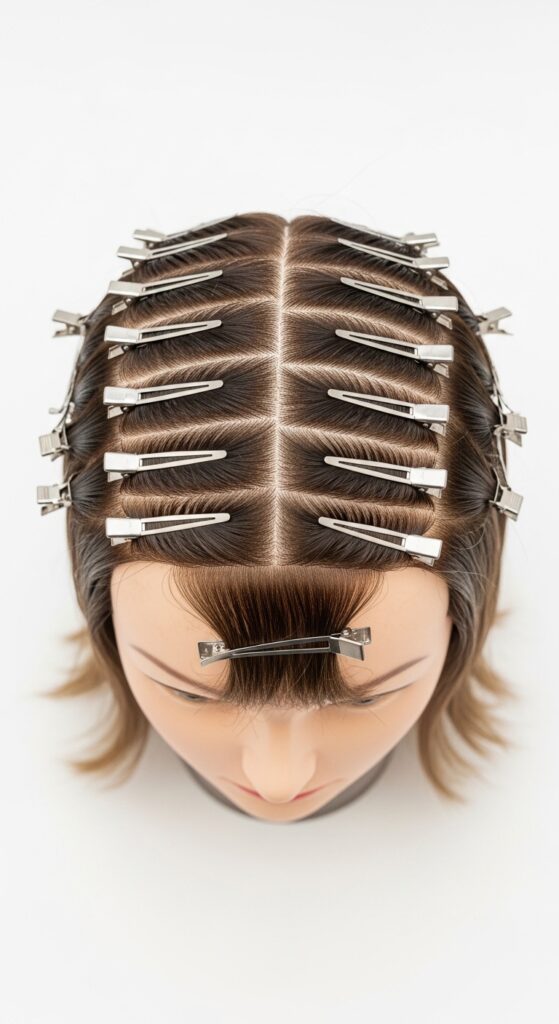
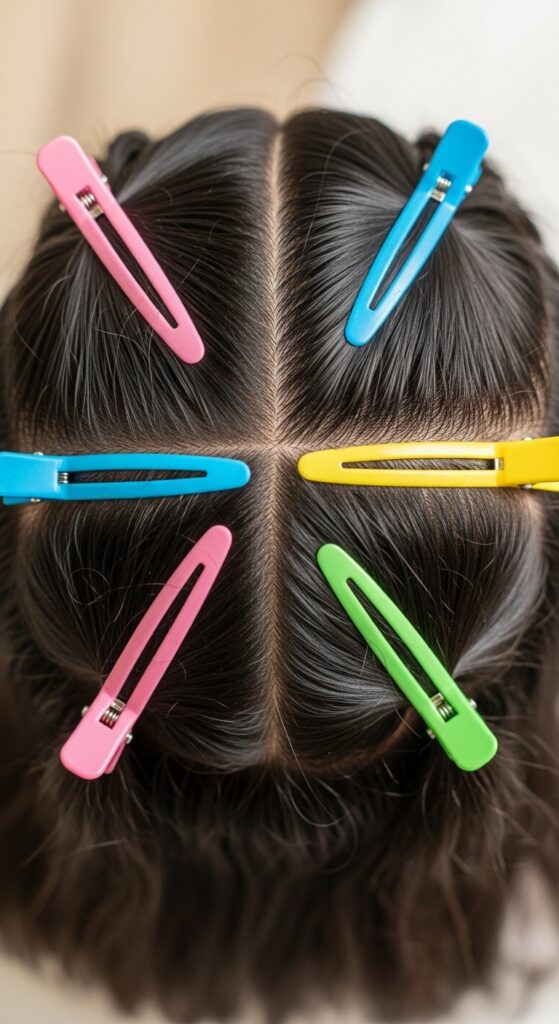
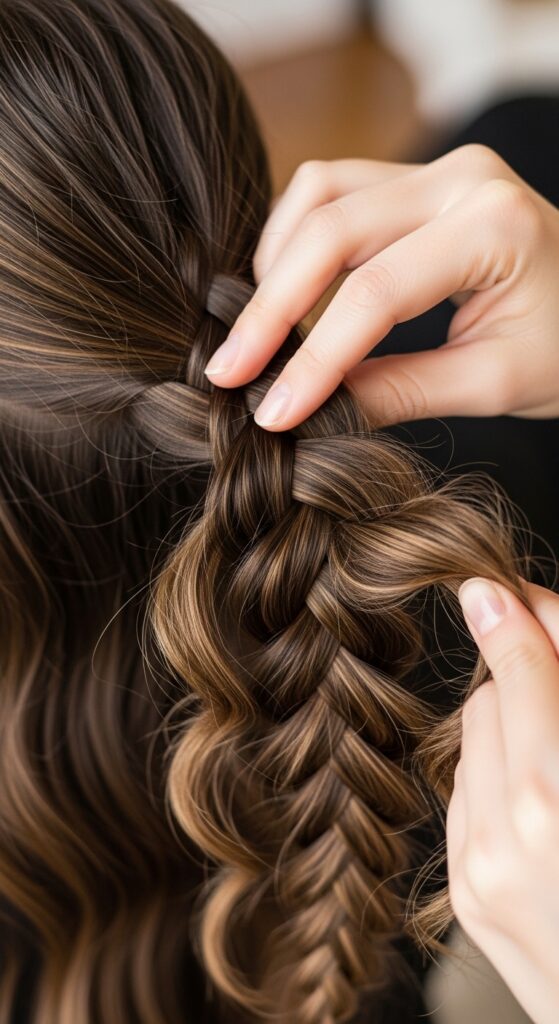
Sectioning Your Hair for Different Braids
How you section depends on your braid. For a classic side braid, part your hair as normal. For a crown or halo braid, create a circular section around your head.
Clip away the hair you aren’t working on. Prep and braid one section at a time. This keeps the textured hair from getting smoothed out by handling before you’re ready.
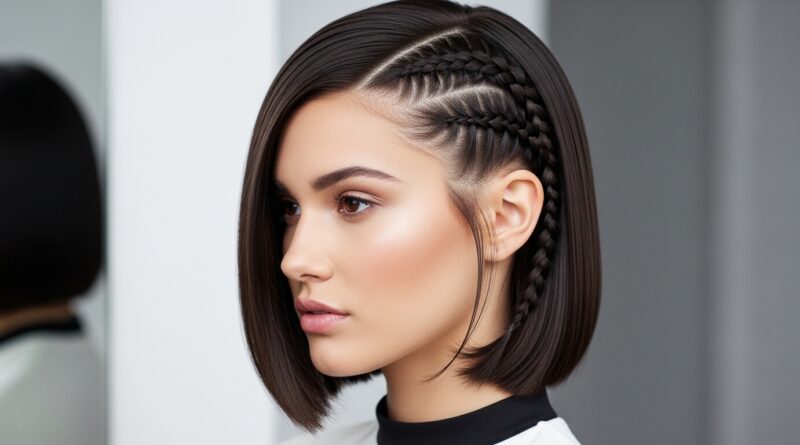
Creating a Textured “Quiet Luxury” Braided Bob
The quiet luxury bob is all about impeccable, understated texture. Prep your bob with light crimping at the mid-lengths. Then, create a small, tight Dutch braid along your hairline.
It instantly adds a detail that says “effortless chic.” The texture keeps this tiny braid perfectly in place all day without a single flyaway.

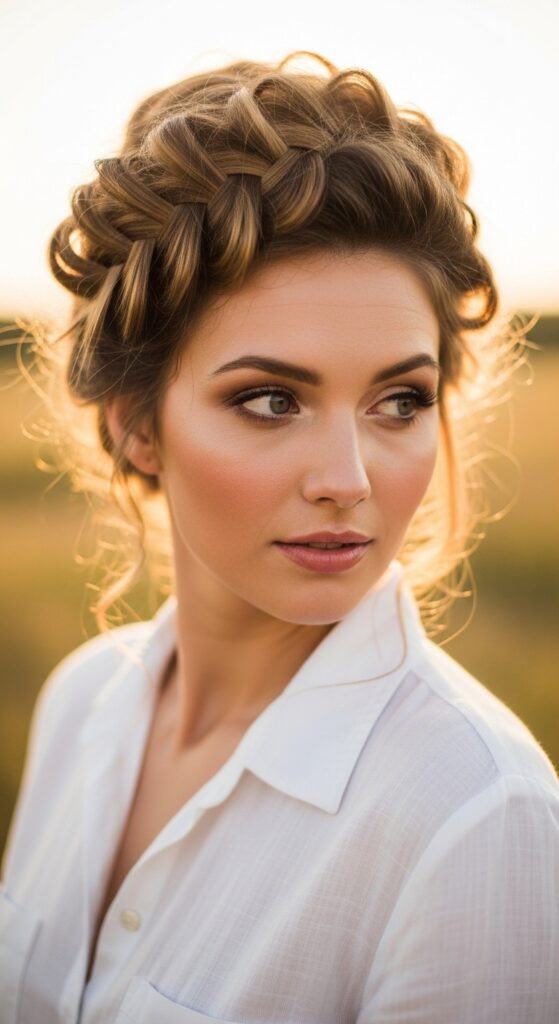
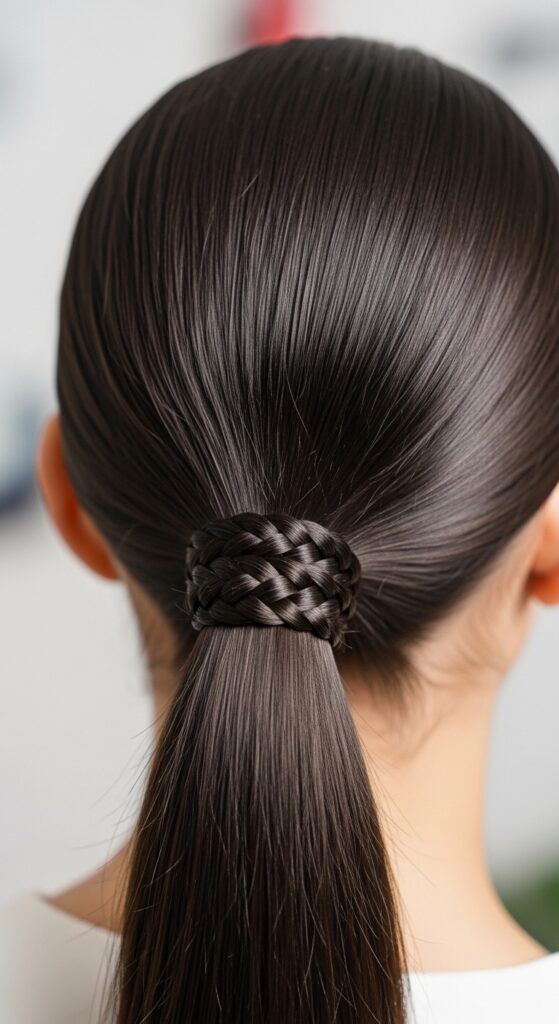
Grippy Texture for “Old Money” Milkmaid Braids
Old money hair is polished but soft. For a milkmaid crown, texture is non-negotiable. Prep all your hair with the crimp-and-pancake method.
When you braid, the texture will give you soft, full, romantic braids that sit like a crown without pins slipping. It looks like you just came from a seaside stroll.
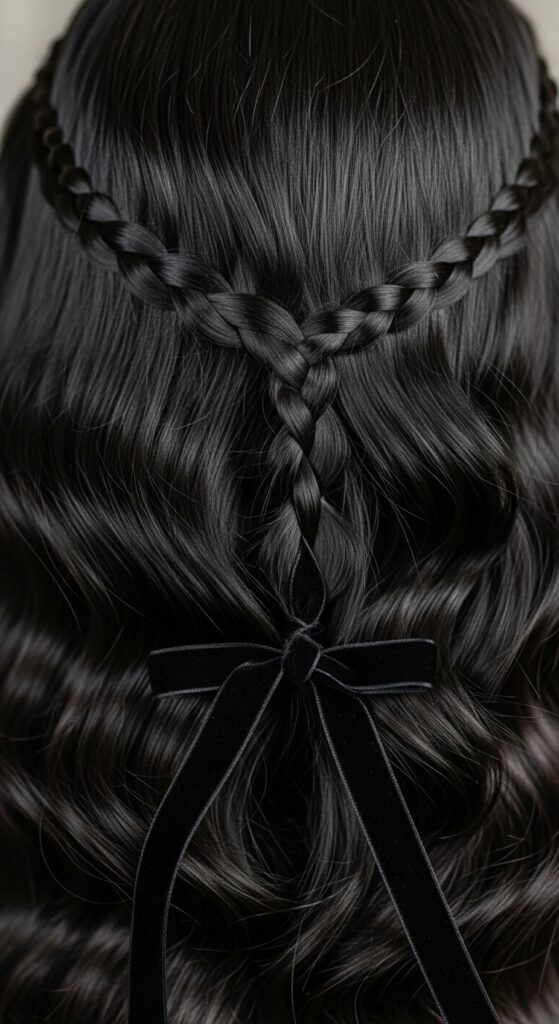
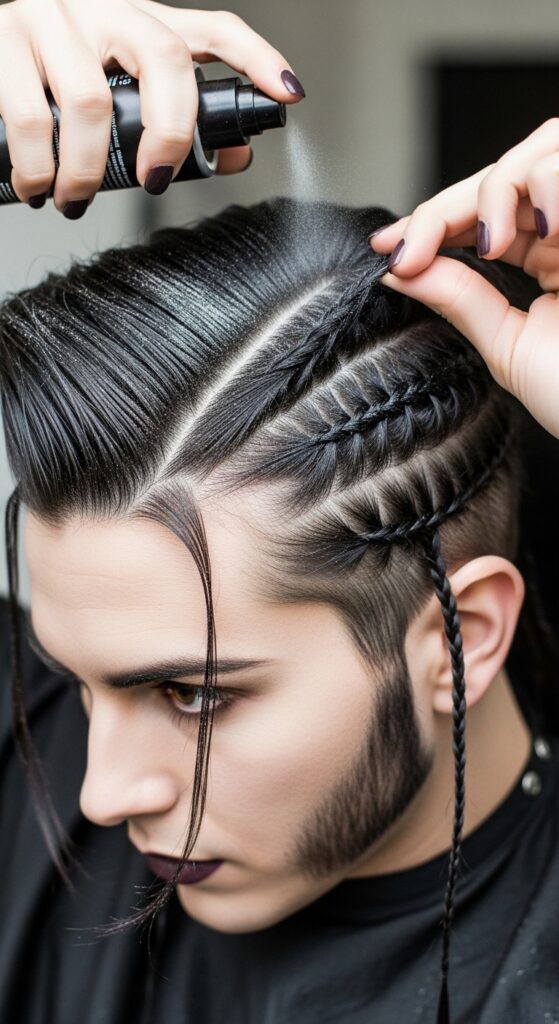
Mastering the Romantic Goth Braided Look
Romantic goth hairstyles thrive on detailed braids against loose waves. Prep your entire head for texture. Create a few small, face-framing braids with the grippy hair.
Then, gently pull them apart to make them wider and more dramatic. The texture lets you create that perfectly imperfect, lived-in dark romance vibe.
Adding “Glitchy Glam” Braid Accents
Glitchy glam hair is about unexpected, cool-girl details. Prep your hair for texture. Then, braid a single, small section in an unusual place—behind the ear, or hidden in a top knot.
The texture makes this accent braid pop with definition. It’s that one intriguing detail that makes the whole style feel forward and cool.
Texturing for the Asymmetrical Lob Braid
An asymmetrical lob often has a longer side. Use texture to your advantage! Crimp the longer side thoroughly. Then, braid it back or over your shoulder.
The grip will keep the braid neat and defined against the shorter, looser layers. It creates a beautiful balance and highlights the cut’s shape.

The Ultimate “Vampire Haircut” Braid Prep
The vampire haircut is all about sharp layers and movement. To braid any part of it, you need to tame those layers with texture. Crimp the mid-lengths on all sections.
This helps blend the different lengths when you braid, preventing shorter pieces from popping out immediately. You get a cohesive, mysterious look.
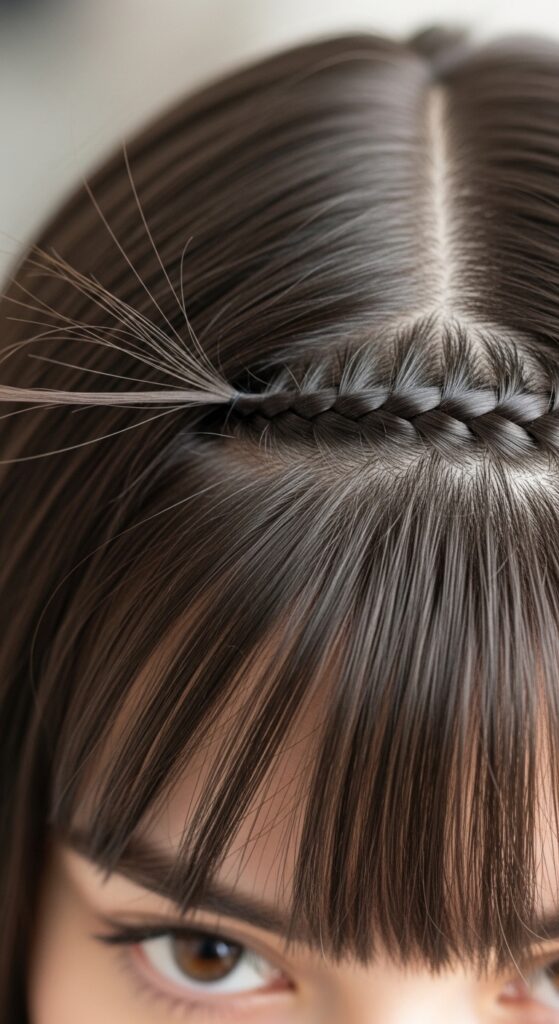
Prepping Hime Cut Bangs for Braiding
Hime cut straight-across bangs are a statement. To incorporate them into a braid, you must add grip. Lightly crimp just the underlayer of your bangs at the mid-section.
This gives them enough hold to be woven into a braid along your hairline without losing their blunt shape. It’s a stunning, editorial look.
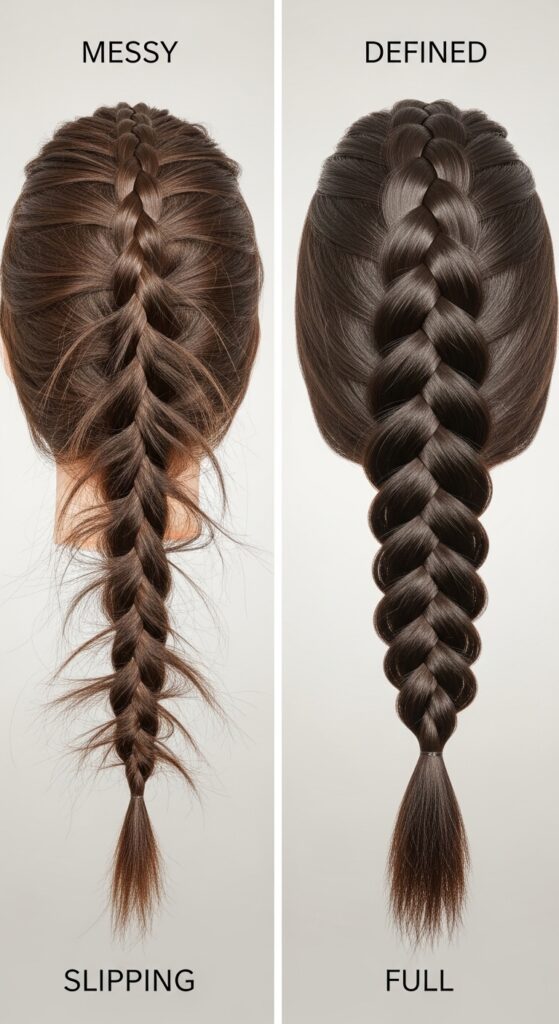
Fixing Common Braiding Problems with Texture
Slippery braid? You didn’t prep enough texture. Frizzy braid? You may have crimped too close to the ends or on damp hair.
Braids falling flat? You didn’t “pancake” the crimped sections to create width. Texture prep solves almost every braiding frustration before it starts.
How to Make Your Braids Last All Day (And Night)
With proper grip, your braids are built to last. Once finished, mist very lightly with a flexible hold hairspray. Focus on the mid-lengths, not the roots.
If you’re going for a second-day look, sleep with your braid in a loose silk scrunchie. The texture will hold, and you’ll wake up with amazing, piecey waves.
Taking Down Your Braids: The Magic Waves
The best part? Taking out your braids. After a day in textured braids, when you unravel them, you’ll have the most incredible, non-frizzy, grunge-glam waves.
Simply finger-comb them out. You’ve essentially given yourself a perfect heatless wave pattern. It’s two styles in one!
Your Quick-Start Prep Routine
- Start with dry, day-old hair.
- Section hair neatly.
- Lightly mist fine hair with texturizing spray.
- Crimp each section at mid-lengths only.
- Gently “pancake” each section to soften.
- Begin braiding on your perfectly grippy canvas!
Final Thoughts on Texture as Your Secret Weapon
Mastering this one prep step will change your entire braiding game. It turns a frustrating task into a quick, enjoyable ritual. The control and longevity you get are worth the extra five minutes.
This technique works for every hair type and every braid style, from the simplest to the most complex. It’s the behind-the-scenes trick that makes all the difference.
And that’s it! The not-so-secret secret to braids that actually look like the picture. It all comes down to giving your hair a little something to hold onto. Once you try this dry-strand crimping method, you’ll never go back to braiding slippery hair again.
It’s your foundation for mastering any braid trend that comes our way. I promise, your hands will thank you, and your hairstyles will have that professional, lasting polish we all want.
Save this post to Pinterest to keep this prep guide handy for your next braiding day! Tell me in the comments—what’s the first braid you’re going to try with your new grippy texture?