Challenge 13 Scalp Yeast Treatments Clearing Before New Installs
Hey friend. Let’s talk about something real quick that isn’t glamorous but is absolutely essential: your scalp health. If you’re dreaming of a fresh install, a major cut, or trying out one of those stunning 2026 hairstyles, we need to make sure the foundation is solid first.
I’ve been there. That itchy, flaky feeling that makes you second-guess any new style. It’s often a sign of a yeast imbalance on the scalp, and trying to install new hair over that is a recipe for discomfort and potential damage.
But don’t worry. Clearing it up is totally doable and doesn’t have to be a months-long ordeal. This guide is your practical, step-by-step plan to get your scalp happy and healthy, so you can confidently rock that asymmetrical lob or romantic goth hairstyles you’ve been saving on your mood board.
Think of this as the crucial, behind-the-scenes prep work for your next big hair moment. Let’s get into it.
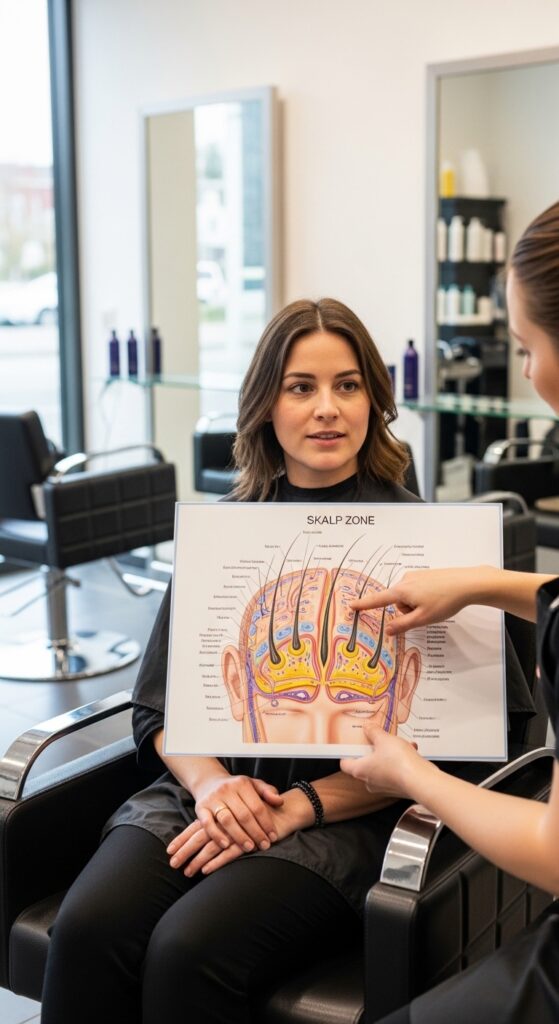
What Is Scalp Yeast, Anyway?
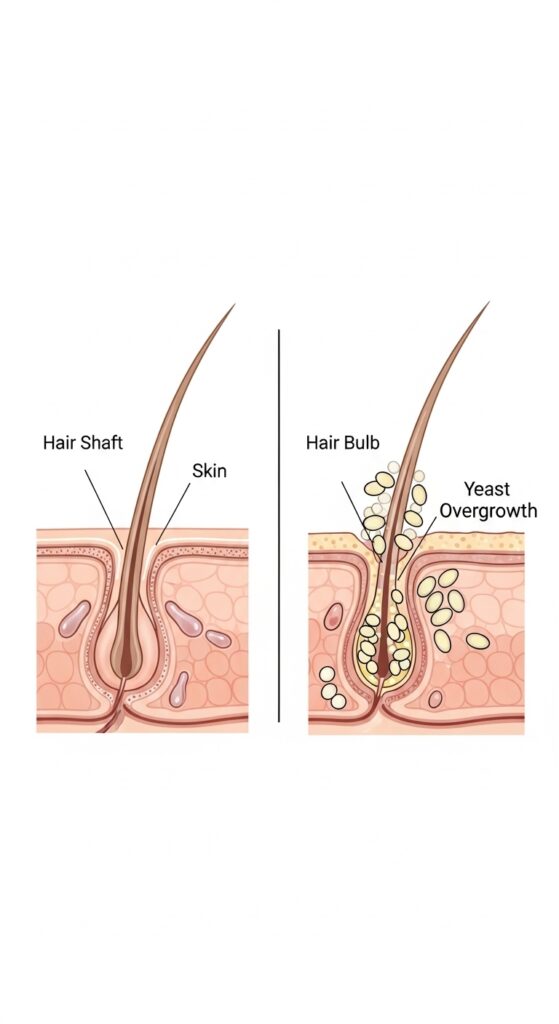
First, let’s demystify it. Everyone has a tiny amount of yeast (usually a type called Malassezia) living on their scalp. It’s totally normal. The problems start when it grows out of control.
This overgrowth can lead to irritation, redness, flaking, and that relentless itch. It’s often mistaken for just bad dandruff, but it needs a slightly different approach to treat effectively.
Why You MUST Address This Before New Hair
Installing braids, weaves, or even tight ponytails on an irritated scalp is a bad idea. The added tension and reduced airflow can trap moisture and worsen the yeast imbalance.
This can lead to more severe inflammation, slowed hair growth, and even temporary hair loss. We want your new style to be a celebration, not a source of stress. A healthy scalp means your hair will look better and last longer.
The #1 Sign You Might Have a Yeast Issue
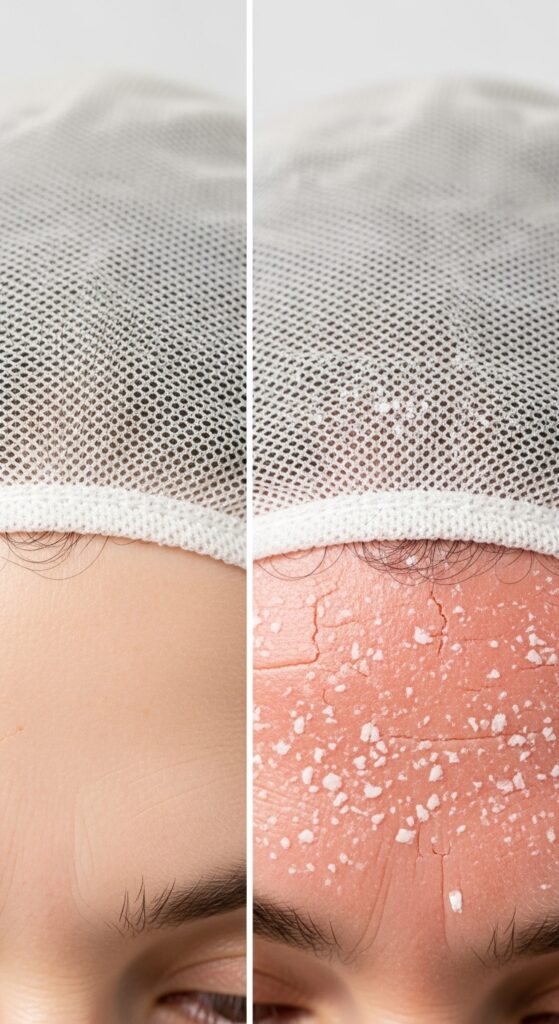
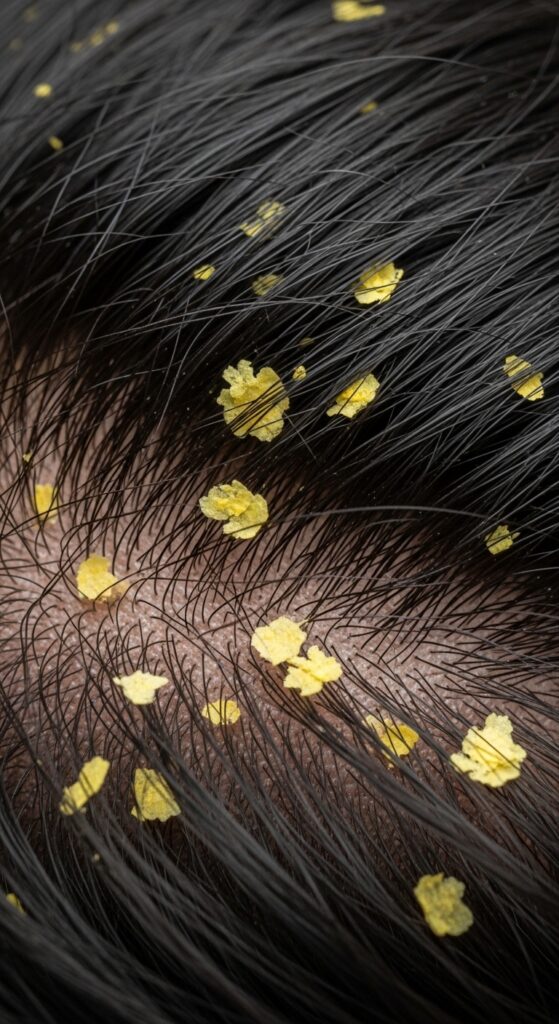
Persistent, oily-looking flakes that are yellowish or white are a big clue. Regular dandruff tends to be drier. The itch is also often more intense and focused in specific spots.
If your scalp feels tender, looks red, or has small bumps, it’s time to take action. Don’t ignore these signals. Your scalp is talking to you!
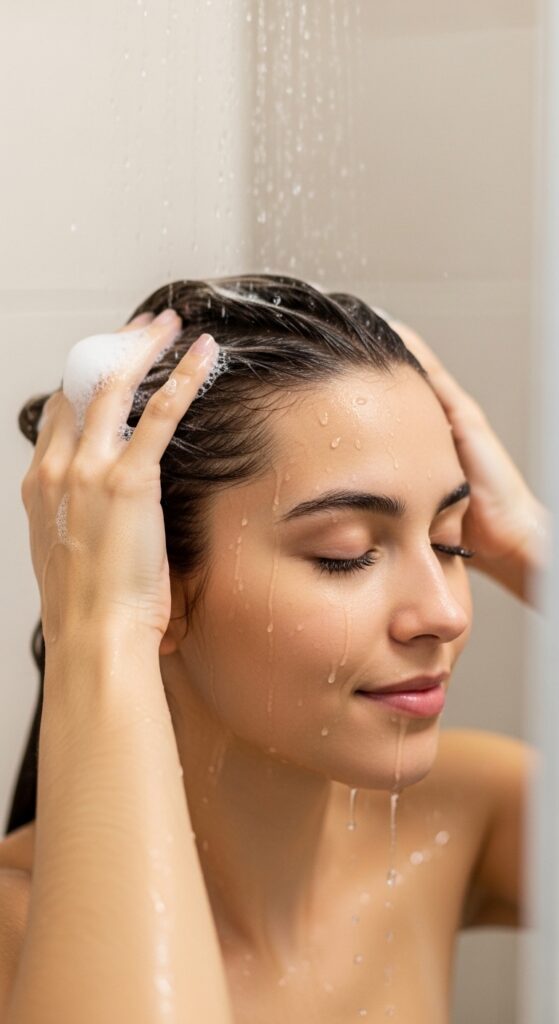
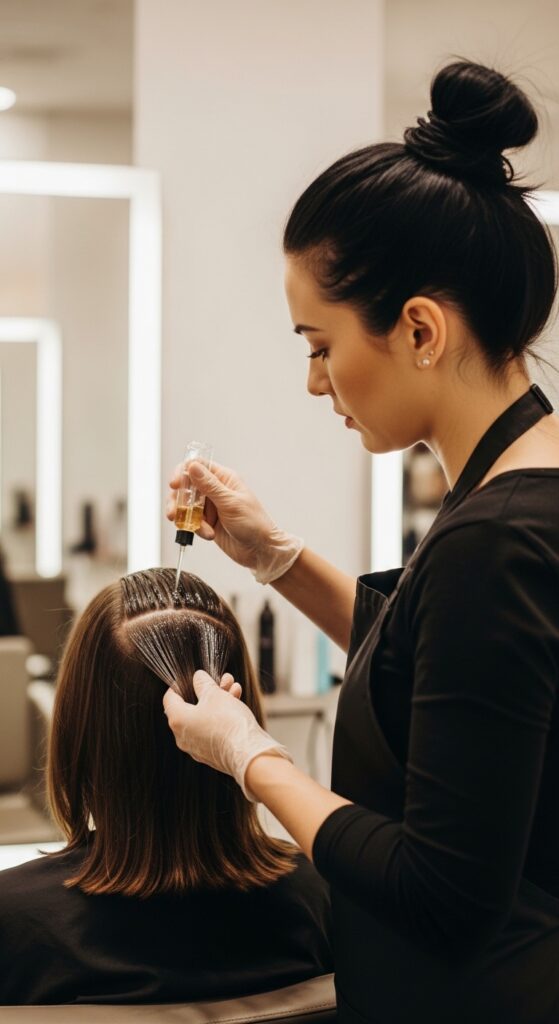
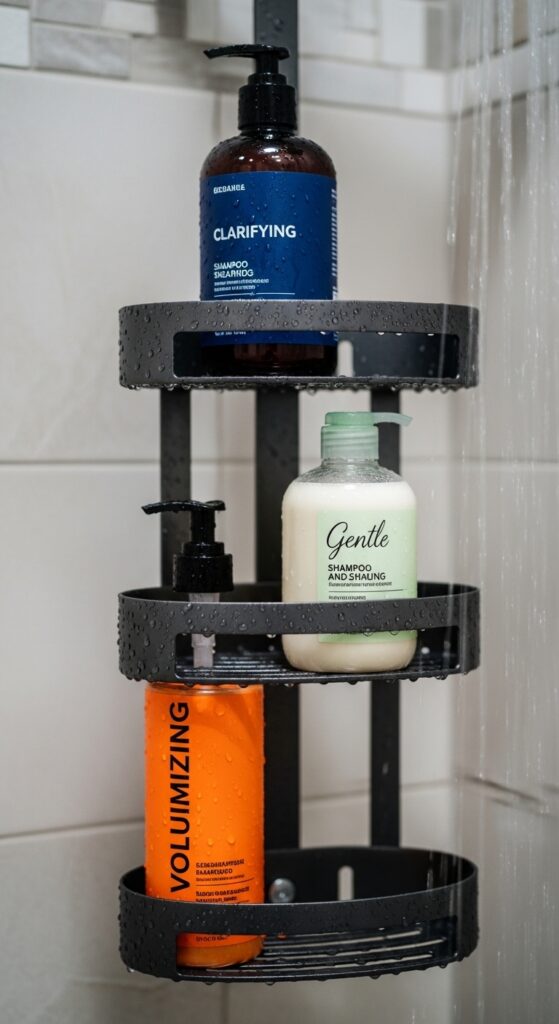
Step 1: The Clarifying Reset Wash
Start with a clean slate. Use a shampoo with ingredients like ketoconazole, selenium sulfide, or zinc pyrithione. These are anti-fungal and available over-the-counter.
Massage it into your scalp and let it sit for a full 5 minutes. This gives the active ingredients time to work. Rinse thoroughly. Do this twice a week for the first two weeks.
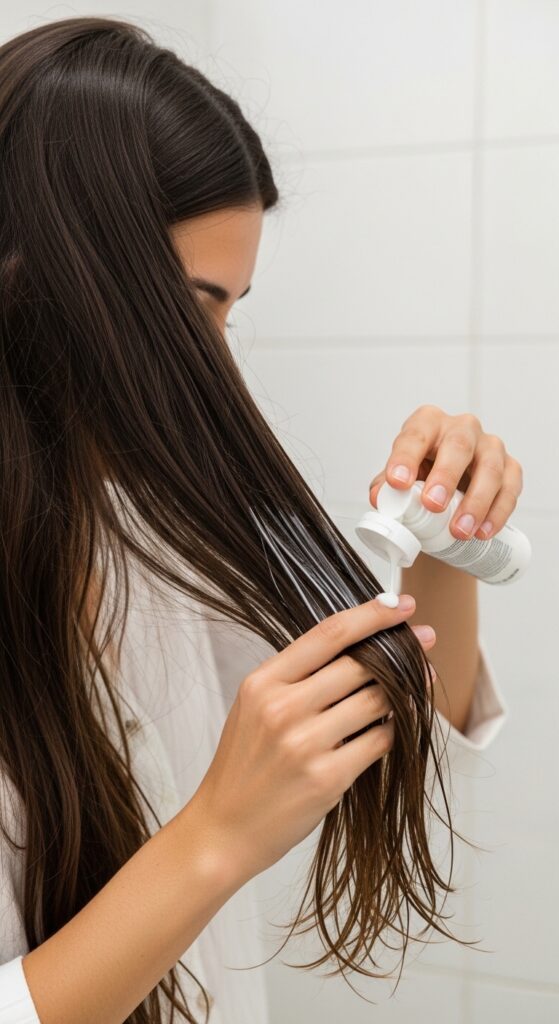
Step 2: The Soothing Follow-Up
After your medicated wash, follow with a gentle, hydrating conditioner. But apply it only to your mid-lengths and ends. Avoid the scalp area to prevent adding back oils that yeast feeds on.
Look for conditioners with aloe vera or oat extract. They calm inflammation without being heavy. This step keeps your hair soft while your scalp heals.
Step 3: Ditch These Hair Habits Now
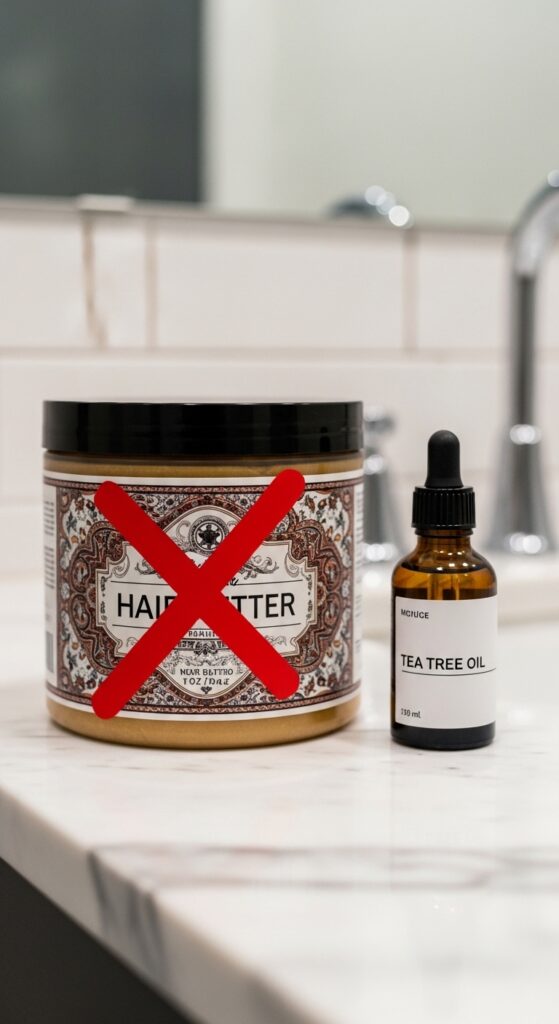
- Heavy Oils & Butters: Coconut oil, shea butter, and pomades can feed yeast. Pause them.
- Dry Shampoo Overuse: It soaks up oil but can also clog follicles. Use sparingly.
- Super Tight Styles: Give your scalp a break from tension braids and high buns.
Step 4: Embrace These Scalp-Friendly Swaps
- Lightweight Oils: Try a few drops of tea tree or rosemary oil mixed with water in a spray bottle.
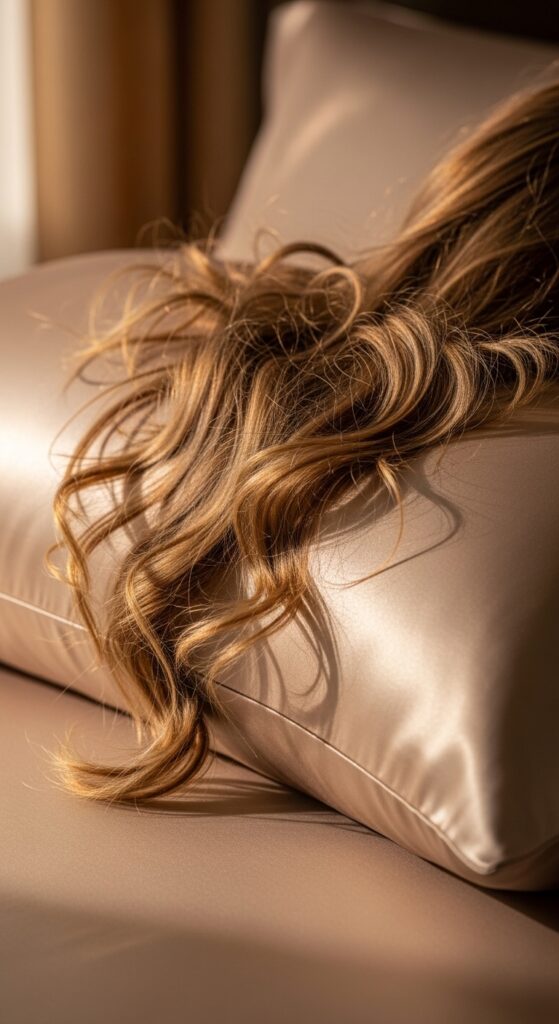
- Silk & Satin: Sleep on a silk pillowcase. It creates less friction and absorbs less moisture.
- Loose Hair Days: Wear your hair down or in loose, low styles to promote airflow.
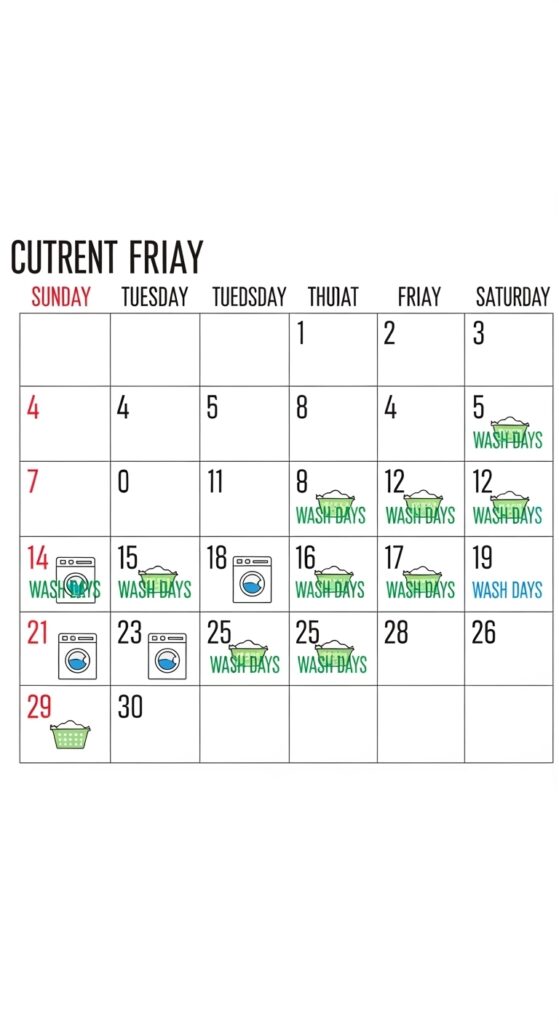
How Often Should You Wash During Treatment?
This might go against what you’ve heard, but during active treatment, washing more often is key. Aim for every 2-3 days. This prevents oil and dead skin cell buildup.
Once the symptoms are under control, you can find your new normal washing rhythm. A clean scalp is a healthy scalp, especially when dealing with yeast.
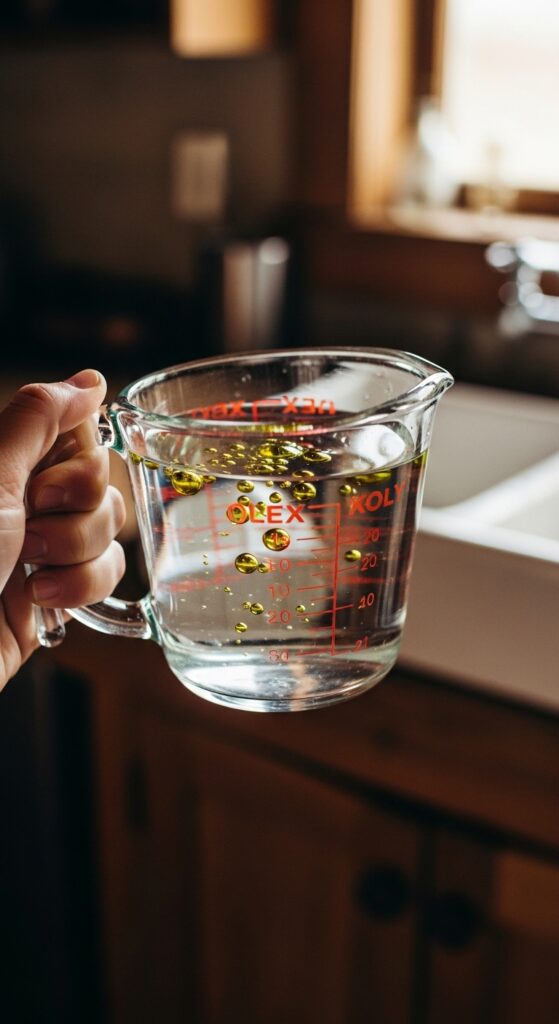
The Tea Tree Rinse DIY Recipe
This is my go-to soothing rinse. Tea tree oil has natural anti-fungal properties. Add 5-10 drops to a cup of cool water.
After your final rinse, pour this mixture slowly over your scalp. Do not rinse it out. Gently towel dry. It feels tingly and fresh!
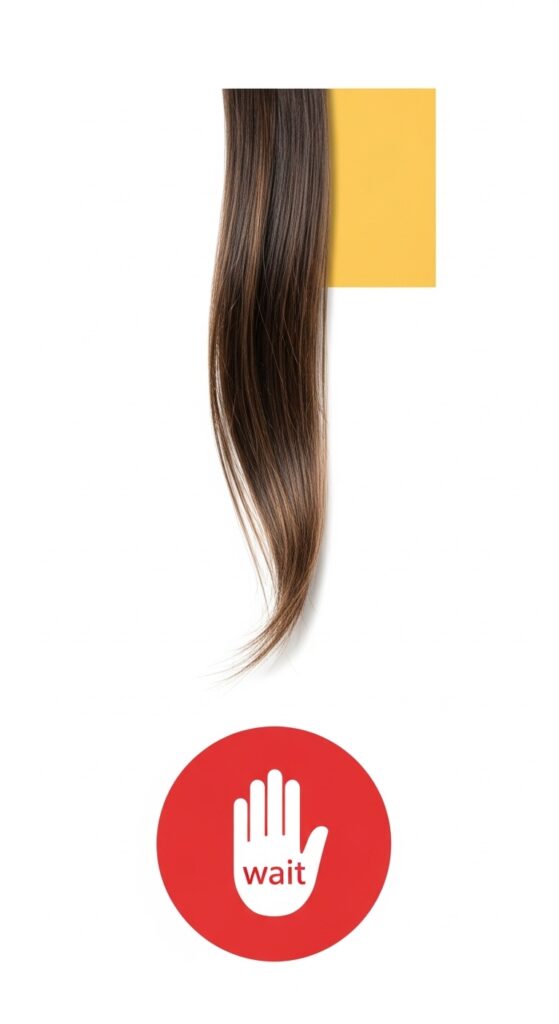
When to See a Dermatologist
If you don’t see improvement after 4 weeks of consistent care, please see a pro. A dermatologist can give you a precise diagnosis and stronger prescription treatments if needed.
There’s no shame in getting expert help. It’s the fastest way to get back on track for your new install or that chic quiet luxury bob.

Prepping for Braids or Weaves
Your scalp should be completely symptom-free for at least 1-2 weeks before your appointment. Communicate with your stylist! Tell them you’ve had scalp sensitivity.
Ask them to avoid braiding too tightly. That initial tension should be firm, not painful. Your comfort is non-negotiable.
Prepping for a Major Cut (Like the Asymmetrical Lob)
A healthy scalp means your hair will lie better and look shinier from the root. Schedule a clarifying treatment at the salon before your cut.
This ensures your stylist is working on the cleanest, healthiest canvas. Imagine that sharp, glitchy glam hair look starting with a flawless base.
Can You Color & Treat at the Same Time?
I recommend waiting. Chemical processes can further irritate a sensitive scalp. Get the yeast fully under control first.
Then, when you’re ready for color, do a patch test 48 hours before. Protect your hard-earned scalp health!
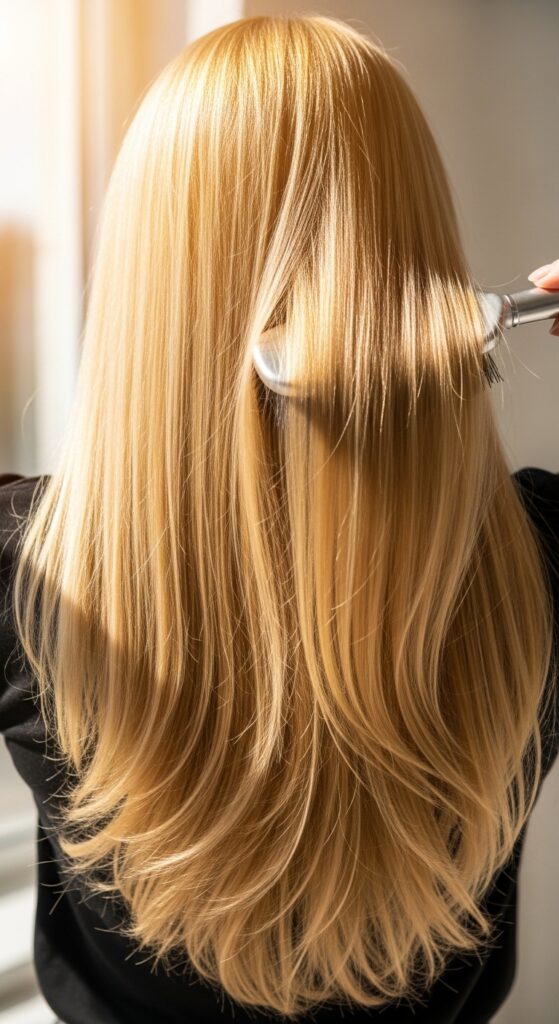
The “Old Money Hair” Secret is Scalp Health
That coveted, thick, shiny “old money hair” look isn’t just genetics. It’s impeccable scalp care. Healthy follicles produce the best possible hair.
Think of this treatment phase as an investment. You’re building the foundation for hair that looks naturally abundant and expensive, whether it’s a hime cut or long waves.
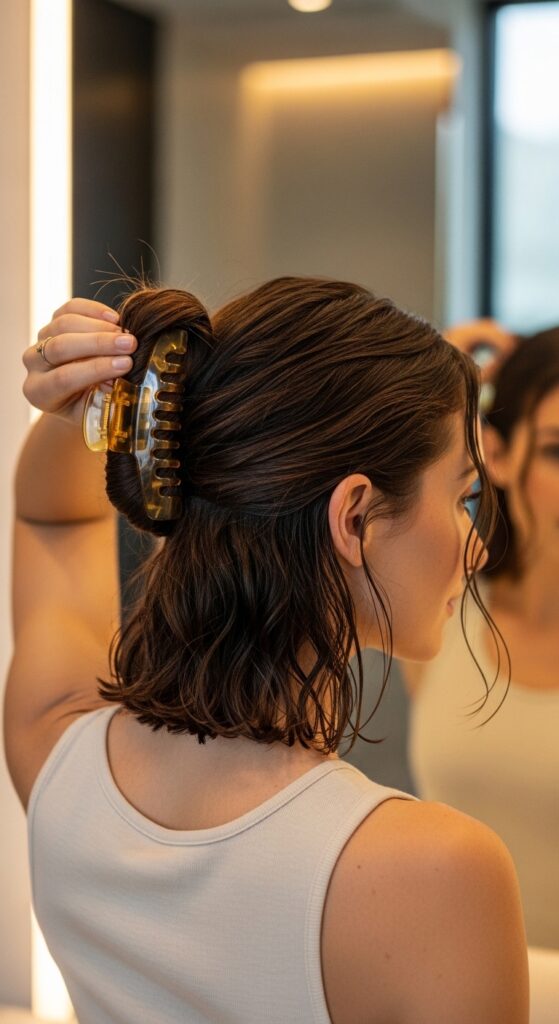
Styling During the Healing Phase
Keep it simple. Air-dry when possible. Use heat tools on low settings and always with a heat protectant. Avoid heavy gels and mousses directly on the scalp.
This is a great time to experiment with soft headbands, claw clips, and low ponytails. Let your scalp breathe while still looking put-together.
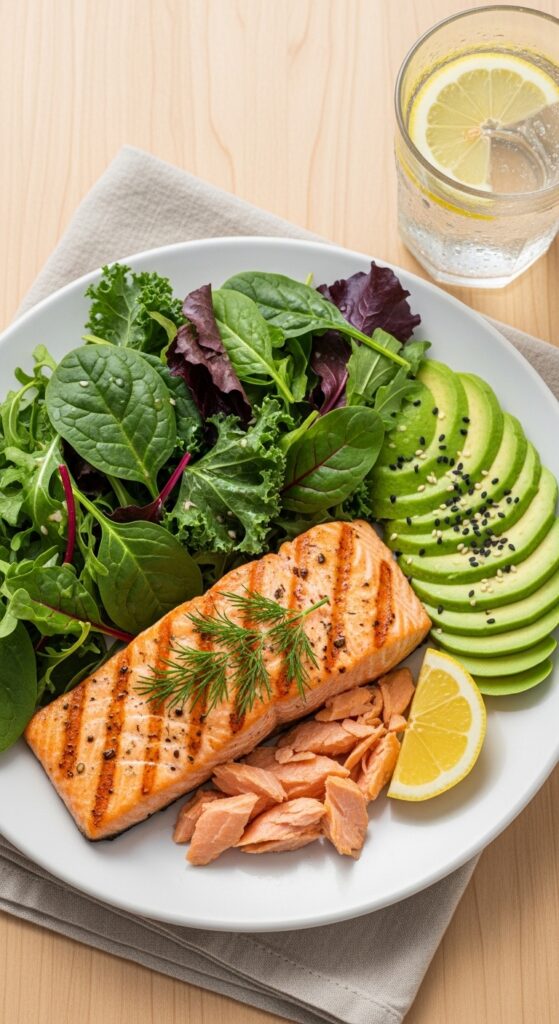
Diet & Hydration’s Role
What you eat matters. Yeast loves sugar. Try reducing refined sugars and processed carbs. Focus on probiotics (yogurt, kefir), zinc (nuts, seeds), and omega-3s (salmon).
Drink plenty of water. Hydration supports your skin’s natural barrier function from the inside out.
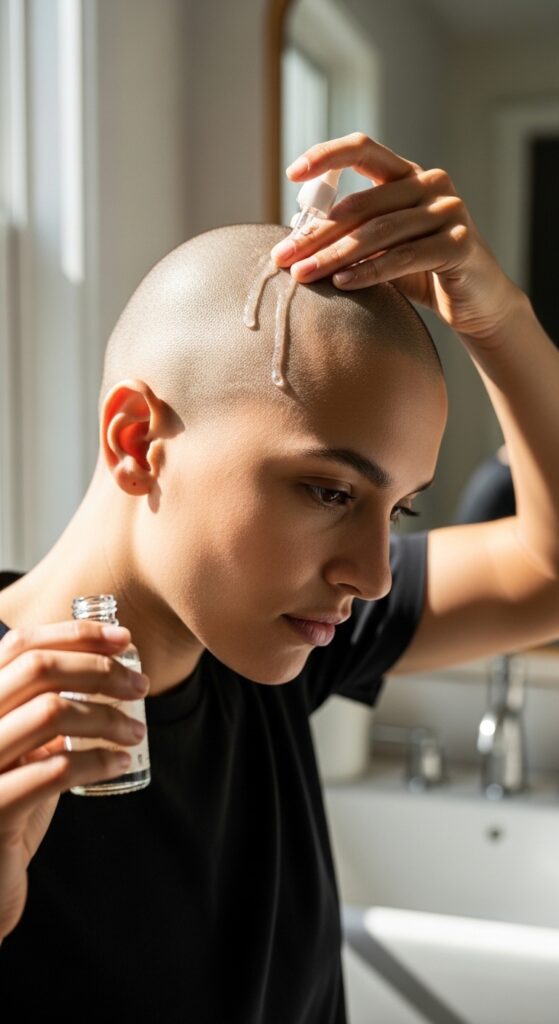
Mythbuster: Will Shaving My Head Help?
Not necessarily. While it increases airflow, the yeast is on the skin, not the hair shaft. You’d still need to treat the skin itself.
Only consider this if you genuinely want the style itself, like a bold undercut for your vampire haircut aesthetic, not just as a cure.
Planning Your Dream Style Post-Recovery
This is the fun part! Once you’re clear, the world is yours. Book that consultation for the asymmetrical lob you’ve been eyeing.
Start gathering inspiration for romantic goth hairstyles or that perfect glitchy glam hair look. Your healthy scalp will carry any style with ease.

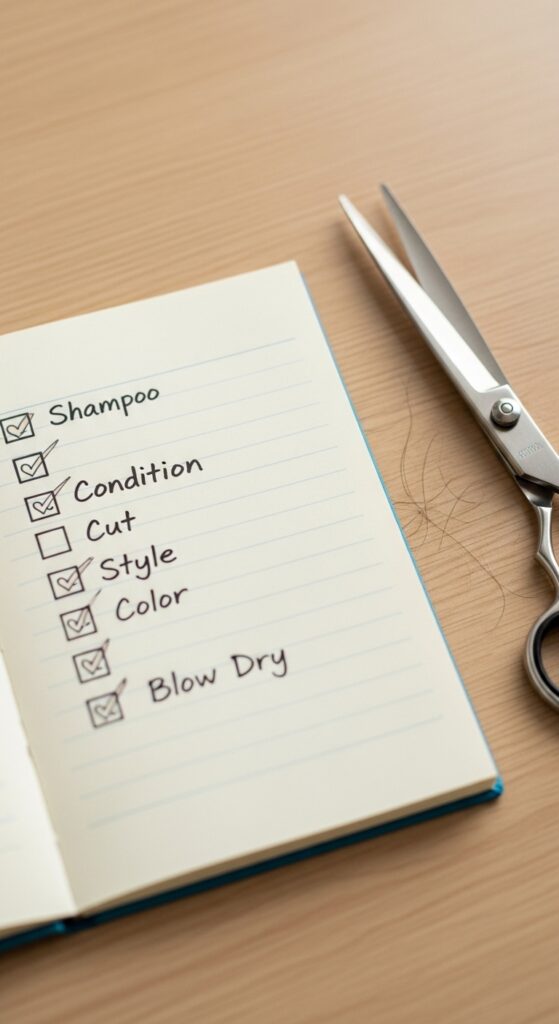
Your Pre-Installation Checklist
- Symptom-Free: No itch or flakes for 7+ days.
- Clean Scalp: Wash 24 hours before your appointment.
- Communication: Brief your stylist on your history.
- Protective Style: Have a plan for keeping your install moisturized without scalp oils.
Maintaining a Balanced Scalp Long-Term
Rotate your shampoos. Use a medicated one once a week for maintenance, and gentle ones in between. Continue to avoid heavy products directly on the scalp.
Listen to your body. A slight itch is your cue to do a clarifying wash. Consistency is easier than starting over!
You’ve Got This!
I know scalp issues can feel frustrating and isolating, but you’re not alone. Taking these steps shows incredible love and care for yourself.
It’s the ultimate form of self-care that paves the way for all the fun, expressive hairstyles you love. Healthy hair truly starts from the ground up.
So, that’s the game plan, friend. It might seem like a lot of steps, but really, it’s about being consistent and kind to your scalp. Think of it as pressing the reset button.
Once you’re through this, you’ll have the knowledge and the healthy foundation to try any style you want with total confidence. No more hesitation, just amazing hair days ahead.
Did you find this guide helpful? Save this post to Pinterest to keep these tips handy for your next hair journey! And tell me in the comments—what’s the first hairstyle you’re planning once your scalp is perfectly happy?
Xoxo, Hailey & Team