Claw Clips, Sorted: Easy Clip Hairstyles for Work, Weekends and Second-Day Hair
Claw clips have come back, and this time they are staying. What was once a 90s bathroom-drawer staple is now the easiest updo in most women’s routines — faster than a bun, kinder than a hair tie, and capable of looking polished or deliberately undone depending on how you twist it. The reason is simple: a claw clip does in ninety seconds what used to take pins, spray, and patience.
This guide sorts claw clip hairstyles properly: 34 styles organised by hair type, length, and occasion, from the classic French twist to the second-day hair rescue, plus eight short guides on choosing a clip that fits, stopping it from slipping, and wearing one to work or a wedding. Each style notes who it suits, what usually goes wrong, and how long it takes — so you can find the one that matches your hair, your day, and the clip you already own.
How to Pick the Right Claw Clip Size (and Stop Buying the Wrong One)
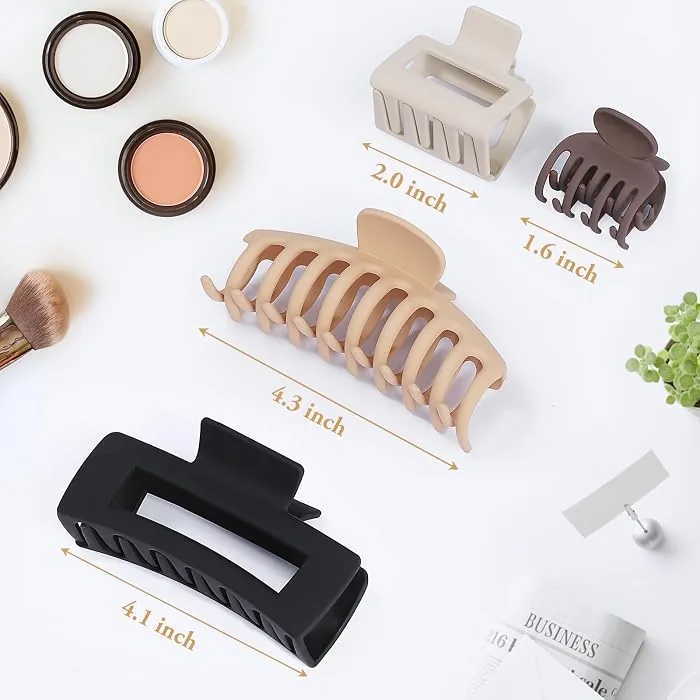
Clip size is the single biggest reason a claw clip either works beautifully or falls out by lunchtime. As a rough guide, a small clip (around 2 inches) suits fine or short hair, a medium clip (3 to 4 inches) is the everyday workhorse for most medium-length hair, and a large clip (4.5 inches and up) is what thick or long hair actually needs. If your clip pops open, slides down, or only grips the outer layer while the inside slips free, it is almost always too small.
Before you buy, do the fist test: gather your hair as if you were going to clip it up, and wrap your fingers around the bundle. If your thumb and fingers overlap easily, a medium clip will do; if they barely meet, go large. Flat clips grip better on straight, silky hair, while curved, banana-shaped clips follow the curve of the head and hold thick hair more securely. Buying one size up is usually cheaper than buying three clips that do not work.
Claw Clips for Your Hair Type: What Actually Holds
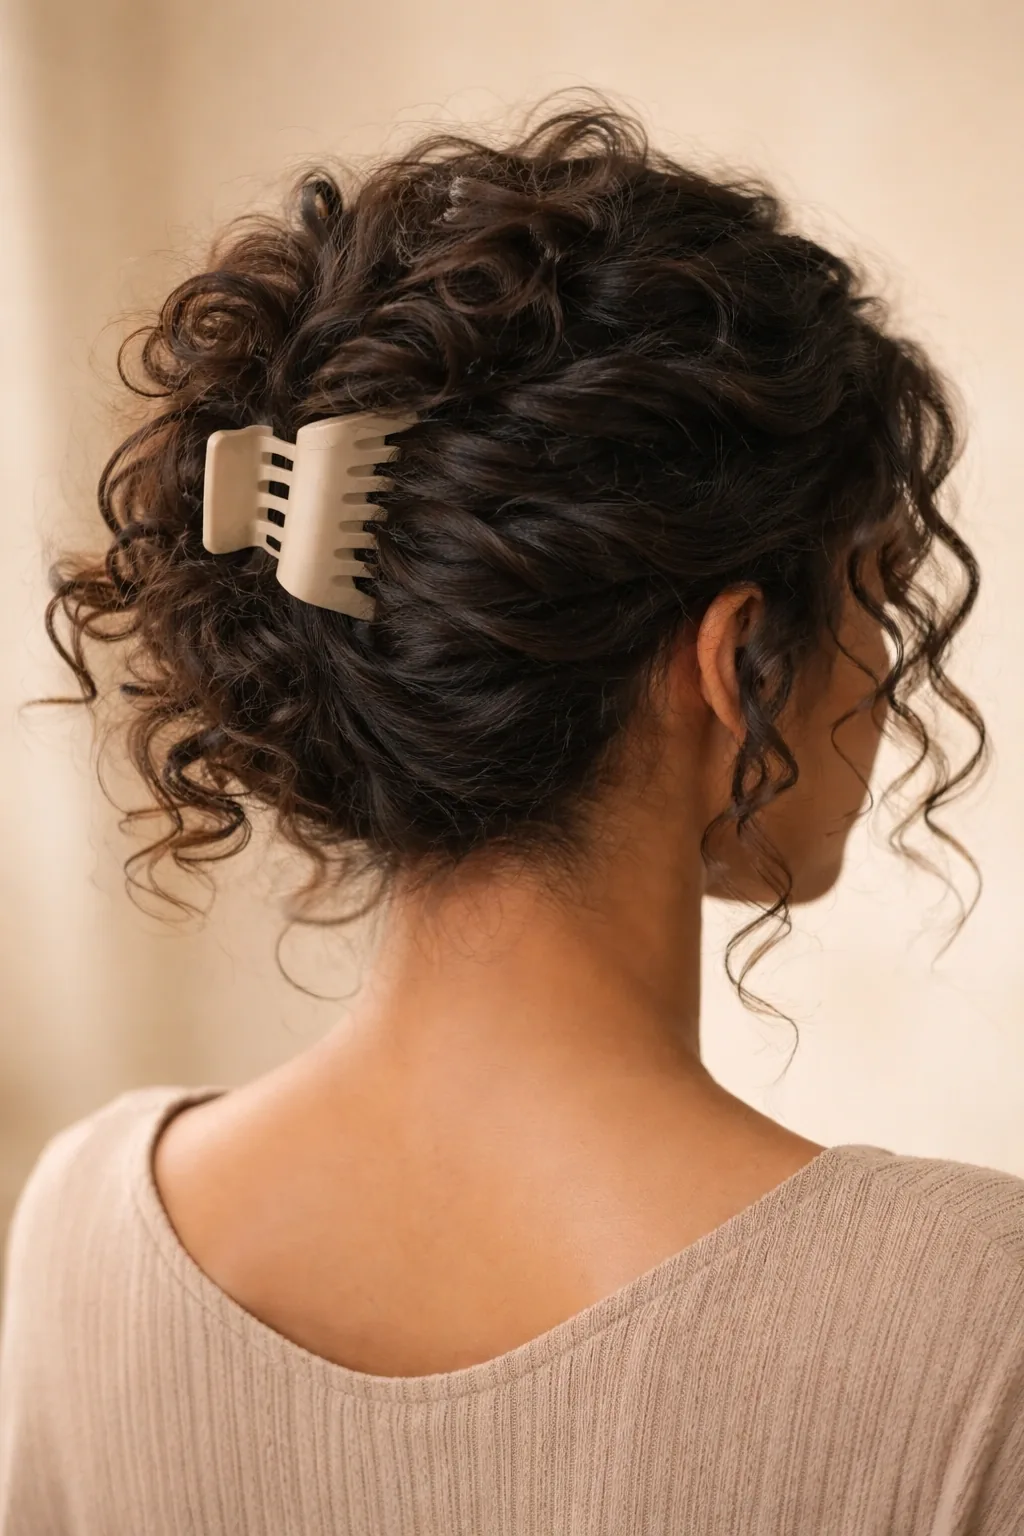
Fine hair and claw clips have a complicated relationship: the clip is gentle, which is good, but fine hair is slippery, which is not. The fix is texture, not force. A little dry shampoo or texturising spray at the roots before you clip gives the teeth something to hold, and a clip with inner silicone grip or closely spaced teeth will out-perform a smooth, wide-toothed one. Avoid very large, heavy clips on fine hair — the weight pulls the style down faster than the teeth can hold it.
Thick hair needs the opposite approach: a large, strong clip with long teeth and a sturdy spring, used on hair that is twisted firmly first. Curly hair grips clips naturally, so a medium clip is often enough, but clip through a twist rather than a flat bundle so the curls do not get crushed. Wavy hair sits in the middle and is the most forgiving of all — almost any medium clip will work, which is why wavy-haired women tend to become the most loyal claw clip fans.
The 60-Second Claw Clip Twist, Step by Step
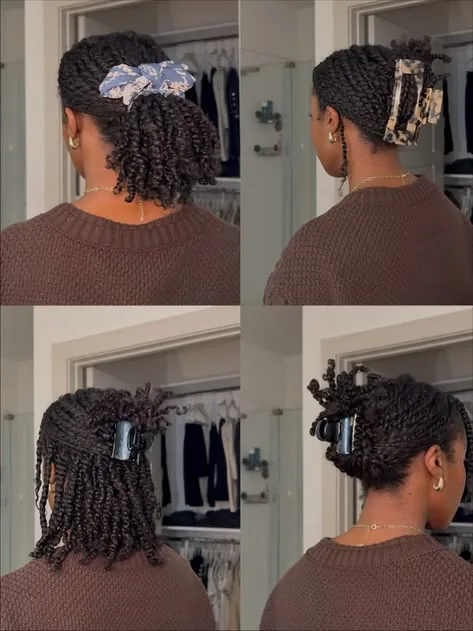
Gather all your hair at the back of your head as if you were making a low ponytail, but do not tie it. Twist the whole length upward in one direction until it starts to fold against itself, then keep twisting until the bundle is tight and upright along the back of your head. Fold the ends over the top of the twist, tuck them under if you can, and open the claw clip over the whole twist, teeth pointing down, so it grips the twist and the hair underneath it.
The trick most people miss is the second hand: while one hand holds the twist, the other should smooth the hair at the crown and pull out two small face-framing pieces before the clip goes on, not after. Once the clip is in, tug gently at the crown for volume and check the back in a mirror — a twist that looks neat from the front and lumpy from the back just needs the ends tucked in more firmly. With practice this genuinely takes under a minute.
Claw Clip or Hair Tie? When Each One Wins
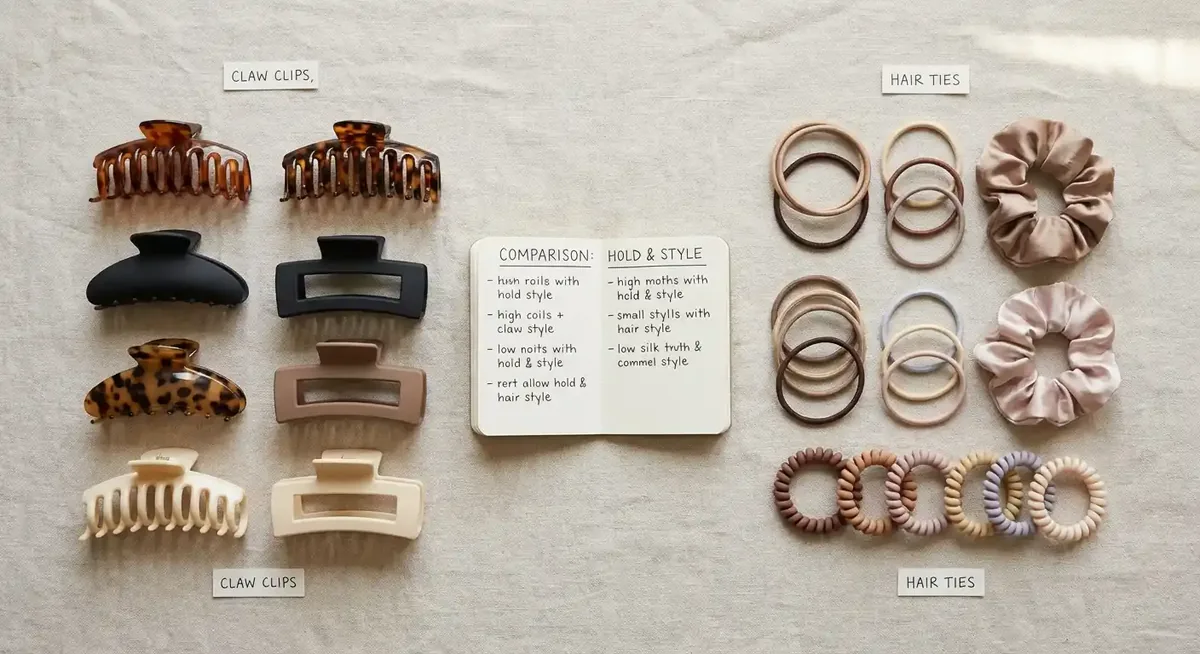
A claw clip wins on hair health. It distributes pressure across a wide area, does not crease the hair the way an elastic does, and comes out without pulling, which makes it kinder for hair that breaks easily or for anyone who wears their hair up every day. It is also faster to redo: unclip, re-twist, clip again, with no elastic to lose and no dent to hide. For second-day hair, a clip hides greasy roots better than a tie because the twist itself covers the parting.
A hair tie still wins for workouts, swimming, and any situation where your hair must not move at all — a clip can be knocked loose, and it will not survive a headstand. Ties also win for very short hair that cannot form a twist. The practical answer is to use both: clips for desk days, errands, dinners and lazy weekends, and a tie for the gym, the pool, and windy days when a clip would need constant checking.
1. The Classic French Twist with a Large Claw Clip
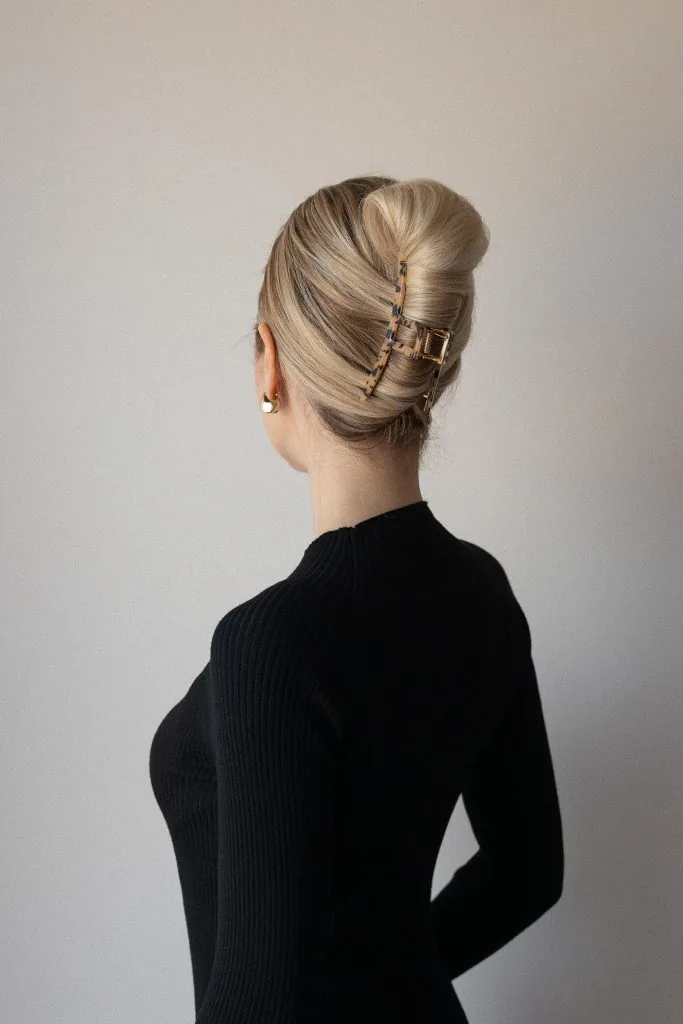
The French twist is the style that made the claw clip famous, and it still looks more polished than the effort it takes. Gather your hair low, twist it upward along the back of your head, fold the ends over, and secure the whole roll with a large clip. The result is an elegant, vertical updo that works for the office, a dinner, or a wedding guest look — no pins, no hairspray, no fuss.
Best for: medium to long hair, and anyone who wants a smart look in under two minutes. Time and cost: about 90 seconds once you have practised, and one large clip, which costs less than a coffee. Common mistake: twisting too loosely, so the roll sags by midday — twist until the bundle feels firm, then clip it while it is still under tension. Quick verdict: the most useful single clip style you can learn.
2. The Half-Up Claw Clip Twist
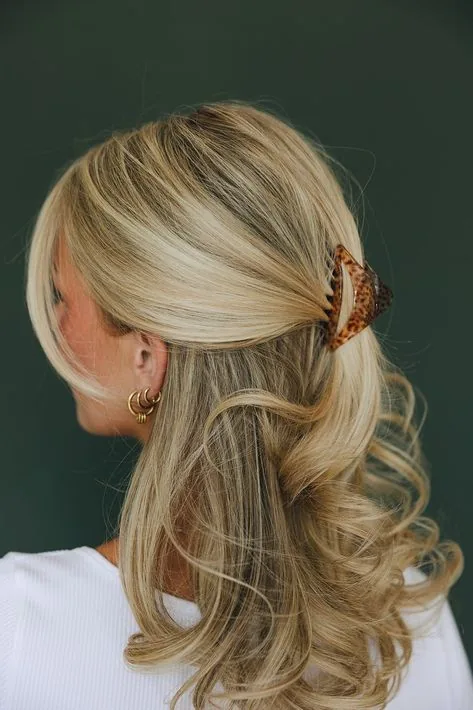
Take the top half of your hair, twist it back from the temples, and clip it at the crown while the rest falls loose. It keeps hair out of your face without hiding your length, which is why it is the default style for women who like their hair down but are tired of pushing it behind their ears all day. It works on almost every length from shoulder-length up.
How to style it: leave the bottom half with its natural texture — waves, curls, or straight ends all suit it — and pull out two thin pieces at the front for softness. Pros: takes thirty seconds, survives a full workday, and flatters most face shapes. Cons: on very thick hair the top section can feel heavy by evening; use a medium clip rather than a small one. A good everyday default.
3. A Low Twisted Bun Held by a Claw Clip
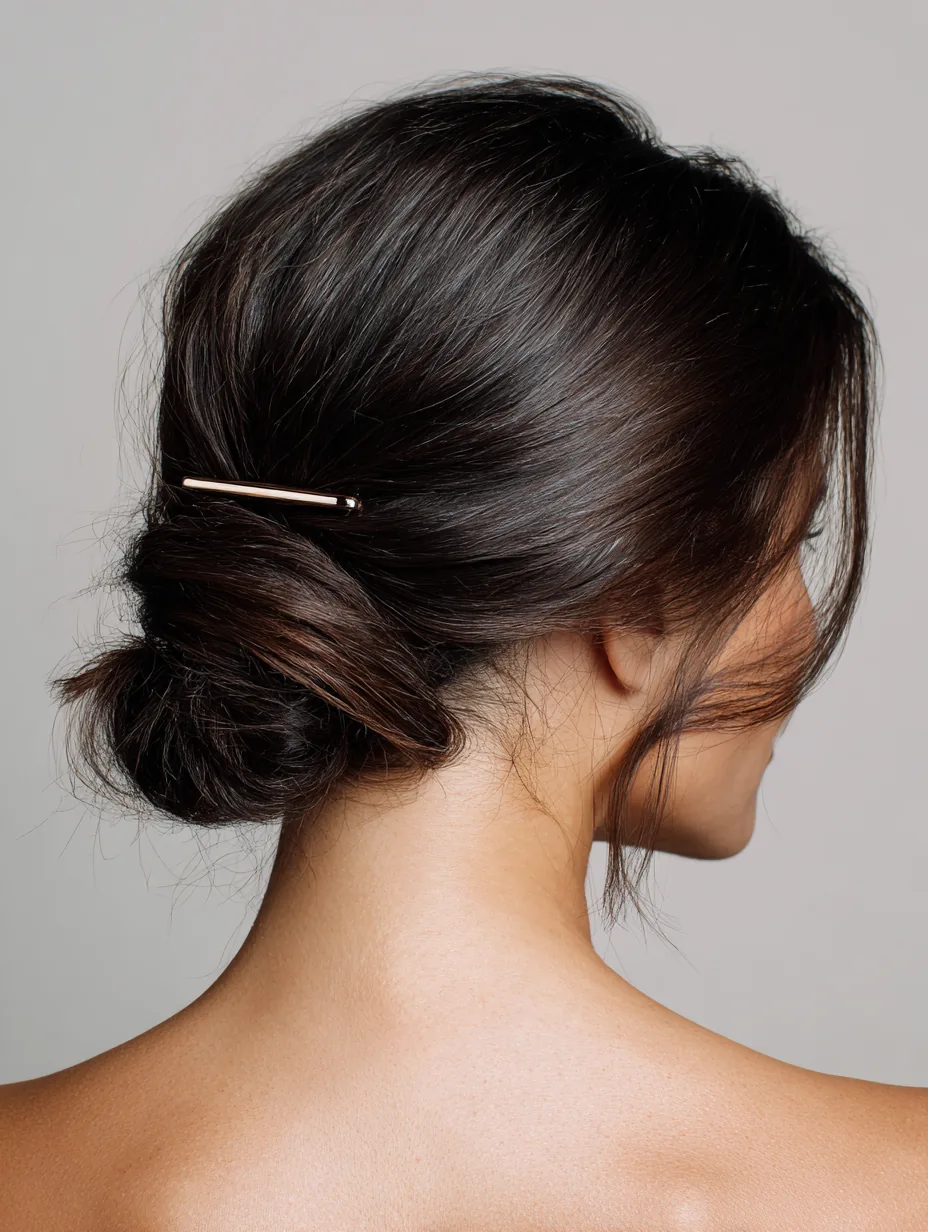
A low twisted bun sits at the nape and reads calm, tidy and grown-up. Twist the hair into a low loop, fold it up against the head, and clip it in place so the teeth grip the fold and the hair beneath. Unlike a bun held by an elastic, it has no visible tie and no ponytail dent when you take it down later, which makes it a kind favourite for women who re-style their hair mid-day.
Who should avoid it: anyone with very short layers at the nape, which will poke out of the fold no matter how firmly you clip. For everyone else, it is a reliable choice for work meetings, interviews, and days when you want to look put-together without trying. Maintenance is minimal — a quick re-twist at lunch is all it needs — and it pairs well with earrings and a collared shirt.
4. The High Claw Clip Ponytail
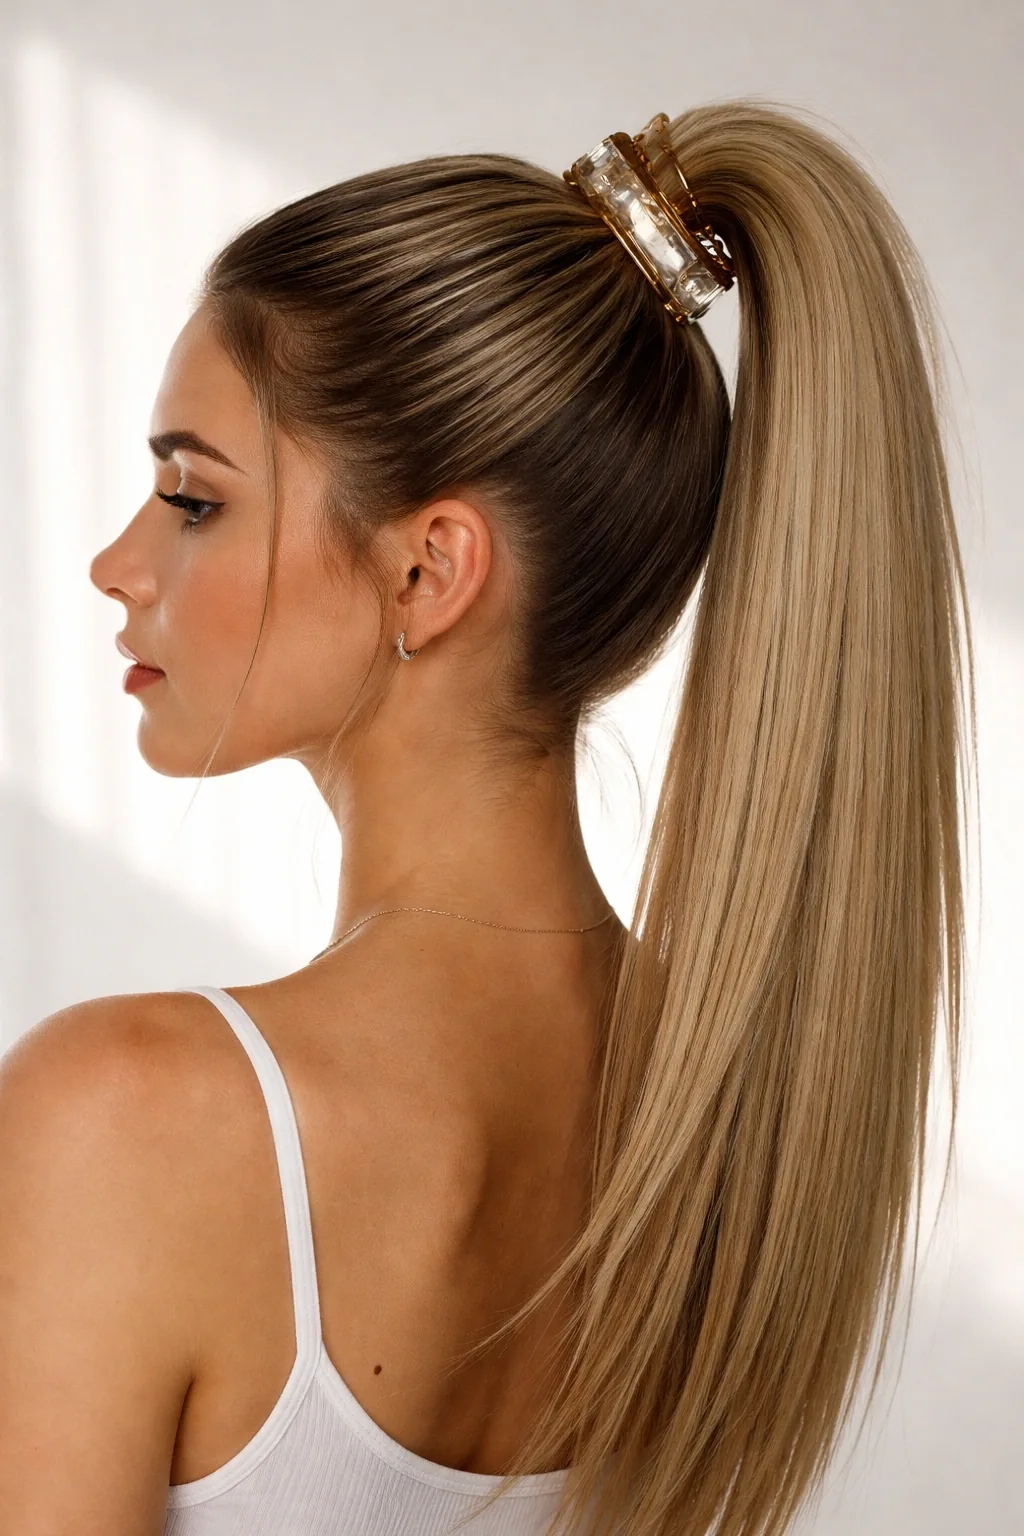
Instead of an elastic, gather your hair high, twist the base once, and clamp a medium clip over the twist. The ponytail falls from the clip with more lift at the crown than a tied ponytail, and there is no elastic line cutting across the base. It is a small change that makes a familiar style look noticeably fresher, and it is gentler on the hairline.
Common mistakes: using a clip that is too small, so the ponytail slowly slides down, and clipping too close to the ends of the twist, which lets the whole thing swing loose. Clip through the thickest part of the twist, teeth pointing down toward the nape. Best for: casual days, running errands, and anyone whose hairline is sensitive to tight elastics. It holds well for four to six hours.
5. The Messy Bun, Secured with a Claw Clip
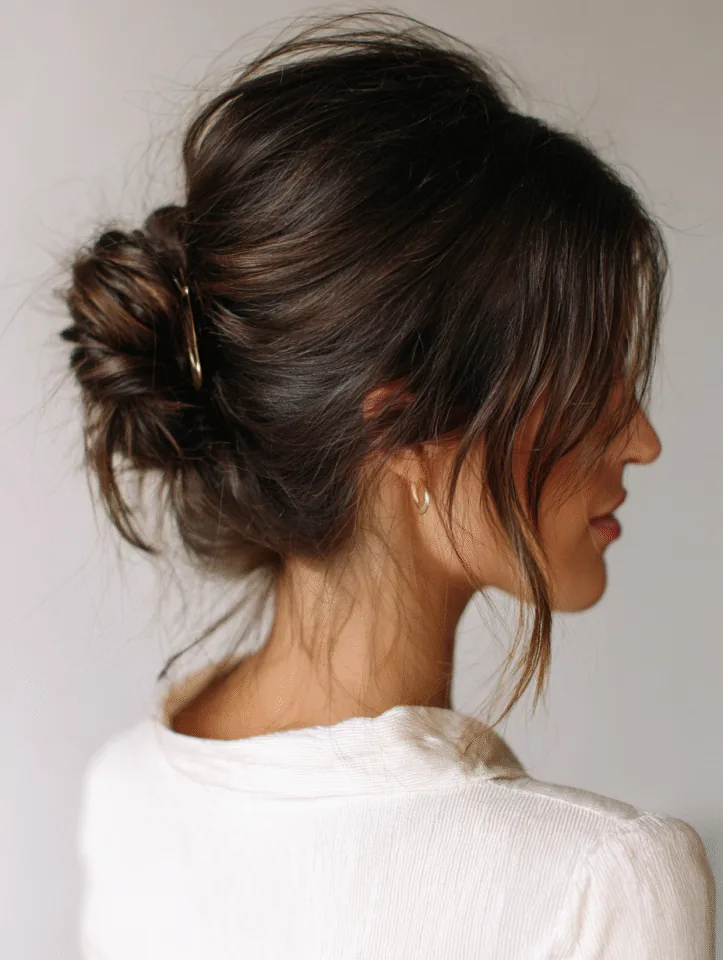
The messy bun and the claw clip were made for each other. Gather hair loosely, twist it into a soft bun, and clip it rather than tying it — the clip holds the bun while leaving the edges deliberately undone, which is the whole point of a messy bun. Pull out a few strands at the front and loosen the crown slightly, and you have a style that looks relaxed on purpose rather than unfinished.
Pros: the fastest updo here, genuinely doable in under a minute, and it hides second-day texture beautifully. Cons: it is the least secure style on this list in wind, so it suits indoor days and calm weather. Cost: one medium clip, nothing else. Quick verdict: if you only learn one clip style for lazy weekends, make it this one — it forgives every mistake, including being done in a car mirror.
6. A Claw Clip with Loose Curls
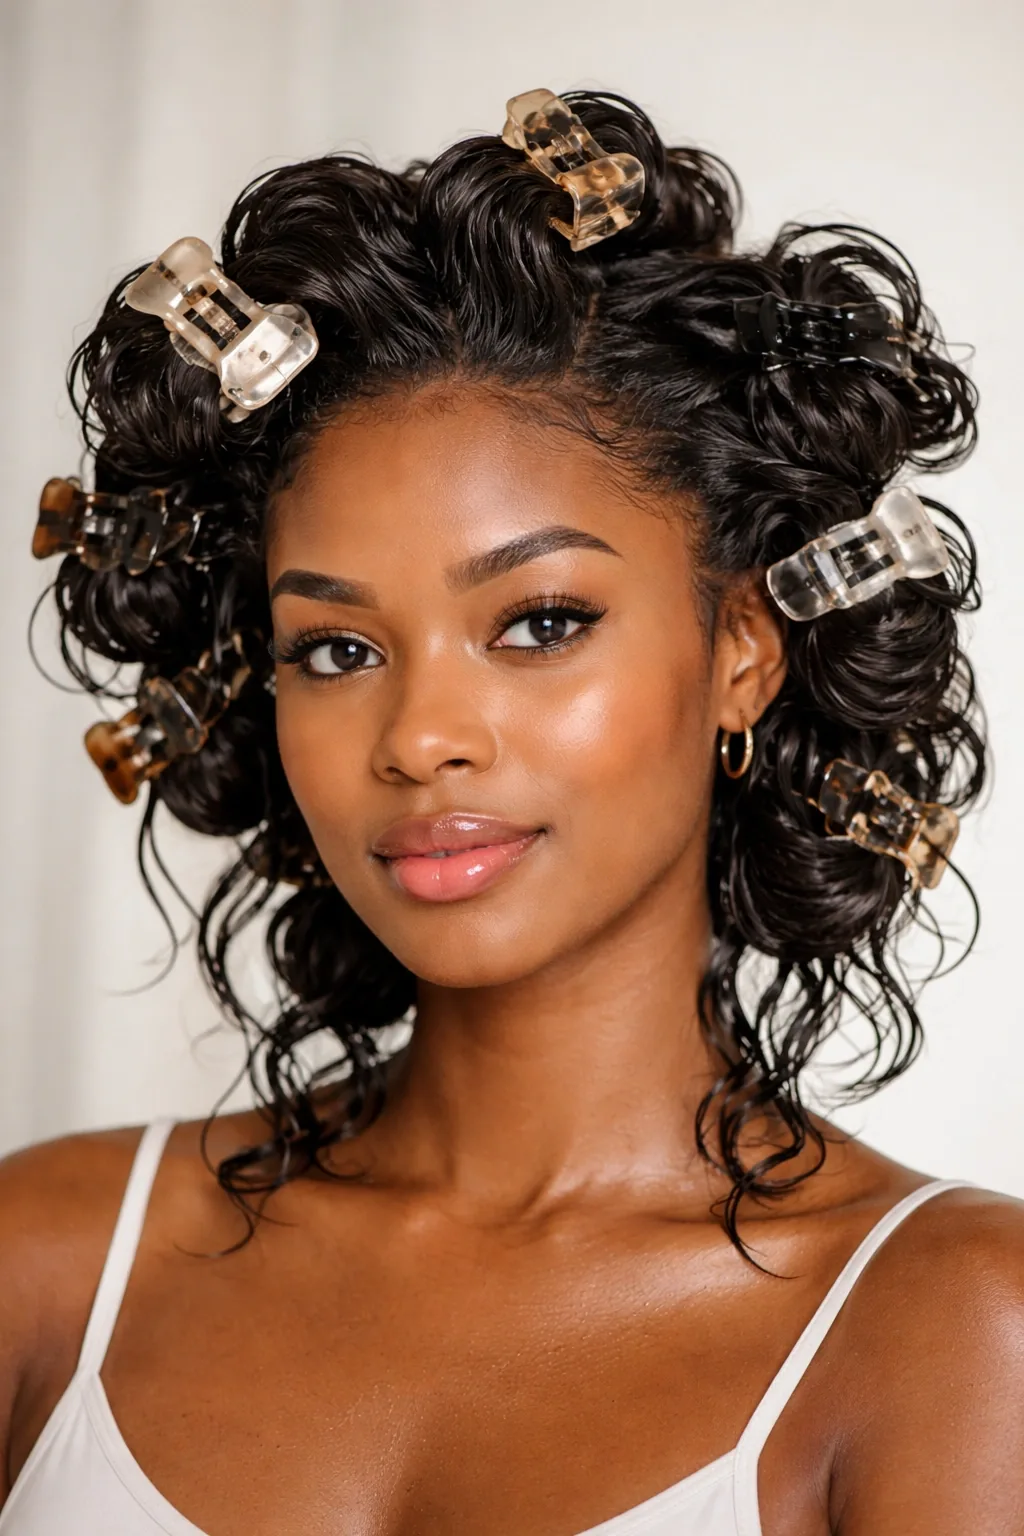
Loose curls and a claw clip are a good match because the clip does not flatten the curl pattern the way a tight tie does. Twist only the back section up and clip it, leaving the curled lengths to fall around the shoulders and frame the face. The twist holds the volume at the crown while the curls keep their shape and bounce below it.
How to style it: curl the hair first, let it cool completely, and only then twist and clip — clipping warm curls will pull them straight at the roots. Best for: date nights, parties, and anyone with naturally curly or wavy hair who wants an updo that still shows off their texture. Maintenance is low: if a curl falls out of the twist, tuck it back in and re-clip rather than starting over.
7. The Sleek Low Claw Clip Twist
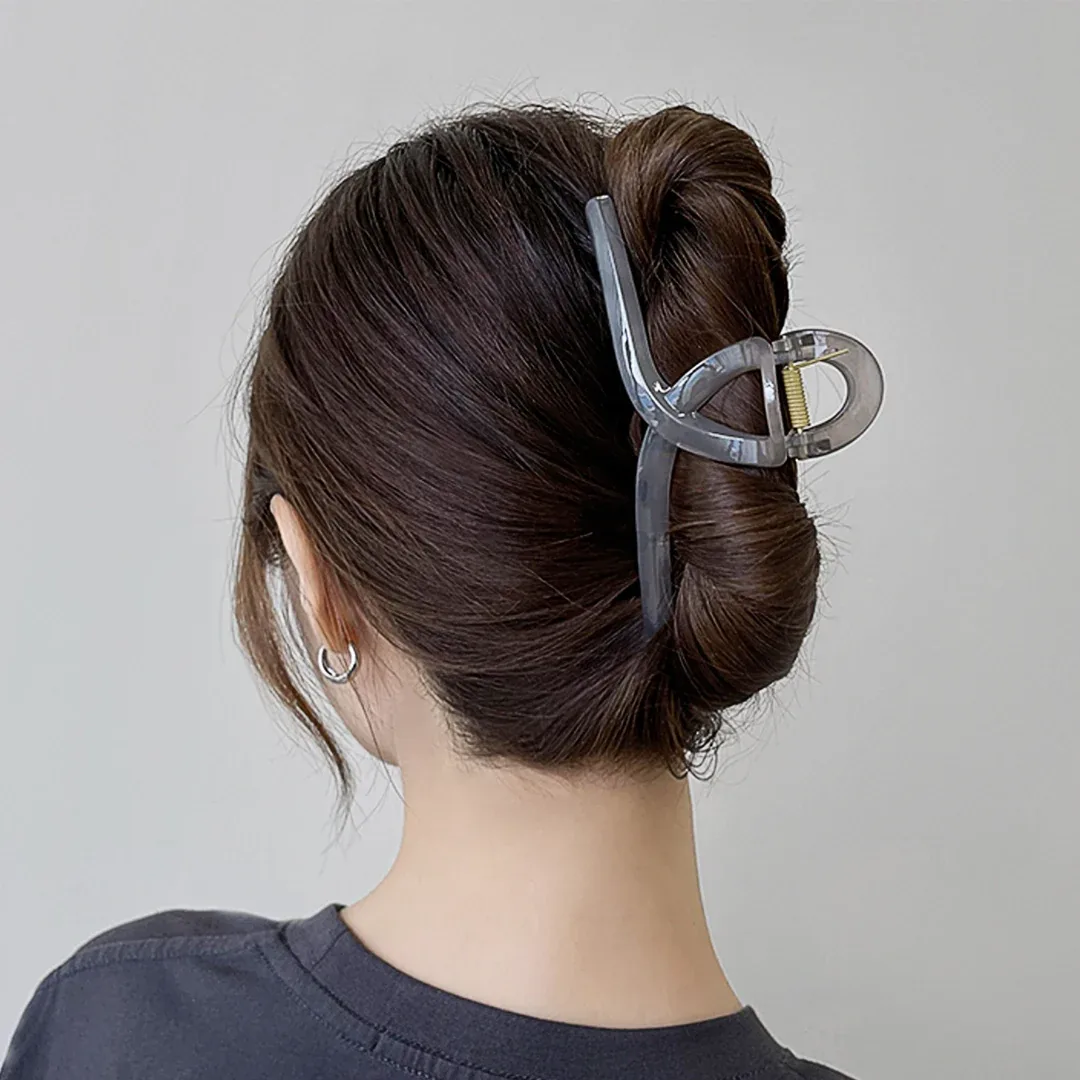
This is the minimalist version of the classic twist: hair smoothed back with a little gel or cream, parted cleanly or brushed straight back, twisted low, and clipped with a plain, matte clip. There are no loose pieces, no volume at the crown, and no decoration — just a smooth, architectural shape. It looks expensive precisely because there is nothing extra in it.
Who it suits best: straight or slightly wavy hair, and anyone going to a formal event, a job interview, or a smart dinner. Who should avoid it: anyone whose hair is very layered at the front, since short pieces will escape the sleek finish within an hour. Cost and time: about three minutes and a dab of styling cream. Quick verdict: the most elegant clip style in this guide, and the one most likely to be photographed.
8. A Claw Clip at the End of a French Braid
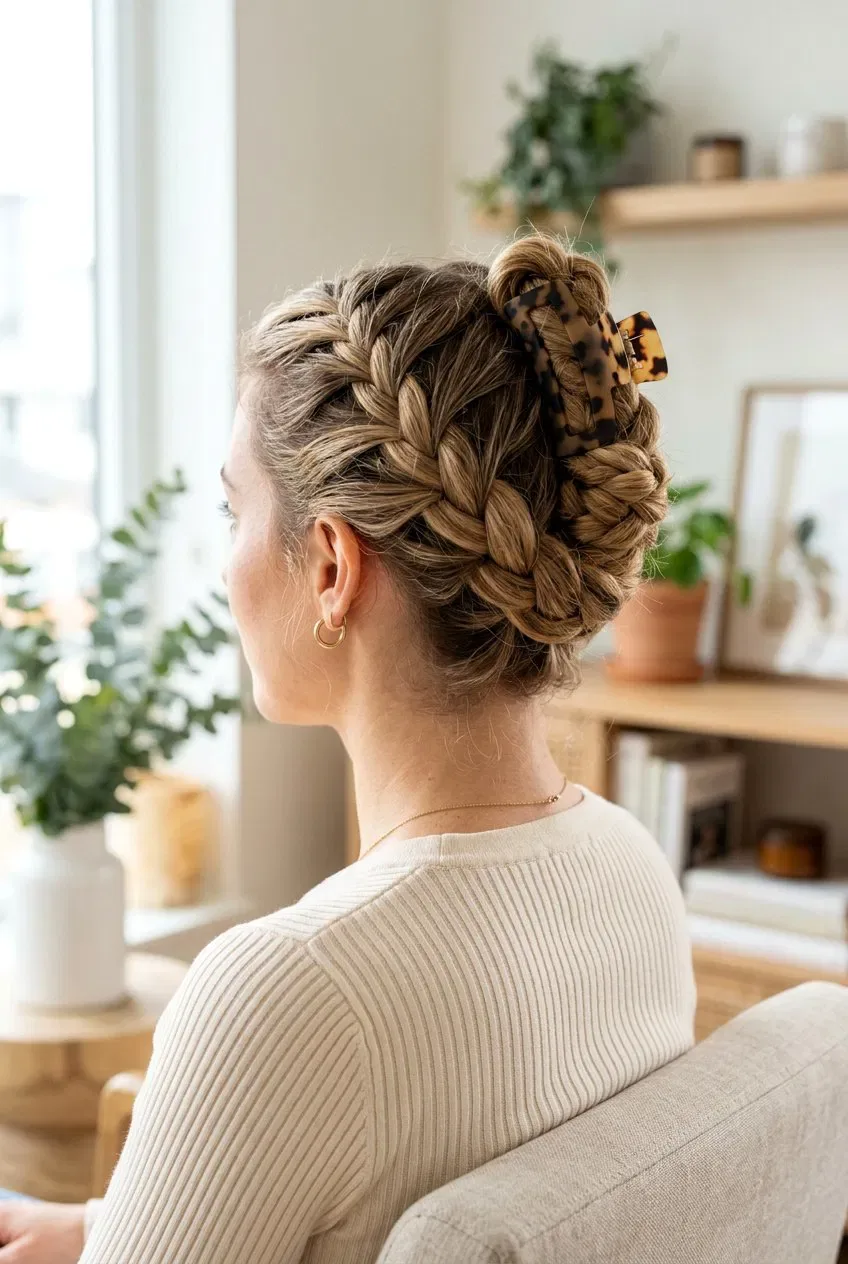
Braid your hair in a French or Dutch braid down to the nape, then instead of tying the ends, twist the tail up and clip it. The braid gives the style structure and grip, the clip gives it a finish that looks intentional rather than improvised, and the whole thing stays put far longer than a braid finished with an elastic. It is a good choice for long days when you cannot check a mirror.
Pros: very secure, keeps hair fully off the neck, and the braid waves you get when you take it down are a free second style. Cons: it takes longer than the other styles here — allow five minutes if you are not a confident braider. Best for: long hair, hot days, and travel days. A small clip works well here because the braid itself does most of the holding.
9. Two Claw Clips, One Style
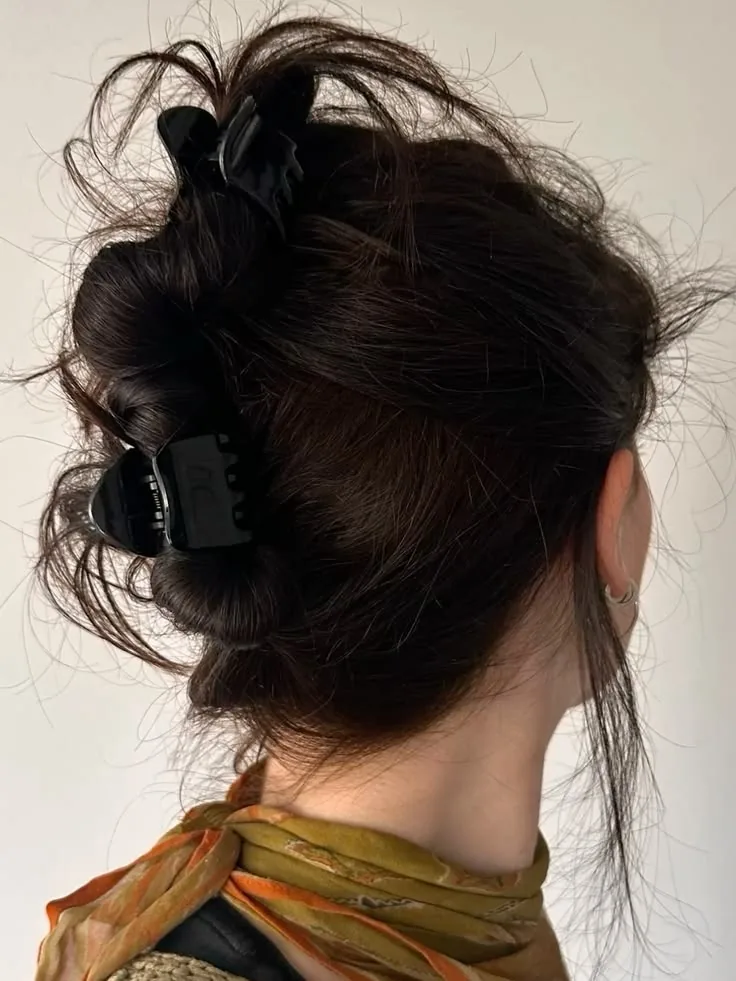
Two small or medium clips, one on each side, can hold more hair more comfortably than one large clip — and they look deliberately styled rather than improvised. Twist the hair into two low twists, or split a single twist down the middle and clip each side separately. The result is symmetrical, secure, and surprisingly good at holding thick hair that defeats a single clip.
How to style it: part the hair in the middle or slightly off-centre, twist each side upward, and clip with the teeth pointing toward each other. Common mistake: placing the clips too far apart, which leaves a gap at the back — keep them close enough to overlap slightly. Best for: thick hair, long hair, and anyone whose single clip always gives up by 3 p.m. It also photographs well from behind.
10. The Claw Clip Top Knot
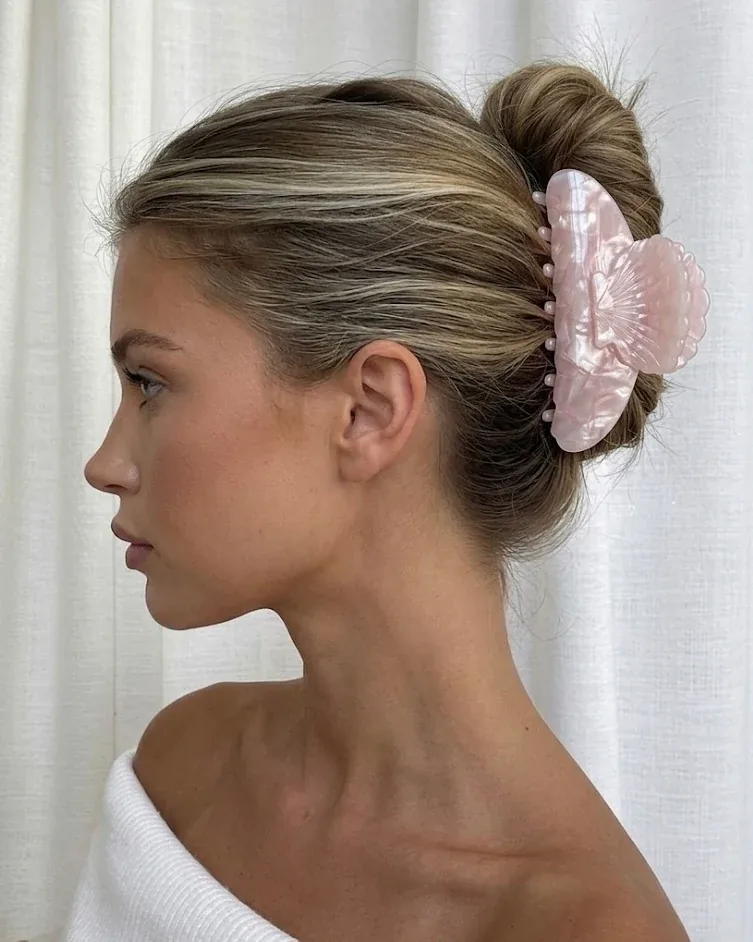
A top knot with a claw clip is softer than one held by an elastic: gather hair high, twist it into a loose knot, and clip over the base instead of wrapping a tie around it. The clip grips the knot and the hair beneath it, so the knot sits high and full without the pulled-tight feeling a top knot usually brings. Leave the ends slightly loose for a relaxed finish.
Best for: hot days, cleaning the house, and anyone who wants their hair completely off their neck without a headache by evening. Time: about a minute. Who should avoid it: very fine hair, where a high knot can look small and slip — a low twist will hold better. Quick verdict: the comfiest updo in this guide, and the one you will reach for on a Sunday.
11. The Side-Swept Claw Clip
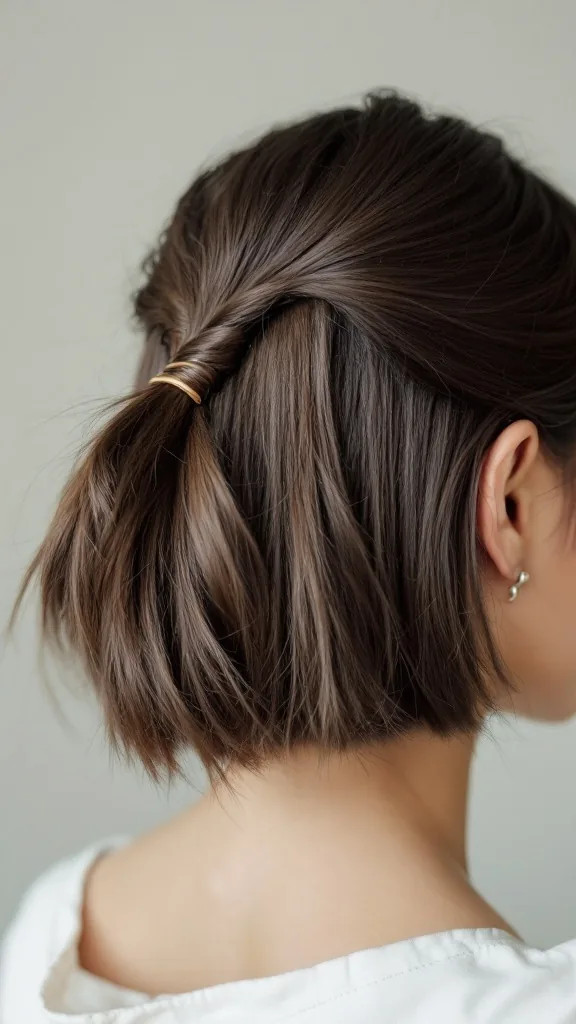
Sweep all your hair to one side, twist it up along the side of your head, and clip it so the bulk sits behind one ear. It is an asymmetrical, slightly glamorous look that shows off earrings and a neckline, and it is much easier than it looks — the side placement actually makes the twist easier to hold while you clip, because you can see what you are doing in the mirror.
Pros: flatters most face shapes, works well with wavy or curly hair, and looks dressed up with almost no effort. Cons: it can feel unbalanced if you are not used to the weight on one side, and it is not the best choice for a windy day. Best for: evenings out, parties, and photos. Use a medium clip with strong teeth, since the twist sits at an angle and gravity pulls at it.
12. A Claw Clip with Face-Framing Layers
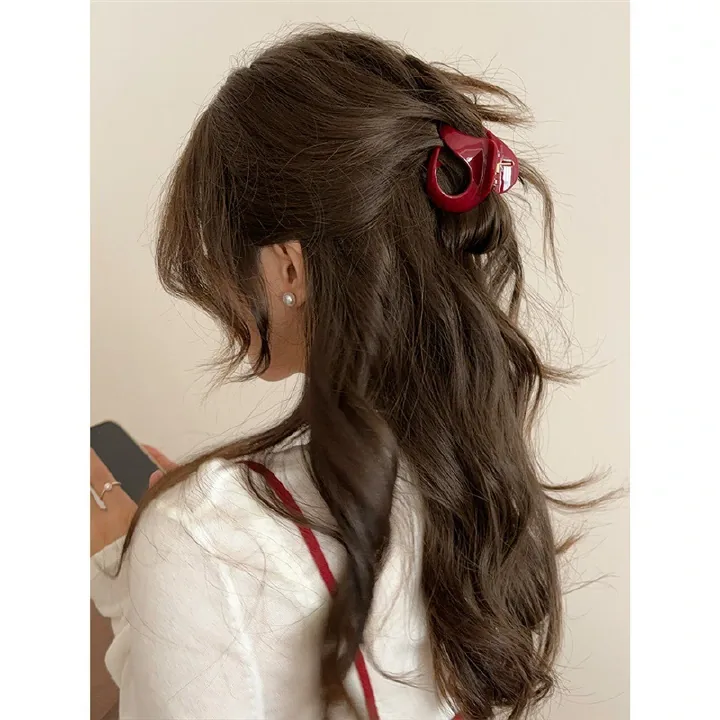
Face-framing layers are what stop a clip updo looking severe. Clip the bulk of the hair up and let the shorter front layers fall free around the cheeks and jawline. The layers soften the whole style, draw attention to the face, and make even a quick twist look like you thought about it — which, to be fair, you did, for about forty seconds.
How to style it: clip first, then arrange the front pieces with your fingers, curling them lightly if they are straight. If your layers are very short they will escape within an hour; a light mist of flexible-hold spray on those pieces only will keep them in place. Best for: round and square face shapes, where the framing pieces add length to the face. A simple trick with a big payoff.
13. The Voluminous Claw Clip Updo
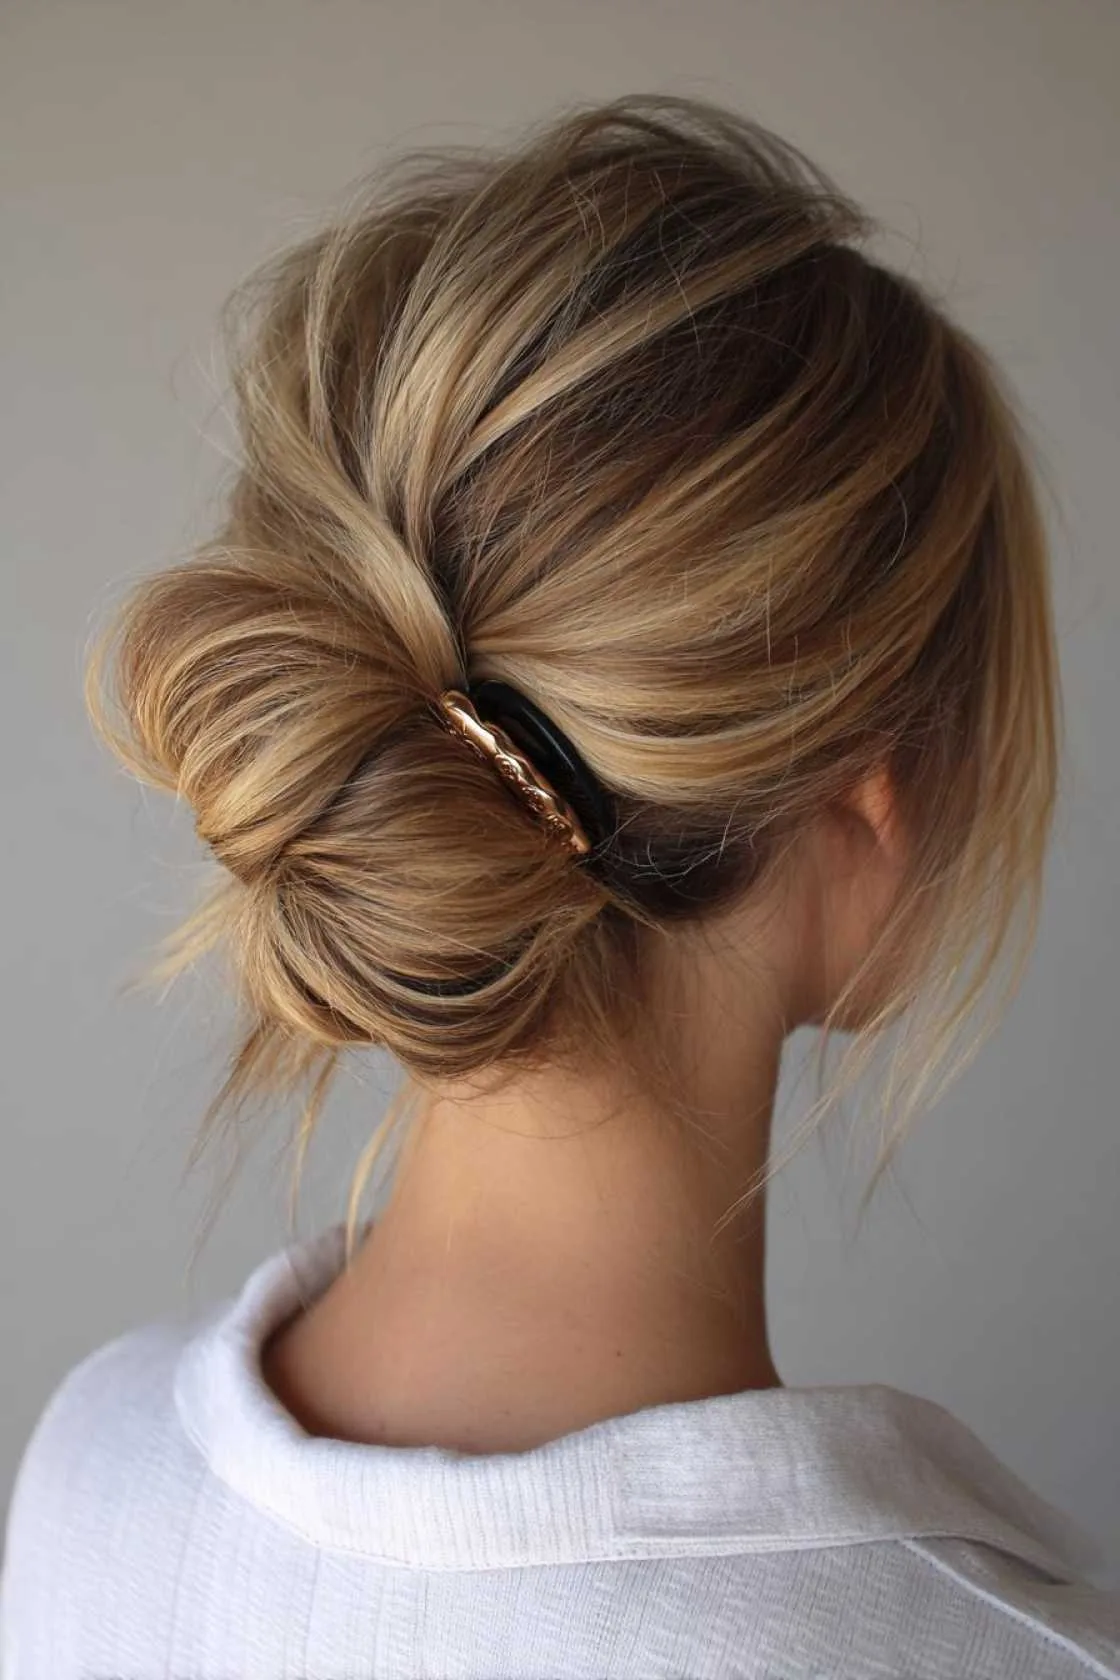
Volume is the difference between a flat clip twist and a proper updo. Before clipping, backcomb the crown lightly, or gather the hair loosely rather than pulling it tight, and let the twist sit proud of the head. Clip it, then gently tug at the hair above the clip with your fingertips until the shape looks full. The result has height, softness, and a silhouette that reads as an updo rather than hair that is simply out of the way.
Common mistakes: over-teasing, which makes the crown look puffy rather than full, and clipping too tightly, which flattens everything you just built. Best for: fine or thin hair that needs help looking full, and for occasions where you want a glamorous finish. Maintenance: check it once after an hour — volume settles, and a gentle re-tug restores it. It pairs beautifully with a bold lip.
14. A Claw Clip for Short Hair
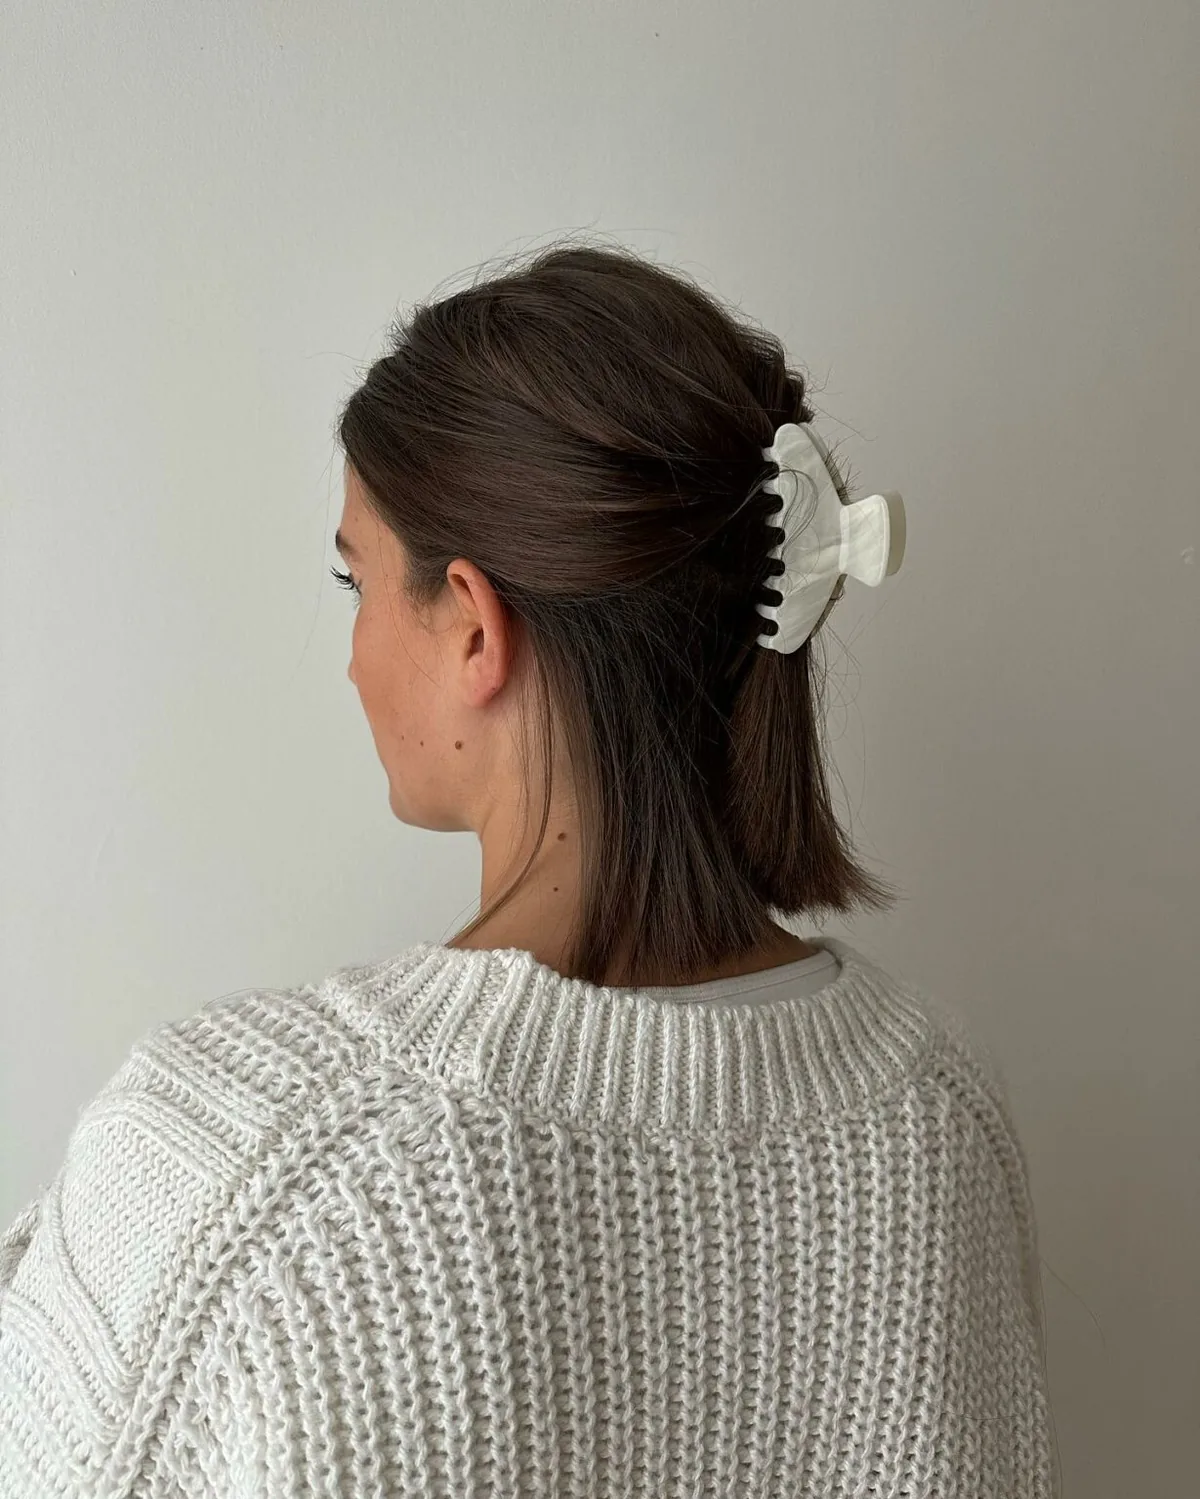
Short hair can wear a claw clip — it just needs a smaller clip and a different technique. Instead of a full twist, gather the top section or the hair at the crown, twist it once, and clip it with a small or mini clip, leaving the rest of the cut to fall naturally. On a pixie or a short bob, a mini clip at the side can hold back the front while the rest of the style stays exactly as cut.
Best for: growing out a pixie, keeping a fringe off the face, and adding a small detail to a short cut. Who should avoid the full-twist version: anyone whose hair is shorter than chin-length, since there simply is not enough length to twist and clip securely. Cost: mini clips are the cheapest clips you can buy, and one lasts for years. A small accessory with an outsized effect on short hair.
15. The Claw Clip Bob
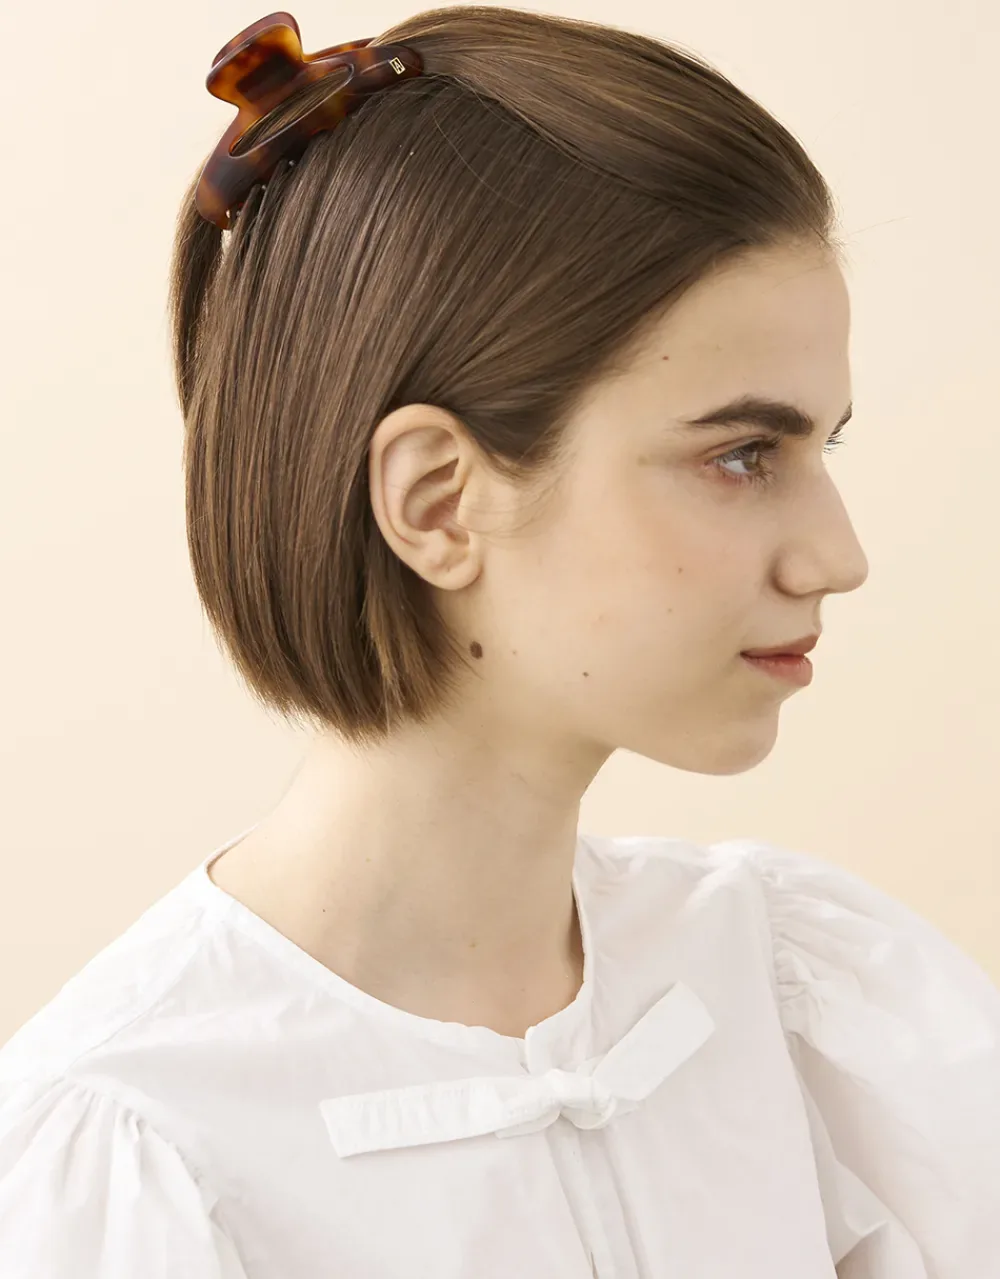
A bob and a claw clip are a natural pair because a bob has exactly enough length to twist and clip, and the clip stops the bob flipping out at the ends all day. Gather the back section, twist it up, and clip it so the bob’s length falls in a soft fold rather than sticking out at the nape. From the front it still reads as a bob; from the back it reads as an updo.
How to style it: use a medium clip, and leave the front sections loose so the bob’s shape is still visible. Pros: keeps a bob off the neck in summer, and hides the awkward growing-out stage of a bob. Cons: on a very blunt bob the twist can look bulky — a layered bob works better. Quick verdict: the best way to wear a bob on a hot day without cutting it shorter.
16. A Claw Clip That Actually Holds Thick Hair
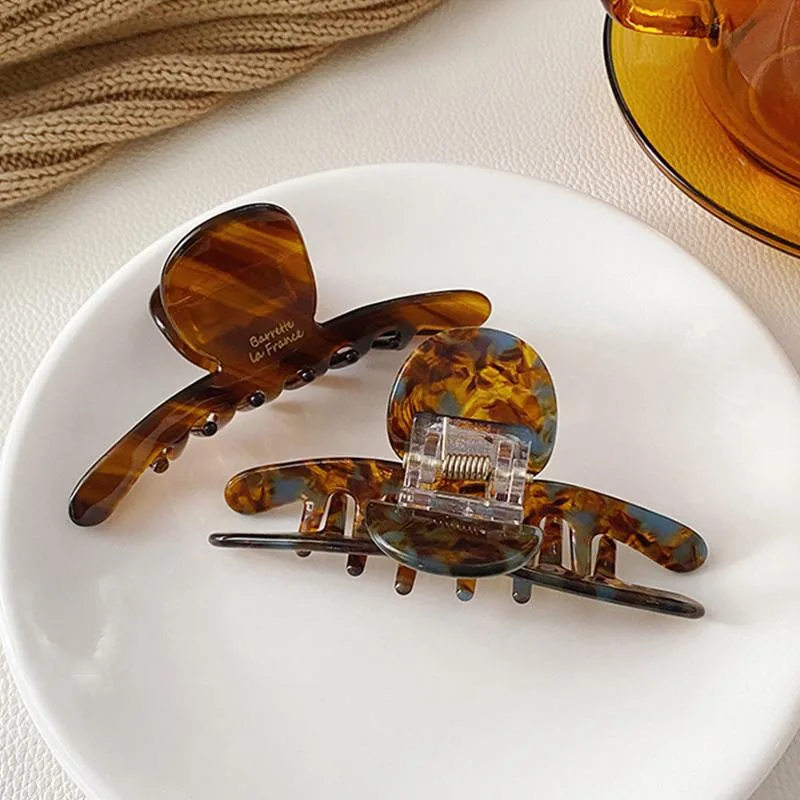
Thick hair defeats most claw clips, but the right one holds it all day. The secret is a large clip — at least 4.5 inches — with long teeth, a strong spring, and a slightly curved shape that follows the head. Twist the hair firmly first, clip through the middle of the twist rather than across the top, and let the teeth sink into the twist itself, not just the surface layer.
Common mistakes: buying a pretty medium clip and hoping for the best, and clipping hair that is too smooth — a little texture spray before you twist gives the teeth grip. Cost: a good large clip costs more than a drugstore pack, but one working clip beats five that do not. Best for: anyone who has ever said ‘claw clips don’t work on my hair’ — they do, they were just the wrong size.
17. A Claw Clip for Fine Hair That Slips
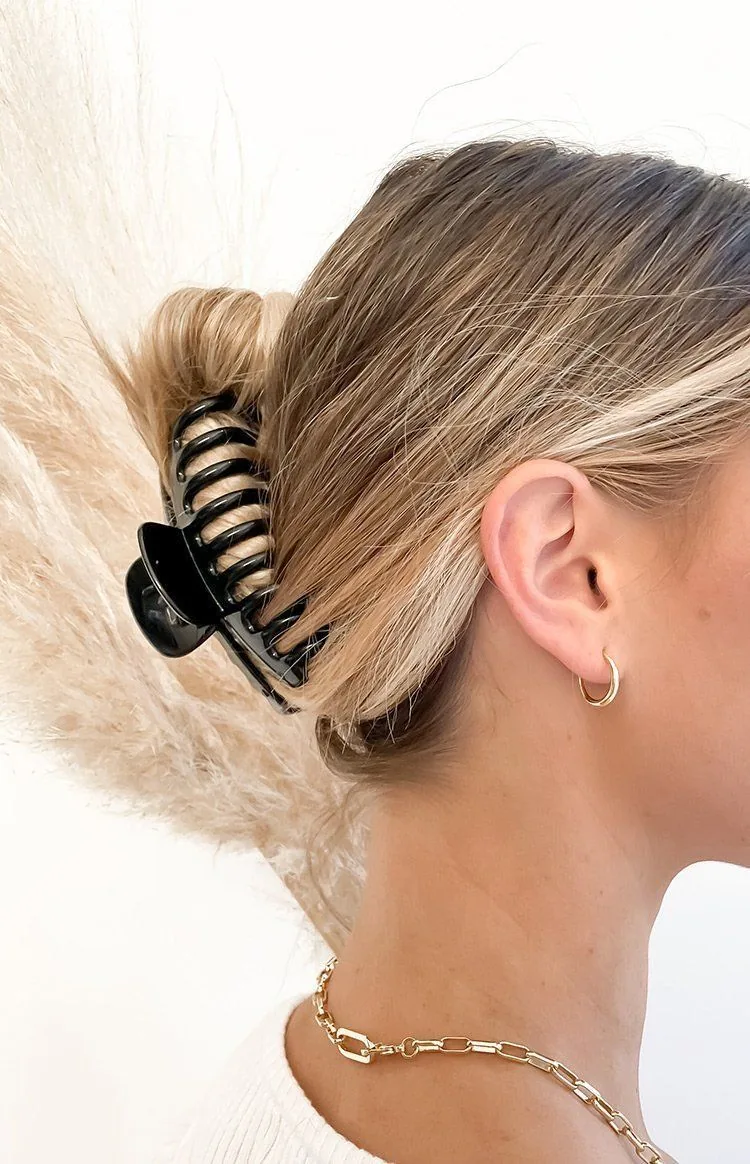
Fine hair slips out of claw clips because the strands are smooth and the bundle is light, so the clip has nothing to grip. The fix is preparation: work a pea-sized amount of texturising powder or dry shampoo through the roots, twist the hair firmly, and choose a medium clip with closely spaced teeth or a silicone grip strip inside. Clip through the twist twice if you can — once at the base and once higher up.
Pros: a clip is gentler on fine hair than an elastic, which means less breakage over time. Cons: you will need to re-clip once or twice a day, and very heavy decorative clips will drag fine hair down. Who should avoid it: nobody, but fine-haired women should skip the jumbo clips entirely. Quick verdict: with texture and the right teeth, fine hair holds a clip perfectly well.
18. A Claw Clip for Curly Hair
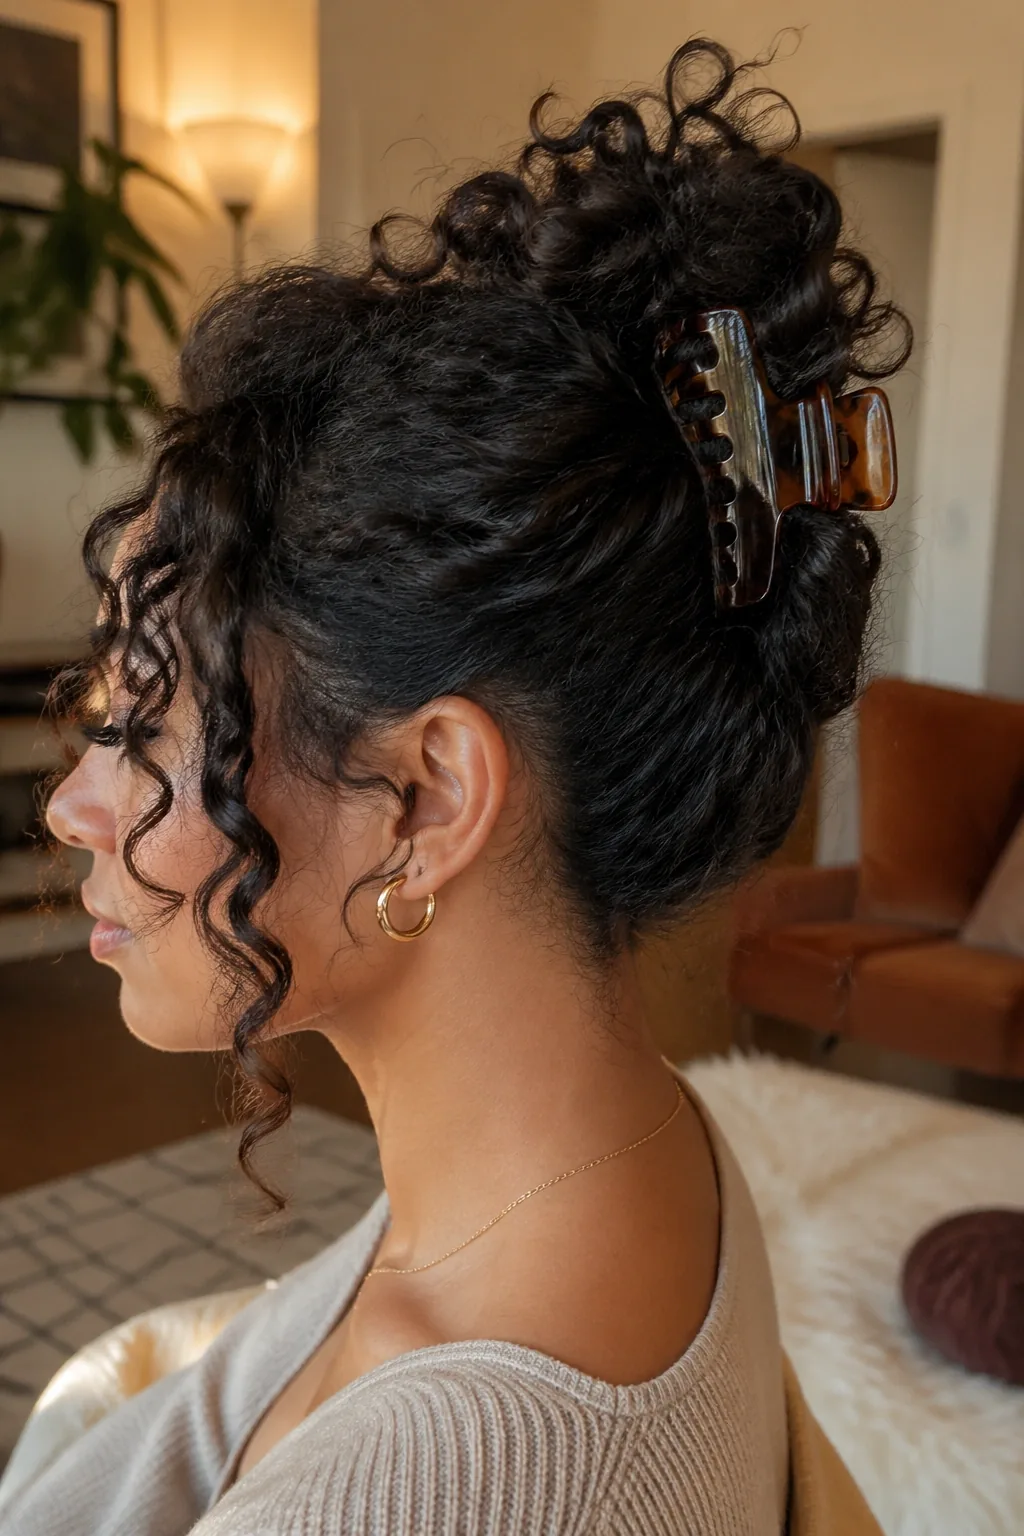
Curly hair and claw clips get along well because curls grip the teeth naturally — the texture that makes curls hard to brush is exactly what holds a clip in place. Gather the curls loosely, twist them up without pulling the curl pattern straight, and clip. The result is a pineapple-like updo that protects the curls at the ends while keeping them off the neck.
How to style it: clip on damp or second-day curls rather than freshly washed ones, since a little natural oil helps the grip. Best for: wash days, humid weather, and anyone who wants a quick updo without a brush. Maintenance is minimal — if a curl escapes, tuck it back in rather than re-doing the whole twist. Avoid brushing the curls out first; the clip works with the texture, not against it.
19. A Claw Clip for Wavy Hair
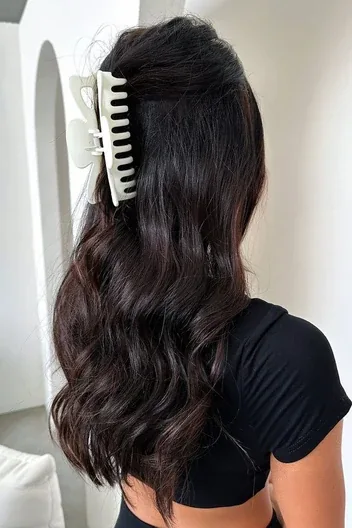
Wavy hair is the easiest hair type to clip: it has enough texture to grip, enough weight to sit still, and enough movement to look good slightly undone. Twist it up, clip it, and pull out a few waves at the front — the waves do the styling for you, and the clip just holds the shape. It is the lowest-effort good-looking combination in this whole guide.
Pros: holds all day, needs no product, and suits every clip size from small to large. Cons: honestly, very few — the only real risk is over-thinking it. Best for: everyday wear, and anyone trying a claw clip for the first time, since wavy hair forgives every beginner mistake. Cost: one medium clip. Quick verdict: if your hair is wavy, a claw clip is your easiest route to a good hair day.
20. A Claw Clip for Straight Hair
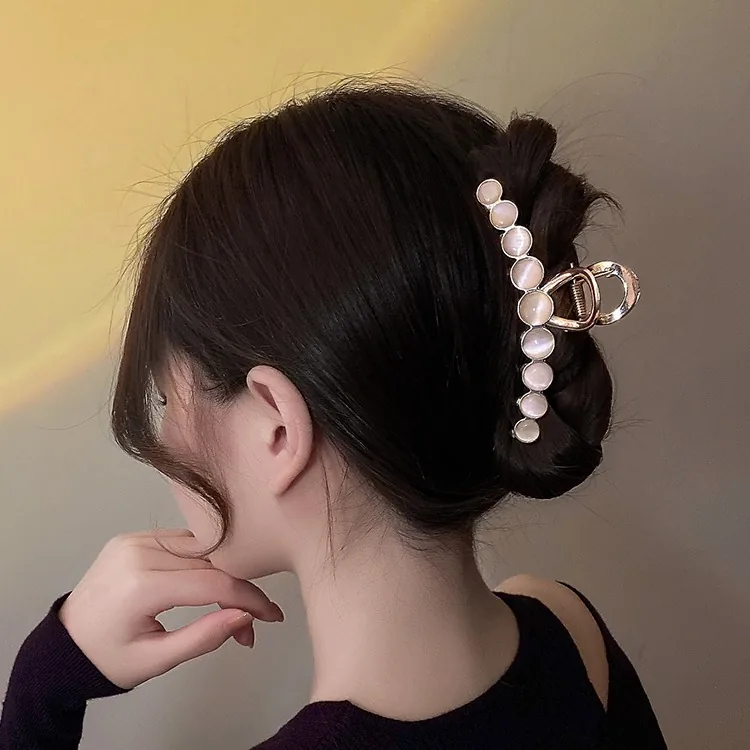
Straight hair is the hardest to keep in a claw clip because it is smooth, heavy, and has no texture for the teeth to hold. The answer is to create grip before you clip: a light mist of texturising spray, a quick backcomb at the crown, or clipping slightly dirty second-day hair instead of freshly washed hair. Twist firmly, clip through the thickest part of the twist, and check it after half an hour.
Common mistakes: using a smooth, wide-toothed clip on silky hair — it will slide out — and clipping a twist that is too loose. Choose a clip with inner grip or closely spaced teeth, and go one size smaller than you think you need, since a snug clip grips better than a loose large one. Best for: office days and evenings, once you have the technique down. It takes practice, but it is worth it.
21. A Claw Clip for the Gym
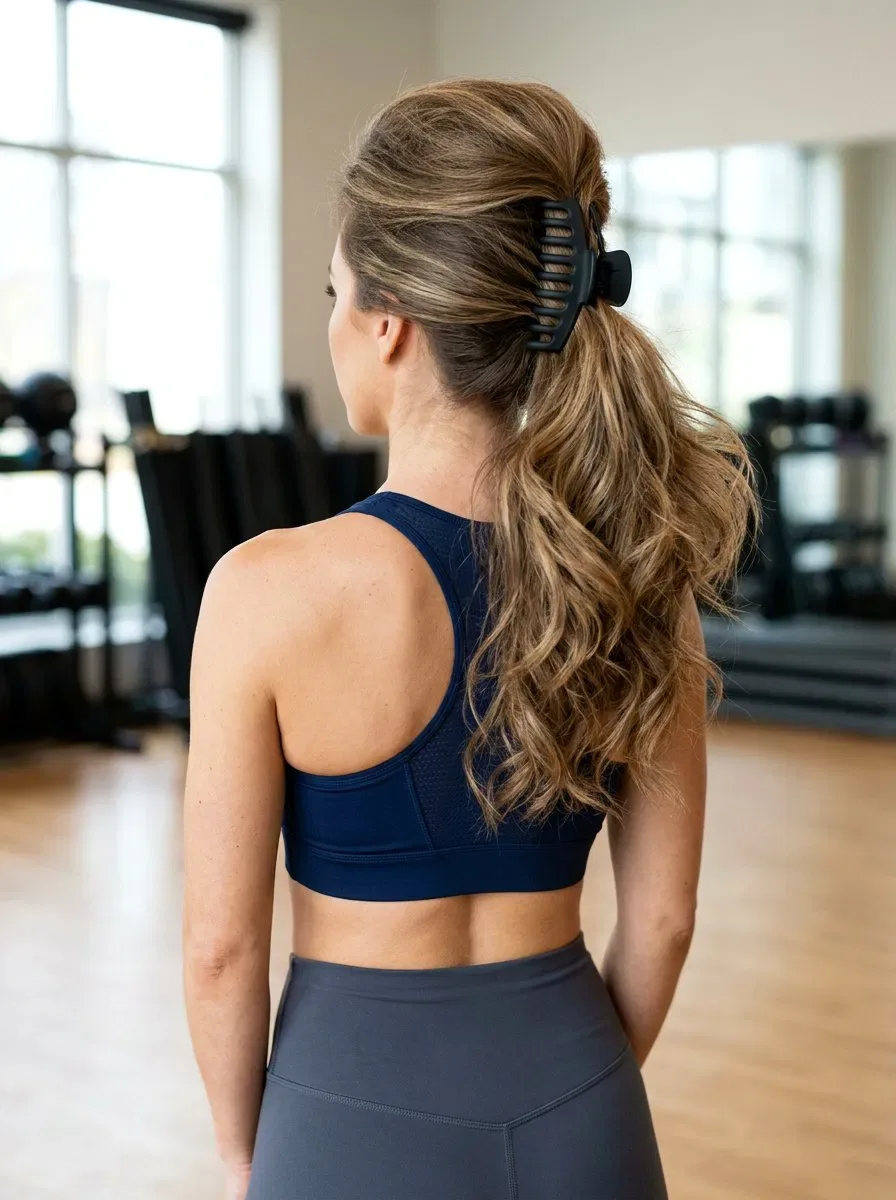
A claw clip is not the first choice for a workout, but it works well for lighter sessions — yoga, pilates, stretching, and walking. Twist the hair up firmly, use a strong medium or large clip, and keep the twist low so it does not bounce. The advantage over a tie is that you can take it down between sets, shake your hair out, and re-clip in seconds without a dent.
Pros: no elastic mark, no headache from a tight ponytail, and easy to redo. Cons: it will not survive running, jumping, or anything upside down — for those, use a tie and save the clip for after. Best for: yoga classes, home workouts, and the walk to the gym. A practical compromise rather than a replacement for a hair tie.
22. A Claw Clip for the Office
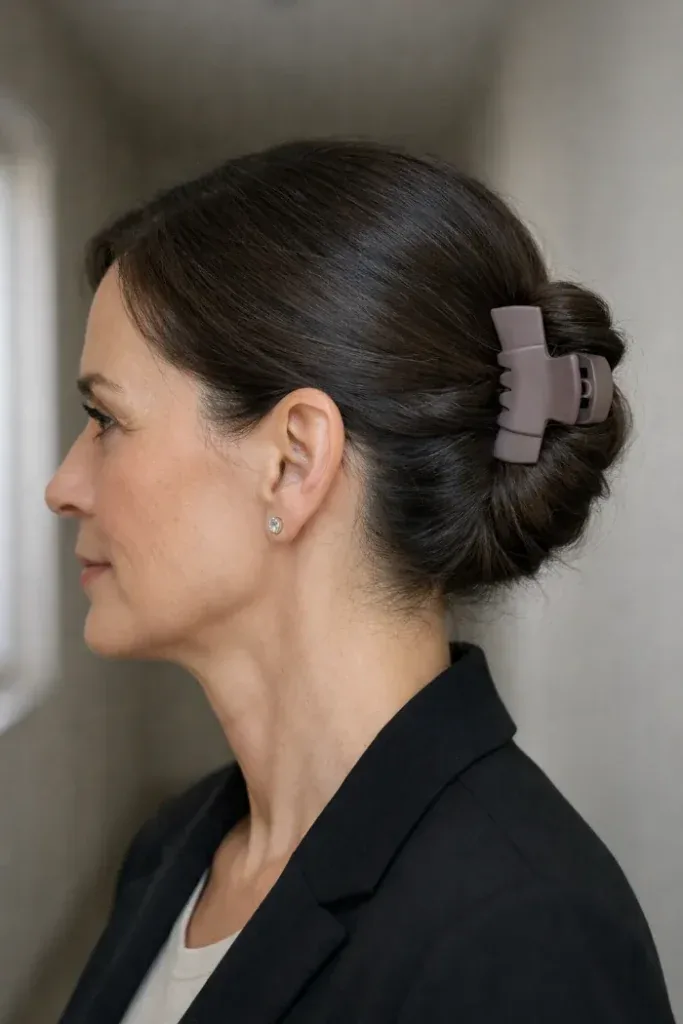
The office claw clip is the low twisted bun or the sleek low twist, done neatly and held with a plain, matte clip in a neutral colour — black, tortoiseshell, or brown. No glitter, no bright colours, no oversized decorative clip. It reads as professional because it is tidy, and it is practical because it survives a full day at a desk, a lunch break, and a meeting without needing attention.
How to style it: smooth the hair back, twist it low, clip it, and check the back in a mirror before you leave. Common mistakes: a clip that is too casual for the setting, and loose pieces that look messy rather than relaxed — for the office, keep the front pieces tucked in. Time: two minutes. Quick verdict: the easiest professional updo there is, and kinder to your hair than a tight bun.
23. A Claw Clip for a Wedding Guest
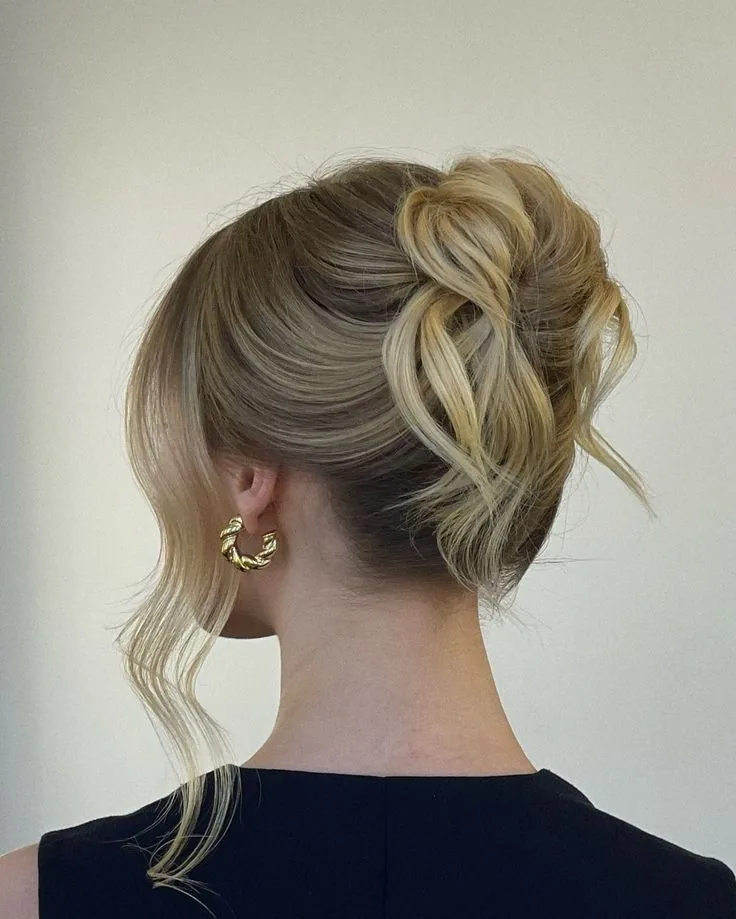
A wedding guest does not need a salon updo — a well-done claw clip twist with soft curls and a pretty clip can look just as good, and it will still look good at midnight when the salon updos are coming undone. Twist the hair up, leave face-framing curls loose, and choose a clip in tortoiseshell, pearl, or gold that matches your outfit. The clip itself becomes the jewellery.
Best for: daytime weddings, outdoor weddings, and anyone who wants to dance without worrying about pins. Pros: comfortable all day, easy to fix in a bathroom mirror, and photographs beautifully. Cons: it is not a formal updo, so for a very black-tie wedding you may want something more structured. Cost: one good clip and a little styling cream. An underrated wedding guest choice.
24. A Claw Clip with a Silk Scarf
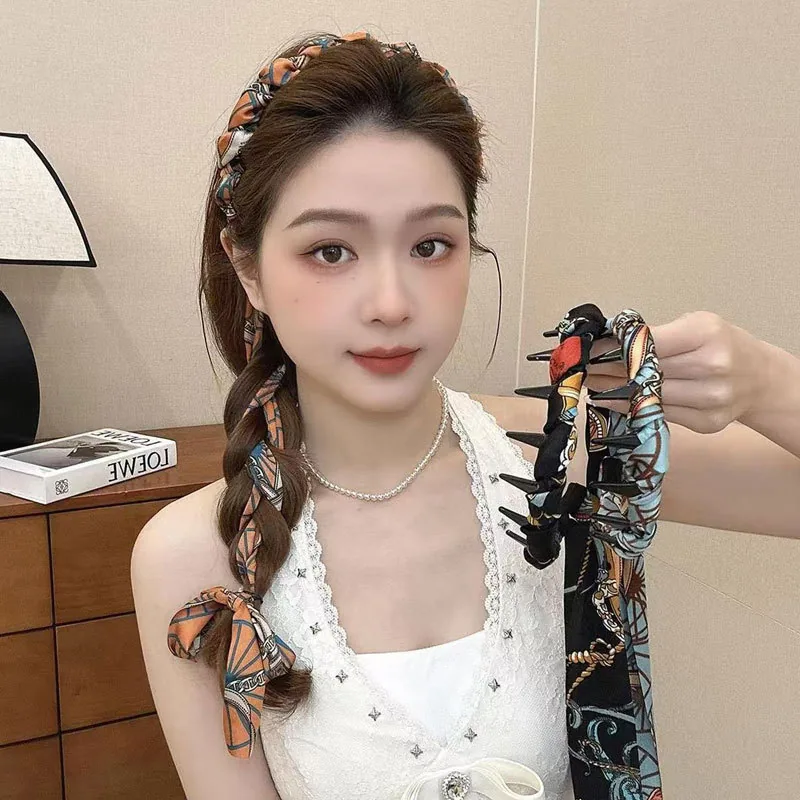
Thread a small silk scarf through the twist before you clip, or tie it around the base of the clip once it is in place. The scarf adds colour, pattern, and a vintage touch that turns a basic twist into a styled look, and it also covers the clip itself if you prefer the hair to be the focus. Choose a scarf that is small and light — a large, heavy one will pull the twist down.
How to style it: fold the scarf into a narrow band, wrap it around the twist, and let the ends hang or tie them in a small bow. Best for: holidays, summer days, and anyone who likes a retro touch. Maintenance is minimal — if the scarf slips, retie it rather than re-doing the twist. A simple way to make one clip look like three different styles.
25. A Claw Clip with a Bow
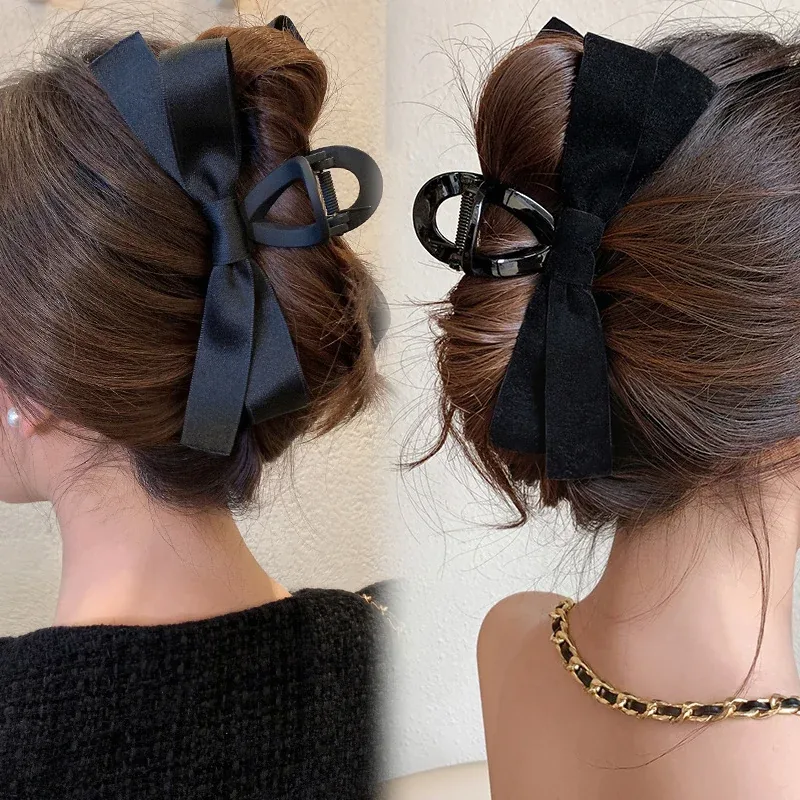
A bow on a claw clip is the easiest way to make a simple twist feel dressed up. Some clips come with a bow attached; others let you clip a small bow over the top of the twist once it is in place. Either way, the bow sits at the back of the head and turns a practical updo into something with a bit of charm — the kind of detail that gets compliments.
Best for: dates, parties, and anyone who likes a feminine touch. Who should avoid it: the office, unless the bow is very small and neutral — a large bow reads as playful, not professional. Cost: a bow clip costs little more than a plain one. Quick verdict: a small accessory that changes the whole mood of the style, with no extra effort at all.
26. The 90s Claw Clip Revival
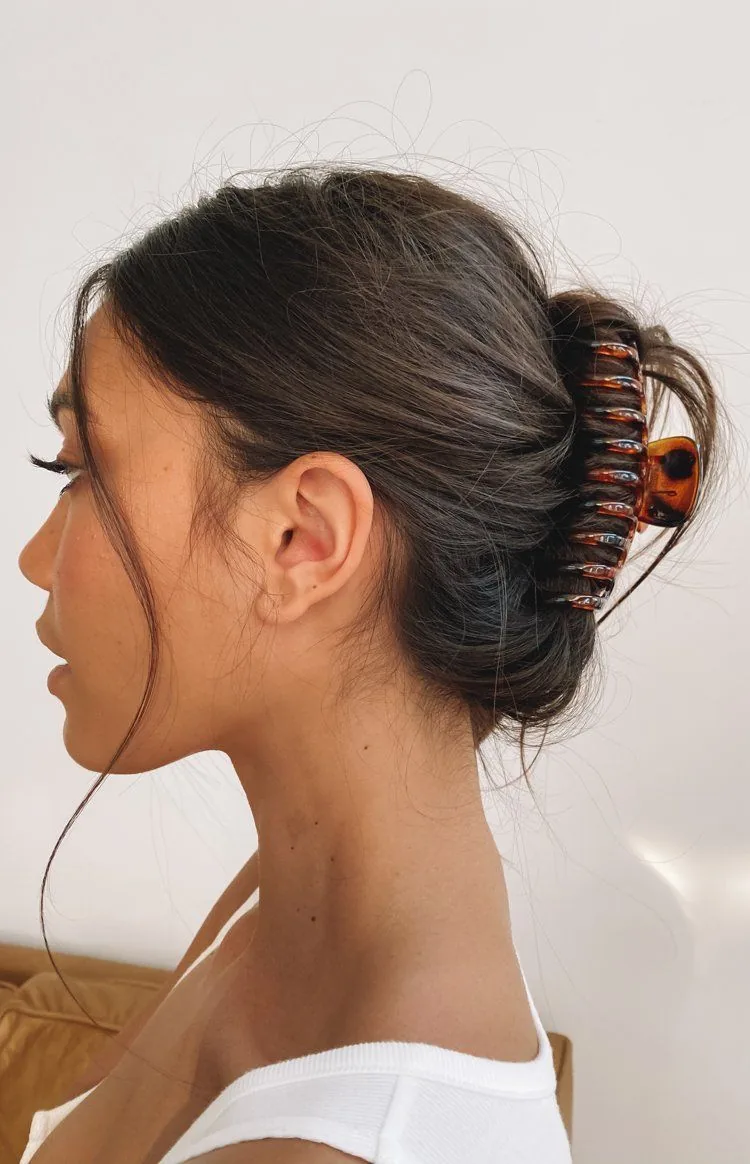
The 90s claw clip look is back, and it is deliberately a little undone: a high twist, a few pieces pulled out at the front, and a clip that is visible rather than hidden. The 90s version used a big, chunky clip and let the ends stick out at the top — the modern version is slightly neater, but the spirit is the same: effortless, a little messy, and very much on purpose.
How to style it: twist high, clip with the ends sticking out, and pull out two face-framing pieces. Best for: casual days, anyone who grew up with this style the first time around, and anyone who wants a look that is fashionable right now. Pros: fast, forgiving, and genuinely stylish at the moment. Cons: it will date again — but that is true of every trend, and this one is too comfortable to care.
27. The Low Ponytail Twist
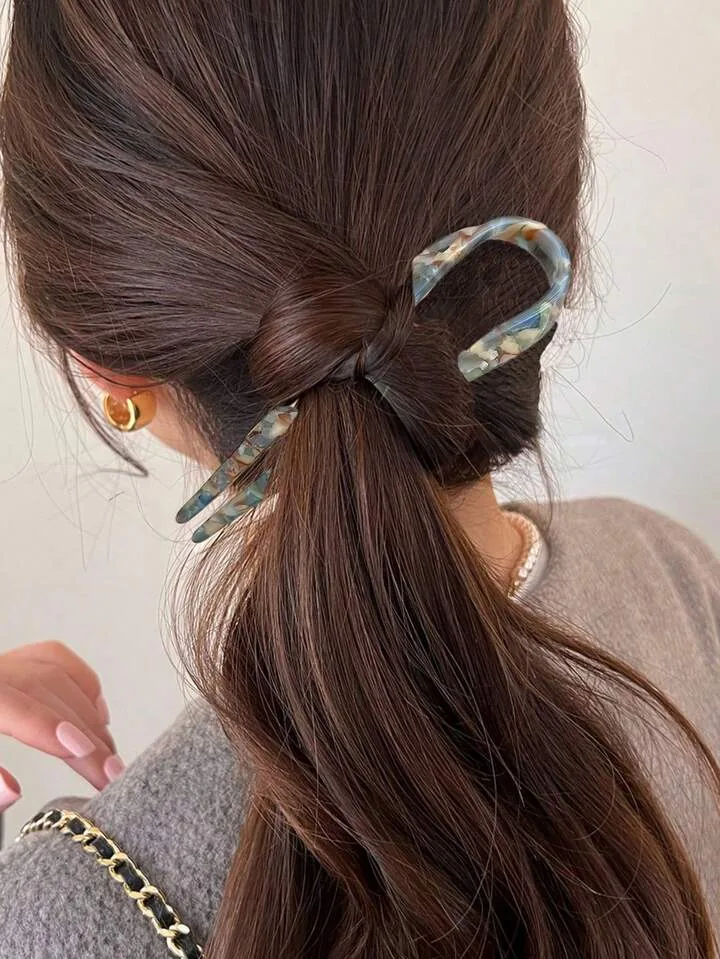
Gather your hair into a low ponytail at the nape, twist the ponytail upward, and clip it so the twist sits vertically against the back of your head. It is the simplest clip style after the basic twist, and it suits anyone whose hair is long enough to gather but not long enough for a full French twist. The result is neat, low, and very wearable.
Best for: workdays, school runs, and anyone who finds the full French twist fiddly. Time: under a minute. Common mistake: clipping too high, which makes the twist stick out at an odd angle — keep the clip low, close to the nape, so the twist lies flat. Quick verdict: the easiest low updo in this guide, and a good starting point if you are new to claw clips.
28. A Braided Bun with a Claw Clip
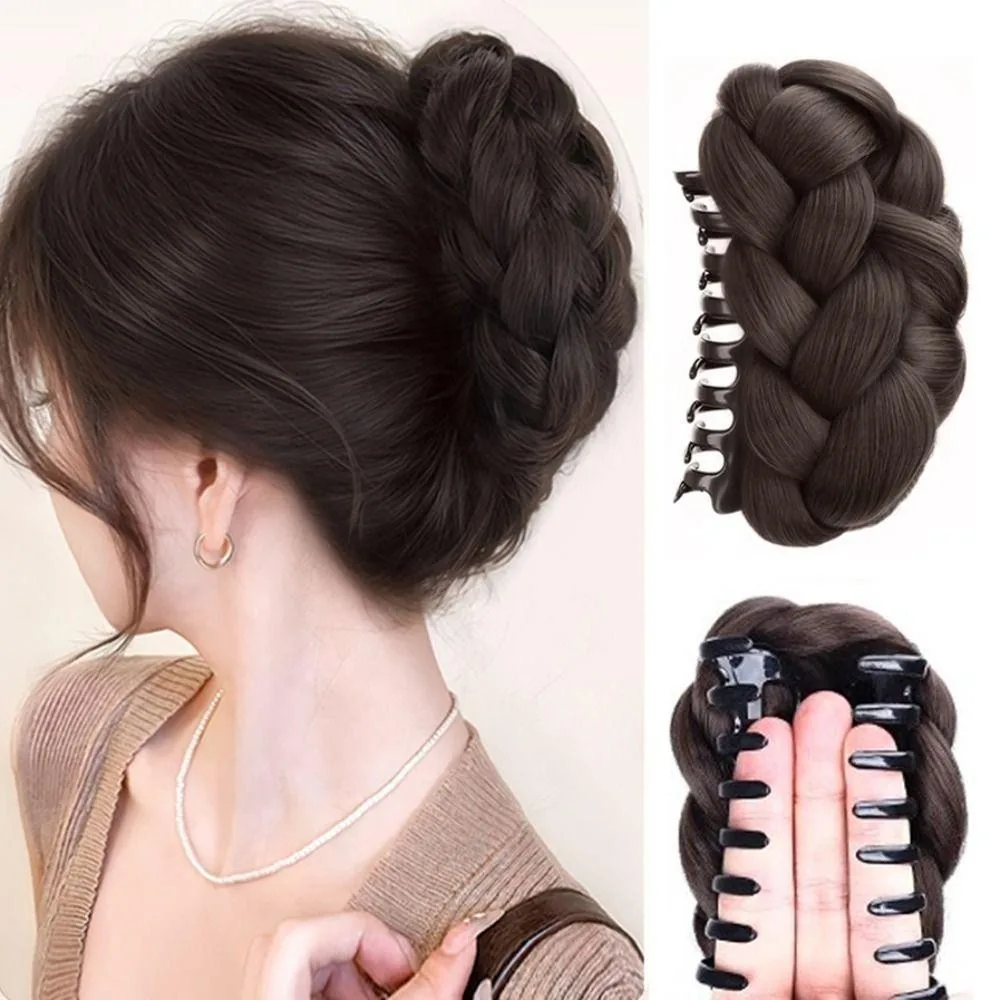
Braid your hair into a single plait, coil the plait into a bun at the back of your head, and clip the bun in place. The braid gives the bun texture and grip, the clip holds it without a single pin, and the result is a structured updo that lasts all day. It looks more complicated than it is — the braid does the work, and the clip just finishes it.
Pros: very secure, keeps hair fully off the neck, and the braid waves when you take it down are a bonus. Cons: it takes five minutes and requires basic braiding skill. Best for: long hair, hot days, and occasions where you need your hair to stay put for hours. Maintenance is low — if a piece escapes, tuck it under the clip rather than starting over.
29. The Half-Up Bubble Twist
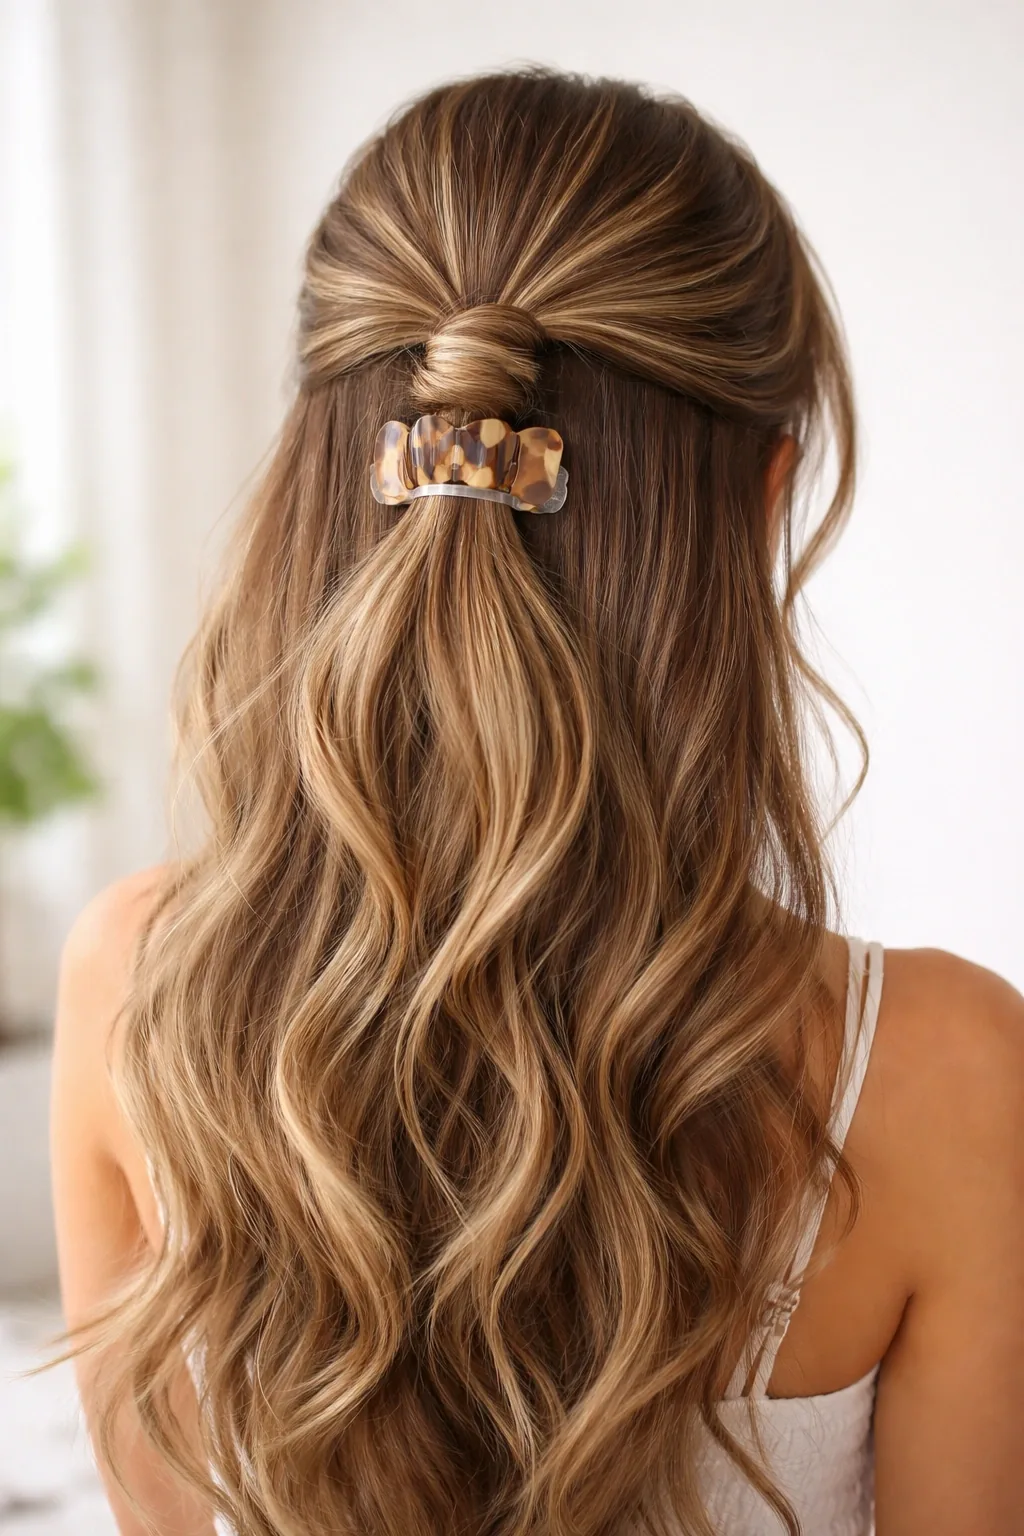
Take the top half of your hair, twist it, and clip it — then gently pull at the twisted section to puff it out into a soft bubble shape. The bubble adds height and softness at the crown, which flatters the face and makes the style look fuller than it is. It is a small trick, but it changes a plain half-up twist into something that looks styled rather than simply gathered.
How to style it: clip first, then tug at the hair above the clip with your fingertips, a little at a time, until the bubble looks even. Common mistake: pulling too hard, which loosens the clip — tug gently and stop while it still feels secure. Best for: fine or thin hair that needs volume, and for anyone who wants a half-up style with a bit more presence. A two-minute upgrade.
30. A Claw Clip with Bangs
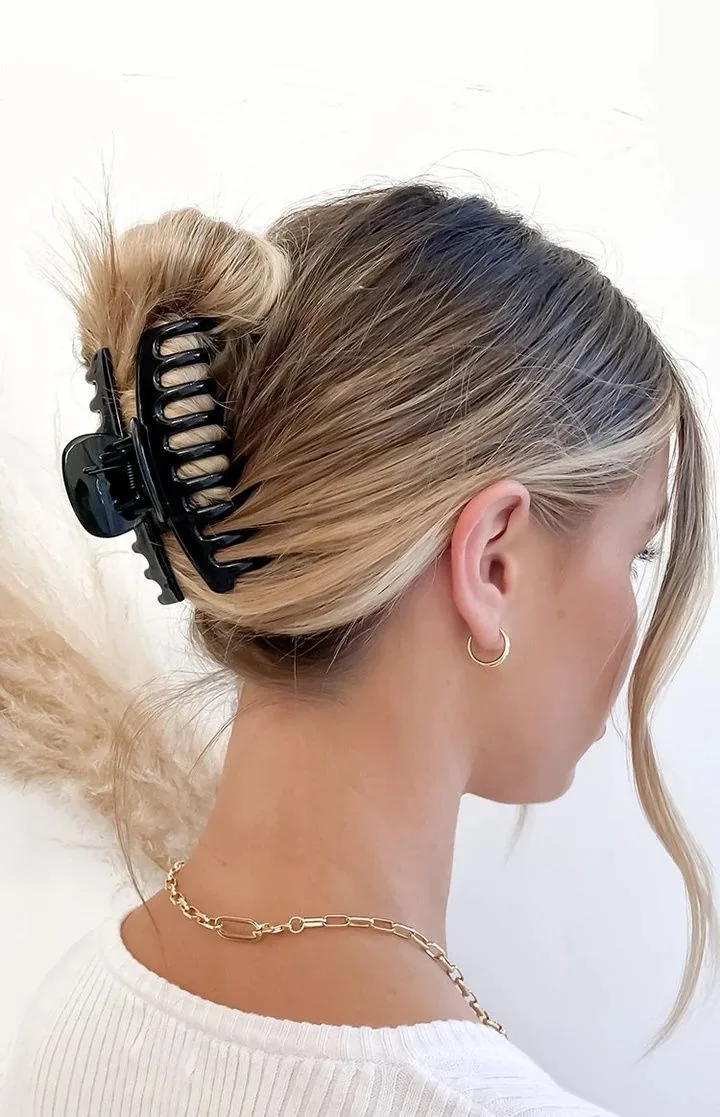
Bangs and a claw clip work well together because the clip holds the bulk of the hair up while the bangs stay down and frame the face. Clip the hair behind the fringe — do not try to clip the bangs themselves — and let the fringe fall naturally. The contrast between the neat updo and the soft fringe is what makes the style work, and it suits curtain bangs, side-swept bangs, and a straight fringe equally well.
Best for: anyone with bangs who is tired of their fringe getting in the way of an updo. Pros: keeps the fringe visible and styled, which is the point of having bangs. Cons: on a windy day the fringe will need a little spray to stay in place. Quick verdict: the easiest way to wear your hair up without losing the look your bangs give you.
31. A Claw Clip for Second-Day Hair
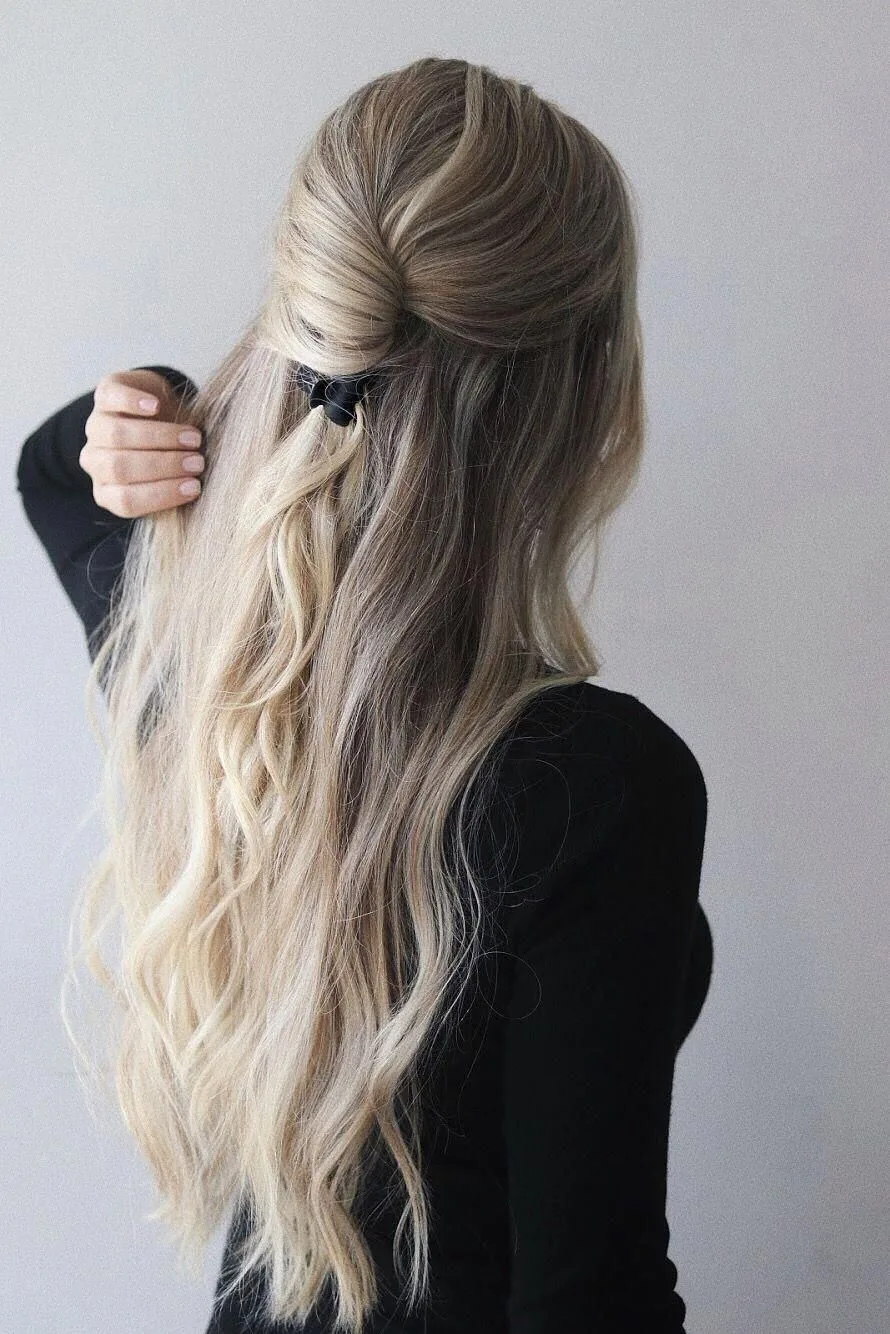
Second-day hair is actually the best hair for a claw clip: the natural oils give the teeth grip, the texture holds a twist better, and the clip covers the roots that would otherwise give the game away. Twist it up, clip it, and nobody will know you did not wash your hair this morning. A little dry shampoo at the parting makes the cover-up complete.
How to style it: work dry shampoo through the roots before you twist, and pull out two small pieces at the front so the style looks intentional rather than like a cover-up. Best for: busy mornings, travel days, and anyone stretching a wash day. Pros: faster than washing and drying, and gentler on the hair. Cons: it only buys you one extra day — by day three, even a clip cannot hide it.
32. A Claw Clip for Very Long Hair
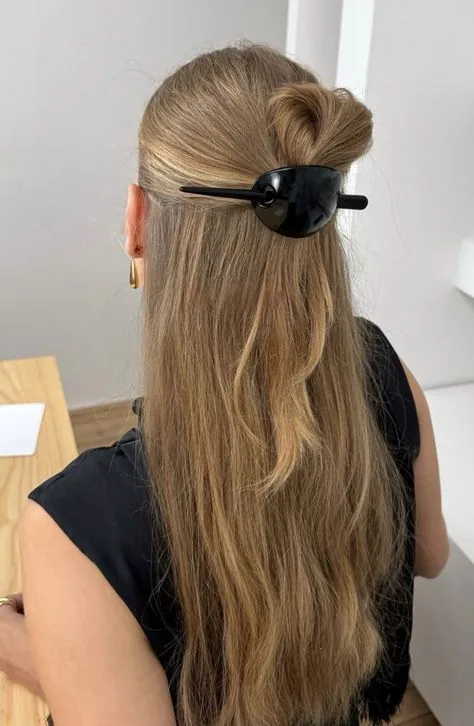
Very long hair needs a large clip and a different technique: instead of one twist, fold the hair in half before you twist, so the bundle is shorter and thicker, then clip through the fold. The fold stops the ends hanging down past the clip, which is the usual problem with long hair and claw clips, and it distributes the weight so the clip does not slide down.
Common mistakes: using a medium clip and wondering why it falls out, and twisting the full length without folding, which leaves a heavy tail pulling the clip down. Best for: waist-length hair and beyond. Cost: one large, strong clip — buy the best one you can, since a cheap large clip will snap under the weight. Quick verdict: long hair can absolutely wear a claw clip; it just needs the fold.
33. A Claw Clip for Medium-Length Hair
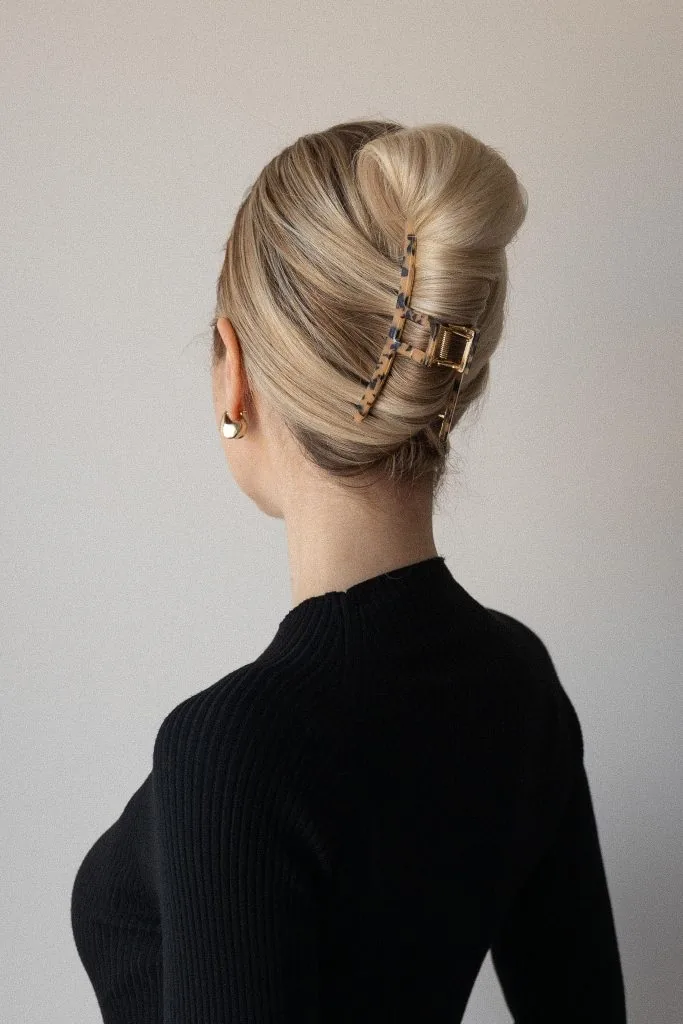
Medium-length hair — roughly shoulder to collarbone — is the sweet spot for claw clips: there is enough length to twist, not so much that the clip struggles, and almost every style in this guide works without modification. A medium clip is the right size, a single twist holds all day, and the ends can be tucked in or left to fan out over the top of the clip, whichever you prefer.
Pros: the most versatile length for clip styles, and the easiest to learn on. Cons: growing-out layers at the nape can poke out of a twist — a light smoothing cream on those pieces solves it. Best for: anyone trying claw clips for the first time, and anyone with a lob or a mid-length cut. Quick verdict: if your hair is medium-length, a claw clip is probably the easiest updo you will ever learn.
34. The Sleep-Friendly Loose Claw Clip Twist
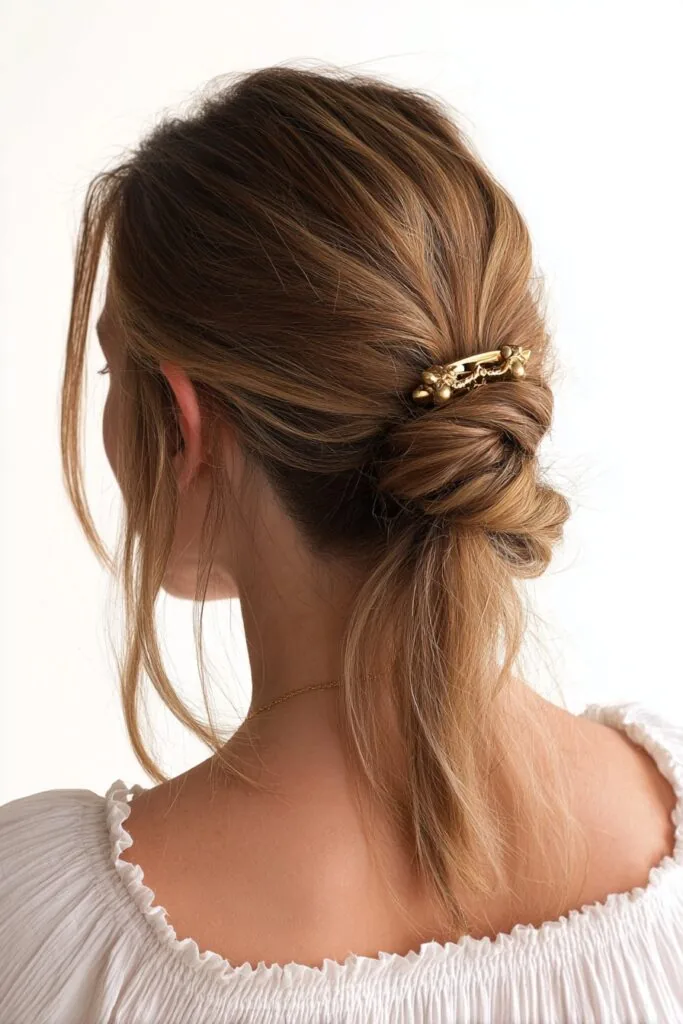
A loose, low twist held by a soft, flat clip is one of the gentlest ways to keep hair out of your face overnight — gentler than a tight elastic, which can dent and break hair while you sleep. Twist the hair loosely at the nape, clip it flat against the head, and sleep on a silk pillowcase. In the morning, take the clip out and you will have soft, loose waves from the twist.
Who should avoid it: anyone who tosses and turns a lot, since even a flat clip can press uncomfortably — a silk scrunchie is the safer choice for restless sleepers. Pros: no crease, no breakage, and a free wave set for the morning. Cons: it will not survive a very active night. Best for: side sleepers who want their hair contained but not crushed. A small, kind habit for your hair.
Keeping Your Claw Clip from Slipping All Day
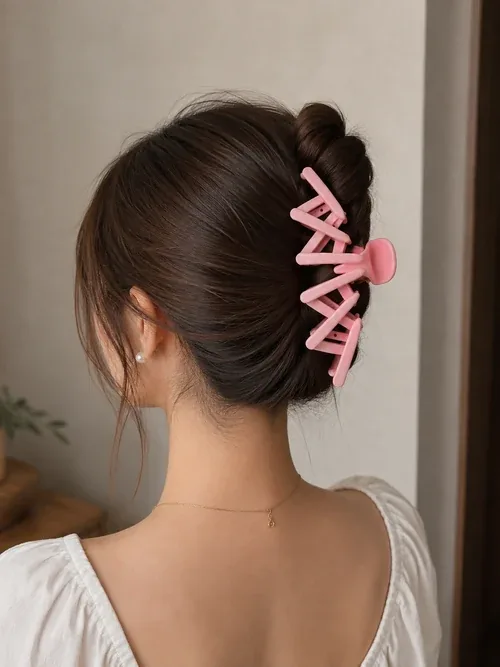
A slipping clip is almost always a preparation problem, not a clip problem. Start with hair that has some grip: second-day hair, a little dry shampoo, or a light texturising spray. Twist firmly, clip through the thickest part of the twist, and push the clip down until the teeth are fully buried in the hair — a clip sitting on the surface will slide, a clip sunk into the twist will stay.
If it still slips, try two small changes before buying a new clip. First, clip slightly lower than you think, since a high clip carries more weight and works loose faster. Second, cross two bobby pins in an X over the base of the twist as backup — they are invisible and they double the hold. A clip that slips every hour is the wrong size; a clip that slips once a day just needs better preparation.
Claw Clips for Work, Weddings and Formal Days
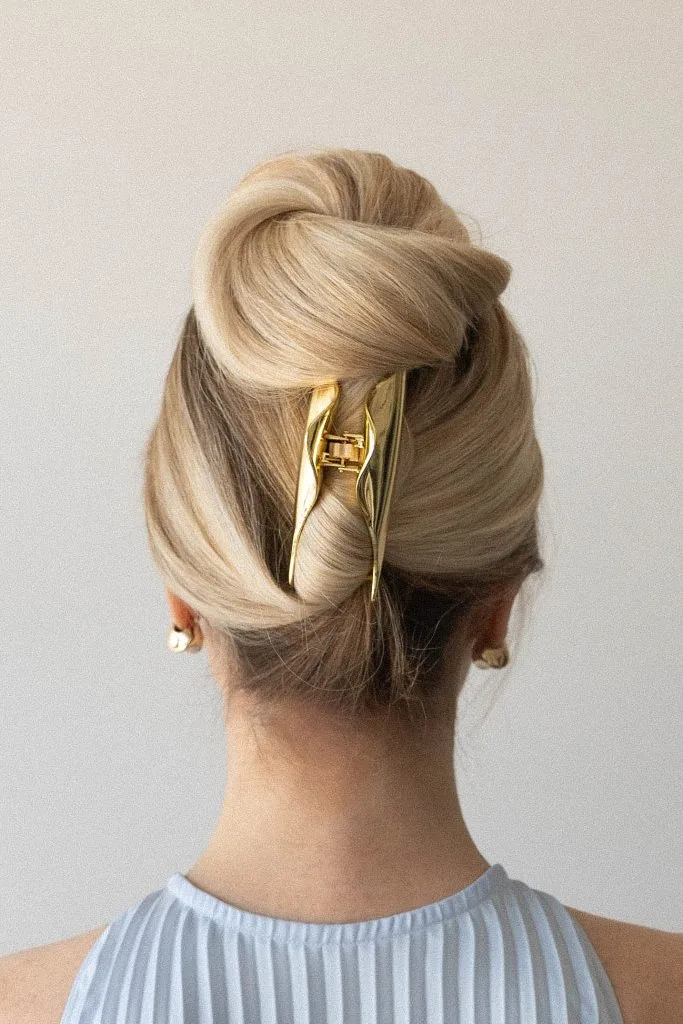
For formal occasions, the rules are simple: a plain clip in a neutral colour, a neat twist, and no loose pieces except two thin ones at the front. Black, tortoiseshell, gold, or matte brown all read as elegant; bright plastic, glitter, and novelty shapes do not. The style itself should be the classic low twist or French twist, done smoothly and checked from the back before you leave.
Cost is not the issue — a good neutral clip is inexpensive — but strength is, so test the clip at home before a big day rather than discovering at a wedding that it cannot hold your hair for six hours. Carry a spare plain clip in your bag as insurance. A claw clip is perfectly appropriate for formal events; it is the novelty clip, not the claw clip itself, that would look out of place.
Looking After Your Clips So They Last for Years
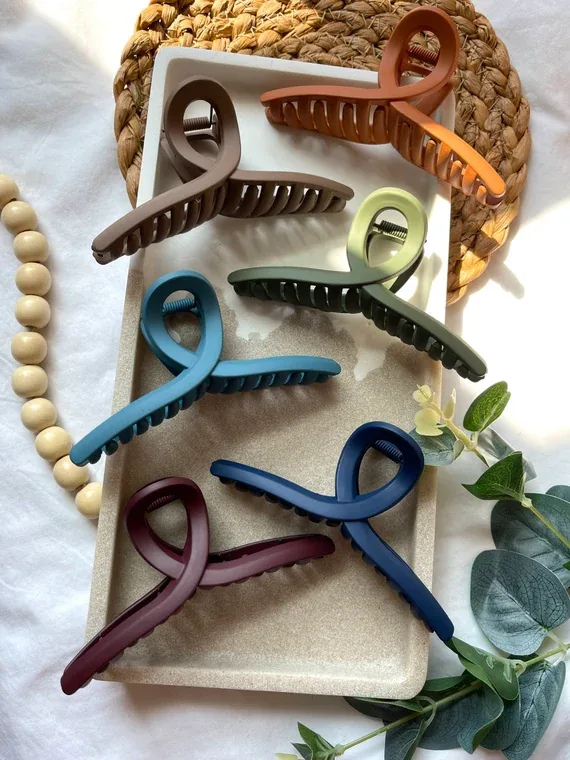
Claw clips last for years if they are looked after, and the main enemy is the spring. Do not force a clip open wider than it needs to go, do not drop it on a hard floor repeatedly, and do not leave it in a hot car, where cheap plastic can warp. Wash clips occasionally in warm soapy water to remove hair product and oil, rinse them, and let them dry fully before putting them away.
Storage matters more than people think: keep clips in a pouch or a drawer divider rather than loose in a bag, where the teeth can bend and the spring can weaken. If a clip starts to feel loose, it is usually the spring wearing out — retire it to light duty, like holding back a fringe, rather than trusting it with a full twist. One good clip, cared for, outlasts a pack of cheap ones.
Mistakes That Break Clips and Damage Your Hair
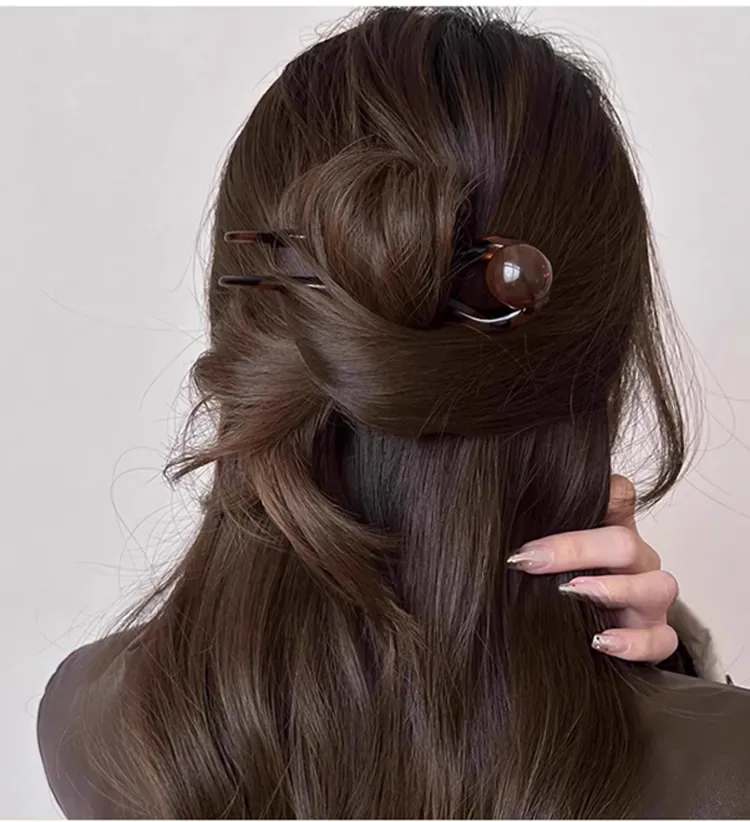
The most common mistake is forcing a clip that is too small onto too much hair. The spring strains, the teeth bend, and the clip either snaps or pulls hair out when it finally gives way. The second mistake is clipping the same section in the same place every day, which stresses the same strands repeatedly — vary the position, and give your hair a day down now and then.
Other mistakes are easy to avoid: yanking a clip out instead of opening it first, which pulls hair out with it; sleeping in a hard, bulky clip, which presses on the scalp; and using a clip with a cracked tooth, which can snag and snap strands. A clip should open easily, close firmly, and come out without a sound. If it does not, replace it — clips are cheap, and your hair is not.
Do claw clips damage hair?
No, claw clips are one of the least damaging ways to wear your hair up. They spread pressure over a wide area instead of concentrating it like an elastic, and they do not crease the hair. Damage usually comes from forcing a clip that is too small, yanking it out without opening it first, or using a clip with a cracked tooth that snags strands.
What size claw clip do I need for thick hair?
For thick hair you need a large clip, at least 4.5 inches long, with long teeth and a strong spring. A medium clip will pop open or only grip the outer layer. Very long, thick hair may need a jumbo clip of 5 inches or more, and a banana-shaped clip that curves to follow the head holds thick hair better than a flat one.
Why does my claw clip keep falling out?
A claw clip usually falls out because it is too small, the hair is too clean and slippery, or the clip is only gripping the surface of the twist. Add texture with dry shampoo or texturising spray, twist firmly, push the clip deep into the twist, and try clipping slightly lower. If it still falls out every hour, go up a size.
Can you wear a claw clip with short hair?
Yes, but you need a small or mini clip and a different technique. Gather the top section or the crown, twist it once, and clip it while the rest of the cut falls naturally. A mini clip can also hold back a fringe or one side of a pixie or short bob. A full twist needs at least chin-length hair to work.
Are claw clips good for fine hair?
Yes, claw clips are gentler on fine hair than elastics and cause less breakage. Fine hair needs preparation, though: a little dry shampoo or texturising powder at the roots gives the teeth grip, and a medium clip with closely spaced teeth or a silicone grip strip holds better than a smooth, wide-toothed clip. Avoid heavy jumbo clips on fine hair.
How do I do a claw clip twist?
Gather your hair at the back as if making a low ponytail, twist the whole length upward until it folds against itself, fold the ends over the top, and open the claw clip over the twist with the teeth pointing down. Smooth the crown and pull out two face-framing pieces before the clip goes on, then tug gently at the crown for volume.
Can I wear a claw clip to work?
Yes, a low, neat twist with a plain clip in a neutral colour like black, tortoiseshell, or matte brown looks professional and polished. Avoid bright plastic, glitter, or novelty shapes in the office. The style takes about ninety seconds, stays put all day, and is far more comfortable than a tight bun worn for eight hours.
Do claw clips work for curly hair?
Yes, curly hair holds claw clips very well because the curl texture grips the teeth naturally. Twist the curls up loosely without pulling the curl pattern straight, and clip on damp or second-day curls rather than freshly washed ones. Avoid brushing the curls out first — the clip works with the texture, not against it.
What is the best claw clip for long hair?
The best claw clip for long hair is a jumbo clip, 5 inches or more, preferably banana-shaped so it curves to follow the head. Twist the hair up, fold the ends over twice so the bundle is short enough to grip, and clip through the thickest part of the twist. A standard large clip is usually not enough for waist-length hair.
Are claw clips better than hair ties?
For everyday wear, yes — claw clips are gentler, do not leave a dent, and are faster to redo. Hair ties are still better for workouts, swimming, and any activity where hair must not move at all, since a clip can be knocked loose. Most women end up using both: clips for desk days and evenings, ties for the gym and the pool.
Conclusion
A claw clip is the smallest change you can make to your hair routine with the biggest payoff. One clip, one twist, and ninety seconds replace pins, elastics, and the dent they leave behind — and the same clip can be a polished office updo, a wedding guest look, or a second-day hair rescue depending on how you twist it. The trick is not owning more clips, but owning the right size for your hair and knowing the twist that suits it.
Start with the classic French twist and the half-up twist, learn which size actually holds your hair, and keep a plain neutral clip in your bag for the days your hair has other plans. Once the twist becomes muscle memory, the other thirty-two styles in this guide are just variations on it — different placements, different details, same ninety seconds.