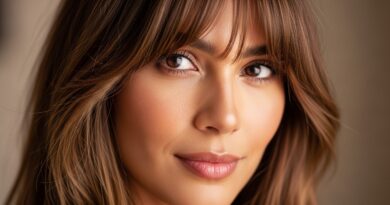
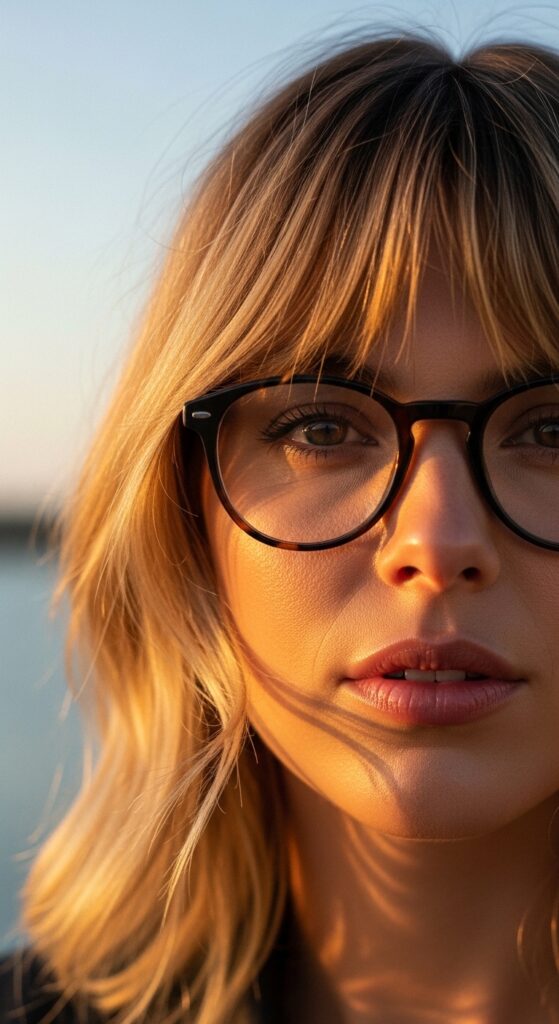
Curl 25 Beach Rolled Bangs Flipped Casually for Effortlessness
Okay, let’s be real. We’ve all spent hours trying to make our hair look perfectly imperfect. It’s the ultimate beauty paradox, right? You want that “I just woke up like this” vibe, but it actually takes a little know-how.
That’s why I’m obsessed with this specific look right now: beach-rolled bangs, flipped casually to the side. It’s the secret sauce for looking put-together without looking like you tried. It works with almost every hair type and length, from a sleek quiet luxury bob to longer, flowing layers.
This isn’t about tight, defined curls. It’s about soft, lived-in texture that adds movement and a touch of romance. Think of it as the hairstyle version of your favorite pair of jeans—effortless, reliable, and always cool.
I’m breaking down everything you need, from the tools to the flip. It’s quicker than you think and will become your go-to for easy, everyday glam. Let’s get into it.
Why This Bang Flip is Everywhere
This look is having a major moment because it bridges so many styles. It has that touch of old money hair effortlessness, a hint of romantic goth hairstyles drama, and the easy vibe of the best 2026 hairstyles we’re already seeing.
It’s versatile. Wear it with a polished blazer for a meeting, or with a band tee for a coffee run. That flip adds instant volume and frames your face in the softest way, drawing attention to your eyes and cheekbones.
Most importantly, it’s low-commitment. We’re not cutting a drastic vampire haircut or hime cut here. It’s all about styling, which means you can change your mind tomorrow.
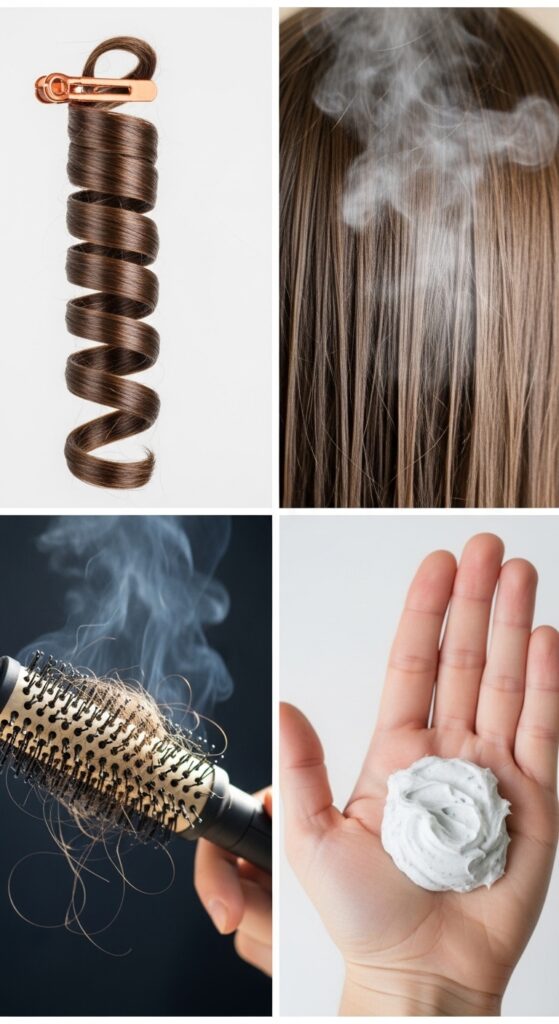
The Magic Tool You Already Own
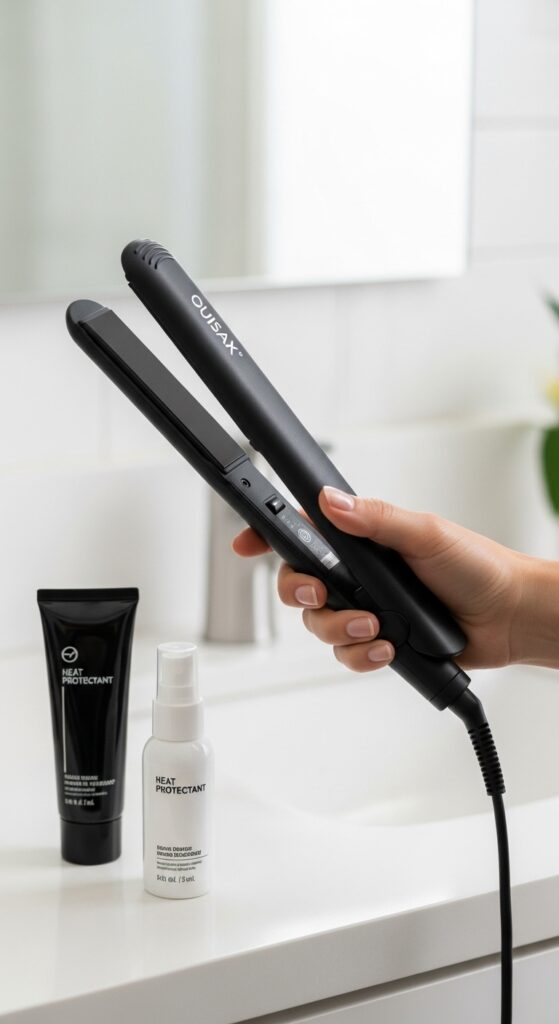
You don’t need a fancy curling wand. For this look, a simple 1-inch flat iron is your best friend. It gives you way more control over the size and looseness of the wave compared to a barrel iron.
The key is the clamp. It helps create that uniform, smooth wave from root to end, which is what gives the “beach-rolled” effect. If your iron has rounded edges, even better—it helps the hair glide smoothly without creases.
Make sure it’s a good quality iron with consistent heat. You’ll be using a lower temperature to avoid frying your bangs, so even heat distribution is crucial for a smooth finish.
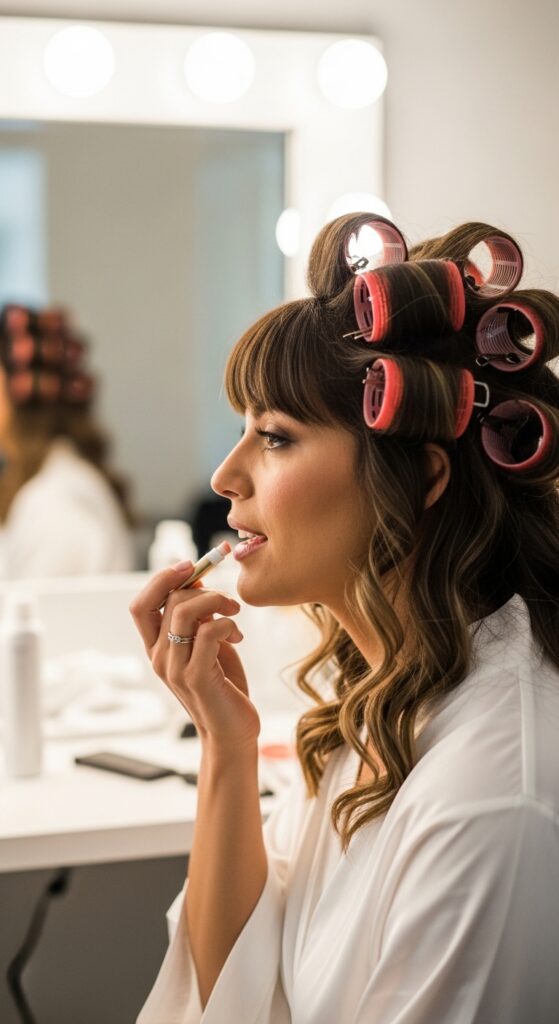
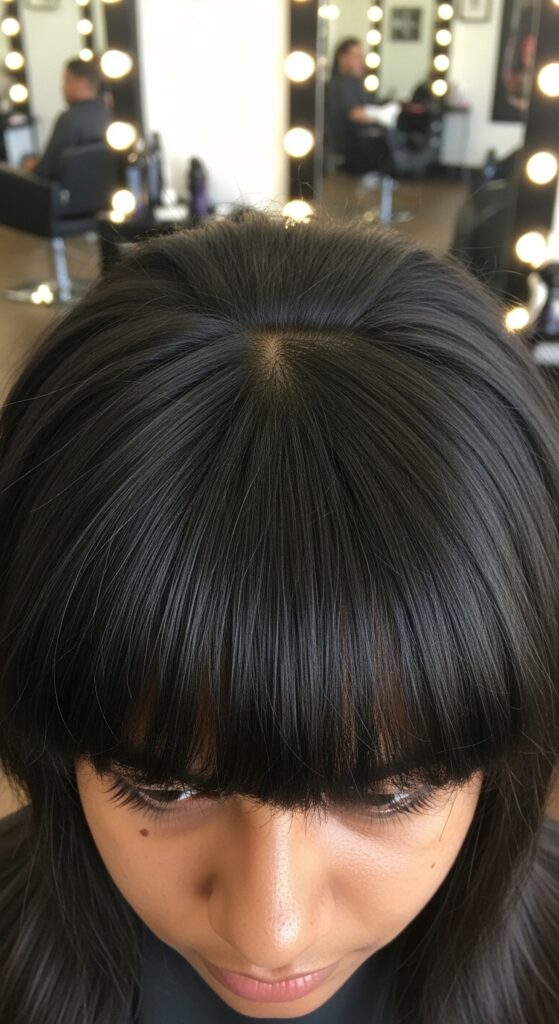
Prepping Your Bangs is Non-Negotiable
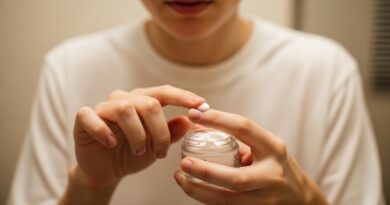
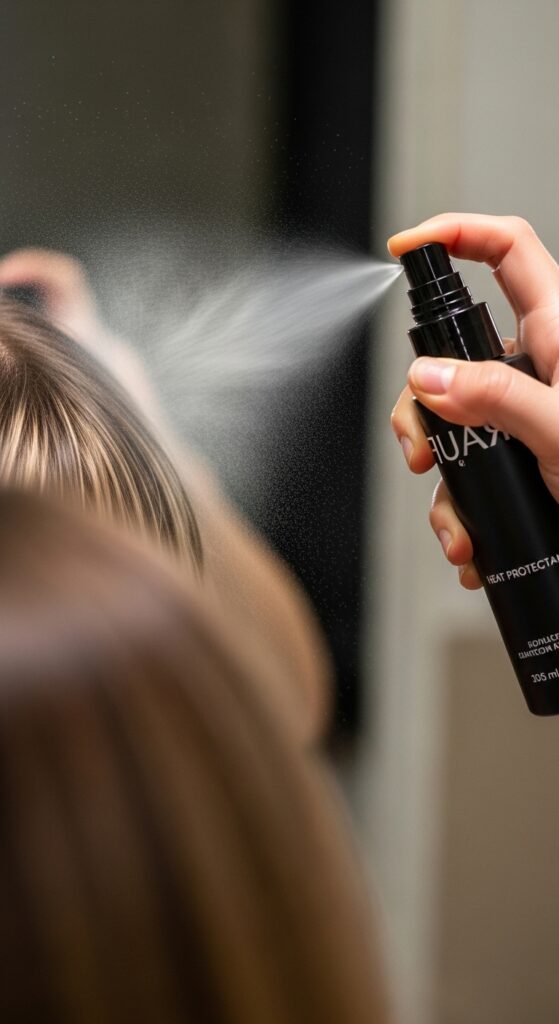
Never, ever skip the heat protectant. Your bangs get a lot of exposure, so a light mist or serum is a must. This protects them and keeps them shiny, not crispy.
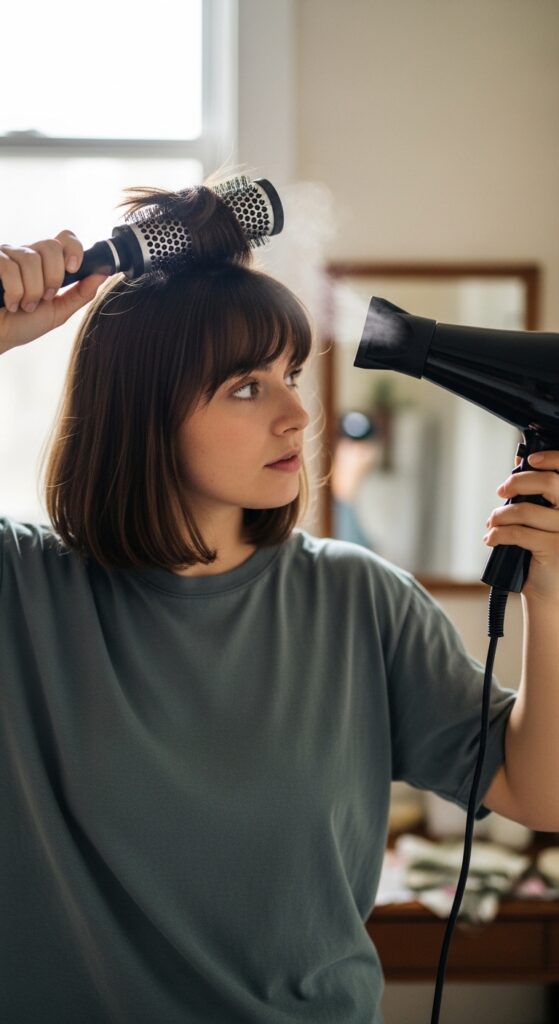
Start with completely dry bangs. If they’re even slightly damp, the style won’t hold. I like to blow-dry mine straight down first, using a round brush to get a smooth base.
Then, apply a tiny amount of texturizing cream or sea salt spray just to the bangs section. This gives the hair a bit of grit, which helps the waves hold their shape longer and look more lived-in.
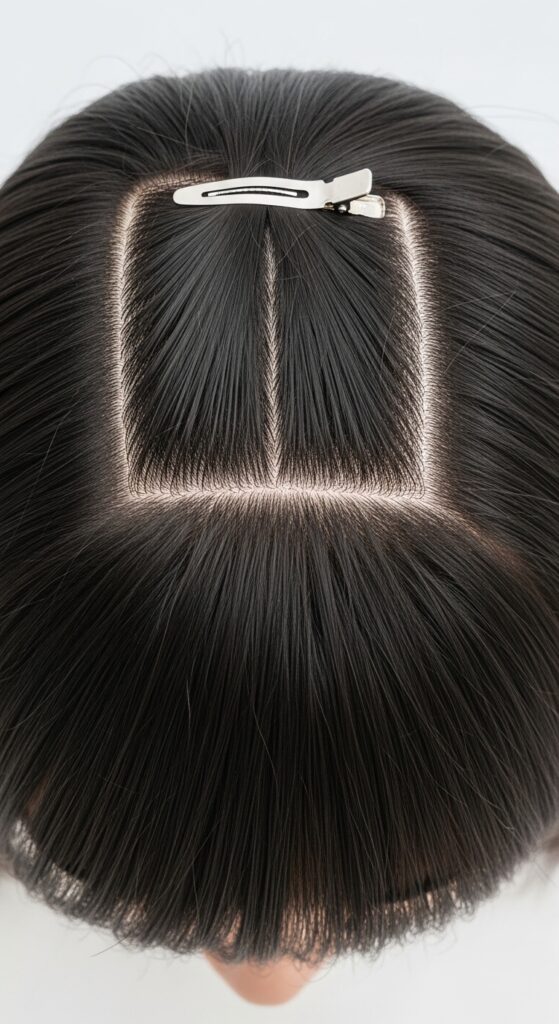
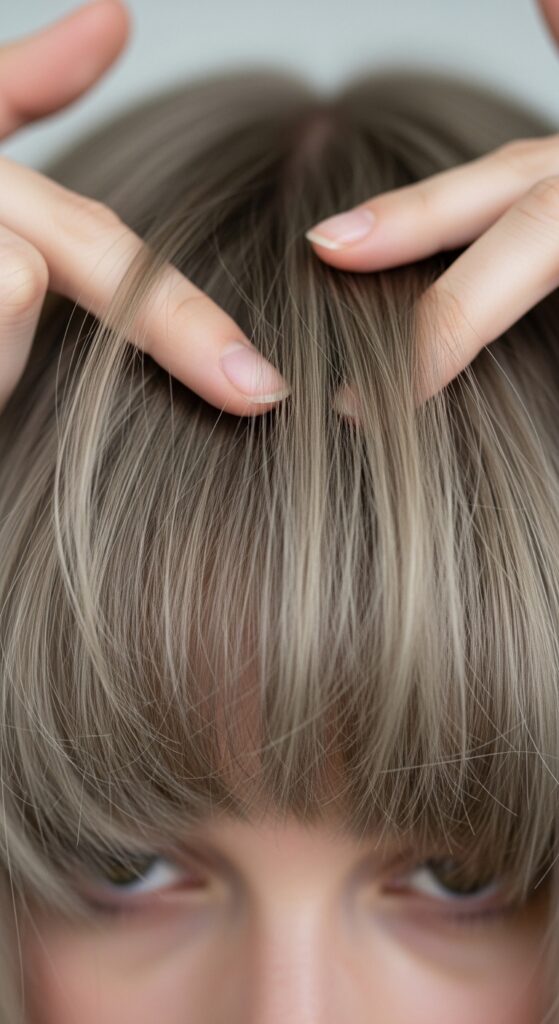
Sectioning: The Secret to No Fuss
Don’t try to curl all your bangs at once. For the perfect flip, you need to work in two clean sections. This gives you layered volume and makes the styling process super simple.
First, separate your true bangs from the rest of your hair. Then, split that bang section vertically down the middle. You’ll have a left piece and a right piece.
Clip the side you’re not working on out of the way. We’ll style the side you’re flipping towards first. This creates the base layer of the flip.
Step 1: The Underlayer Wave
Start with the underlayer section—the piece that will be closest to your forehead after the flip. Take this section and direct the hair away from your face.
Clamp the flat iron near the root and slowly glide it down the hair shaft. About halfway down, gently rotate the iron away from your face to create a soft “C” shape, not a tight curl.
Release the hair and let it cool. Don’t touch it yet! This sets the wave. This underlayer provides the bounce and structure that lifts the flipped hair away from your forehead.
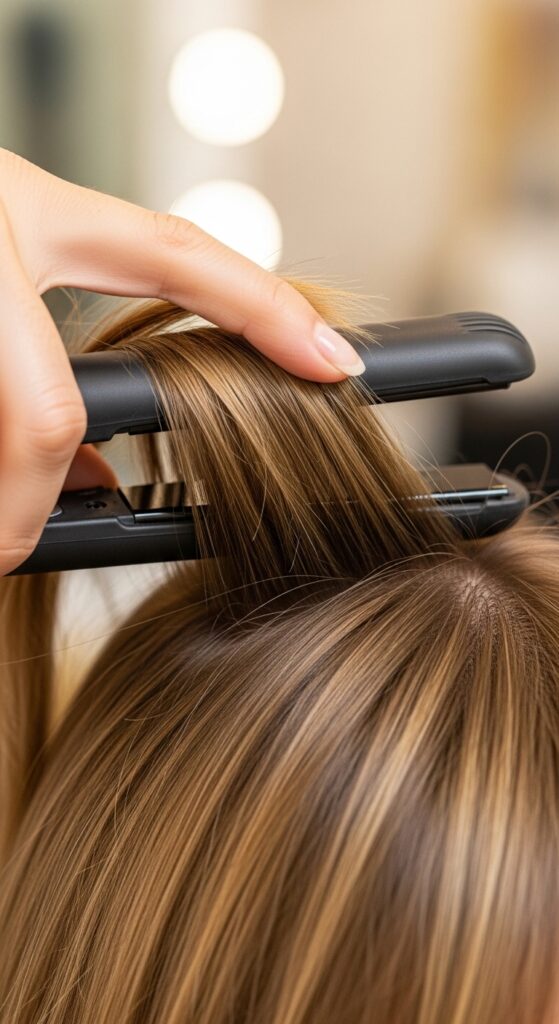
Step 2: The Top Layer Flip
Now, unclip the top layer. This is the piece that will do the dramatic flip. Take this section and direct it towards your face first. This is the opposite direction of the final flip.
Clamp the iron near the root and, as you glide down, rotate the iron towards your face. Go all the way to the ends. You’re creating a reverse wave.
When you release, immediately use your fingers to flip the entire section over to the other side. The reverse wave you just made will now settle into a soft, voluminous flip away from your face.
Let It Cool & Set
This is the most boring but most important step. After you’ve styled both sections, just leave them alone. Let the hair cool completely on its own.
Resist the urge to brush or finger-comb them while they’re hot. The heat-set shape needs a minute to lock in. I usually do my eyeliner or moisturize my hands while I wait.
Cooling sets the memory of the wave. If you mess with it while it’s hot, you’ll lose volume and the shape will fall out much faster. Patience pays off here.
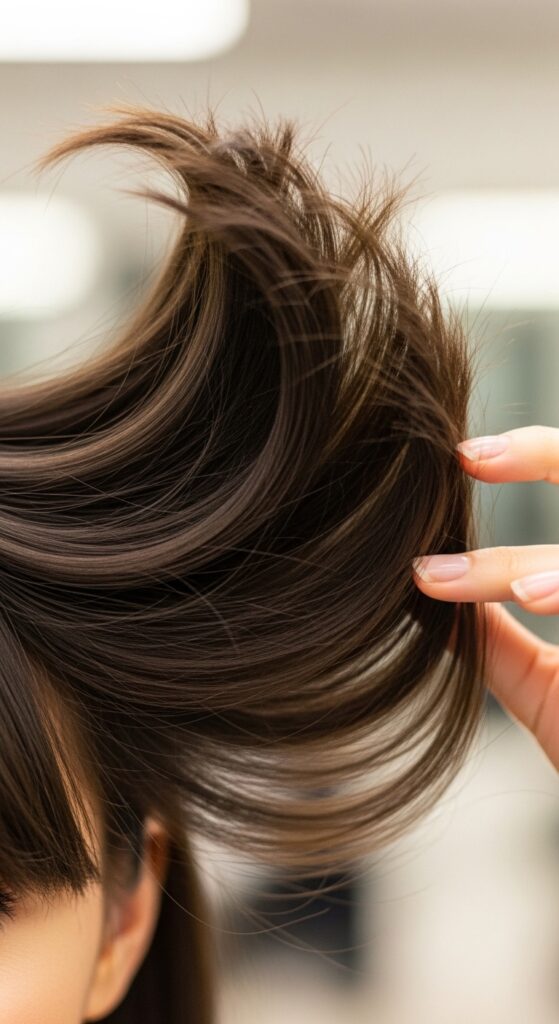
The Art of the Gentle Break-Up
Once completely cool, it’s time to break up the waves. Use your fingers, not a brush. Gently run your fingertips through the waved sections to separate them and soften the shape.
You’re not trying to make it straight. You’re just loosening the waves so they look more natural and blended together. Think “soft clouds,” not “defined ribbons.”
If the flip looks too dramatic, gently press on it with your palm to relax it. The goal is a cohesive, piece-y look where the two sections you styled work as one soft wave.
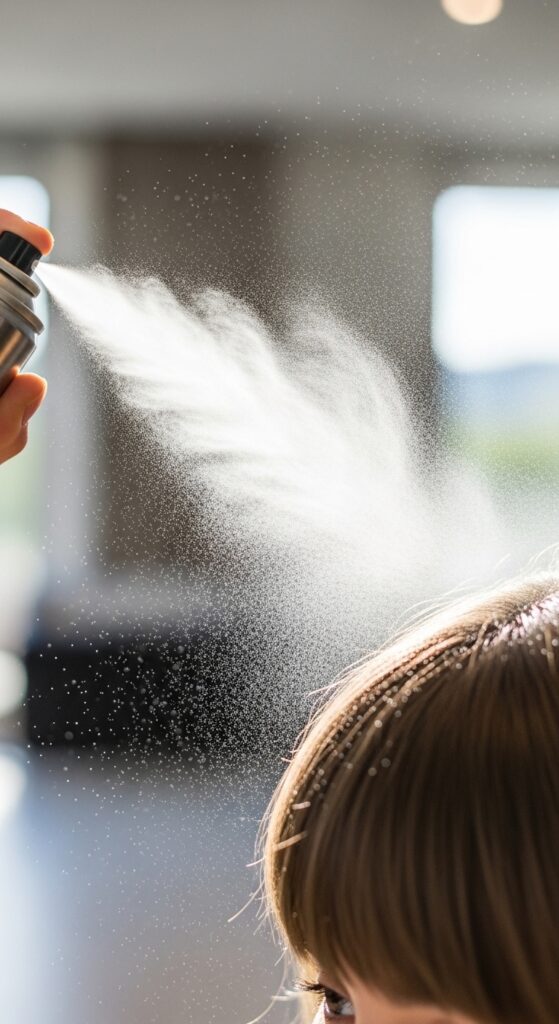
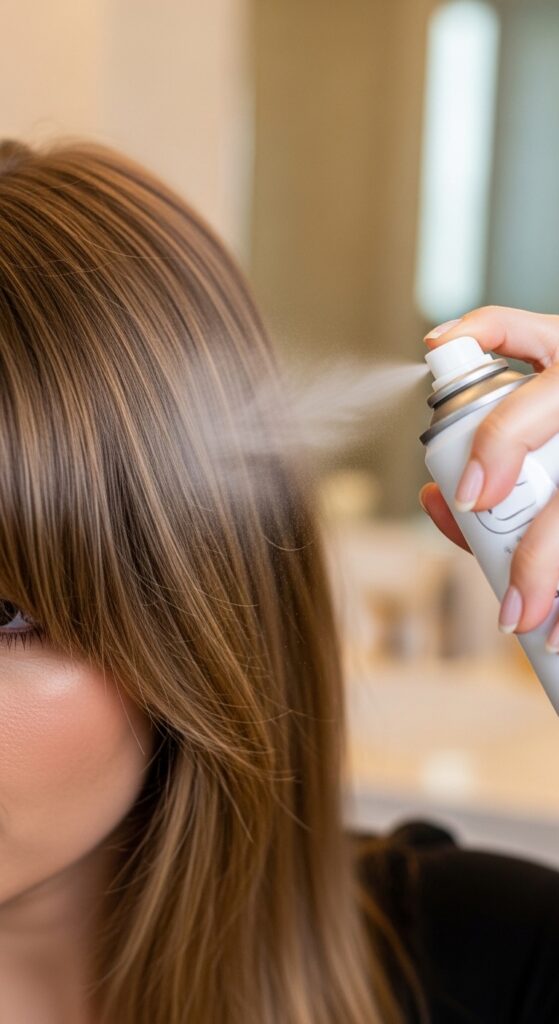
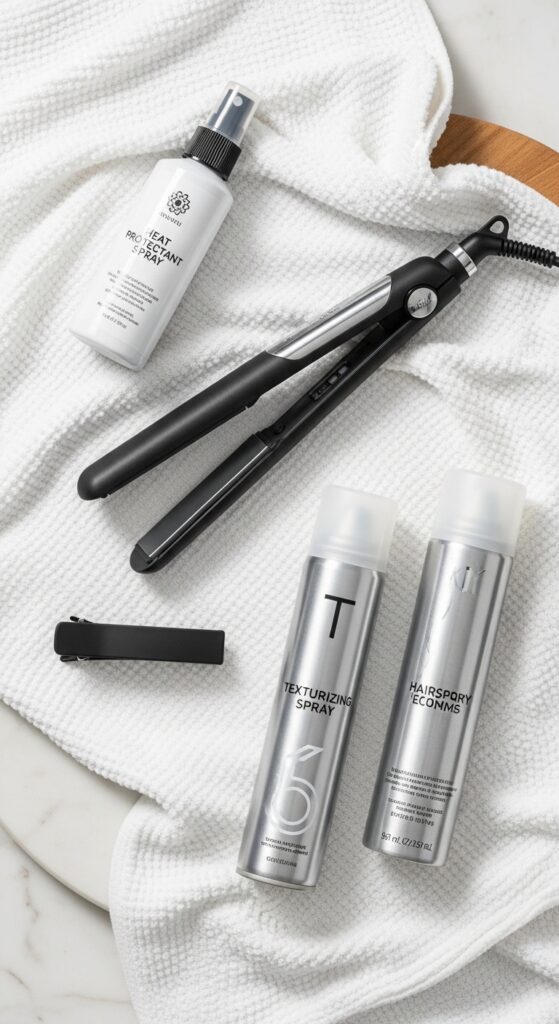
Lock It In (The Right Way)
Skip the heavy hairspray. For this casual look, you want movement, not helmet-head. A light-hold, flexible-hold hairspray is perfect.
Hold the can about 10 inches away and give a very light mist over the bangs. Focus on the root area underneath to maintain lift.
Alternatively, a dab of texturizing paste on your fingertips, rubbed gently at the roots, can add staying power without any stiffness. This keeps the ends free and bouncy.
Troubleshooting: Flat to Fabulous
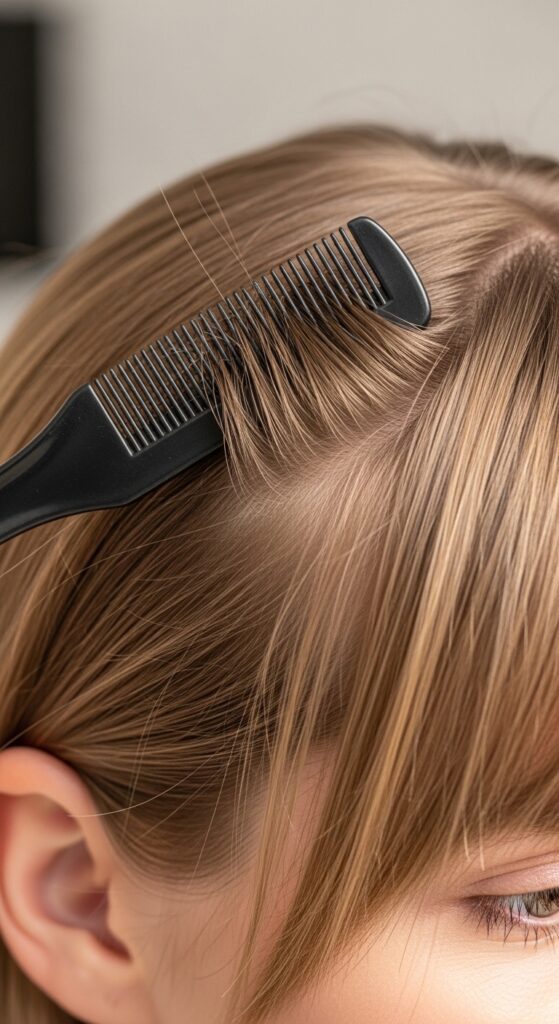
If your flip falls flat quickly, the issue is often at the root. Make sure you’re clamping the iron as close to the root as possible (without burning your scalp) when you start each wave.
Another trick is to tease the very roots of your bangs lightly with a comb before styling. Just a few back-combs can create a tiny cushion of volume that holds the flip up all day.
Also, check your product. Too much heavy serum or oil will weigh down fine hair. Stick to light creams and sprays for this style.
For My Fine-Hair Friends
Fine hair can absolutely rock this. The trick is texture and dry shampoo. Before styling, use a volumizing dry shampoo at the roots of your bangs to add grip and body.
When you wave with the flat iron, use a slightly higher heat setting for a quicker, firmer set. The texture from the dry shampoo will help it hold.
Go easy on the product after styling. A single, light spray of flexible hold is enough. Overloading fine hair makes it look greasy and collapses the volume.
For My Thick-Hair Squad
Your challenge is weight. You might need to make your two vertical sections into three smaller ones to ensure the wave penetrates all the hair.
Use a stronger-hold texturizing cream before styling to help control and shape the hair. A mid-hold hairspray is your friend here to keep the flip defined.
Don’t be afraid to really work the “break-up” step. Thick hair can look chunky if the waves aren’t well-separated. Finger-comb thoroughly for that effortless, piece-y finish.
Pairing with an Asymmetrical Lob
This bangs flip is a dream with an asymmetrical lob. The flipped bangs complement the diagonal line of the cut, adding a dynamic, modern feel.
Style your lob with loose waves or keep it sleek. The bangs become the focal point. It’s a look that screams glitchy glam hair—polished but with an intentional, cool “error” in the form of that casual flip.
It balances the sharpness of an asymmetric cut with softness, which is the ultimate quiet luxury vibe. It’s thoughtful and stylish without being loud.
Pairing with Long, Romantic Hair
If you have long hair, this style adds a perfect frame without hiding your face. It brings a touch of romantic goth hairstyles romance—soft, thoughtful, and a little dramatic.
Wear your long hair in loose waves, a sleek ponytail, or a braid. The bangs will stand out as a styled detail that pulls the whole look together.
It keeps long hair from looking too “done” or overwhelming. The bangs break it up and add a focal point right where you want it: near your eyes.
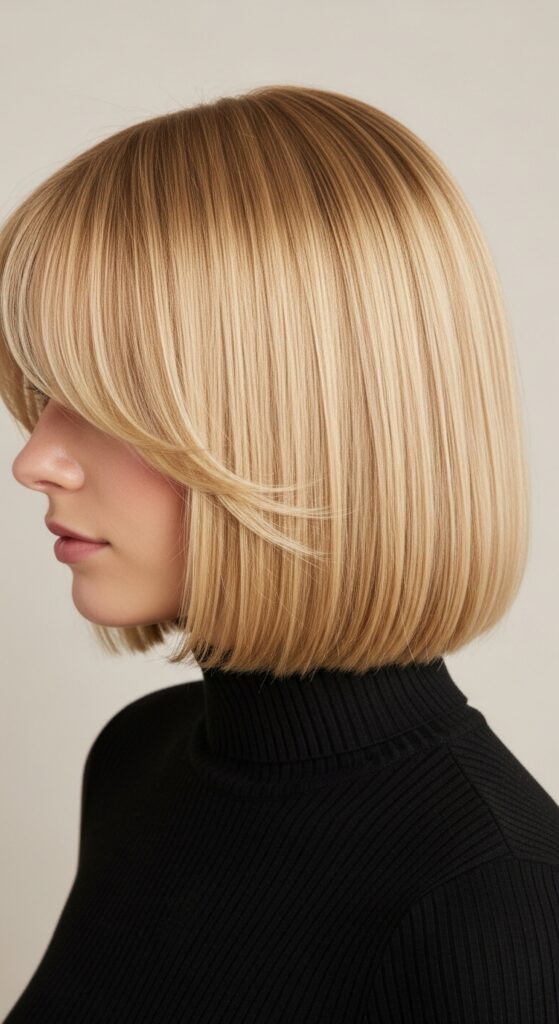
The “Old Money” Version
For that old money hair aesthetic, pair these bangs with a chin-length quiet luxury bob. Keep the bob pin-straight or with a very slight inward bend.
The bangs should be flipped neatly, but not too high. It’s more of a soft side-sweep with body. The look is impeccable, low-maintenance, and classic.
Use a shine serum on the bob, but avoid it on the bangs to keep their texture. This creates a beautiful contrast between sleek hair and soft, textured bangs.
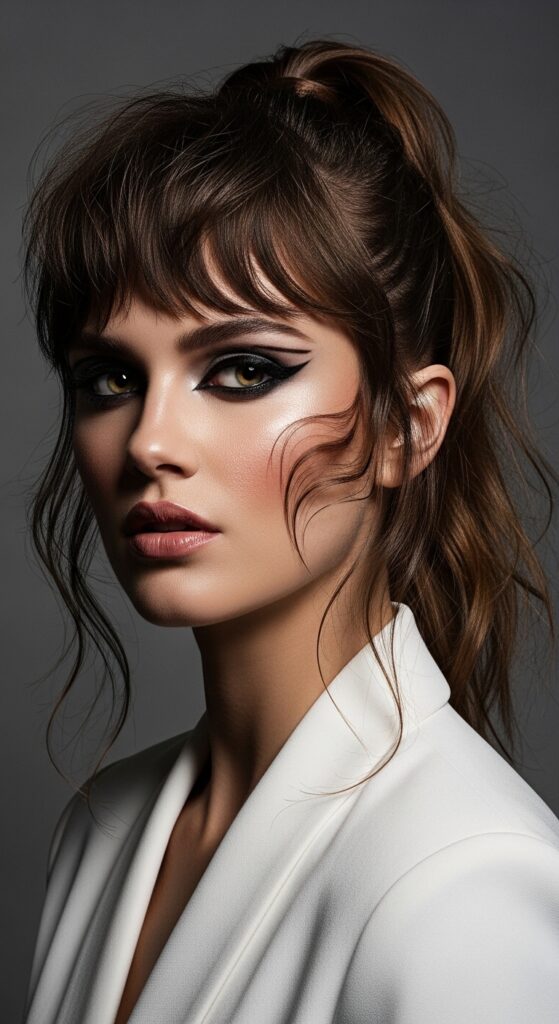
The Edgy “Glitchy Glam” Take
Glitchy glam hair is all about imperfect perfection. To nail this, make your bangs flip a bit messier. Don’t break up the waves as much; let them look more like a defined “roll.”
Pair it with otherwise sleek hair or a messy bun. The contrast is key. It’s like one part of your hair didn’t get the memo, and that’s the whole point.
Add a sparkly hair clip on the opposite side of the flip, or wear stark, graphic eyeliner. It’s a playful, fashion-forward take on the trend.
Second-Day Bangs Revival
This style often looks even better on day two! The natural oils and settled texture are perfect. If the flip has dropped, don’t re-curl.
Just wrap the bangs section around a large round brush and hit it with a blow dryer on medium heat for 30 seconds. Let it cool on the brush.
Refresh with a dry shampoo at the roots if needed, and a tiny bit of texturizing spray on the ends. Fluff with your fingers. It’s faster than the first day!
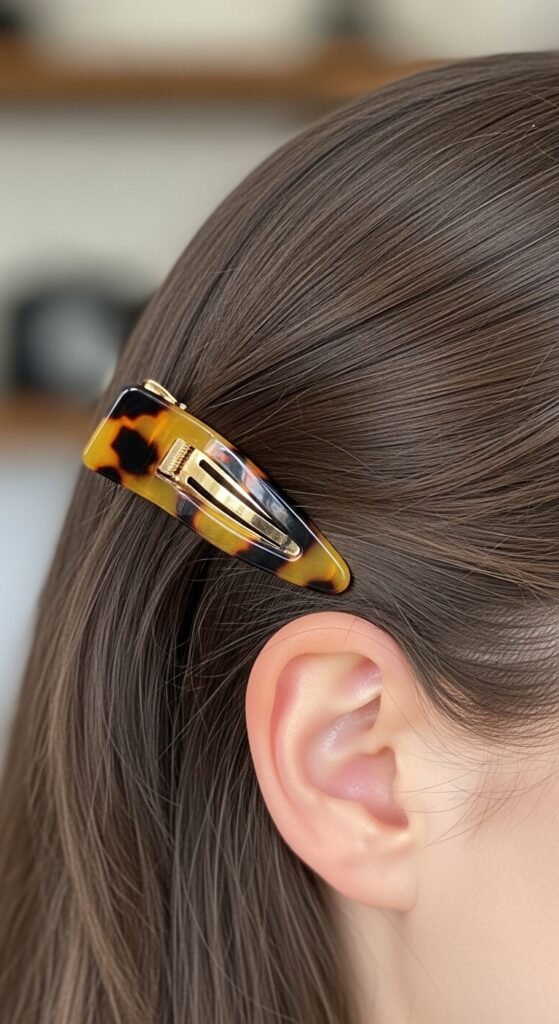
Accessorize Your Flip
A simple accessory can elevate this look instantly. Try a delicate barrette or a thin headband on the side opposite the flip.
This anchors the style and adds a touch of personality. It can take it from daytime casual to dinner-ready in seconds.
For a bolder look, try a silk scarf tied as a headband. Tuck the ends behind your ears on the side of the flip to keep the focus on your bangs.
Common Mistakes to Avoid
- Using too small of an iron: This creates tight ringlets, not soft beach waves. Stick to 1 inch or wider.
- Curling wet or damp hair: It won’t set, and you risk heat damage. Bone dry only.
- Brushing right after styling: This flattens the wave and creates frizz. Always finger-comb.
- Overloading with product: Heavy gels or waxes kill the effortless bounce. Use lightweight formulas.
Your Quick 5-Minute Routine
- Spritz dry, clean bangs with heat protectant.
- Section bangs into two vertical parts.
- Wave underlayer away from face with flat iron. Let cool.
- Wave top layer towards face, then immediately flip it over. Let cool.
- Break up waves with fingers, add a light hairspray mist.
That’s it! Five minutes max once you get the hang of it. It’s faster than doing a full head of curls and makes just as big an impact.
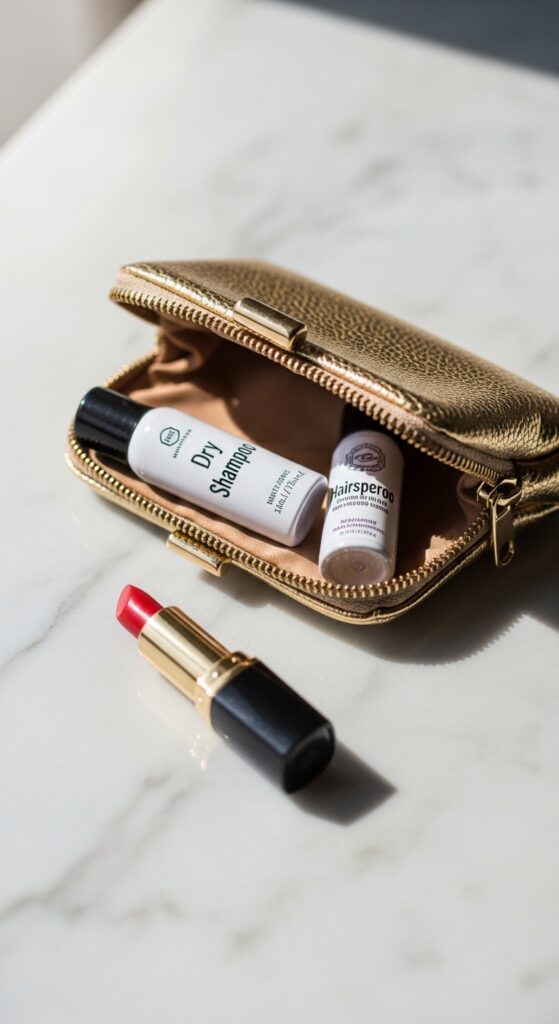
Making It Last All Day & Night
For all-day hold, that initial cool-down is everything. If you’re going out after work, toss a travel-size dry shampoo and mini hairspray in your bag.
If your bangs get oily or flat, a quick puff of dry shampoo at the roots will absorb oil and add back volume. No need to re-curl.
For a night out, you can redefine the flip by quickly clamping just the top layer with the flat iron again, repeating the “flip” step. It takes 60 seconds.
This is Your New Signature Move
Honestly, once you master this, you’ll find yourself doing it automatically. It becomes one of those trusty style tricks, like knowing your perfect red lipstick shade.
It works for virtually every occasion and adapts to your mood—neat or messy, polished or edgy. It’s a small detail that makes you look and feel pulled together.
In a world of complicated 2026 hairstyles trends, sometimes the best one is the simple, flattering trick that just works. This is that trick.