From Frizzy To Fabulous Using The Curl Cream Method That Actually Works
Let’s be real: frizzy hair can feel like your hair is doing its own thing while your outfit is doing something else. I’ve been there so many times. But here’s the good news. You don’t need a fancy salon or a million products to fix it. You just need the right curl cream method to go from frizzy to fabulous.
I used to fight my waves with extra heat and heavy oils. Then I learned this simple routine that calms frizz, boosts definition, and keeps curls soft for days. It’s the same method I recommend to friends who ask why their curls never look like they do in their head.
This post is a quick, no-fluff guide. We’ll cover the method step by step, the mistakes that cause frizz, and how to make your hair look amazing. You’ll be ready to try it tonight.
Why Frizz Happens in the First Place

Frizz is basically your hair asking for moisture. When the outer layer of each strand is raised, humidity gets in, and everything swells in different directions. Add a little friction from your towel or pillowcase, and you get a fluffy mess.
The good news? You don’t have to live with it. Your hair still has its natural shape; it just needs the right products and a gentle touch. The curl cream method fixes that by helping your strands clump together and stay calm. It also makes your hair look softer and shinier, not weighed down.
Once you understand this, you’ll stop throwing random products at it. You’ll start working with your curl pattern, not against it. That shift alone makes a huge difference on a bad frizz day.
What Is the Curl Cream Method?
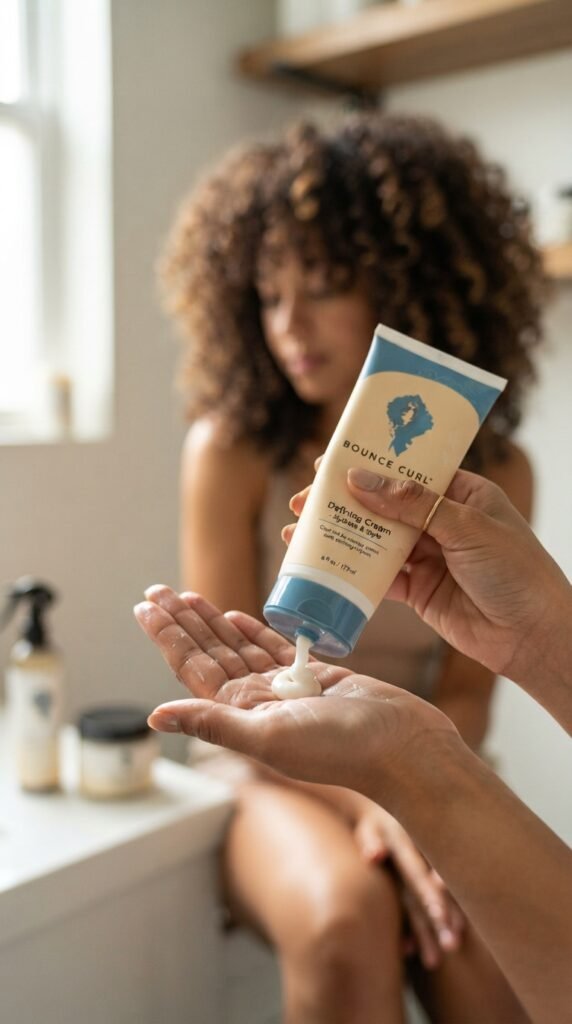
The curl cream method is a simple way to style your hair using one cream product and a few specific steps. It’s not about layering ten things. It’s about using the right amount of cream, putting it on wet hair, and letting it set into soft, touchable curls.
Most people skip this because they think curl cream is heavy. But the secret is in the technique. You apply it evenly, then encourage your curls to form by squishing and scrunching. You aren’t forcing hair into a shape. You’re just waking up what’s already there.
This method works on waves, curls, and coily textures. It also helps you stretch wash days because your hair stays defined for much longer. And once you learn it, you can adapt it to almost any hair goal.
Everything You Need Before You Start
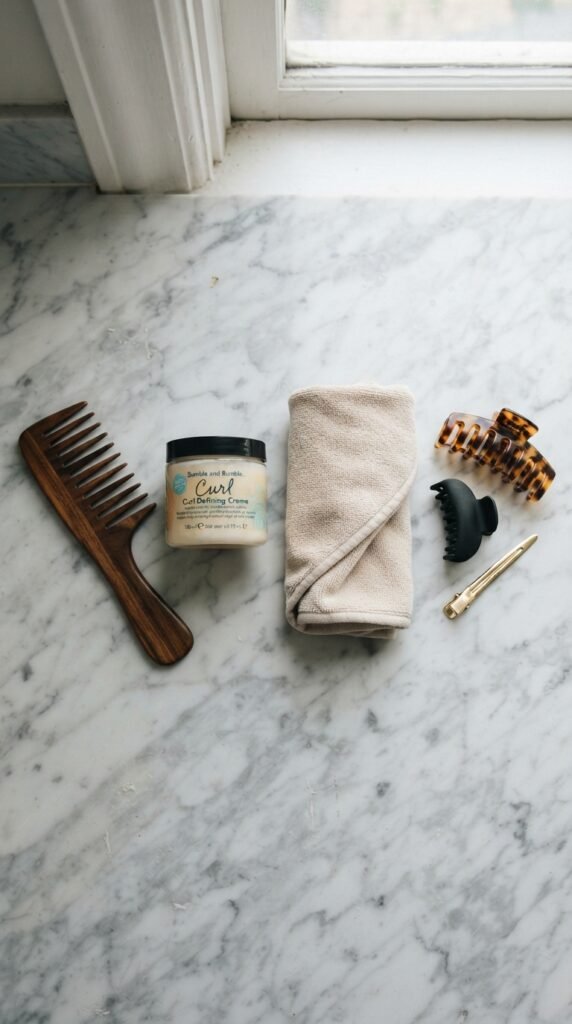
Before you jump in, grab a few basics. You don’t need a full salon kit, but these things make a real difference. These are the same basics I use when I teach this routine to friends:
- A sulfate-free shampoo and conditioner
- A good curl cream with light moisture
- A microfiber towel or an old cotton t-shirt
- A wide-tooth comb or wet brush
- A few hair clips to section your hair
- A diffuser attachment if you use a blow dryer
That’s it. You probably already have most of this at home. If you’re shopping for new products, look for something labeled for curls or waves, and don’t think you have to spend a lot. Setting yourself up with the right tools is half the battle. The other half is the simple method you’re about to try.
Step 1: Wash With a Gentle Shampoo
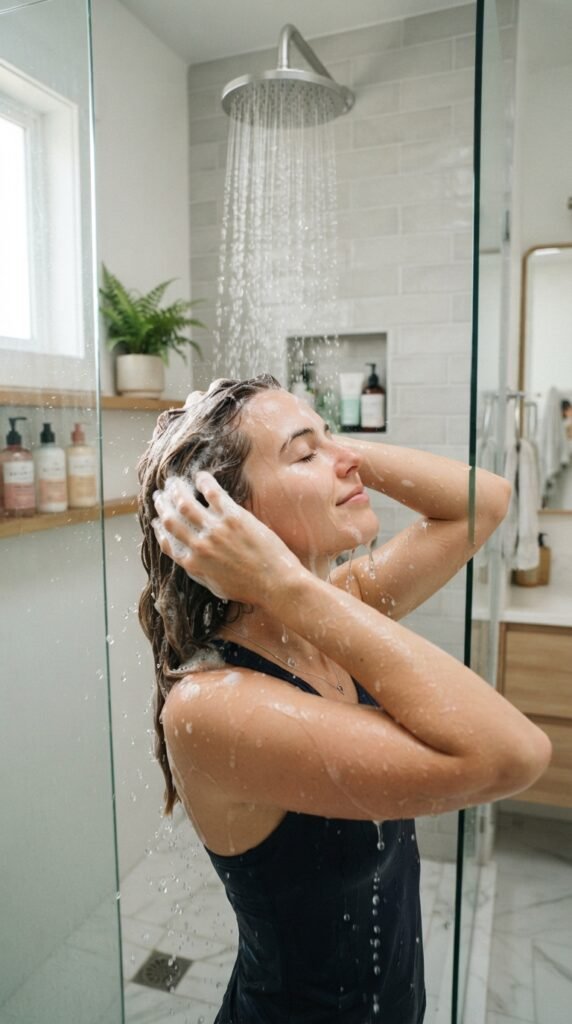
Start with a shampoo that doesn’t strip your hair. Harsh sulfates can leave your strands rough and thirsty before you even style. That sets you up for frizz from the very first step, so choose something gentle if you can.
Massage your scalp gently and let the suds rinse down the lengths. Don’t scrub your ends like you’re scrubbing a pan. Hair is delicate, especially when it’s wet, and rough rubbing only makes the cuticle puff up.
Follow with conditioner from the middle to the ends. Leave it on for a couple of minutes while you finish your shower. This gives your hair a good drink of moisture so your cream can do its job later. You want clean but not squeaky.
Step 2: Squish to Condish
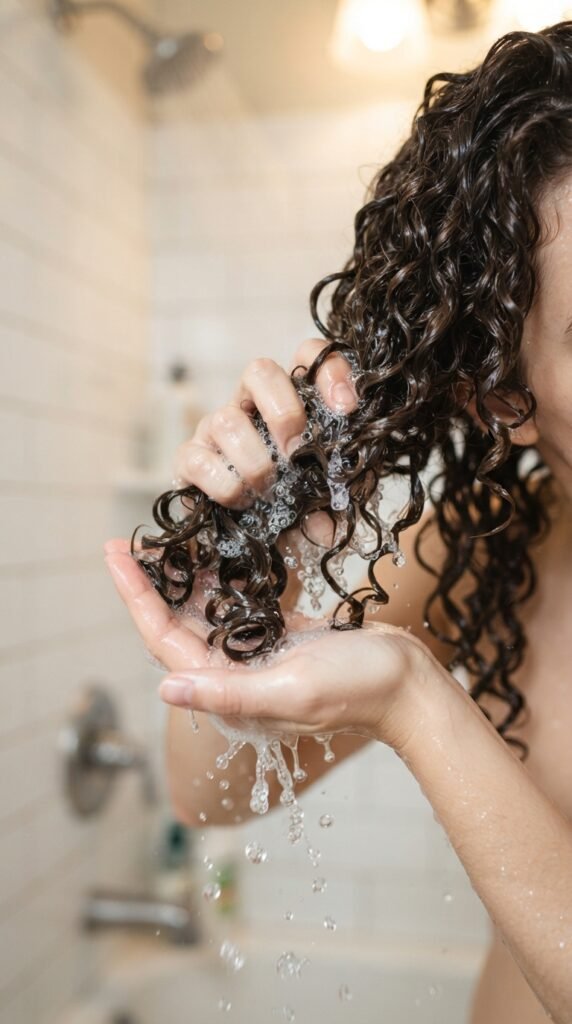
This step sounds funny, but it works. With your conditioner still in, add a little more water to your hands and gently squish your hair upward toward your scalp. This is called squish to condish, and it’s a favorite trick among curly hair lovers.
It helps your hair soak up conditioner instead of letting it just sit on top. It also encourages your natural wave or curl pattern to start forming before you even step out of the shower. You’ll feel your curls start to clump together.
When you feel those clumps, stop touching your hair too much. Let it hold the shape and move on to the next step. Your future curls will thank you.
Step 3: Apply Your Curl Cream in Sections
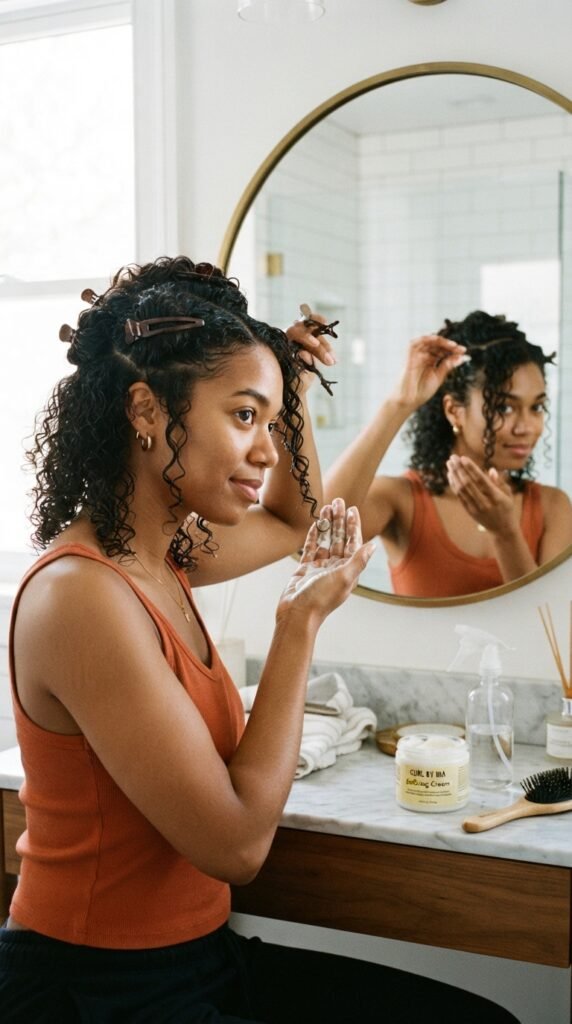
After you rinse, flip your head upside down and gently rake a small amount of curl cream through your hair. But don’t just rub it all over your palms and hope for the best. Sectioning is what takes this from messy to reliable.
Use clips to divide your hair into four to six sections. Work on one at a time. Glide the cream over each section, then shake it gently with your fingers to wake up the curls. This helps every strand get covered without piling product in one spot.
Working in sections also uses less cream because you can see exactly where it’s going. Take your time here. This step is what makes or breaks your curl clumps.
Step 4: Brush Up and Away for Clumpier Curls
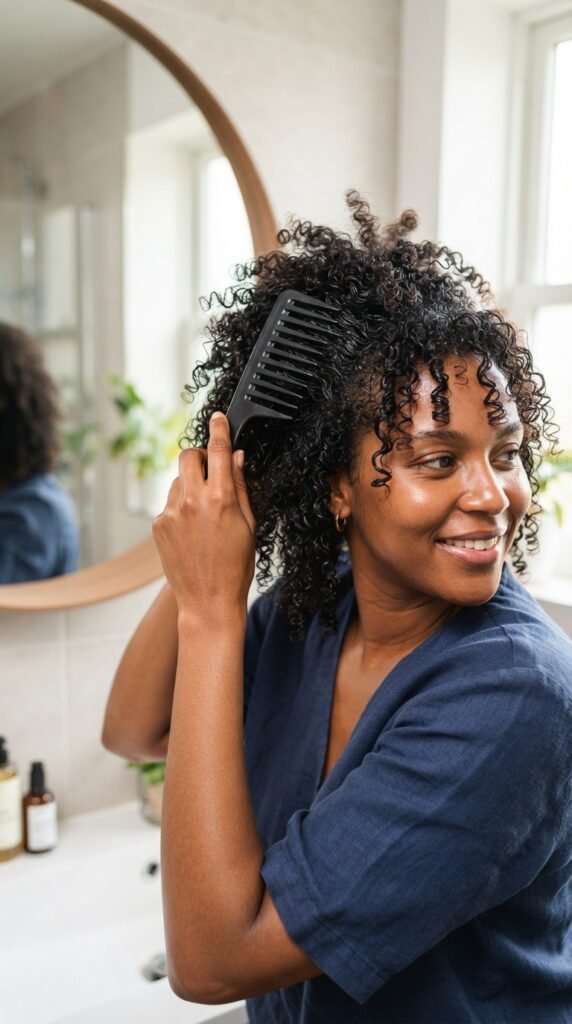
Now it’s time to form the clumps. With your curl cream in place, take a wide-tooth comb or a wet brush and brush each section upward and slightly outward from your scalp.
This distributes the cream evenly and aligns the strands before they dry. It also helps curls form around each other, which means fewer little flyaways and more defined chunks. You should start seeing waves or curls tighten up as you go. Don’t be afraid to re-wet a section if it dries out.
If you want looser waves, use a softer brush or only brush halfway up. If you want more bounce, brush with a little curve and let the hair spring back. This simple step is a total game changer.
Step 5: Scrunch, Cup, and Pray
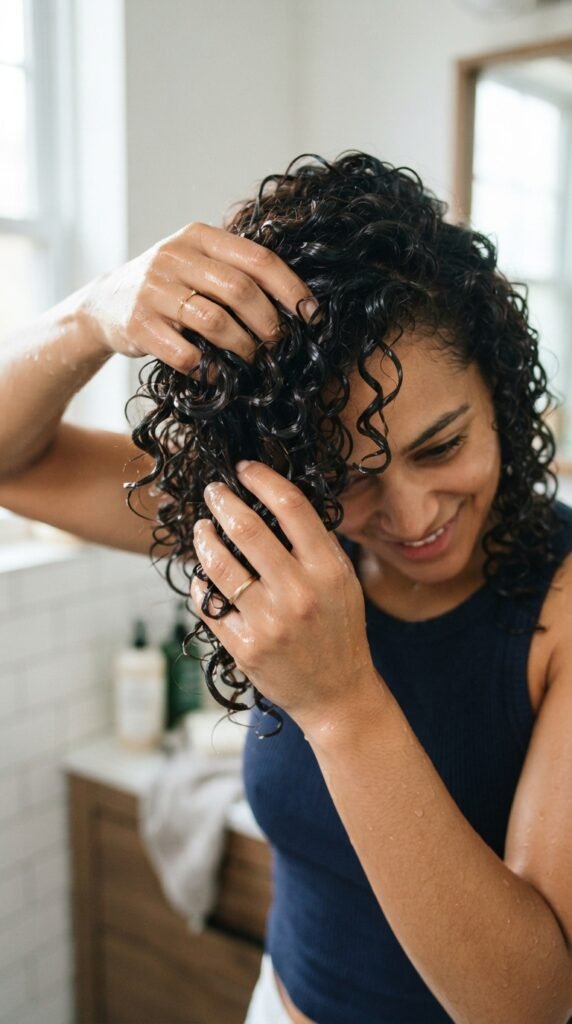
Here’s where the good stuff happens. Cup your hands around a section of hair and push upward so the hair squishes into your hands. Hold for a second, then release. Repeat a few times until you feel the curl spring back.
You’ll hear a juicy squish sound, and that’s a great sign. It means your hair has enough water and product to form strong, defined curls. Don’t be afraid to really scrunch, but keep your hands cupped instead of grabbing or pulling.
If your ends still look thirsty, add a tiny bit of extra cream to them and scrunch again. Then move on to drying. This step sets the shape you’ll keep for the next few days.
Step 6: Dry Without the Drama
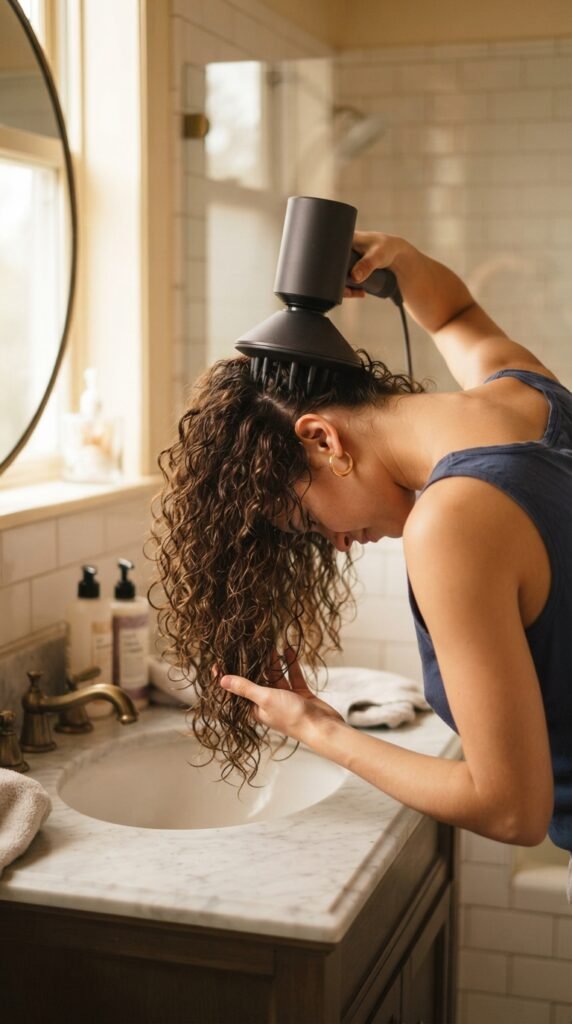
Now for the easiest way to wreck all that work: rubbing your hair with a regular towel. Please don’t do that. Use a microfiber towel or a t-shirt to gently squeeze out extra water before drying.
If you’re using a diffuser, set it to low heat and low airflow. Press the bowl against your hair, lift it toward your scalp, and hold for a few seconds. Move slowly so the curls can set without bouncing around.
If you want to air dry, squeeze out the extra moisture first and let your curls fall naturally. Try not to touch them while they dry. Once they’re dry, you’ll thank yourself for being patient.
Step 7: Break the Cast

Once your hair is fully dry, it might feel a little crunchy. That’s the curl cream forming a soft cast to hold the shape. Don’t panic. That cast is your friend and it’s exactly what keeps frizz away.
Take a tiny drop of light oil or serum and warm it between your hands. Gently scrunch your curls from the bottom up, squeezing the crunch away. You’ll feel your hair go from set to soft and shiny.
If you skip this step, your hair may look stiff. If you use too much oil, you might lose the hold. Start with a pea-sized amount and only add more if the ends are still dry.
How Much Curl Cream Should You Actually Use?
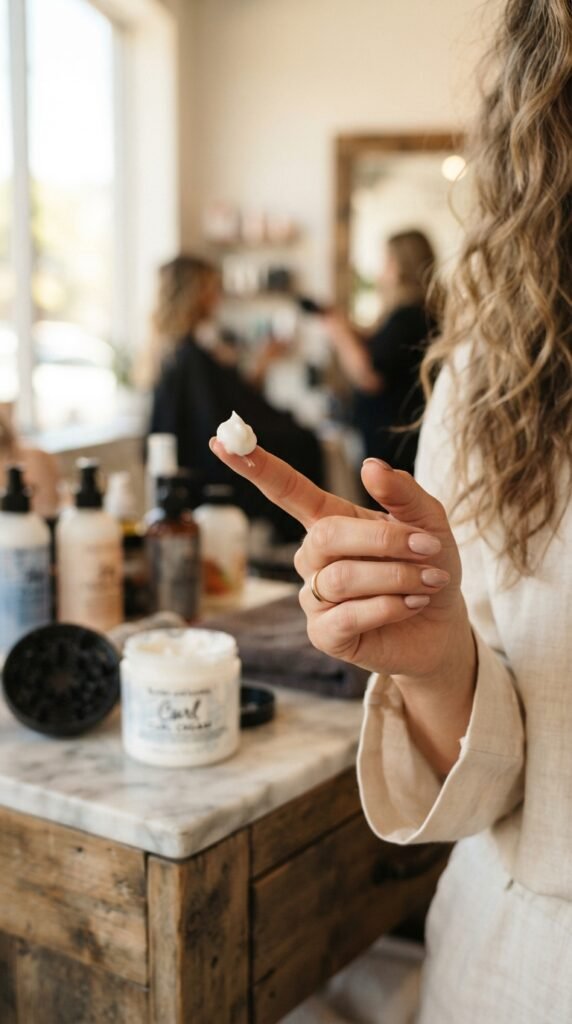
The number one mistake people make is using too much. More product does not mean more hold. It just means heavy, greasy hair that loses its bounce. Start small and add only when your hair feels dry or thirsty.
A good rule: start with a coin-sized amount for the whole head if your hair is fine. If your hair is thick or coily, aim for a bit more. You can always add, but it’s basically impossible to subtract after it dries.
Focus the cream on your mid-lengths and ends. The root area usually doesn’t need it, and too much there can flatten your volume. If your hair still feels dry later, adjust your water and conditioner first, not your cream.
Curl Cream Ingredients That Actually Work
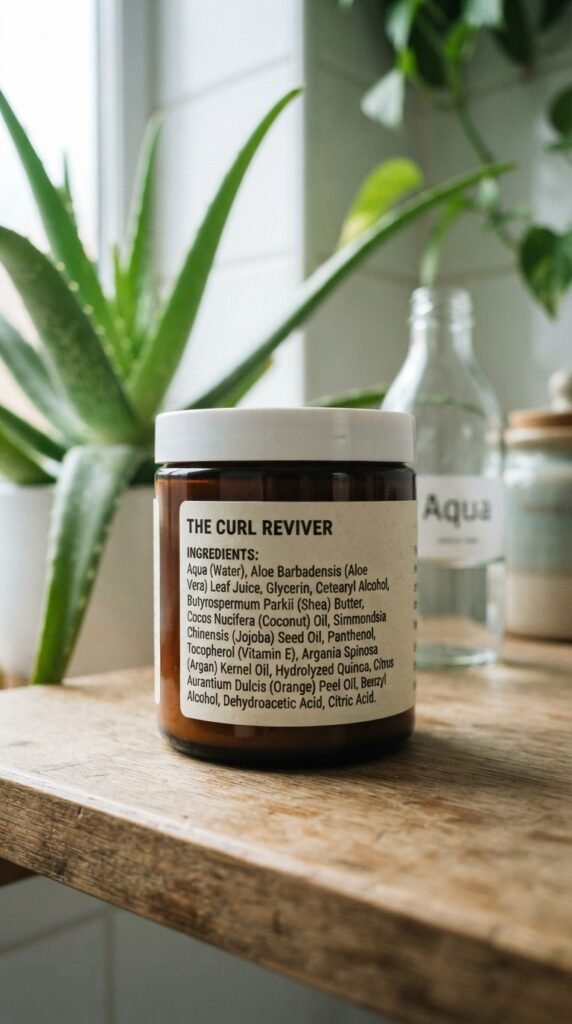
Not all curl creams are created equal. Some are heavy and filled with waxes that coat your hair over time. The best ones focus on moisture and light hold, so your curls stay soft instead of stiff.
Look for ingredients like aloe vera, shea butter, glycerin, and coconut oil. These help soften and define without feeling like paste. Avoid too many silicones or drying alcohols if your hair tends to get frizzy.
A little silicone isn’t bad, but a long list can build up fast. If you have wavy hair, choose a lighter cream with aloe or glycerin. If you have curly or coily hair, you might love shea butter or a cream enriched with oils.
Big Mistakes That Make Frizz Worse

Let’s talk about what not to do, because fixing frizz is just as much about stopping habits as adding new ones. If one of these sounds familiar, you can change it starting today.
- Brushing your hair when it’s dry
- Touching your curls over and over while they dry
- Using a regular towel to dry your hair
- Blow drying without a diffuser on high heat
- Skipping water before applying cream
These are the usual suspects. I did all of them for years, so no judgment. Change one habit at a time. Even swapping your towel for an old t-shirt helps. The curl cream method works best as a whole routine, but every good habit counts. Your hair is not impossible; it’s just been fighting your old routine. That’s a win.
The Method for Wavy Hair

If your hair is wavy, you might love this method with a few tweaks. Waves dry faster and weigh down easier, so go light on the cream. A dime-sized amount is usually enough for the whole head.
Apply the cream mainly from the ears down. Skip heavy butters and stick to watery or milky curl creams. Aloe-based formulas are great too, and they won’t flatten your natural wave pattern.
After you brush through, scrunch less than you think. A few gentle presses help wavy hair form loose S shapes without going overboard. And don’t rake your fingers through your hair after it’s halfway dry. That’s how waves turn into frizz.
The Method for Coily and Textured Hair
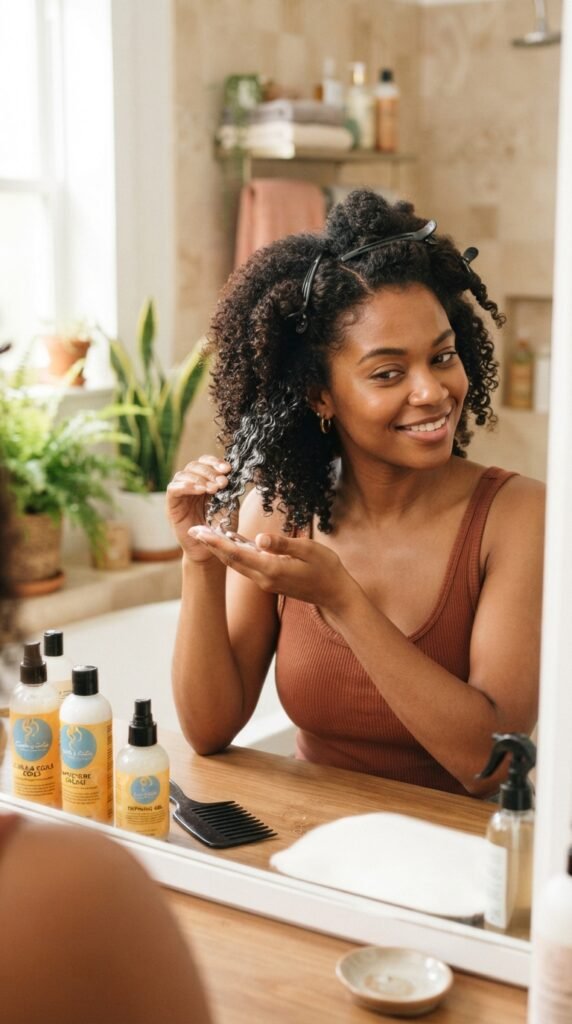
For coily and textured hair, this method is all about moisture and patience. Your hair tends to love richer creams, especially ones with shea butter or avocado oil. Don’t be shy about hydration.
Work in even smaller sections so the product actually gets everywhere. Water is super important here. If your hair starts drying while you style, spray it with a little water to keep it smooth and manageable.
Use more cream than a wavy would, but still work it in slowly. You want definition and a soft hold, not a coated feel. And when you break the cast, use a little more oil than you would with loose waves. Your curls deserve extra shine.
Quick Fix: Frizzy Roots Without a Full Wash Day
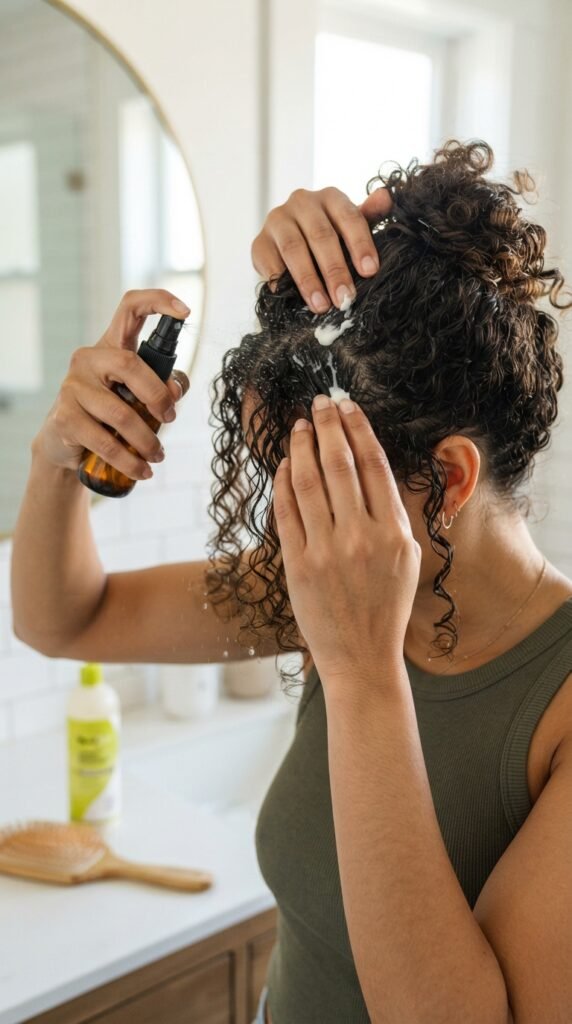
Frizz at the roots can happen by day two, even if the rest of your curls look great. The easy fix is to spritz your roots lightly with water and smooth them with a tiny bit of curl cream.
Rub the cream between your fingertips first, then press it onto the frizzy spots. Let it air dry for a minute. This helps calm the halo without disturbing the rest of your curl pattern.
For baby hairs that are doing too much, use a tiny bit of water on an old toothbrush and smooth them down. The goal is not perfection. It’s just making your hair feel fresh until the next wash day.
Day Two and Three Refreshing
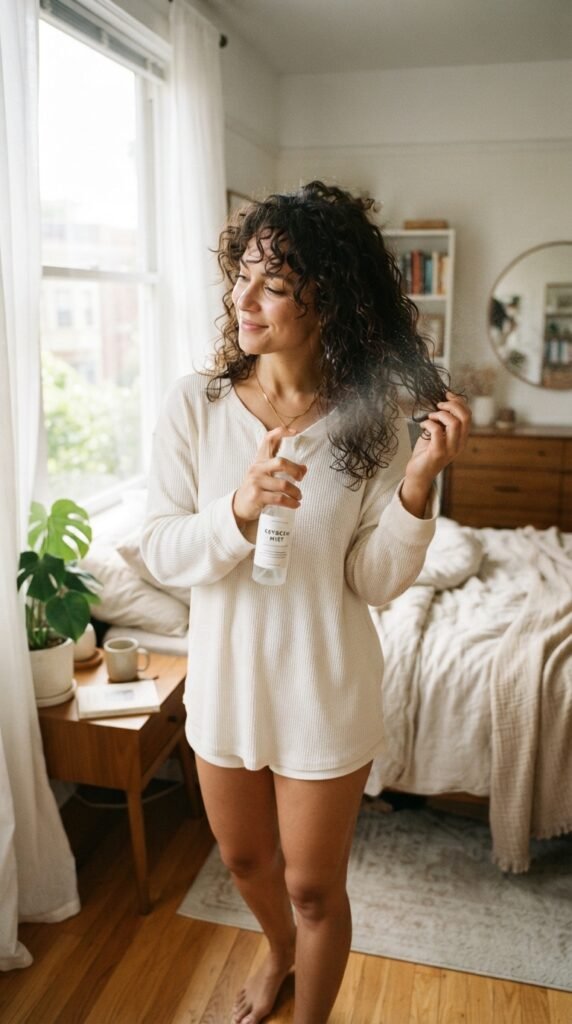
You can absolutely get more than one good hair day out of this method. At night, pile your hair on top of your head in a pineapple or loose bun. Use a silk or satin pillowcase to reduce friction while you sleep.
In the morning, lightly mist your curls with water until they feel damp but not soaked. If they need extra life, add a little curl cream mixed with water in your hands and smooth over the exterior. Then scrunch gently and let your hair re-dry.
You’re basically rebooting the style instead of starting over. This refresh trick works with many cuts and styles, so you don’t have to stress about washing your hair every single day.
This Method Works With 2026 Hairstyles
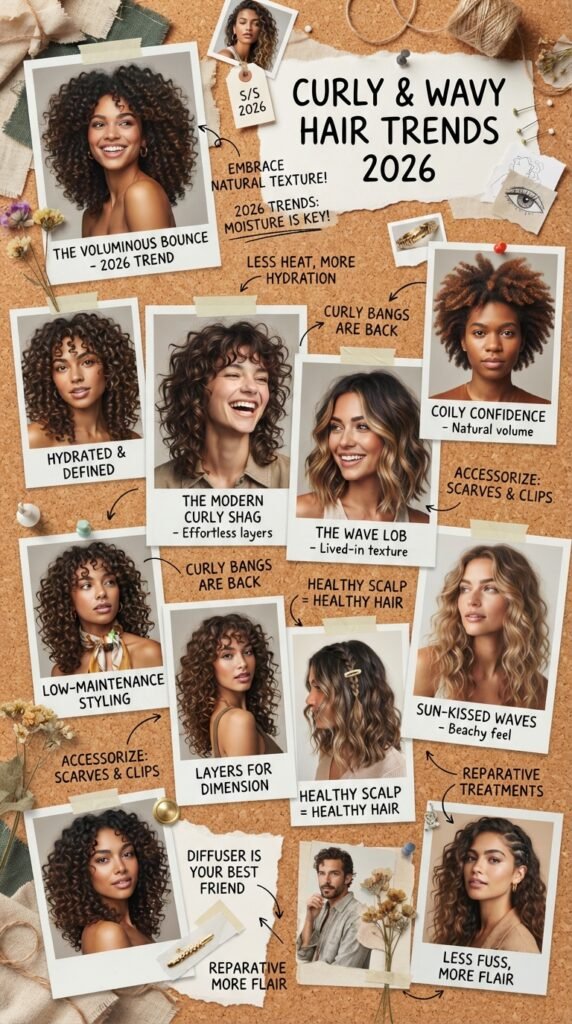
The best part of the curl cream method is that it doesn’t fight your haircut. It makes your current style look more polished, which is a big reason it pairs so well with 2026 hairstyles.
Trends are moving toward personal, natural texture. Whether you have a shoulder-length cut or grown-out bangs, defined curls can make every style feel intentional. That’s the quiet confident energy so many people are chasing. You don’t need to change your whole look to be trendy.
If you’ve been inspired by those glossy, lived-in styles online, start with your curls. Healthy definition is the foundation behind almost every 2026 hairstyle worth trying.
The Old Money Hair and Quiet Luxury Bob Connection

Two big vibes right now are old money hair and the quiet luxury bob. Both feel expensive, understated, and very manageable. That’s exactly what this method can bring to the table.
With a quiet luxury bob, you can use the curl cream method to create loose, soft bends instead of tight ringlets. The result looks polished but not too done. It still has that effortless rich-girl energy everyone loves.
For old money hair, the key is shine and smoothness. The right curl cream helps keep your strands calm and glossy without looking like you tried hard. So even if your hair is short, this method still applies.
Let’s Talk About Romantic Goth and Glitchy Glam Hair

If your style is more dramatic, the curl cream method still has you covered. Romantic goth hairstyles are all about dark, romantic texture, and defined curls work beautifully with that moody vibe.
You can also lean into glitchy glam hair with small accessories, metallic pins, or strand color pops. The cream method keeps your base hair calm so these details can shine instead of getting lost in frizz.
And if you’re exploring a vampire haircut, asymmetrical lob, or hime cut, don’t think you can’t have curls. Soft waves and defined curls make those cuts feel fresher and more personal. Trends like these are about personality, and your frizz-free curls are part of the story.
A Little Note Before You Go
Frizzy hair can make you feel like you’re fighting your reflection, but I promise it gets easier. The curl cream method isn’t about chasing perfect curls. It’s about giving your hair the simple care it’s been asking for.
Try it once, maybe on a weekend when you have time. See how your hair reacts. Then adjust from there. It doesn’t take long to notice fewer flyaways and more bounce. You’ve got this. No professional skills needed, just a little patience and a curl cream that listens to your hair.
Save this post to Pinterest so you can find it next wash day. And drop a comment below: what’s your biggest curl frustration? I read every single one and I’m here for it.