Soft, Modest and Photo-Ready: Hairstyles for a Christening That Let the Baby Shine
A christening is one of the softest days in a family’s life: a small baby in white, a church full of people who love them, and photographs that will be looked at for decades. The best hairstyles for a christening understand that balance — they are elegant enough for the ceremony and the family photographs, modest enough for church, and practical enough to survive holding a baby, hugging relatives and an afternoon of celebration.
That balance is trickier than it sounds. Wear your hair too casually and you feel underdressed next to the christening gown and the formal photographs; wear it too formally and you risk looking like you dressed for a wedding instead of a christening. The styles that work best sit exactly in between — a low chignon, soft waves, a braided bun, a half-up twist with a single pearl pin. They hold through the service, the photographs and the reception, and they let you forget about your hair and enjoy the day.
Below, you will find the thinking first — what makes a style church-appropriate, how mum, godmother and guest should style differently, and how to keep your hair neat while holding the baby — and then 44 hairstyles to choose from, for short, medium and long hair, straight, wavy and curly, plus gentle ideas for little girls. Pick one that suits your hair, your role and your day, try it once before the christening, and then enjoy the celebration.
What Makes a Style Church-Appropriate?
A christening is a church ceremony first and a family celebration second, so the most fitting hair is neat, modest and calm. That does not mean dull — it means nothing loud, nothing that needs constant fixing, and nothing that draws the eye away from the baby and the font. A smooth low bun, a soft chignon or gentle waves will always look right in a pew.
Think about the setting as you choose. Churches are often cool, still and softly lit, with tall windows and candles rather than bright spotlights. Hair that is smooth at the front and softly shaped at the back photographs beautifully in that light, while a very high, spiky or heavily gelled style can look harsh and out of place.
Quick verdict: if your style would look at home at a wedding, it is probably too much for a christening; if it would look right at a smart family lunch, it is probably perfect. Choose one notch below wedding formal, and you will never feel overdressed in church.
Hair for Mum, Godmother and Guest: Who Wears What?
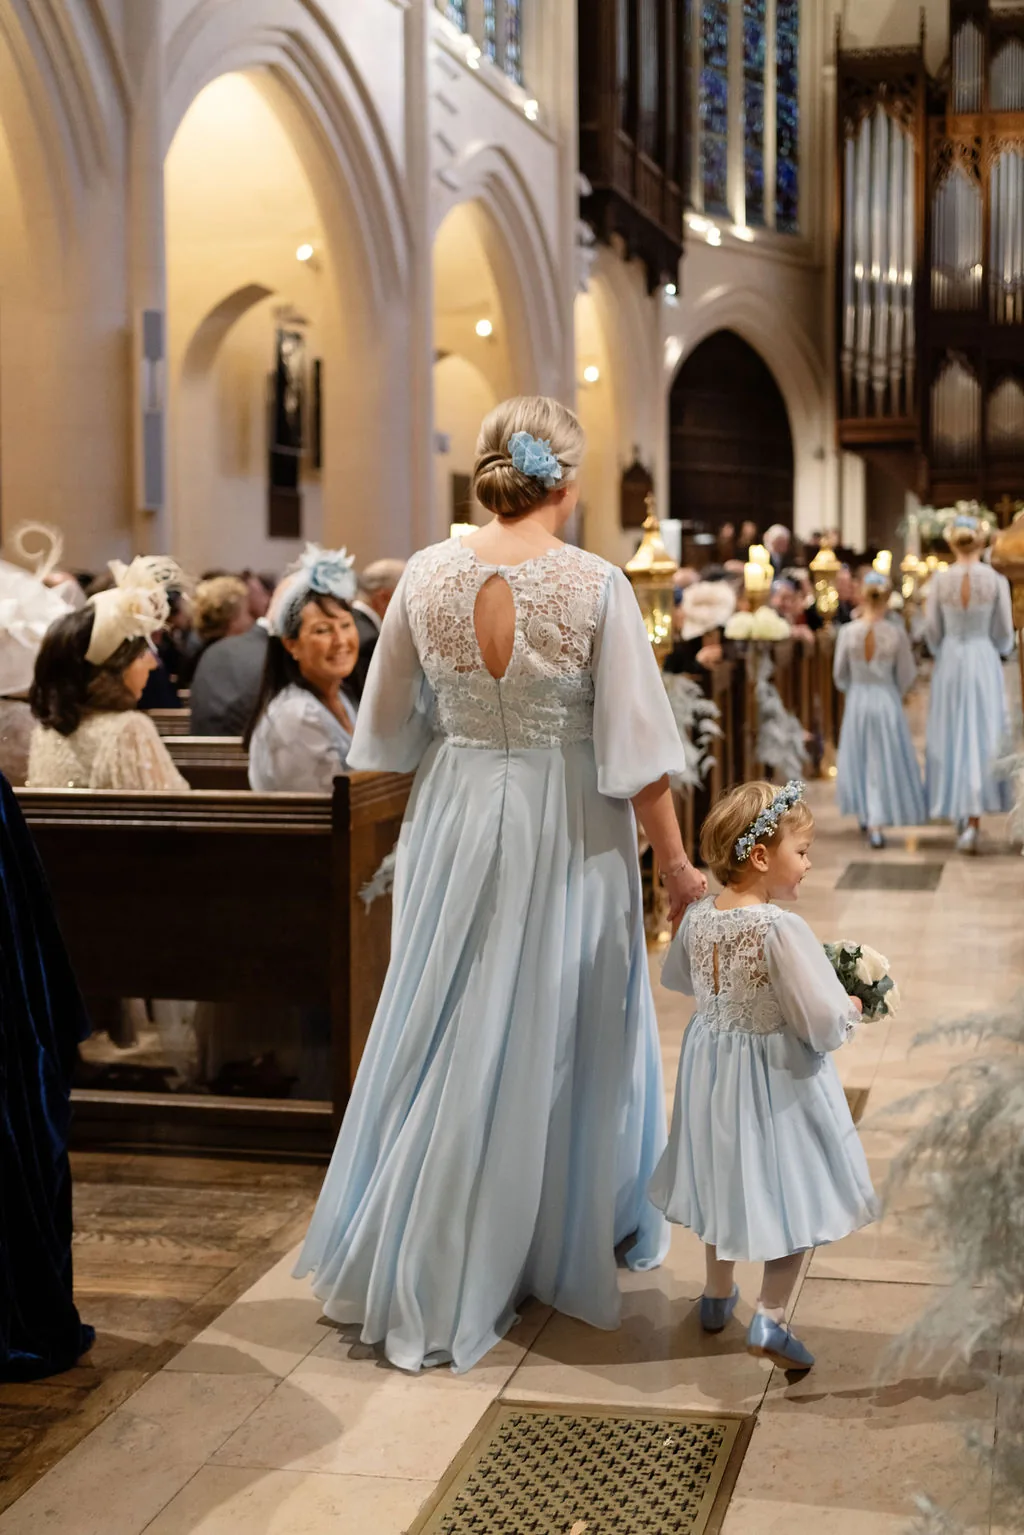
Mum, godmother and guest all deserve to look lovely on the day, but their hair does not need to work equally hard. Mum will be holding the baby, leaning over the font and posing for most of the photos, so she needs a style that stays put and keeps hair out of the baby’s face. A low bun or a pinned-up style is the practical, elegant answer.
The godmother stands beside the family throughout the ceremony and appears in the formal photographs, so a polished, slightly more finished style suits her — a soft chignon, a twisted low bun or a neat half-up twist with a pearl pin. Guests have the most freedom: anything neat and modest works, from soft waves to a low ponytail with curled ends.
Best for: everyone, as long as each person picks for their role. Mum should prioritise hold and comfort, the godmother polish and photographs, and guests simply need something tidy that will not need attention during the service.
Holding the Baby Without Ruining Your Hair
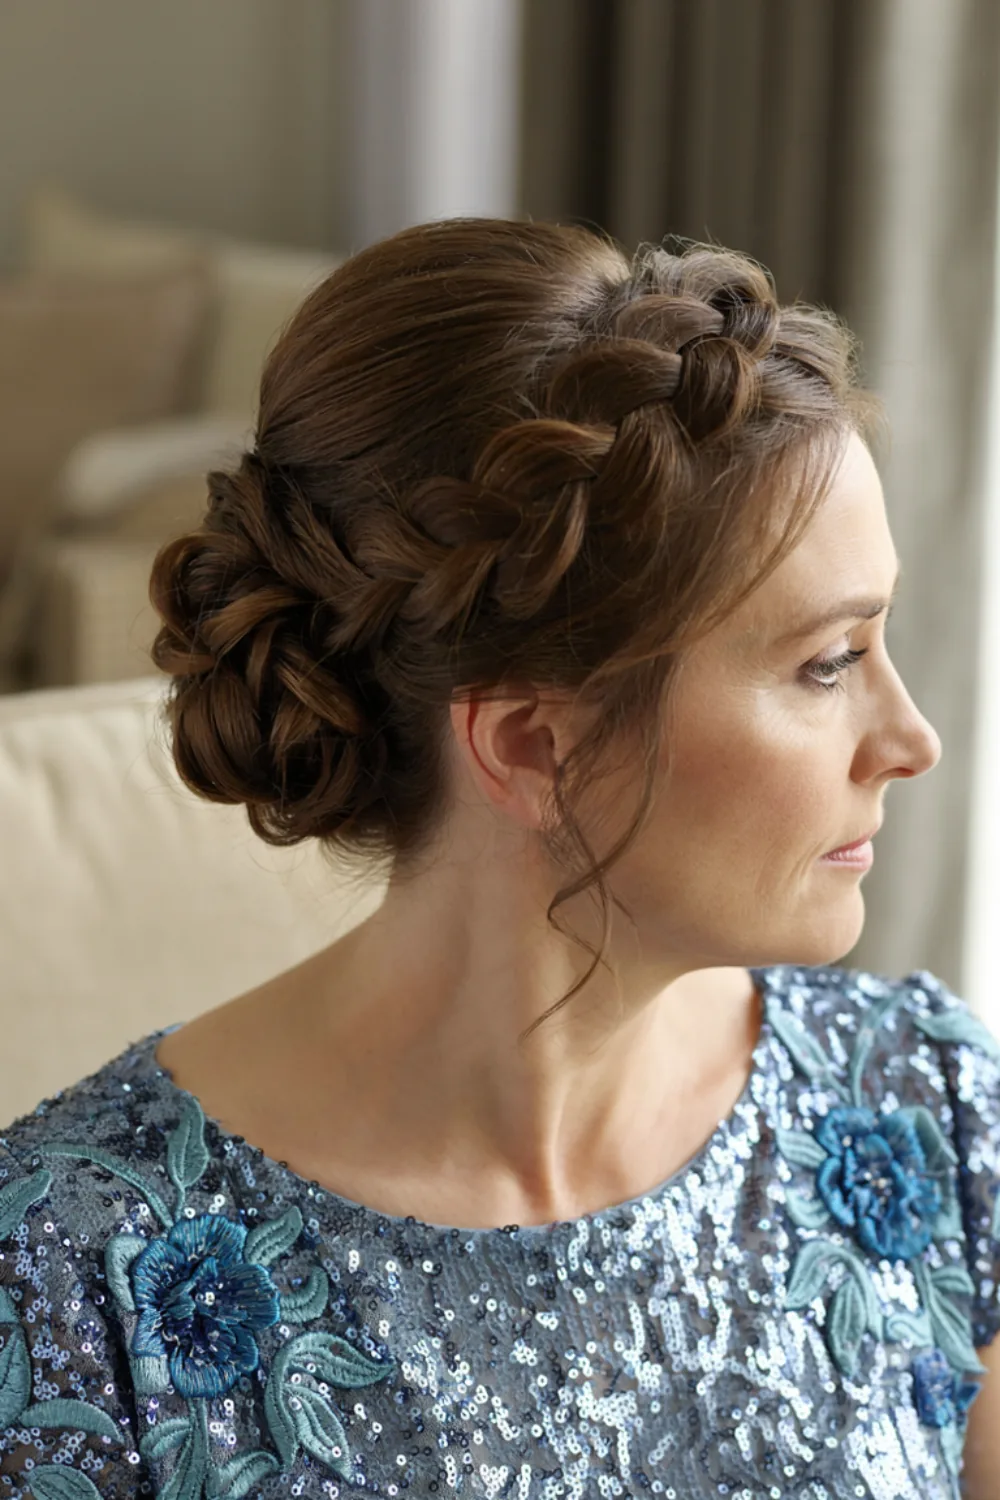
Nothing tests a hairstyle like holding a wriggling baby in a long christening gown. Little hands grab at anything within reach, and a style that sits loose around the face will be pulled, tugged and dismantled within minutes. If you will be holding the baby at all, wear your hair up — or at least pinned firmly away from your face.
A low bun, a braided updo or a French twist keeps every strand out of reach, and it also stops hair falling onto the baby’s face or into the font. Avoid long, loose curls hanging over your shoulders if you are the one carrying the baby, and skip dangly hair accessories that small fingers can pull out.
Common mistake: choosing a beautiful down style and then spending the whole service tucking it back. Pin it up, add one pretty detail like a pearl pin, and enjoy holding the baby instead of guarding your hair.
Styles That Photograph Well in Church Light
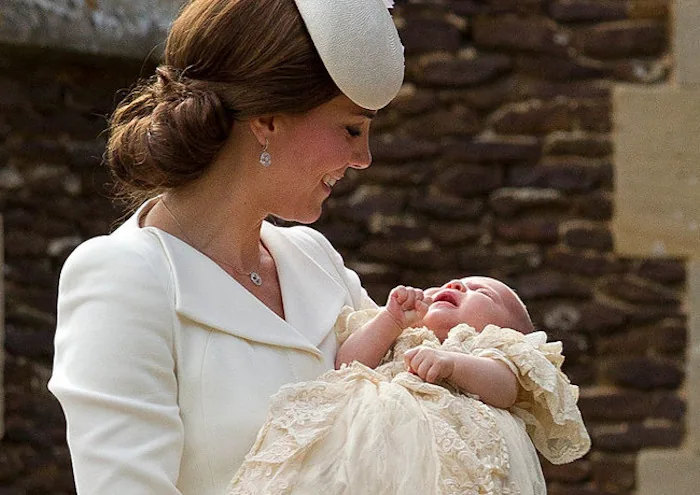
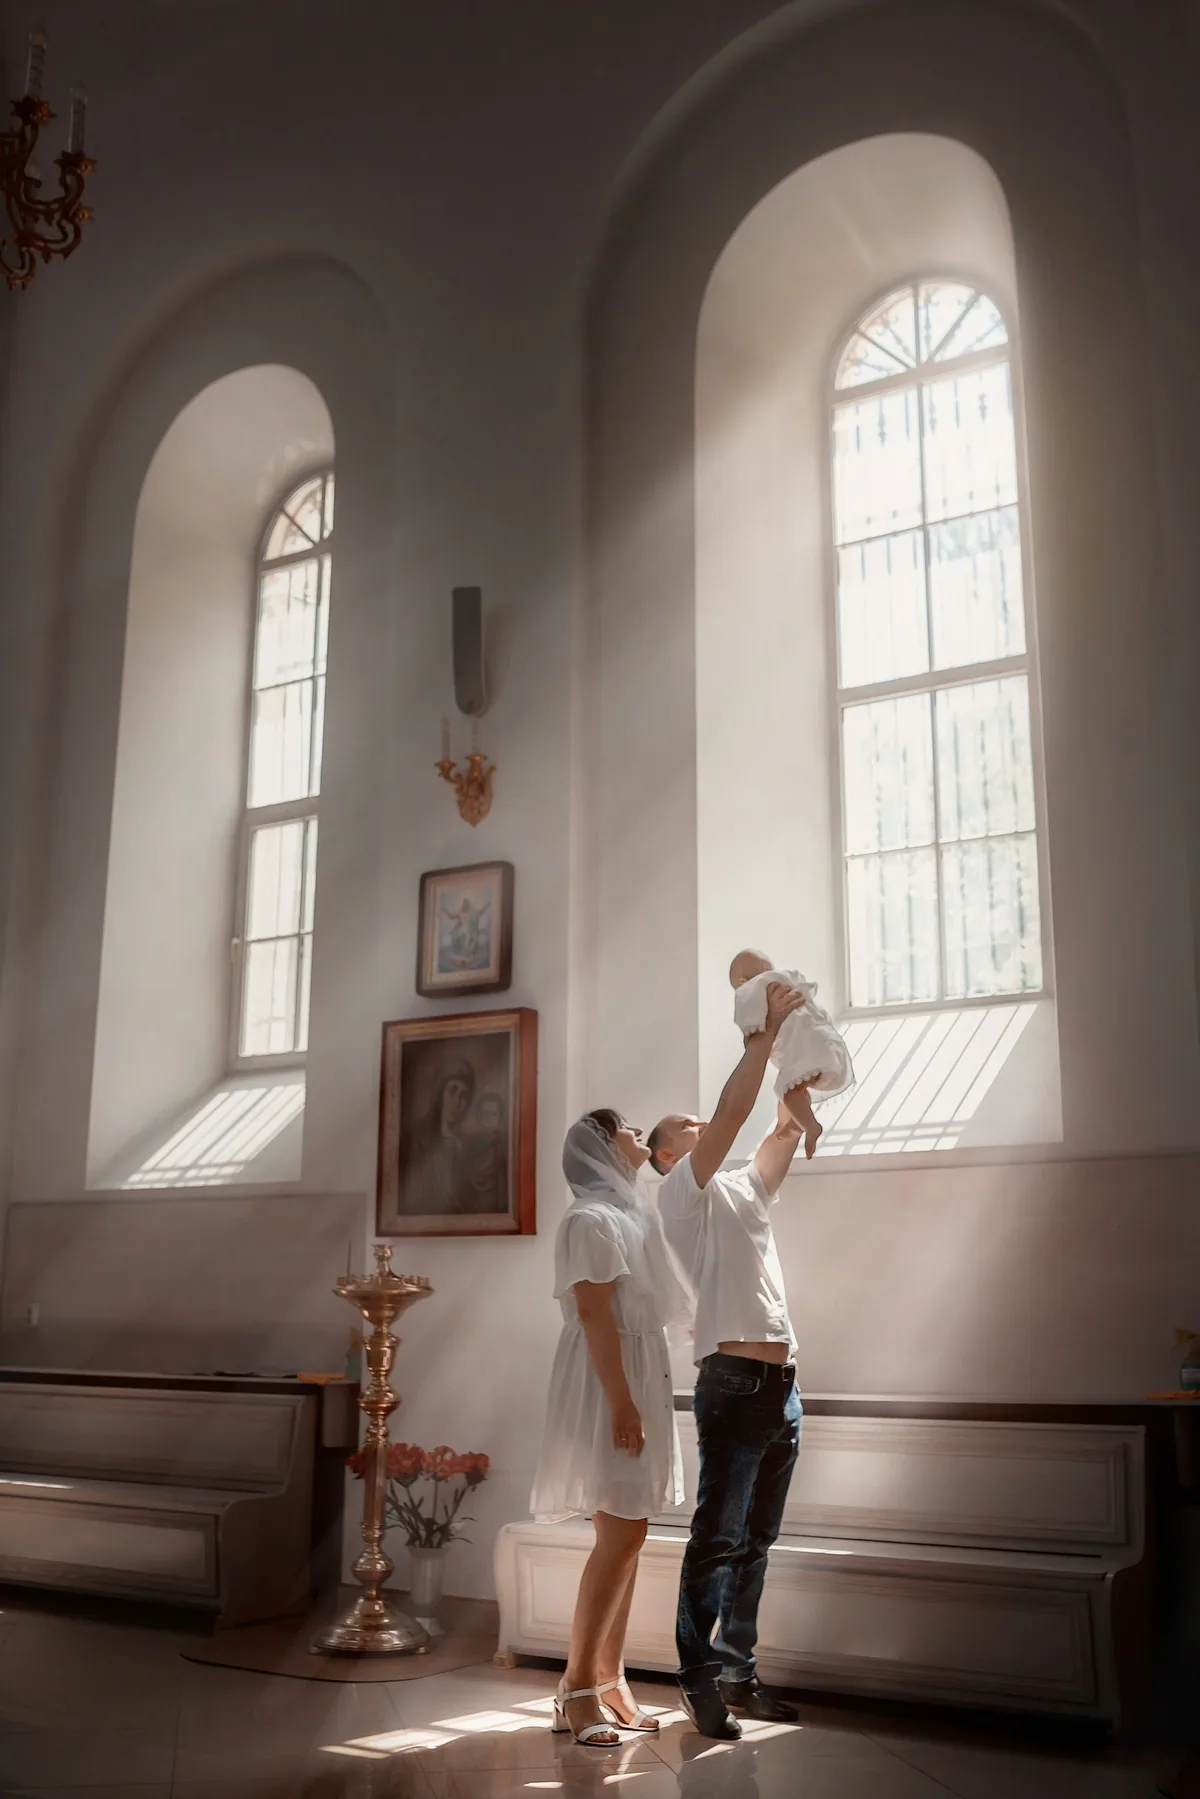
Christening photographs are taken in some of the softest, prettiest light there is — tall windows, pale stone, candles and white christening gowns. Hair with a little shine and a soft shape around the face catches that light beautifully, while hair pulled dead straight back can look severe in a flash photograph.
Soft waves, face-framing layers and a gentle side part all photograph well, as does a low bun or chignon seen from the side during the ceremony. A touch of volume at the crown helps in low light, and a little gloss spray on the lengths gives the hair a healthy shine without looking greasy.
How to check: take one photograph of yourself in soft, dim light before you leave home. If the style still has shape and softness in that light, it will look wonderful in the church and at the reception afterwards.
Hair for Little Girls at a Christening
Little girls at a christening should look sweet and comfortable, not like miniature adults. Soft braids, a low bun with a small bow, or a half-up style with a ribbon are all lovely, and they stay neat through a long service far better than hair left completely loose.
Comfort matters more than perfection for a child. Avoid tight braids that pull, heavy clips, or styles that need to be re-pinned every ten minutes. A style she can sit, play and be photographed in without complaining is the right one — and a small, soft bow or ribbon is all the decoration she needs.
Best for: flower girls, sisters and young cousins. Keep the style simple, secure it gently, and let her hair look like a child’s hair — soft, natural and happy.

Accessories That Are Tasteful, Not Flashy
Hair accessories are the easiest way to make a simple christening style feel special, and the easiest way to overdo it. One deliberate detail — a single pearl pin, a slim velvet ribbon, a small gold clip or a silk scarf — is plenty. The accessory should complement your outfit, never compete with the baby’s white gown.
What to skip: tiaras, crystal crowns, oversized floral combs and anything glittering or bridal. Those belong at weddings, not at a christening. Keep the sparkle small and the colour quiet — pearls, gold, tortoiseshell and soft neutrals all work beautifully against a modest dress.
Who should avoid bold accessories: mum and godmother most of all, since they appear in the most photographs. When the occasion is already doing the talking, let the hair be the quiet, polished support act.
Hair by Season and Venue: Church, Garden and Reception
A christening can move from a cool church to a sunny garden and then into a warm reception room, and your hair has to survive all three. The smartest styles are the ones with a built-in anchor — a braid, a bun or a pinned twist — because they hold through wind, warmth and a long afternoon of photographs.
In summer, choose an updo or a half-up style that keeps hair off your neck, and use a light-hold spray rather than a heavy one that can feel sticky in heat. In winter, you can wear your hair down more comfortably, since the church and reception will both be cool — but keep a clip handy for the walk between venues.
Cost and time: most of these styles cost nothing beyond pins, a tie and a clip you already own, and ten to twenty minutes. Save the salon blowout for the reception if you want to feel truly pampered, and enjoy every minute of it.

What to Ask Your Stylist Before the Day
If you are booking a stylist for the christening, the appointment is worth more than the style itself — it is your chance to ask the questions that decide whether the look lasts from the church to the last photograph. Bring a photo of your outfit, so the stylist can build something that complements it rather than competing with it.
Ask the practical questions: how will this hold if I am holding the baby, how long will it take, what should I do if it loosens, and what products should I avoid beforehand? Tell the stylist how long the day runs and whether the reception is outdoors — a style built for a one-hour service is not the same as one built for a five-hour celebration.
Pros and cons: a professional style photographs beautifully and lasts longer, but it costs more and needs a booking. A home style is free and flexible, but it needs a practice run. Either way, try the style once before the day — never debut an untested look at a christening.

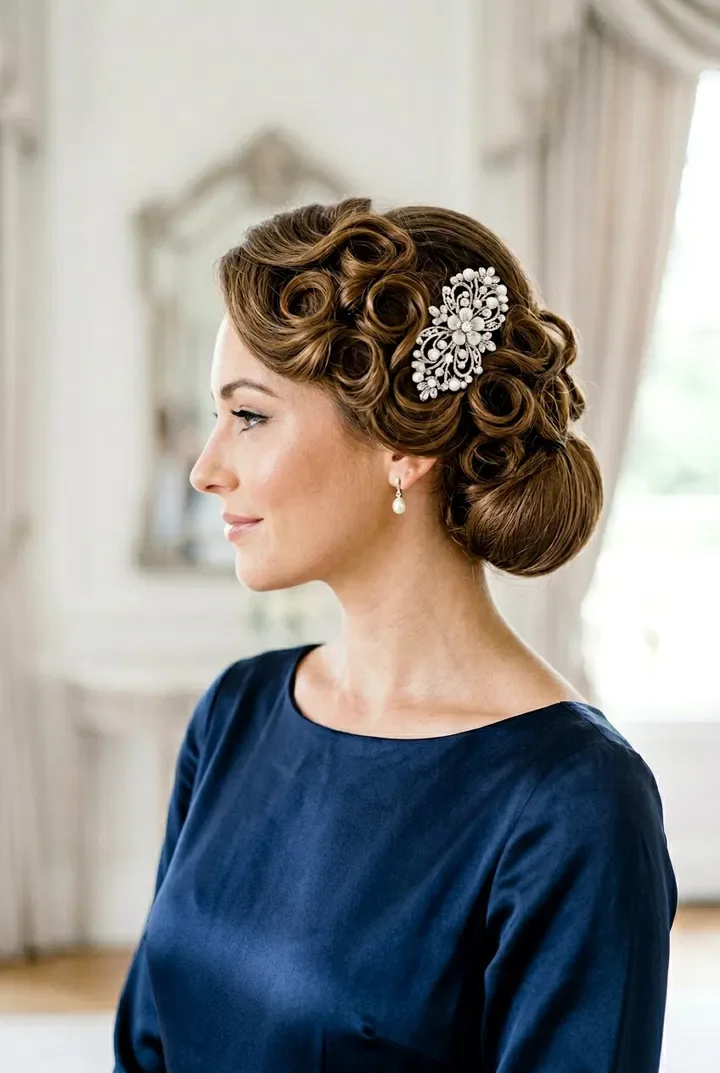
The Classic Low Chignon
The classic low chignon is the christening updo against which all others are measured. It sits neatly at the nape, looks beautiful from every angle, and carries exactly the right amount of formality for a church ceremony — polished, graceful and completely unfussy.
How to style: part your hair in the middle or to one side, smooth it back, and gather it low at the nape. Twist the length into a soft roll, fold it under and pin it firmly, leaving the front soft with a few gentle pieces framing the face. A light mist of flexible-hold spray finishes it without stiffness.
Best for: mum, godmother and any guest who wants to look timeless in the photographs. It suits almost every face shape, works with earrings and a modest neckline, and will still look perfect when the reception runs long. It also suits every hair texture, from fine to thick, because the roll can be made fuller or flatter to match what you have.
The Soft Low Bun with a Centre Part
A soft low bun with a centre part is clean, symmetrical and quietly confident — the kind of style that looks like you made an effort without trying to be noticed. The centre part keeps the look balanced in photographs, and the low bun keeps everything neatly out of the way through a long service.
Smooth the hair back with a brush and a little smoothing cream, keeping the parting dead centre, then gather it low and wrap it into a neat, compact bun. Pin it firmly and smooth any flyaways with a light-hold spray. The finish should look intentional and glossy, not scraped tight.
Quick verdict: the safest elegant choice on this list. If you are unsure what to do with your hair for the christening, choose this — it suits every outfit, every venue, and every role from godmother to honoured guest.
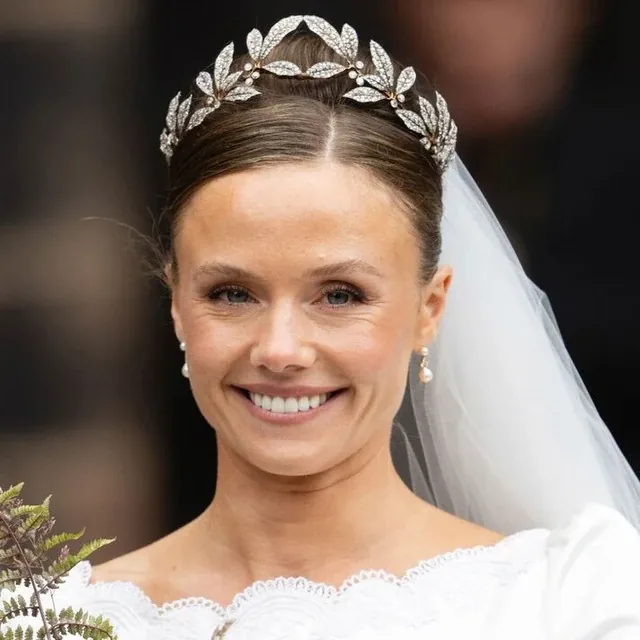
The Twisted Low Bun
The twisted low bun adds softness and interest to the simplest updo. Two gentle twists coil into a low bun at the nape, giving the style a hand-finished, romantic feel, and it holds far better than a plain bun — which matters when the day runs from church to reception.
Divide your hair into two sections, twist each one away from your face, then coil the twists together into a low bun and pin them in place. Gently pull at the twists to widen them and soften the shape, and leave one or two small pieces loose at the front for a relaxed finish.
Common mistake: twisting too tightly, which pulls at the scalp and gives you a headache by the reception. Keep the tension gentle and let the twists sit softly — the style should feel like nothing at all by the second hour.
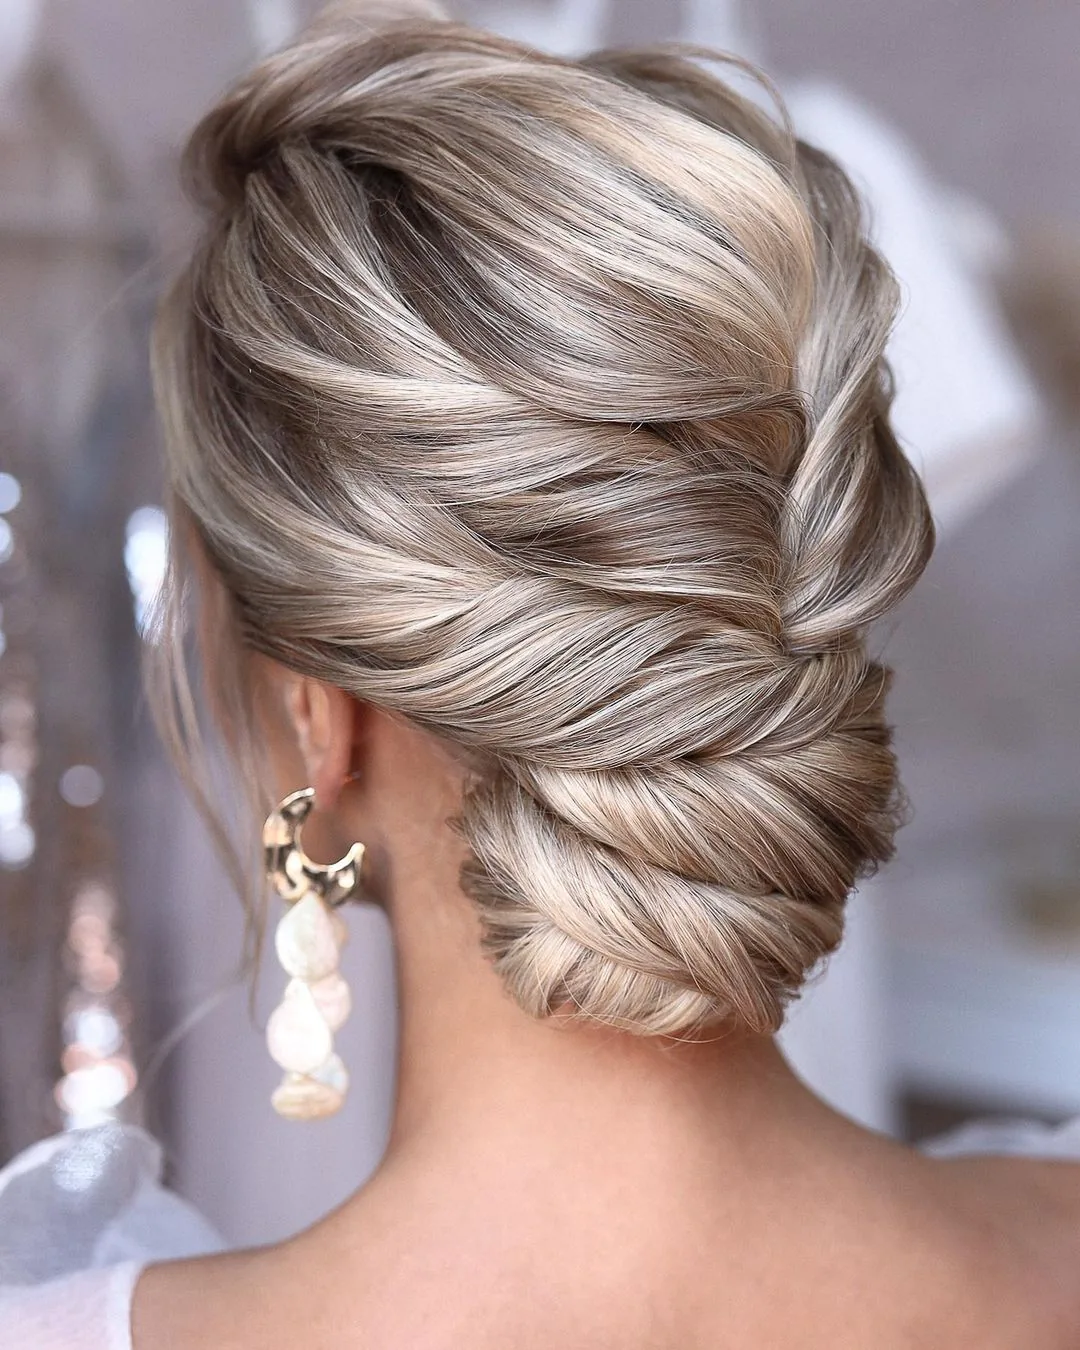
The Braided Low Bun
The braided low bun adds texture and interest to the simplest updo. A braid woven into the bun gives the style a hand-finished, romantic feel, and it holds far better than a plain bun — which matters when you will be holding the baby and hugging relatives all afternoon.
Braid a section of hair from one side, or braid the ponytail itself, then wrap the braid around the base of a low bun and pin it in place. Gently pull at the braid to widen it and soften the shape, and leave one or two small pieces loose at the front for a relaxed finish.
Best for: medium to long hair, and anyone who wants an updo with a little more personality than a plain bun. It is also one of the best styles for an outdoor garden reception, since the braid anchors everything in place.
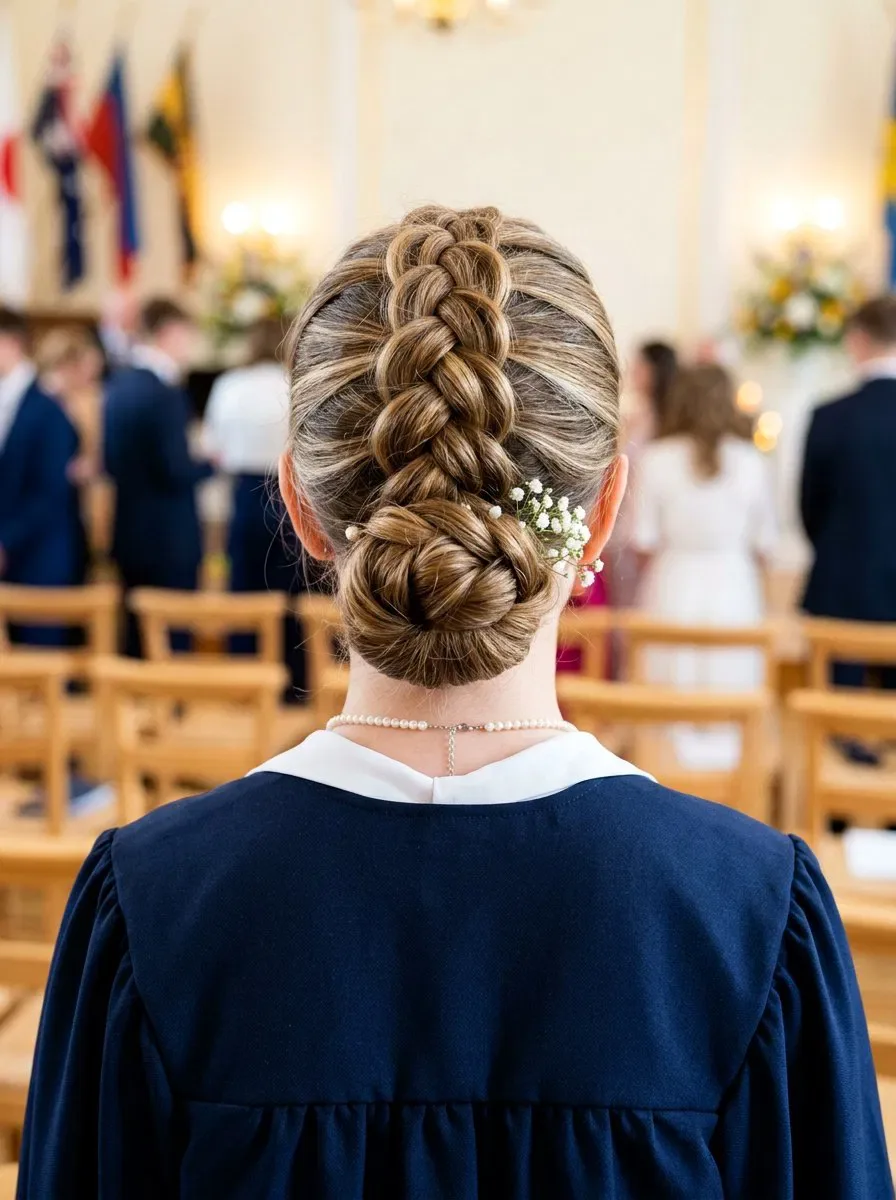
The Pearl-Pinned Low Bun
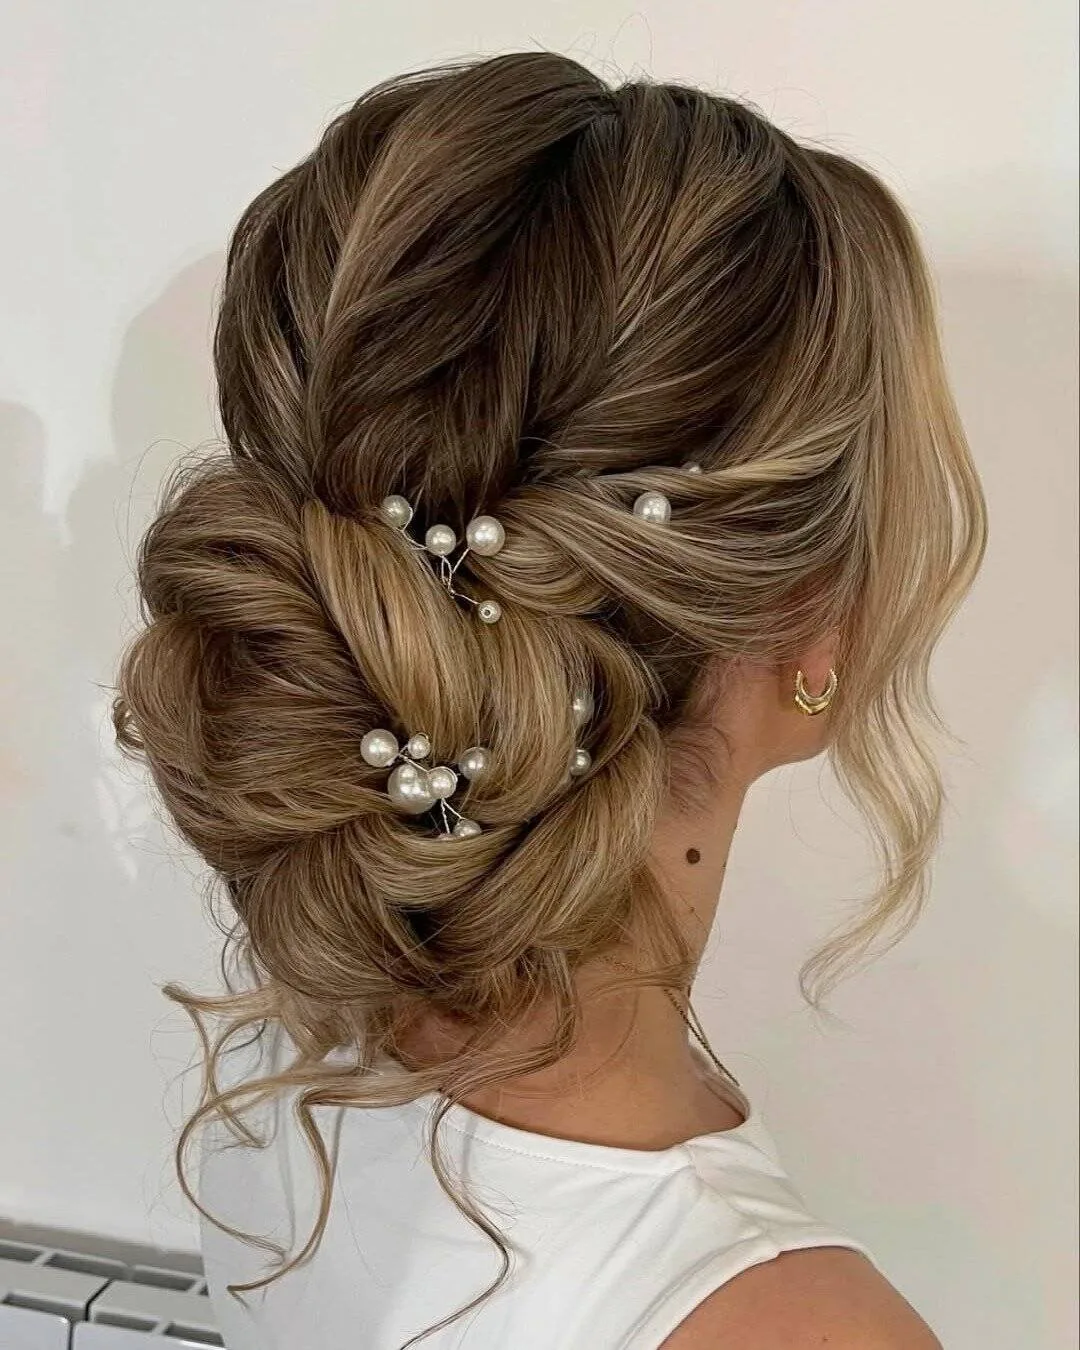
The pearl-pinned low bun is the christening classic with one perfect detail. A plain low bun becomes something special with two or three pearl pins, and the look is elegant without ever reading bridal or flashy — exactly right for a church ceremony.
Make a low bun as usual — smooth, neat, sitting at the nape — then slide two or three pearl pins into one side of the bun, fanning them slightly. Keep the pins small and the number low: three is plenty, and one on each side is the most you should ever need.
Quick verdict: the easiest way to make a simple bun feel occasion-ready. It suits mum, godmother and guests alike, and it pairs beautifully with pearl earrings. It is also the most forgiving style for second-day hair, since the pins and the bun hide any flatness at the roots.

The Low Bun with a Silk Ribbon
A low bun tied with a silk ribbon is the easiest way to make a simple style feel special. The ribbon adds colour and softness, hides the elastic, and turns a basic bun into a deliberate, finished look that is perfectly modest for church.
Make a low bun as usual, then wrap a small silk ribbon around its base and tie it in a neat bow or knot. Choose a ribbon in a quiet colour that matches your outfit — soft blush, deep navy or ivory all work beautifully — and tuck the ends in or let them fall softly.
Common mistake: choosing a ribbon that is too wide or too slippery, which slides off by the reception. A narrow, lightweight ribbon tied firmly at the base stays put all day.
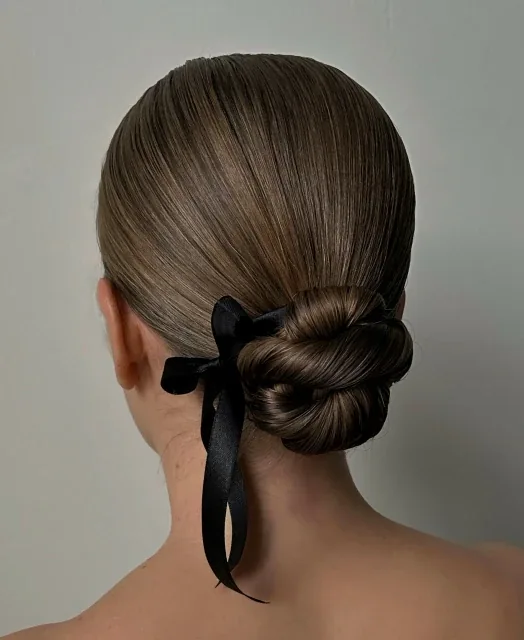
The Soft Half-Up Twist
The soft half-up twist is the perfect middle ground for a christening: the top half of your hair is up and away from your face, while the bottom half stays loose and soft. It is relaxed, modern and very easy to wear through a long service and reception.
Gather the top sections from either side, twist them towards the back and secure them together with a small elastic or a pretty pin. Let the rest fall naturally, and pull out a few face-framing pieces to soften the front. A few loose waves through the lengths make it feel finished.
Pros: it keeps hair out of your face while you hold the baby, it suits almost every hair length from a long bob upwards, and it takes about five minutes. Cons: very fine hair may need a little texturising spray first, or the twist can slip by the reception.

The Half-Up Braided Crown
A half-up braided crown feels special without being bridal, which makes it perfect for a christening. Two small braids meet at the back like a crown, holding the front sections away from your face while the rest of your hair stays loose.
Braid a small section from each side of your head, bring them together at the back and secure them with a small elastic or a decorative pin. Gently pull at the braids to soften them, and let the remaining hair fall in soft waves.
What to ask a stylist: for braids that start just behind the ears, so they frame your face without pulling at your hairline. The braids should feel secure but never tight — you will be wearing them for hours.
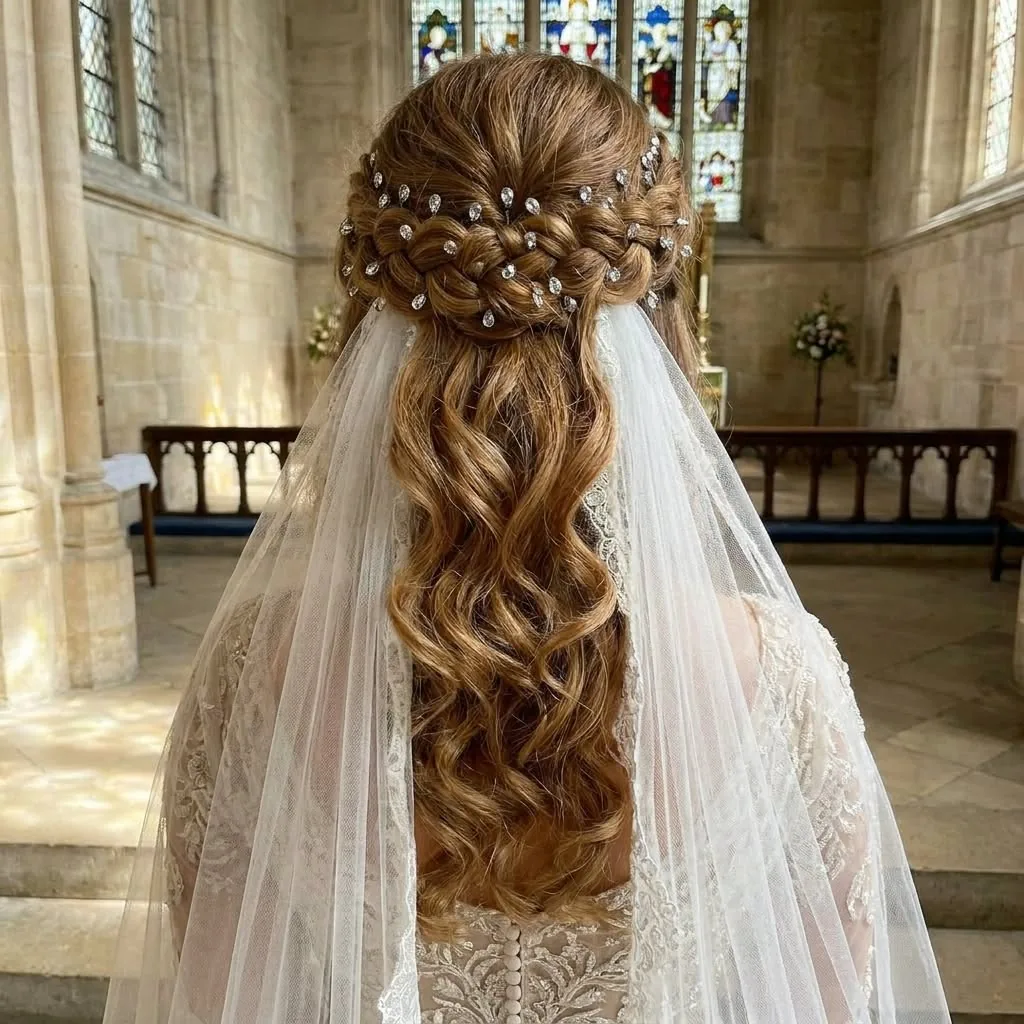
Loose Hollywood Waves
Loose Hollywood waves are the most glamorous way to wear your hair down at a christening. They are soft, touchable and full of movement, and they catch the church window light beautifully in a way no updo can match.
Curl in sections with a large-barrel iron, always curling away from the face, then brush through very gently with your fingers so the curls fall into one soft, flowing shape rather than separate ringlets. A light-hold spray keeps the shape without crunch, and a shine serum on the ends adds gloss.
Best for: long and medium hair, and guests who will not be holding the baby. Keep a clip in your bag — if you are handed the baby, a quick half-up twist will keep the waves off your face and out of reach.
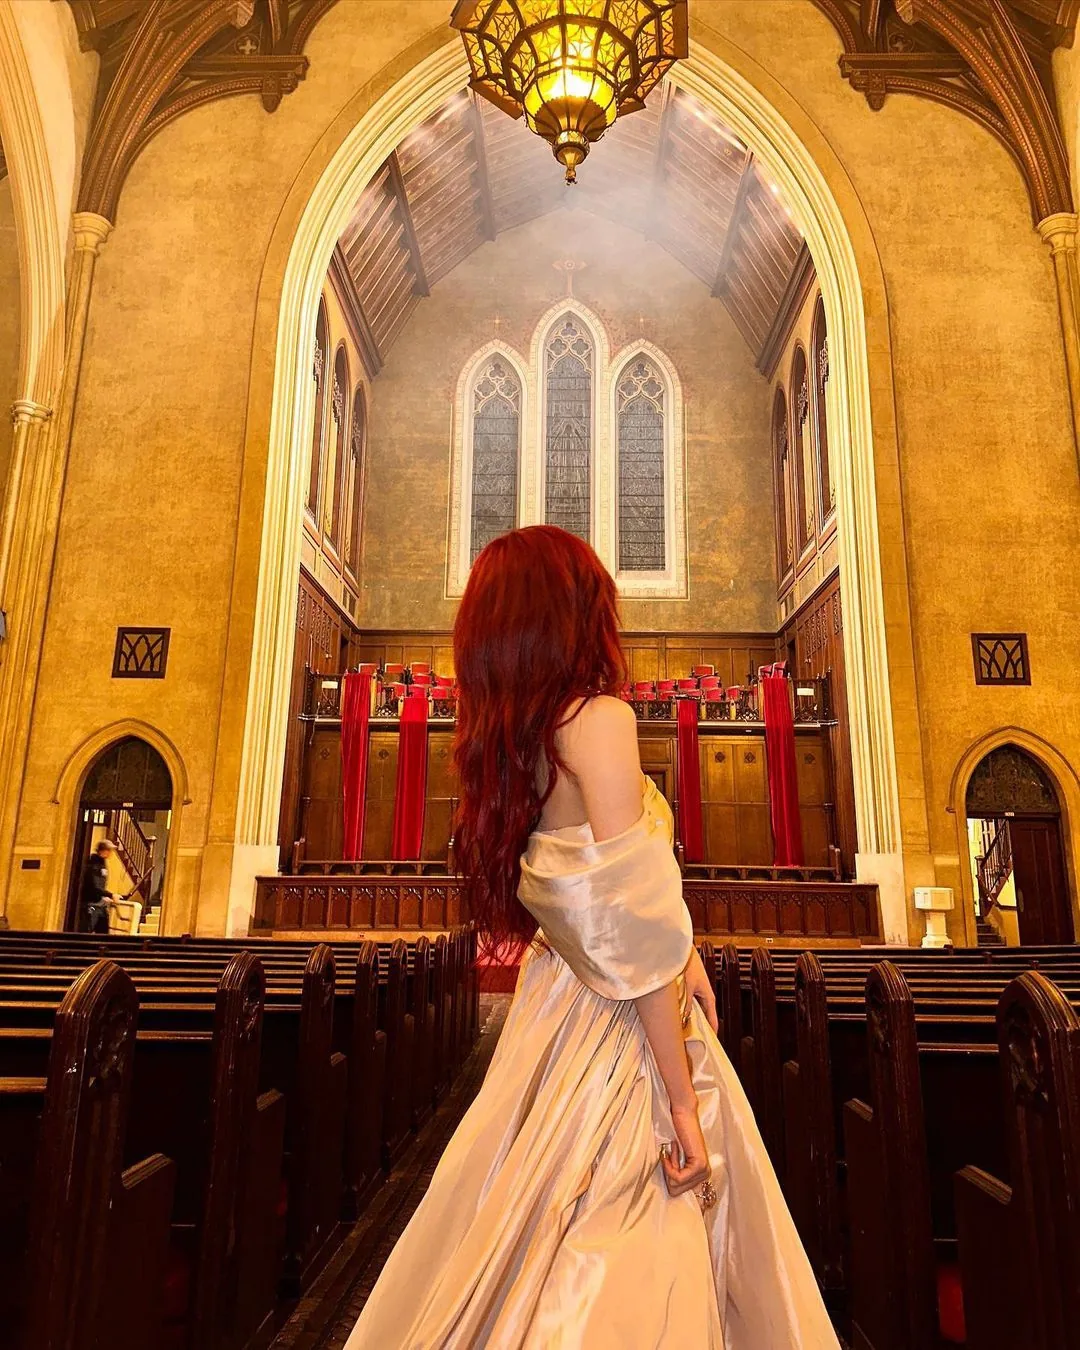
The Sleek Blowout with a Deep Side Part
A sleek blowout with a deep side part is polished, modern and wonderfully photogenic. The deep part adds instant volume and drama, and the smooth, glossy finish looks expensive under soft church lighting.
Blow-dry with a round brush, lifting at the roots on the heavier side of the part, and finish with a flat iron through the lengths for a glassy shine. A tiny amount of shine serum on the mid-lengths and ends adds gloss without weight — avoid the roots, which can look flat by the reception.
Cost and time: about twenty-five minutes at home, or the price of a salon blowout if you book one before the christening. It holds best on freshly washed hair with a little volumising mousse at the roots. Book the blowout for the morning, so the style is still fresh and full when the service begins.
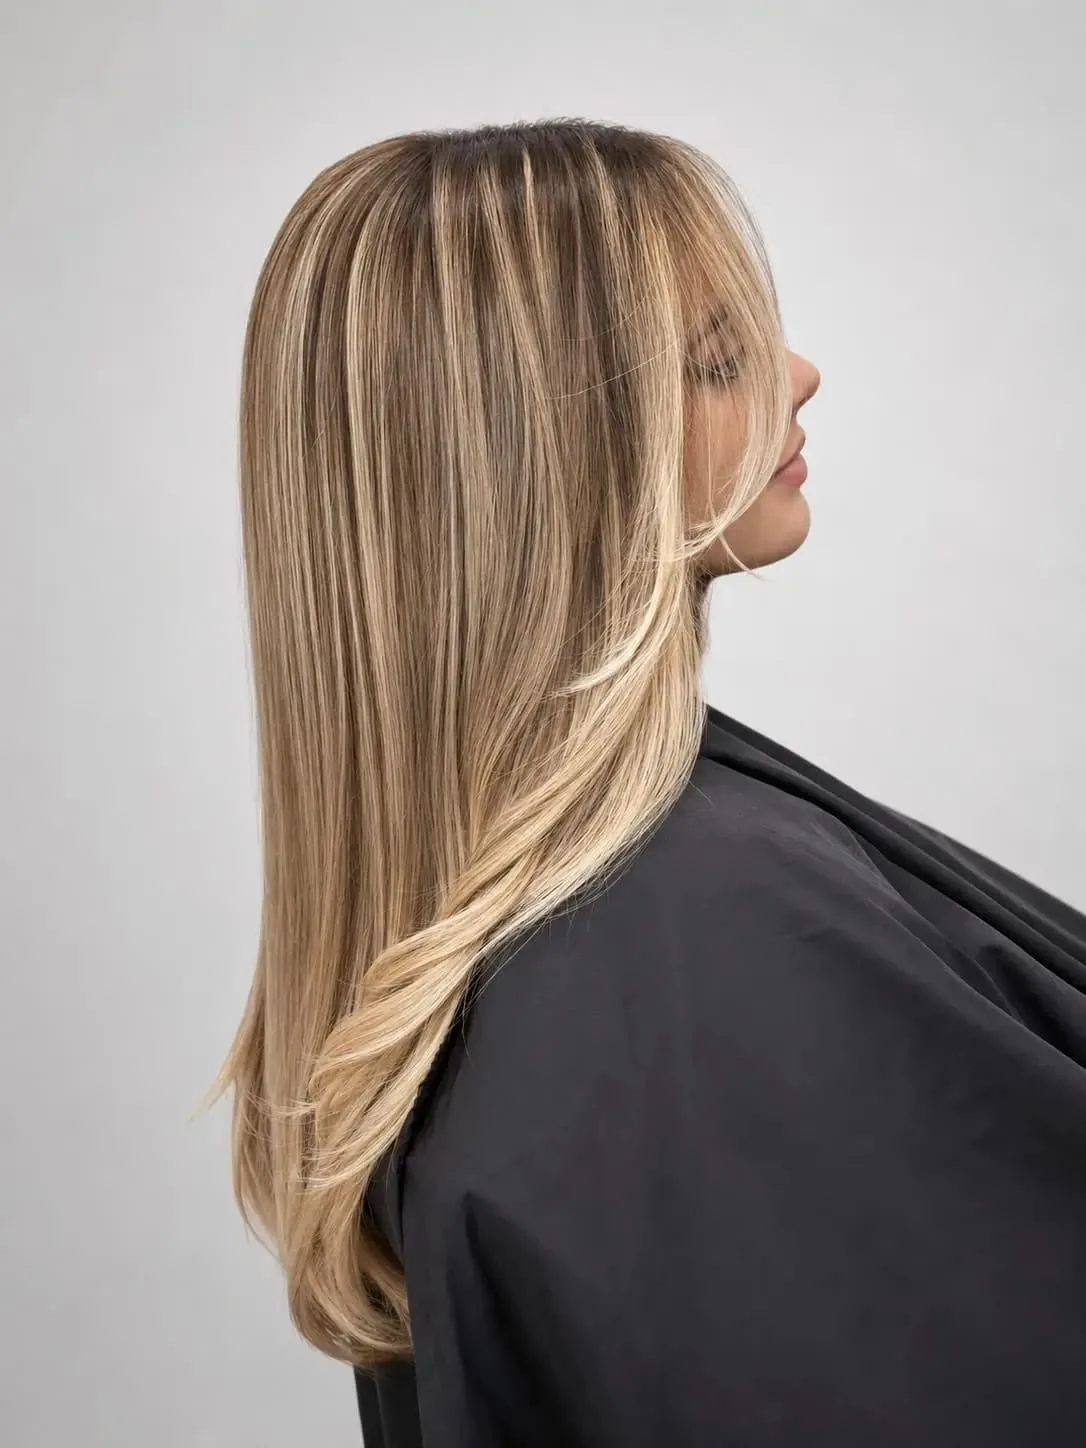
The Voluminous Curled Lob
The voluminous curled lob is playful, flattering and very christening-friendly. It frames your face, moves when you laugh, and never needs adjusting — the curls do all the work while you enjoy the celebration.
Curl the lob in sections with a medium-barrel iron, then brush through gently with your fingers to break the curls into soft, bouncy waves. A little texturising spray at the roots stops the style going flat by the second hour.
Quick verdict: the best choice if your hair is shoulder-length and you want to look dressed up without an updo. It looks even better by the second hour, once the curls have relaxed a touch.
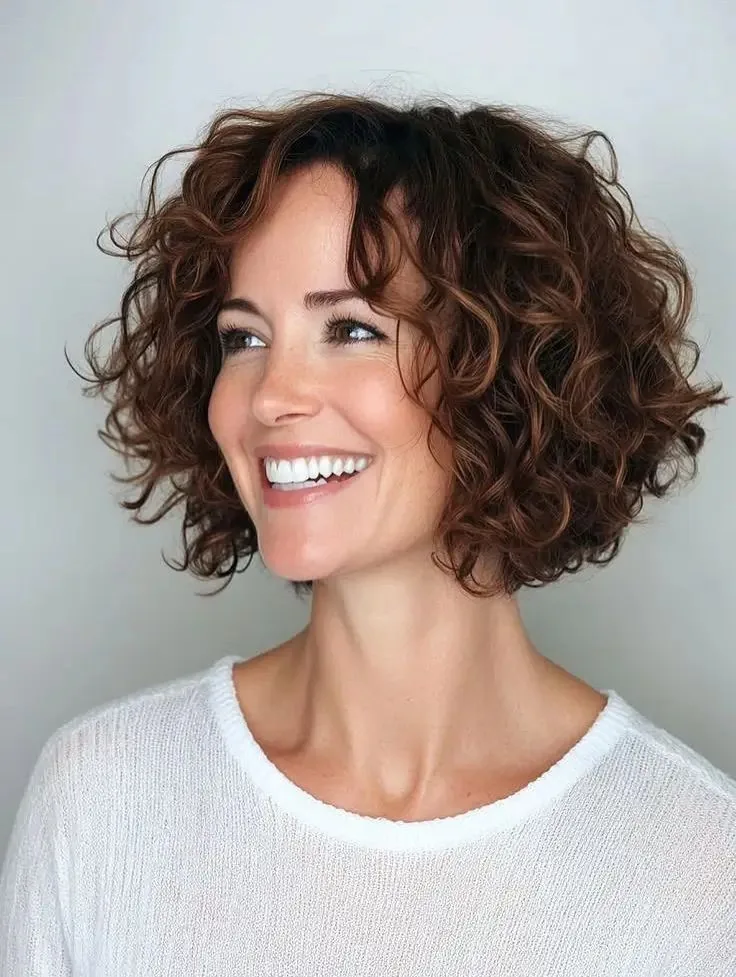
The Chin-Length Bob with Soft Curls
A chin-length bob with soft curls is neat, flattering and very easy to wear in a church pew. The curls add movement and softness, the length is short enough that it never gets in your way, and the style looks finished with almost no effort.
Curl the bob in sections with a medium-barrel iron, turning the ends under and out in alternating directions for a soft, modern shape. Brush through very gently with your fingers, and tuck one side behind your ear to keep it tidy during the service.
Common mistake: over-curling the bob until it looks like a helmet. Keep the curls loose and piecey, and leave the very ends a little straighter — the charm is in the softness, not the precision.

The Textured Low Ponytail with a Wrapped Base
A textured low ponytail with a wrapped base is the dressed-up version of the simplest style there is. The texture keeps it from looking plain, and the wrapped base hides the elastic and makes the whole look feel deliberate and finished.
Add texture with a little texturising spray, gather the hair low at the nape and secure it, then wrap a thin strand of hair around the elastic and pin it underneath. Leave the ponytail soft and slightly wavy rather than pin-straight, and pull a few pieces out at the front.
Best for: medium to long hair, and anyone who wants an elegant style that takes five minutes. It also keeps your hair neatly clear of the baby and the christening gown, which is more useful than it sounds.
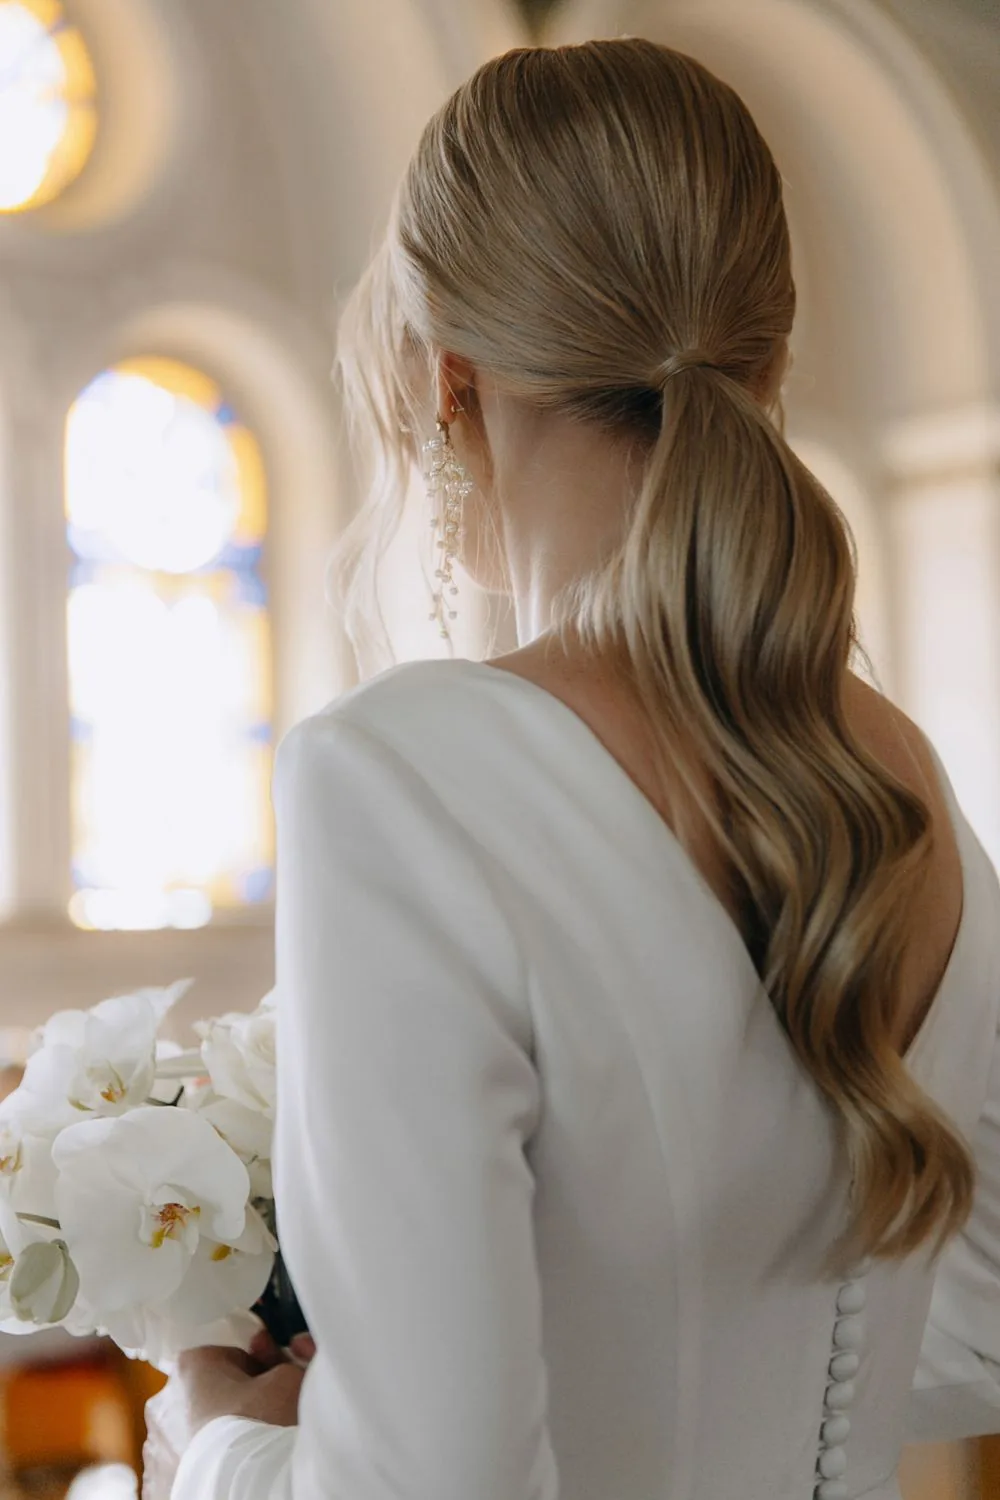
The Low Ponytail with Soft Curls
A low ponytail with soft curls is sweet, relaxed and quietly elegant — the kind of style that looks effortless precisely because it is. The curls give the ponytail movement and softness, and the low placement keeps it appropriate for a church service.
Curl the lengths first with a large-barrel iron, then gather the hair low and secure it loosely, letting the curls fall naturally. Wrap a strand around the base for a finished look, and leave a few soft pieces around your face.
Maintenance: almost none. If the curls start to drop, gather the ponytail and give the ends one quick pass with the iron in the bathroom — it takes a minute, and nobody will notice you left the table.
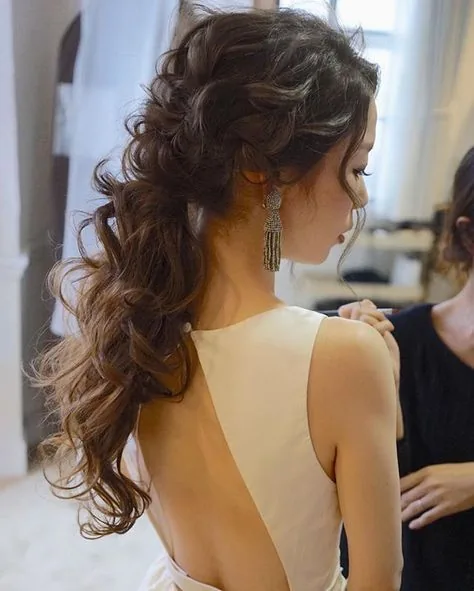
The Romantic Side Ponytail with Loose Curls
A romantic side ponytail with loose curls is sweet, soft and a little bit dreamy. Swept to one side, the curls fall over your shoulder like a waterfall, and the style looks lovely in every photograph taken from your good side.
Curl the lengths with a large-barrel iron, sweep the hair to one side and secure it low with a tie, then wrap a strand around the base and pin it. Leave the ponytail soft and full rather than tight, and pull a few pieces out at the front.
Best for: long hair, and guests who want to wear their hair down without it falling everywhere. It also keeps your hair neatly to one side, clear of the baby and the photographs.
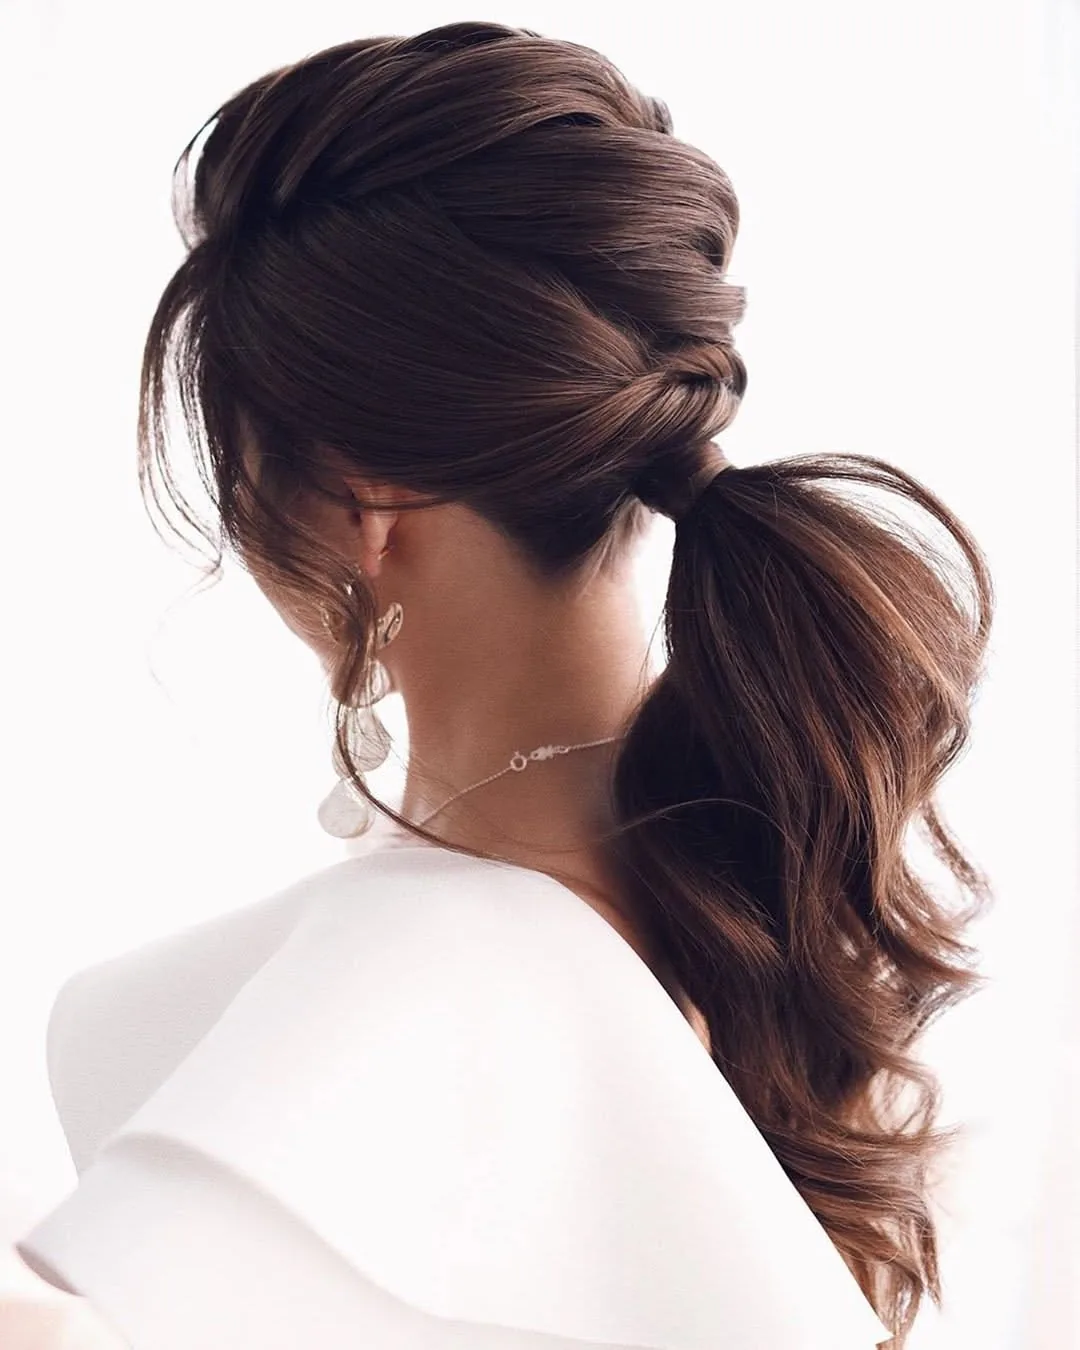
The French Braid Crown
The French braid crown is romantic, secure and made for a long day. The braid circles the head like a crown, keeping every strand off your face, and it looks like you spent far longer on it than you actually did.
French-braid from one side of your head, working around the crown and adding hair as you go, then pin the end underneath where the braid began. Pull gently at the braid to soften it and add a little volume, and let a few tendrils escape at the front.
Common mistake: making the braid too tight, which pulls at your scalp and gives you a headache by the reception. Keep the tension gentle and let the braid sit softly on your head.
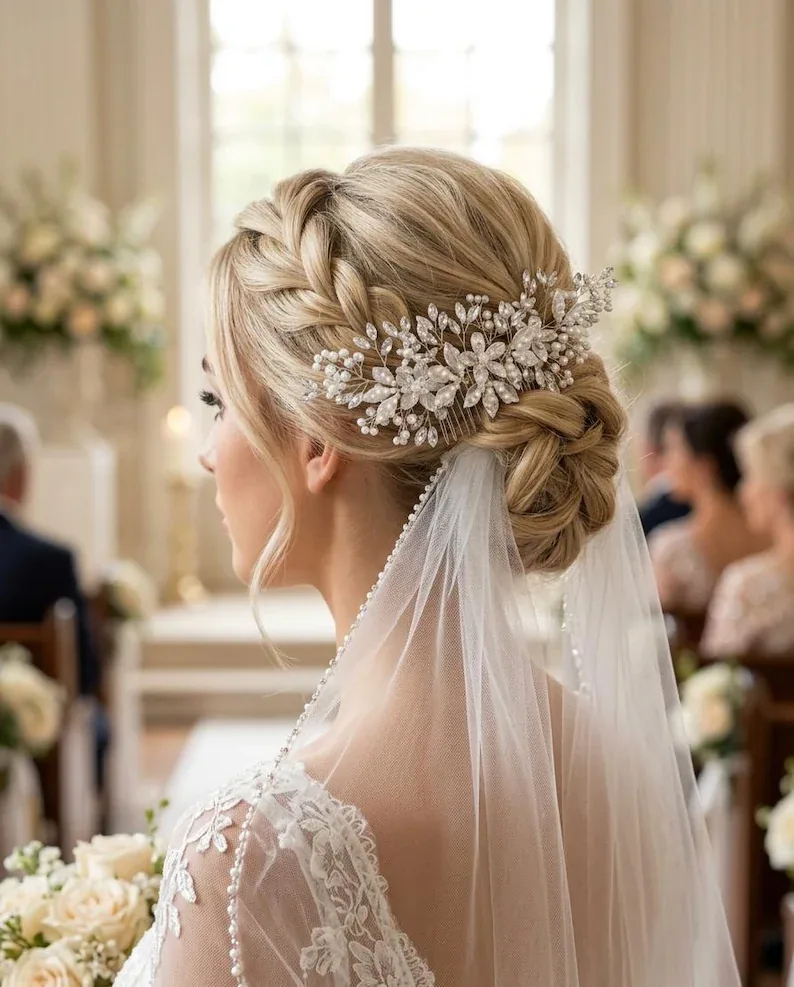
The Fishtail Braid Over One Shoulder
A fishtail braid over one shoulder is romantic without being fussy, and it has a practical advantage at a christening: all your hair sits on one side, leaving the other side completely free for holding the baby. It looks lovely in photographs and never gets sat on or dipped in anything.
Sweep your hair over one shoulder and fishtail-braid loosely, crossing small pieces from the outside of each section to the inside of the other. Finish with a small elastic, gently pull at the braid to widen it, and leave a few soft pieces around your face.
Best for: long hair and anyone who wants to wear their hair down without it getting everywhere. It also survives leaning, reaching and laughing far better than loose hair does.
The Dutch Braid into a Low Bun
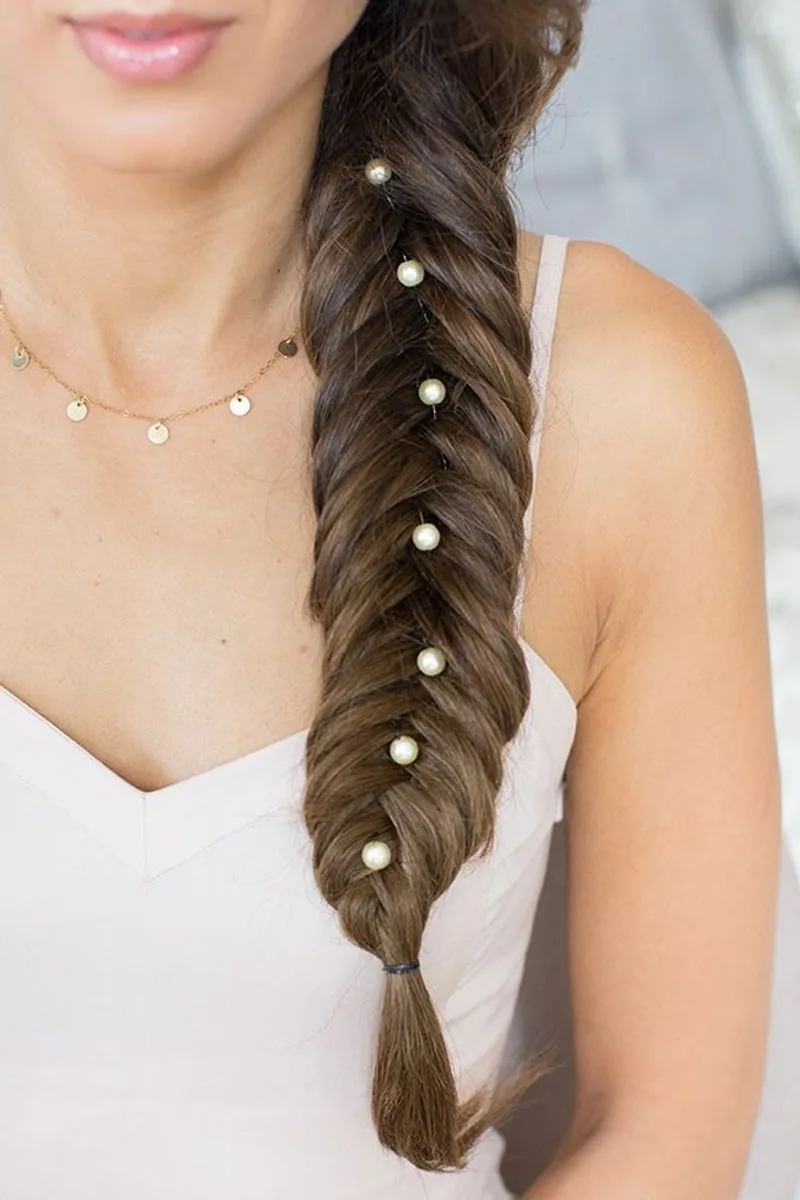
The Dutch braid into a low bun combines the staying power of a braid with the elegance of an updo. The braid runs from the crown down to the nape, where it coils into a neat bun — a style that will not move, no matter how long the day runs.
How to style: Dutch-braid from the front hairline to the nape, bringing the braid outwards so it sits on top of your hair. Gather the remaining length into a low bun, wrap the braid around its base if there is length to spare, and pin everything firmly.
Best for: long hair, and anyone who wants an updo with a little more interest than a plain bun. It is also one of the best styles for an outdoor garden reception, since the braid anchors everything in place.
The Waterfall Braid Half-Up
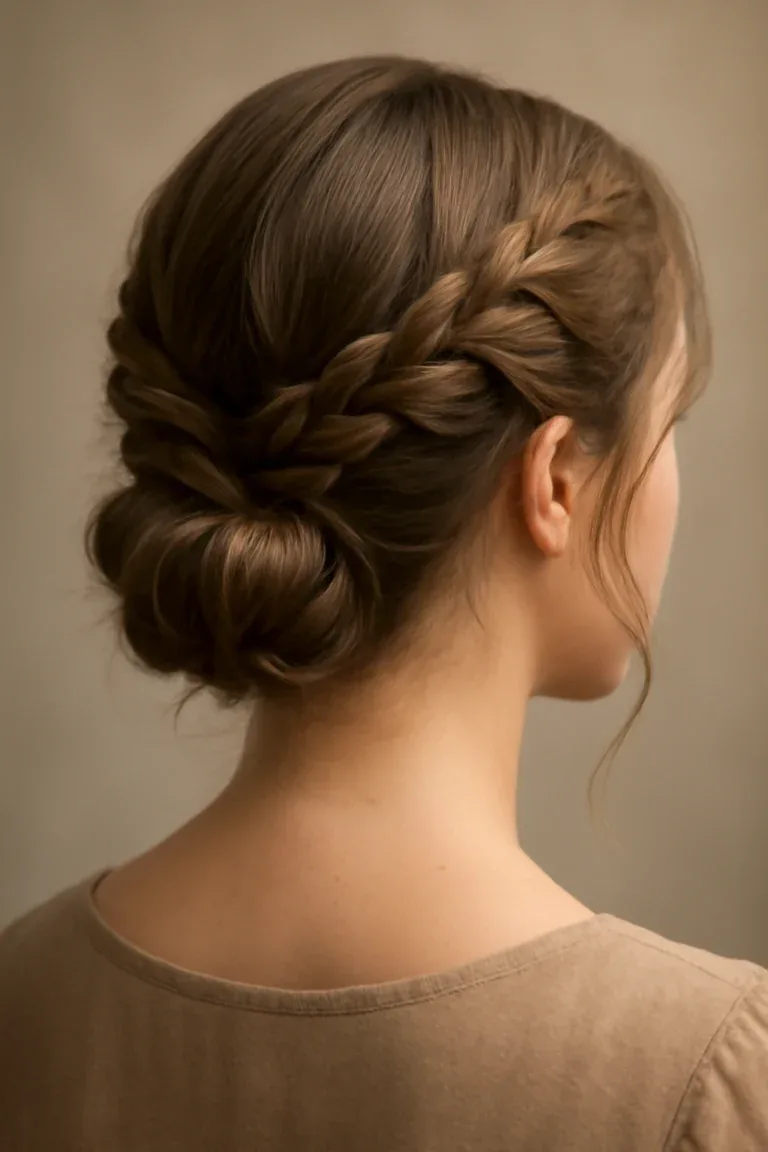
The waterfall braid half-up is the most romantic style on this list. Strands cascade through the braid like water, leaving the rest of your hair falling in soft waves — pretty, intricate-looking, and far easier than it appears.
Braid across the back of your head, dropping the bottom strand of each section and picking up a new one in its place, so the dropped strands fall through the braid. Secure the braid at the side with a small elastic or pin, and let the remaining hair fall in loose waves.
Pros: it looks far more complicated than it is, and it photographs beautifully from behind. Cons: it needs a little practice — try it once before the day, and keep a few spare pins handy in case a strand slips.
The Twisted Halo Braid
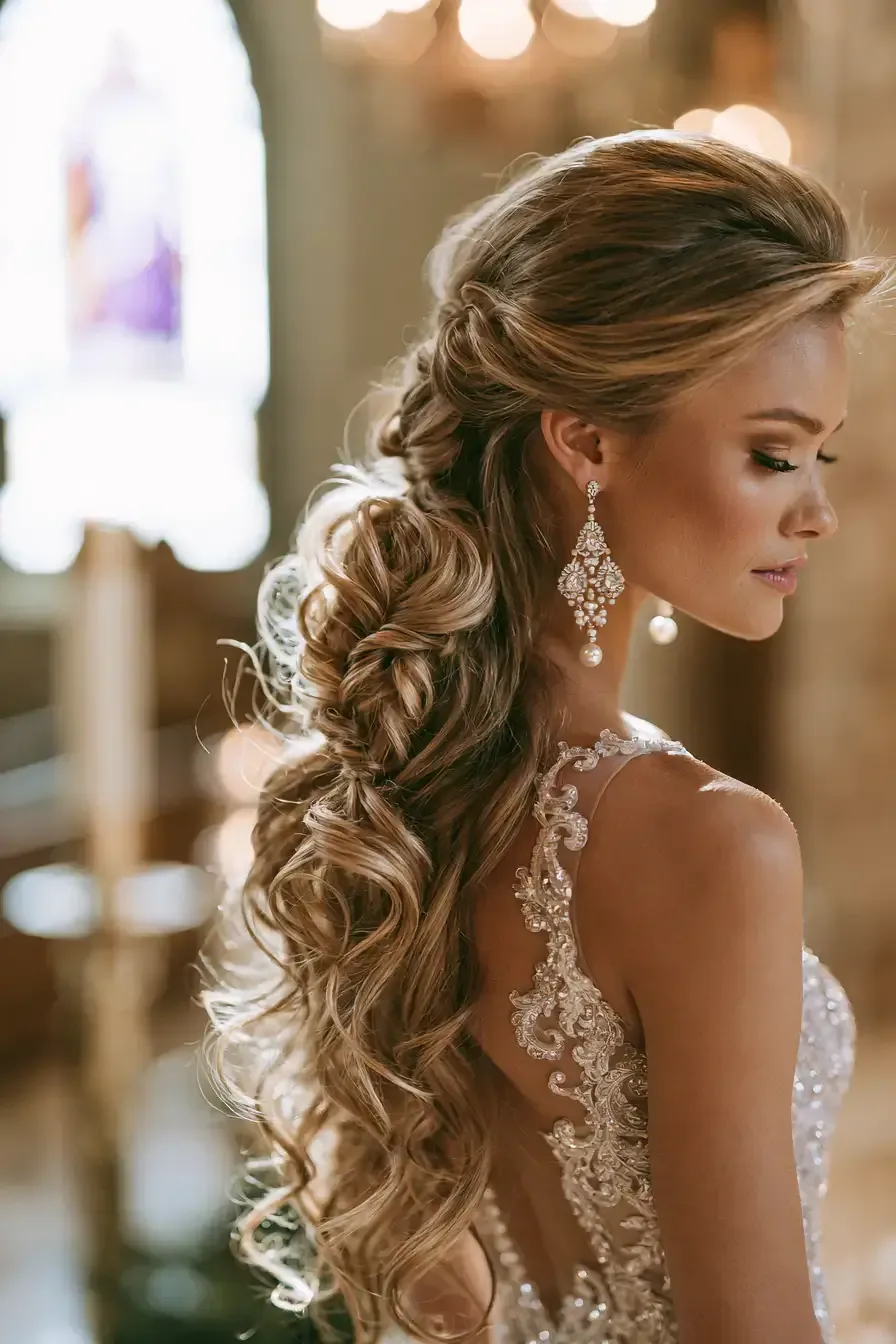
The twisted halo braid is soft, romantic and quietly regal. Two twisted sections meet at the back like a halo, holding the front sections away from your face while the rest of your hair stays loose and soft.
Take a section from each side of your head, twist them away from your face, and bring them together at the back, securing them with pins. Gently pull at the twists to soften them, and let the remaining hair fall in soft waves.
Maintenance: almost none. This is one of the few styles that genuinely looks the same at the end of the day as it did at the start, which is exactly what you want when the celebration runs long.
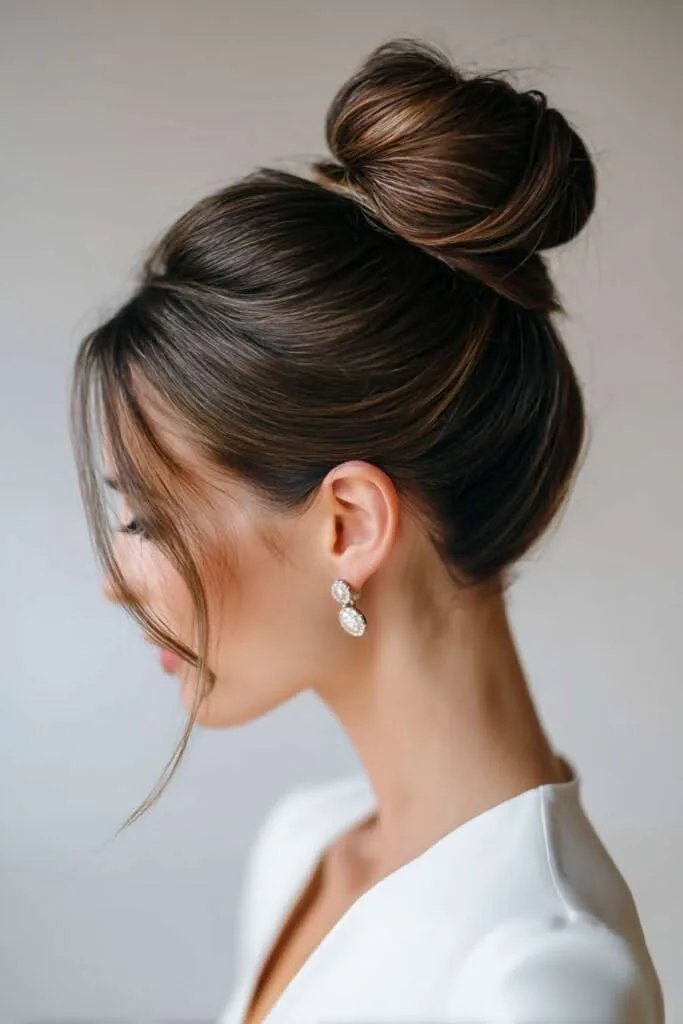
The Elegant Top Knot with Face-Framing Pieces
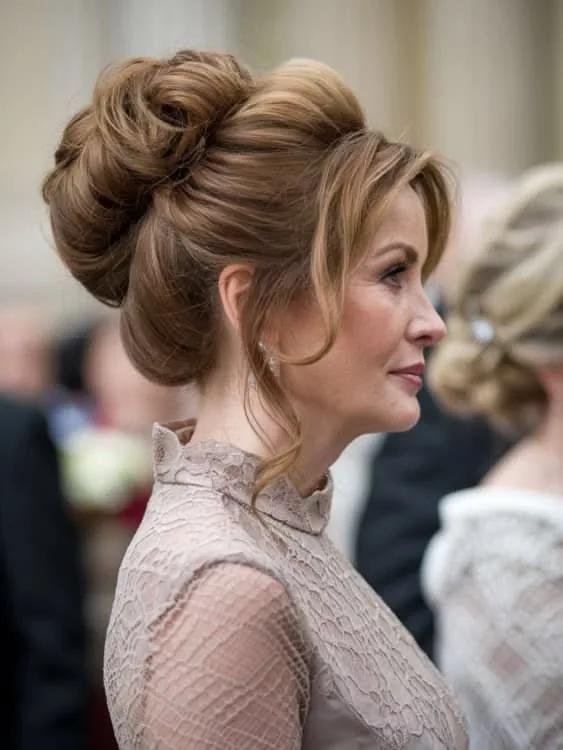
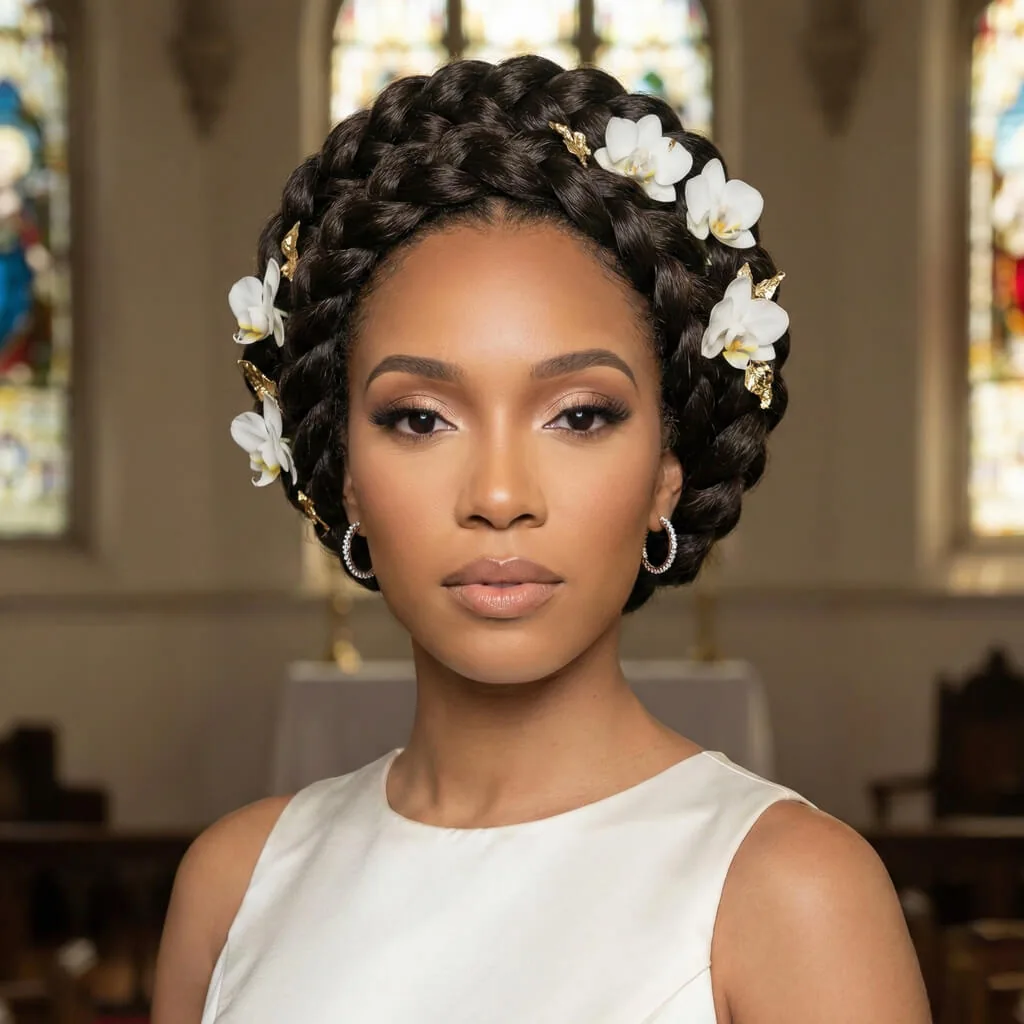
An elegant top knot with face-framing pieces is the modern answer to a formal church day: tall, clean and confident, but softened by loose pieces around the face so it never looks severe. It lifts your face, shows off your earrings, and stays put through the service and reception.
Gather your hair high on the crown, twist it into a knot and pin it securely, then pull out two soft pieces at the front and curl them very lightly. Keep the knot slightly loose and textured rather than scraped tight — a soft knot is comfortable for hours, a tight one is not.
What to ask a stylist: for a knot that sits high enough to lengthen your neck but low enough to feel comfortable, and for face-framing pieces cut to cheekbone length so they frame your face without falling into your eyes.
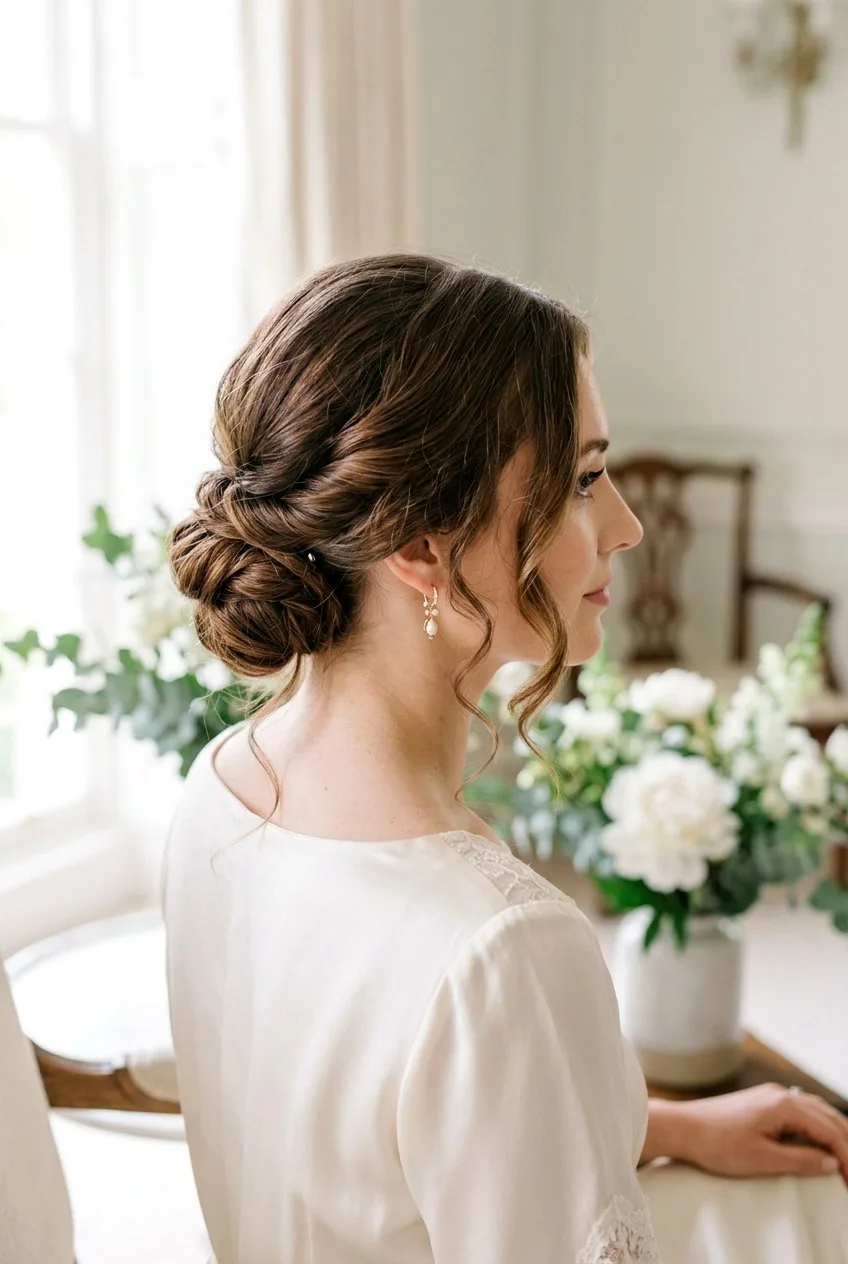
The Side-Swept Low Chignon
The side-swept low chignon is graceful, romantic and quietly dramatic. Swept to one side at the nape, it shows beautifully in profile photographs and pairs wonderfully with a one-shoulder dress or a modest neckline.
Part your hair deeply to one side, sweep it across to the opposite side and gather it low, then twist and pin it into a soft chignon at the side of your neck. Leave the front soft with the deep side sweep, and let one or two small pieces escape naturally.
Best for: medium to long hair, and anyone who wants a chignon with a little more personality than the classic centre-parted version. It also looks stunning during the ceremony, when you are turned towards the font.
The Soft Gibson Tuck
The soft Gibson tuck is a vintage-inspired style that feels made for a christening. The hair is tucked and rolled into a soft, low roll at the nape, and the result is elegant, romantic and wonderfully secure — it will not budge through the service, photographs or reception.
Make a low ponytail, then create a small pocket above the elastic, tuck the tail up and through it, and pin the roll in place. Leave the front soft with a gentle side part, and pull out a few tendrils around your face for a relaxed, modern finish.
Best for: medium to long hair, and anyone who loves vintage style but wants something softer than a full Edwardian updo. It also works beautifully with a headband or a single pearl pin. Practice the tuck once at home, and you will have it down in under five minutes on the day.

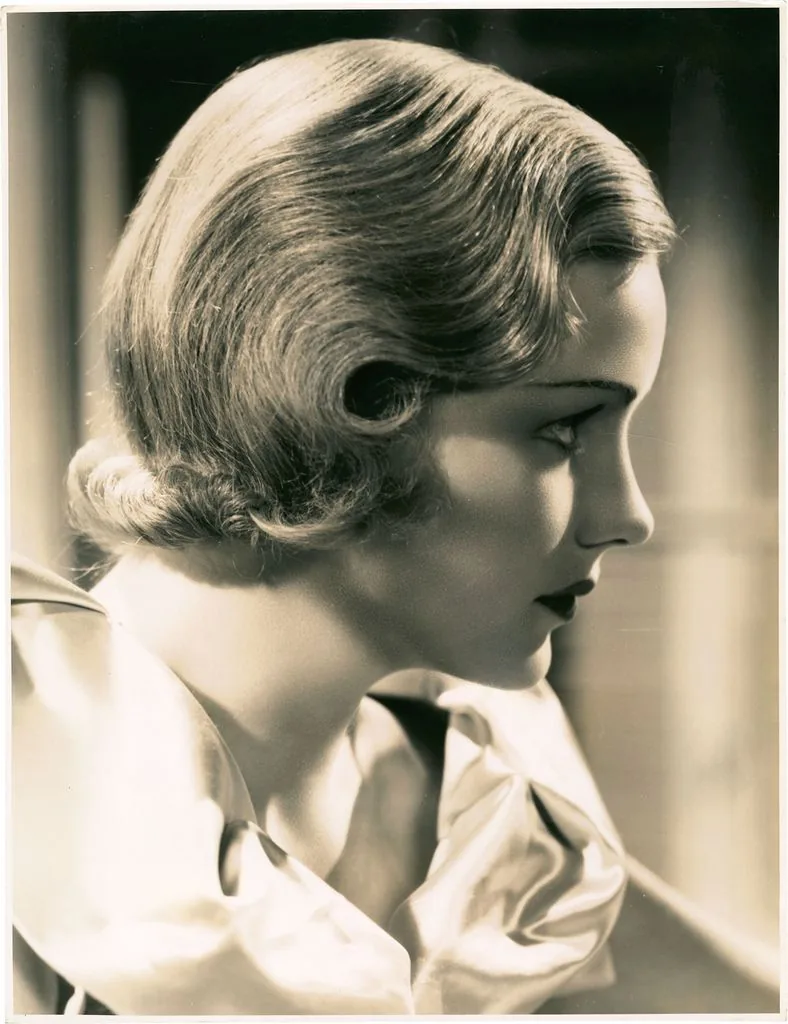
The Vintage Finger Wave Bob
The vintage finger wave bob is pure old-school glamour, and a christening is exactly the right place for it. The sculpted waves are elegant, dramatic and unforgettable — and they hold their shape all day, since the style is set rather than brushed out.
Create the waves with a flat iron or with pin curls set in the same direction, then smooth them into sculpted S-shapes with a fine comb and set with a strong-hold spray. A shine serum is essential — finger waves live on their gloss.
Who should avoid it: anyone short on time. This is the most time-consuming style on this list, at thirty to forty minutes, so save it for a day when you have a stylist or a leisurely morning to prepare.
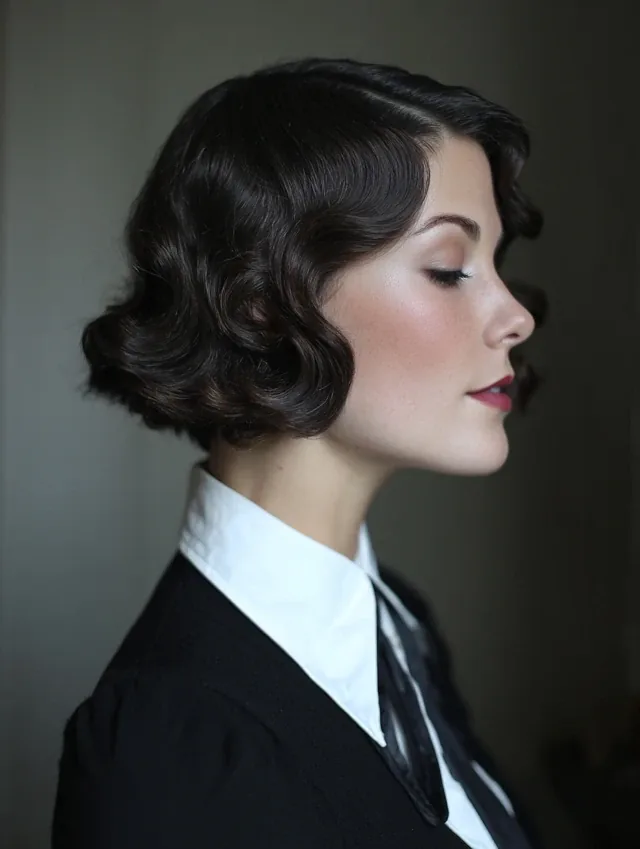
The Old Hollywood Side Wave
The Old Hollywood side wave is pure vintage glamour: deep, sculpted waves swept dramatically to one side. It is a statement style, and it suits a formal christening in a grand church better than any other setting on this list.
Create deep waves with a large-barrel iron, setting each section in the same direction, then brush them into smooth, sculpted S-waves and pin the opposite side flat behind your ear. A shine spray is essential — this style lives or dies on its gloss.
Common mistake: letting the wave fall across your eyes while you hold the baby. Pin the very front section back with a small, hidden clip and the style stays perfect from the first hymn to the last photograph.
The Curly Updo with Pinned Volume
A curly updo with pinned volume is joyful, elegant and made for a long day. The curls are lifted and pinned into a soft, full shape, the volume photographs beautifully in church light, and the style holds without a single hot tool.
Gather your curls loosely at the back, pinning sections up and over to build height at the crown, and let a few curls fall naturally around your face. Use large, strong pins rather than small ones — curls need a proper anchor — and finish with a light-hold spray.
Best for: curly and coily hair that wants to be up and out of the way without losing its shape. Refresh the curls at the front with a little water and leave-in conditioner before the day begins.
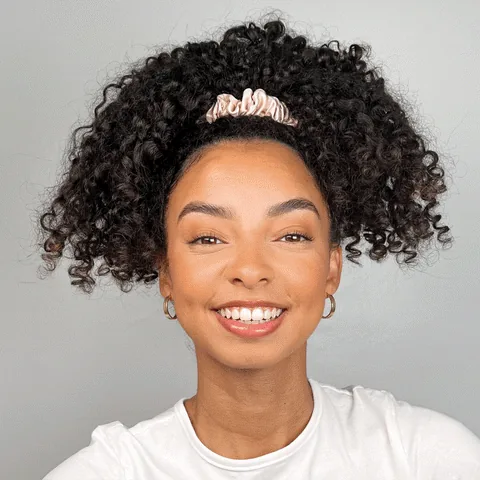
Defined Curls, Half-Up
Defined curls worn half-up are the perfect compromise for curly hair at a christening: you keep the volume and bounce you love, and you lose the curls falling into your eyes every time you look down at the baby.
Define your curls as usual, then gather the top sections and pin them back with two small clips or crossed bobby pins. Let the rest fall naturally, and resist the urge to keep touching them — the less you fiddle, the longer the definition lasts.
Pros: gorgeous natural volume, minimal effort, and no heat needed. Cons: humidity from a warm, crowded church can loosen the definition — a little curl cream at the start helps it hold through the reception.
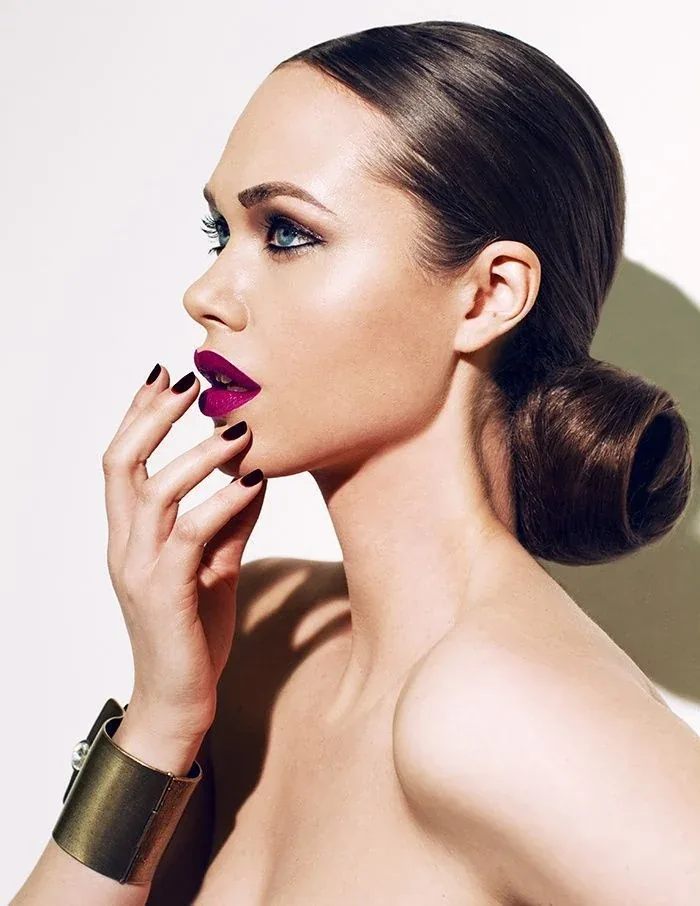
The Slicked-Back Low Bun
A slicked-back low bun is sleek, modern and completely secure. It keeps every strand in place, looks sharp in photographs, and pairs beautifully with statement earrings or a bold lip — the perfect counterpoint to a simple, modest dress.
Brush your hair back smoothly, using a little gel or smoothing cream to tame flyaways, and secure it low at the nape. Wrap the bun neatly and pin it firmly — this is a style that should look intentional, not accidental — and finish with a shine spray for gloss.
Who should avoid it: anyone who dislikes a tight, pulled-back feeling, or whose scalp is sensitive after a long morning. A softer, looser bun will be far more comfortable for a five-hour day.
The Bouncy Blowout with Curtain Bangs
A bouncy blowout with curtain bangs brings a little glamour to the christening without crossing into formal territory. The volume and movement make it look fantastic in photographs, and the curtain bangs frame your face beautifully.
Blow-dry with a round brush, lifting at the roots, and curl the ends under or out for a soft, bouncy finish. Part the bangs in the middle and let them fall naturally on either side of your face, then let everything cool before you touch it — that is what locks in the shape.
Cost and time: about twenty-five minutes with a dryer, or the price of a salon blowout. It holds best on freshly washed hair with a little volumising mousse at the roots, and it only gets better as the day goes on.

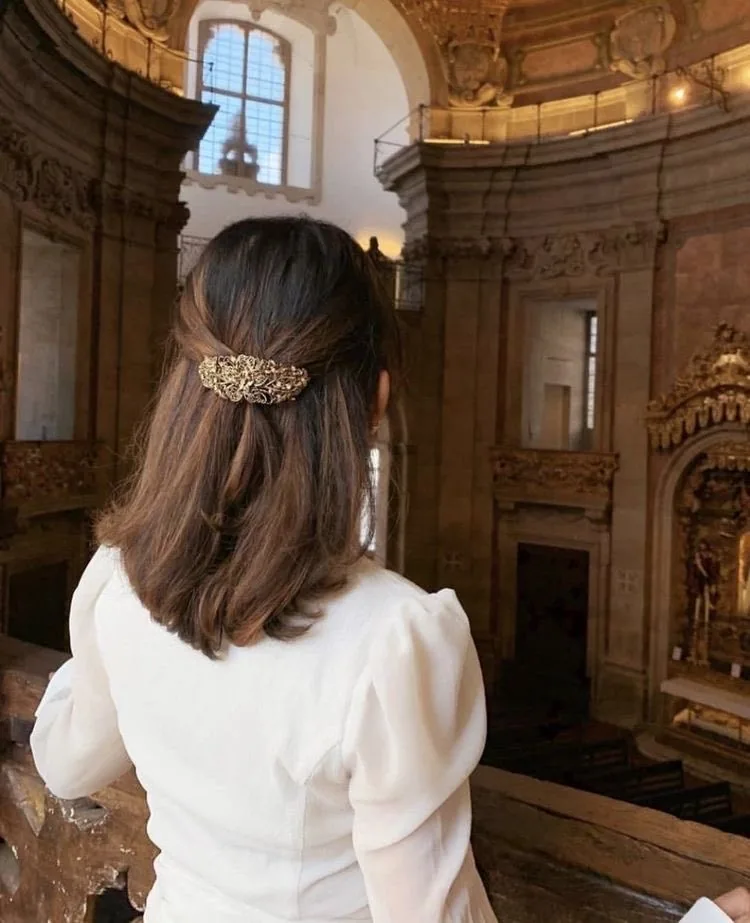
Pinned-Back Waves with a Decorative Clip
Pinned-back waves with a decorative clip are quietly glamorous — the kind of style that looks like you made an effort, even though it took five minutes. The clip keeps the waves off your face while the rest falls freely.
Create loose waves, sweep them to one side or part them in the middle, and pin one side back with a pretty clip — pearl, gold or tortoiseshell. Leave the pinned side smooth and the wavy side full for a lovely, asymmetrical shape.
Quick verdict: a wonderful choice for a church service, where the lighting and the photographs are a little more polished than a garden party. One clip is enough — two starts to look busy.
The Sleek Mid-Length Blow-Dry
A sleek mid-length blow-dry is the most versatile style on this list. It is polished without being fussy, it frames the face beautifully, and it works for mum, godmother or guest with almost no effort at all.
Blow-dry in sections with a round brush, turning the ends under slightly for a neat, finished shape. Keep the roots smooth and the lengths glossy, and finish with a light-hold spray. The style should look like very good hair, not like a complicated updo.
Best for: medium-length hair that will not quite reach a bun. It also survives the move from church to garden to reception better than most down styles, since there is no curl to drop and no pin to slip.
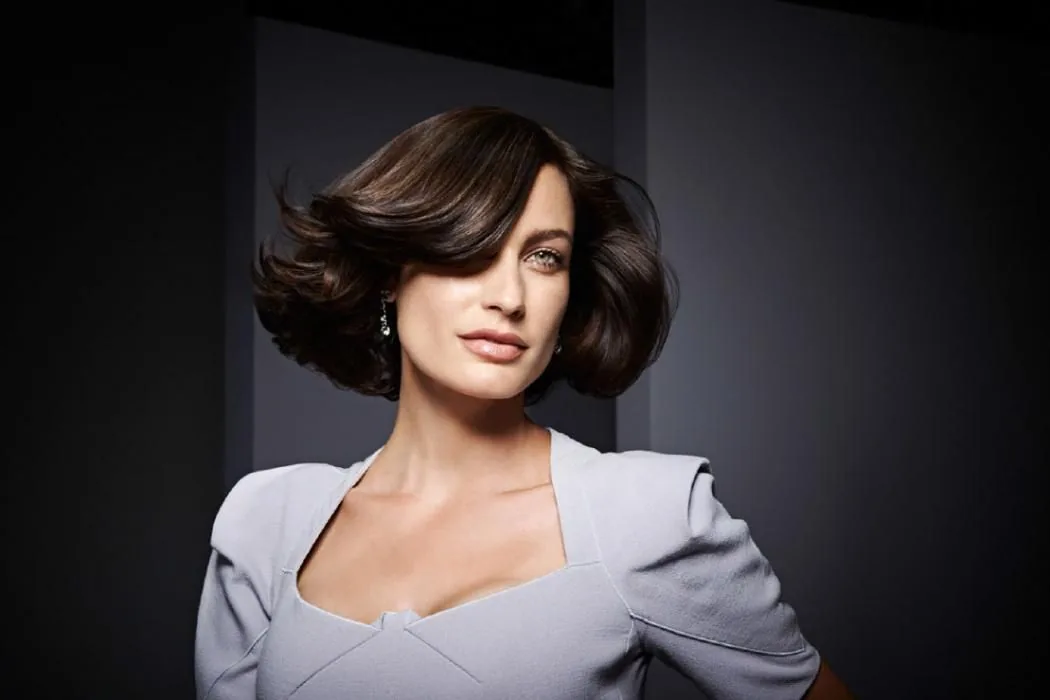
Soft Face-Framing Layers
Soft face-framing layers are the quiet heroes of christening hair. They soften the face in photographs, they move beautifully when you turn your head, and they make even a simple blow-dry look considered and finished.
Ask your stylist for layers that start at cheekbone length and fall softly around the face, then blow-dry them forward and slightly under so they curve towards your cheeks. A little shine serum on the ends keeps the layers looking healthy and glossy all day.
Quick verdict: the best low-effort upgrade on this list. If your haircut already has layers, you barely need to style them — just dry them forward and let the cut do the work.
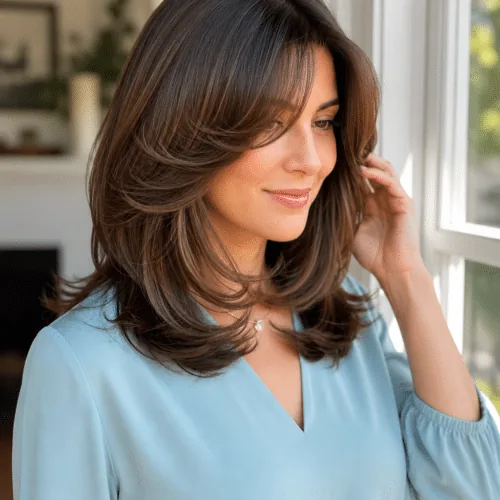
The Velvet Bow Low Chignon
The velvet bow low chignon is the classic chignon with one soft, luxurious detail. A small velvet bow at the base of the chignon adds colour and texture, and it turns a simple updo into a style that feels made for a special family day.
Make a low chignon as usual — smooth, neat, sitting at the nape — then pin a small velvet bow at the base, where the chignon meets the neck. Choose a quiet colour such as deep navy, forest green or soft blush, and keep the bow small so it reads elegant rather than playful.
Best for: godmothers and guests who want a little more personality than a plain chignon. It also photographs beautifully from behind during the ceremony, when the bow catches the light.
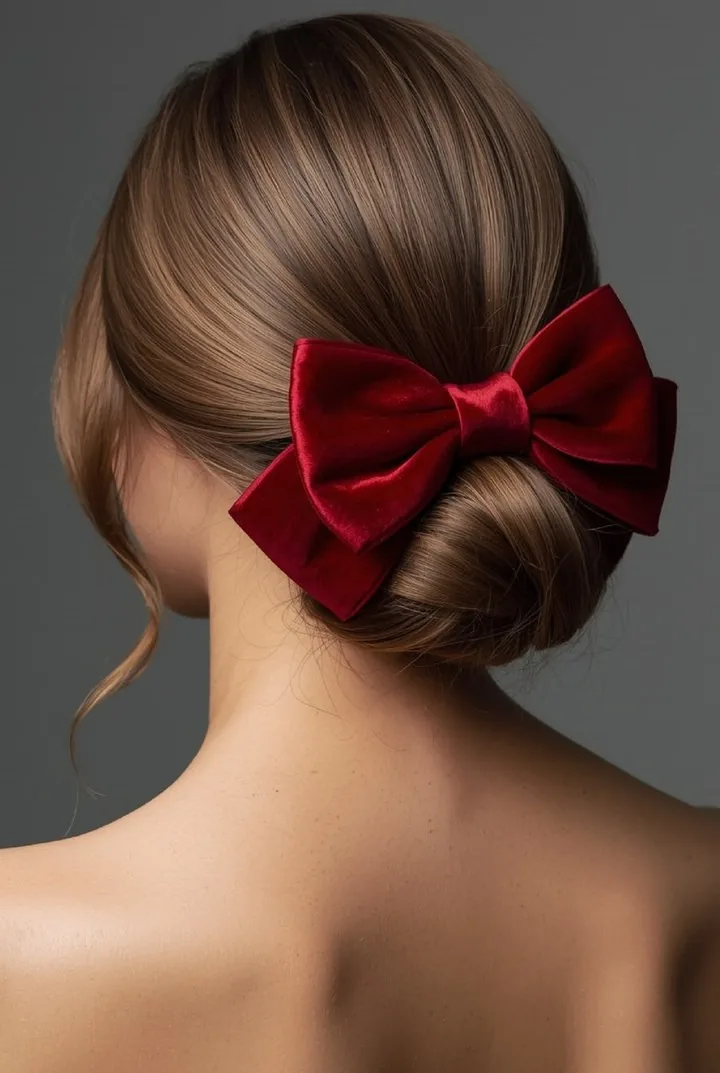
The Braided Side Sweep
The braided side sweep is soft, romantic and practical all at once. A loose braid runs along one side of the head, sweeping the front sections away from the face, while the rest of the hair falls in gentle waves over one shoulder.
Braid a section from the front hairline along the side of your head, adding hair as you go, then secure the braid behind your ear and let the remaining hair fall naturally. Gently pull at the braid to soften it, and leave a few wisps around your face.
Common mistake: braiding too far back, which hides the braid entirely. Start the braid at the hairline, so it frames your face and shows in the photographs from the front.
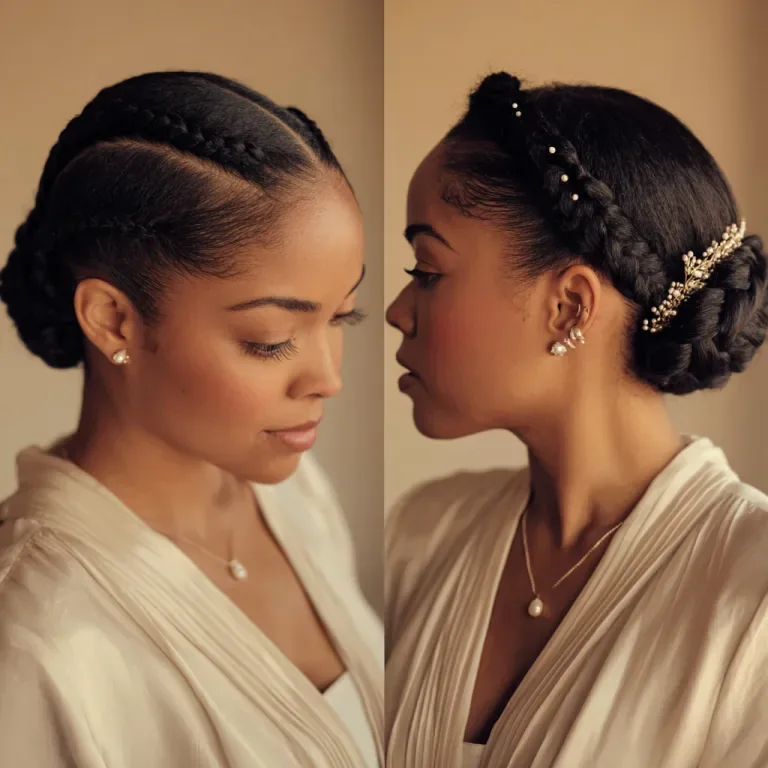
The Half-Up Knot with Loose Waves
The half-up knot with loose waves is relaxed, modern and very easy to wear. A small knot at the crown holds the front sections back, while the rest of the hair falls in soft waves — the perfect balance of up and down for a family celebration.
Gather the top section of hair, twist it into a small knot and pin it securely, then let the remaining hair fall in loose waves. Pull out a few face-framing pieces to soften the front, and keep the knot slightly loose so it looks effortless rather than severe.
Pros: it keeps hair out of your face while you hold the baby, it suits almost every hair length, and it takes about five minutes. Cons: very fine hair may need a little texturising spray first, or the knot can slip by the reception.
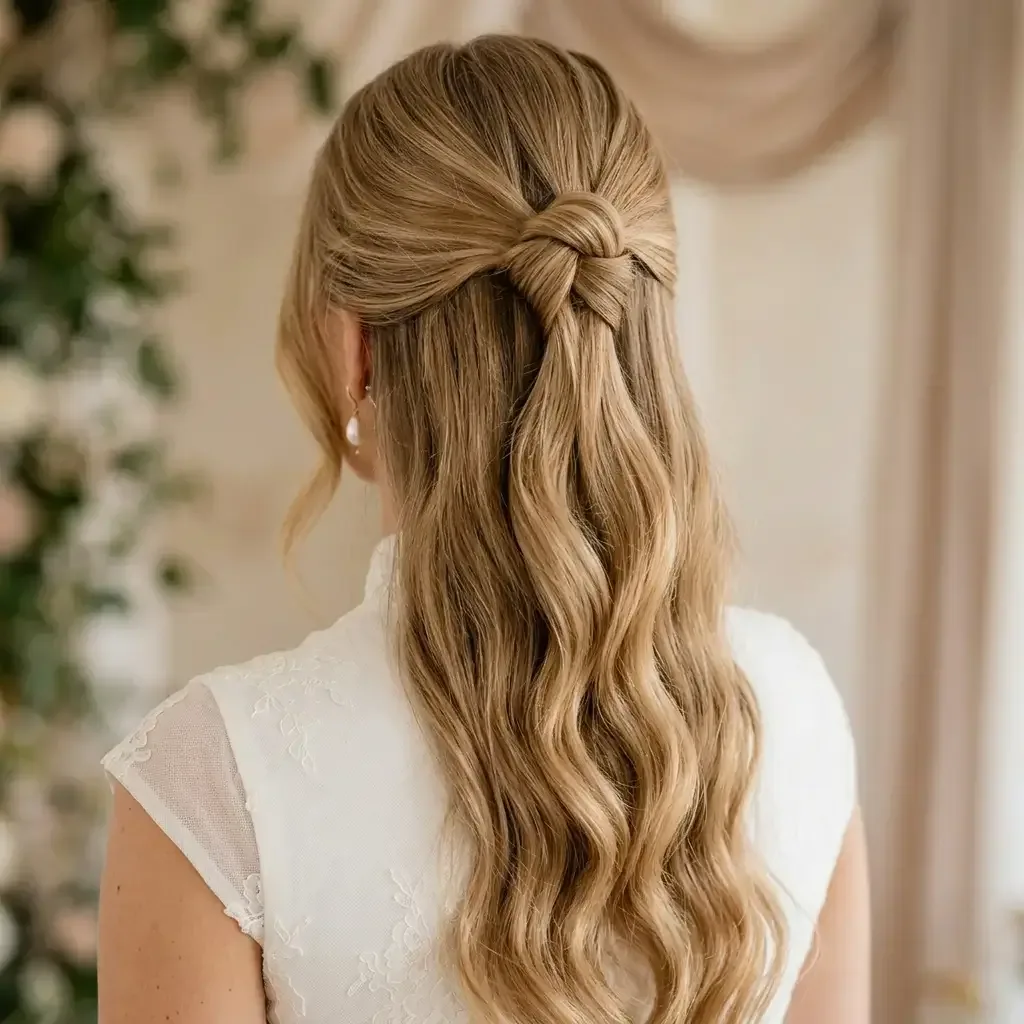
The Milkmaid Braid Updo
The milkmaid braid updo is sweet, secure and wonderfully practical. Two braids cross over the top of the head like a crown, keeping every strand off your face and neck — ideal for a long day that includes holding a baby and posing for photographs.
Braid two sections from either side of your head, bring them up and over the crown, and pin them in place where they meet. Tuck the ends underneath and pull gently at the braids to soften them, leaving a few tendrils loose at the front.
Best for: medium to long hair, and anyone who wants a style that will genuinely not move all day. It is also a lovely choice for older girls attending the christening as flower girls or sisters.
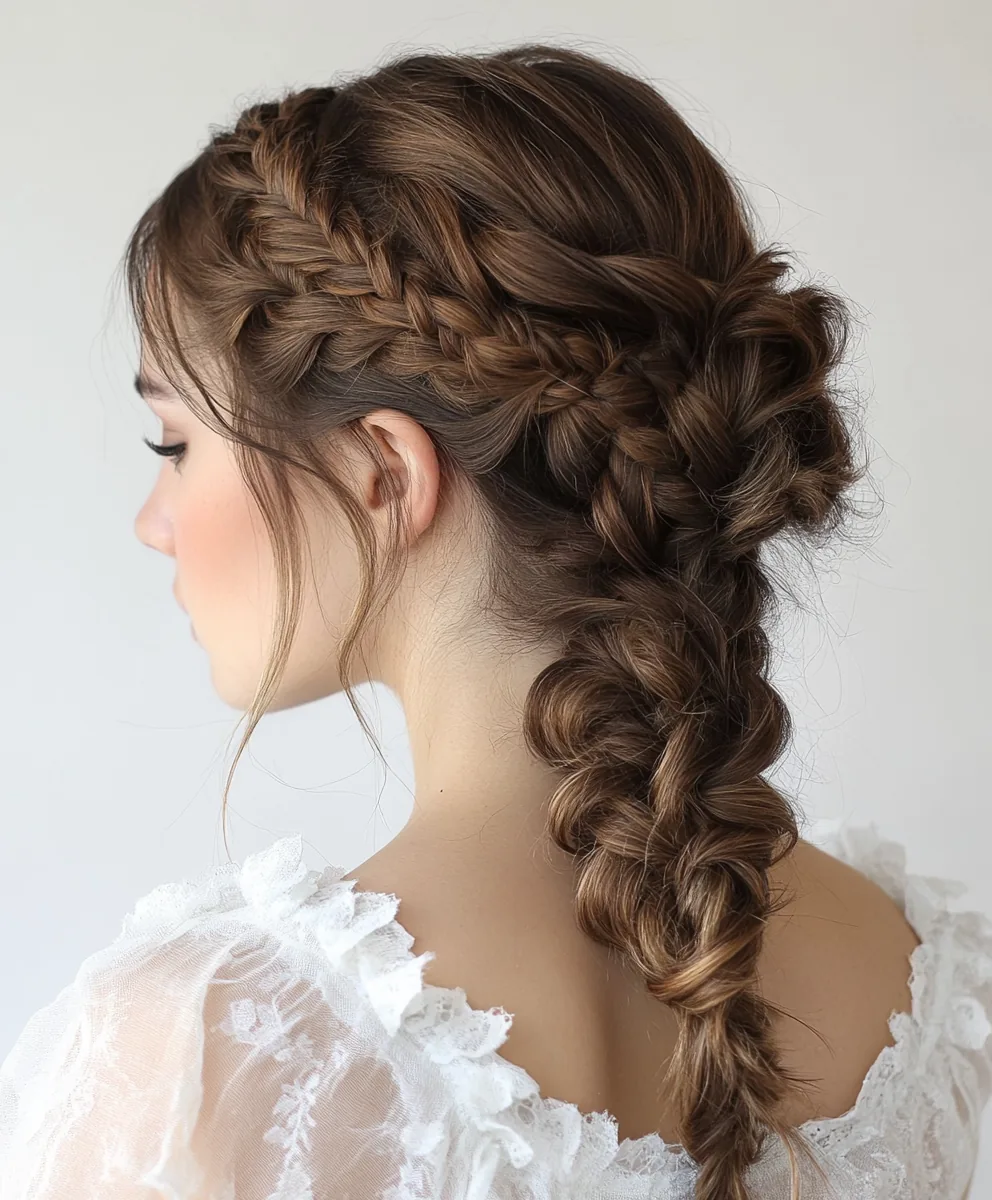
Soft Waves with a Pearl Clip
Soft waves with a pearl clip are the simplest way to make loose hair feel occasion-ready. The waves give the style movement and softness, and the pearl clip adds one quiet, elegant detail that is perfectly suited to a church ceremony.
Create loose waves with a large-barrel iron, then sweep one side back and secure it with a small pearl clip. Leave the other side full and soft, and finish with a light-hold spray. The clip should sit just above the ear, where it catches the light in photographs.
Quick verdict: the easiest dressed-up style on this list. If you can curl your hair, you can do this — and it looks far more considered than loose waves alone.
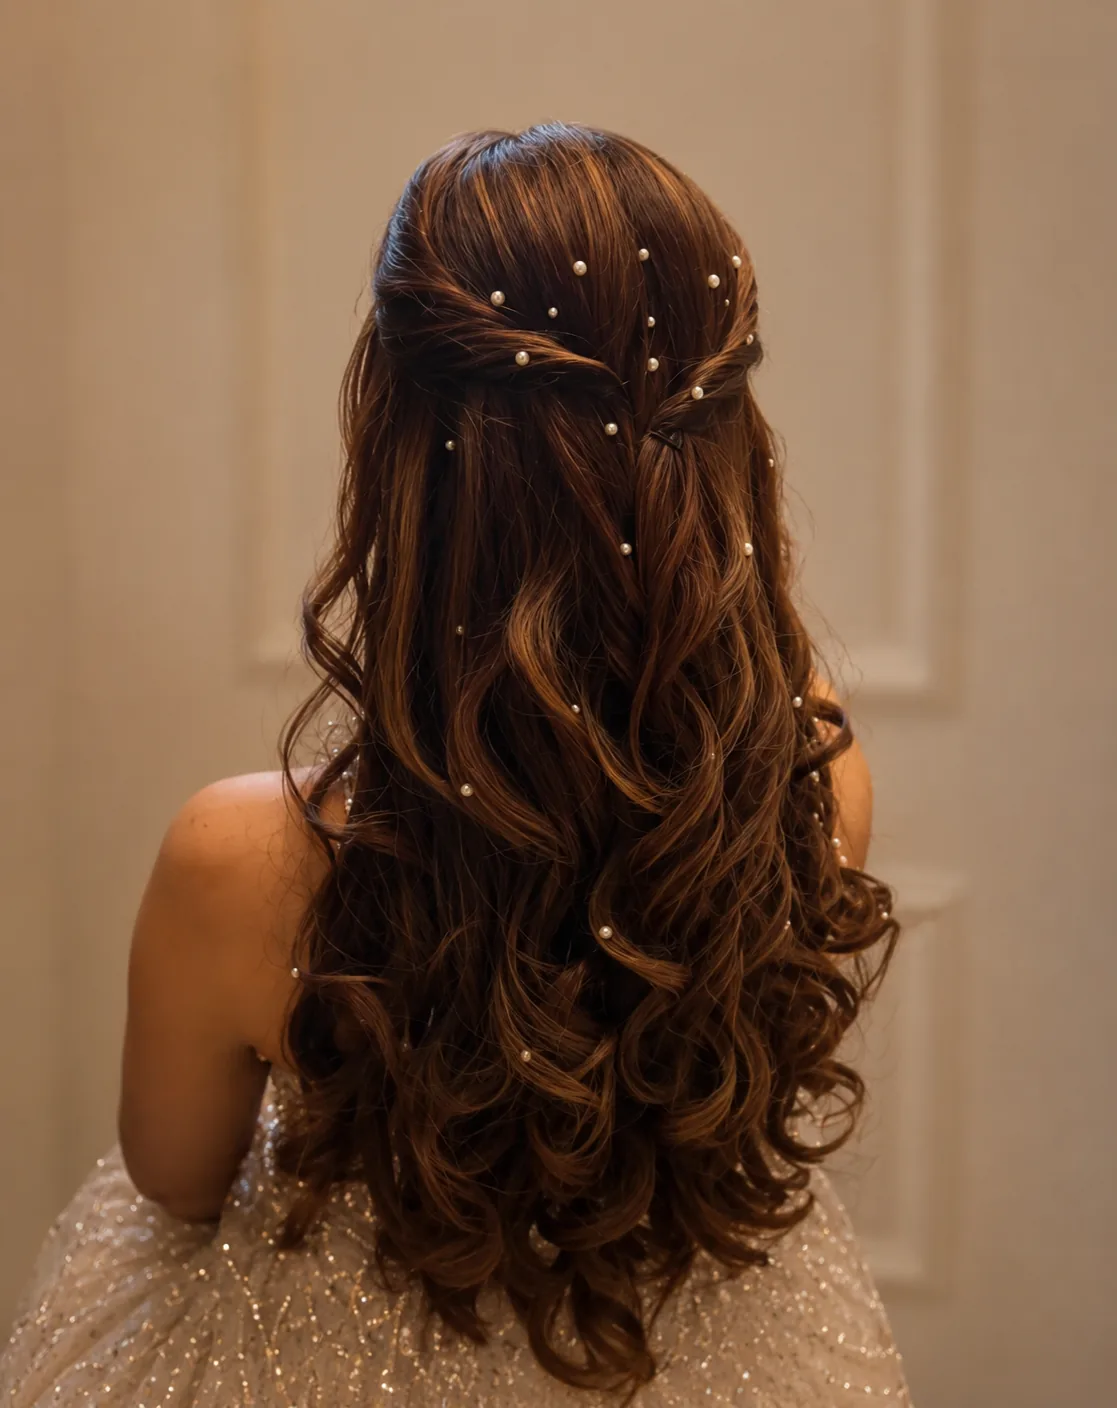
The Low Bun with a Delicate Headband
A low bun with a delicate headband is neat, polished and quietly pretty. The headband keeps the front sections perfectly in place through the whole service, while the low bun keeps the back tidy and elegant.
Make a low bun as usual, then slide a slim, delicate headband into place just behind the hairline. Choose a simple metal, pearl or thin fabric band — nothing wide, glittering or bridal — and make sure it sits comfortably, since you will be wearing it for hours.
Who should avoid it: anyone who finds headbands uncomfortable after an hour. Try the headband on at home for a full afternoon first; a beautiful style you cannot wait to take off is not worth it.
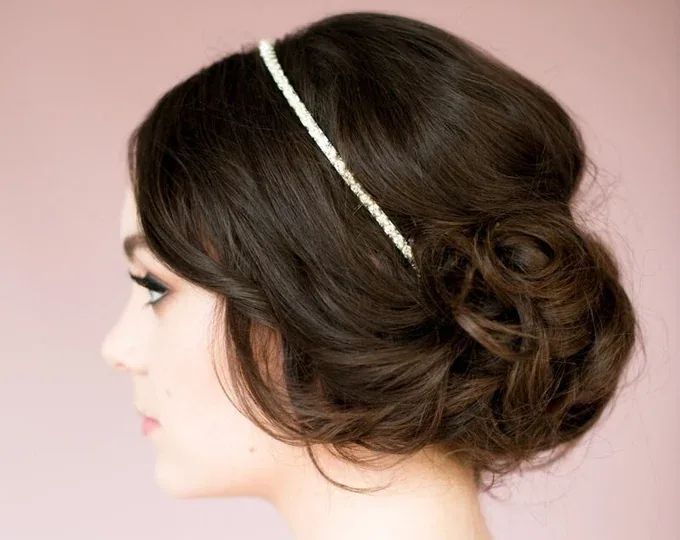
Loose Curls with a Side Part
Loose curls with a side part are soft, flattering and very photogenic. The side part adds instant volume at the crown, and the curls fall naturally around the face, catching the church window light in every photograph.
Curl in sections with a medium-barrel iron, always curling away from the face, then brush through gently with your fingers so the curls relax into soft, flowing waves. Part the hair deeply to one side and tuck the shorter side behind your ear.
Maintenance: almost none indoors, where the air is still and cool. Keep a small clip in your bag, so you can pin the curls back quickly if you are handed the baby or the reception moves outdoors.
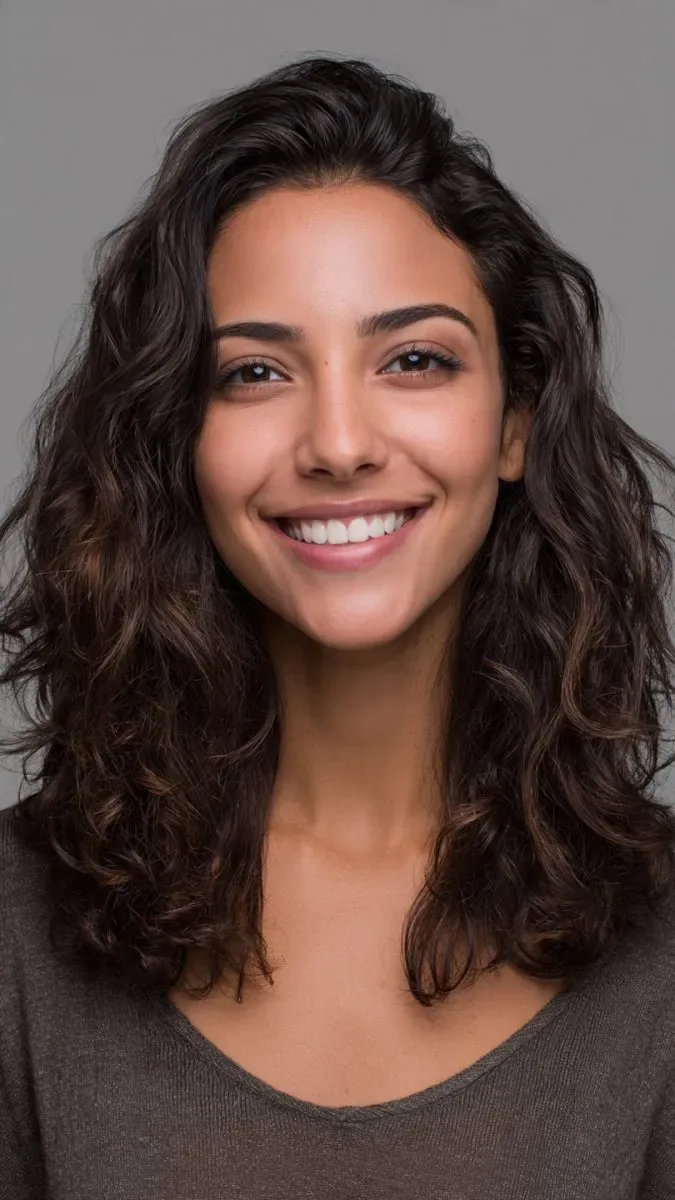
The Wavy Lob with a Side Sweep
The wavy lob with a side sweep is modern, flattering and very easy to wear. The side sweep adds volume and movement, the waves give the style softness, and the length is short enough that it never gets in your way during the service.
Create loose waves with a medium-barrel iron, then sweep the hair deeply to one side and tuck the shorter side behind your ear. Finish with a little texturising spray at the roots to keep the volume through the afternoon.
Best for: shoulder-length hair, and guests who want to look polished without an updo. It also looks wonderful in the group photographs, where the side sweep frames the face beautifully.
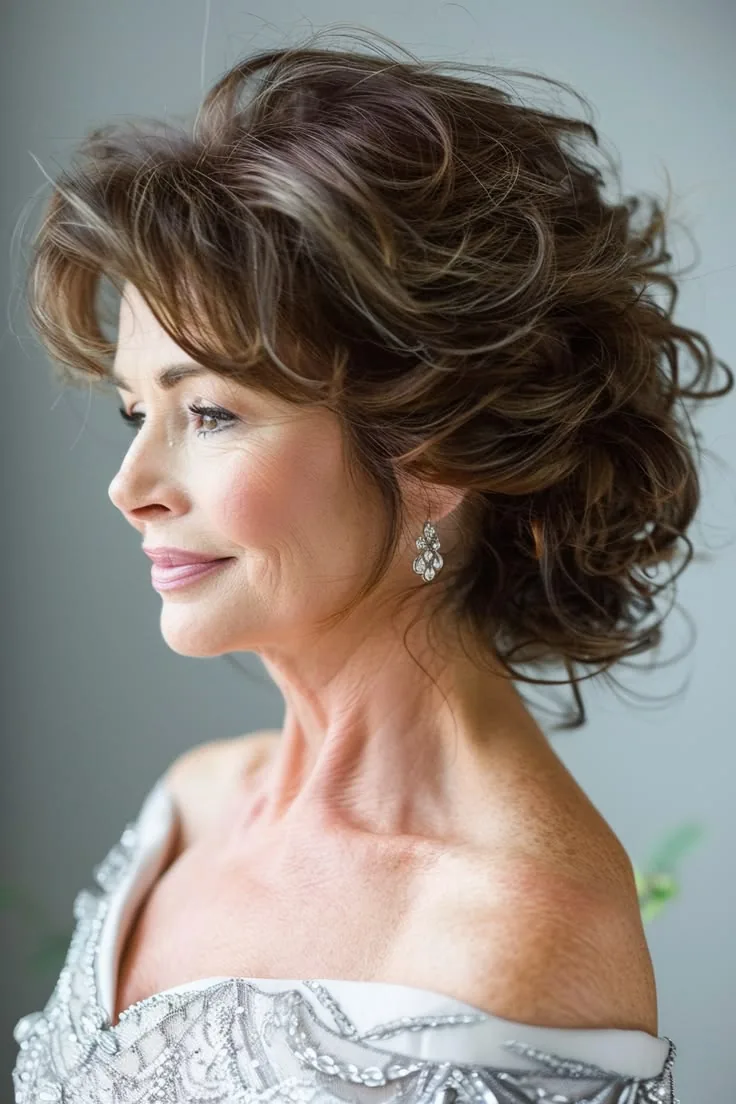
A Little Girl’s Soft Braided Bun
A little girl’s soft braided bun is sweet, neat and comfortable — everything a child’s christening style should be. The braid keeps the hair tidy, the bun sits low and soft, and a small bow adds just enough celebration for the day.
Braid her hair loosely from the crown, then coil the braid into a soft low bun and secure it gently with a small elastic and one or two pins. Add a small, soft bow in a colour that matches her dress, and leave a few wispy pieces around her face.
What to ask: keep the braid loose and the bun soft. A child’s style should never pull, and she should be able to sit, play and be photographed without once thinking about her hair.

A Little Girl’s Half-Up Style with a Bow
A little girl’s half-up style with a bow is the sweetest look on this list. The top half of her hair is held gently back with a soft bow, while the rest falls naturally — pretty, comfortable and perfectly suited to a young guest or flower girl.
Gather the top sections from either side, secure them together at the back with a small elastic, and tie a soft bow over the join. Leave the rest of her hair natural — a few gentle waves are lovely, but straight hair is just as beautiful.
Common mistake: using a heavy clip or a stiff bow that pulls her hair and makes her fidget. Choose a soft fabric bow, secure it gently, and let her forget it is there.
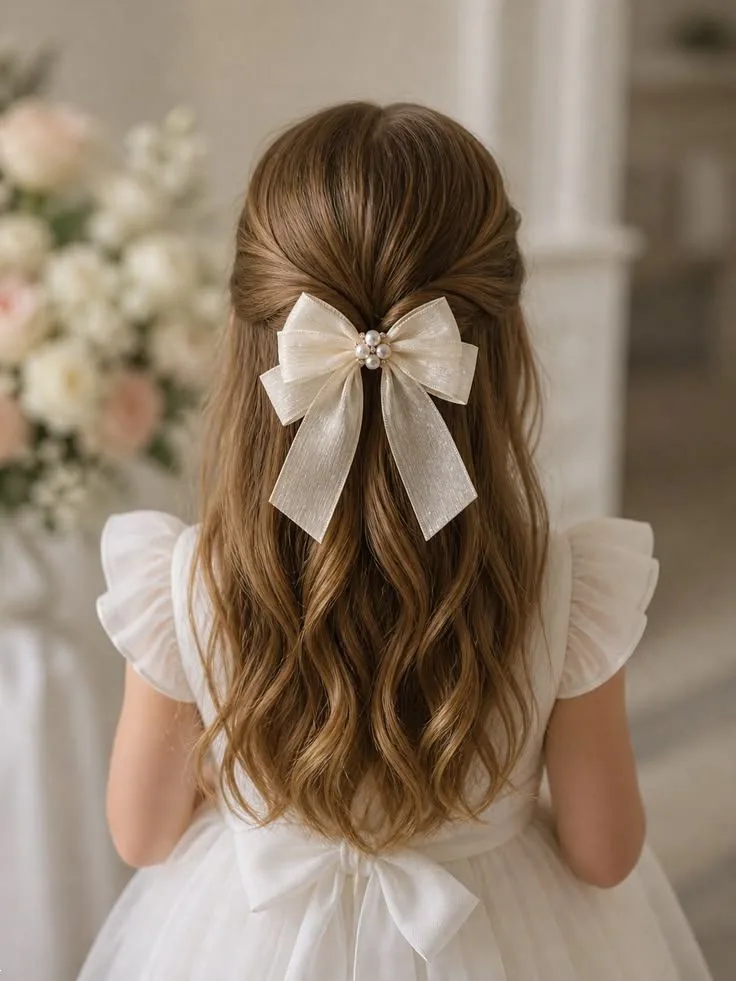
The Godmother’s Elegant French Twist
The godmother’s elegant French twist is the most polished style on this list — tall, clean and undeniably graceful. It is the perfect choice for the woman who stands beside the family throughout the ceremony and appears in the formal photographs.
Gather your hair to one side, twist it upwards into a neat roll and pin it firmly along the twist, tucking the ends inside. Keep the front soft with a side part, and let one or two small pieces escape naturally around your face.
Best for: medium to long hair, and any godmother who wants to look her very best without upstaging the baby. It also pairs beautifully with pearl earrings and a modest, elegant dress.

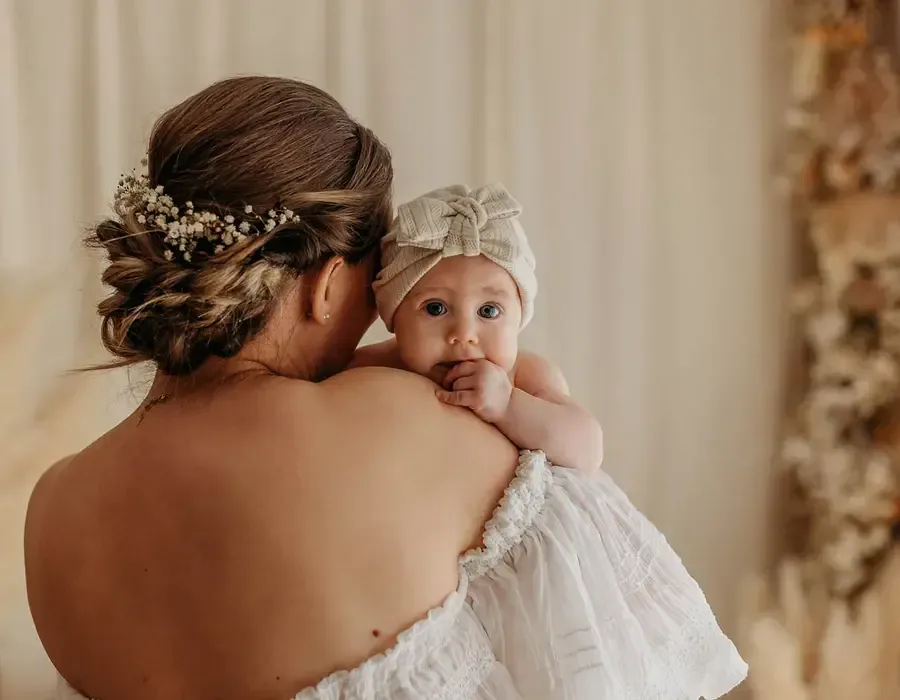
Mum’s Soft Updo with Loose Waves
Mum’s soft updo with loose waves is the style this whole list is built around: practical enough for holding the baby, elegant enough for the photographs, and soft enough to look like mum on her best day. The hair is up and secure, with gentle waves framing the face.
Pin the bulk of your hair into a soft, low updo, then curl the face-framing pieces loosely and let them fall naturally around your cheeks. Keep the updo slightly loose and textured rather than scraped tight — a soft finish is comfortable for hours, and it photographs beautifully.
Quick verdict: the best choice for the mother of the baby. It keeps hair out of the baby’s face, it will not be pulled apart by little hands, and it looks wonderful in every photograph from the font to the reception.
What hairstyle should mum wear to a christening?
Mum should wear a secure, practical style such as a low bun, a soft chignon or a braided updo, since she will be holding the baby for much of the day. A soft updo with loose waves framing the face is ideal: it keeps hair out of the baby’s face, it cannot be pulled apart by little hands, and it photographs beautifully.
What hairstyle should a godmother wear to a christening?
A godmother should choose a polished, slightly more finished style, such as a soft chignon, a twisted low bun or an elegant French twist. She stands beside the family throughout the ceremony and appears in the formal photographs, so a neat, elegant updo with one small accessory such as a pearl pin is the perfect choice.
What hairstyles are appropriate for christening guests?
Guests should choose neat, modest styles such as a low bun, soft waves, a braided low bun or a half-up twist. Avoid veils, tiaras, crystal crowns and oversized floral combs, which read bridal, and keep accessories to one small, deliberate detail such as a pearl pin or a slim ribbon.
Should I wear my hair up or down to a christening?
Either works, and your role should decide. Hair up — a chignon, a low bun or a braided updo — is safer if you will be holding the baby, since it stays neat and out of reach. Hair down — soft waves, a blowout or loose curls — looks beautiful for guests, but keep a clip handy in case you are handed the baby.
What is the best hairstyle for holding a baby at a christening?
The best hairstyle for holding a baby is a secure updo such as a low bun, a braided bun or a French twist, which keeps every strand out of the baby’s reach. Avoid long, loose curls hanging over your shoulders and skip dangly hair accessories that small fingers can pull out.
What hairstyles photograph well in church light?
Soft waves, face-framing layers, a gentle side part and a low bun or chignon all photograph beautifully in soft church light. A touch of volume at the crown helps in low light, and a little gloss spray on the lengths gives the hair a healthy shine without looking greasy in flash photographs.
What hairstyle should a little girl wear to a christening?
A little girl should wear a soft, comfortable style such as a low braided bun with a small bow or a half-up style with a ribbon. Keep the style loose and gentle, avoid tight braids or heavy clips, and choose a small, soft bow that matches her dress — comfort matters more than perfection for a child.
What hair accessories are appropriate for a christening?
Pearl pins, a slim velvet or silk ribbon, a small gold clip, a tortoiseshell comb and a delicate headband are all appropriate for a christening. Avoid tiaras, crystal crowns and oversized floral combs, which read bridal. One deliberate detail is plenty — the accessory should complement your outfit, not compete with the baby.
Can I wear my hair in a ponytail to a christening?
Yes, a polished ponytail works well at a christening, especially a low ponytail with soft curls, a textured low ponytail with a wrapped base, or a romantic side ponytail. Keep the base wrapped, the finish soft rather than sporty, and the height low or to the side — a high, tight ponytail reads too casual for a church ceremony.
How far in advance should I try my christening hairstyle?
Try your christening hairstyle at least once a few days before the day, and never debut an untested style on the morning itself. If you are mum or godmother, practice the style while holding something the weight of a baby, so you know it will hold and stay comfortable through the service and the photographs.
Conclusion
The best hairstyles for a christening are the ones that let you enjoy the day. Whether you choose a classic low chignon, a braided low bun that will not move, a soft half-up twist, or loose waves that catch the church light, the goal is the same: hair that looks polished and modest, stays comfortable, and stays out of the way while you hold the baby, pose for photographs and celebrate with the people you love.
Pick your style before the day, try it once, and pack two spare pins and a hair tie just in case. Then forget about your hair completely — the baby is in white, the family is gathered, and this is a day you will remember for years.